ok set about meshing my grill tonight and couldnt find a guide, most poeple said its in athe haynes manual or jus wrote it out, i took some pictures to give a better idea for poeple wanting to do this.
You can buy your mesh of ebay for about £10 new and buy it now or £21.99 from halfords for the black comp mesh that i have used here.
Like i said i only just done it so the pics are taken at night but u can see what ya need and gives a good enough idea.
usign MS paint with my pro control i present:
Step 1
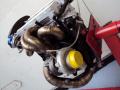
open your bonnet and grab a spanner to undo these bolts that are located where i have highlighted

Step 2
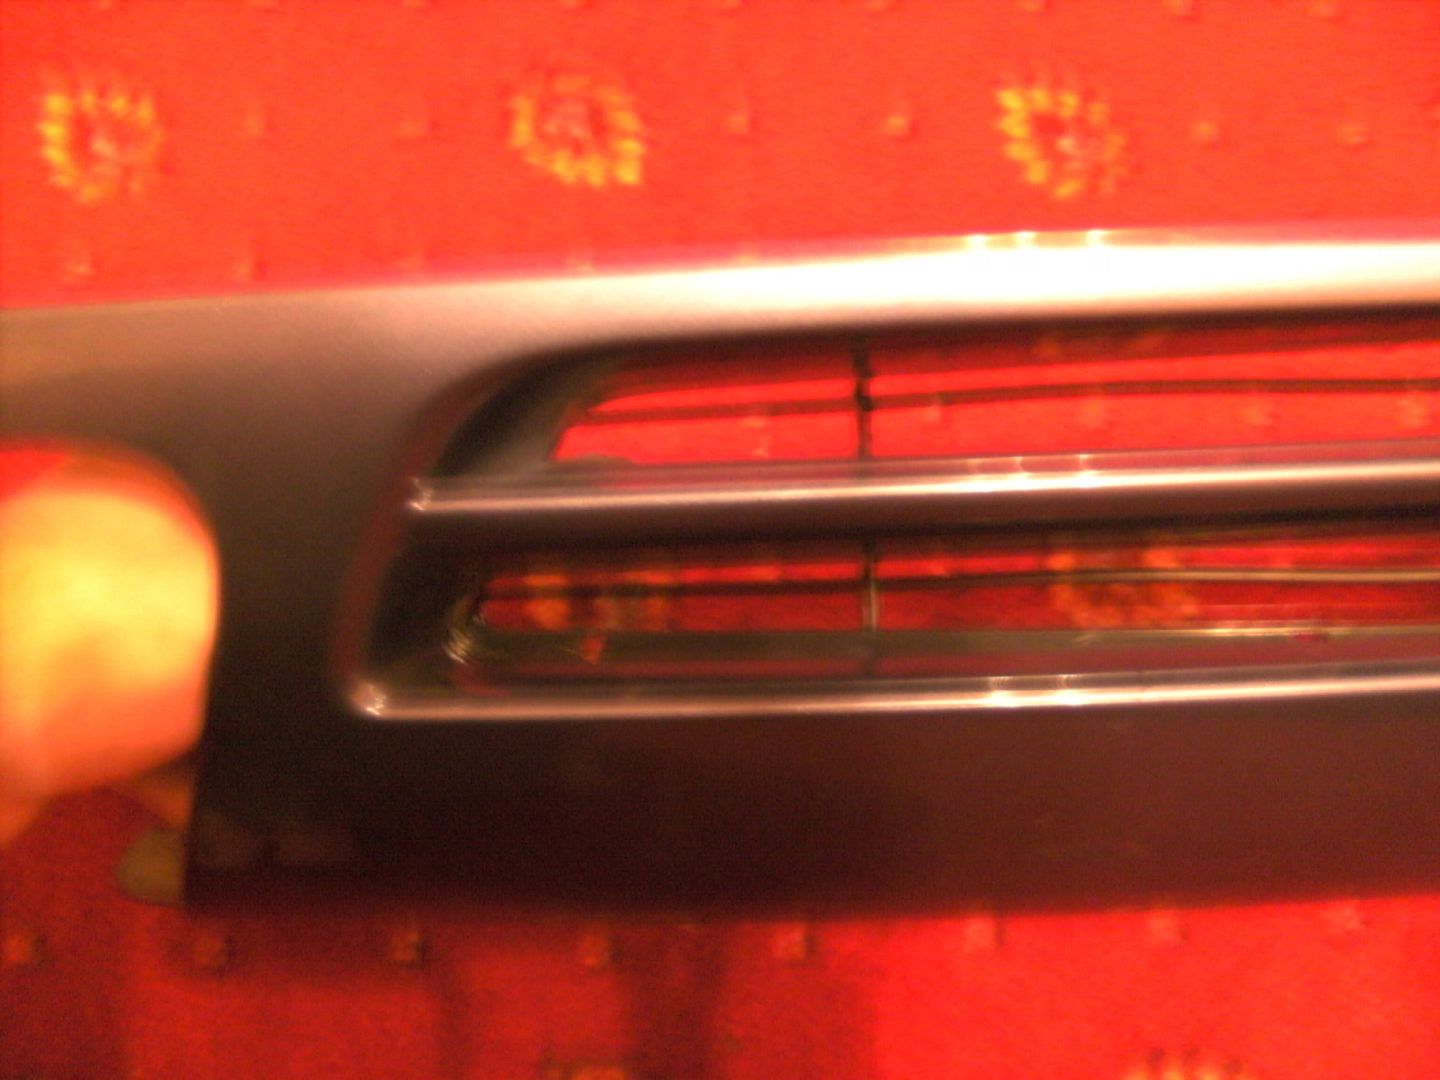
look from above the indicater and u will see some bits of metal that are clips, get a flat headed screw driver and push down but gentley not too hard or youll snap it off like i did, so push down and push outwards as though your levering the light out. clips are highlighted beloew:

Step 3
prize upwards with a screwdriver the clips that are holding the whole grill body peice on, these look similar to the carpet crimping slips.

step 4
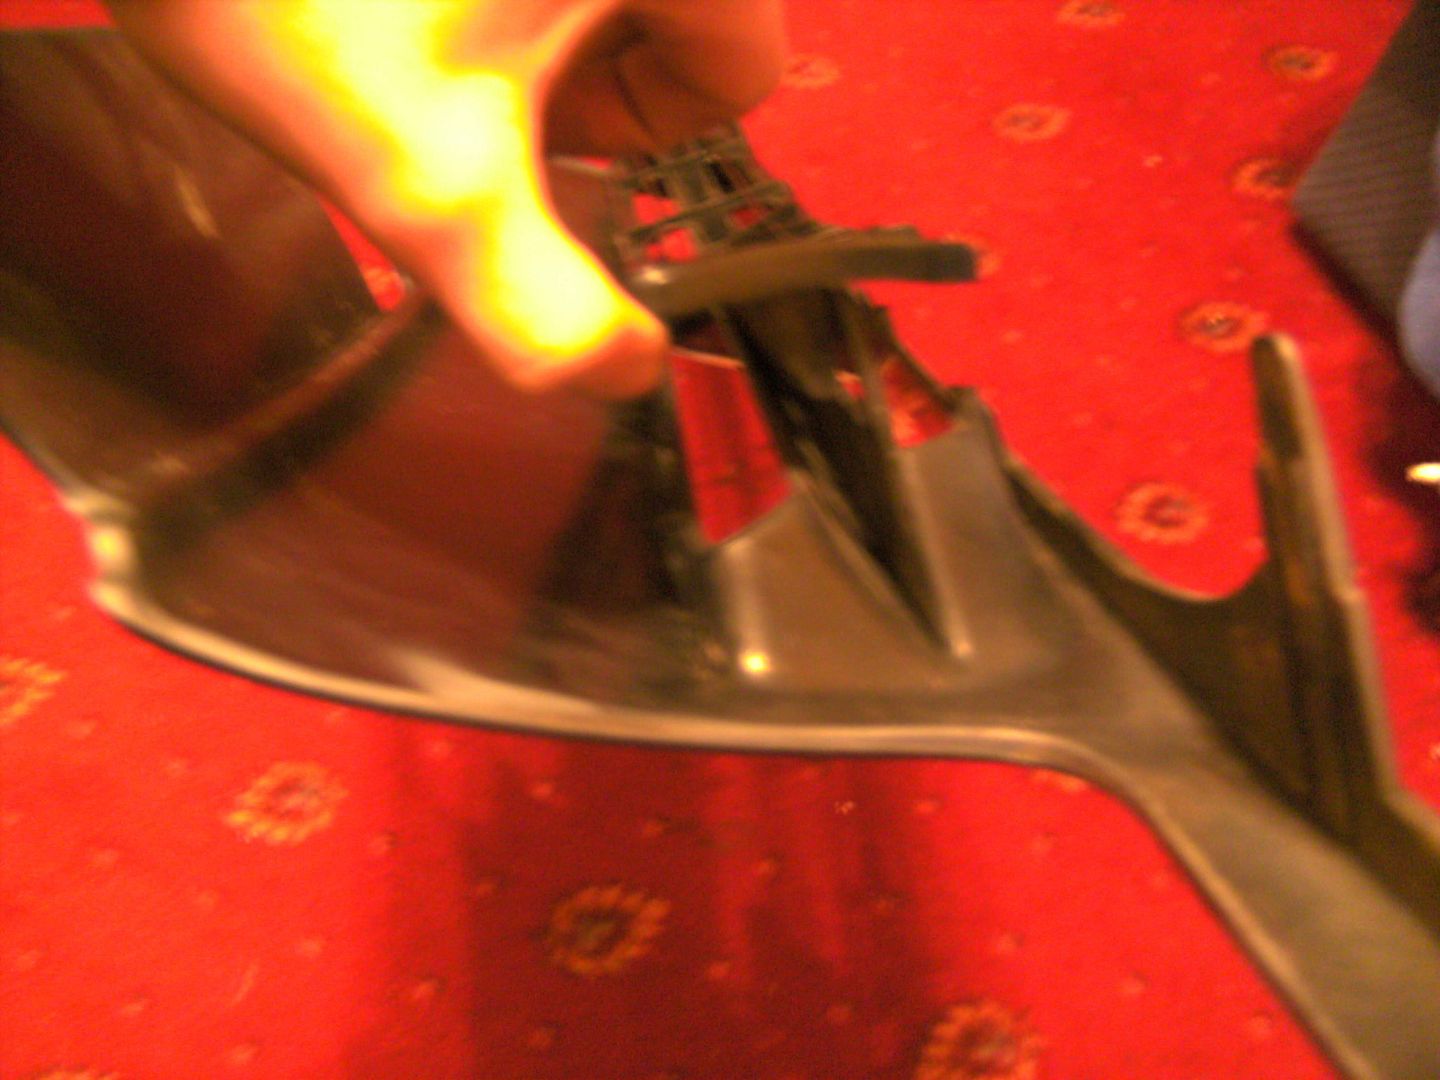
under neath each light unit there is a clip (quite long and thin) use a screw driver and titl the whole grill unit as if your trying to flip the bottom peice out and use a screwdriver to push the clips down under the light units,
now pull and your car should look like this???

Step 5
take the grill panal off and use a torque/star type alan key to undo all the clips, i think there wer 6 in total maybe 8,

undo the clips at the top part of the grill and it should all slide off.
Step 6
measure your grill out to fit the area u want, when u have it measured, FOLD the mesh (if its not too strong, i got mine from halfords) and crease and fold, then tear as though its a peice of paper and u should have a clean cut, if your not confident in doing that use some wire cutter or some seceters or the wire cutter bit of some plyers, though this is a lot messier and fiddly.
Step 7
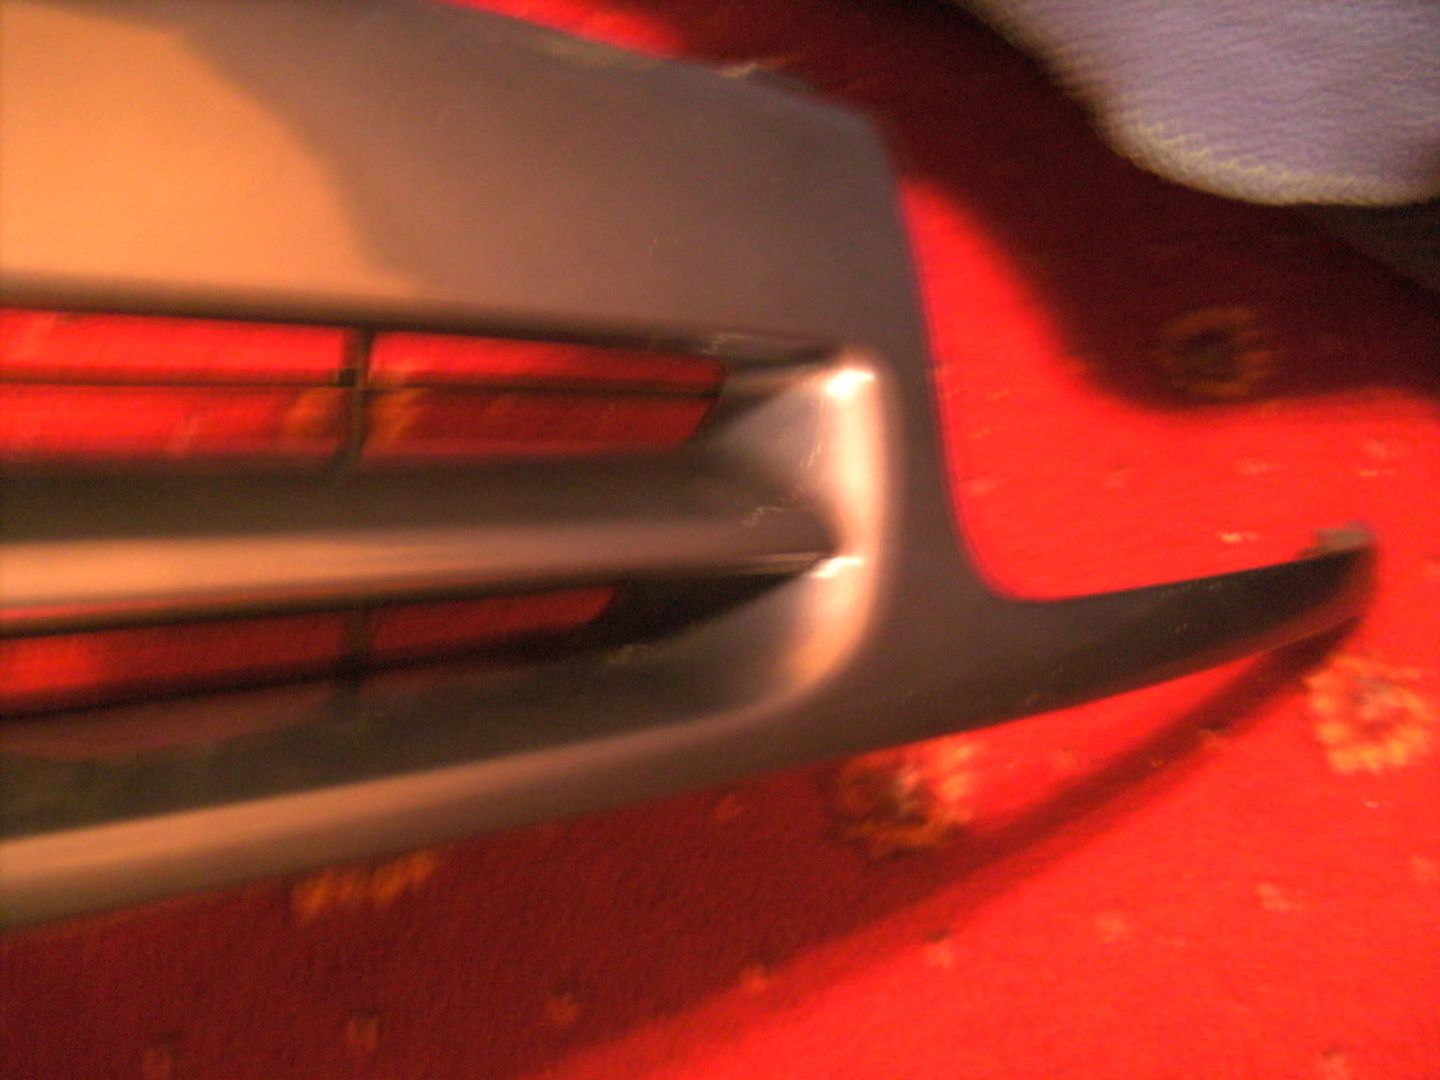
put the mesh onto the inside of the grill panal and cut holes in the mesh to fit over the screw thread and the clips that wer for the old citroen grill. make them as tight as posible so it wont fall off.
Step 8
you can either leave it like that or also use some 'no more nails/ liquid nails' on the ouside of the mesh, i used a bit at the top corners and the bottom stretch.
step 9
line the panal up with the bolt holes on the top andpush the panal back onto the car making sure it clips under the lights. push the clips back on, that are at each side near the indicaters
slide the indicaters back in and now put the bolts back in at the top as in step 1, make sure everything is tight and sturdy and ya jobs a good un
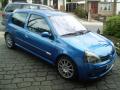
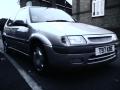
heres my finished product, just taken a better one than before

hope its a good guide any comments on it or how to make it better??
my first one n the pics could do with being in the day light, but so u get a good idea HOPEFULLY
You can buy your mesh of ebay for about £10 new and buy it now or £21.99 from halfords for the black comp mesh that i have used here.
Like i said i only just done it so the pics are taken at night but u can see what ya need and gives a good enough idea.
usign MS paint with my pro control i present:
Step 1
open your bonnet and grab a spanner to undo these bolts that are located where i have highlighted
Step 2
look from above the indicater and u will see some bits of metal that are clips, get a flat headed screw driver and push down but gentley not too hard or youll snap it off like i did, so push down and push outwards as though your levering the light out. clips are highlighted beloew:
Step 3
prize upwards with a screwdriver the clips that are holding the whole grill body peice on, these look similar to the carpet crimping slips.
step 4
under neath each light unit there is a clip (quite long and thin) use a screw driver and titl the whole grill unit as if your trying to flip the bottom peice out and use a screwdriver to push the clips down under the light units,
now pull and your car should look like this???
Step 5
take the grill panal off and use a torque/star type alan key to undo all the clips, i think there wer 6 in total maybe 8,
undo the clips at the top part of the grill and it should all slide off.
Step 6
measure your grill out to fit the area u want, when u have it measured, FOLD the mesh (if its not too strong, i got mine from halfords) and crease and fold, then tear as though its a peice of paper and u should have a clean cut, if your not confident in doing that use some wire cutter or some seceters or the wire cutter bit of some plyers, though this is a lot messier and fiddly.
Step 7
put the mesh onto the inside of the grill panal and cut holes in the mesh to fit over the screw thread and the clips that wer for the old citroen grill. make them as tight as posible so it wont fall off.
Step 8
you can either leave it like that or also use some 'no more nails/ liquid nails' on the ouside of the mesh, i used a bit at the top corners and the bottom stretch.
step 9
line the panal up with the bolt holes on the top andpush the panal back onto the car making sure it clips under the lights. push the clips back on, that are at each side near the indicaters
slide the indicaters back in and now put the bolts back in at the top as in step 1, make sure everything is tight and sturdy and ya jobs a good un
heres my finished product, just taken a better one than before
hope its a good guide any comments on it or how to make it better??
my first one n the pics could do with being in the day light, but so u get a good idea HOPEFULLY