Needed-
Long nose Pliers
10-13mm Spanners
Flat Head Screwdriver
Sandpaper/Emry Cloth
1 Can Primer
1 Can Paint
1 Can Laquer (optional)
Cost- £14 if paint is 3for2 at Halfrauds.

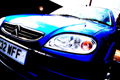
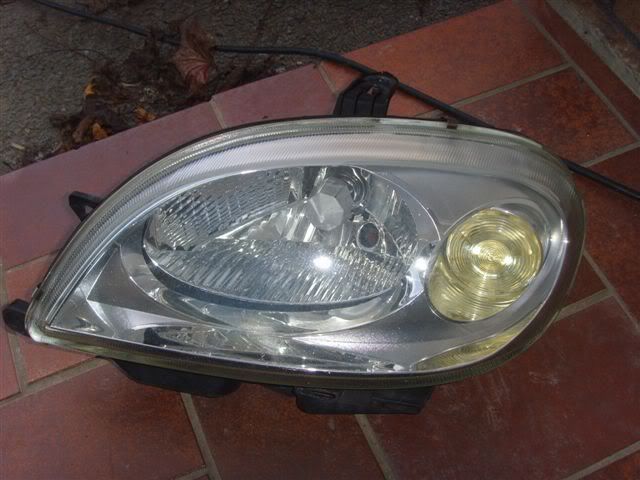
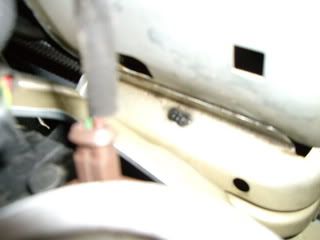
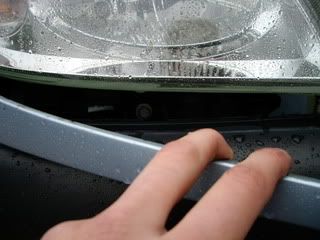
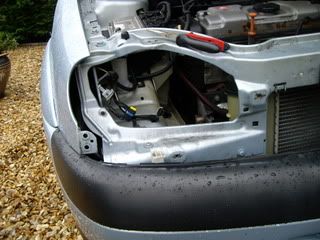
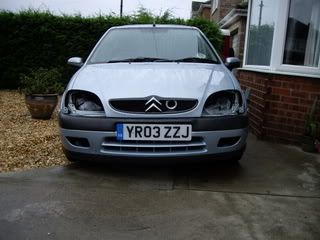
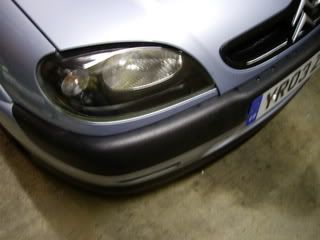
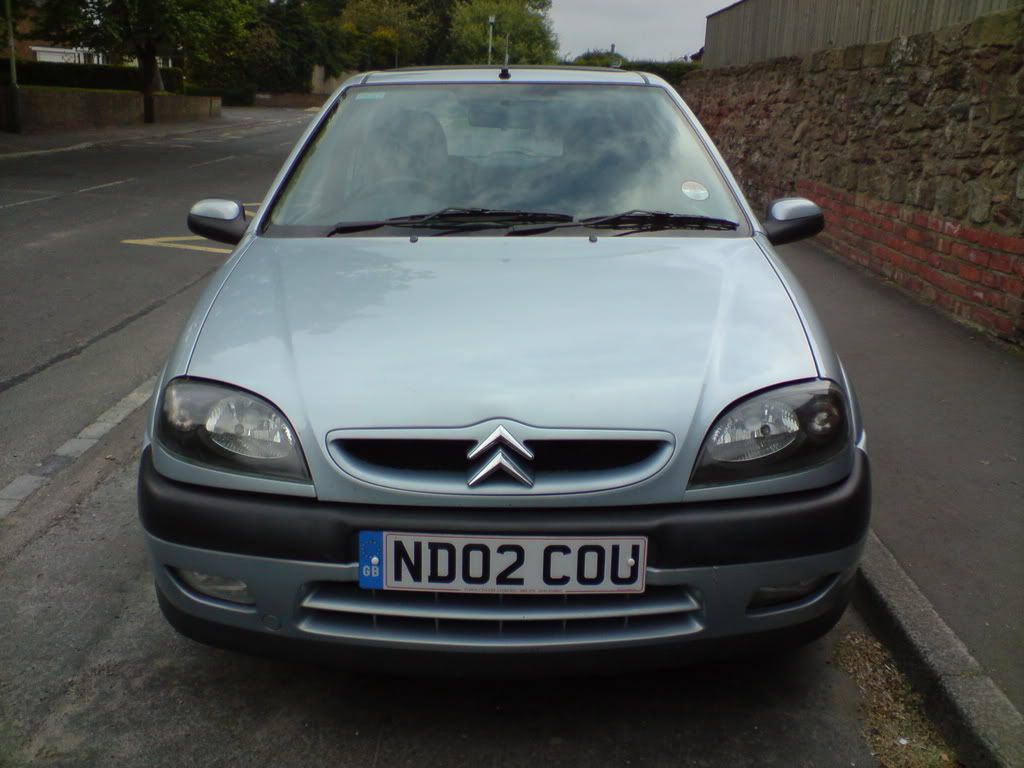
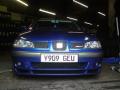
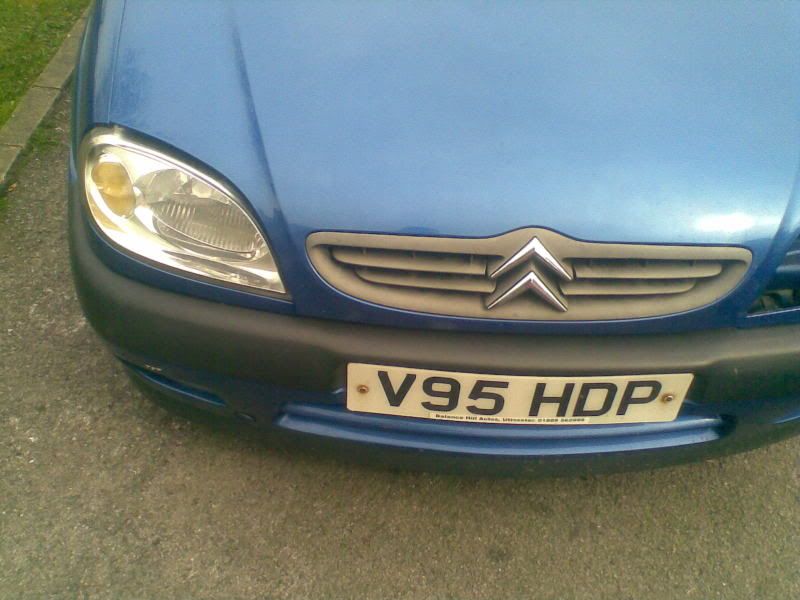
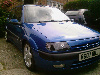
Step 1- Remove Headlights
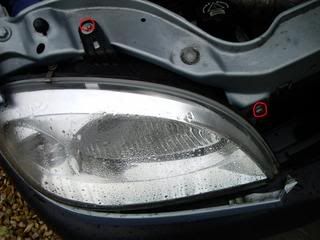
To remove Headlights you need to open bonnet, Remove top two bolts.
there is one further bolt that hold the headlights on which is located under the bottom "brow", you need to remove this, be careful though, it is quite flimsy.
Once all three bolts in view remove them, for me long nose pliers were fine, but most need to use spanners.
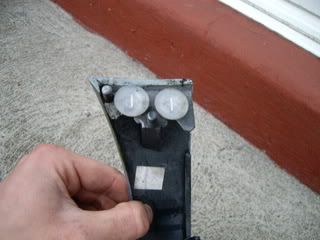
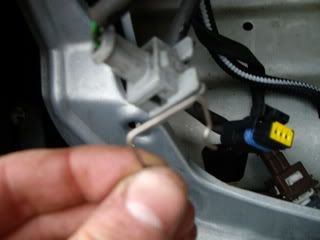
Now all bolts undone, disconnect all electrics and remove lights.
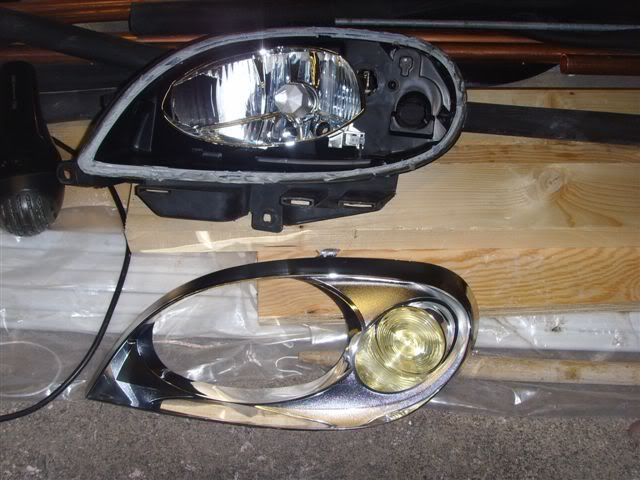
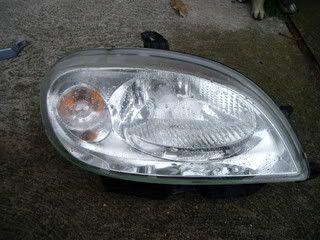
Step 2- Preperation
The glass is glued to the headlight, the glue need to be heated up for the glass to slip off.
In order to do this put in oven at 150degrees for 10minutes.

then run a hot knife along and it will pop off.
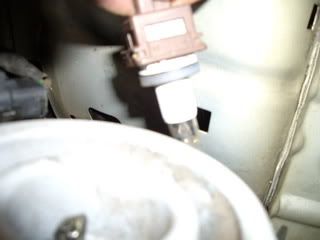
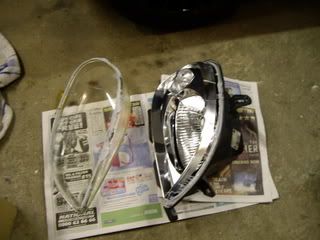
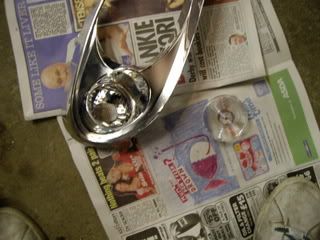
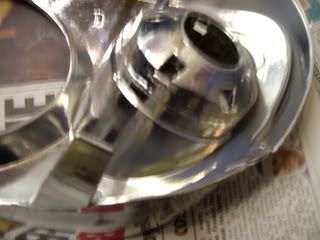
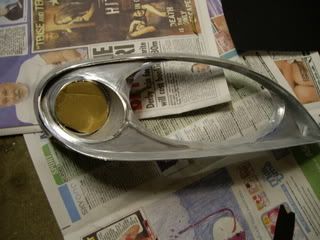
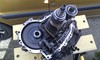
Now remove all bulbs and the internal chrome part that will be getting sprayed.

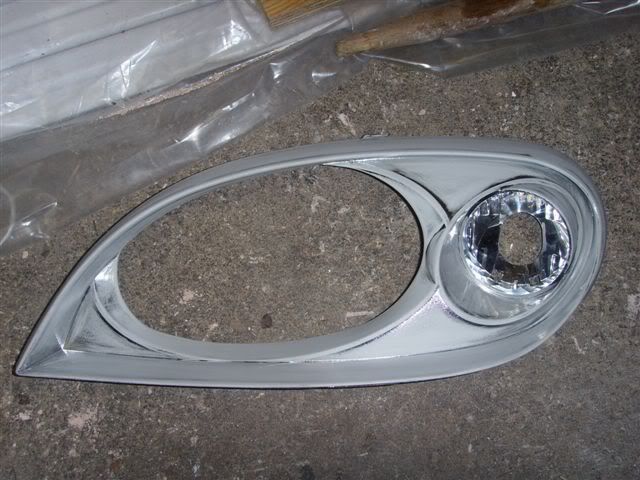
Sand down all chrome you are going to spray with ROUGH sand paper or emry cloth. I personally prefer emry cloth.

Once it has a rough finish and is not shiny it is time to get sprayed.
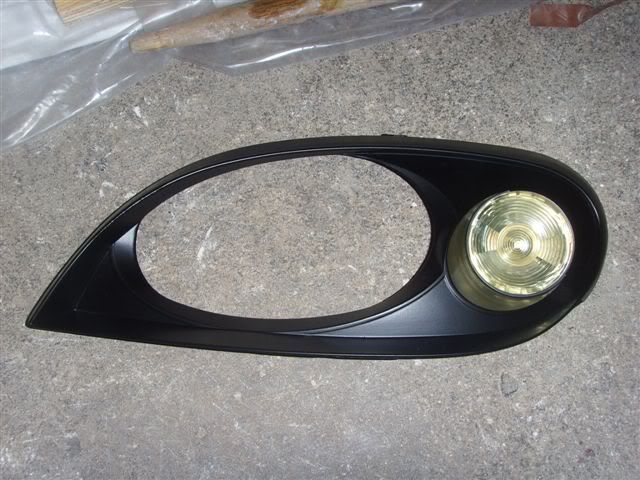
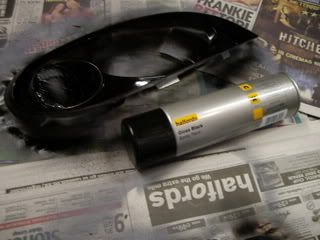
Step 3- Spraying
Apply 3 coats of primer, using smooth sand paper/emry cloth between coats to rough it up a BIT. Leave 15 minutes between coats for drying. JUST A LITTLE BIT THOUGH.

Now it is time to apply 2 coats of your favoured colour. Alloying 15 minutes to dry between coats.

Then finally apply at LEAST three coats of laquer. Allowing 30 minutes between coats for drying. (OPTIONAL)
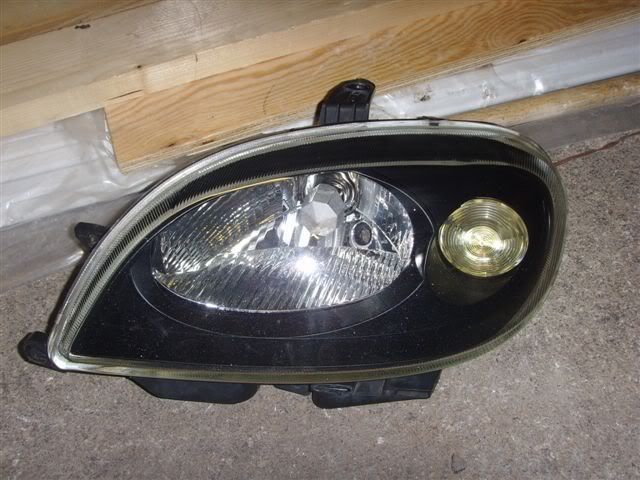
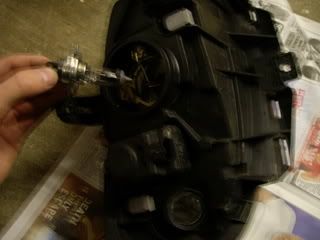
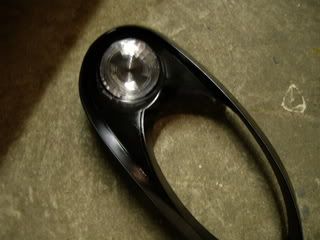
Step 4- Putting Back Together
Heat up the headlight WITHOUT newly painted part in the oven for 5 minutes at 150degress.
Then fit newly painted while glue is still hot, then fit bulbs. I found it a perfect opportunity to fit Xenon Bulbs.

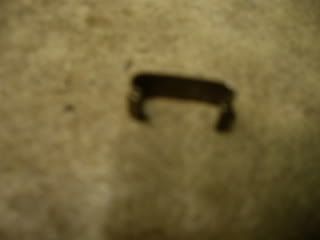
then fit Glass back on and put clips back on.


Alloy to cool down.
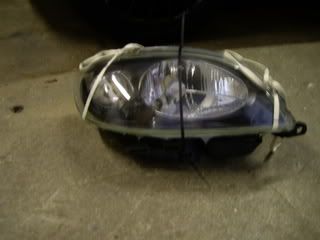
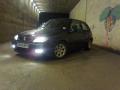
Fit back to car doing reverse of stage 1.
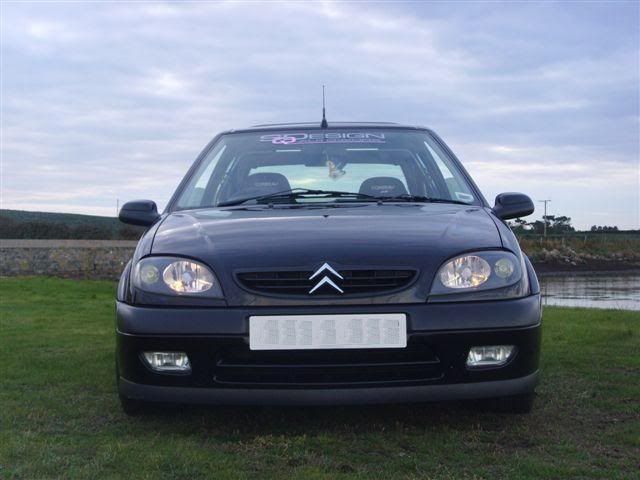
Enjoy
p.s- Pictures added later tonight.
Long nose Pliers
10-13mm Spanners
Flat Head Screwdriver
Sandpaper/Emry Cloth
1 Can Primer
1 Can Paint
1 Can Laquer (optional)
Cost- £14 if paint is 3for2 at Halfrauds.
Step 1- Remove Headlights
To remove Headlights you need to open bonnet, Remove top two bolts.
there is one further bolt that hold the headlights on which is located under the bottom "brow", you need to remove this, be careful though, it is quite flimsy.
Once all three bolts in view remove them, for me long nose pliers were fine, but most need to use spanners.
Now all bolts undone, disconnect all electrics and remove lights.
Step 2- Preperation
The glass is glued to the headlight, the glue need to be heated up for the glass to slip off.
In order to do this put in oven at 150degrees for 10minutes.
then run a hot knife along and it will pop off.
Now remove all bulbs and the internal chrome part that will be getting sprayed.
Sand down all chrome you are going to spray with ROUGH sand paper or emry cloth. I personally prefer emry cloth.
Once it has a rough finish and is not shiny it is time to get sprayed.
Step 3- Spraying
Apply 3 coats of primer, using smooth sand paper/emry cloth between coats to rough it up a BIT. Leave 15 minutes between coats for drying. JUST A LITTLE BIT THOUGH.
Now it is time to apply 2 coats of your favoured colour. Alloying 15 minutes to dry between coats.
Then finally apply at LEAST three coats of laquer. Allowing 30 minutes between coats for drying. (OPTIONAL)
Step 4- Putting Back Together
Heat up the headlight WITHOUT newly painted part in the oven for 5 minutes at 150degress.
Then fit newly painted while glue is still hot, then fit bulbs. I found it a perfect opportunity to fit Xenon Bulbs.
then fit Glass back on and put clips back on.
Alloy to cool down.
Fit back to car doing reverse of stage 1.
Enjoy
p.s- Pictures added later tonight.


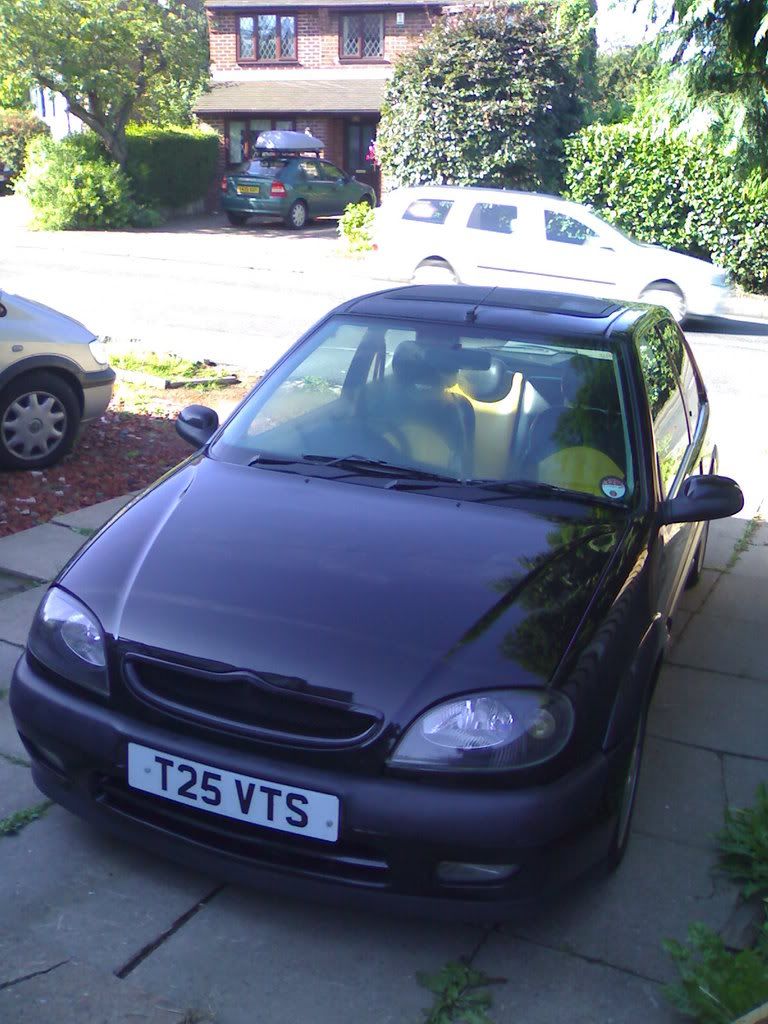
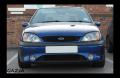
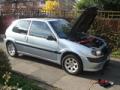
 i.e 1 month old