
Information
This is a very popular modification to enhance your interiors looks (unless your a track slag and want to strip the car), not only looks good but they are so comfortable.
First thing you want to do is to source a gti interior, there are two types :-
Non Airbagged (thanks to mike cracknell for picture)

Airbagged

as you can see the airbagged ones just have side airbags built in, and in my opinion hug you better than the non airbagged ones
Best place to buy a set is:-
Breakers yards
Ebay
Scrapyards
Saxo forums such as here and www.saxosportsclub.com
they can range in price from 150 right up to 600 maybe more, remember set yourself a limit and stick to it , look at the condition too there are a lot about that have the bolster cushions worn away, if in doubt ask for more pictures, also remember your old interior you can sell for up to 150 pound to make some money back.
Guide
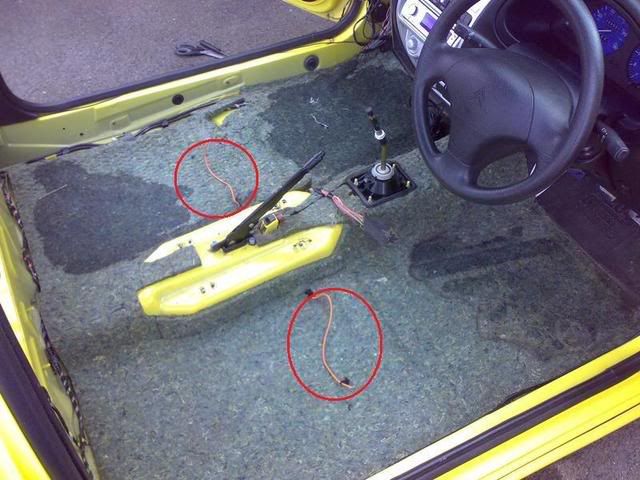
First of all is to remove all the old interior, first of all disconnect the battery, and leave for ten minutes before starting, then disconnect the pre tensioner wires under the 2 front seats
Next you need to remove the 2 front seats, each seat is held in by T40 torx bolts, and they are located as below

These 2 are located in the middle of the car, and can be accessed by maneuvering the seat backwards and forwards
These two are located on the sides of the car and again can be accessed by maneuvering the seat backwards and forwards

Now you can start on the rear seats, for the bottom cushion (bit you place your bum on) all you need to do is lift the up whilst pulling, it will come off at one angle, take the cushion/s out
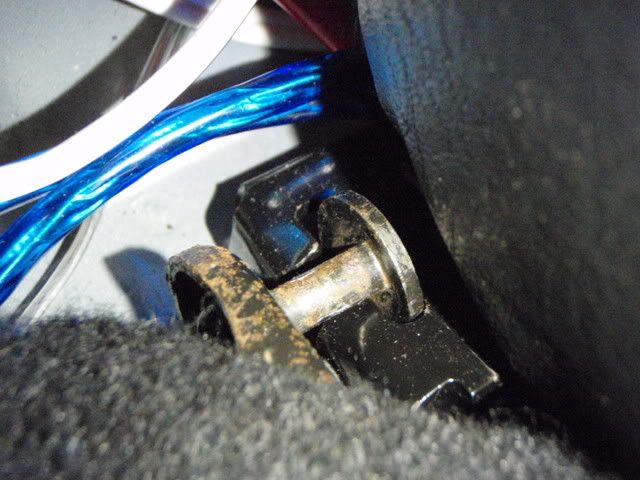
Next is the backrest/s these are pretty easy to get off 2 nuts on either side of the car, these can be accessed from the boot, then push the lever forward to release the seat
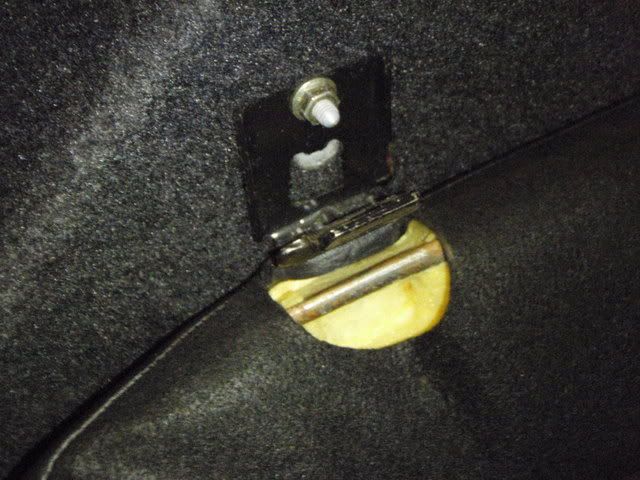
The solid cushion should come off after this but the split folding has a bracket with 2 slots in that allows the seats to pivot forward, all you do is push them forward and again at a certain angle they will just pull out

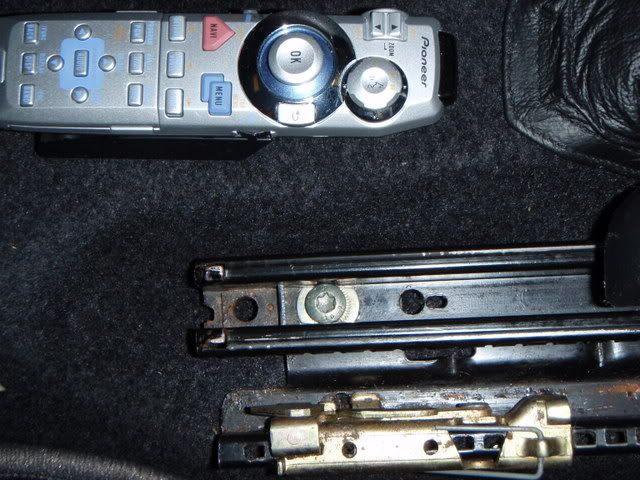
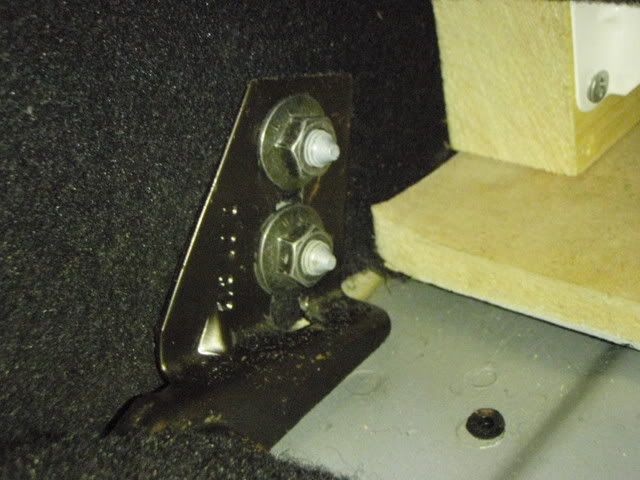
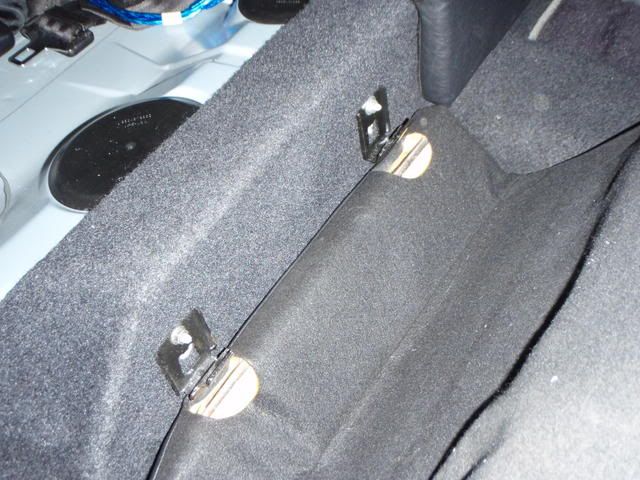
Now all the interior is out its a good idea to hoover the car. Next you can fix the brackets for the rear seats in place, there are more in total if you had the solid rear bench but if split folding rears then you wont need any, make sure you get all brackets with the gti interior
If you dont have the brackets as above you can order them from the dealers
Seat Fix Bracket (Number 6) - 8957G2 £4.90p each including VAT
Mounting Bracket (Number 5) - 8957G3 £10.02p each including VAT

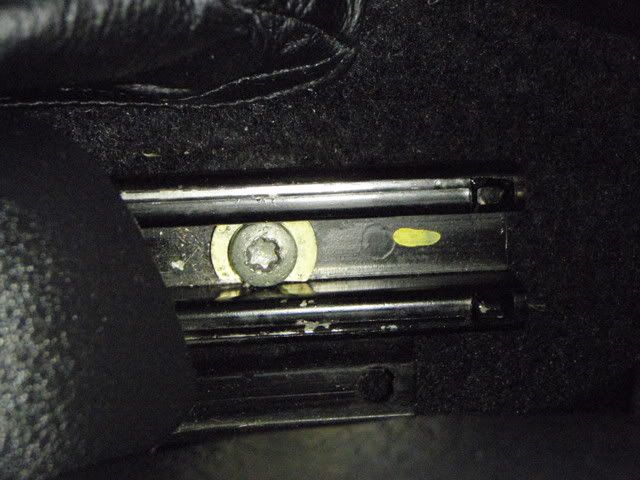
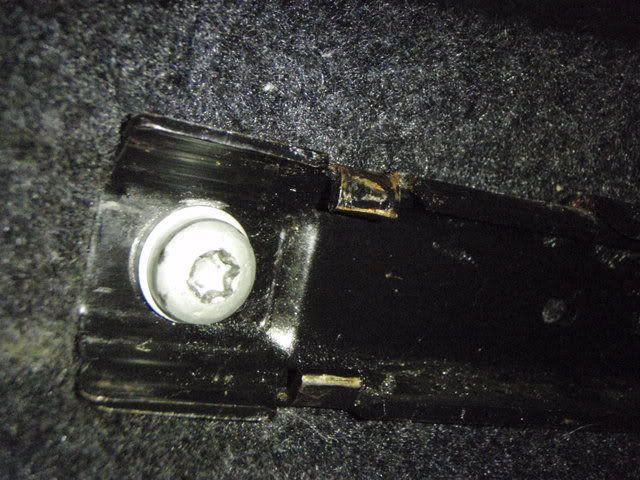
The brackets are fixed in place by bolts for the bottom cushions and self tapping screws for the pivoting bracket (sorry for the bad picture)
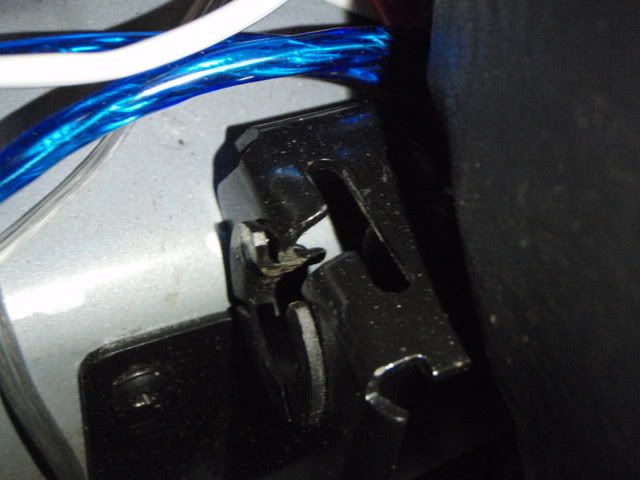
Then all you need to do is put the gti interior the same way you took out the old interior, tighten all nuts and bolts up, lock the backseats in place into the brackets as above pictures show and connect the wiring under the 2 front seats, basically repeat the guide backwards

Airbag
You will probablies find that the airbag light will come on in most cars, theres a few ways you can overcome this
Tape over the light by accessing the dial pod
Take out the bulb on the dial pod (this isn't recommended on mk2 saxos with smd leds instead of bulbs as the leds run in series of 3, so if you take one out two others wont work)
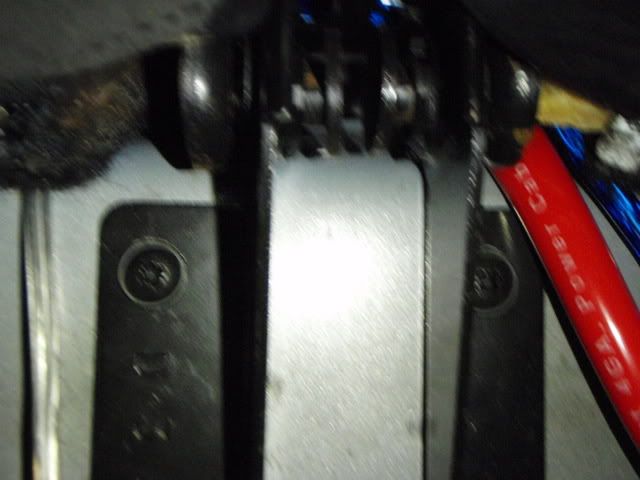
Disconnect the airbag ecu located on the transmission tunnel under the carpet
You can also use a 2ohms resistor to link the two wires that are in the pretensioner wire together, so it loops back on itself
Doorcards
Steviet has kindly did a guide for fitting the 106 doorcards to a saxo
http://www.saxperience.com/forum/sho...d.php?t=127992
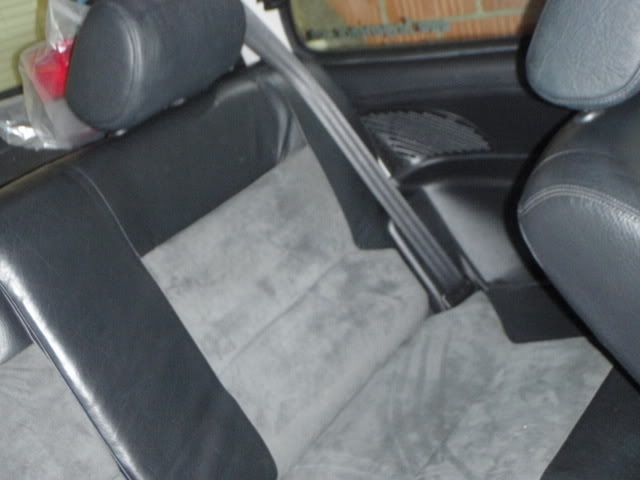
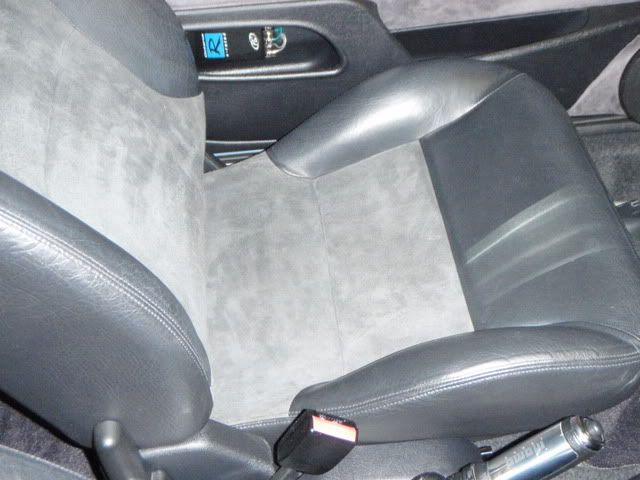
You can retrim the saxo doorcards in the same as the seats, dark grey alcantara is the exact match for this and will probablies cost you another 100 pound as its 50 pounds a metre in places, or you can use some faux charcoal suede, its near enough to the alcantara on the seats and about 4 pound a metre
Heres mine

Or
You can source some doorcards from a Saxo Desire, these are a very good match
I will be doing a guide on retrimming doorcards so watch this space, any questions or queries pm me or use the almighty search button
Thanks for reading
This is a very popular modification to enhance your interiors looks (unless your a track slag and want to strip the car), not only looks good but they are so comfortable.
First thing you want to do is to source a gti interior, there are two types :-
Non Airbagged (thanks to mike cracknell for picture)
Airbagged
as you can see the airbagged ones just have side airbags built in, and in my opinion hug you better than the non airbagged ones
Best place to buy a set is:-
Breakers yards
Ebay
Scrapyards
Saxo forums such as here and www.saxosportsclub.com
they can range in price from 150 right up to 600 maybe more, remember set yourself a limit and stick to it
, look at the condition too there are a lot about that have the bolster cushions worn away, if in doubt ask for more pictures, also remember your old interior you can sell for up to 150 pound to make some money back.Guide
First of all is to remove all the old interior, first of all disconnect the battery, and leave for ten minutes before starting, then disconnect the pre tensioner wires under the 2 front seats
Next you need to remove the 2 front seats, each seat is held in by T40 torx bolts, and they are located as below
These 2 are located in the middle of the car, and can be accessed by maneuvering the seat backwards and forwards
These two are located on the sides of the car and again can be accessed by maneuvering the seat backwards and forwards
Now you can start on the rear seats, for the bottom cushion (bit you place your bum on) all you need to do is lift the up whilst pulling, it will come off at one angle, take the cushion/s out
Next is the backrest/s these are pretty easy to get off 2 nuts on either side of the car, these can be accessed from the boot, then push the lever forward to release the seat
The solid cushion should come off after this but the split folding has a bracket with 2 slots in that allows the seats to pivot forward, all you do is push them forward and again at a certain angle they will just pull out
Now all the interior is out its a good idea to hoover the car. Next you can fix the brackets for the rear seats in place, there are more in total if you had the solid rear bench but if split folding rears then you wont need any, make sure you get all brackets with the gti interior
If you dont have the brackets as above you can order them from the dealers
Seat Fix Bracket (Number 6) - 8957G2 £4.90p each including VAT
Mounting Bracket (Number 5) - 8957G3 £10.02p each including VAT
The brackets are fixed in place by bolts for the bottom cushions and self tapping screws for the pivoting bracket (sorry for the bad picture)
Then all you need to do is put the gti interior the same way you took out the old interior, tighten all nuts and bolts up, lock the backseats in place into the brackets as above pictures show and connect the wiring under the 2 front seats, basically repeat the guide backwards
Airbag
You will probablies find that the airbag light will come on in most cars, theres a few ways you can overcome this
Tape over the light by accessing the dial pod
Take out the bulb on the dial pod (this isn't recommended on mk2 saxos with smd leds instead of bulbs as the leds run in series of 3, so if you take one out two others wont work)
Disconnect the airbag ecu located on the transmission tunnel under the carpet
You can also use a 2ohms resistor to link the two wires that are in the pretensioner wire together, so it loops back on itself
Doorcards
Steviet has kindly did a guide for fitting the 106 doorcards to a saxo
http://www.saxperience.com/forum/sho...d.php?t=127992
You can retrim the saxo doorcards in the same as the seats, dark grey alcantara is the exact match for this and will probablies cost you another 100 pound as its 50 pounds a metre in places, or you can use some faux charcoal suede, its near enough to the alcantara on the seats and about 4 pound a metre
Heres mine
Or
You can source some doorcards from a Saxo Desire, these are a very good match
I will be doing a guide on retrimming doorcards so watch this space, any questions or queries pm me or use the almighty search button
Thanks for reading


 lol
lol


 ?) anywho... do you have a better pick of the mounting bracket as I will be fitting my mounting bracket asap.


 )
)