Evening all, feels like I've been slacking on the updates this week, however I have been very busy on the old GTi. Thanks very much again for the really positive comments in the meantime.
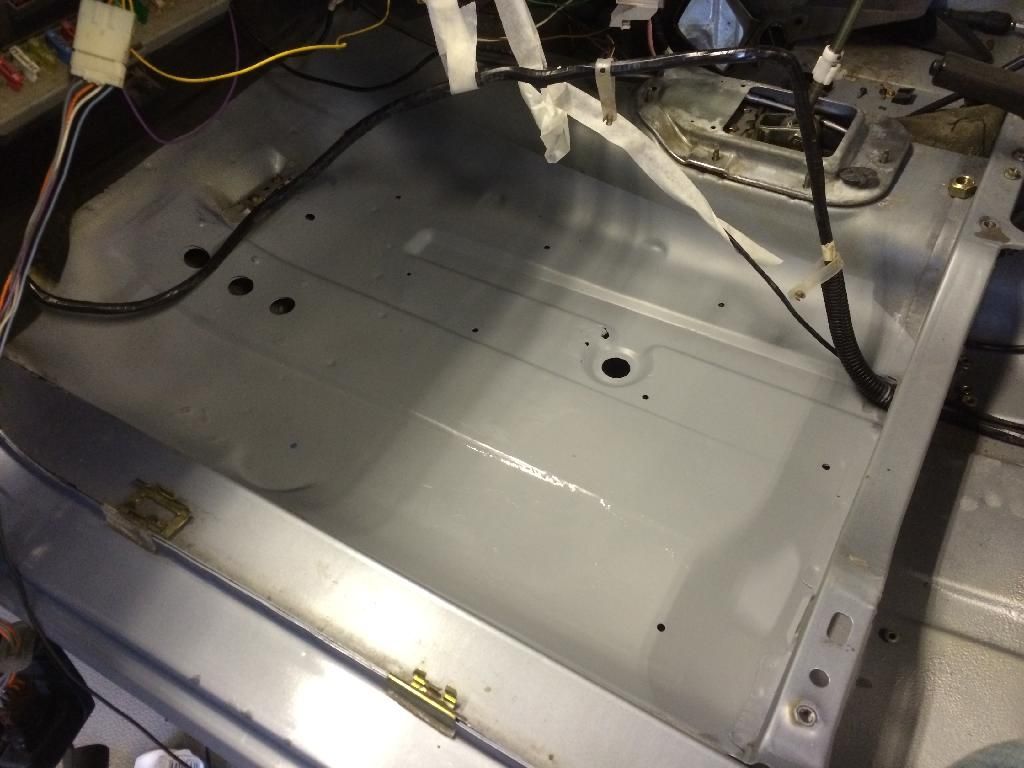
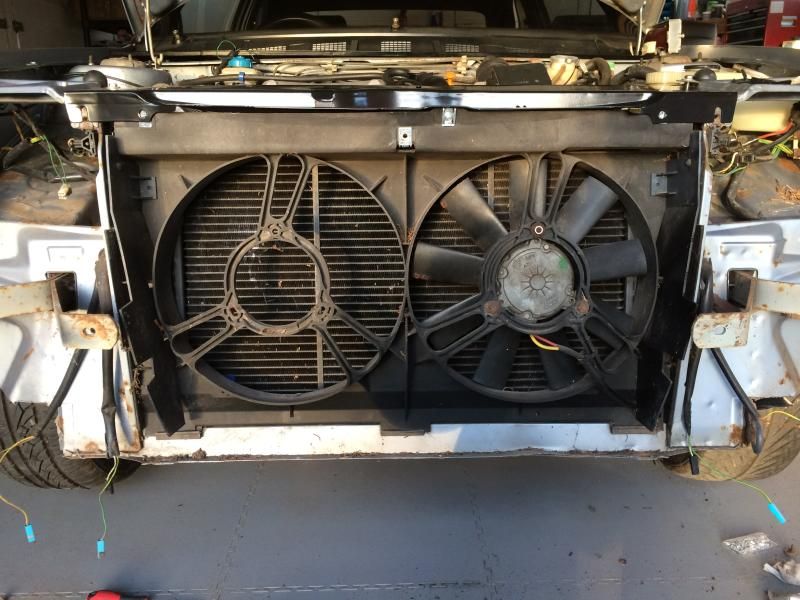
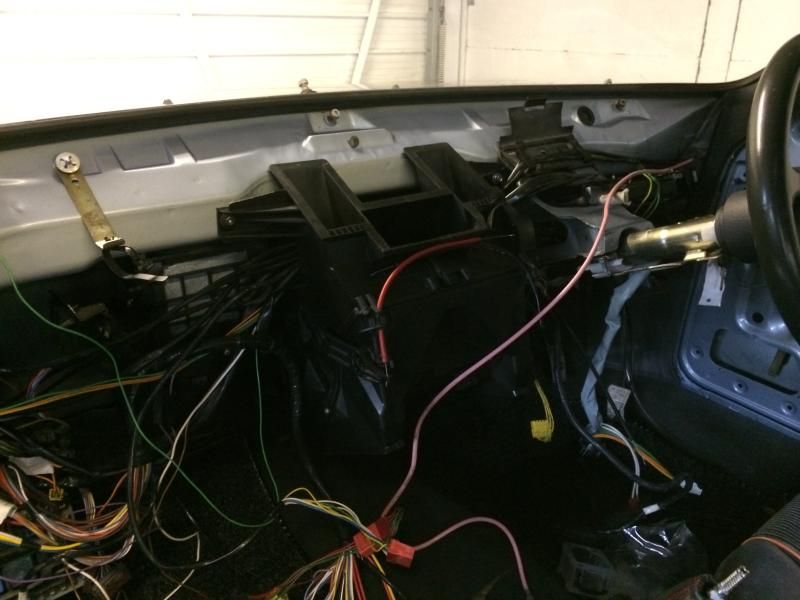
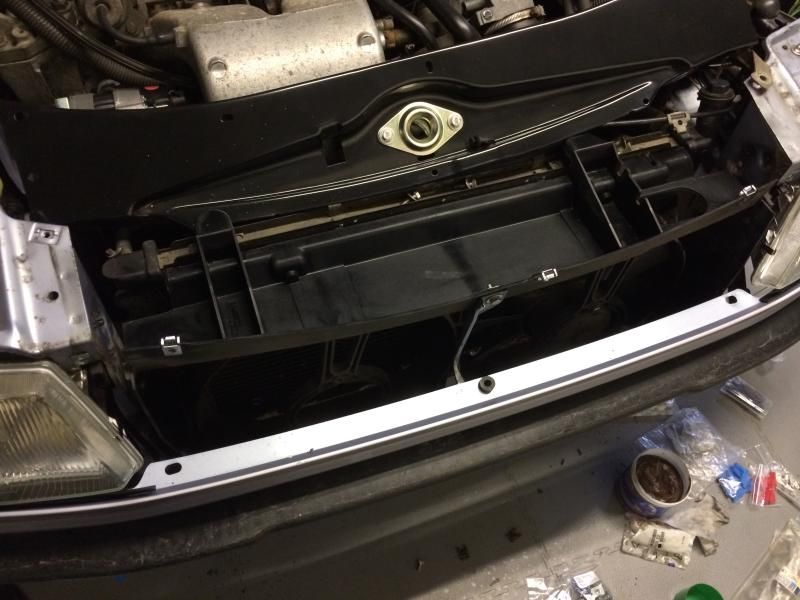
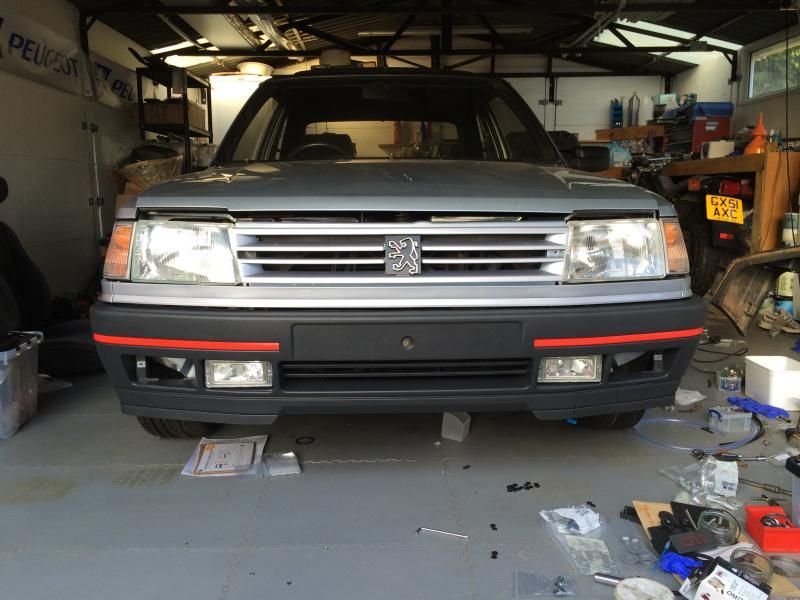
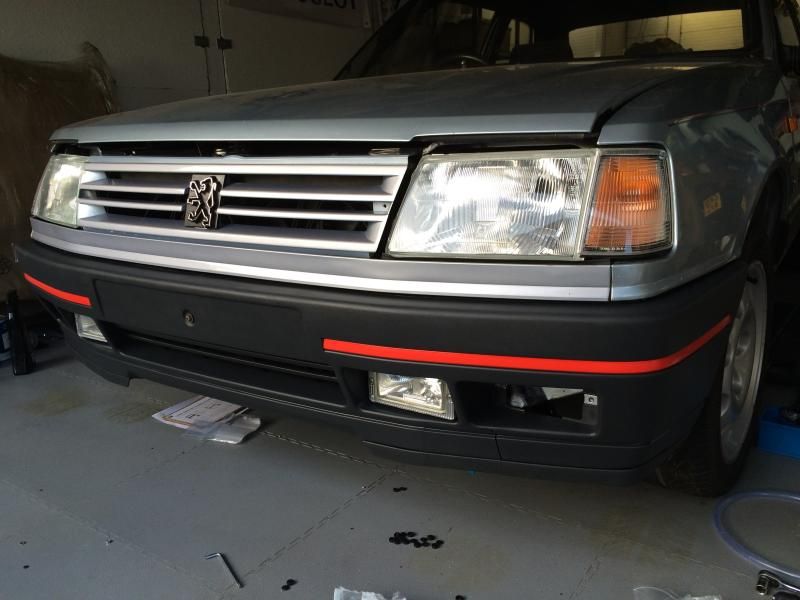
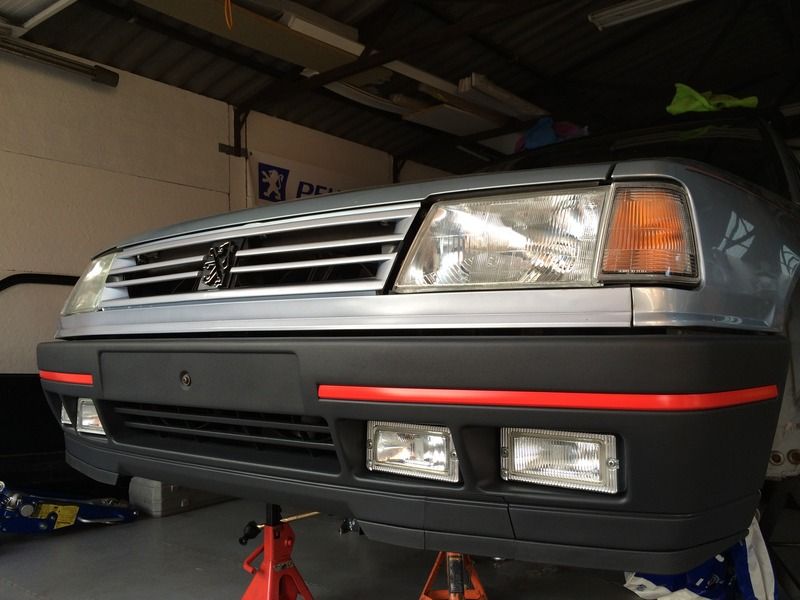
I have now started to reassemble the front end, there's still plenty that I want to do and still more that I want to clean up as I go but I'm trying not to get too hung up on it- I do want to get the thing on the road again by the summer so further non essential deep cleaning can continue when I eventually whip the engine out to respray the rest of the engine bay. Makes more sense.
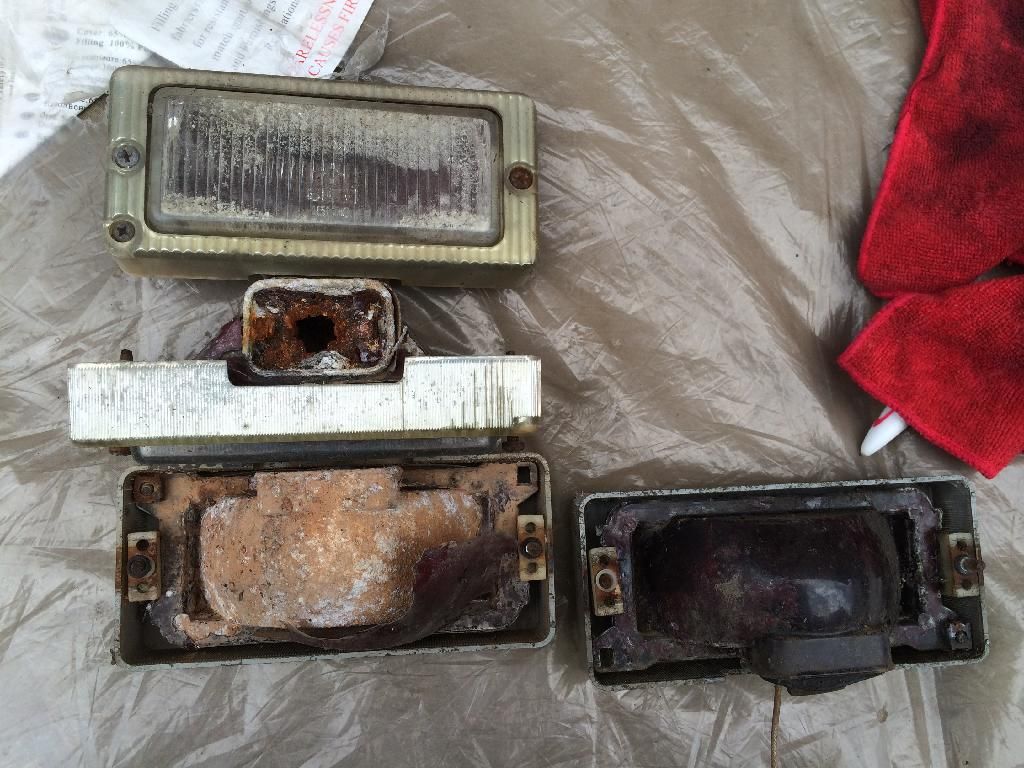
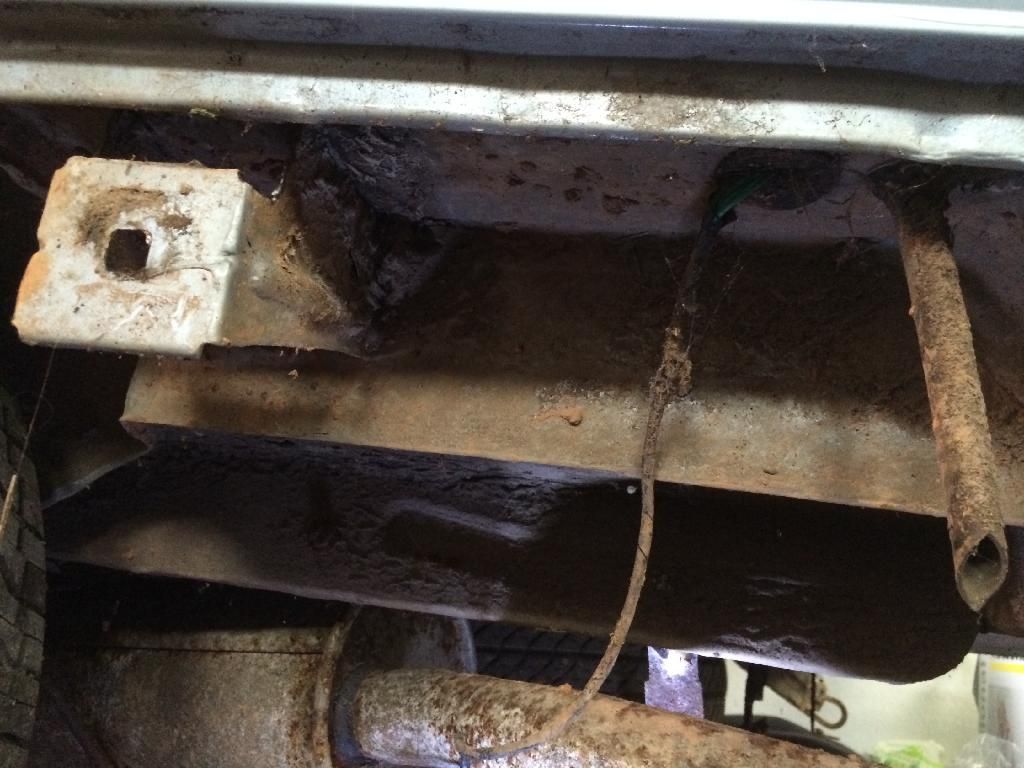
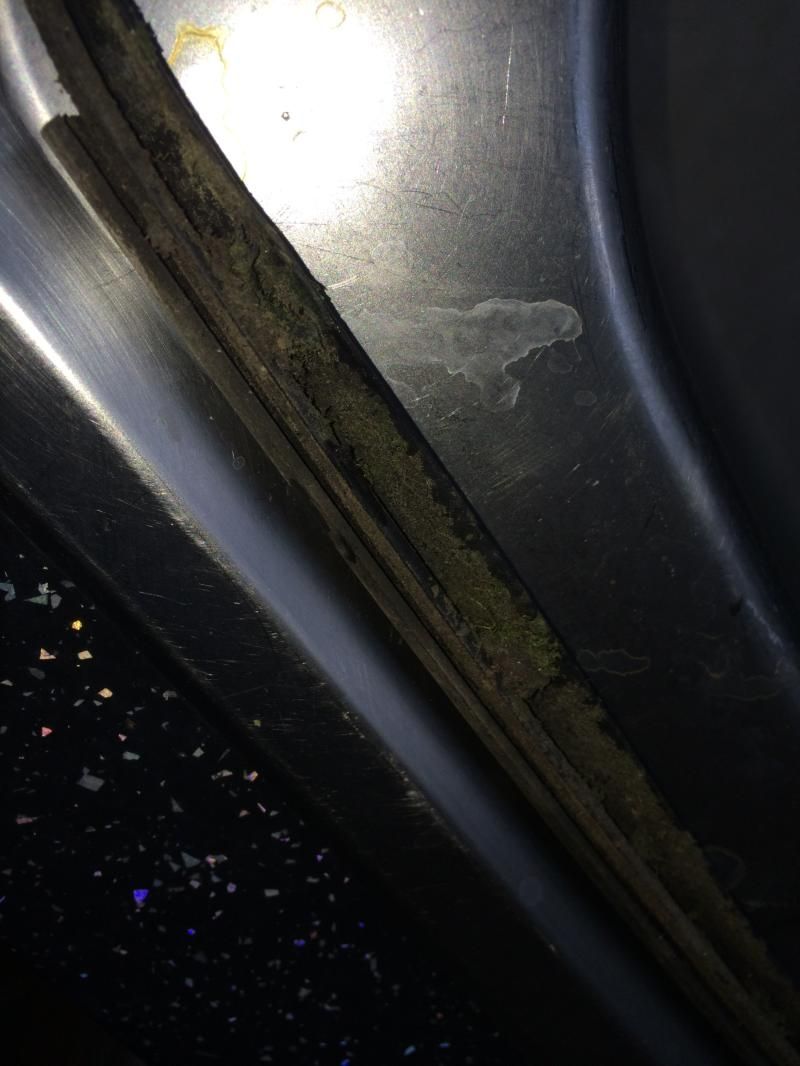
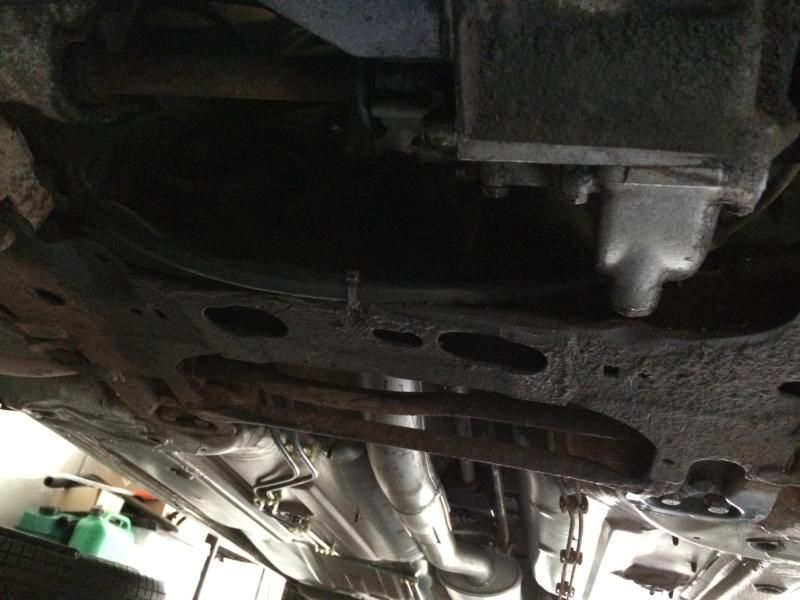
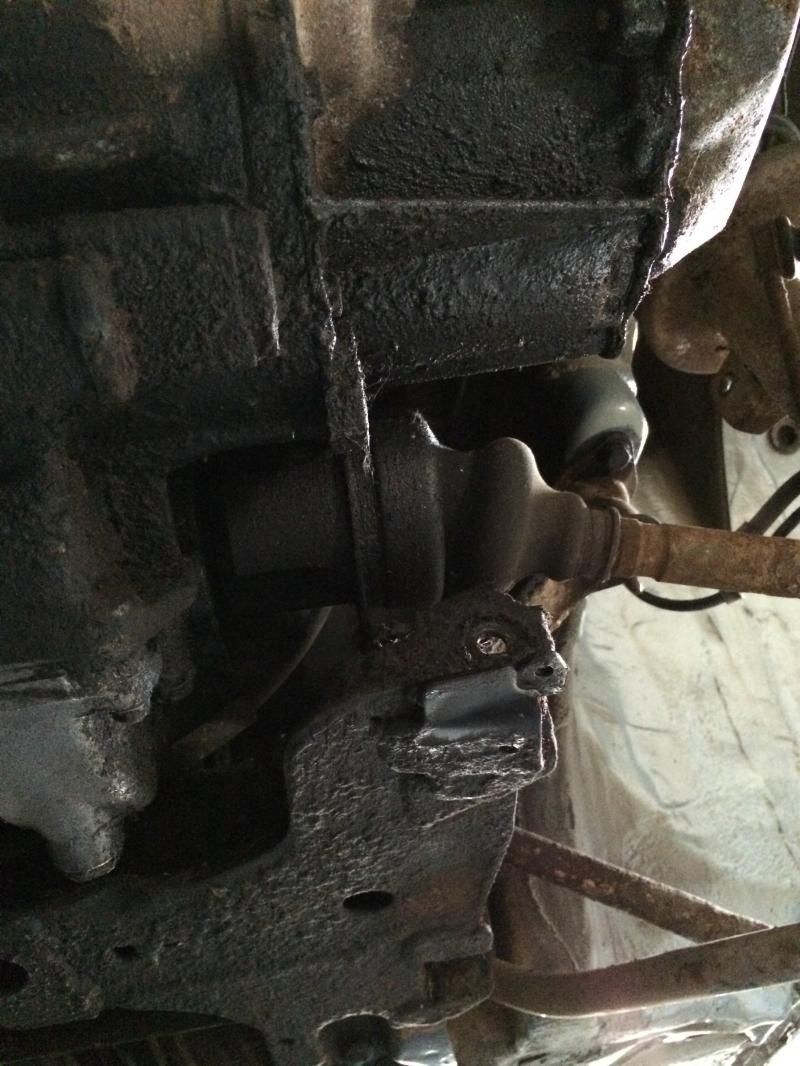
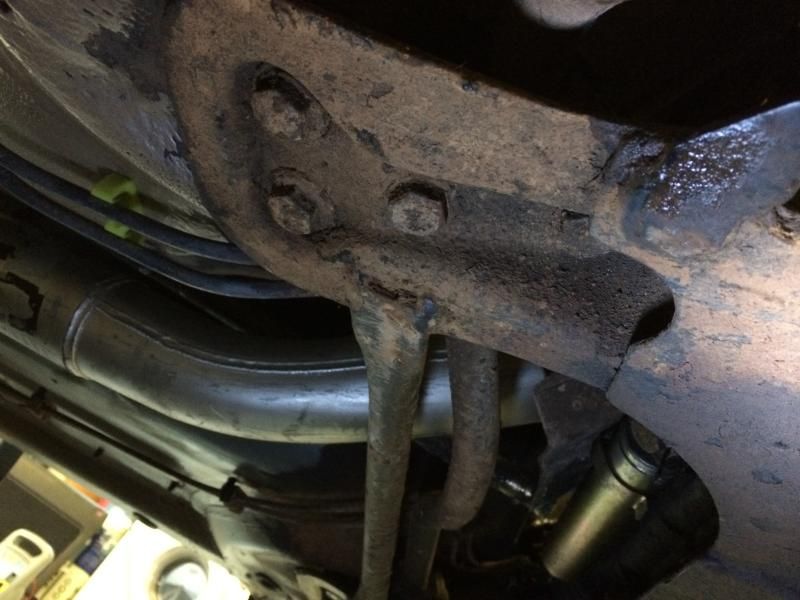
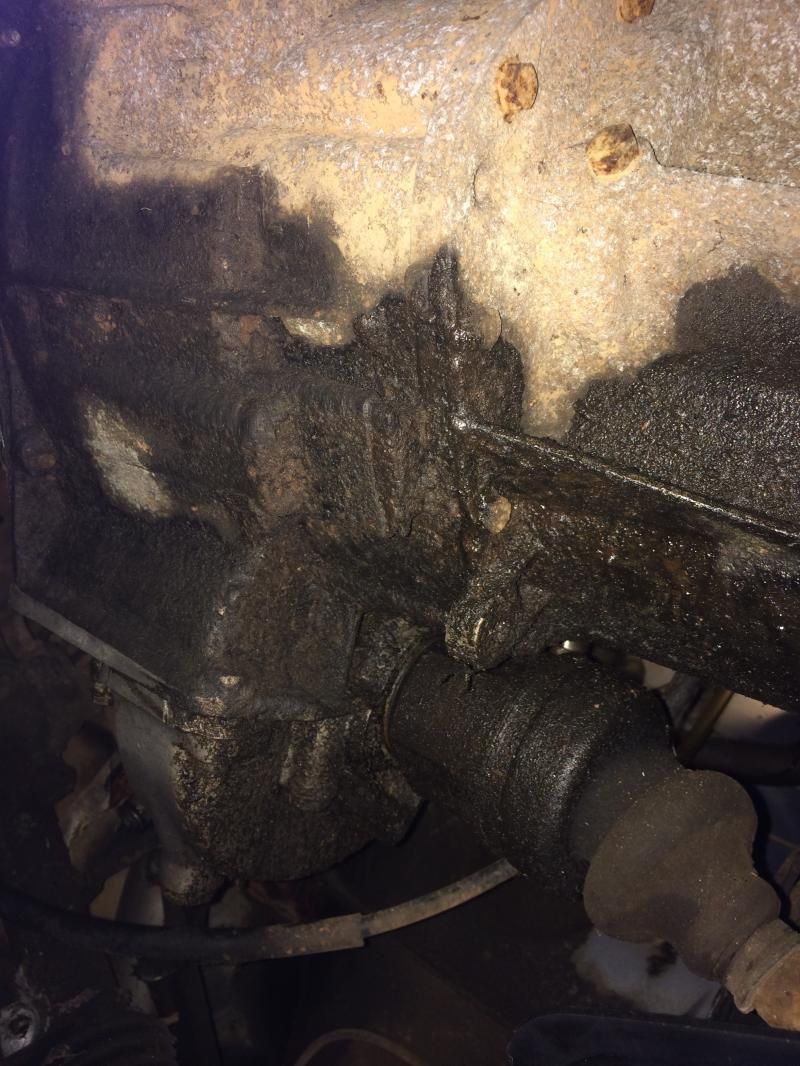
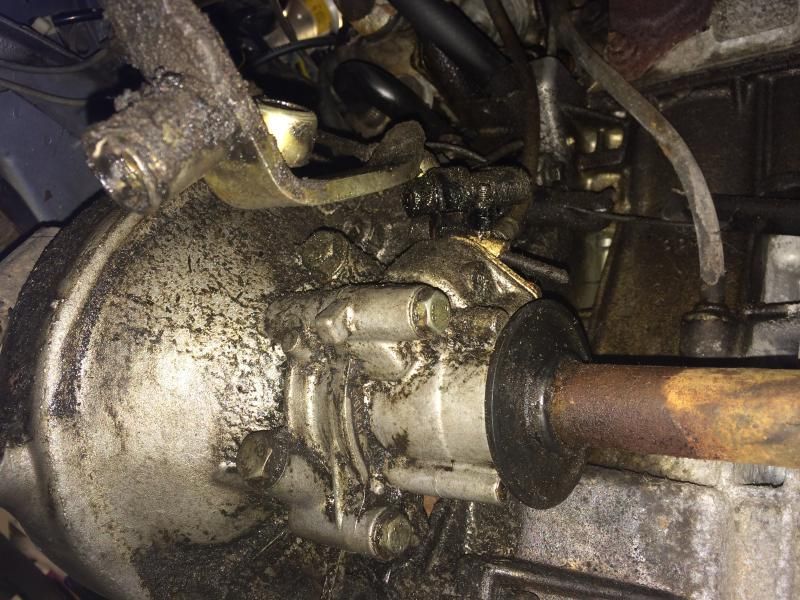
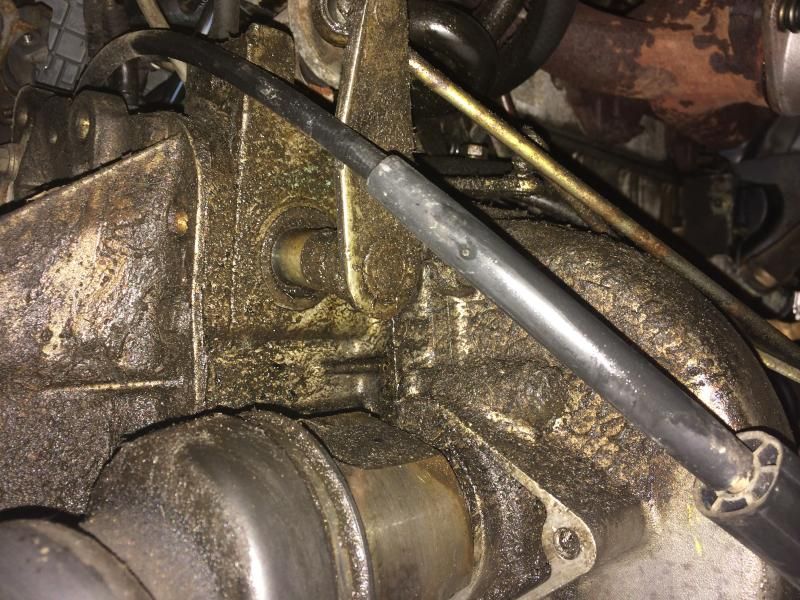
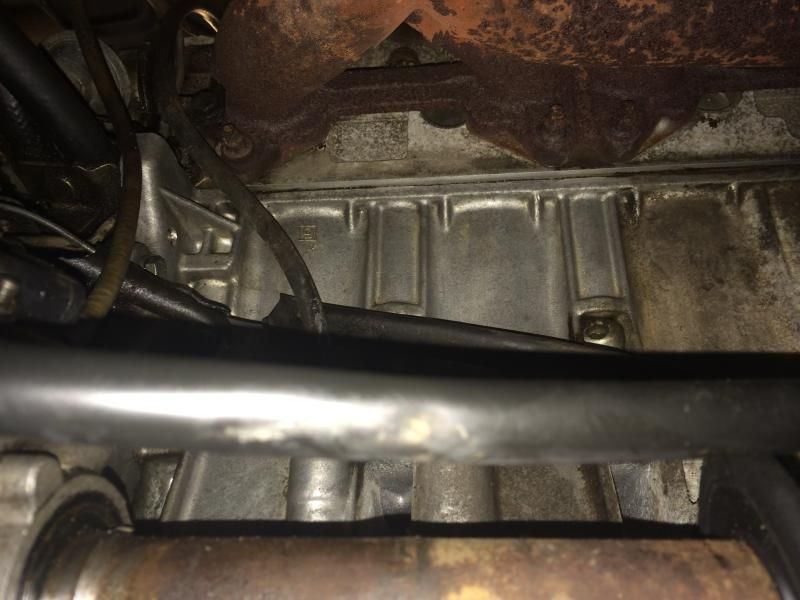
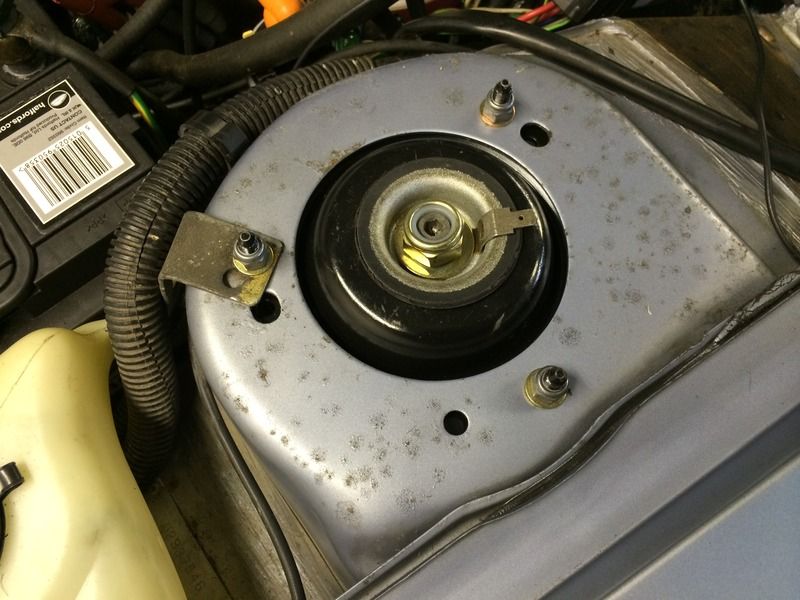
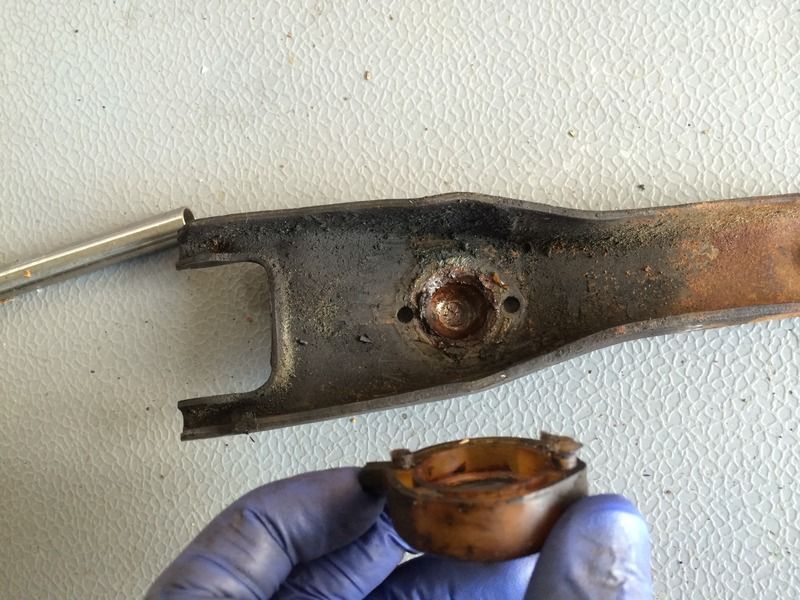
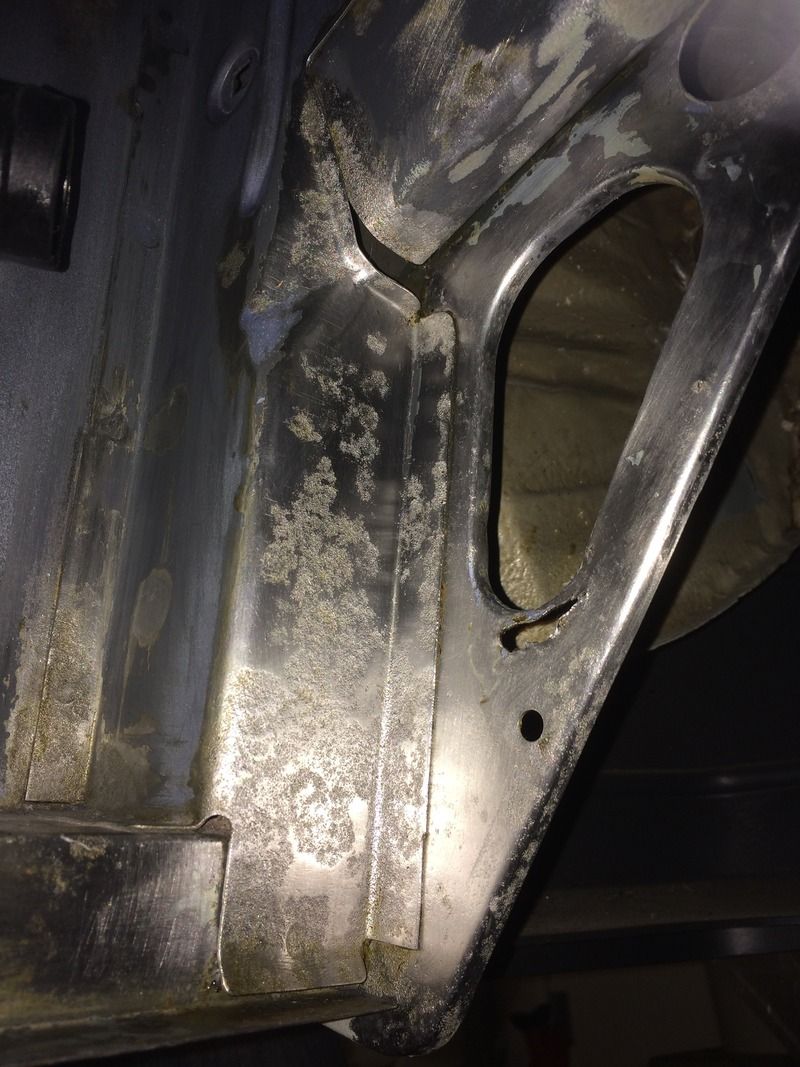
First up was replacing the old engine mounts. I think you'll all agree that these are well past their best

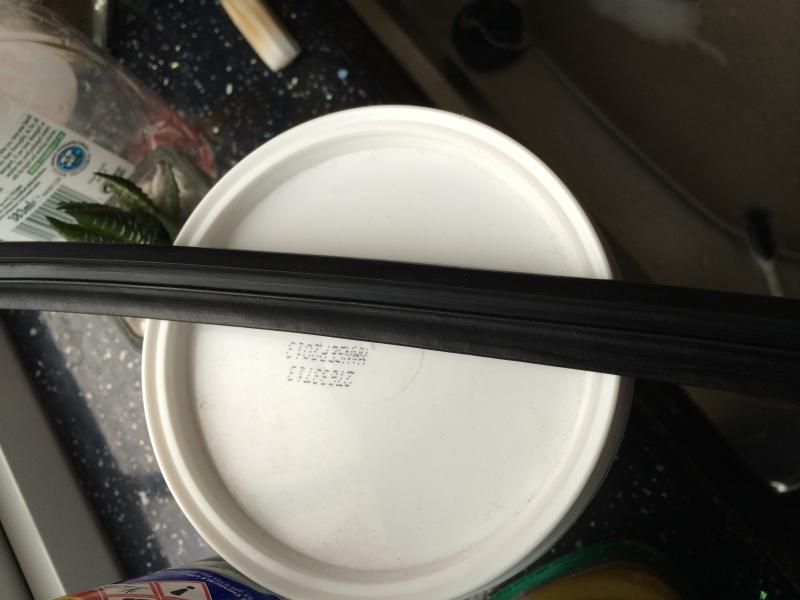
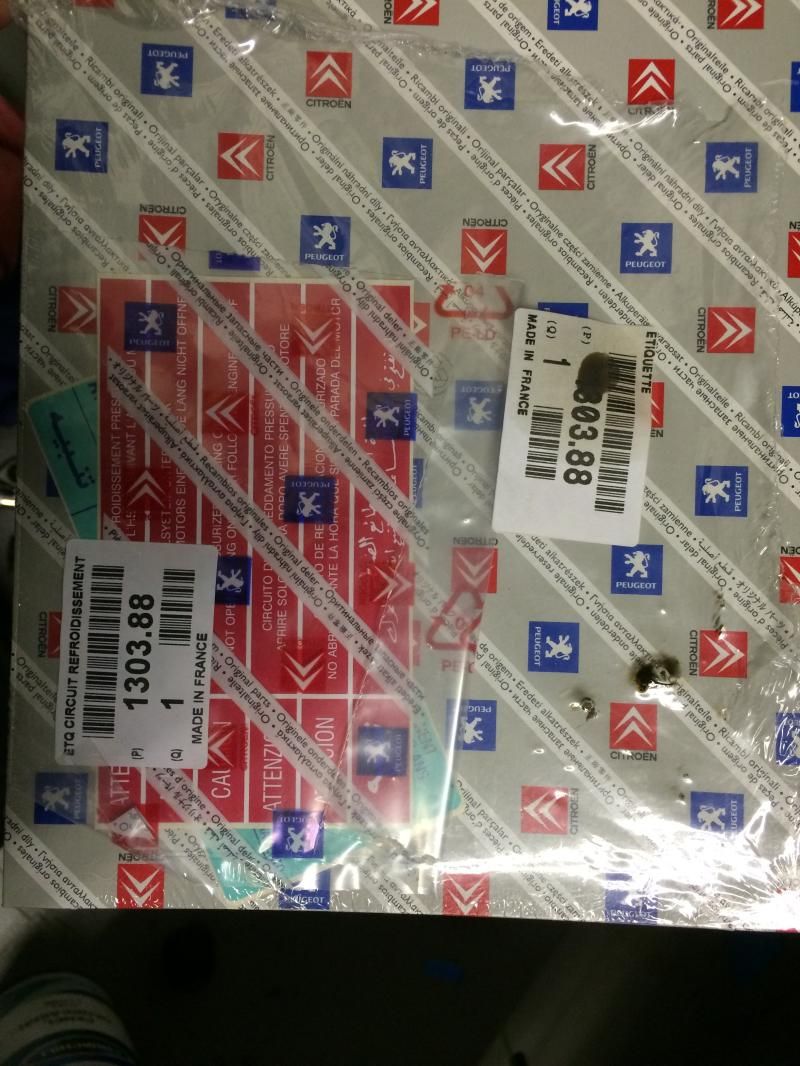
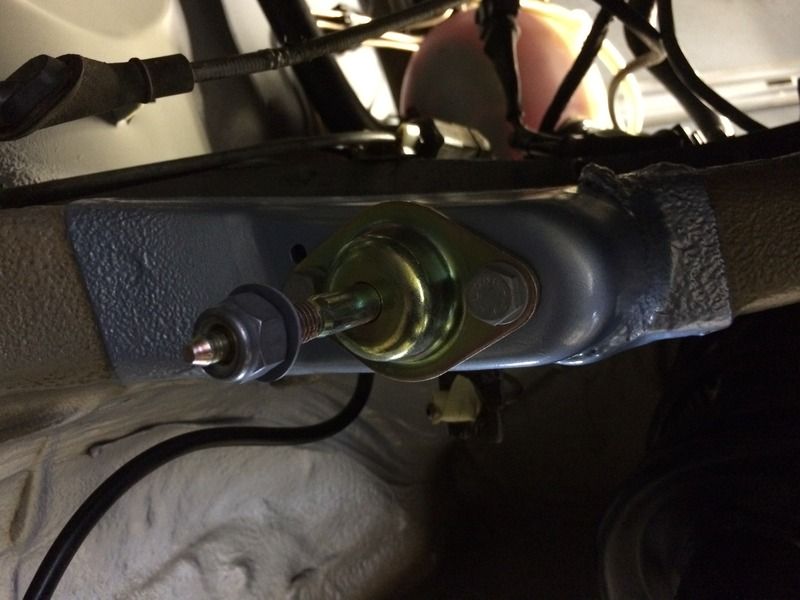
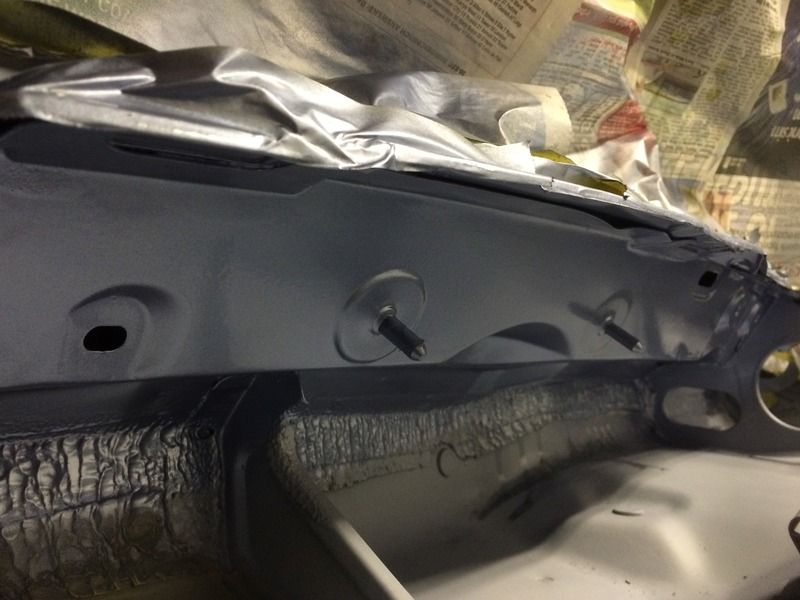
These uppers were replaced with new Genuine Peugeot ones. All nuts/bolts/washers were bought from the dealers aswel. The lower as mentioned previously was replaced with a 'group N' stiffer grade rubber bush from BakerBM. The original standard one had a lot of potential for excess movement, I feel the positives of fitting this mount will far outweigh the minor negative of slight increased vibration. Should be minimal with retaining OE upper mounts.
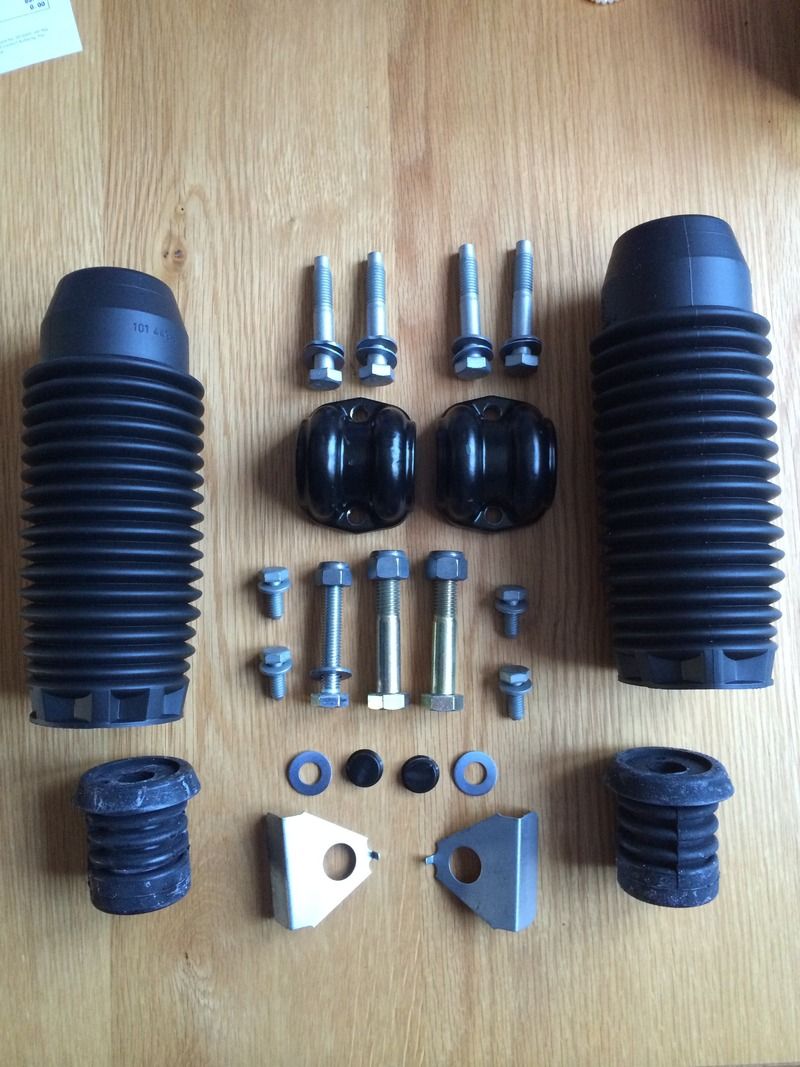
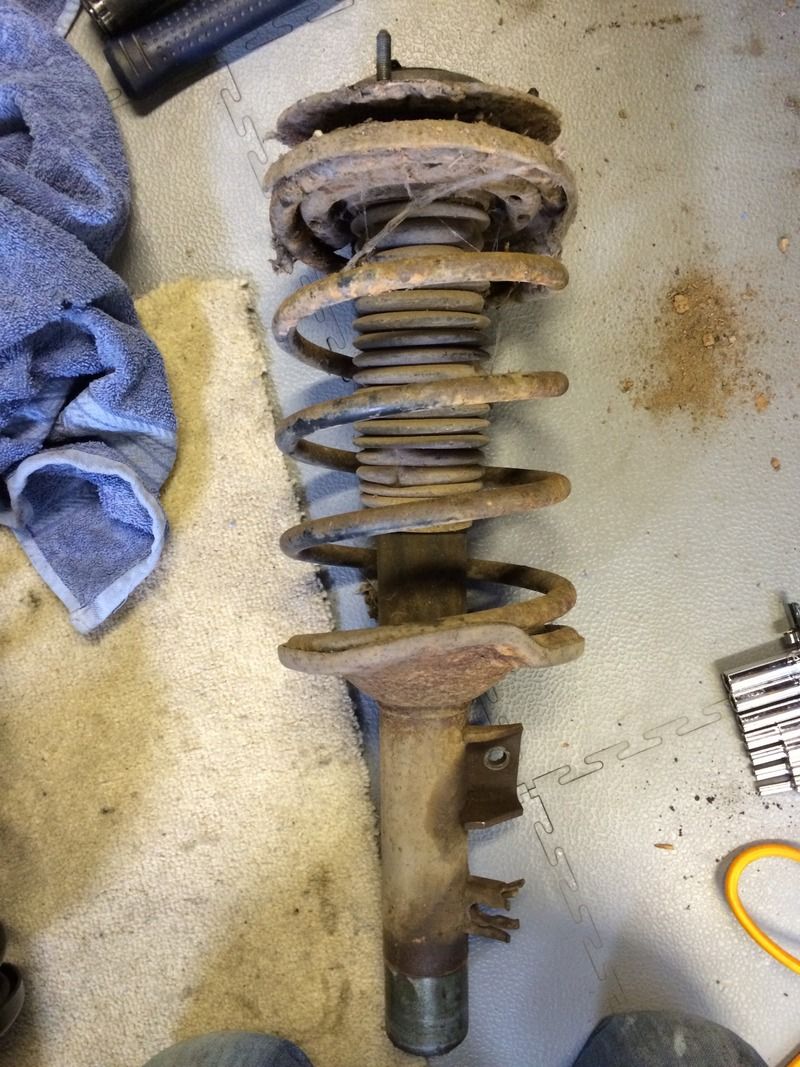
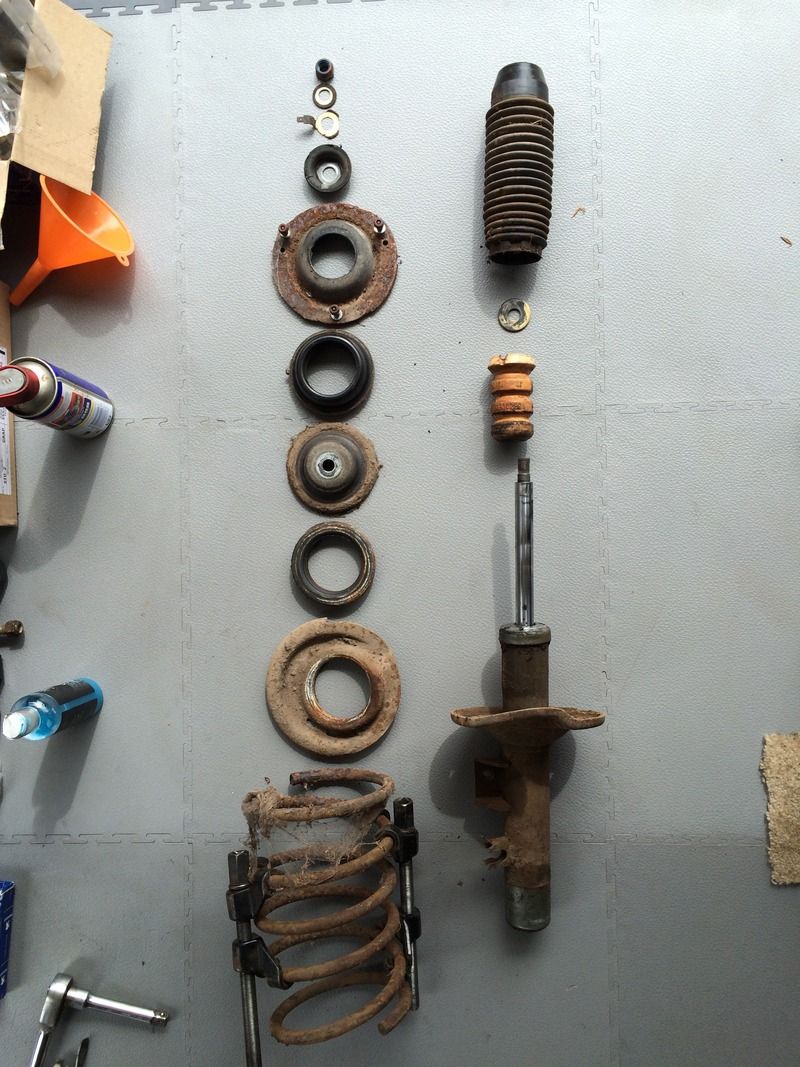
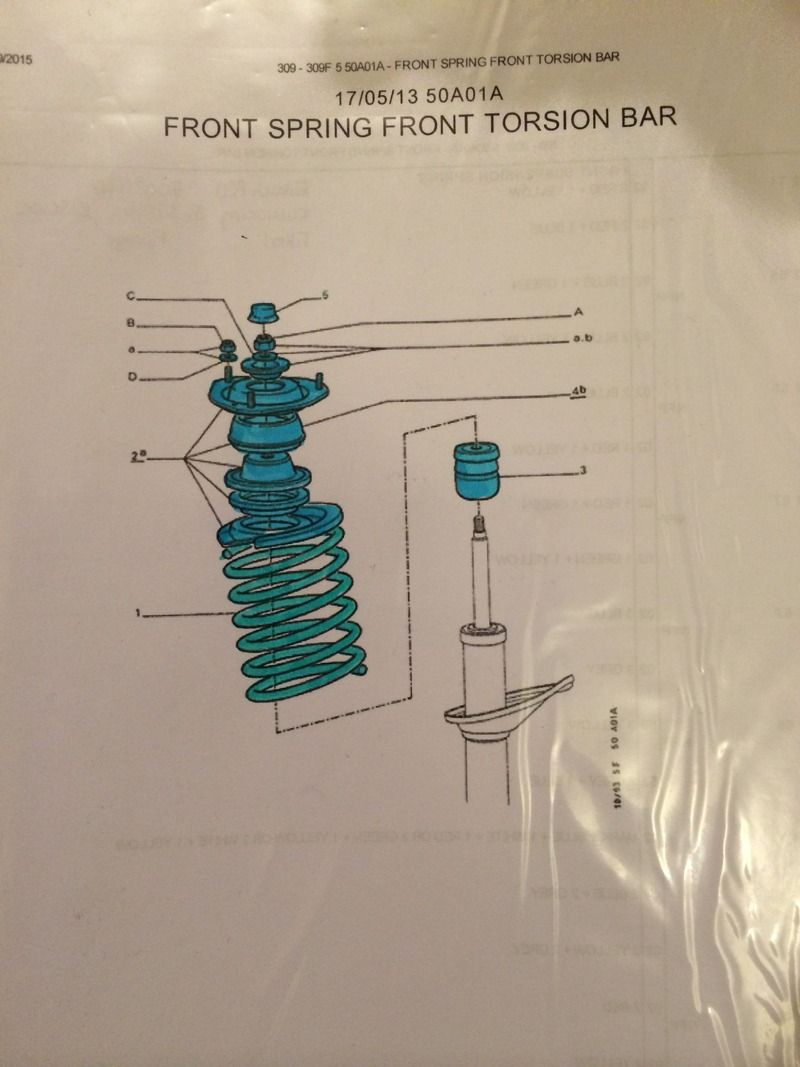
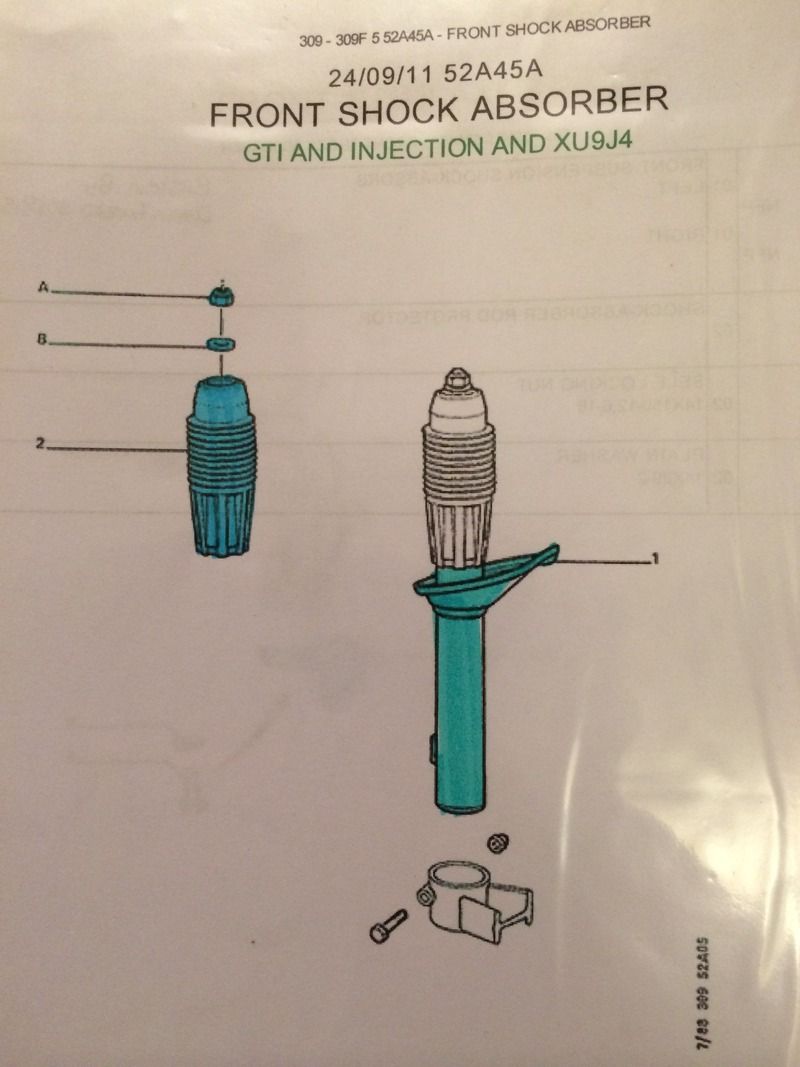
Next up I dismantled the struts again in order to repaint the top mounts in satin black. They are brand new but in being loose in the bag with the other metal parts they were littered with scratches and chips in the coating. Best to keep thrm well protected, plus these are visible in the engine bay

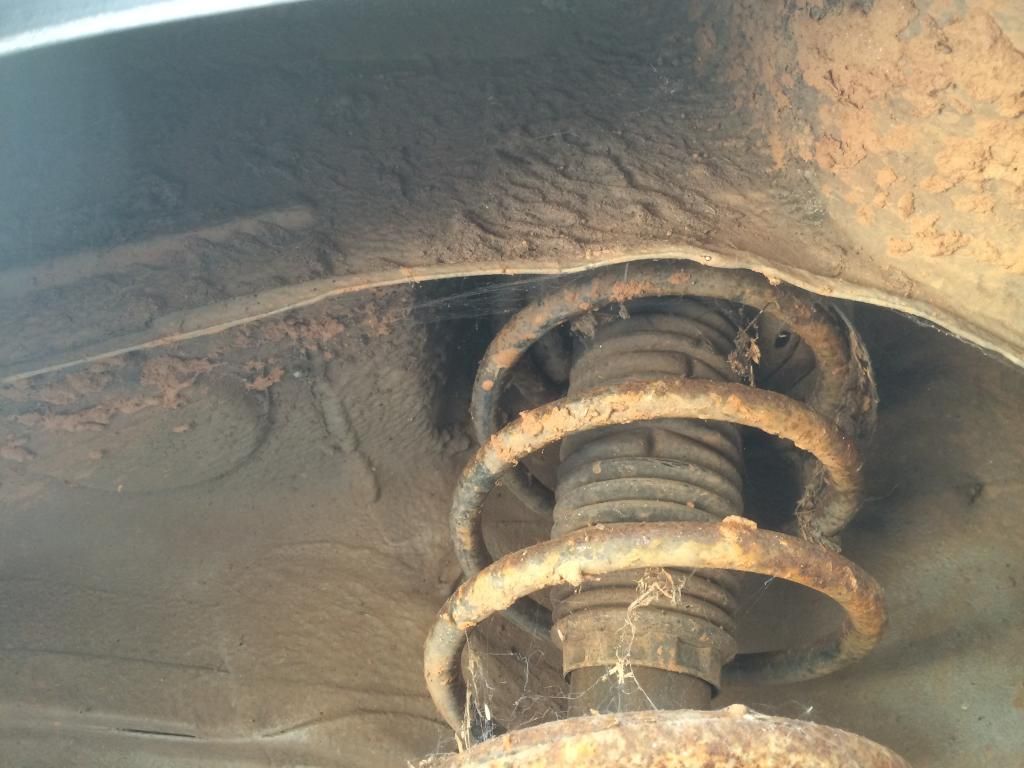
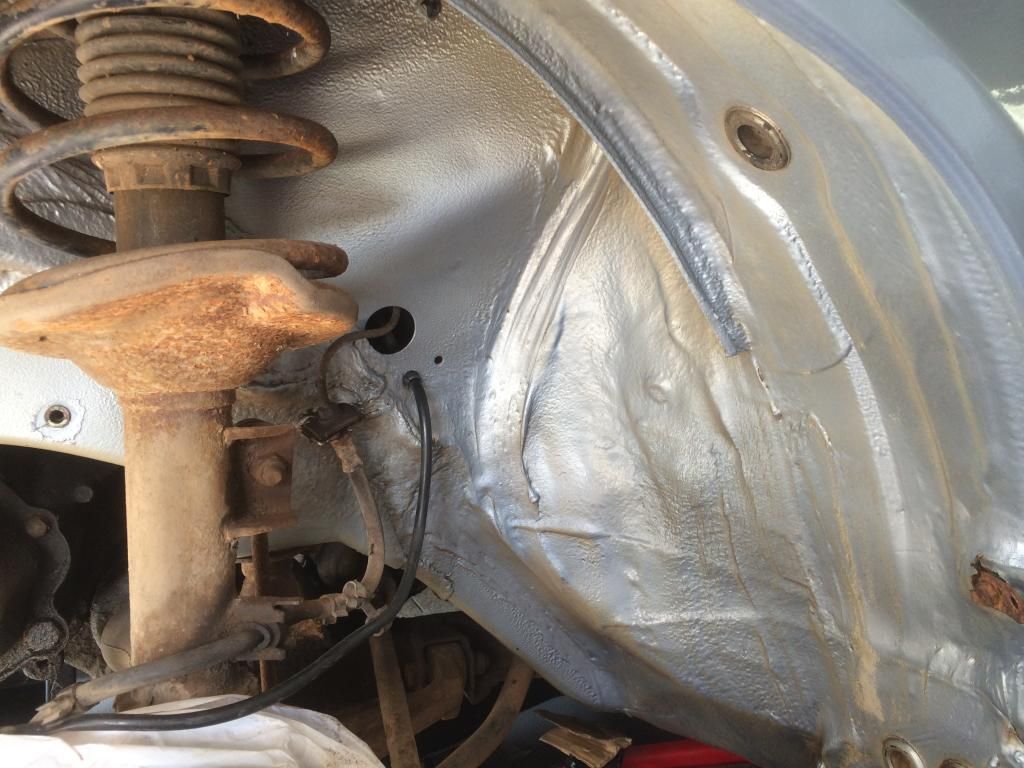
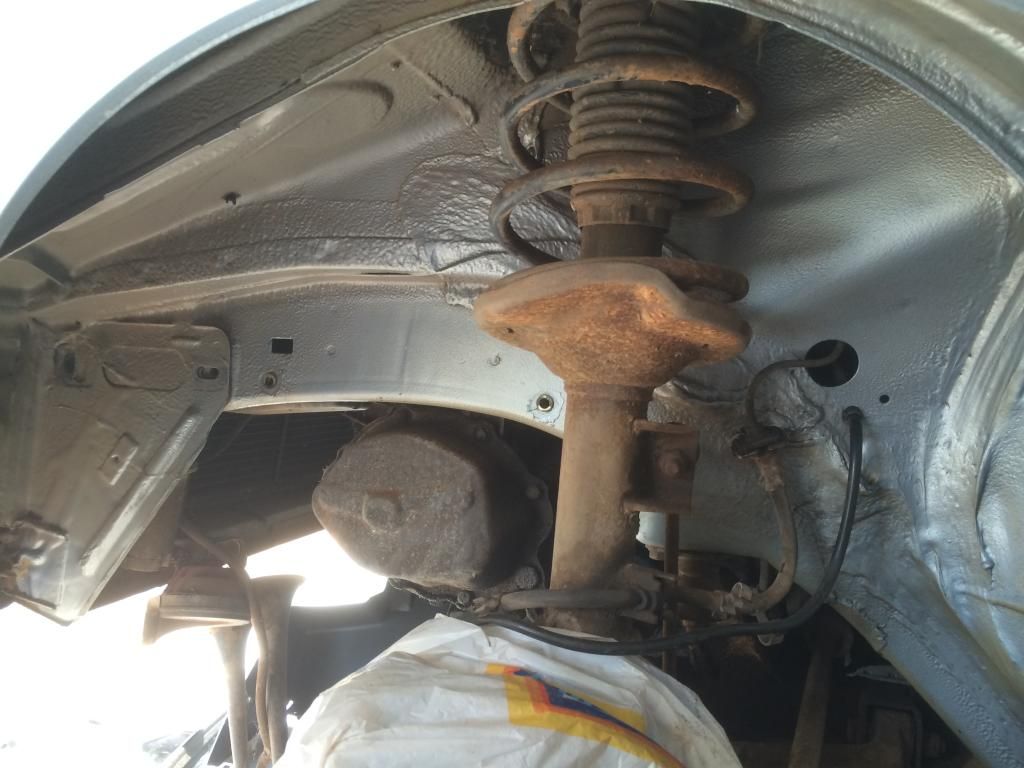
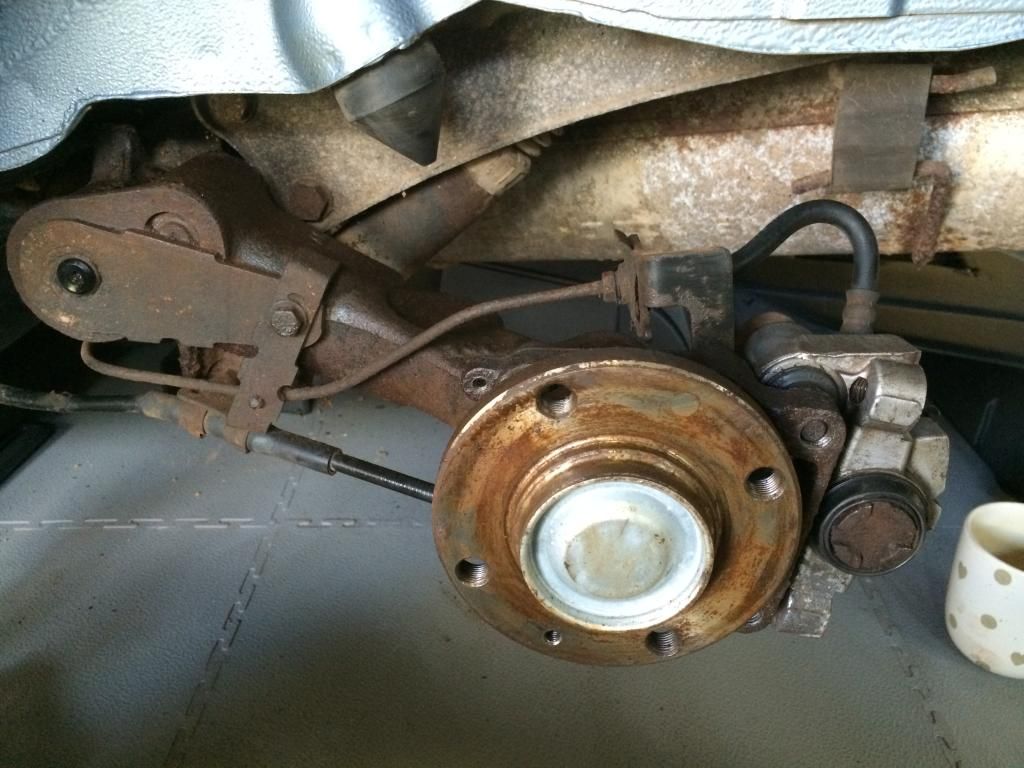
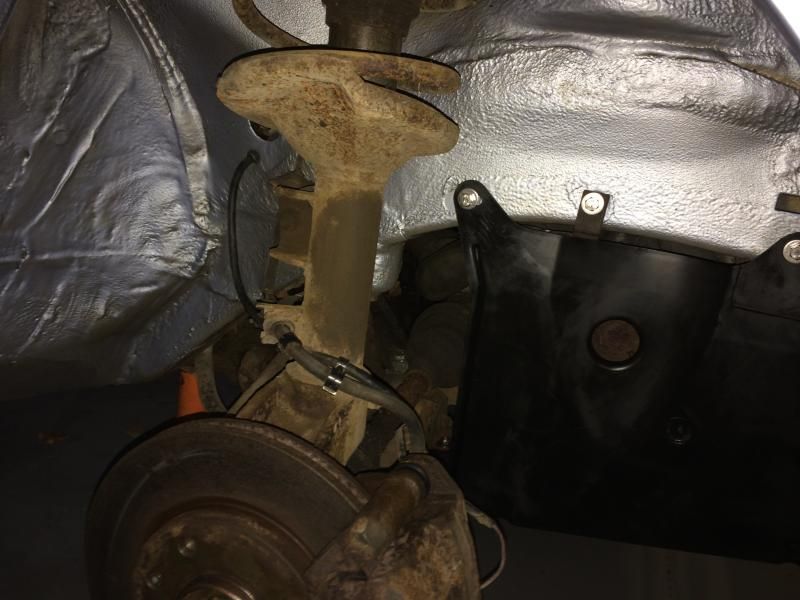
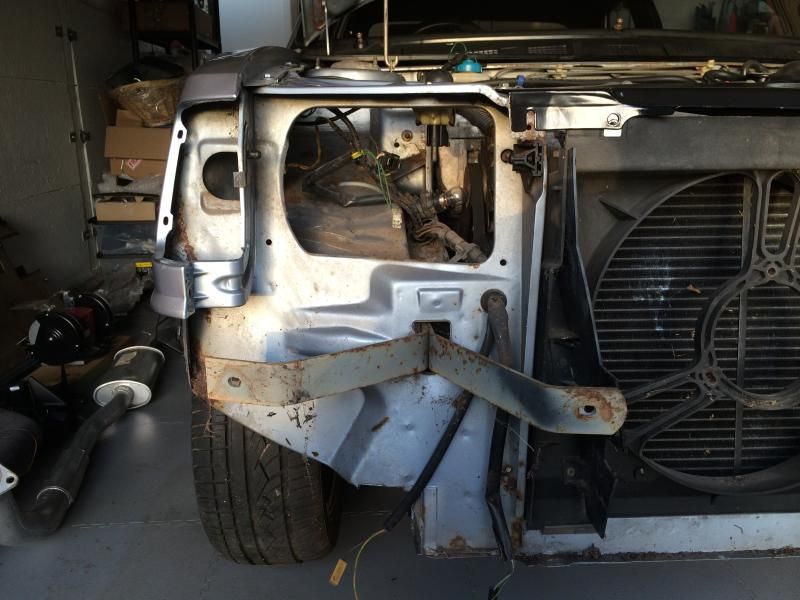
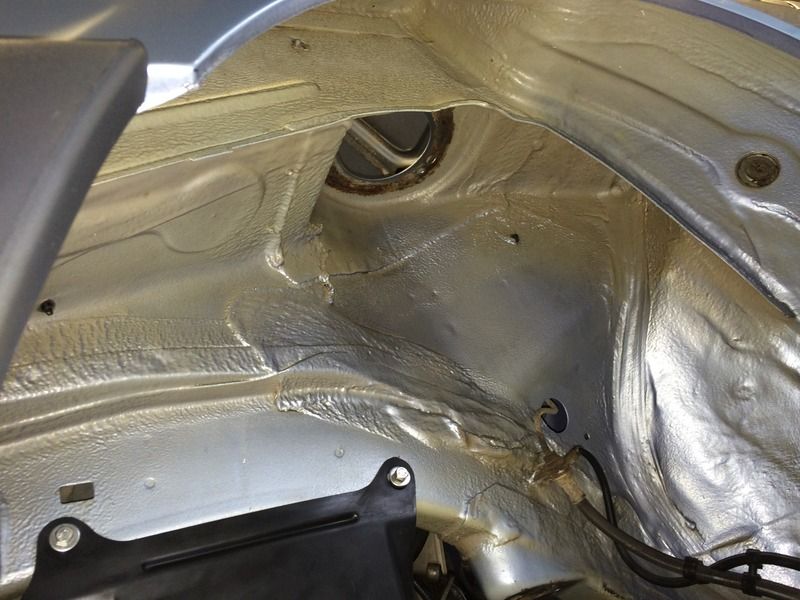
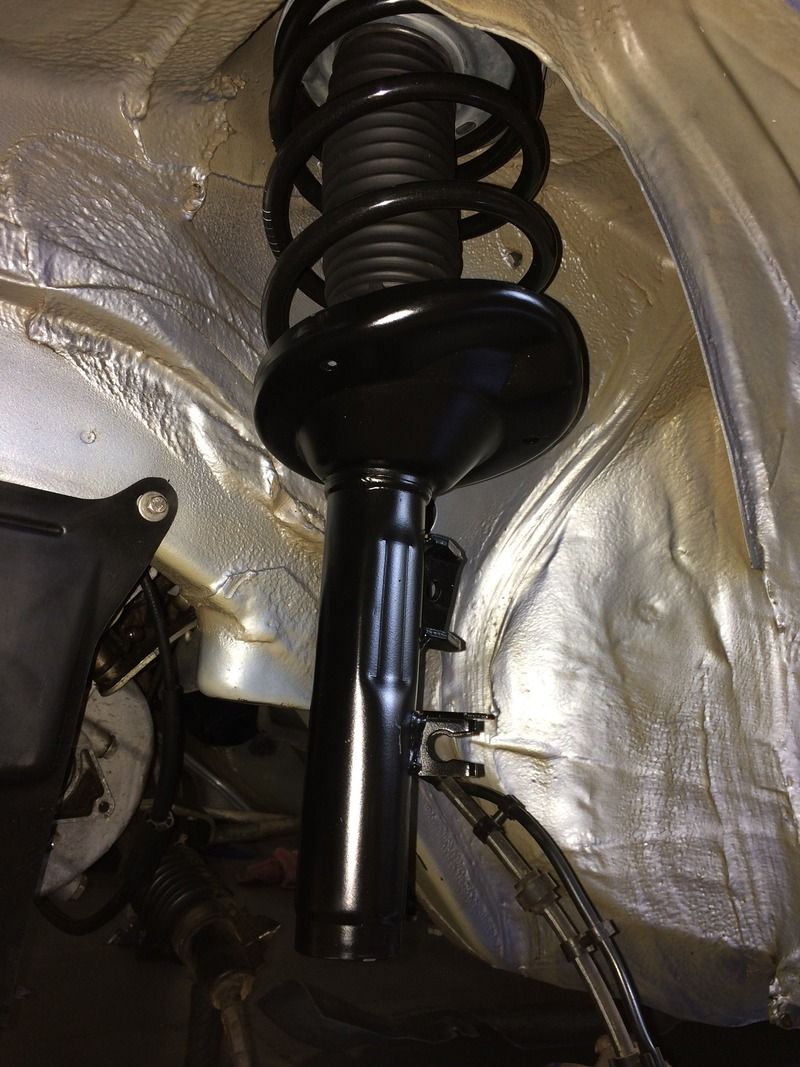
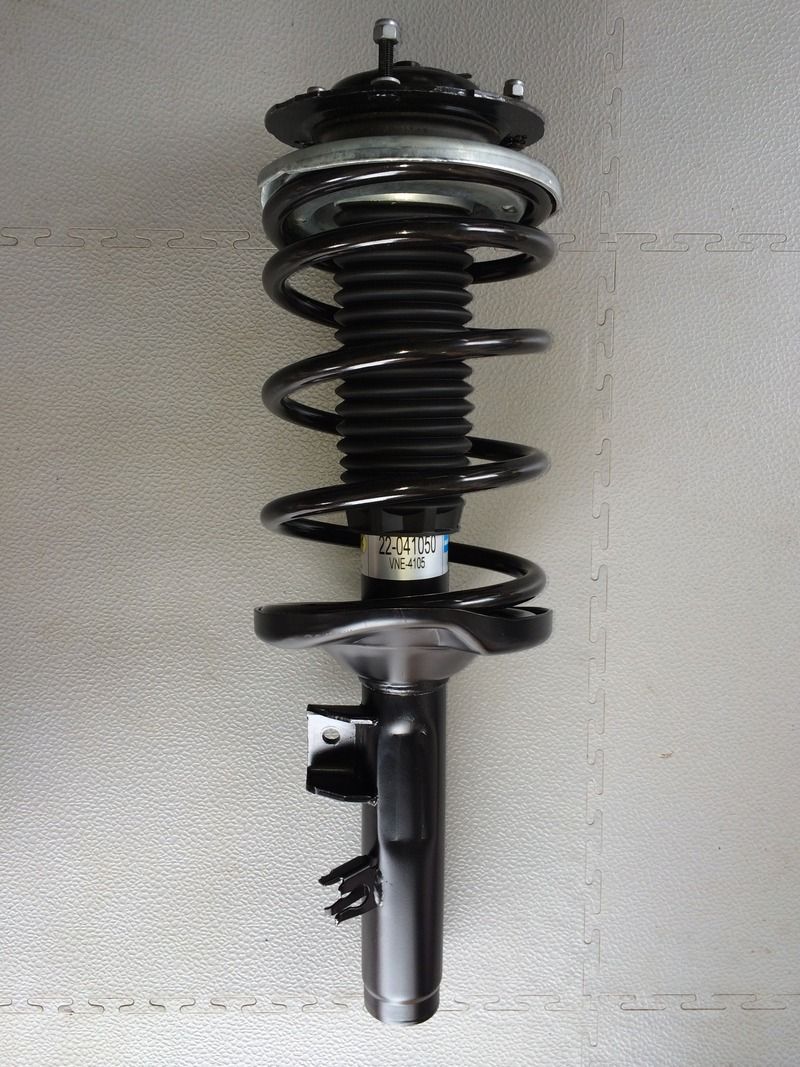
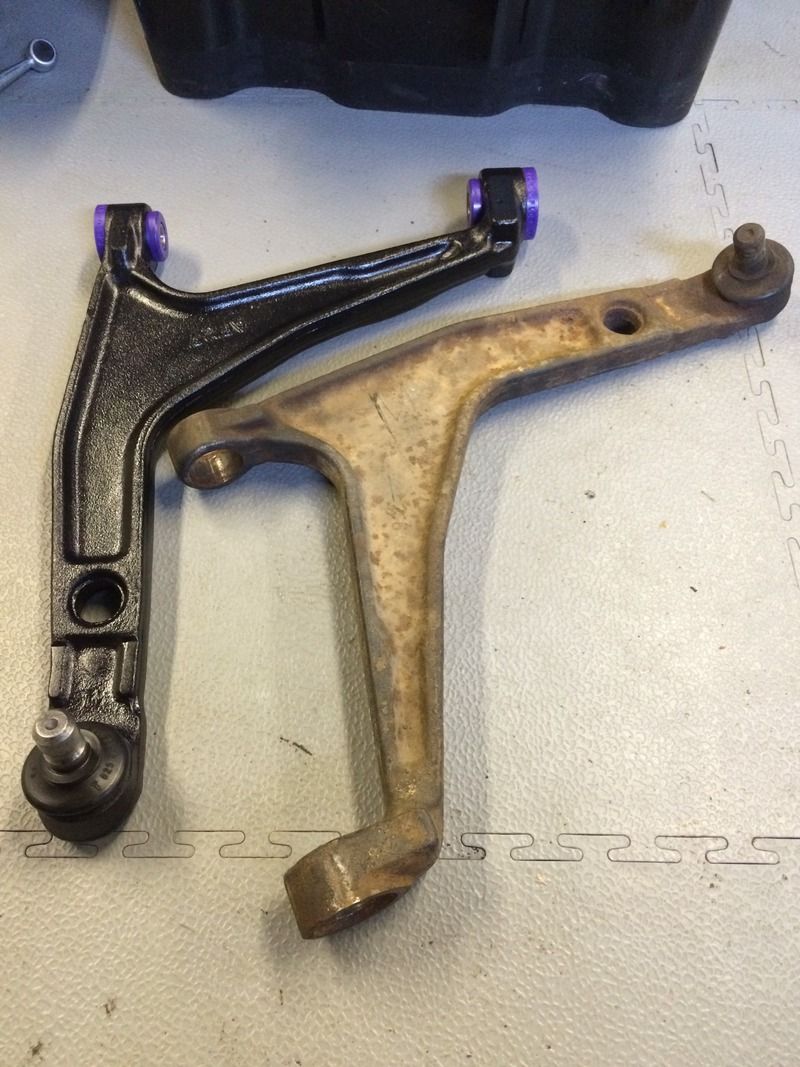
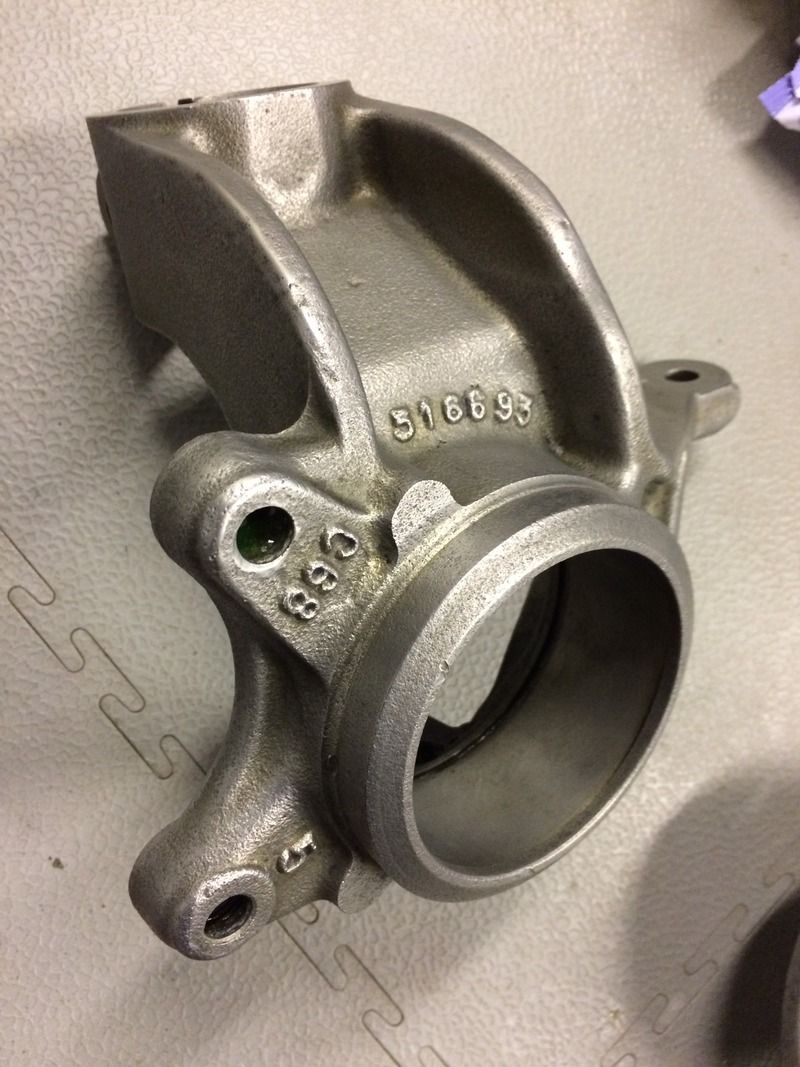
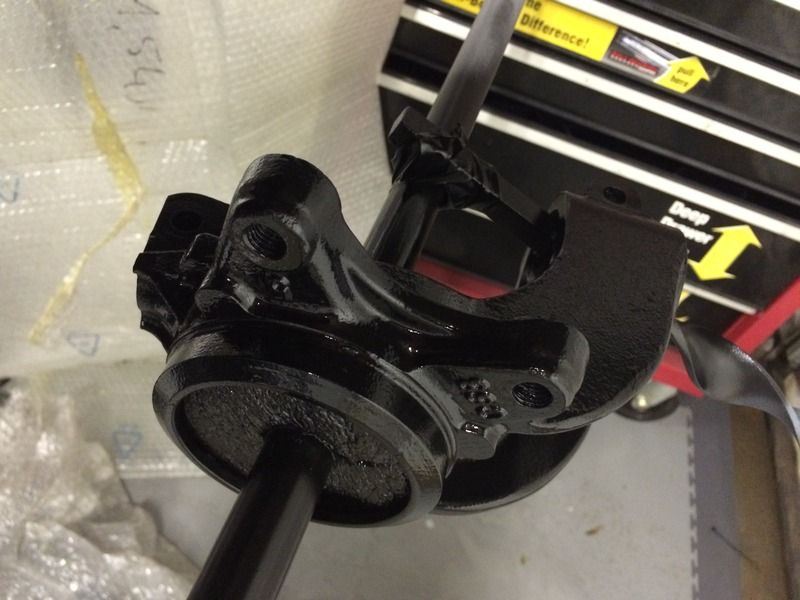
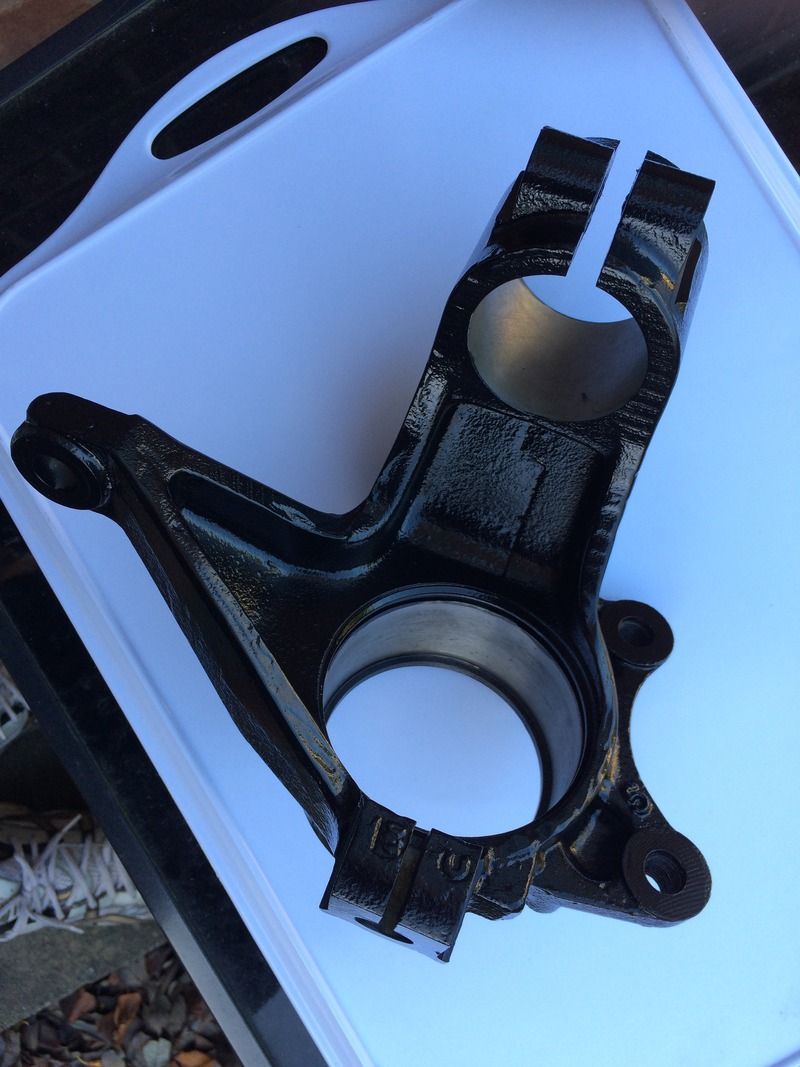
Reassembled the strut, fitted it and mated it with the hub assembly for the first time

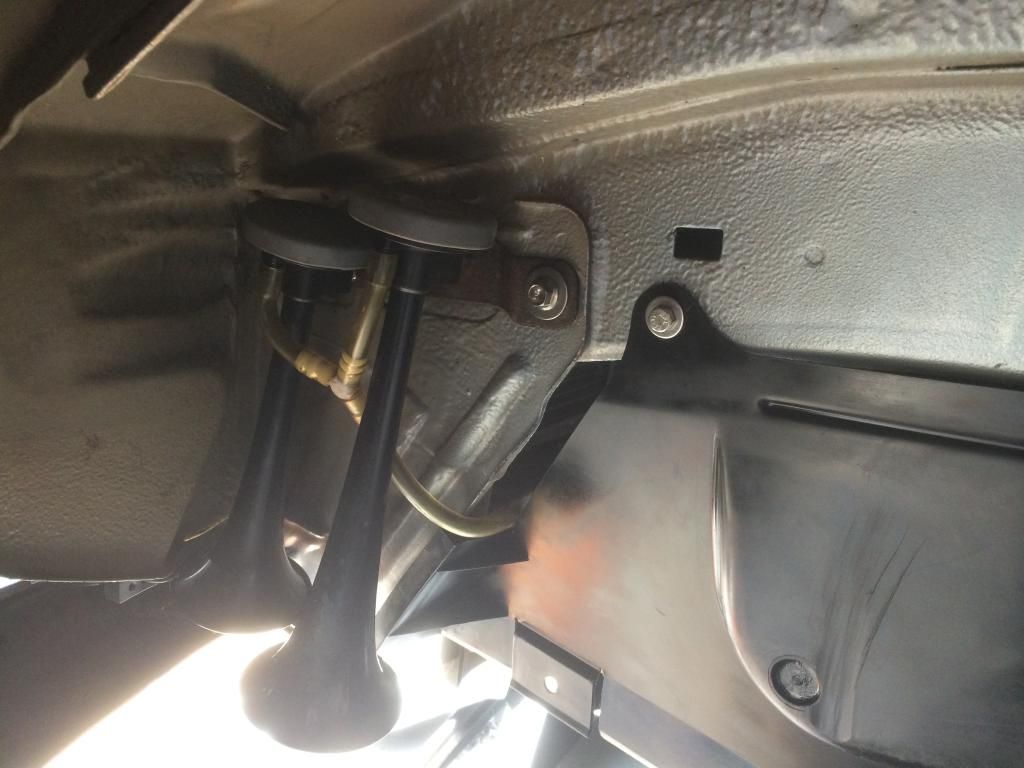
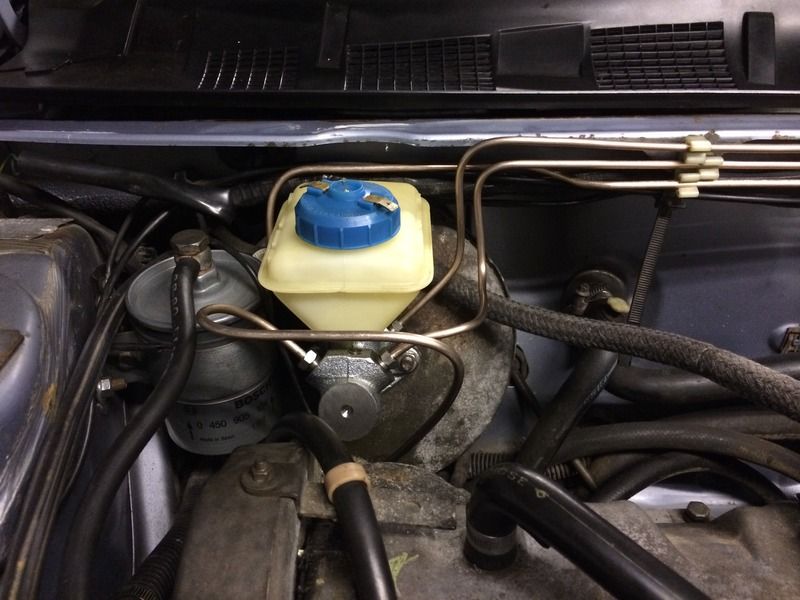
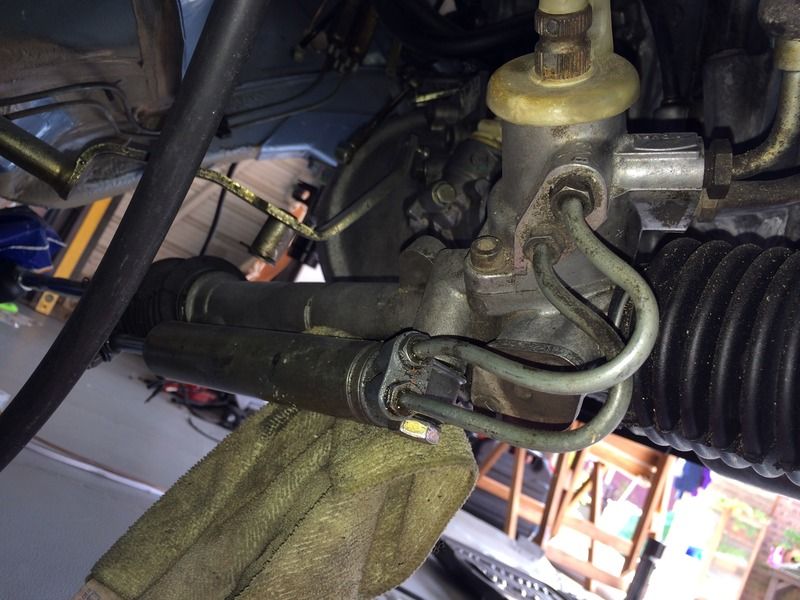
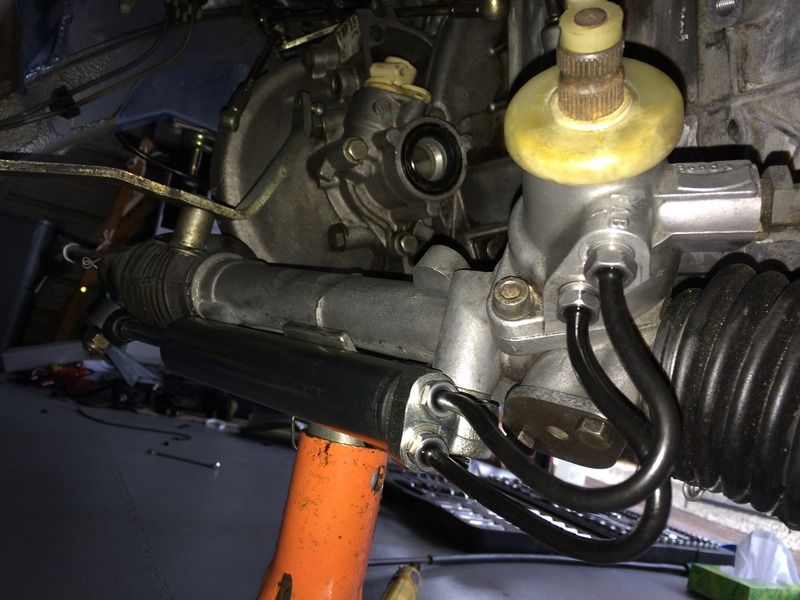
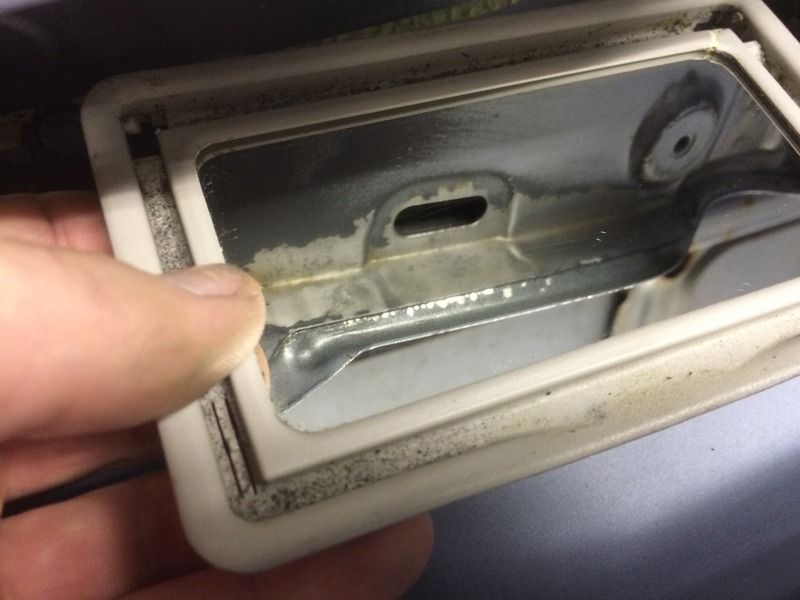
Next up I removed the new master cylinder again. The main body of it is electroplated, however the machines surface at the end, and the faces where the brake lines fit are bare metal, they'd started to develop some surface rust. So I cleaned the surfaces back and clear coated them.

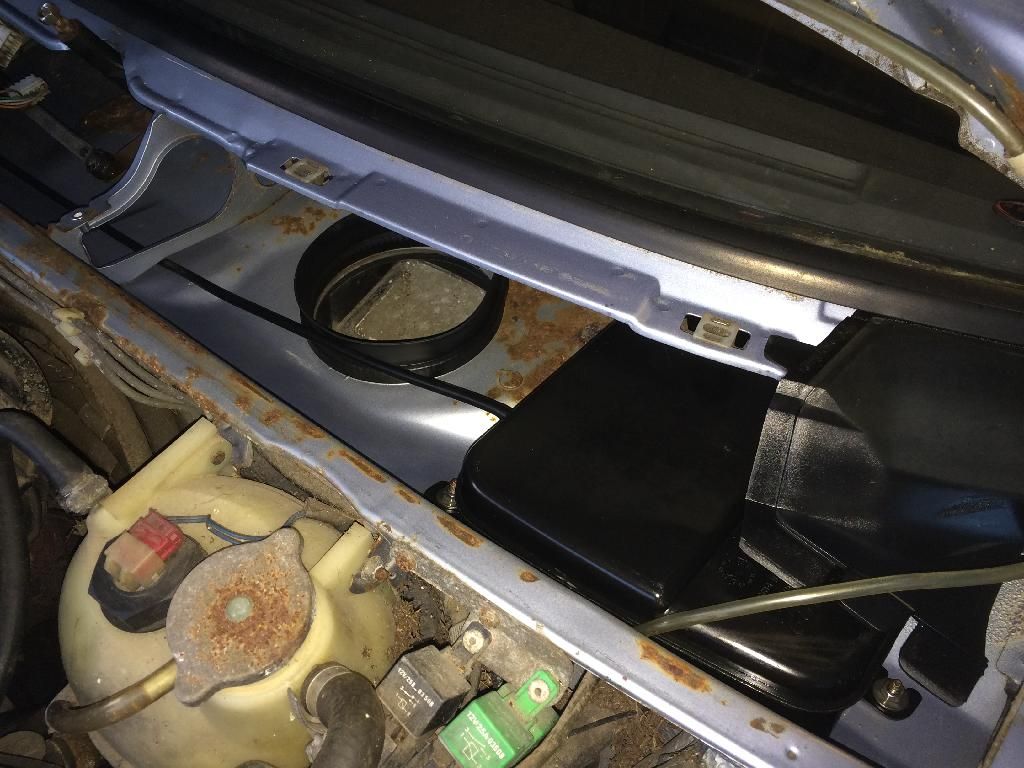
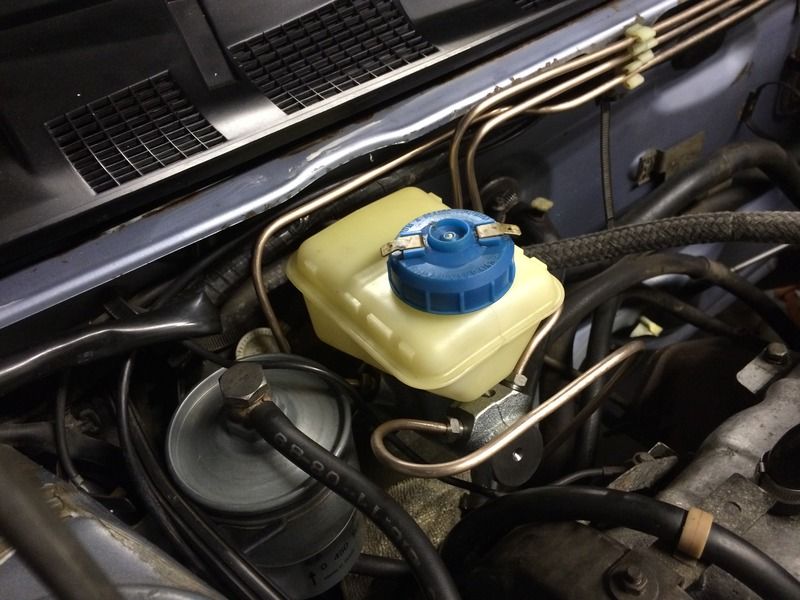
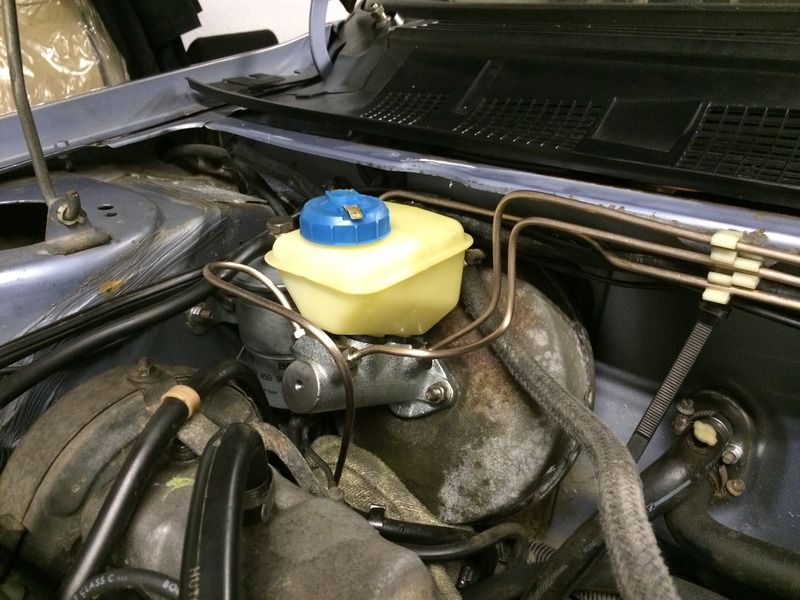
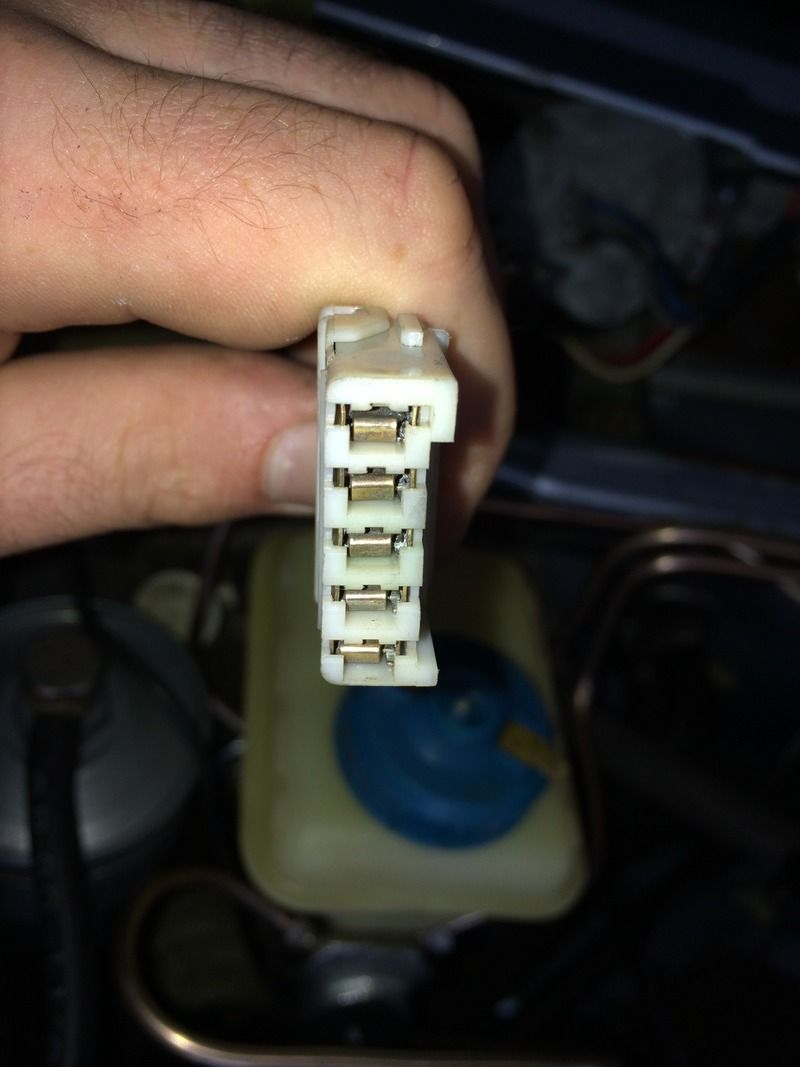
Dug out a new fluid reservoir

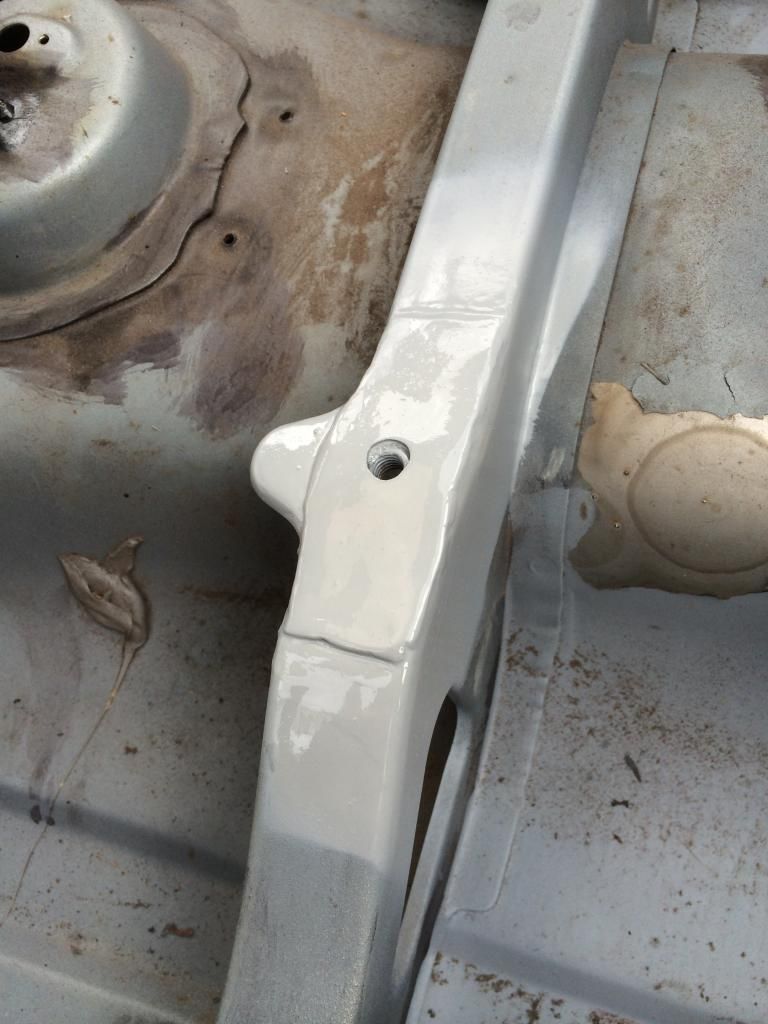
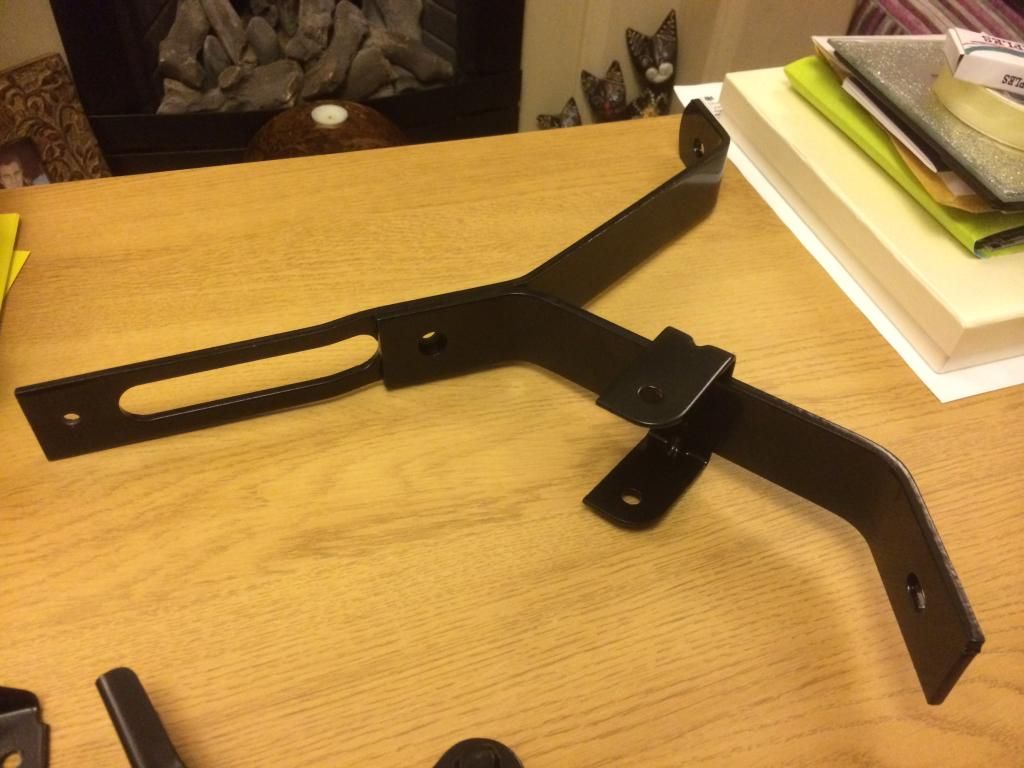
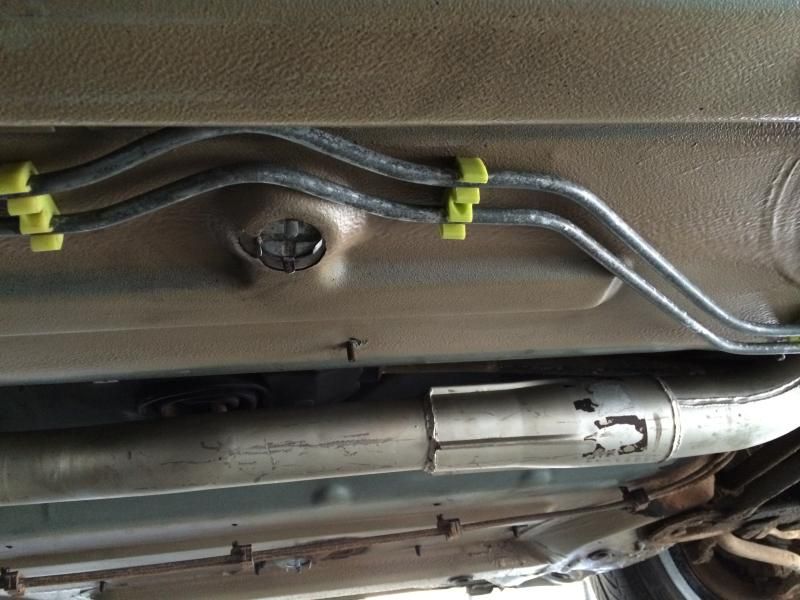
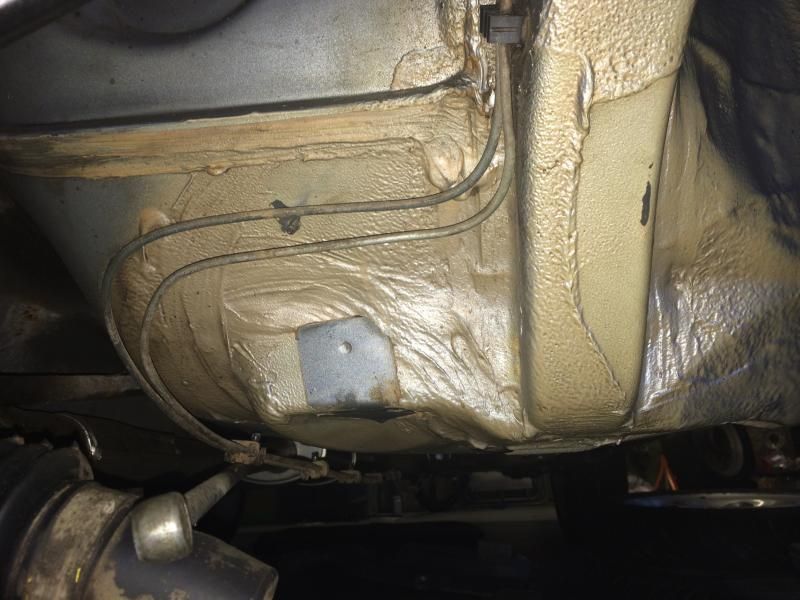
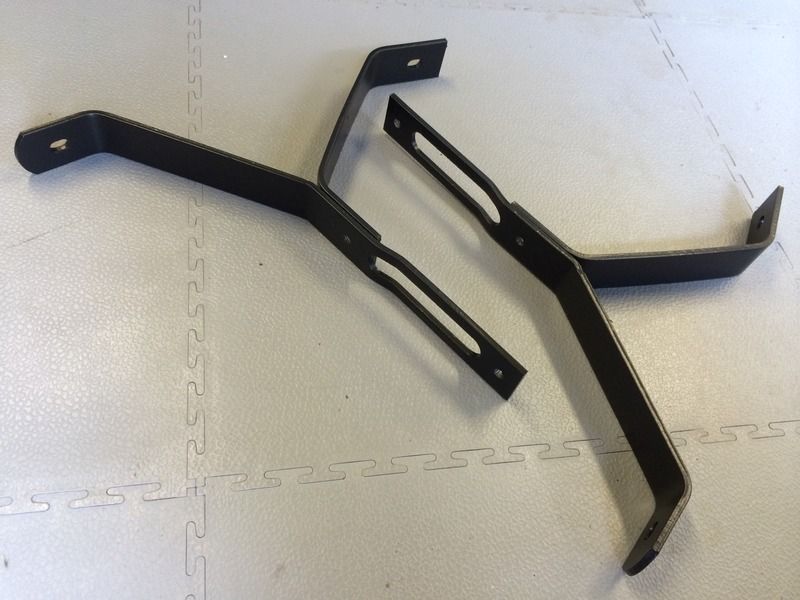
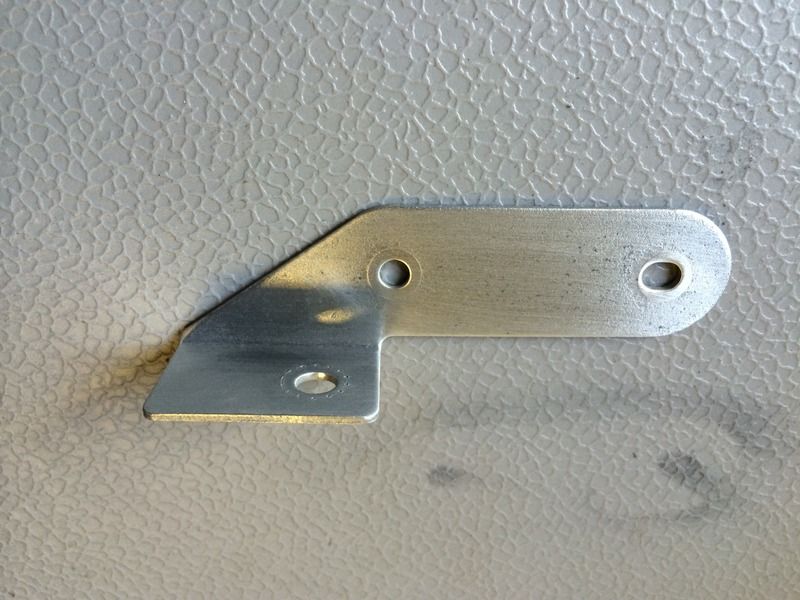
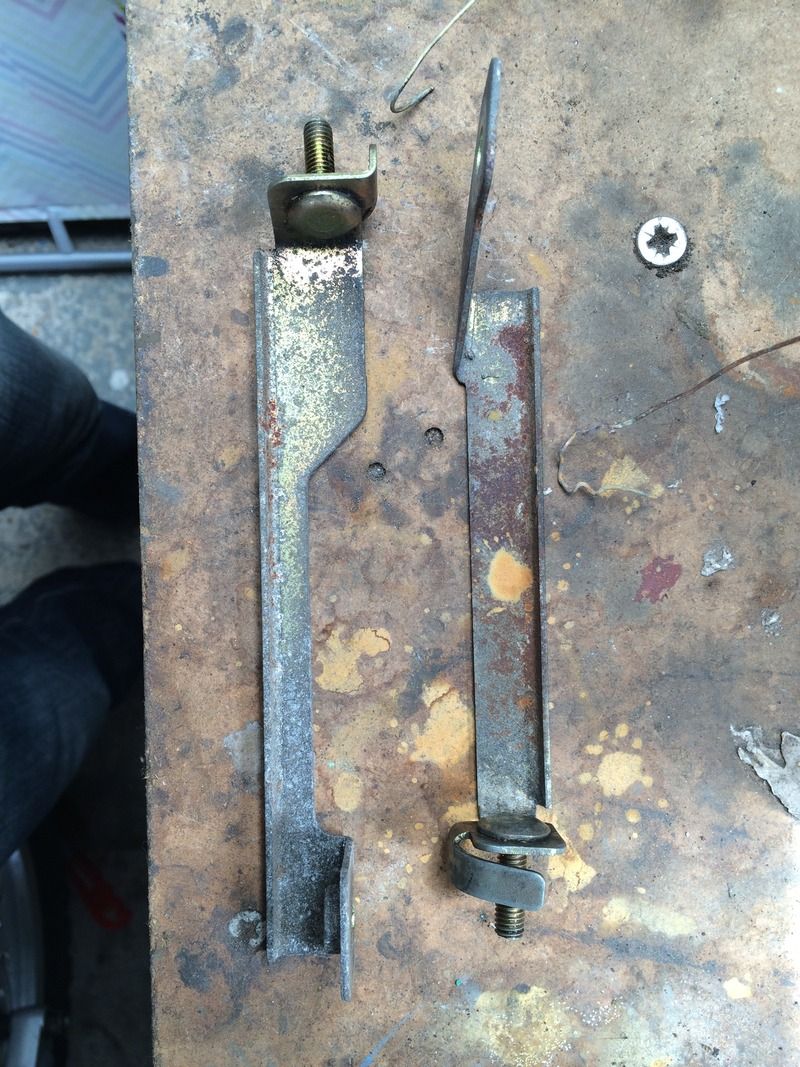
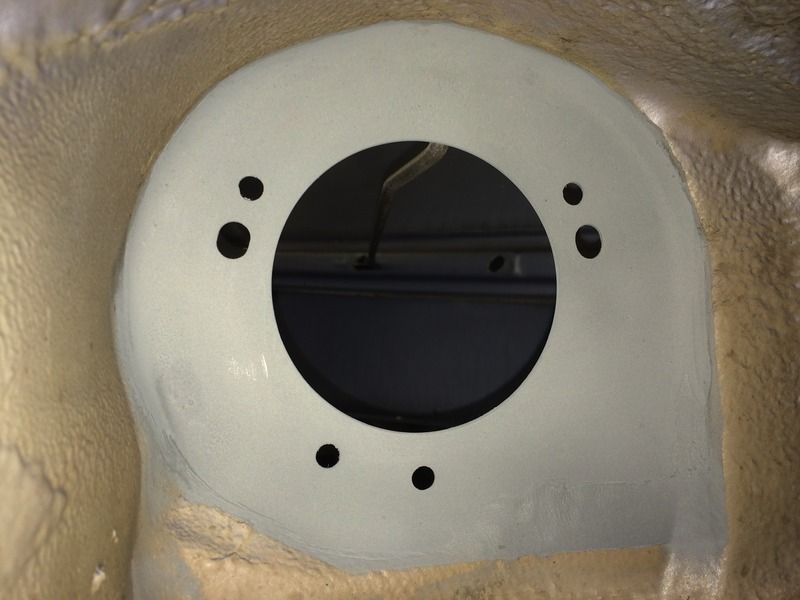
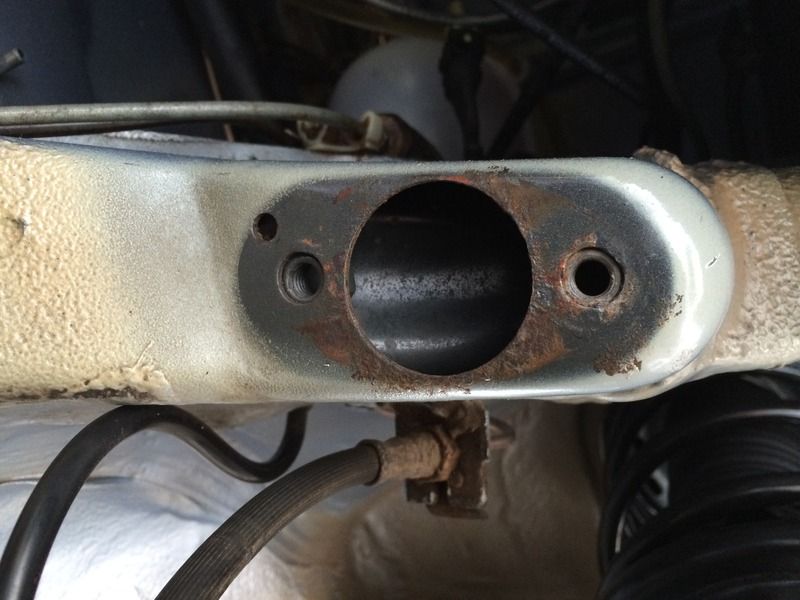
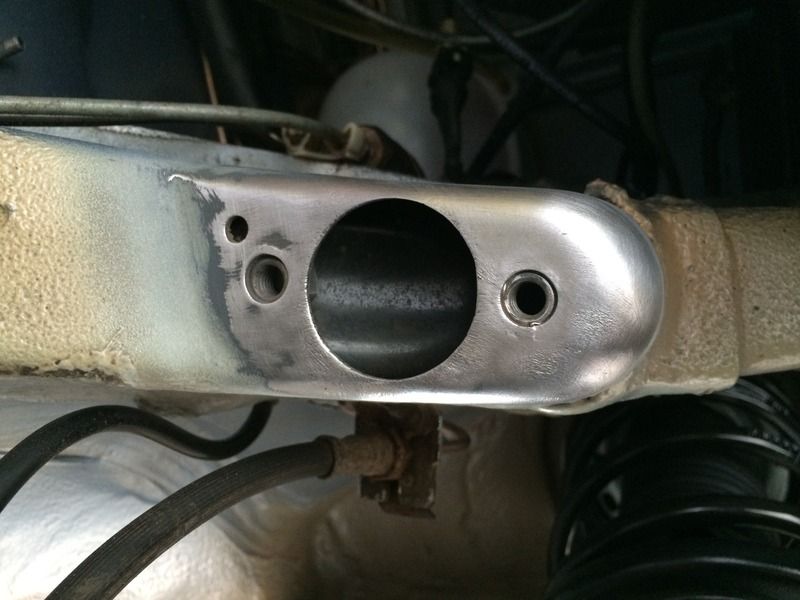
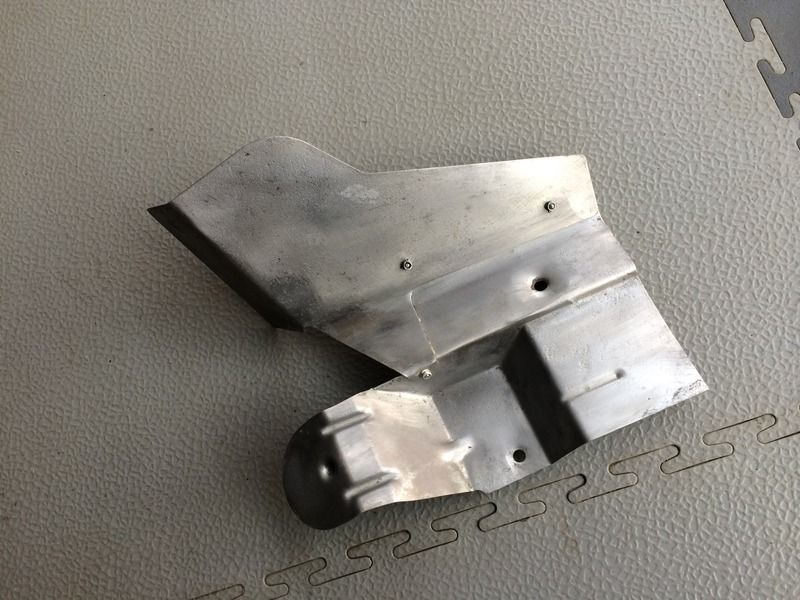
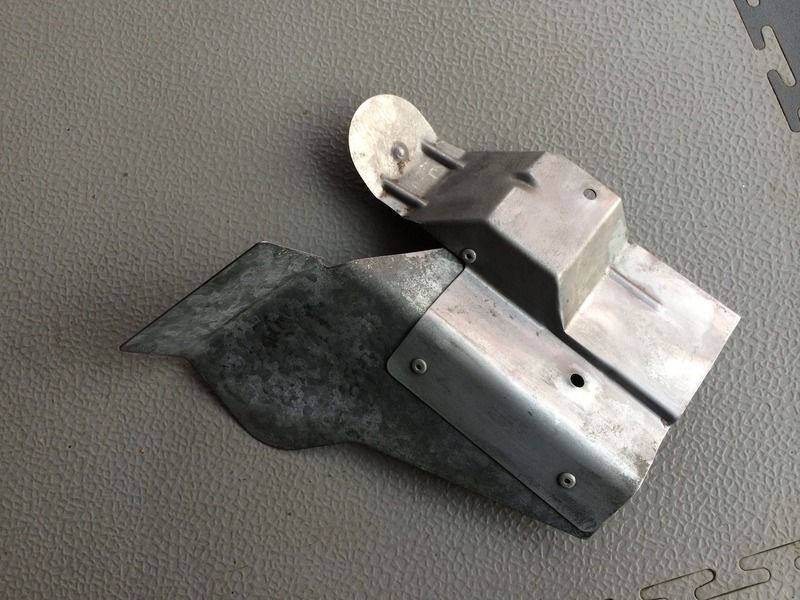
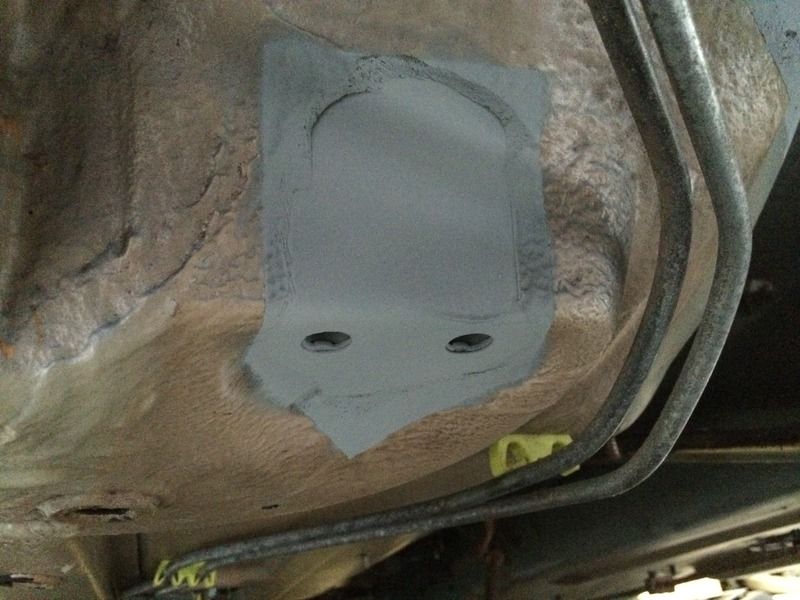
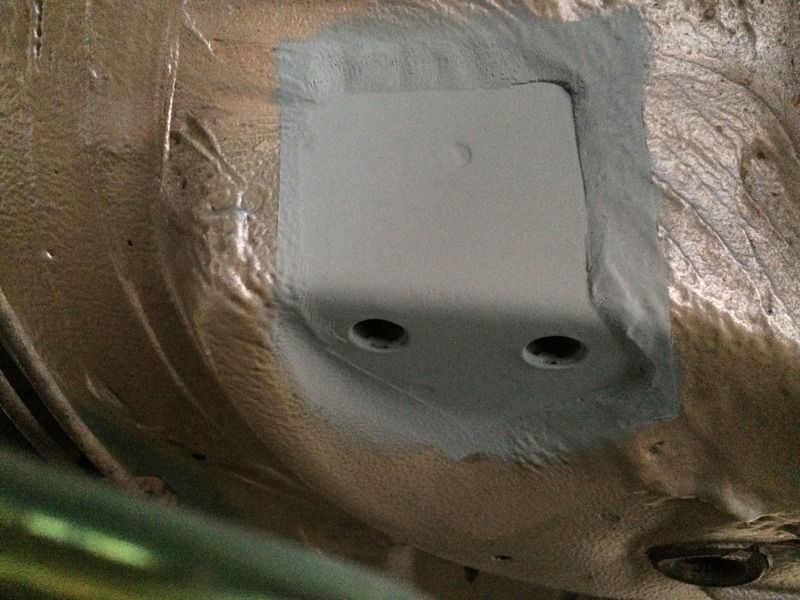
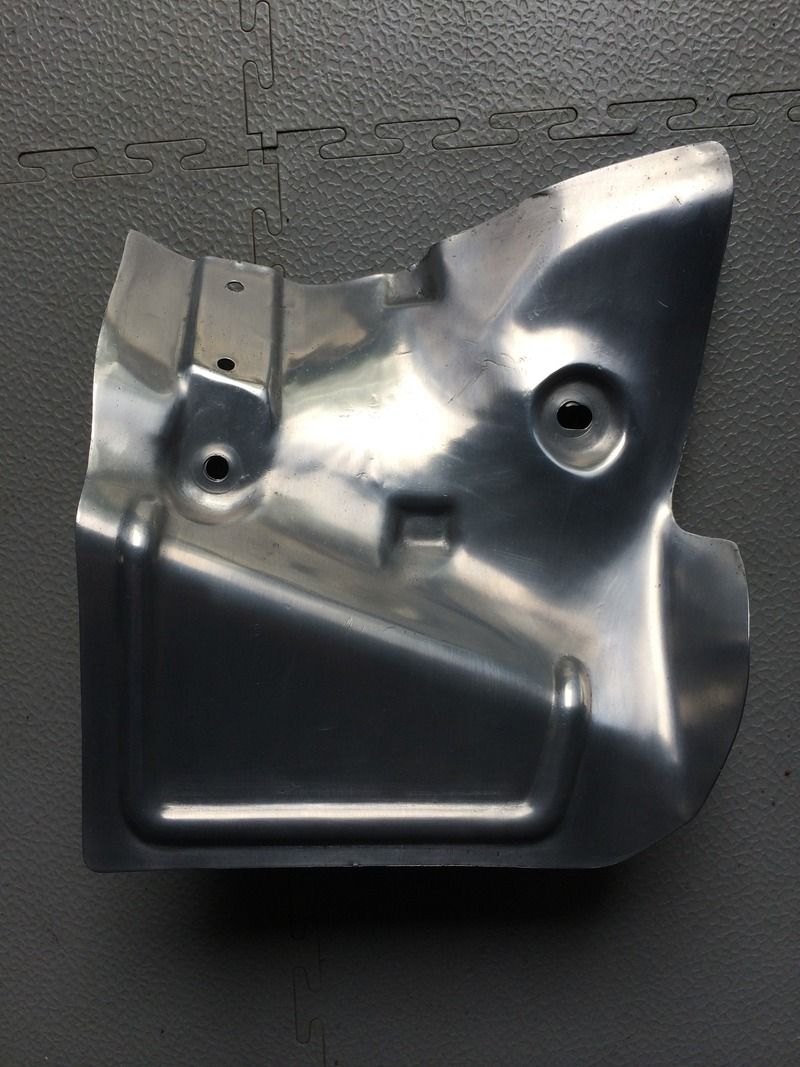
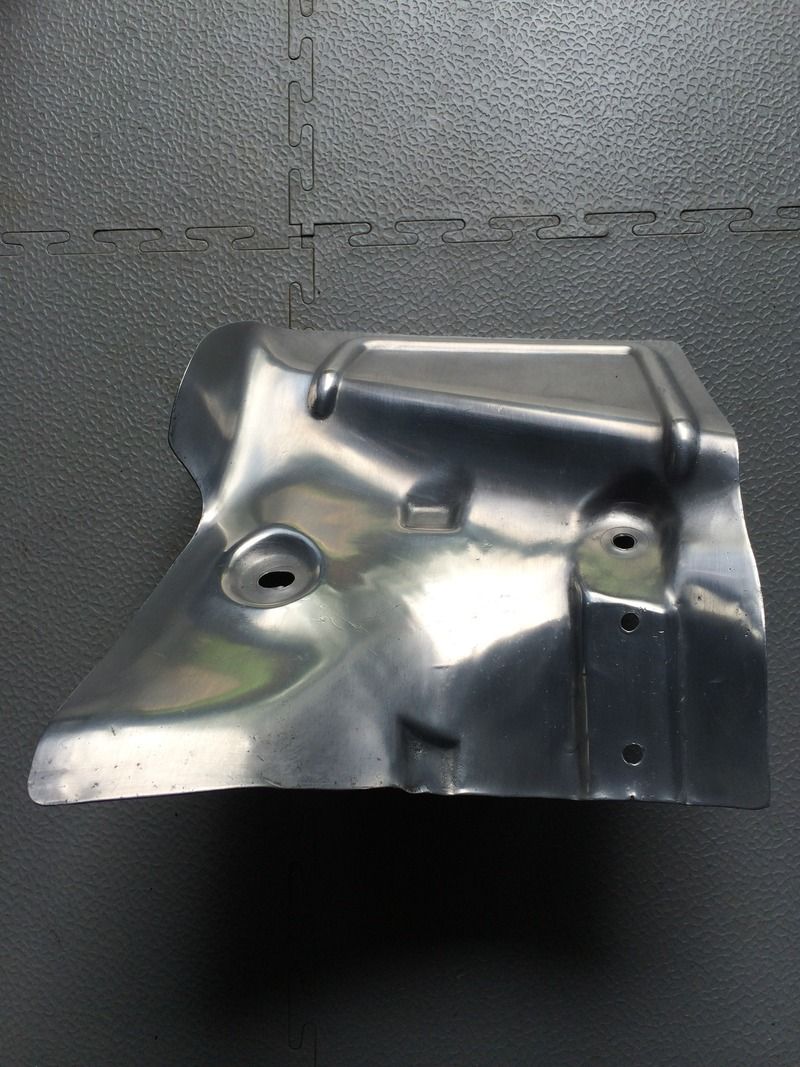
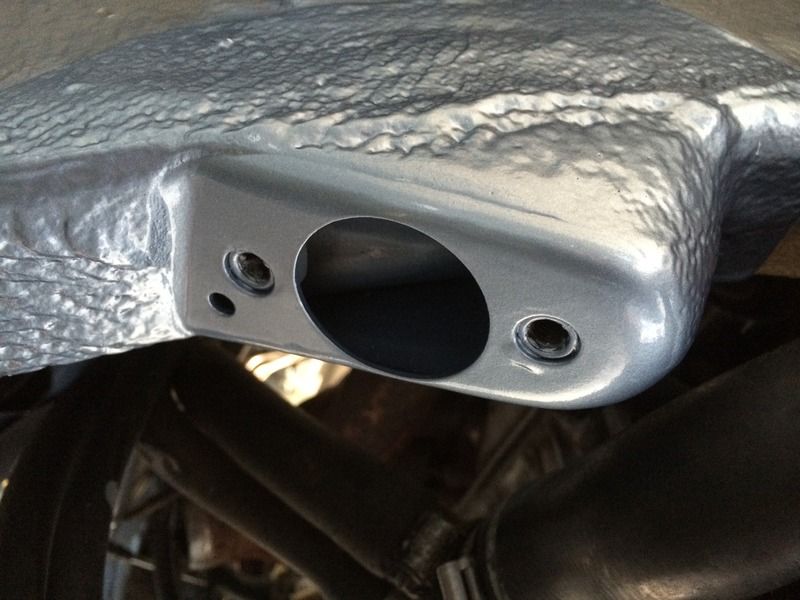
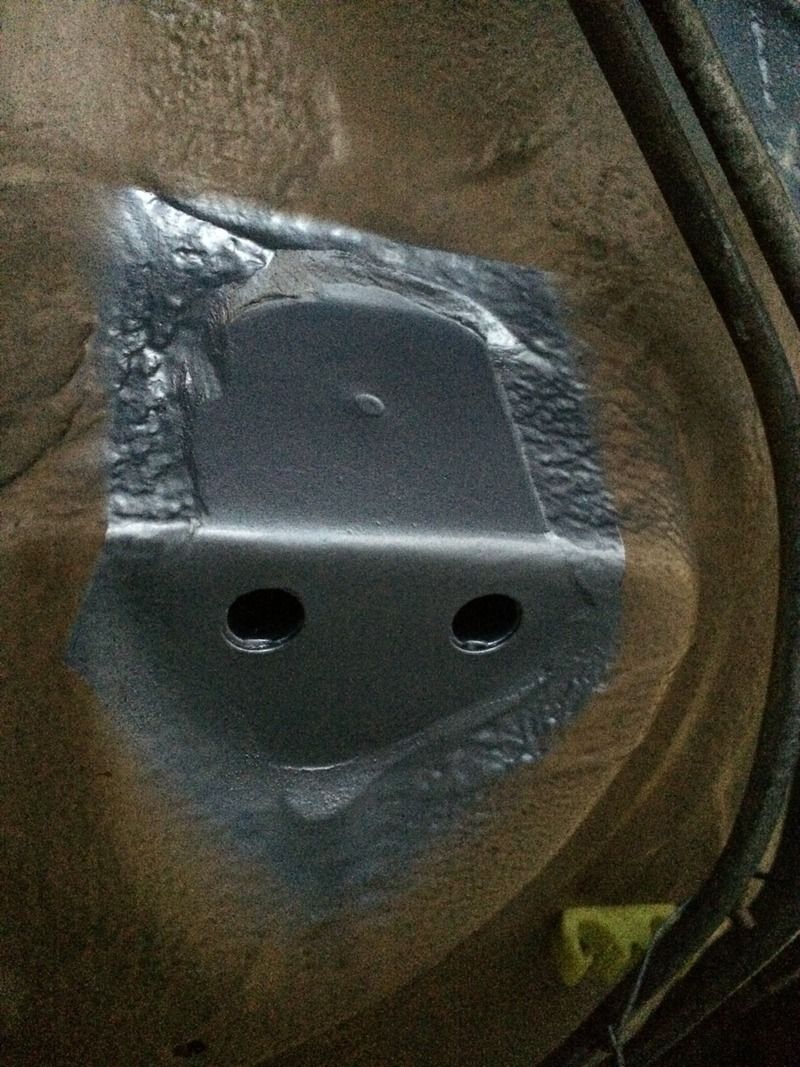
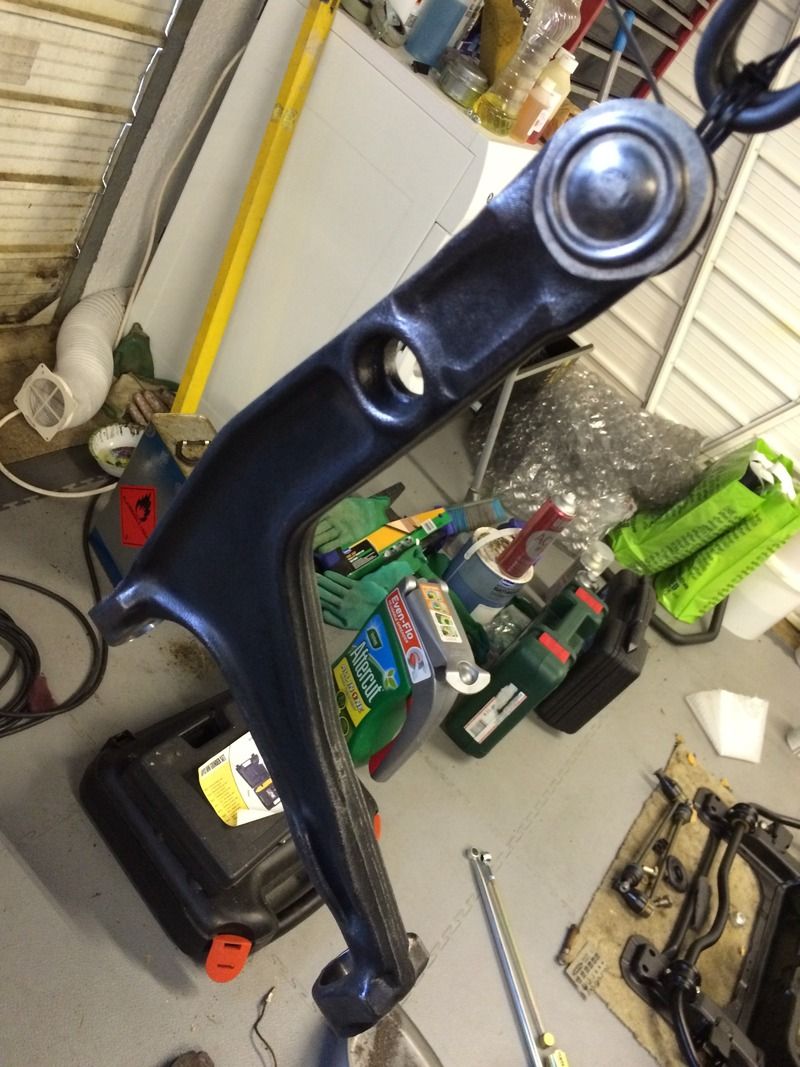
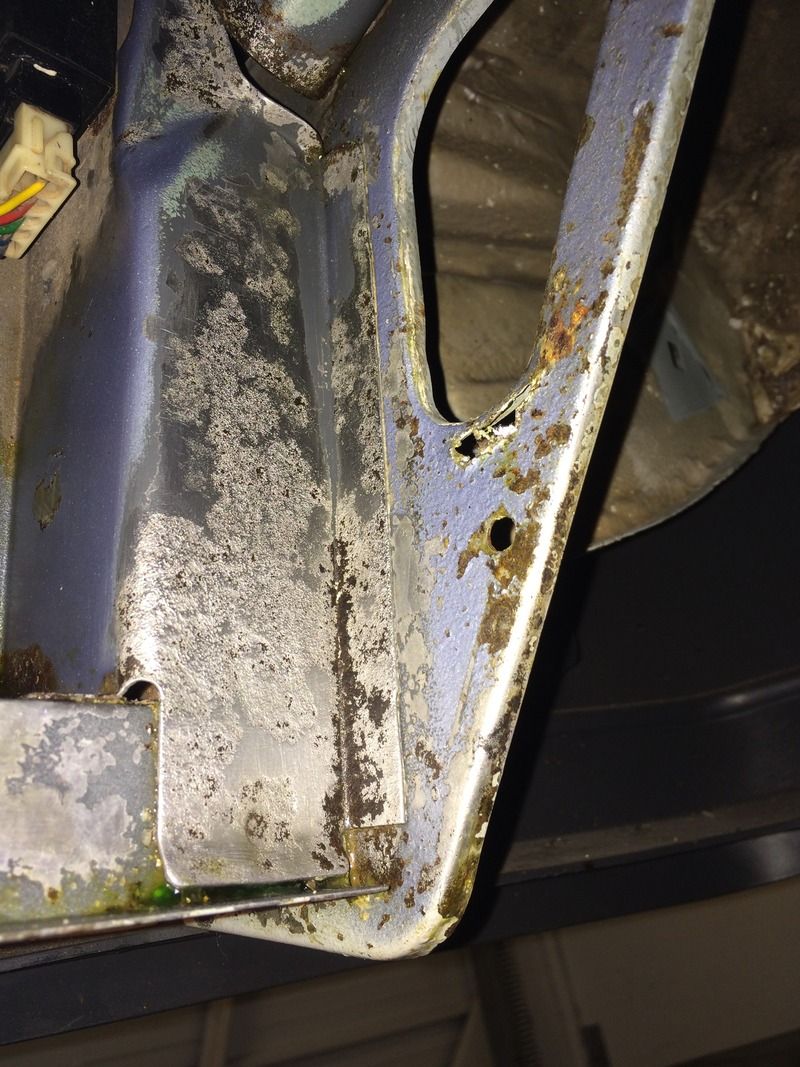
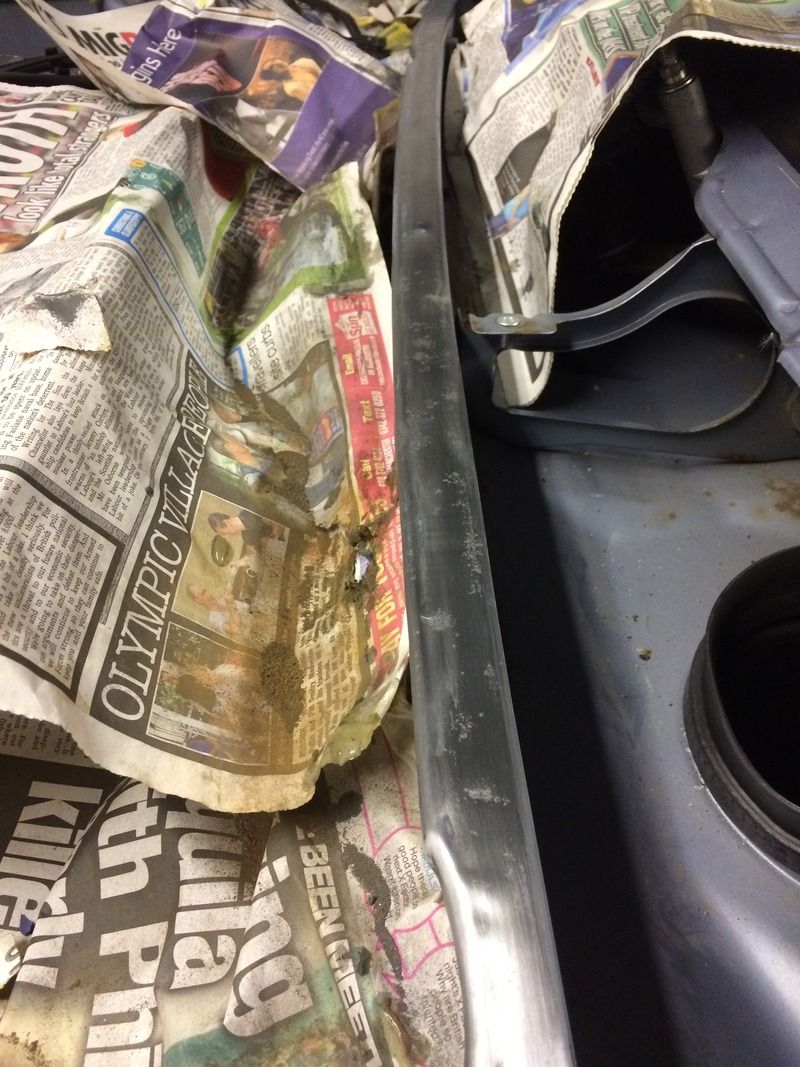
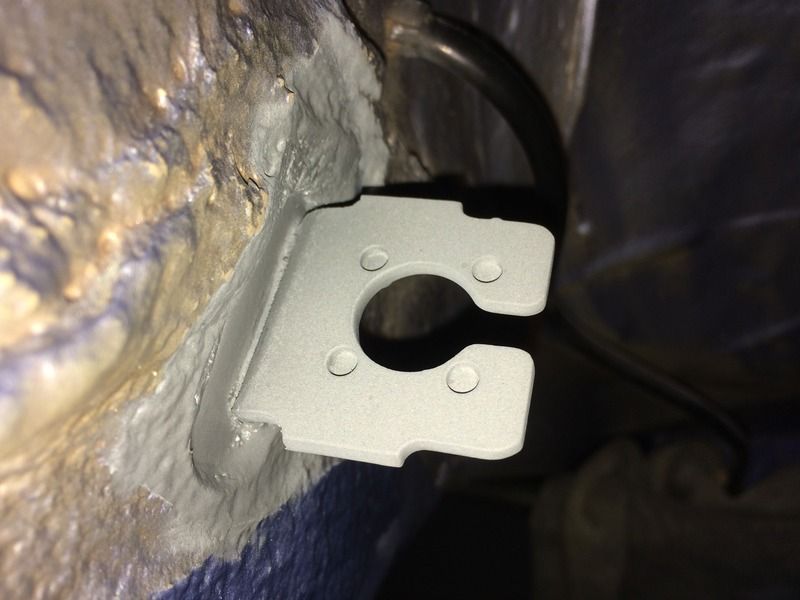
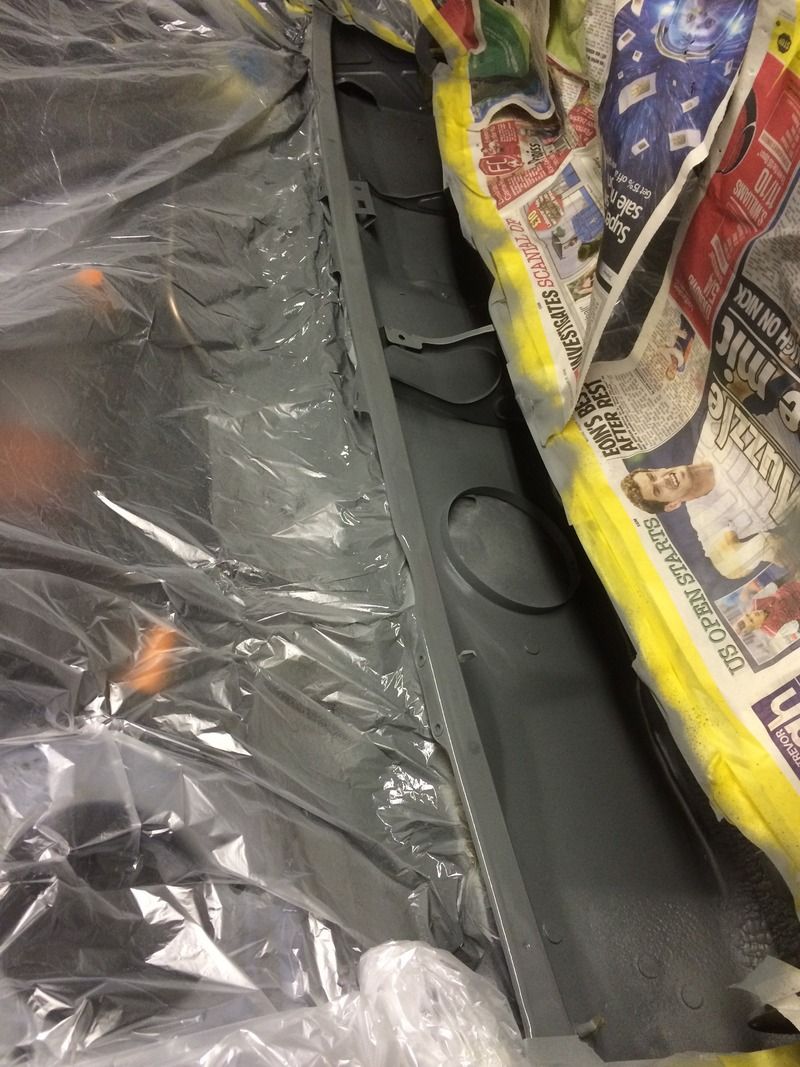
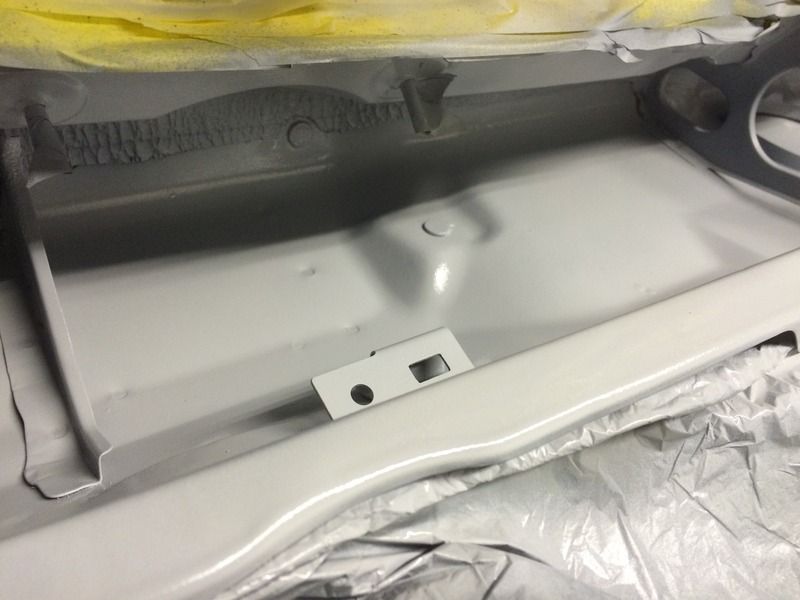
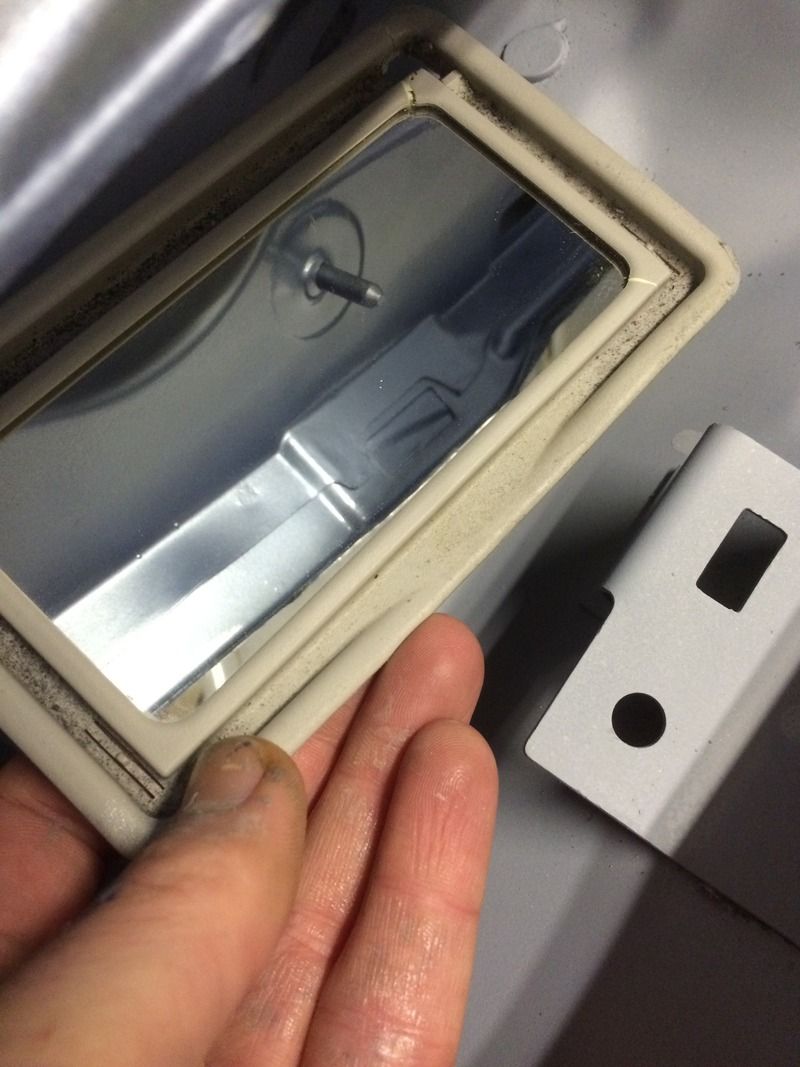
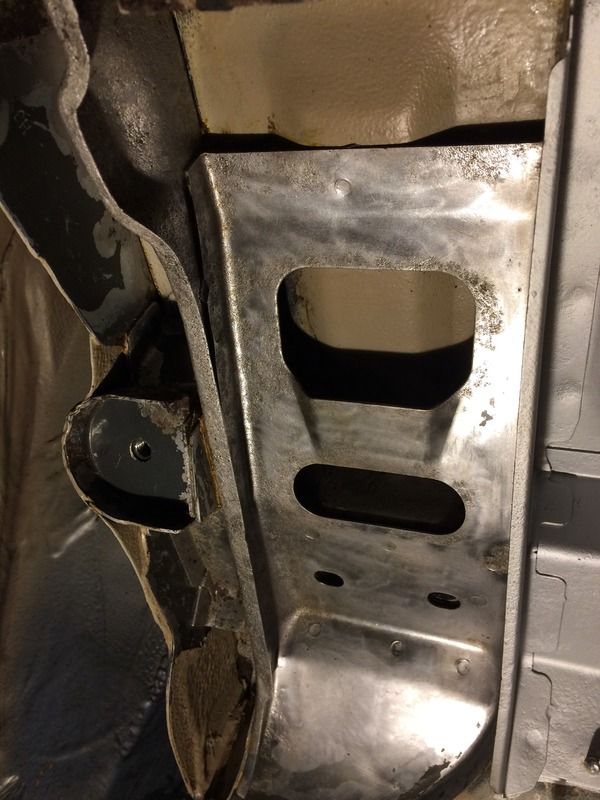
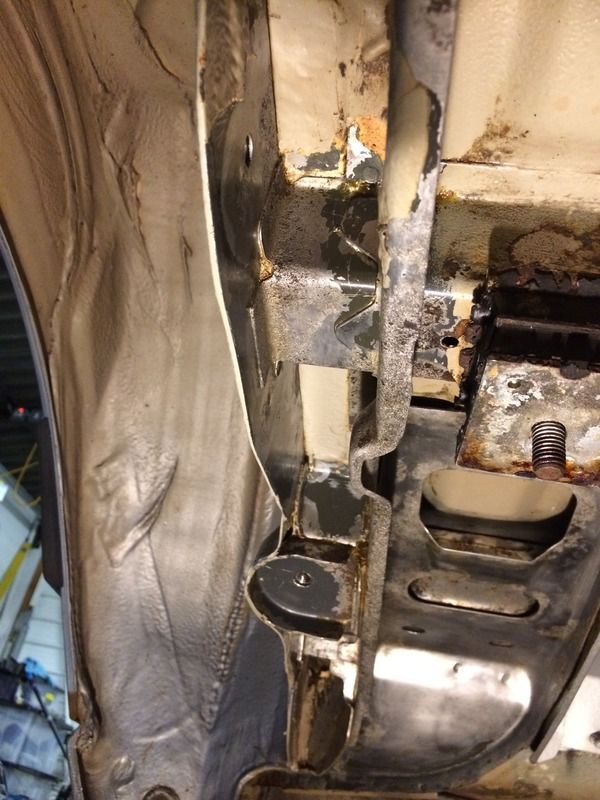
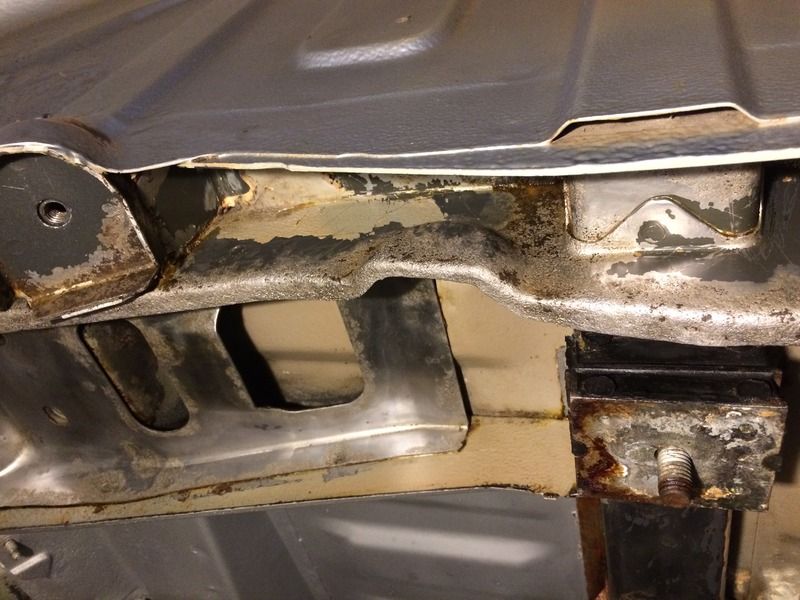
That'll be refitted along with the Brake lines once I've finished painting the bracket from the drivers side. Passenger side de-rusted and painted

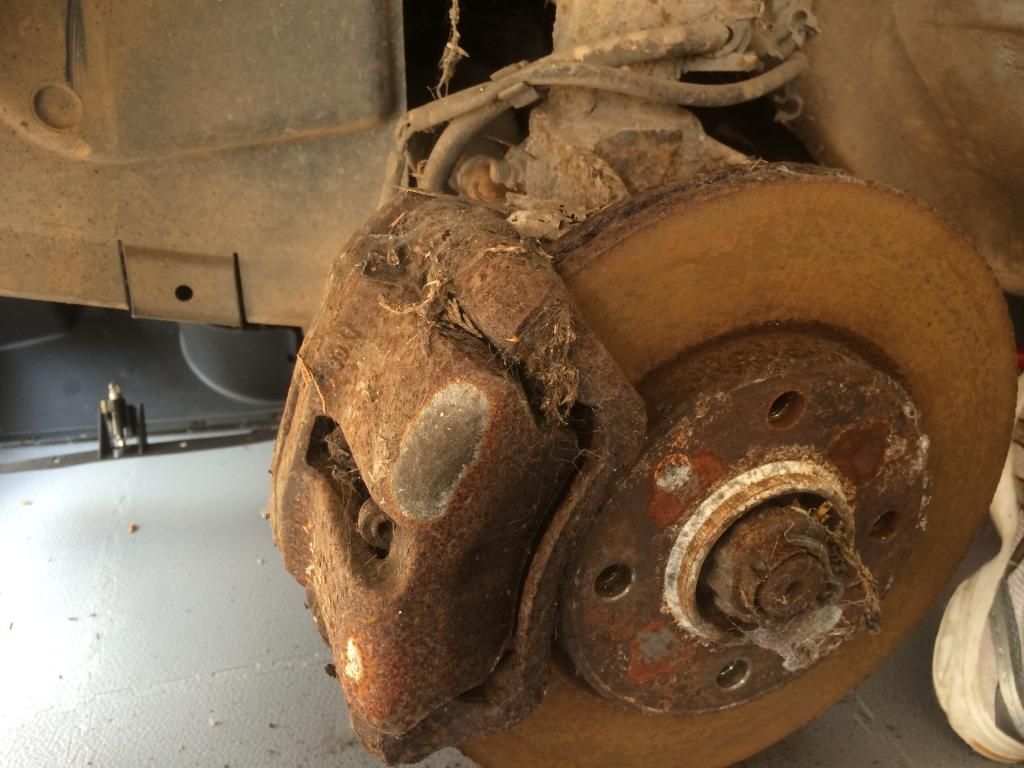
Front calipers arrived back from Bigg Red in Worcester. Blasted and re-coated in the same gold electroplated finish that they would have left the factory with all those years ago.


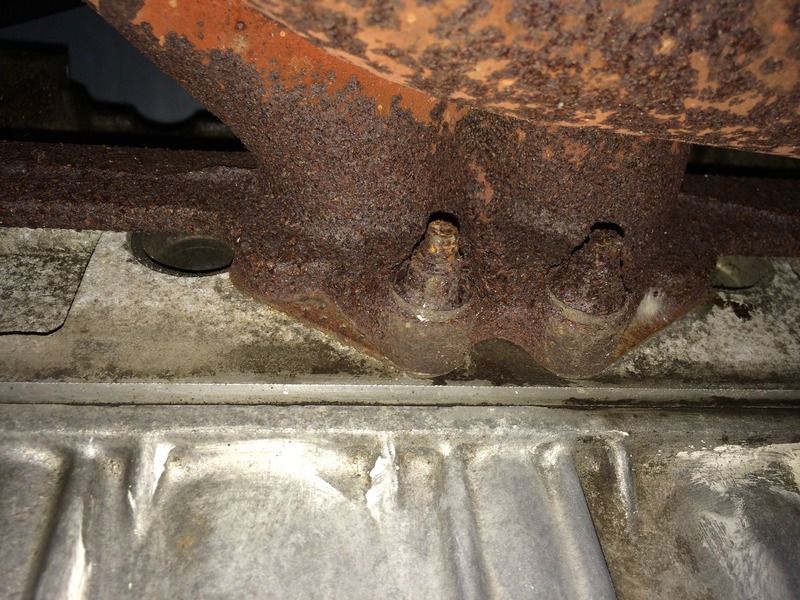
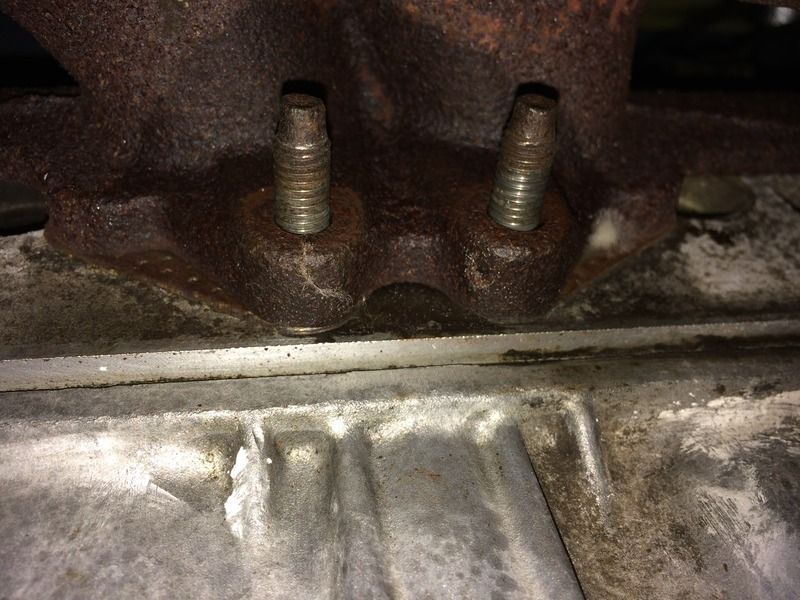
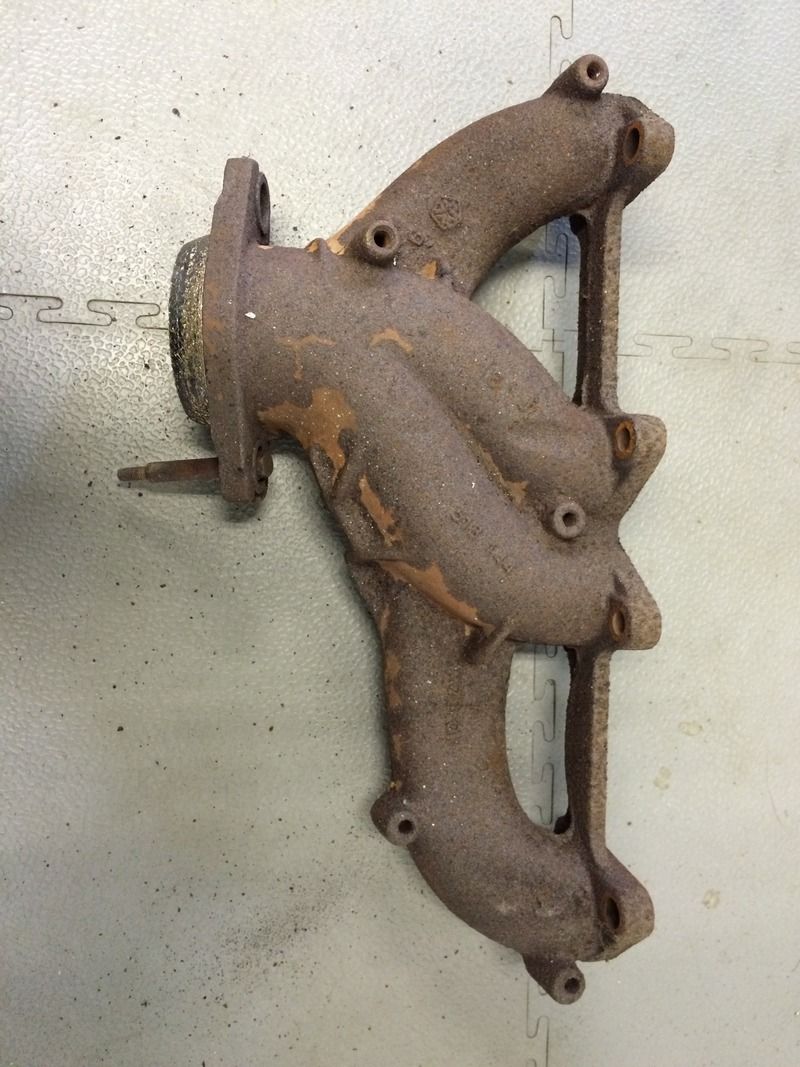
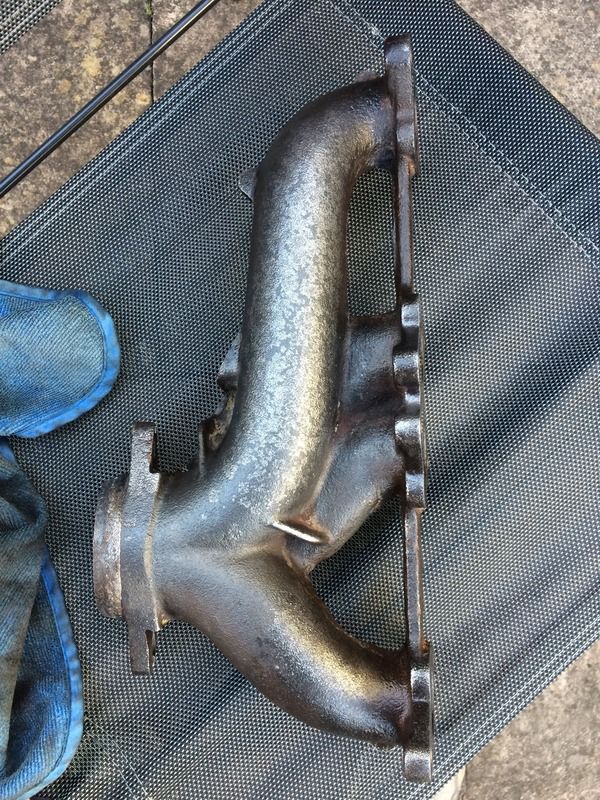
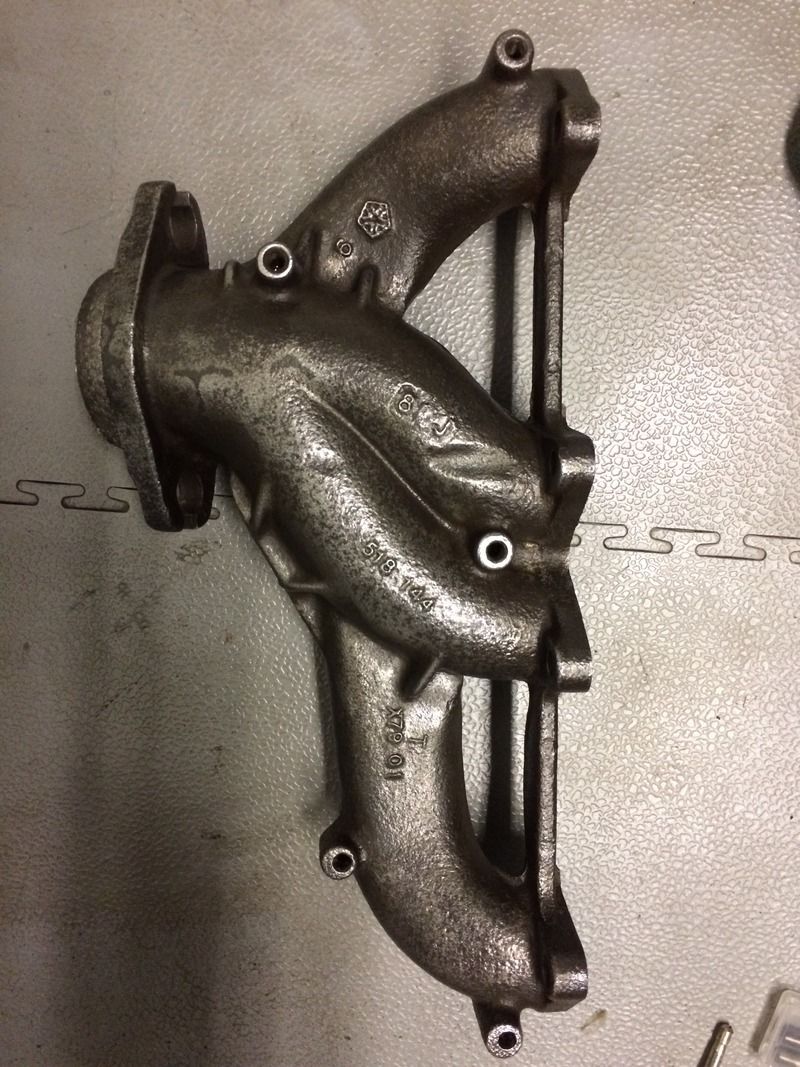
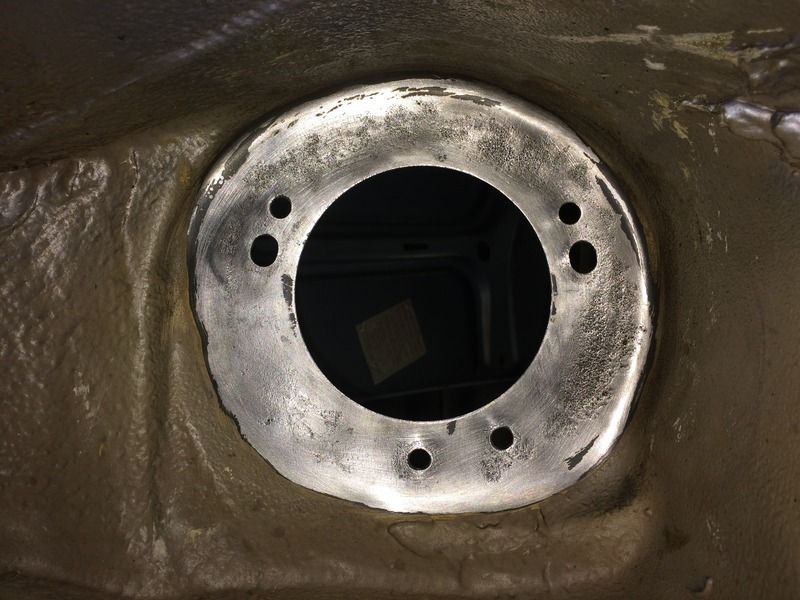
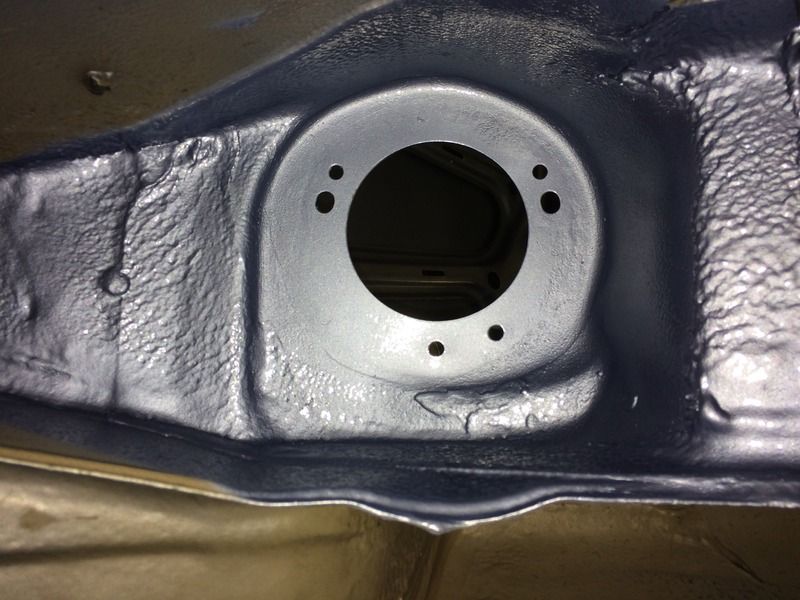
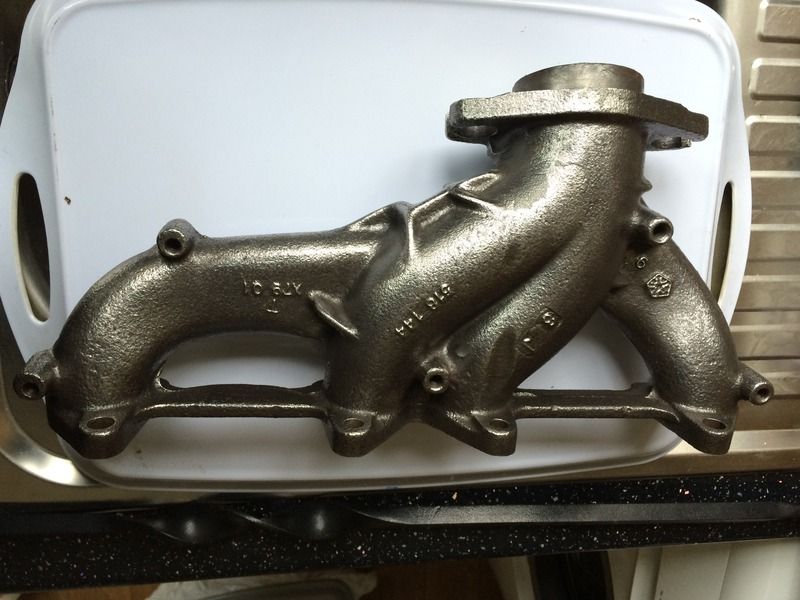
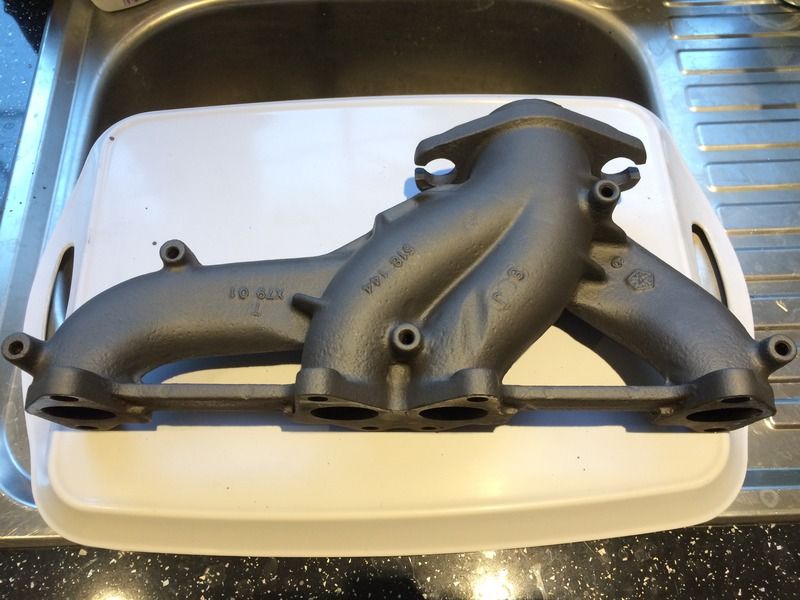
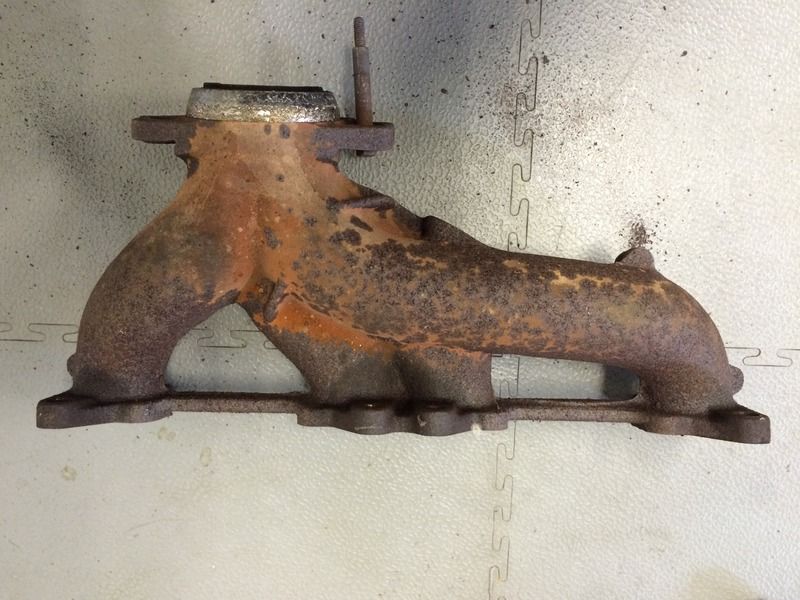
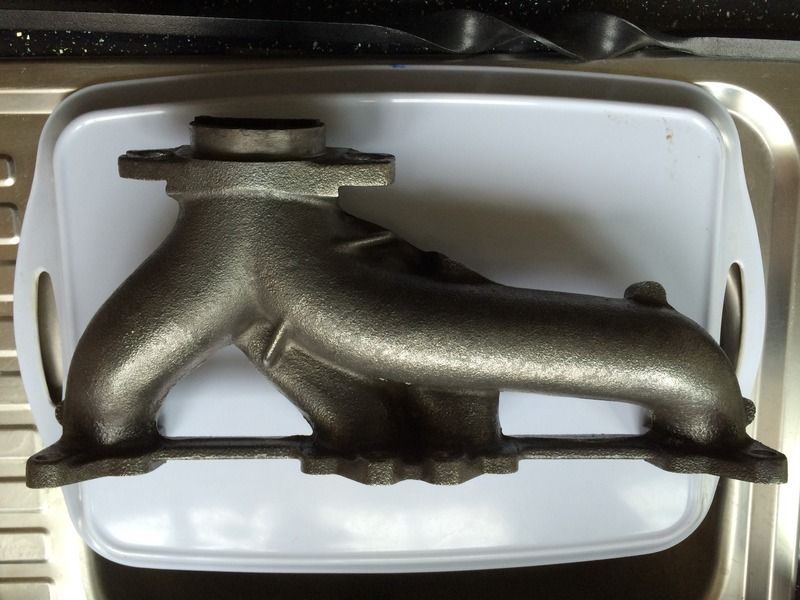
Next up, manifold refitted with new gaskets, studs and nuts.

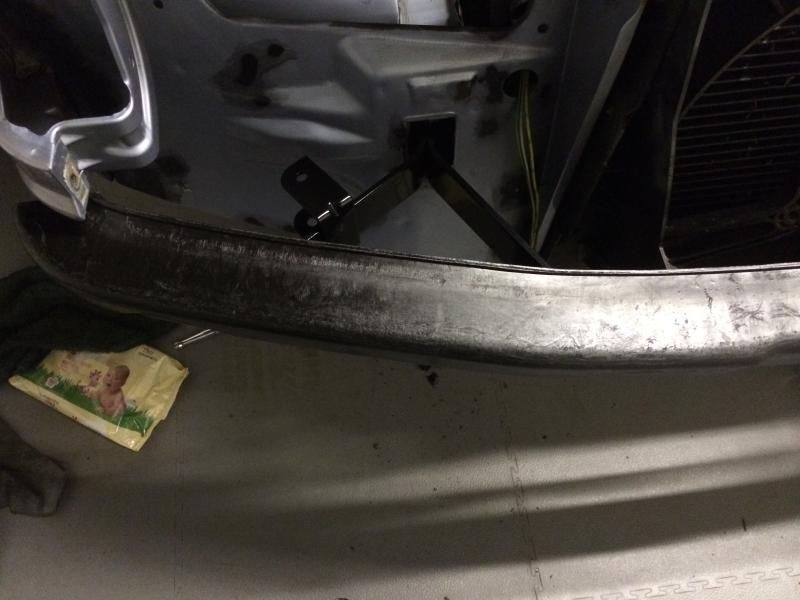
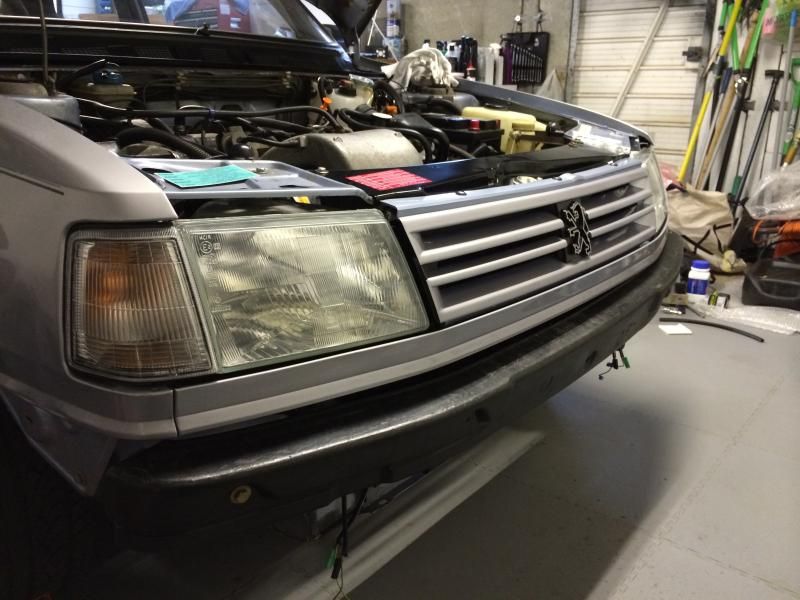
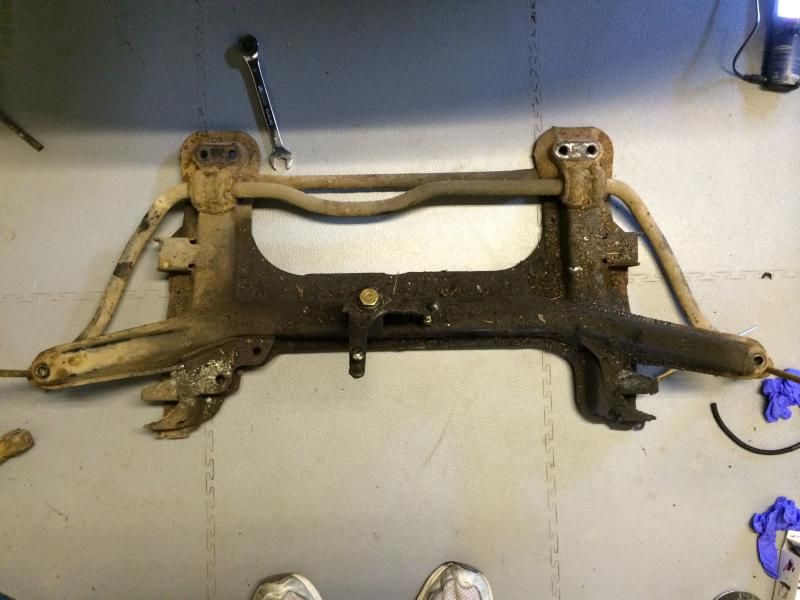
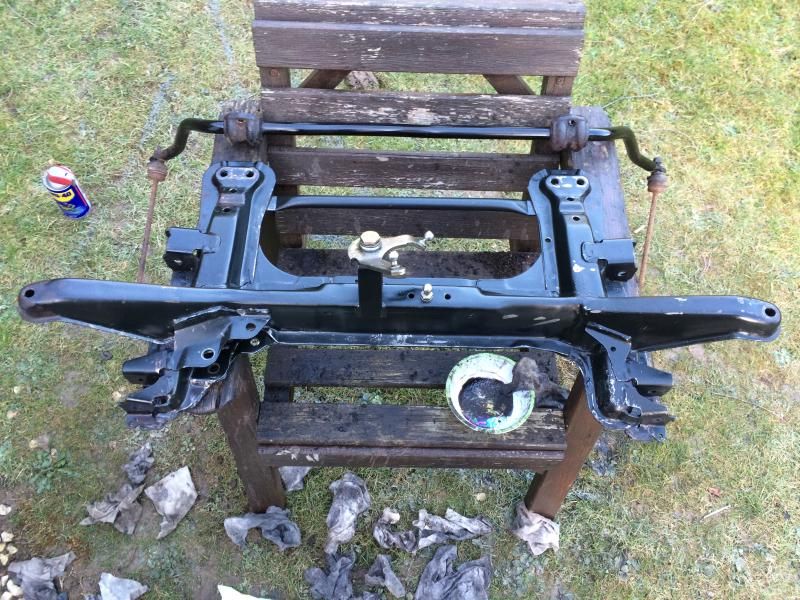
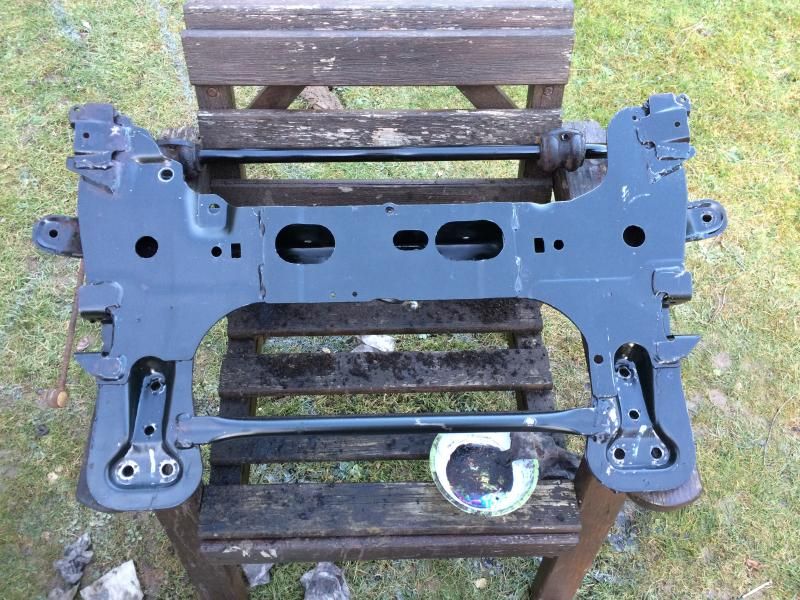
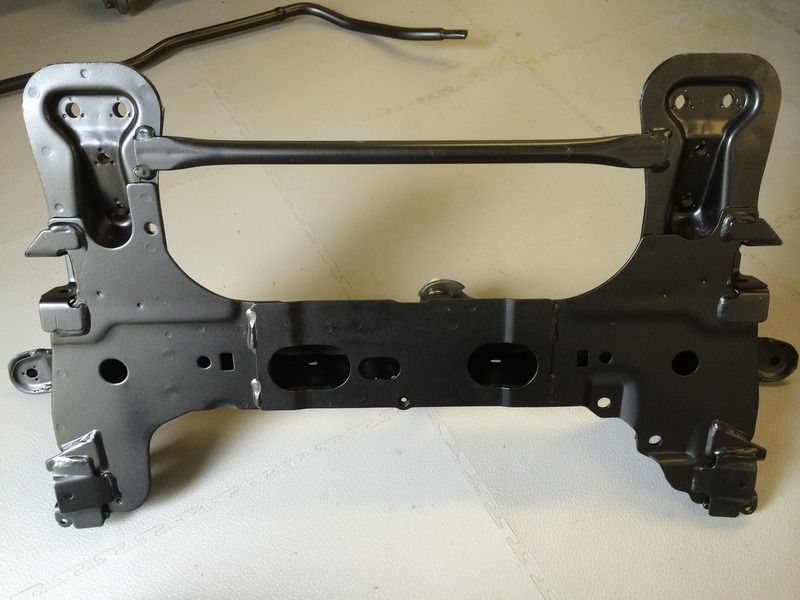
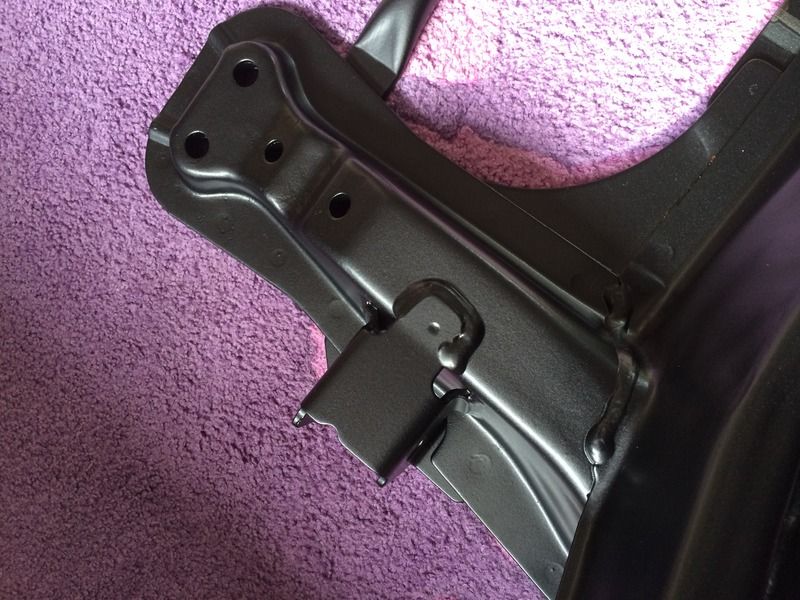
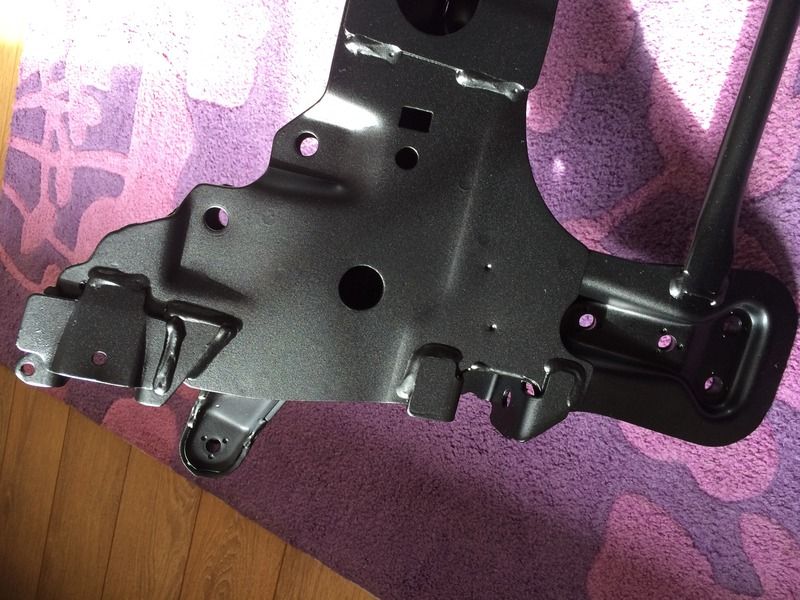
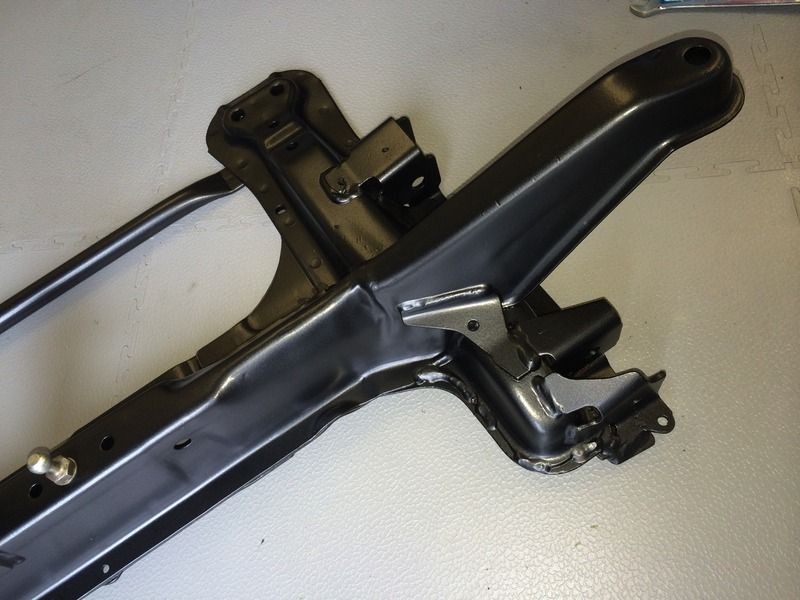
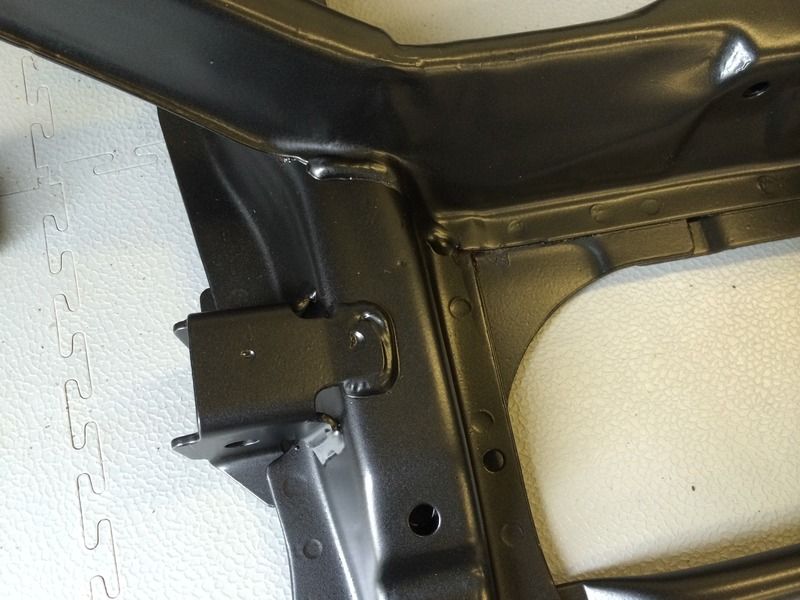
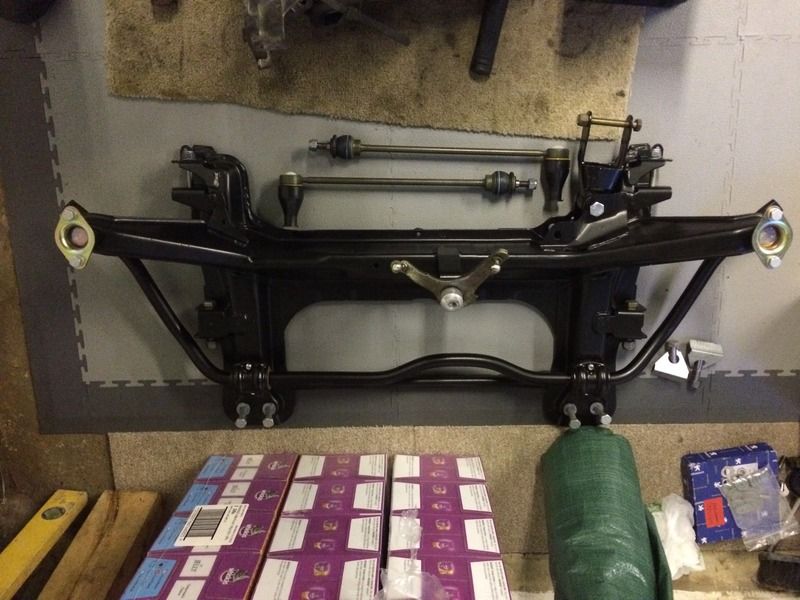
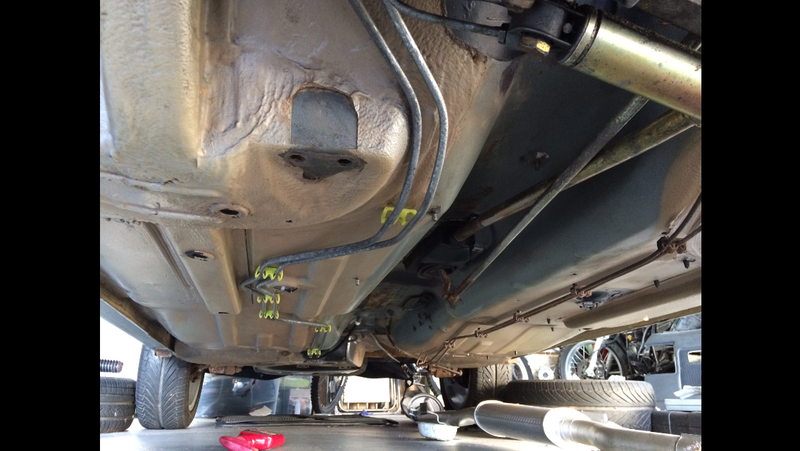
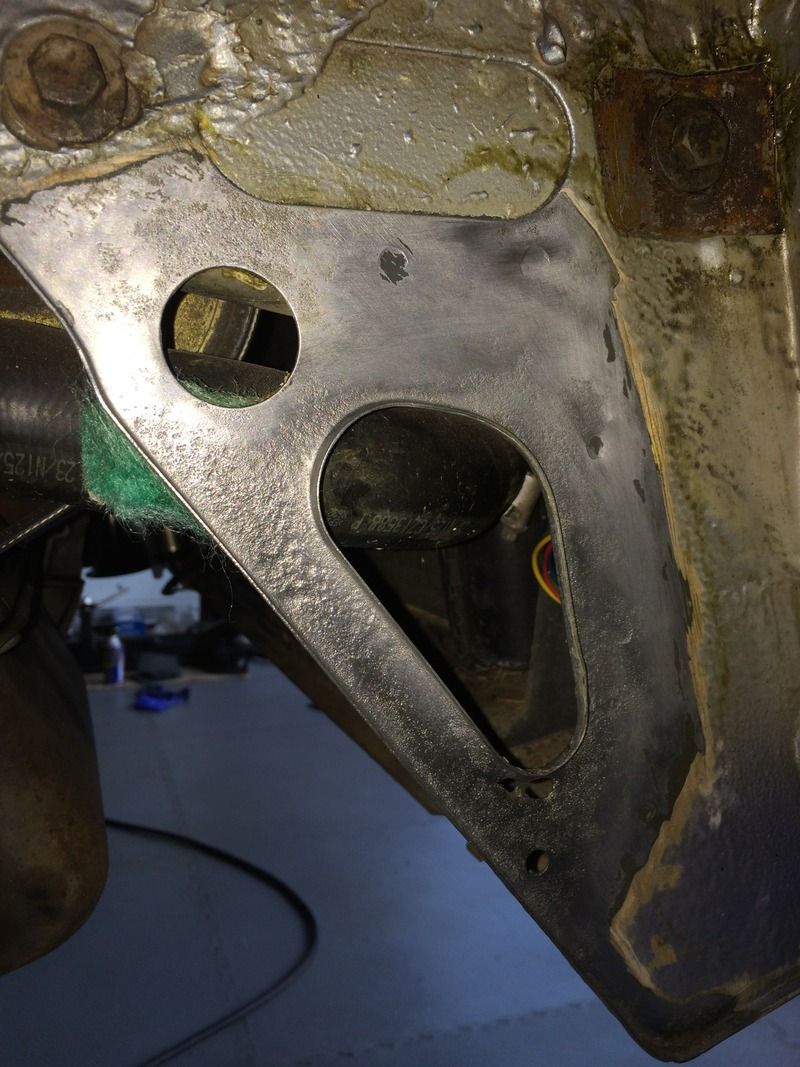
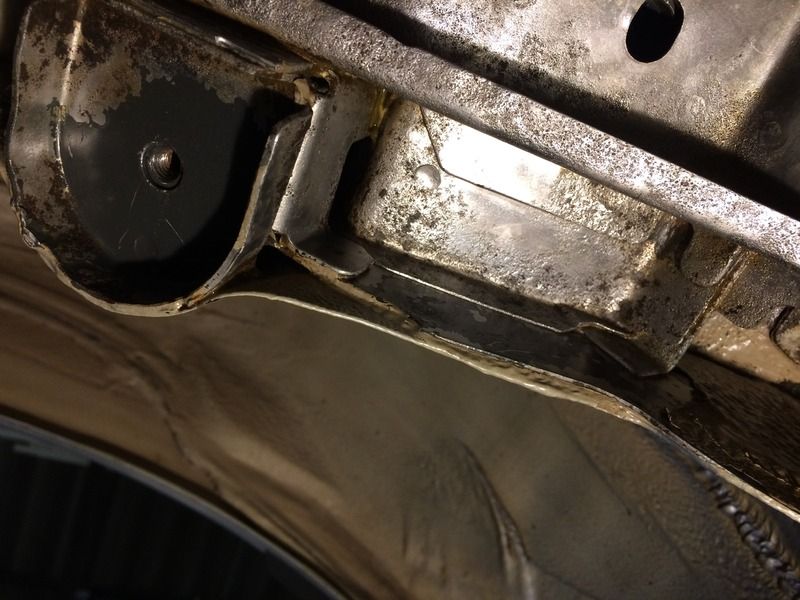
Then at long last I had some willing assistants to brave the cold with me aswel to get the subframe bolted up into place. Got as far as nipping things into place. Just going through the Haynes manual now to get all the correct torque settings. Shall nip thr bolts up and give everything a clean and carry on with the rebuild. Pics in the meantime....


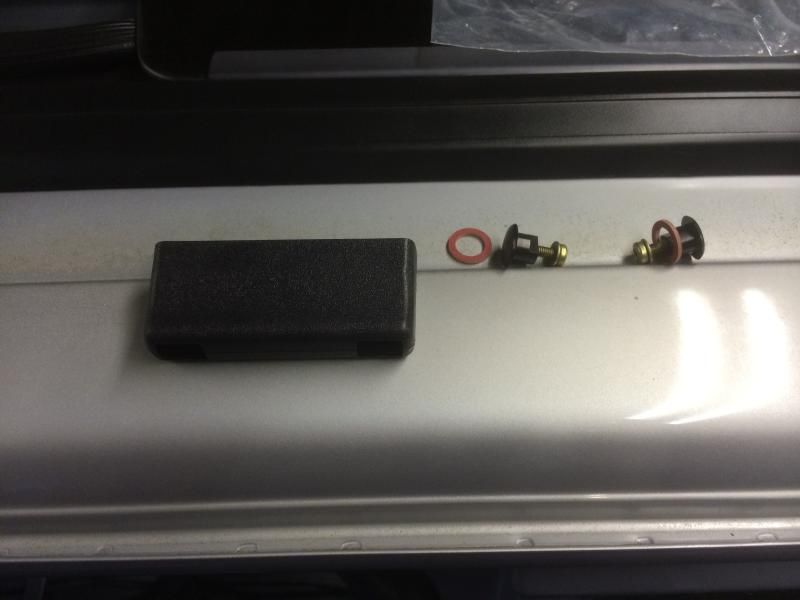
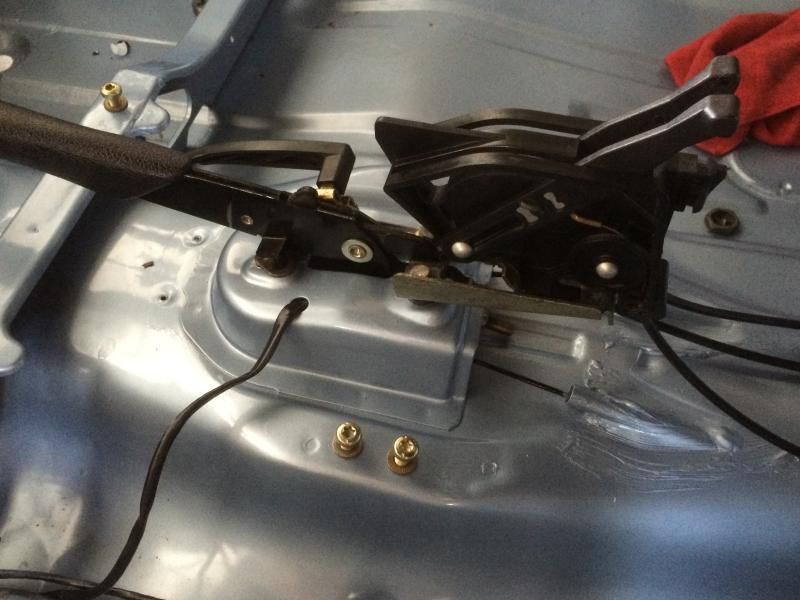
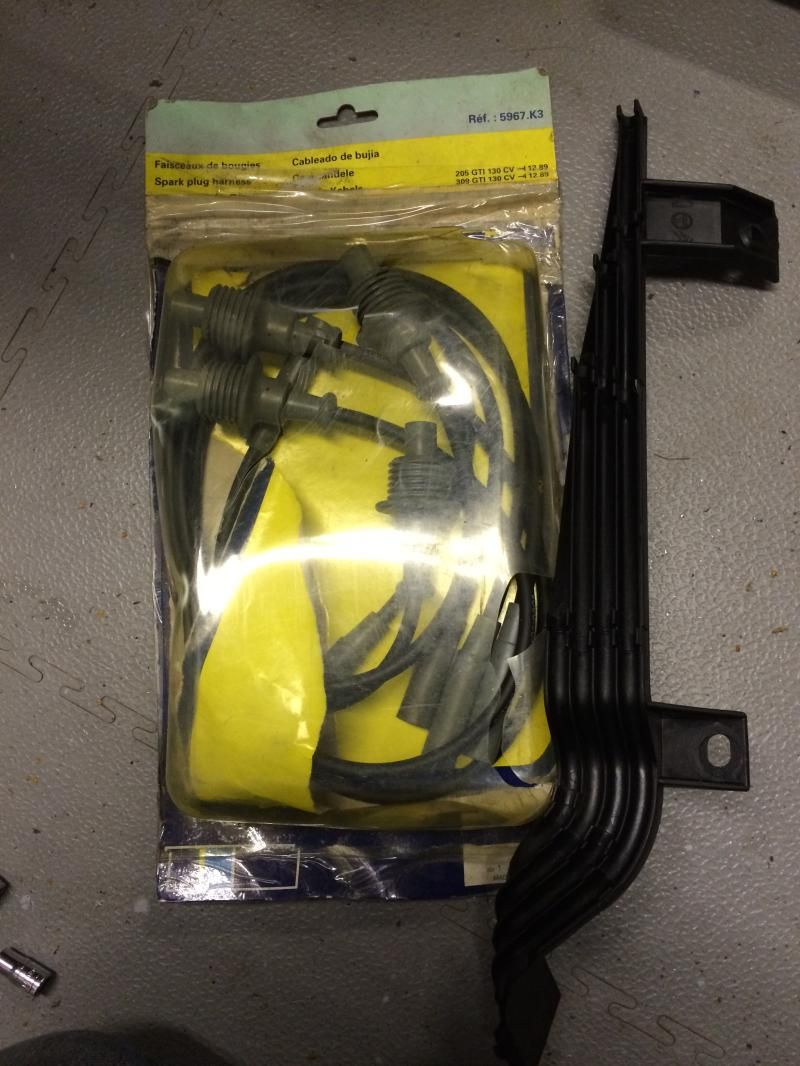
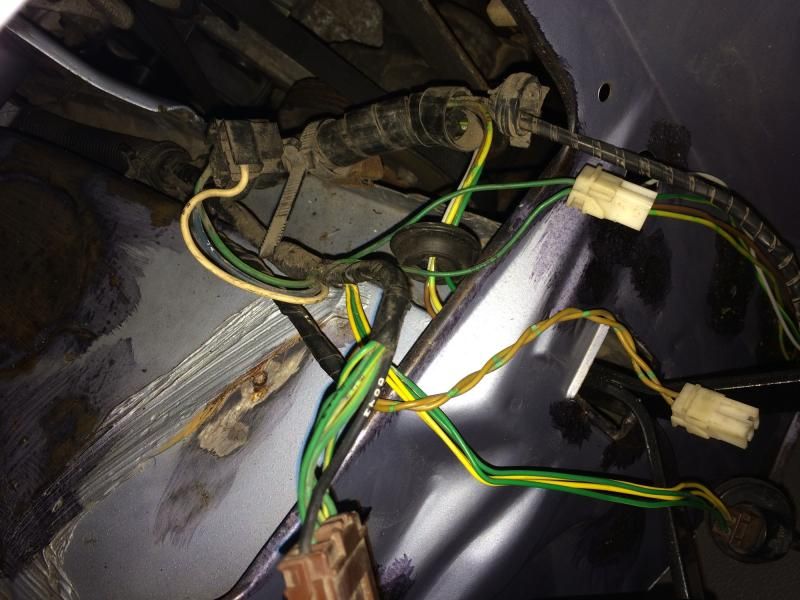
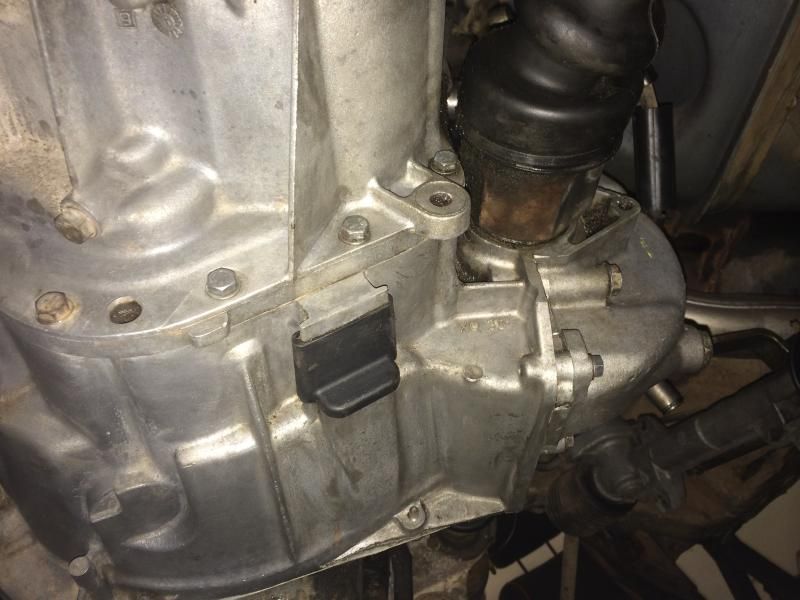
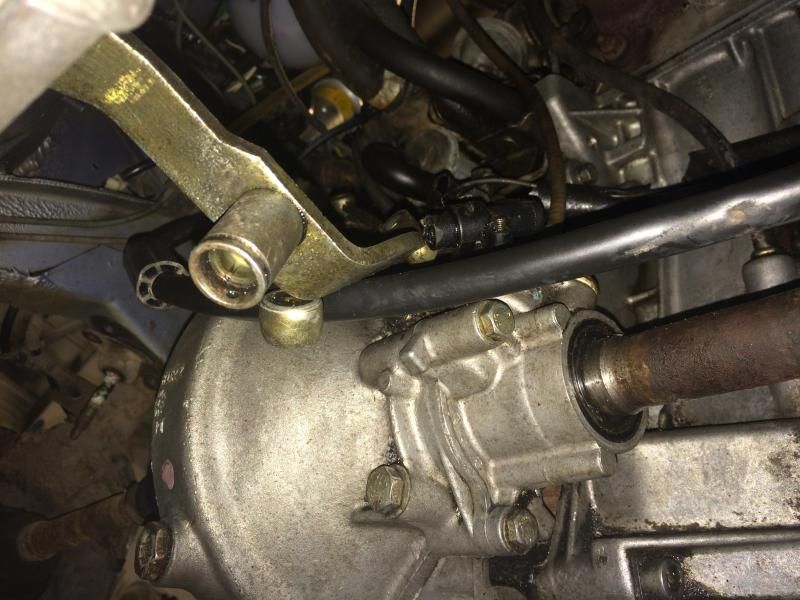
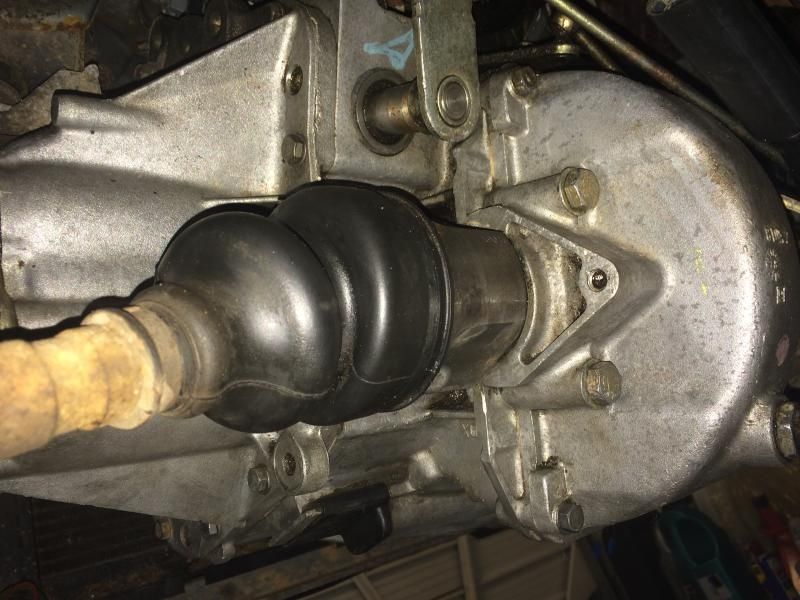
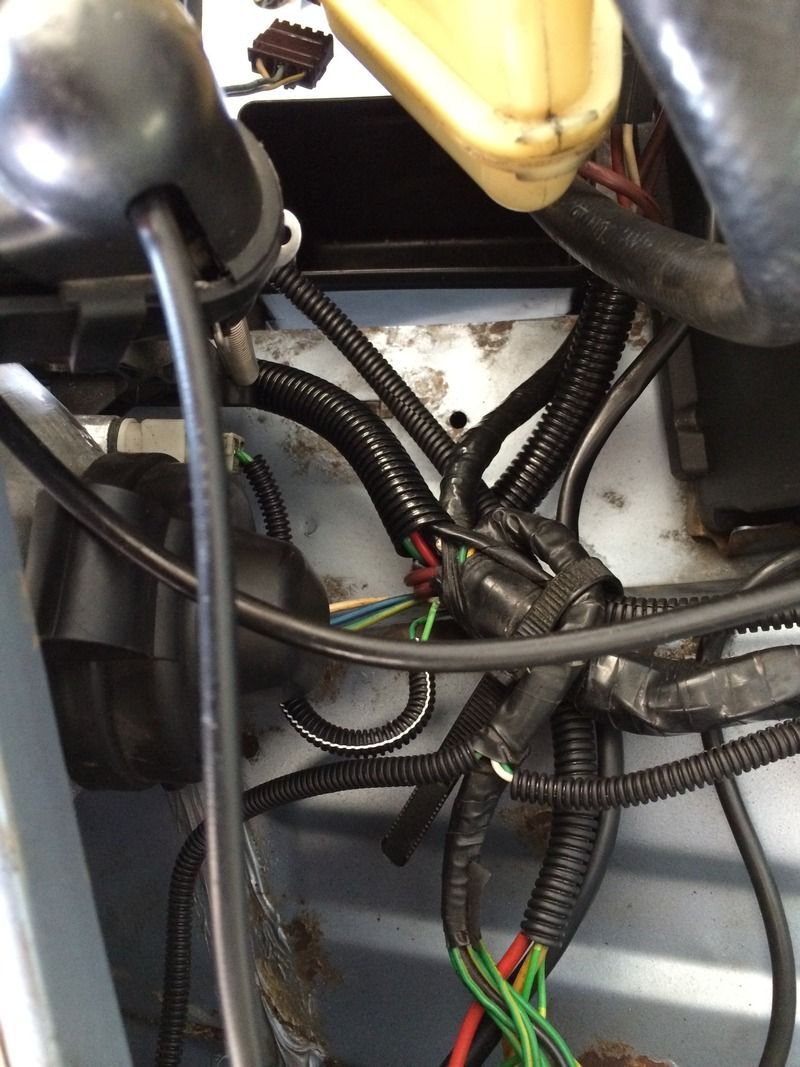
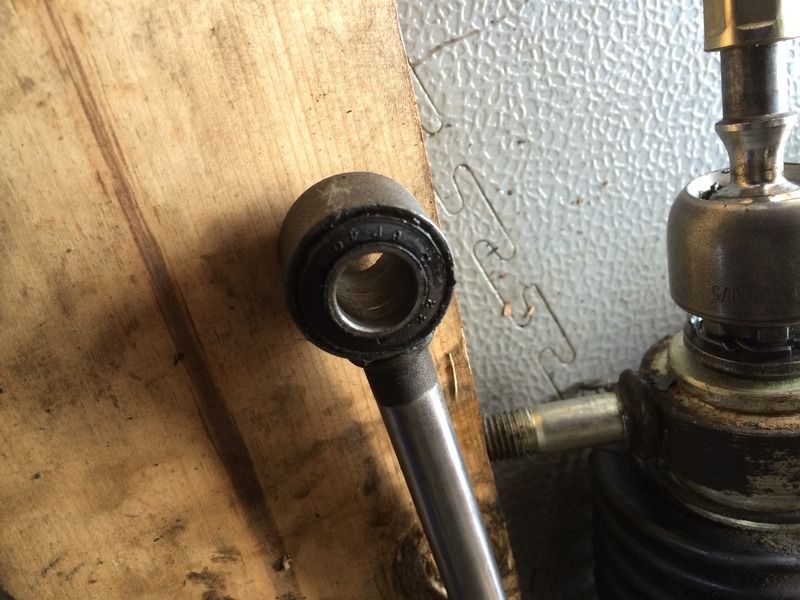
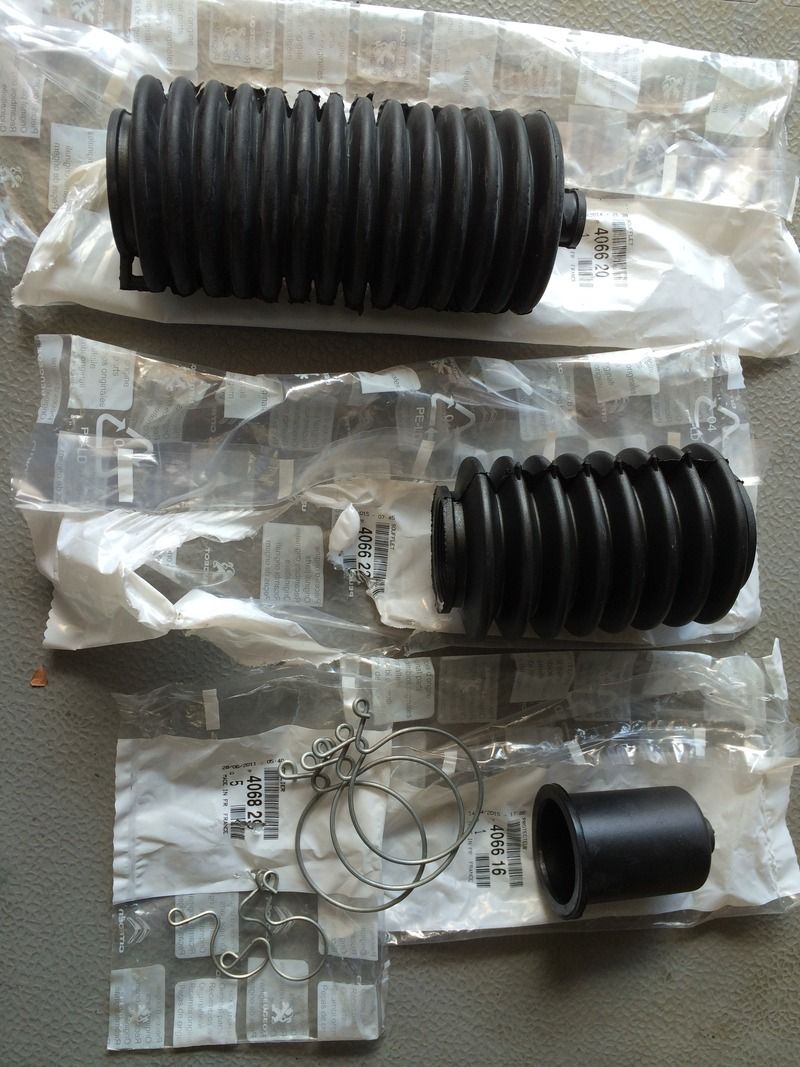
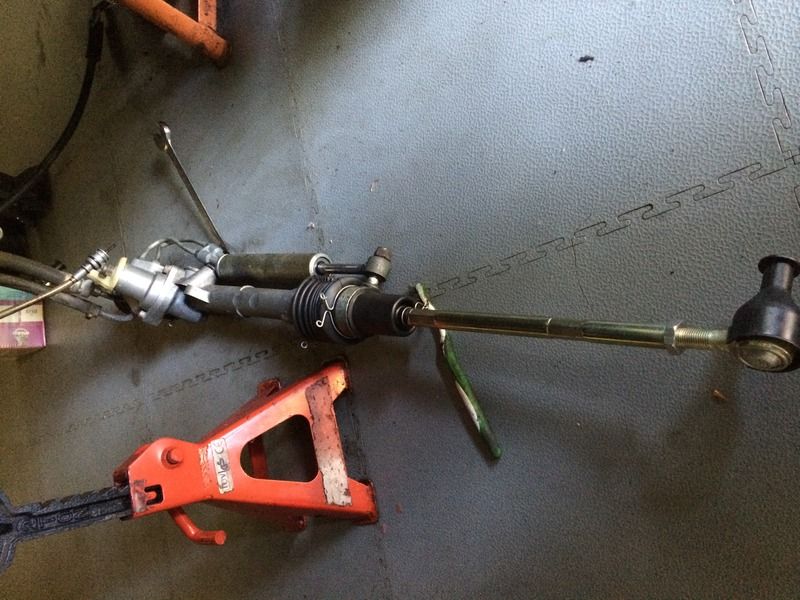
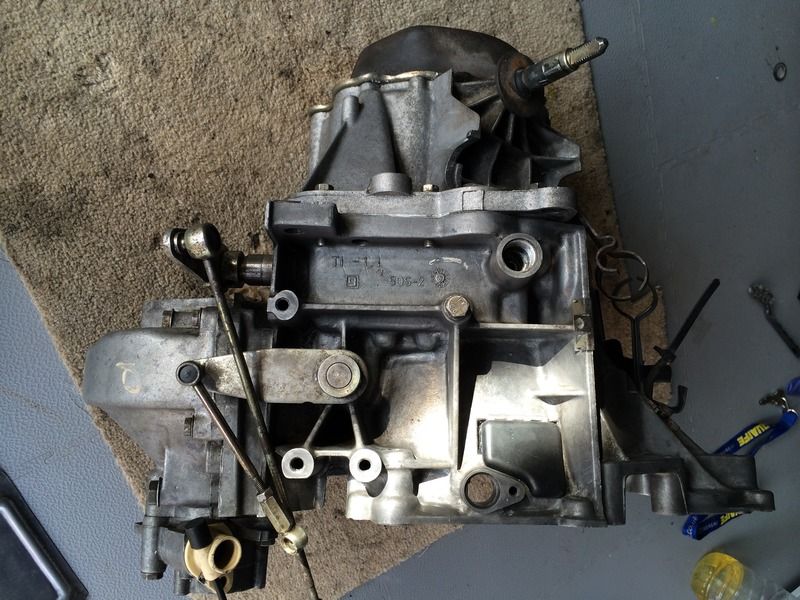
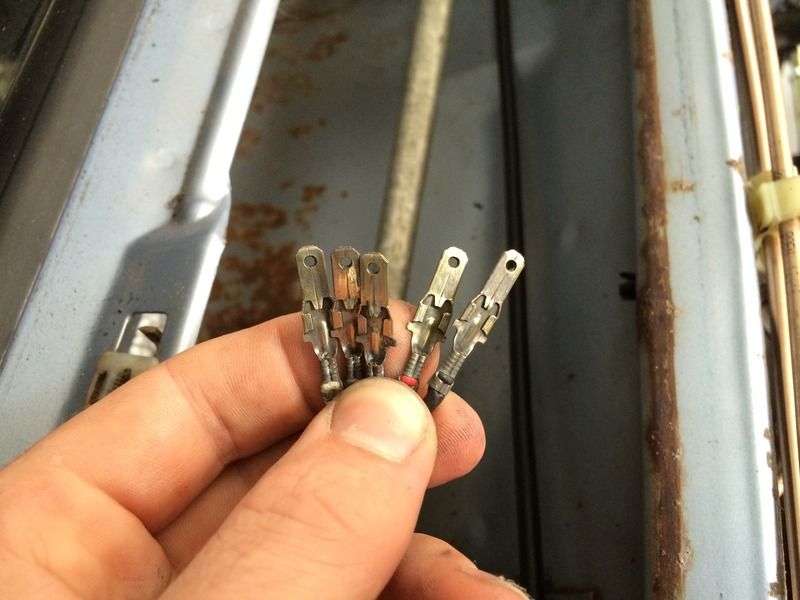
Full credit to my friendly parts Genie who managed to locate a full set of new Genuine gear linkages from various locations across Europe

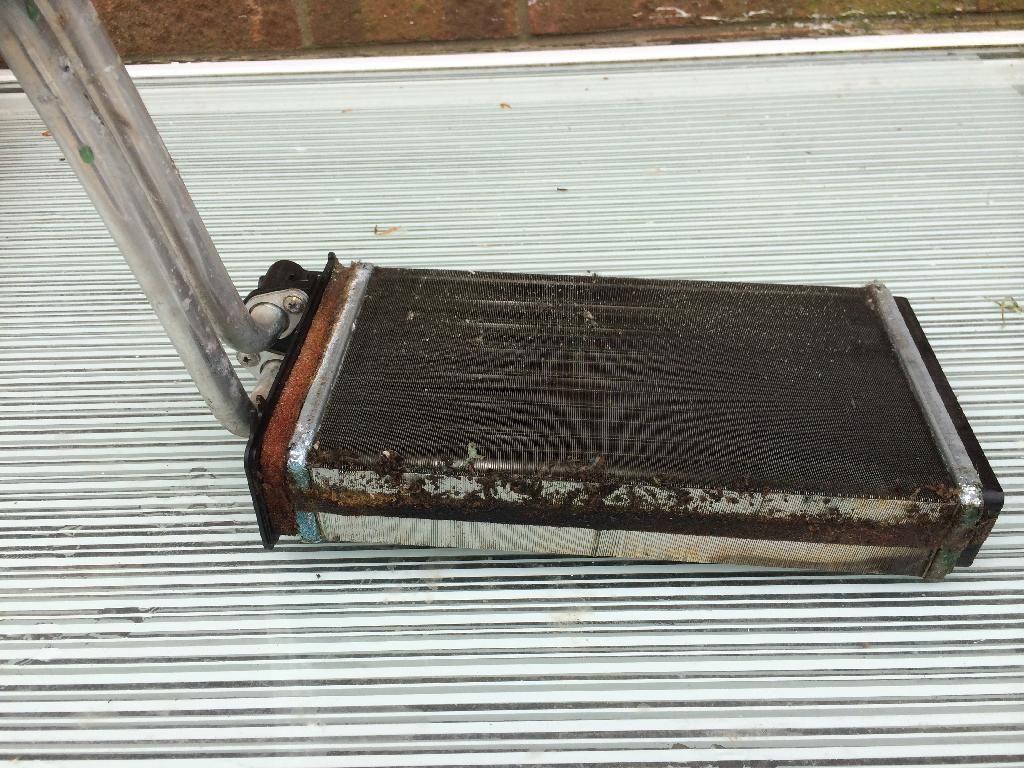
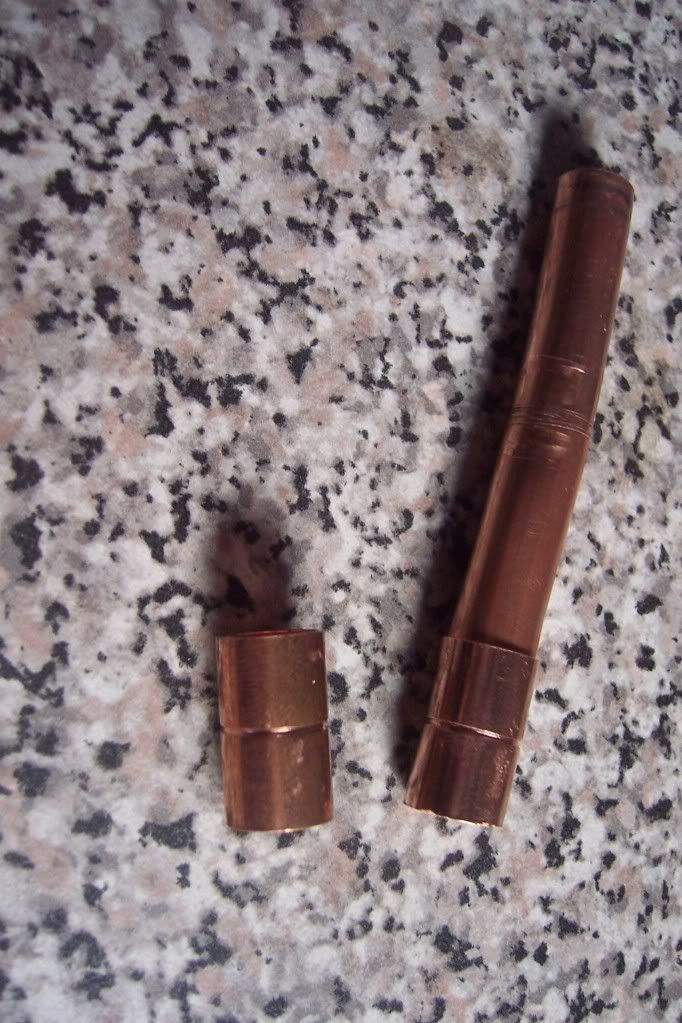
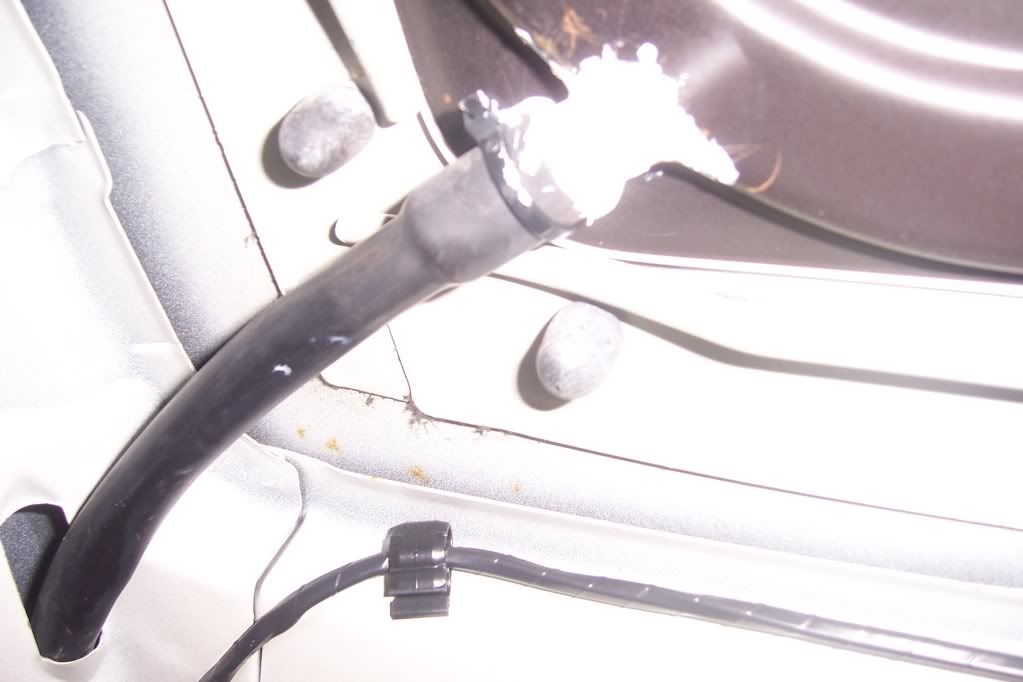
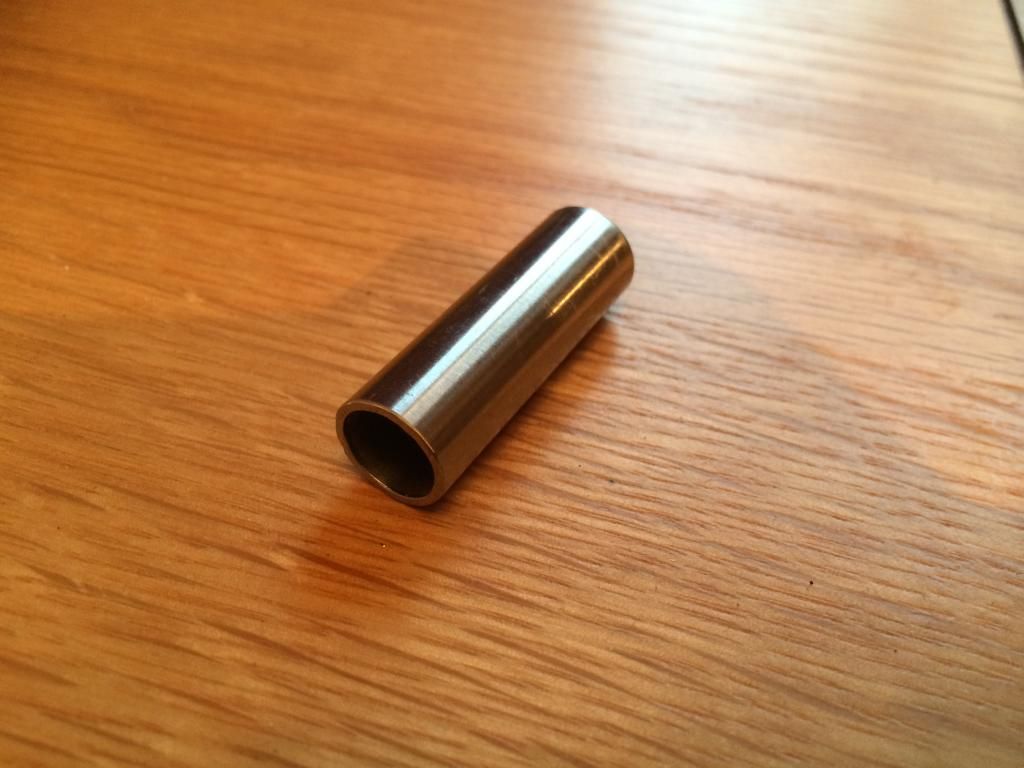
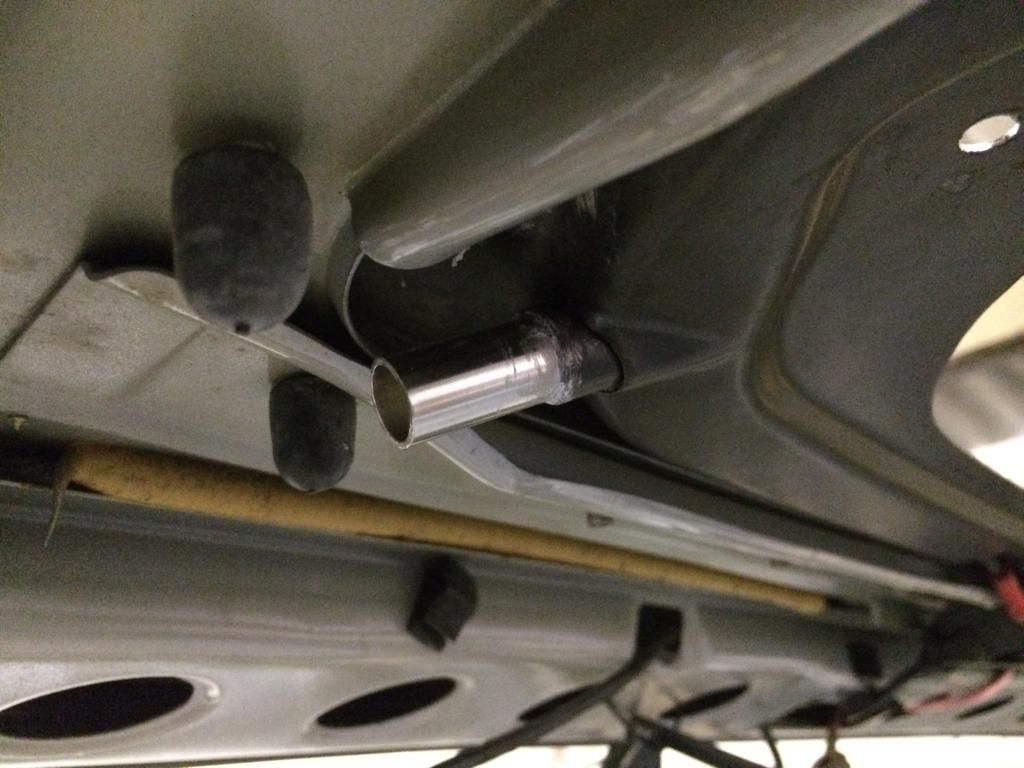
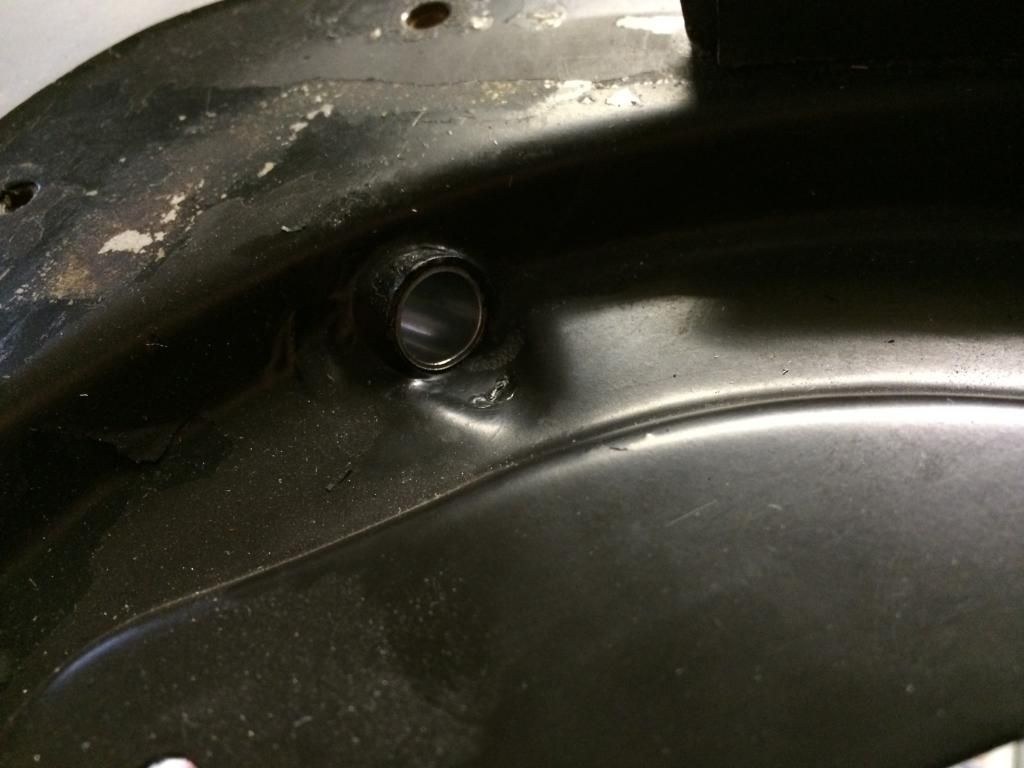
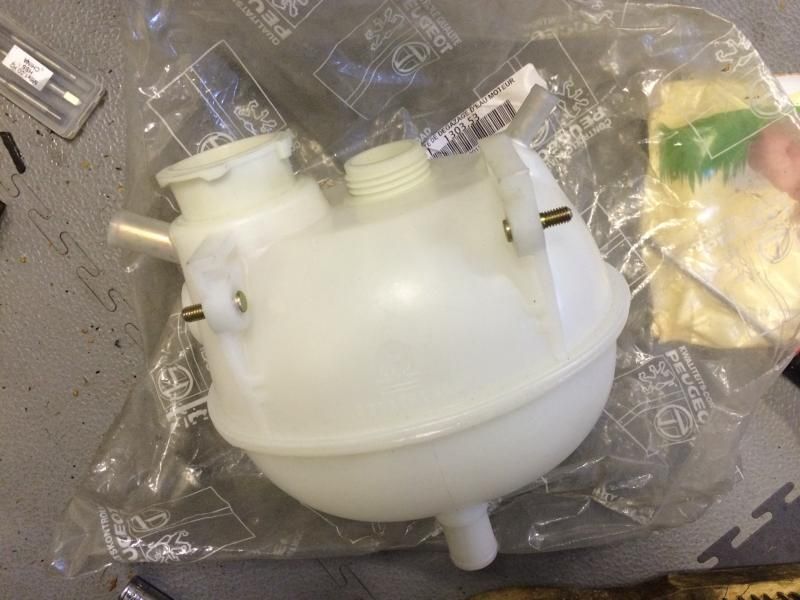
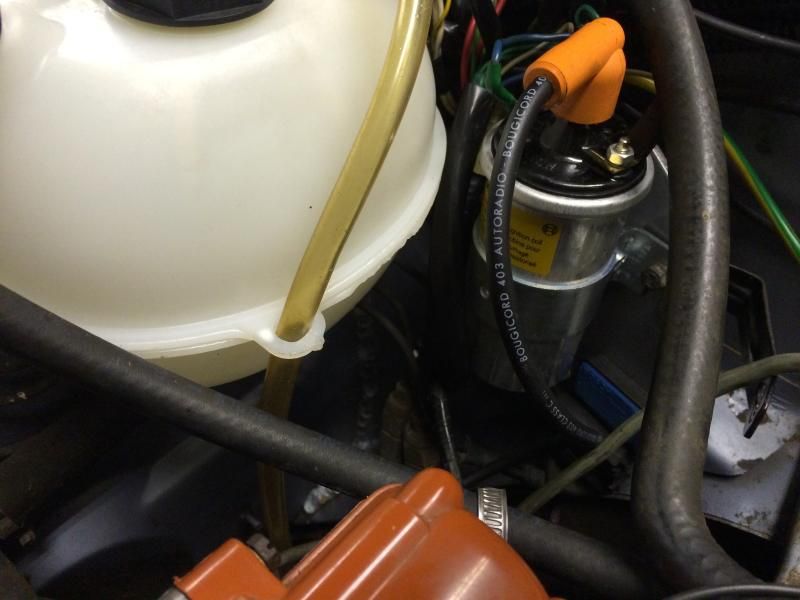
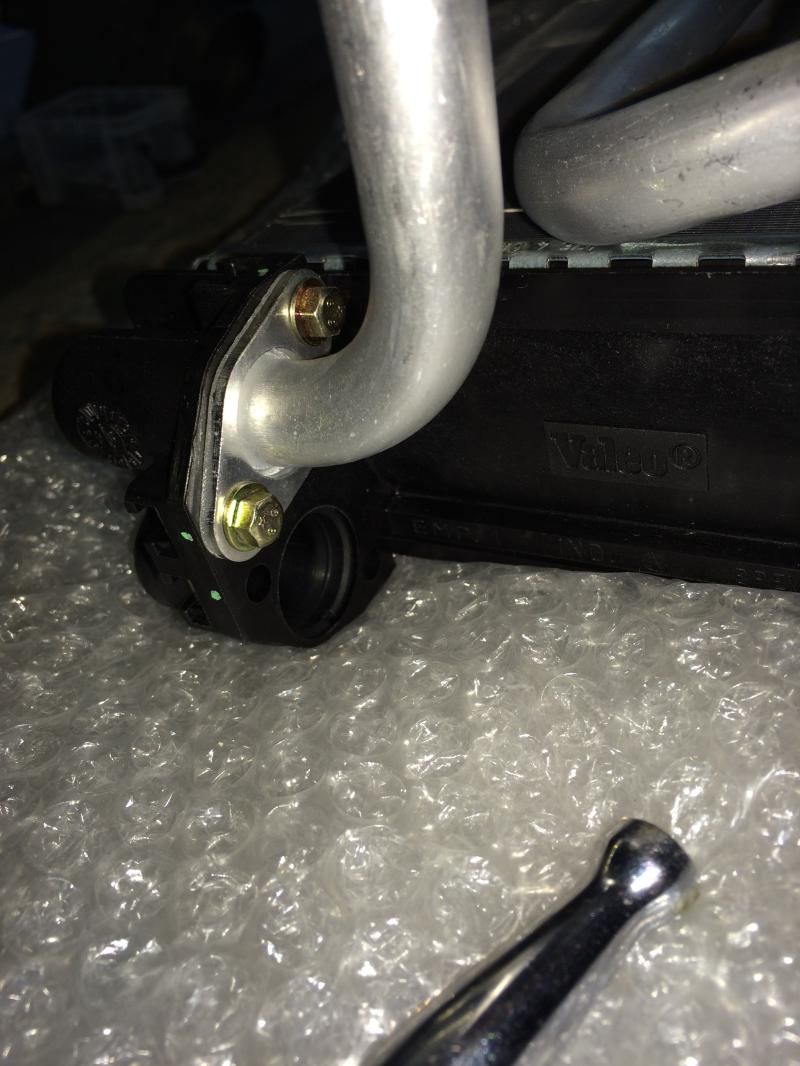
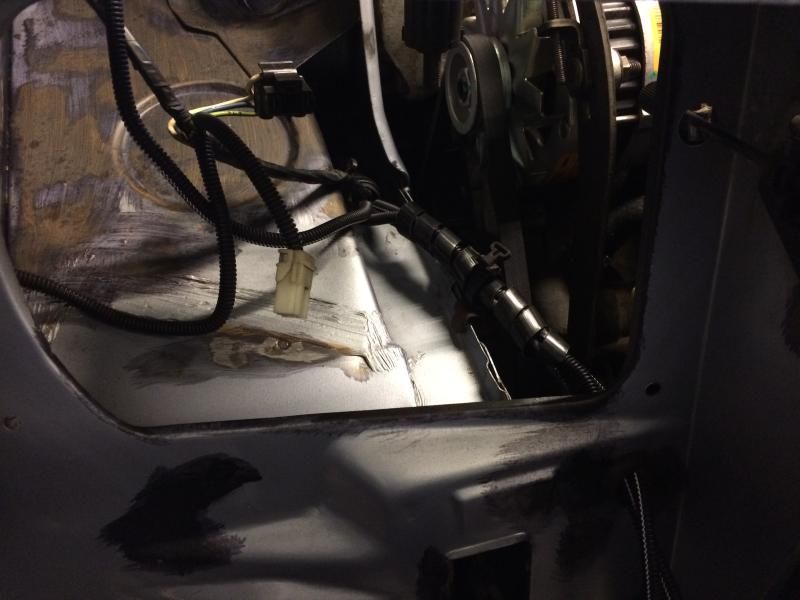
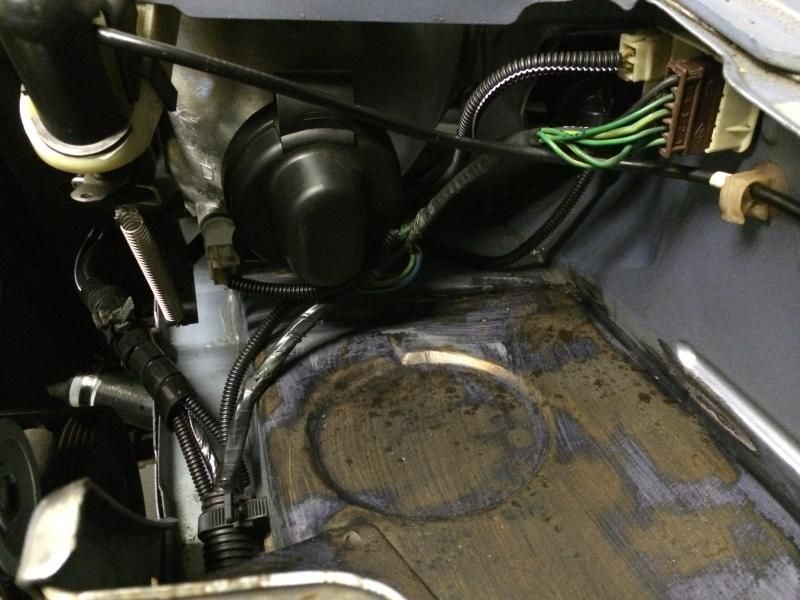
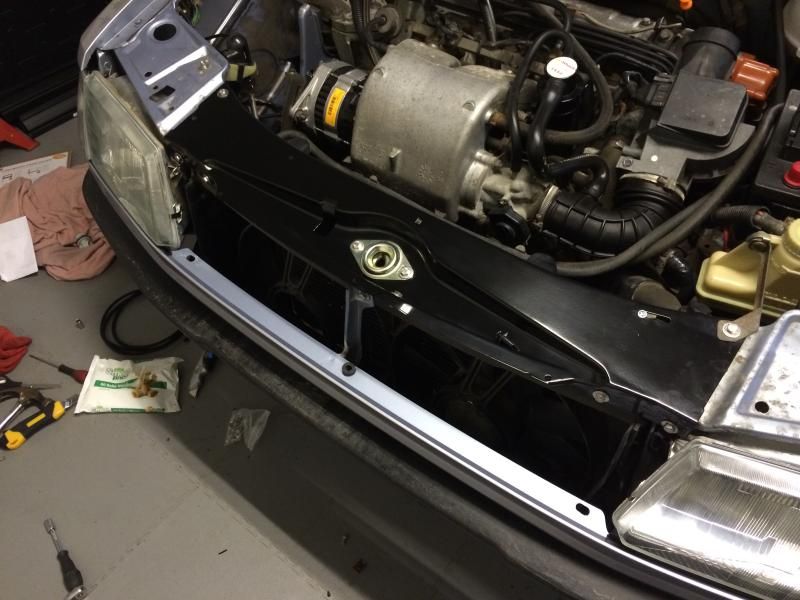
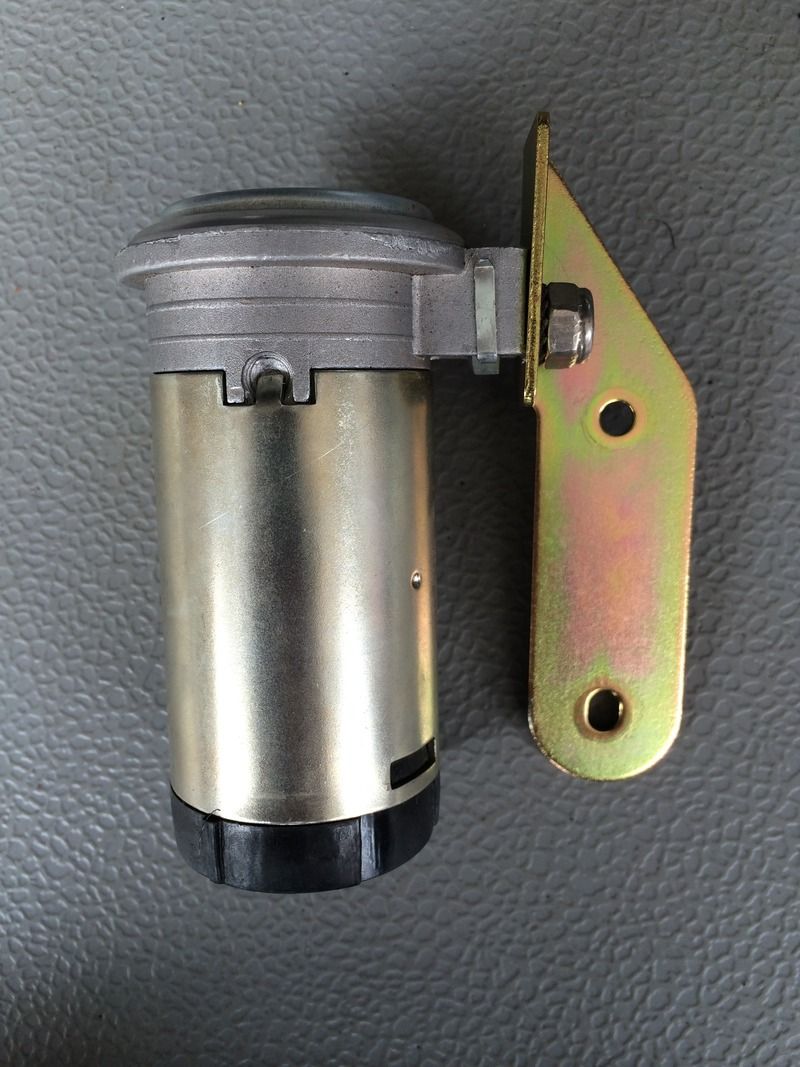
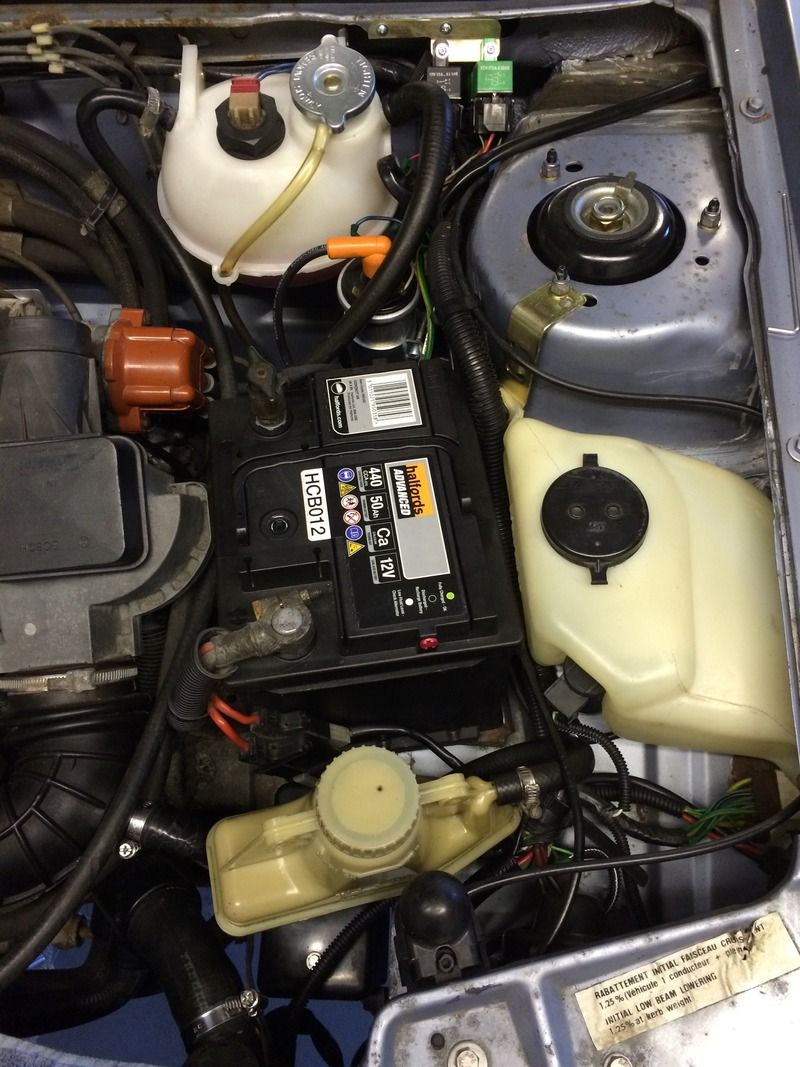
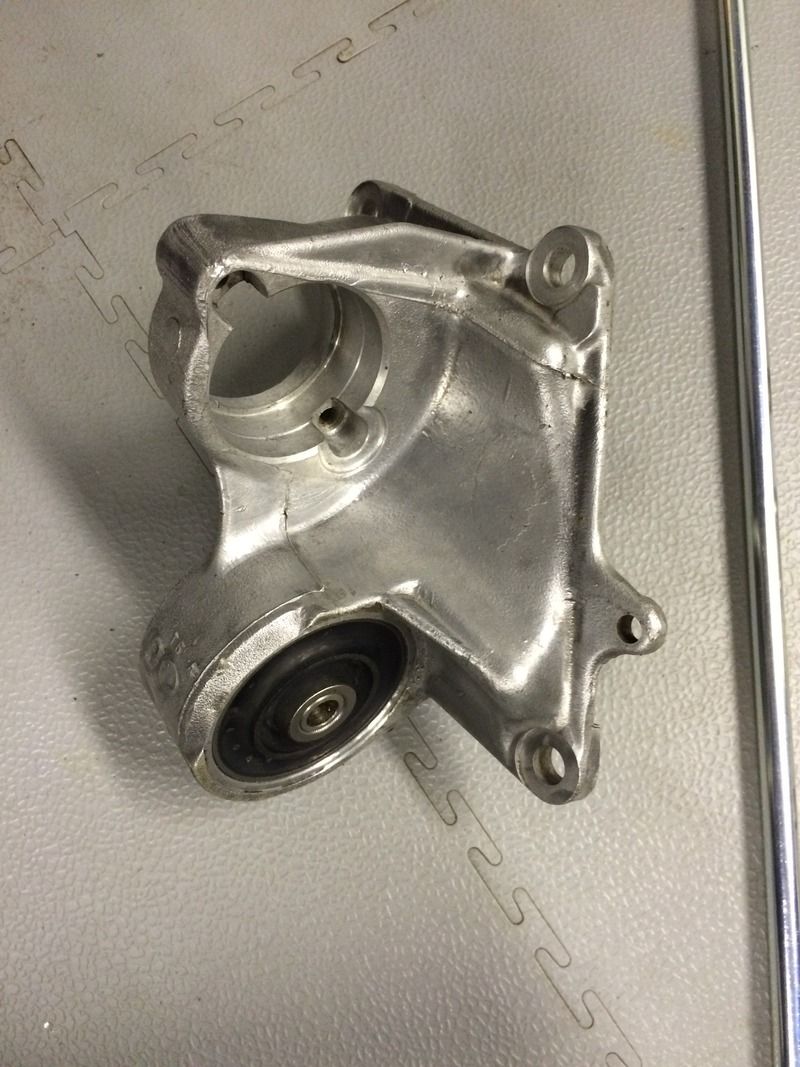
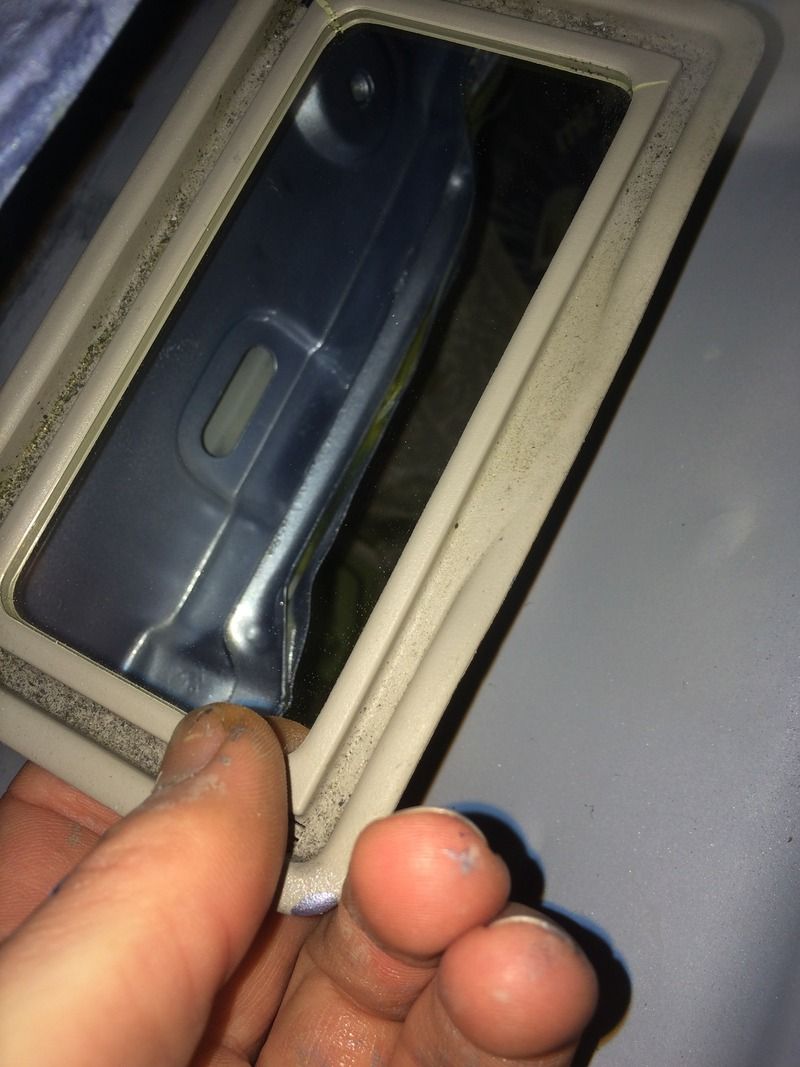
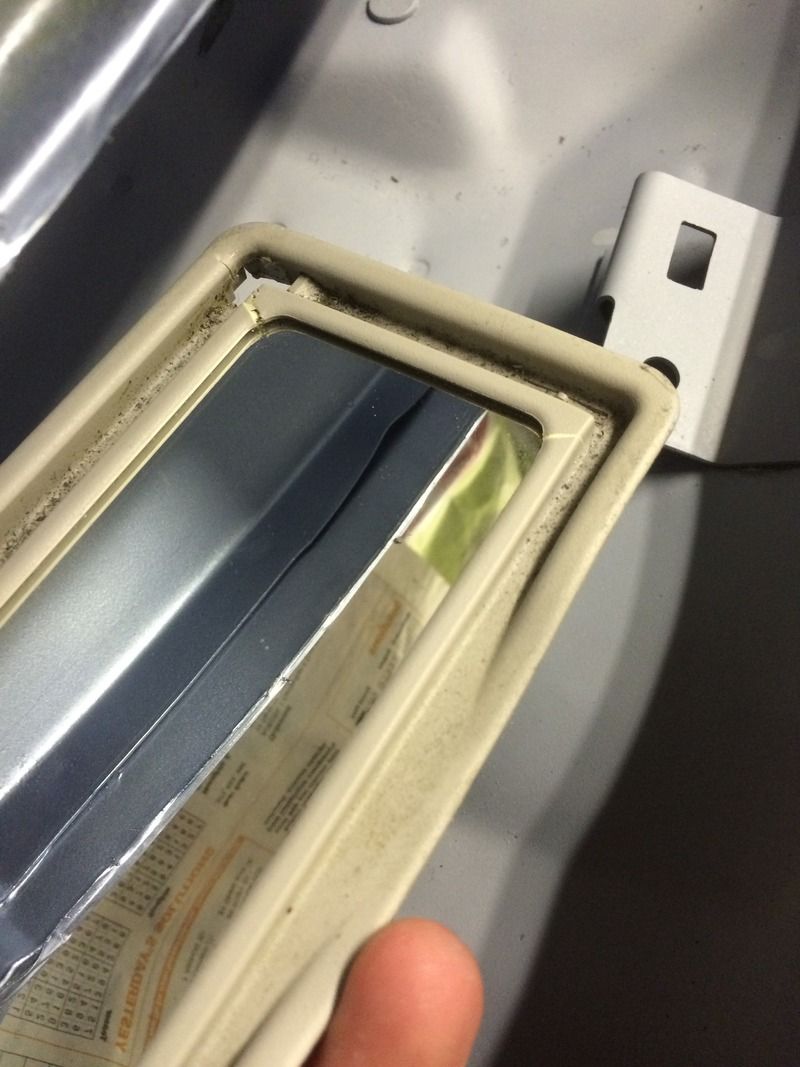
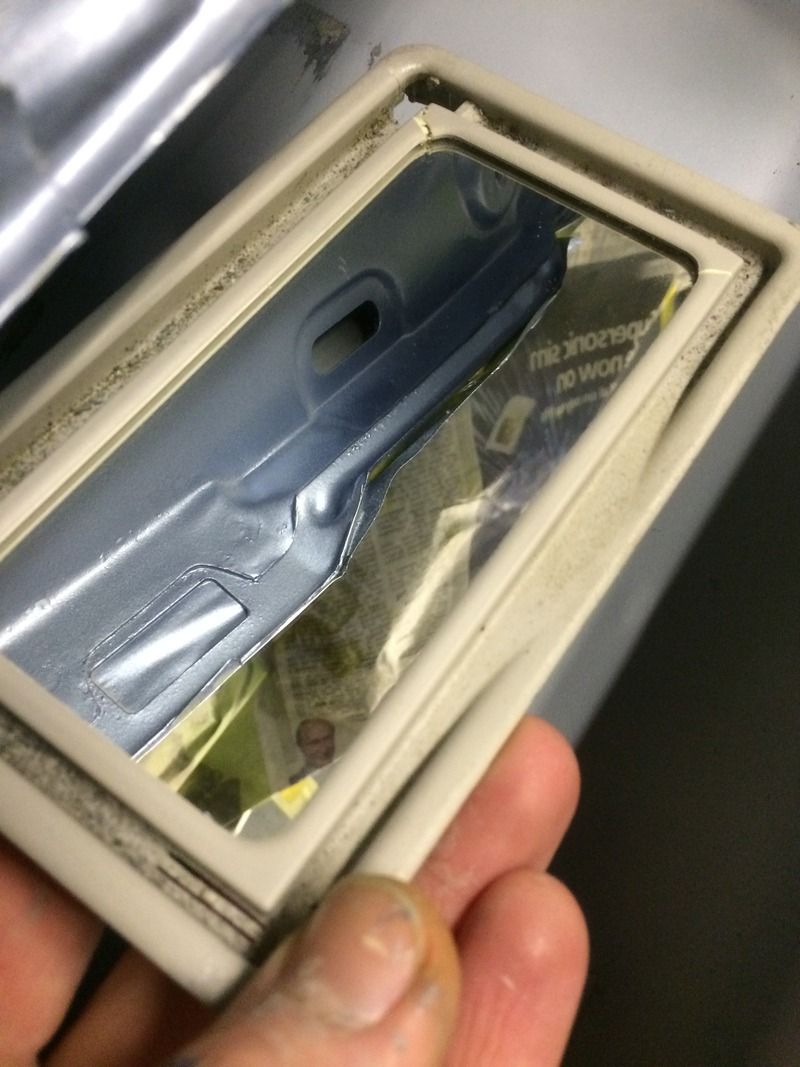
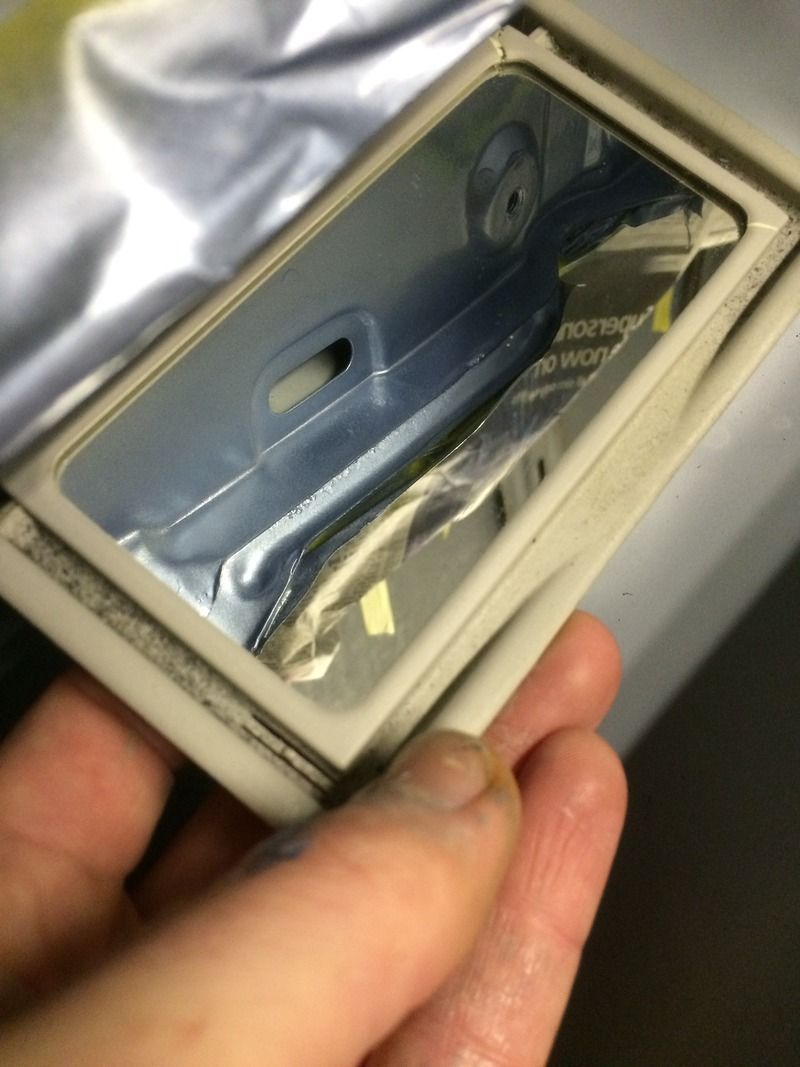
And to end this update I managed to get hold of a new water outlet (the secondary one, not the one that bolts to the back of the engine block) the existing one looked ok but given the difficulty getting hold of an original type metal one for the block, I bought this new one anyway.

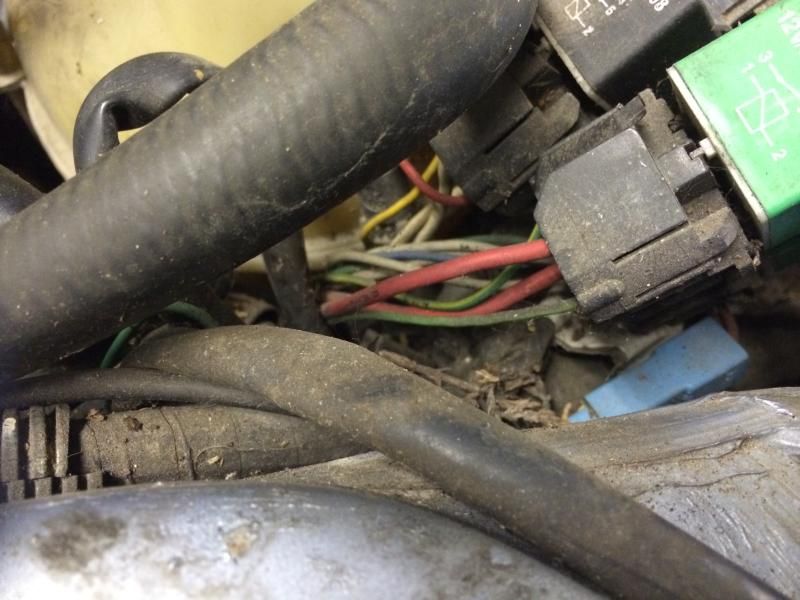
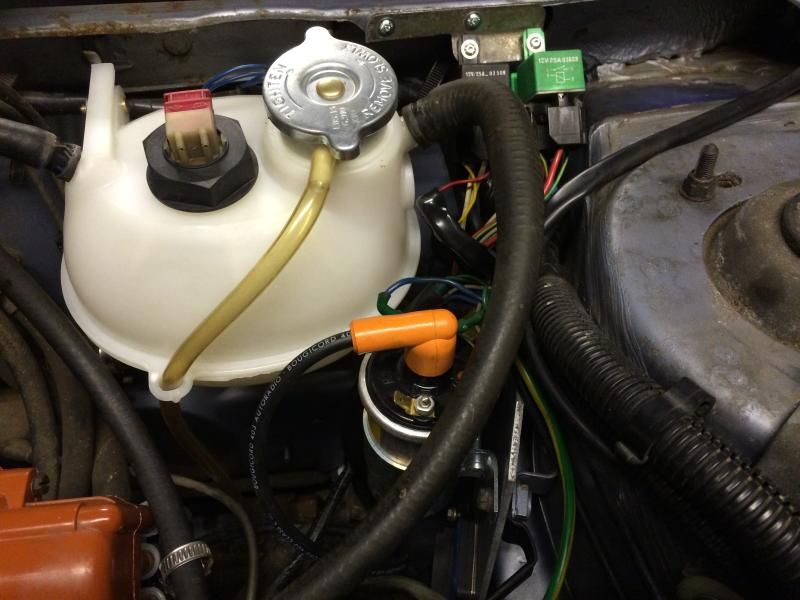
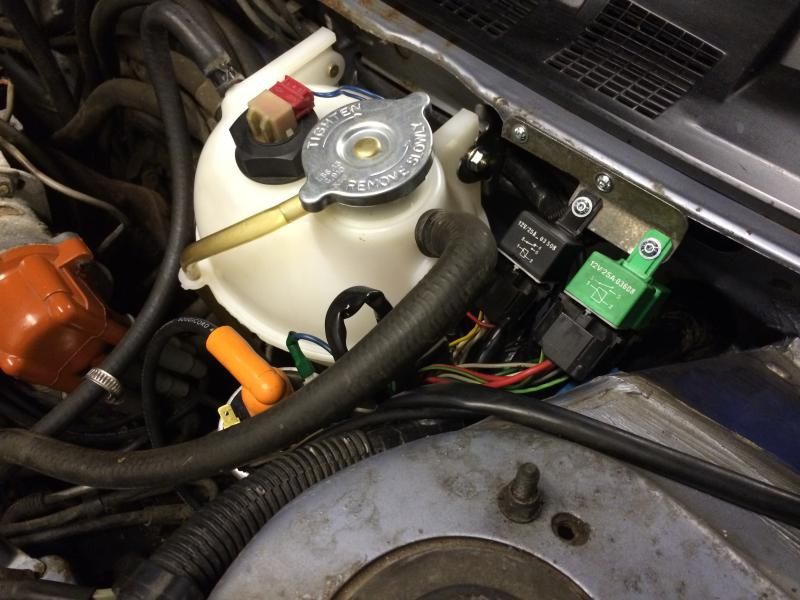
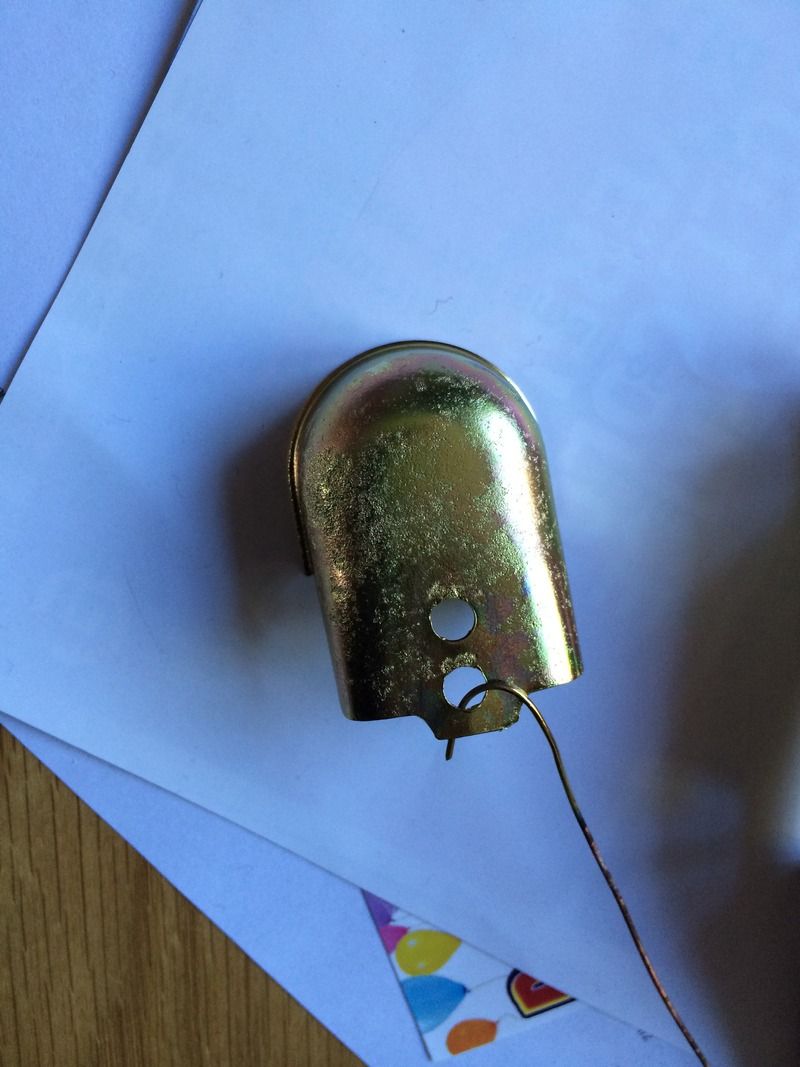
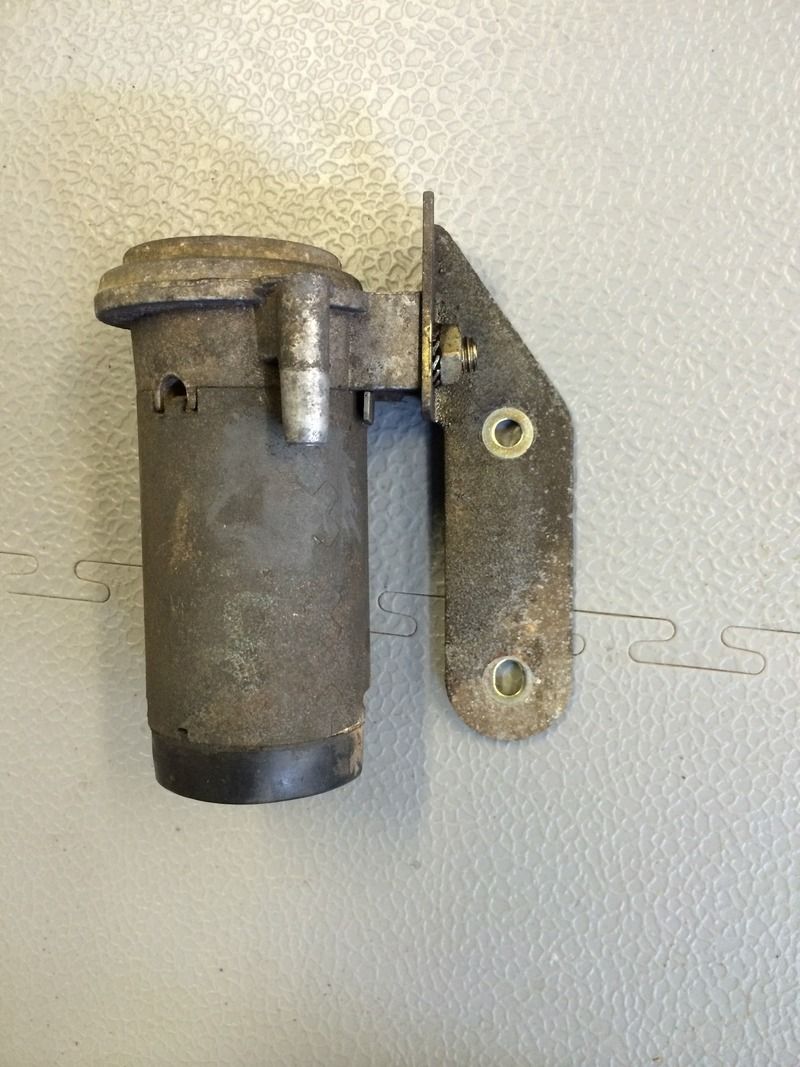
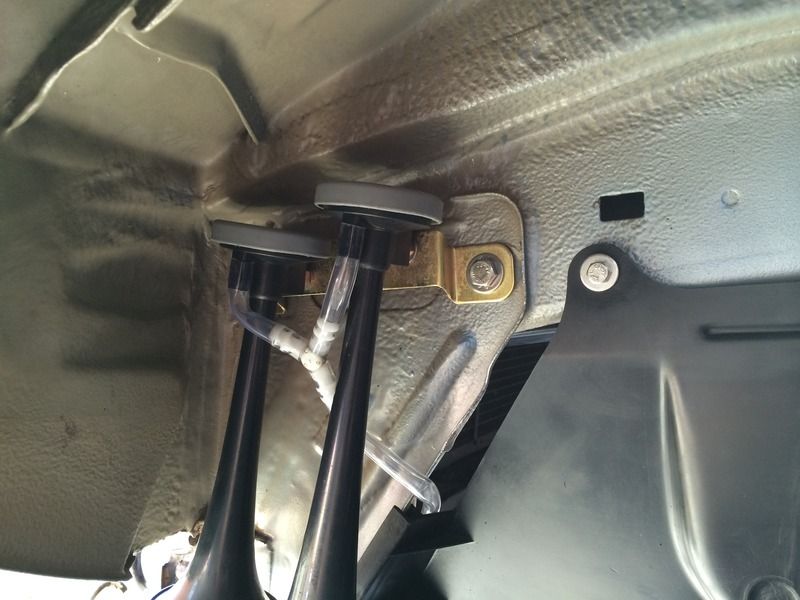
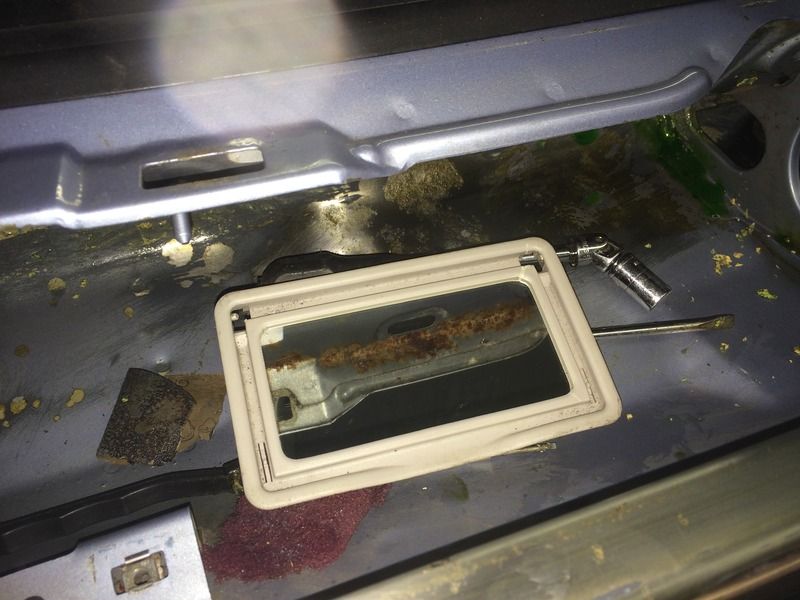
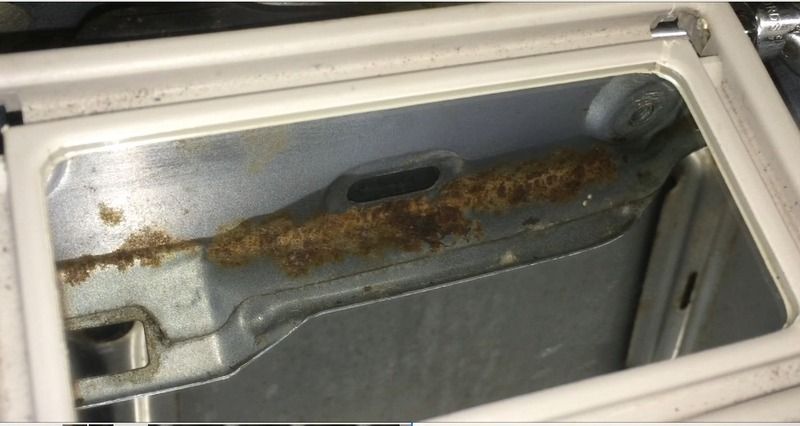
In swapping them over, the 'SAD' Supplementary Air Device mounts onto the bottom of the outlet. It's well known to be a potential problem point for the idle of 205 and 309's however generally with some routing cleaning to maintain it the problems are often solved. Ideal than to test it whilst oh was off the car. Hooked up a supply to it and was pleased to see that it works perfectly fine

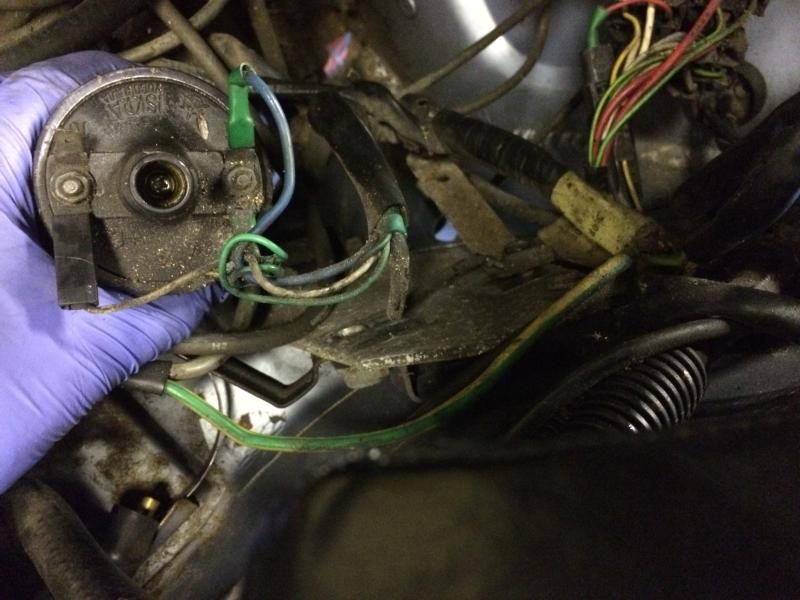
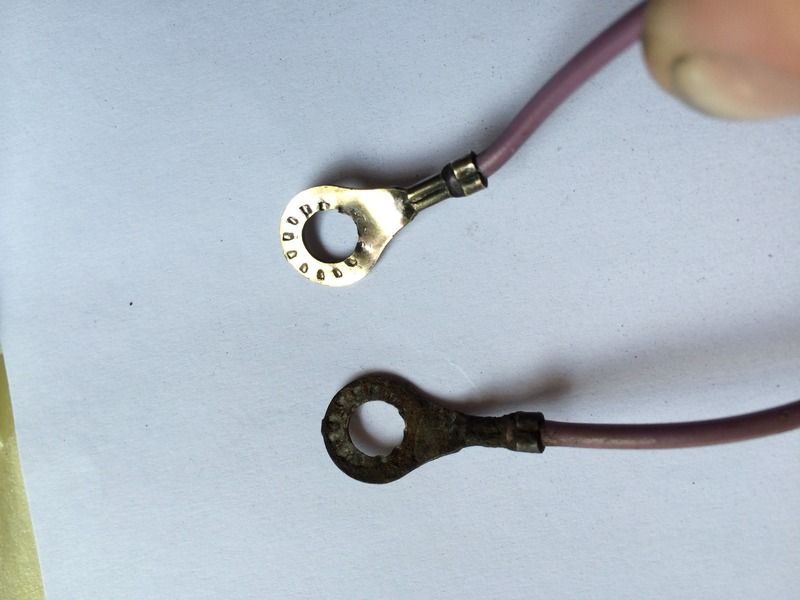
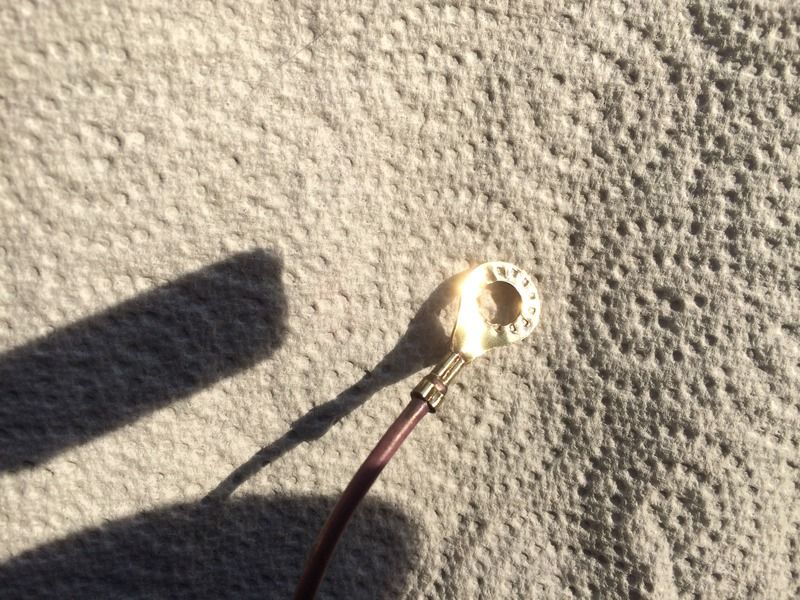
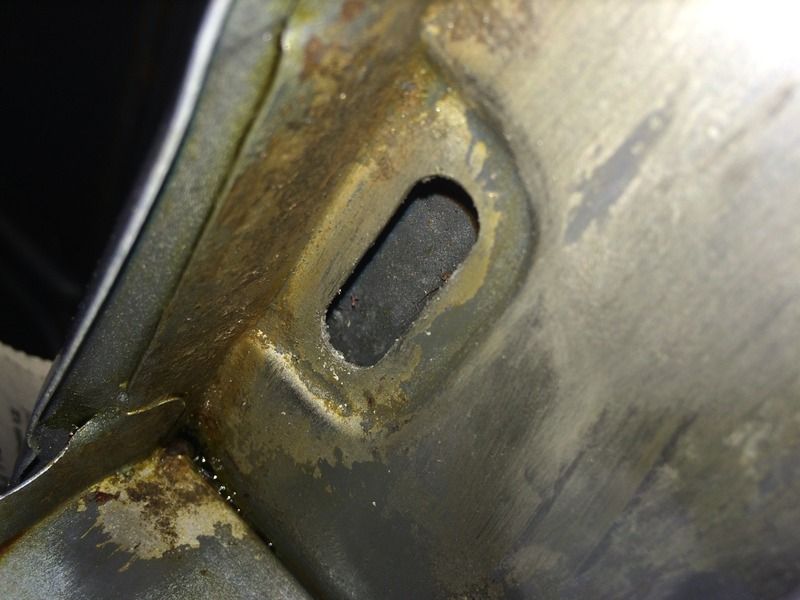
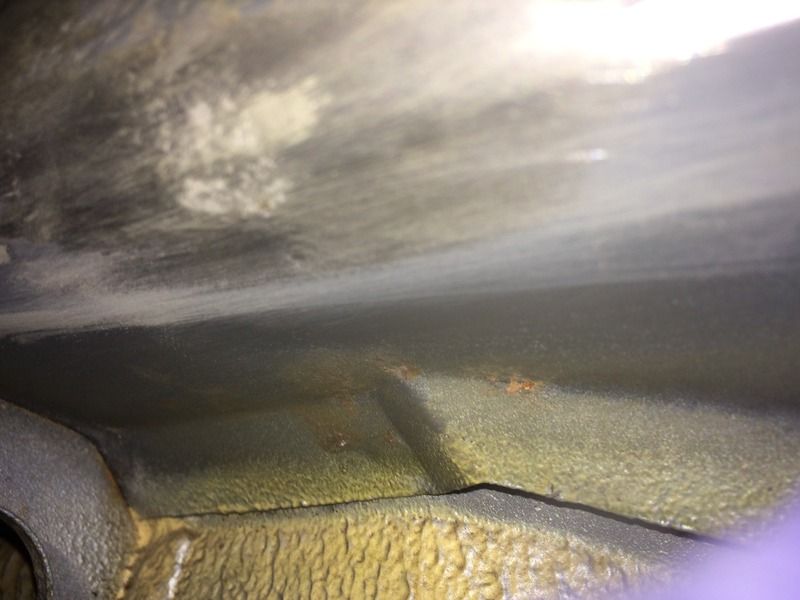
So it had a thorough clean. Also cleaned and polished up the sensor from the water outlet. I do have a new one but will refit this one for now as it's perfectly good


 I cannot wait to see the way this turns out Matt!


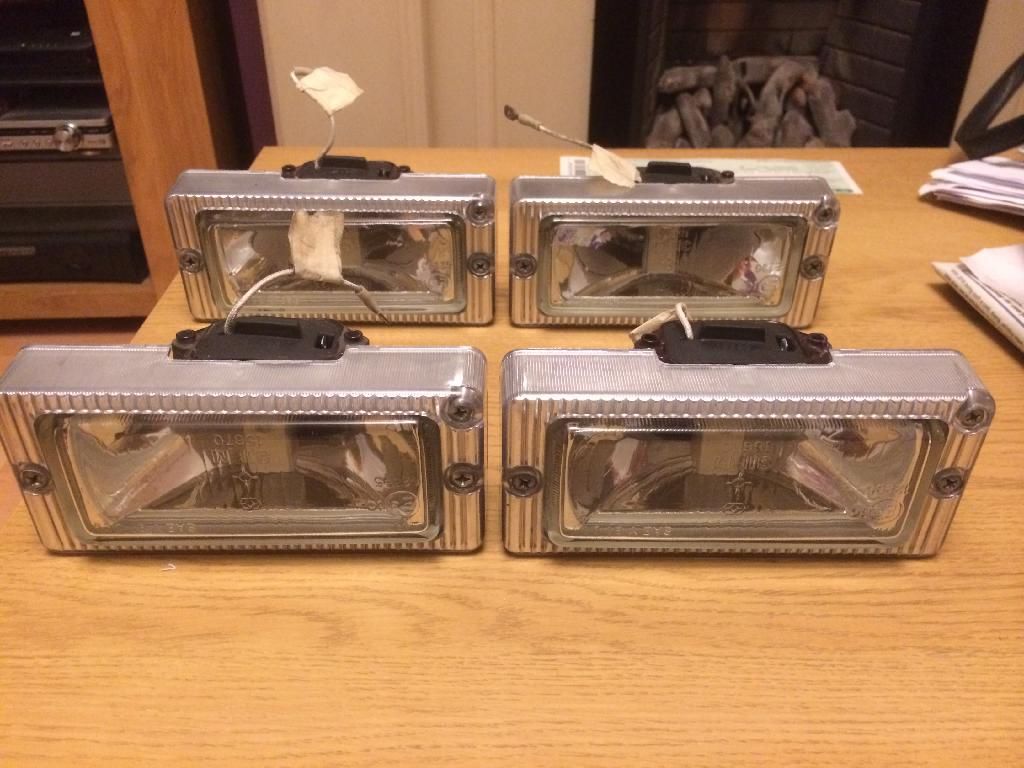


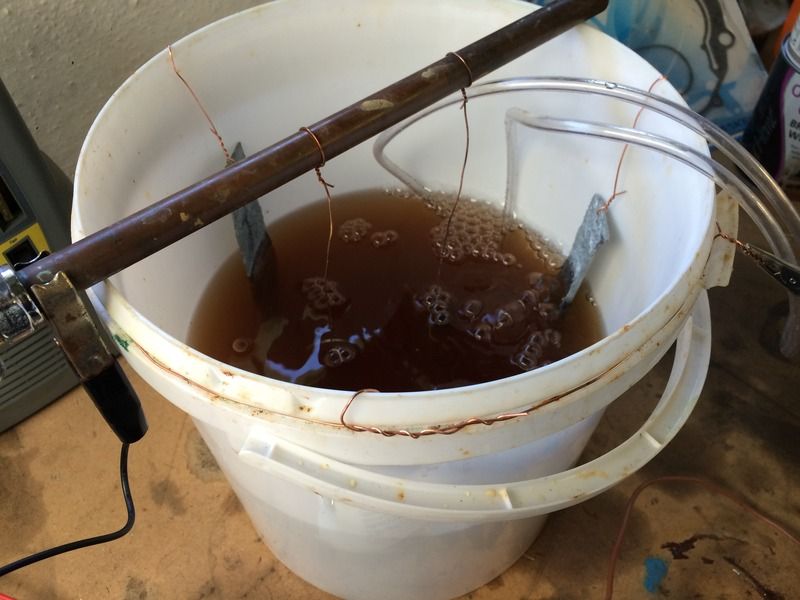
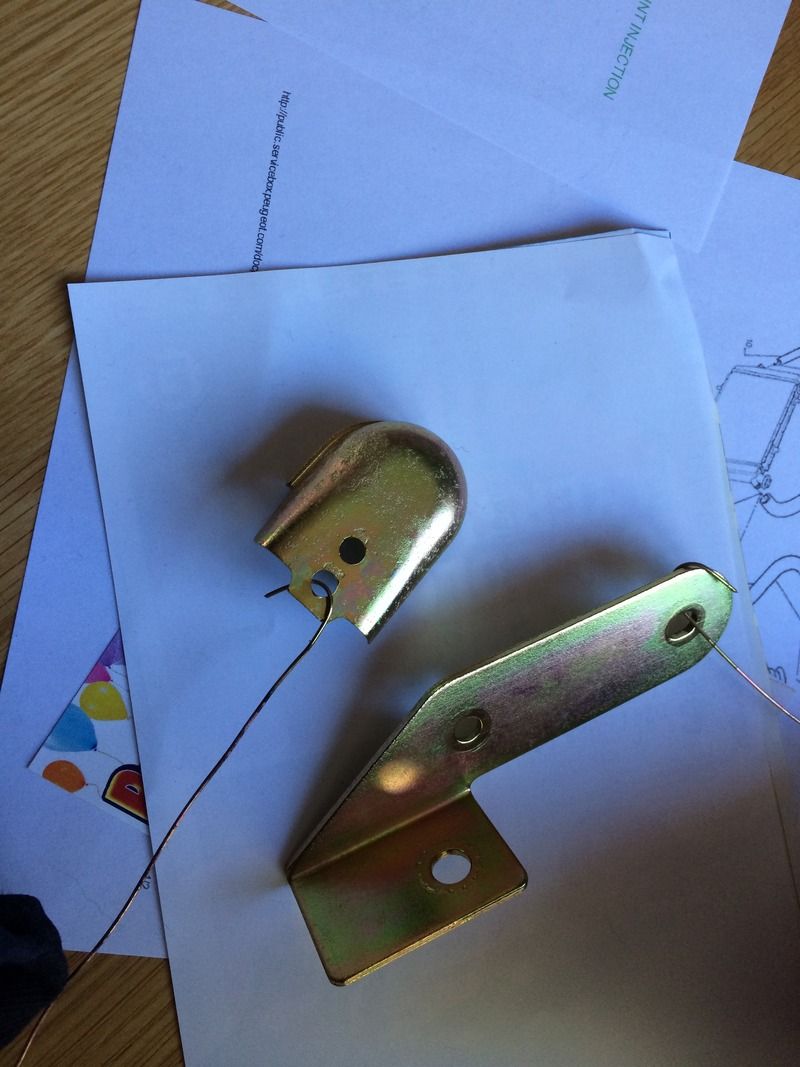
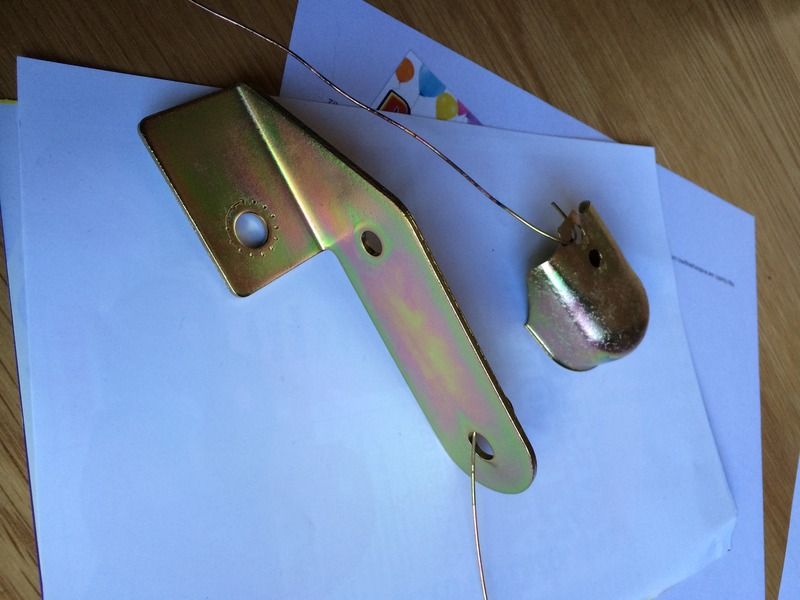
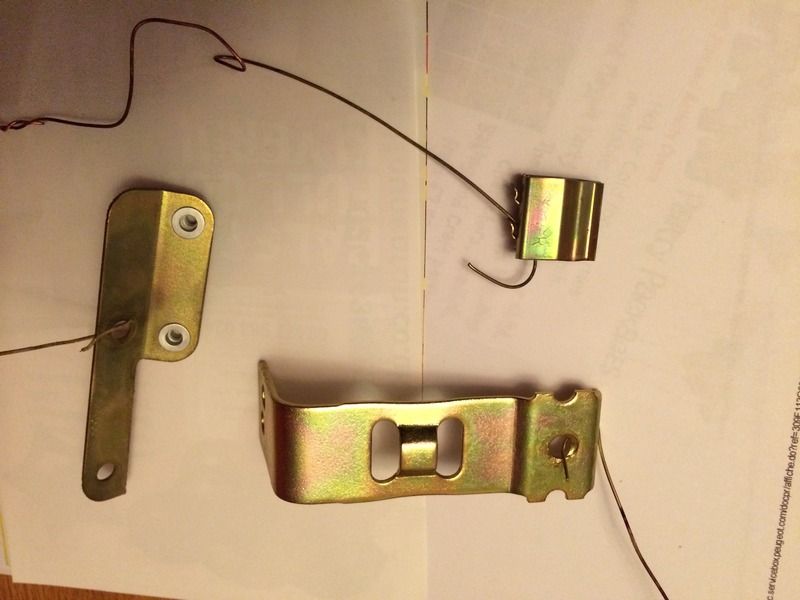


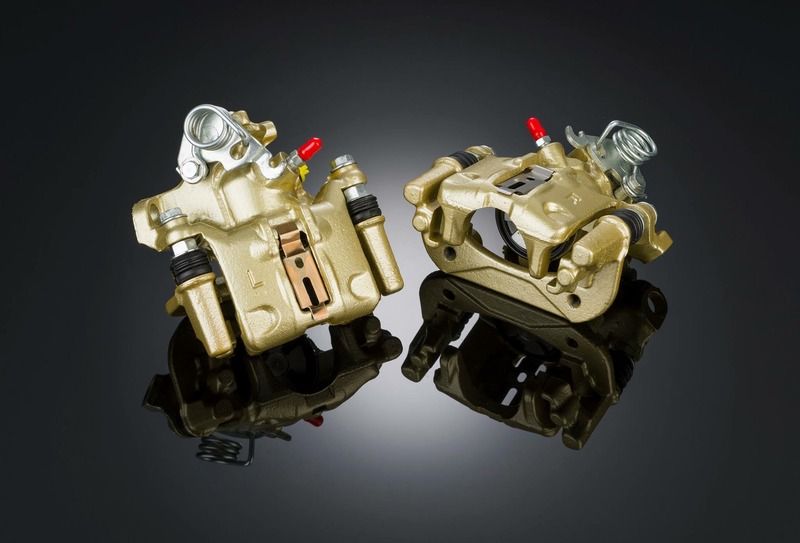


 for everything in the picture it was £40 turnaround time within a week. ElectroplateUK were great. They dont deal with postage (but theyre happy enough to box up and stick a label on) so I had to arrange my own courier both ways which was no problem