Saxo VTS Track-Day Fun.

  1. #1
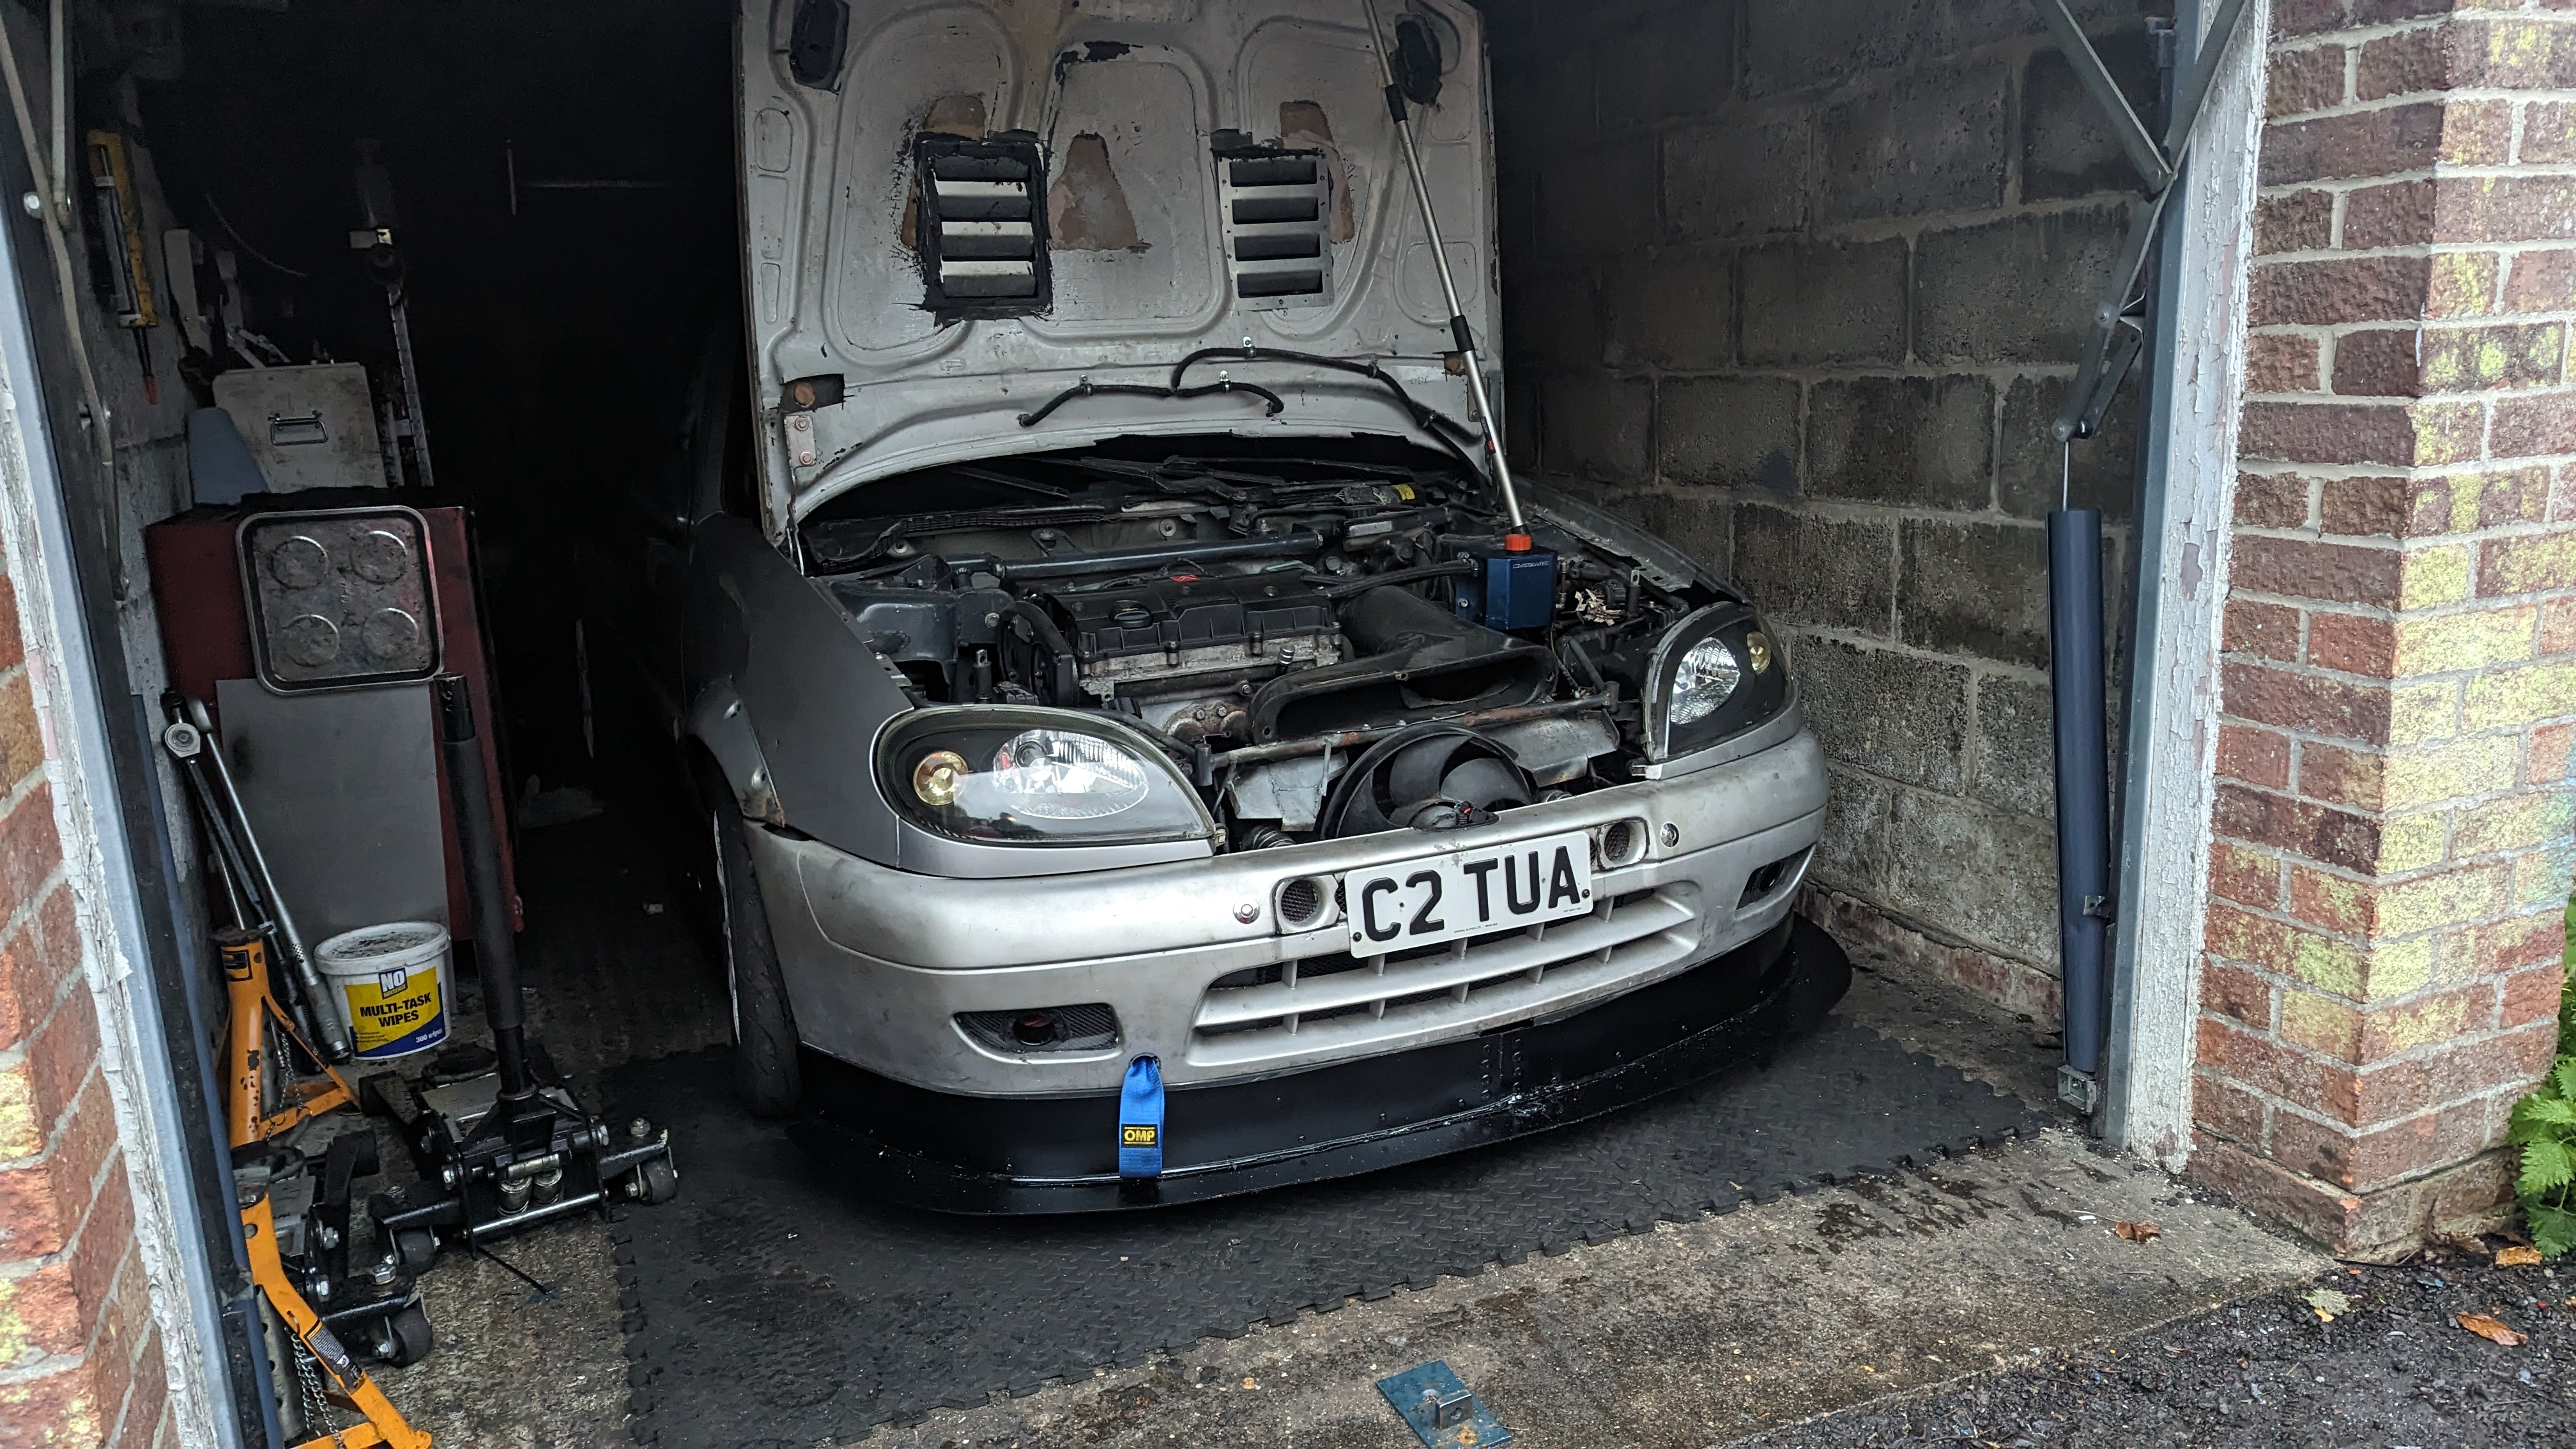
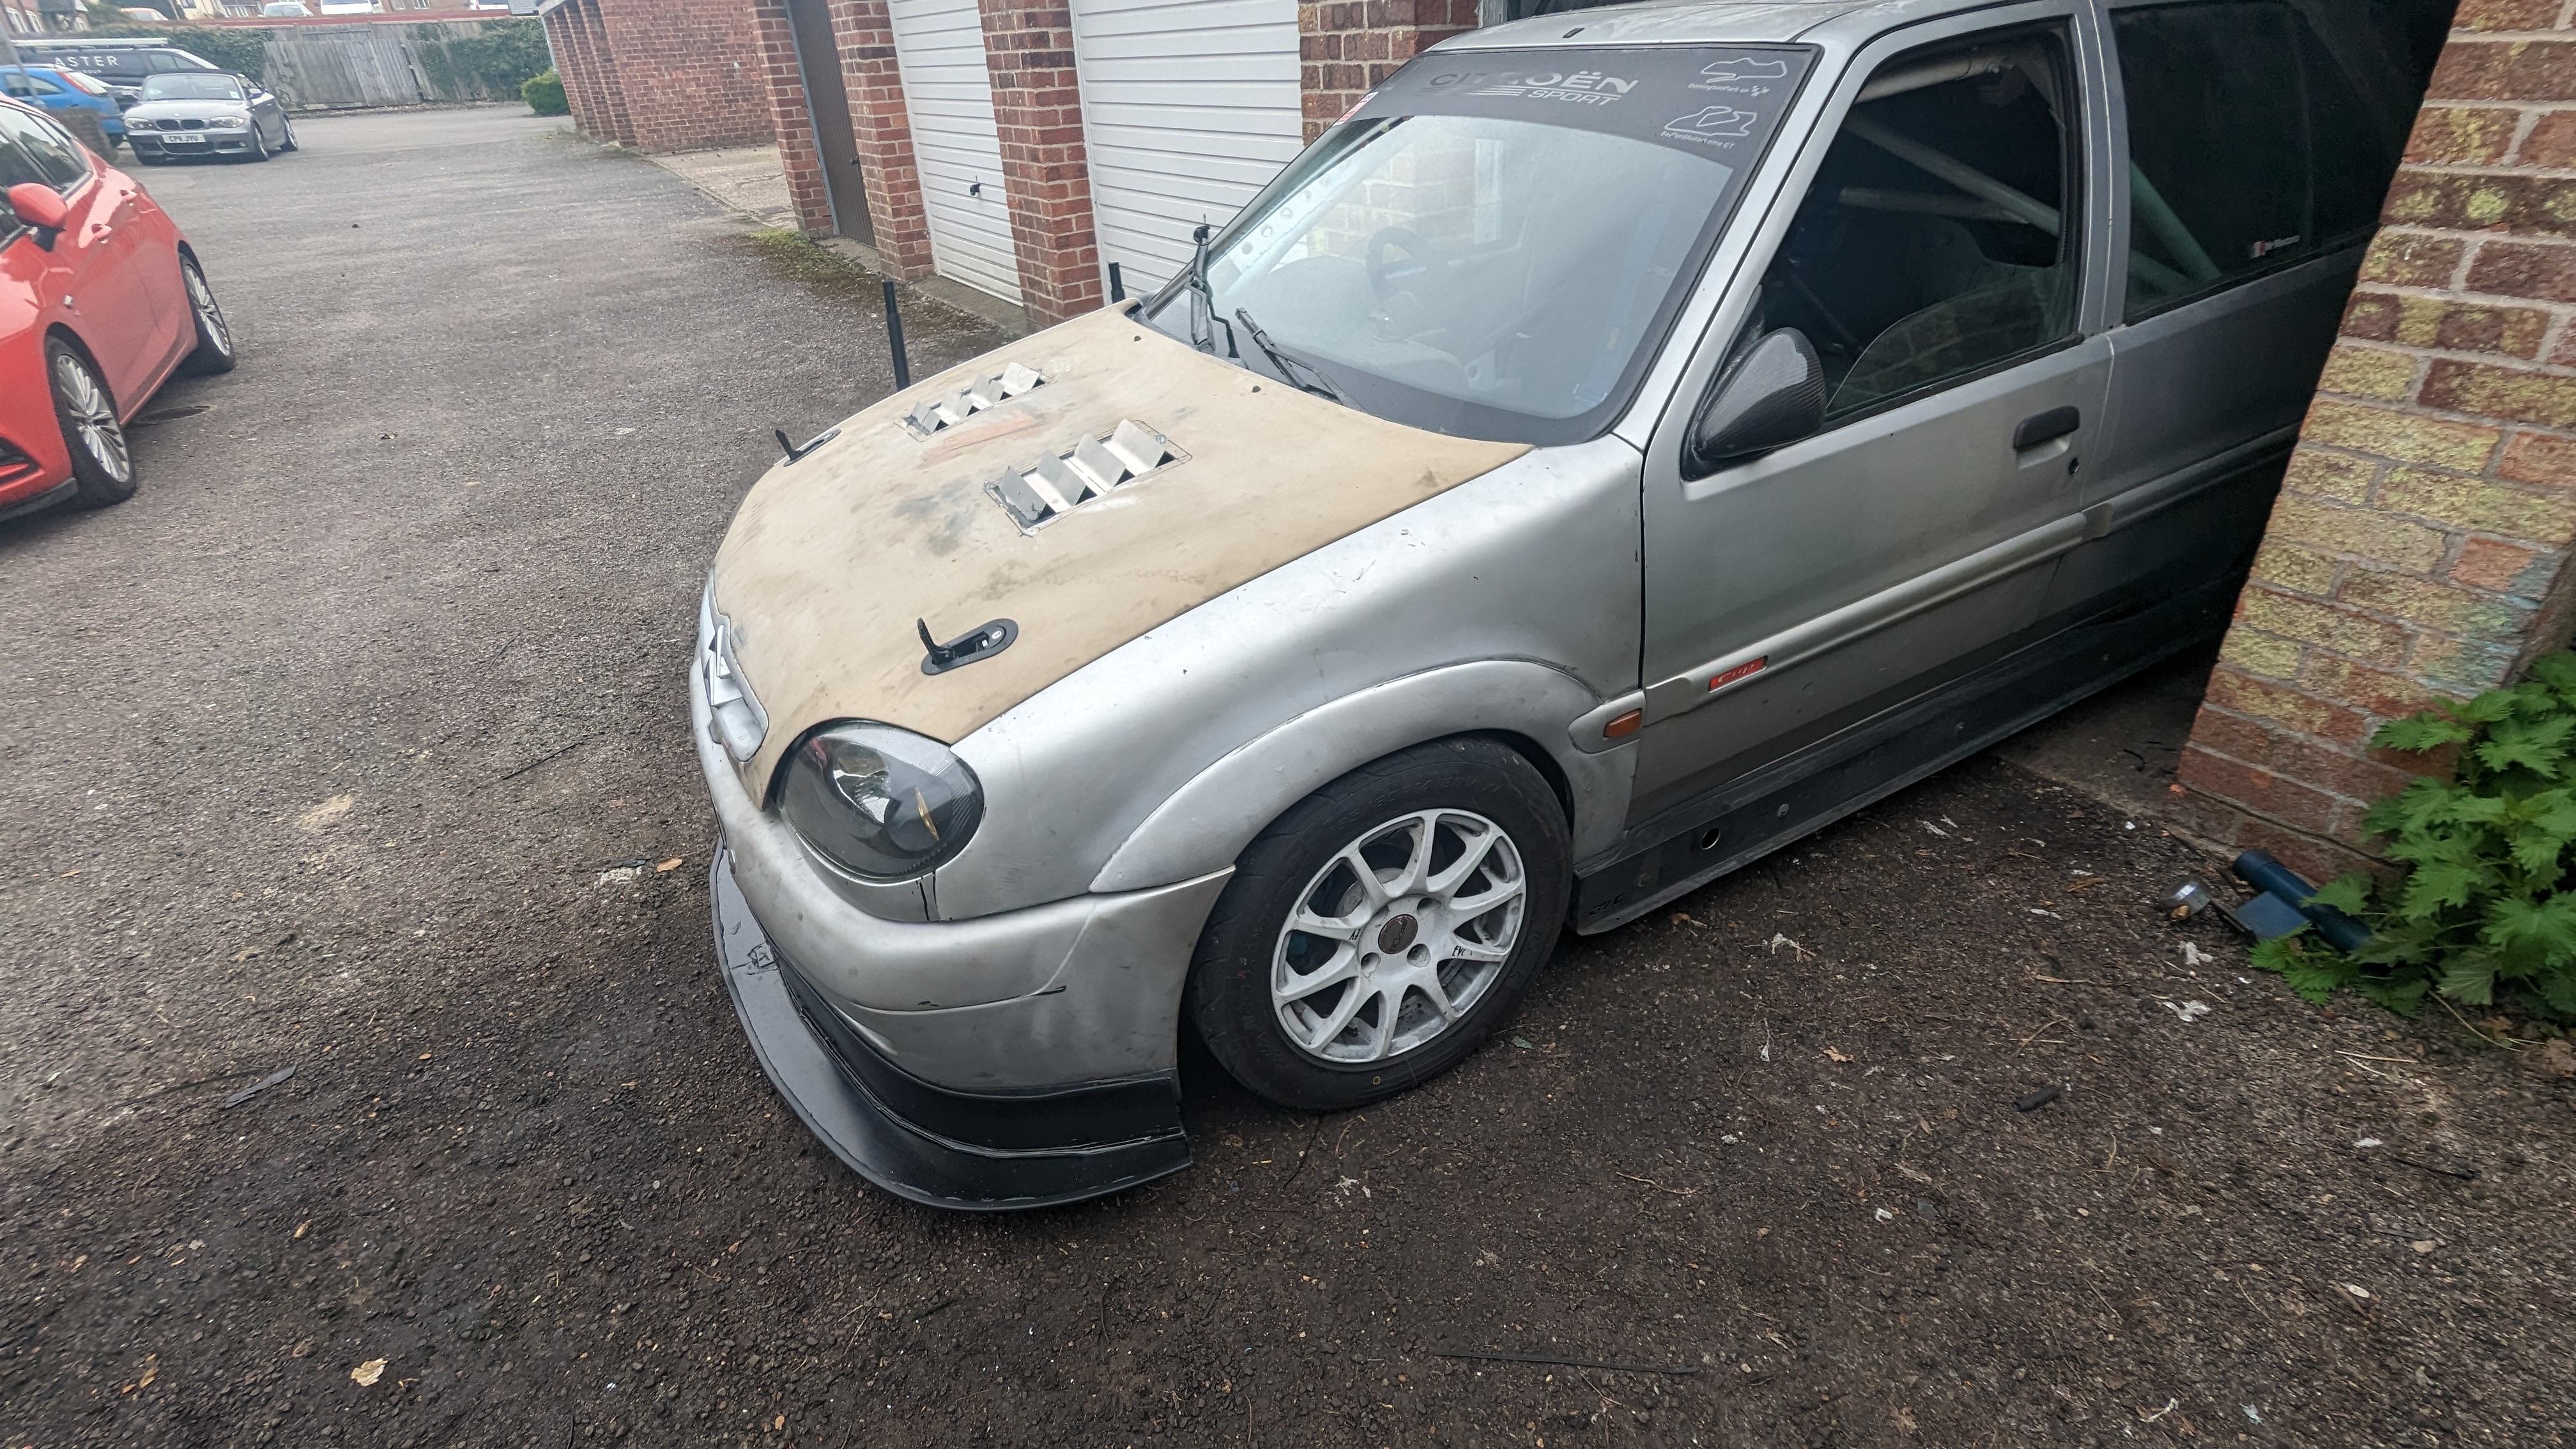
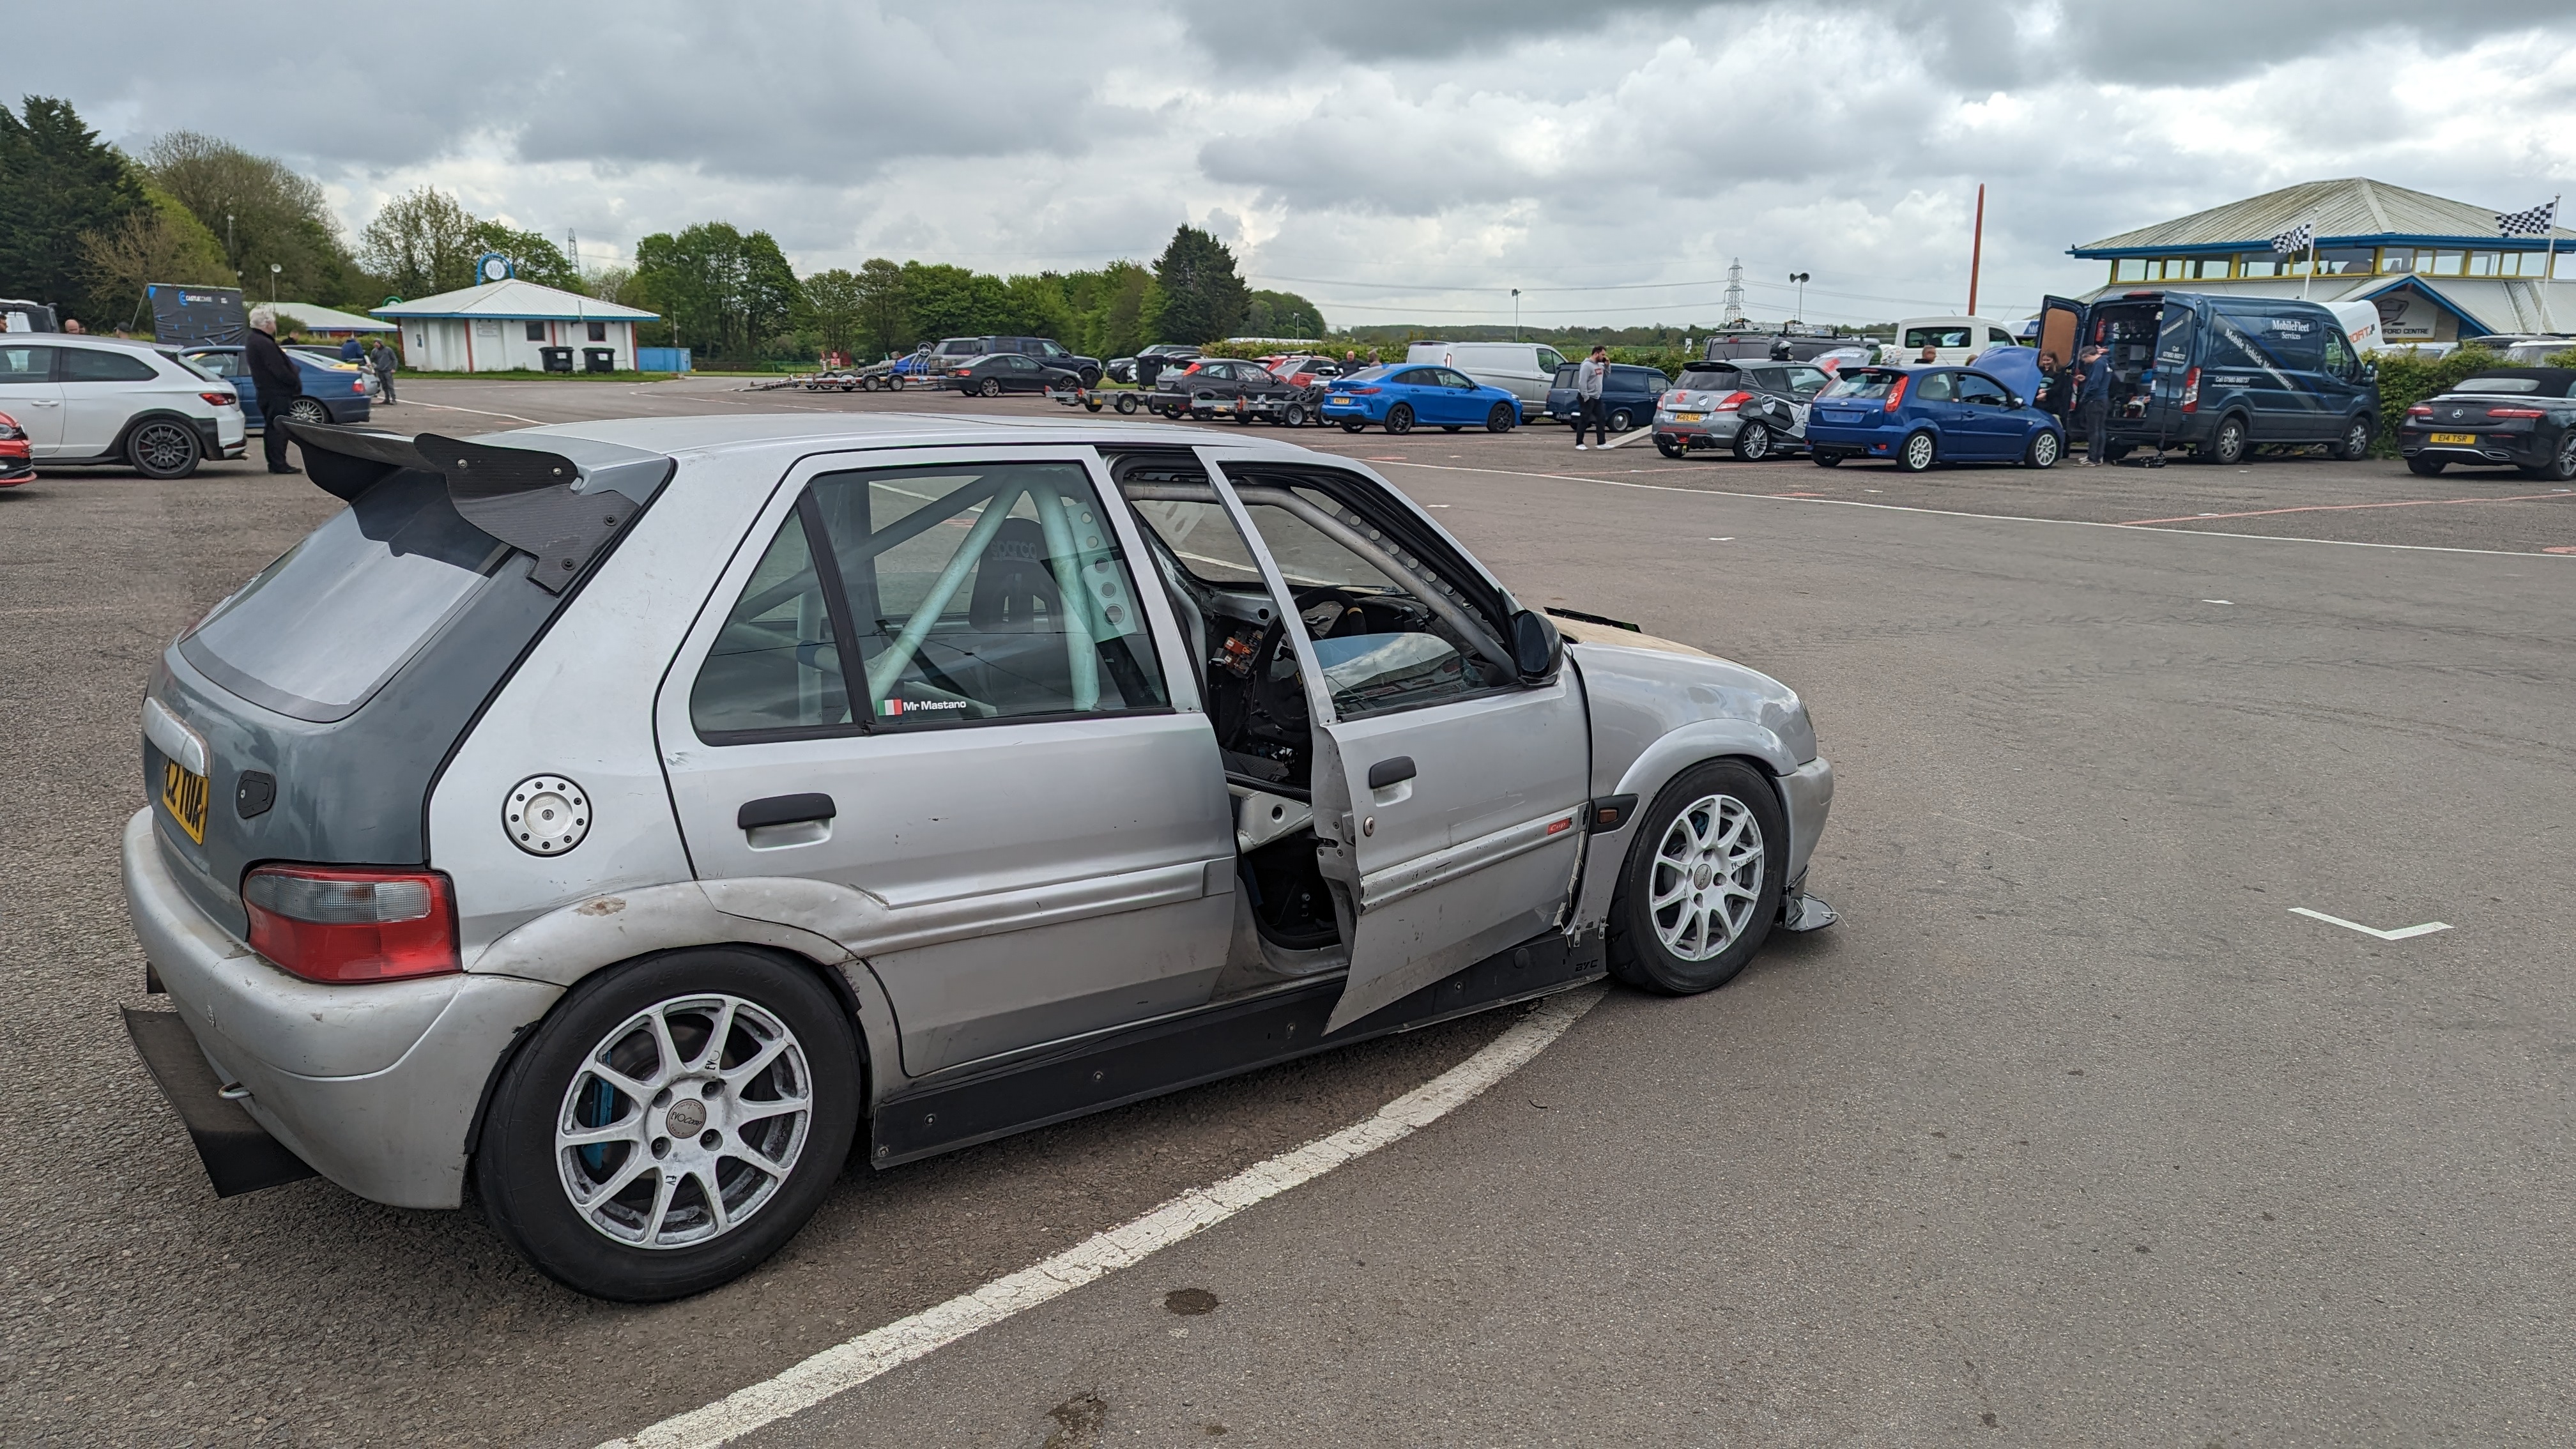
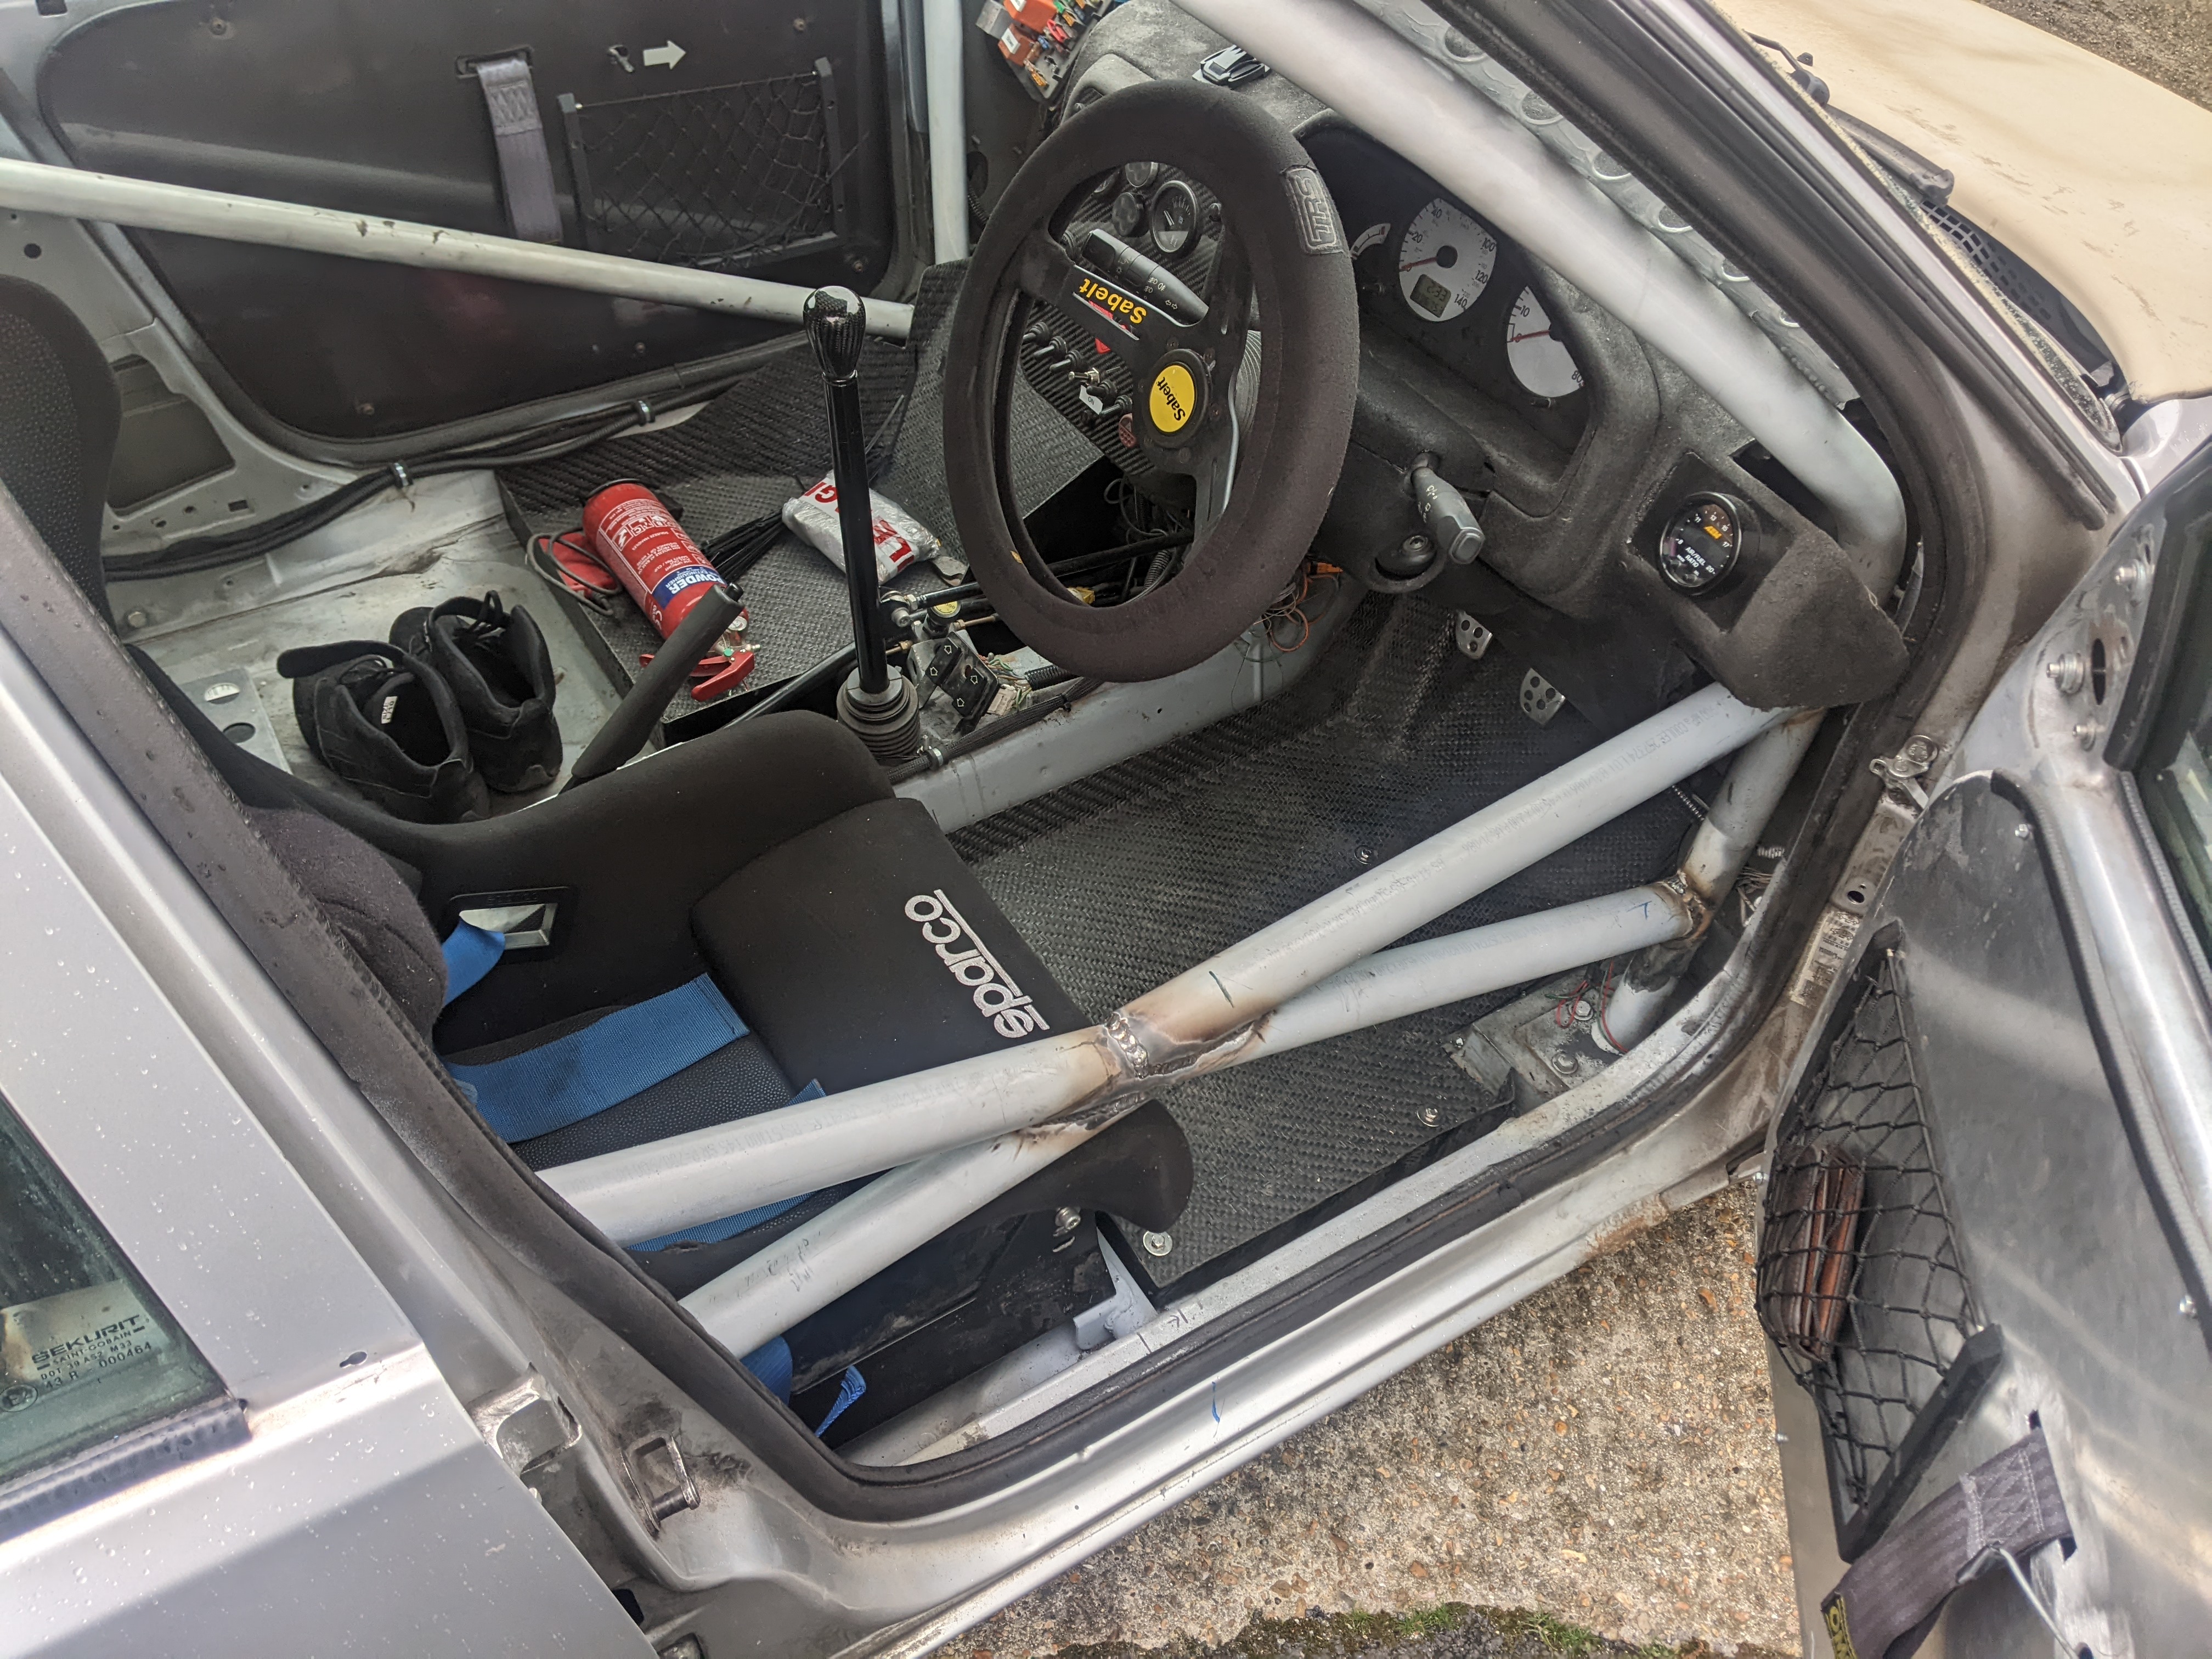
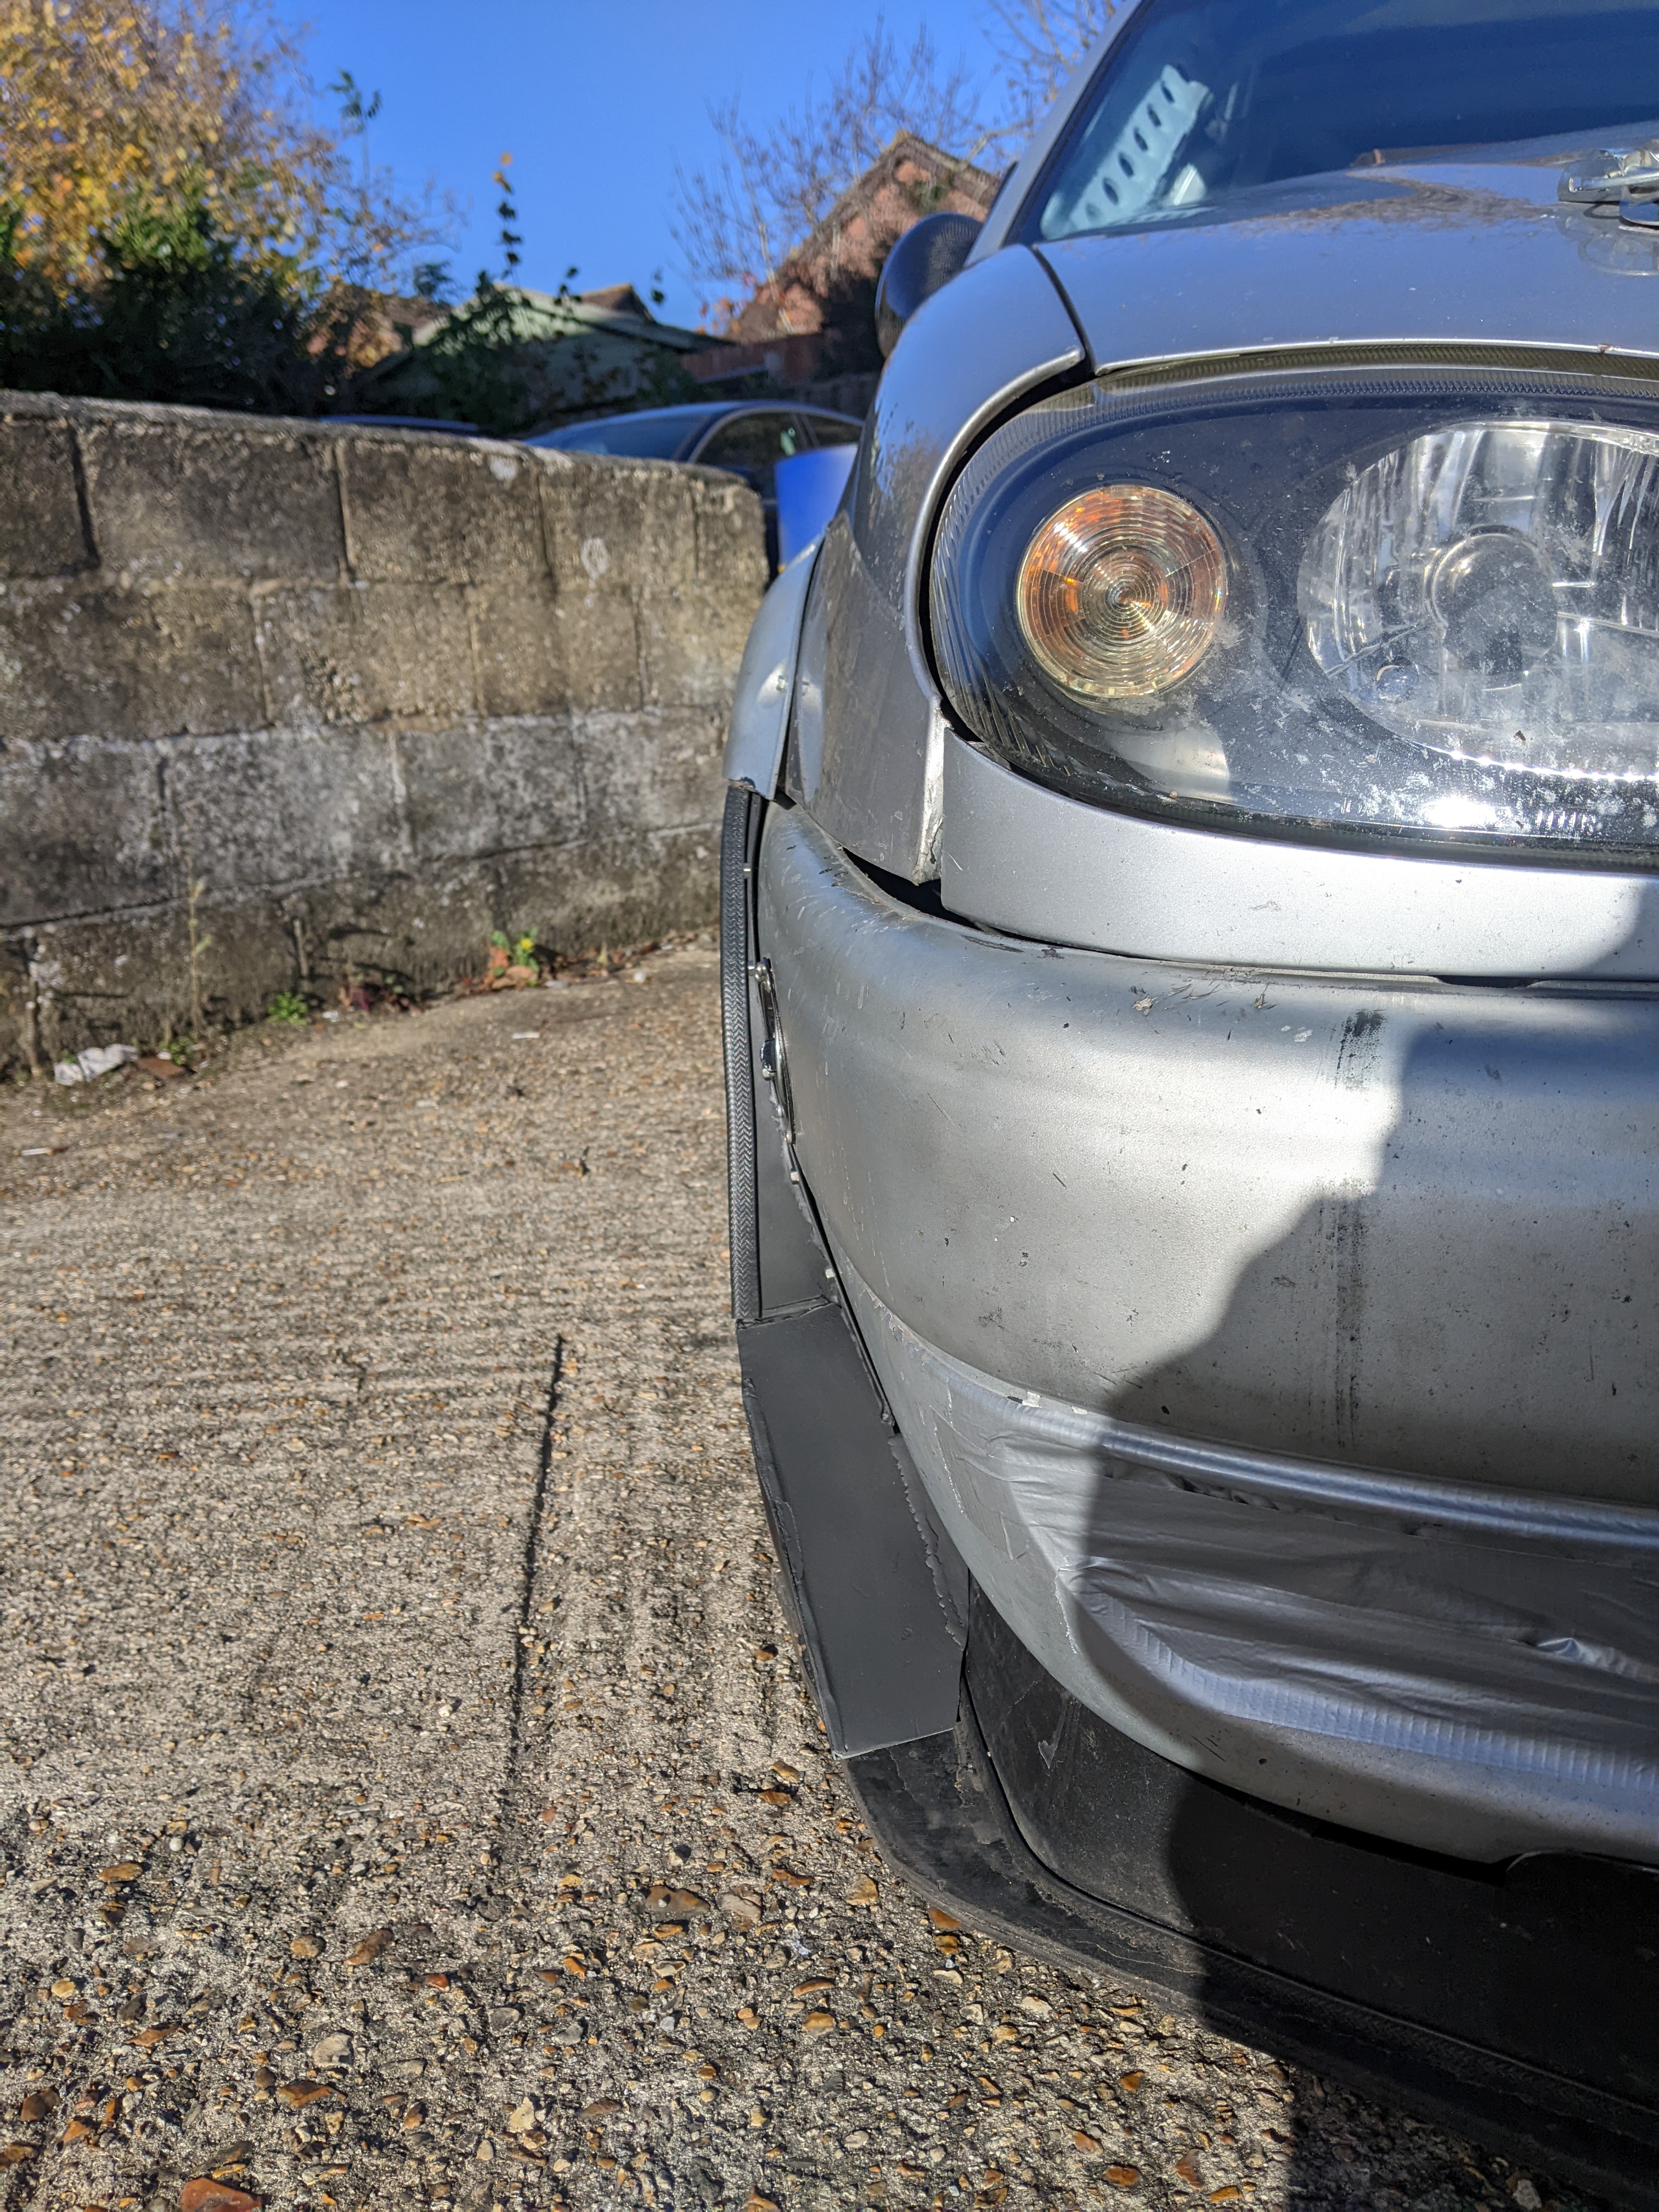
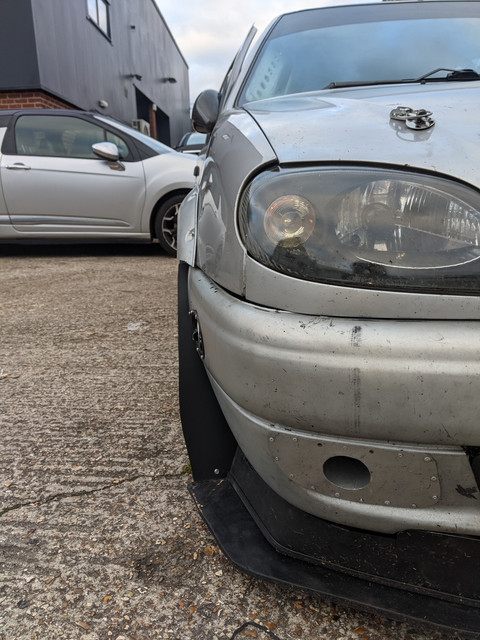
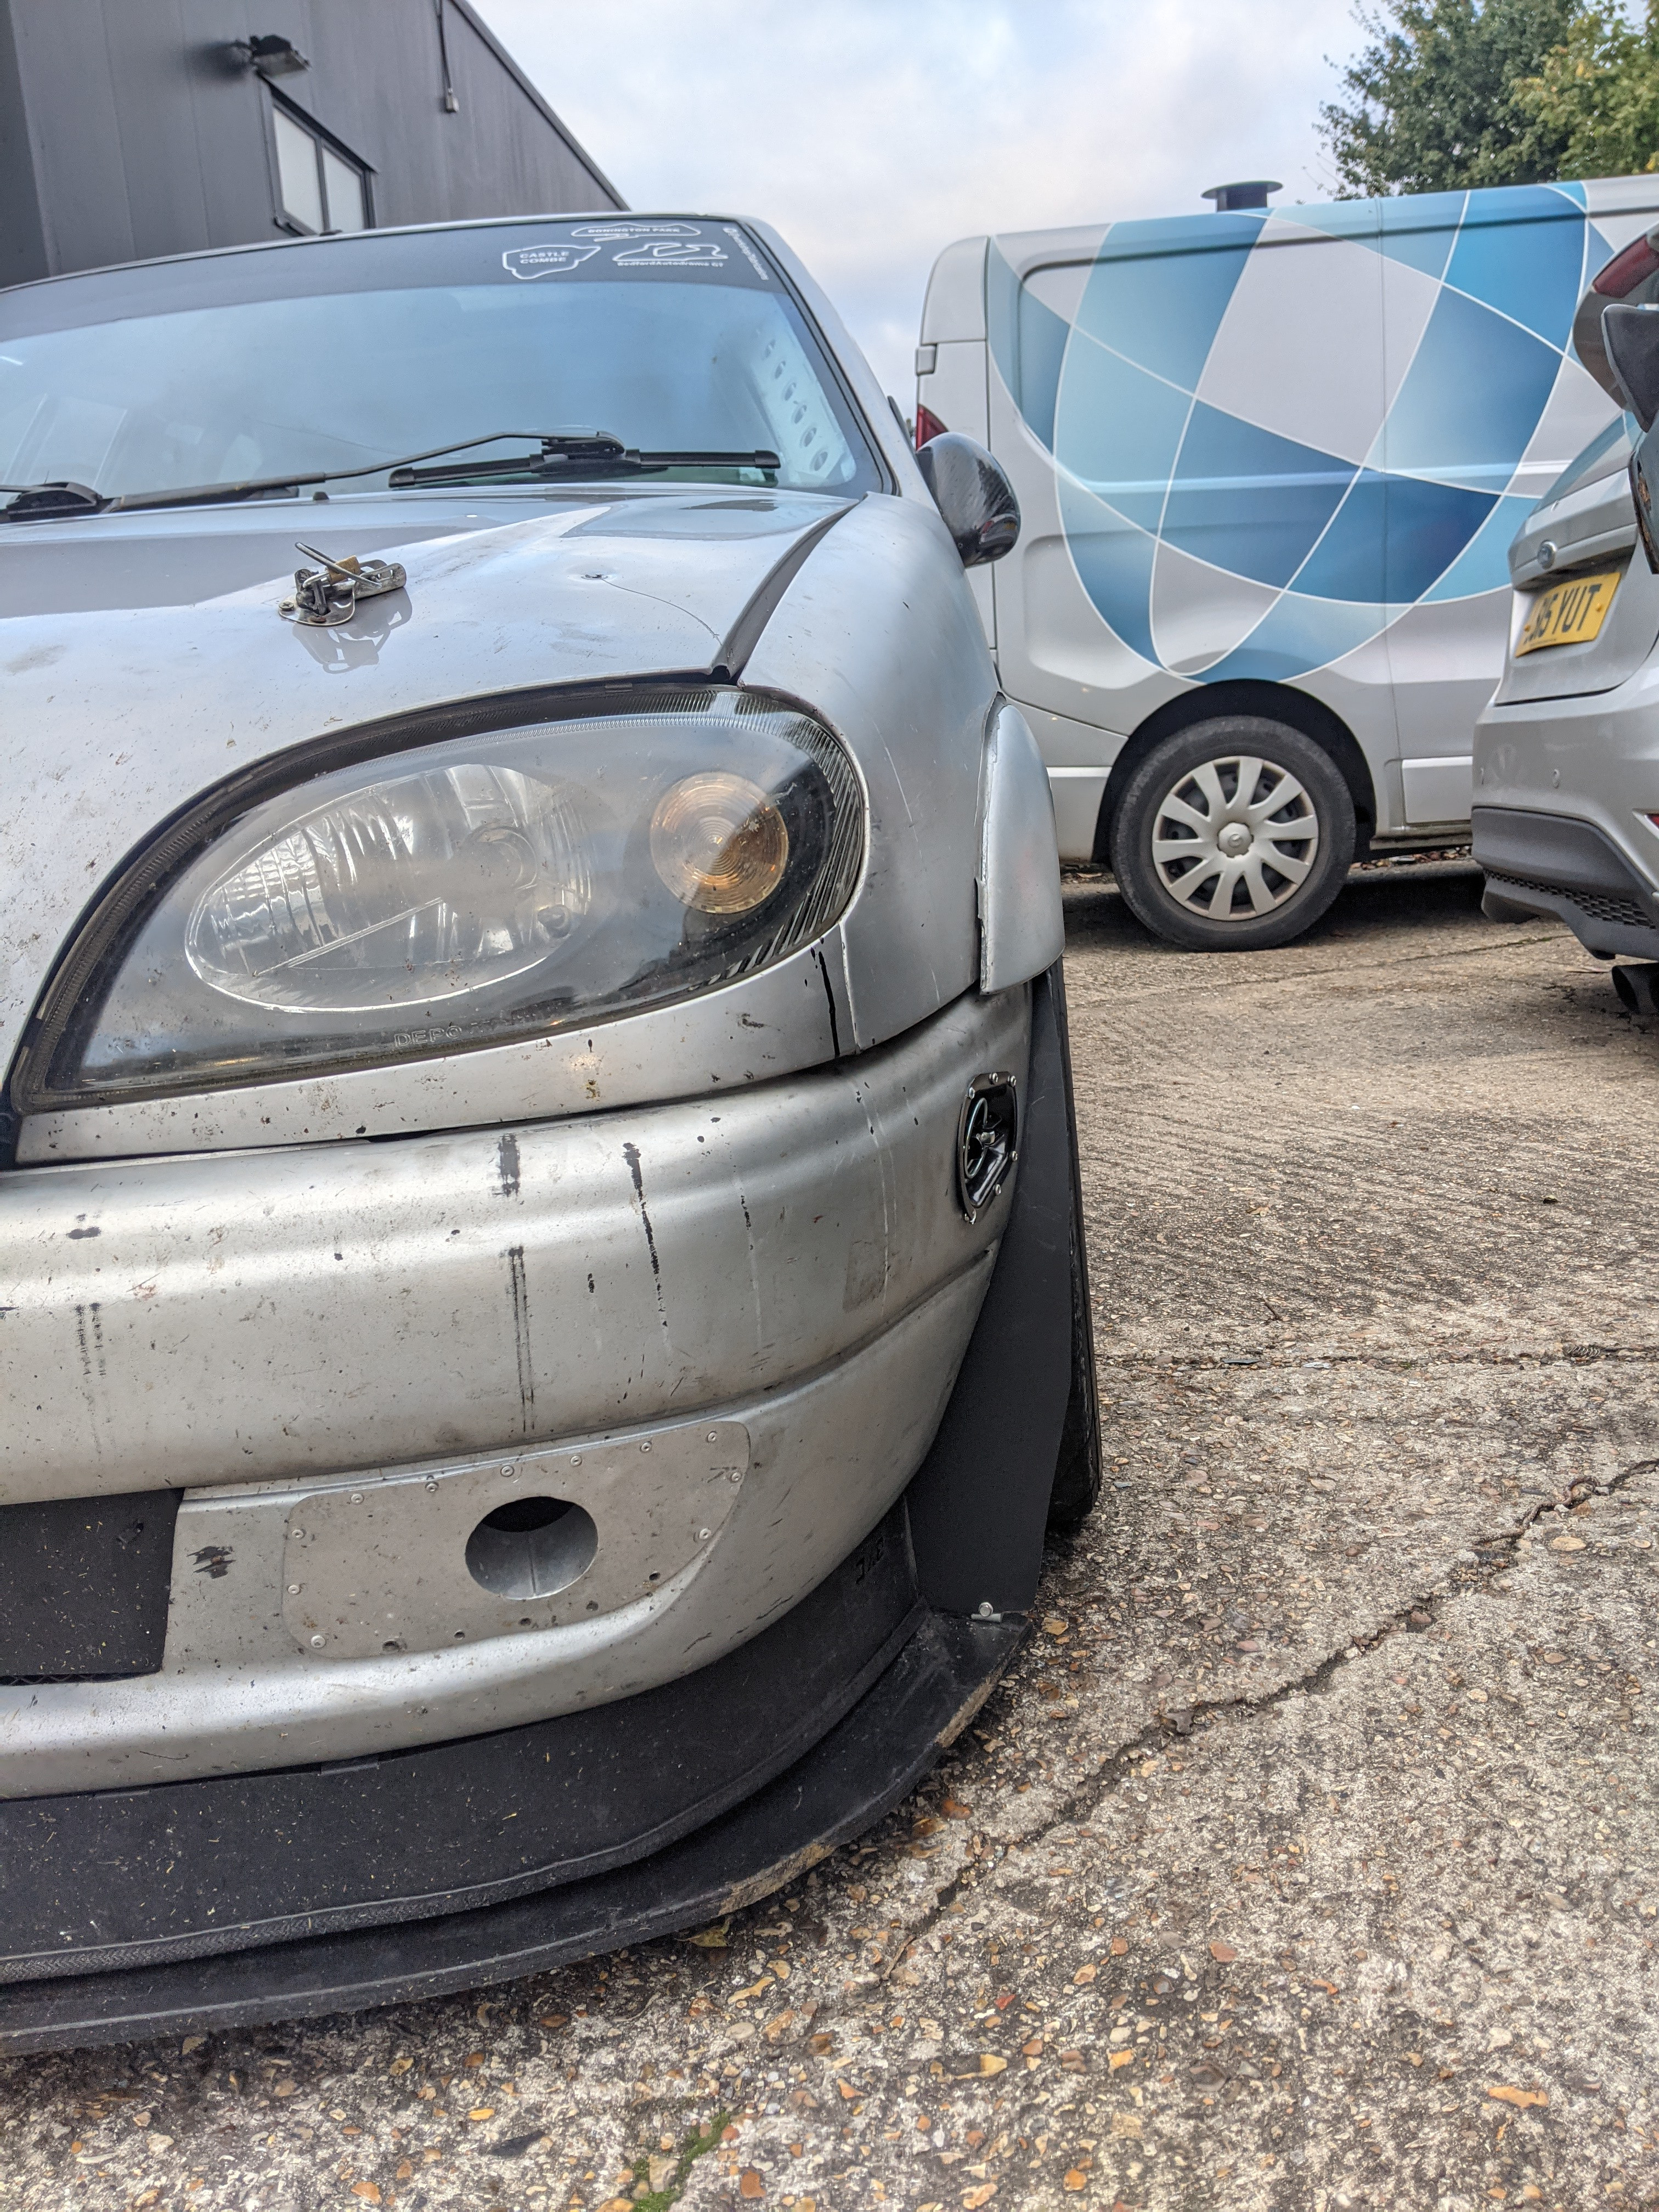
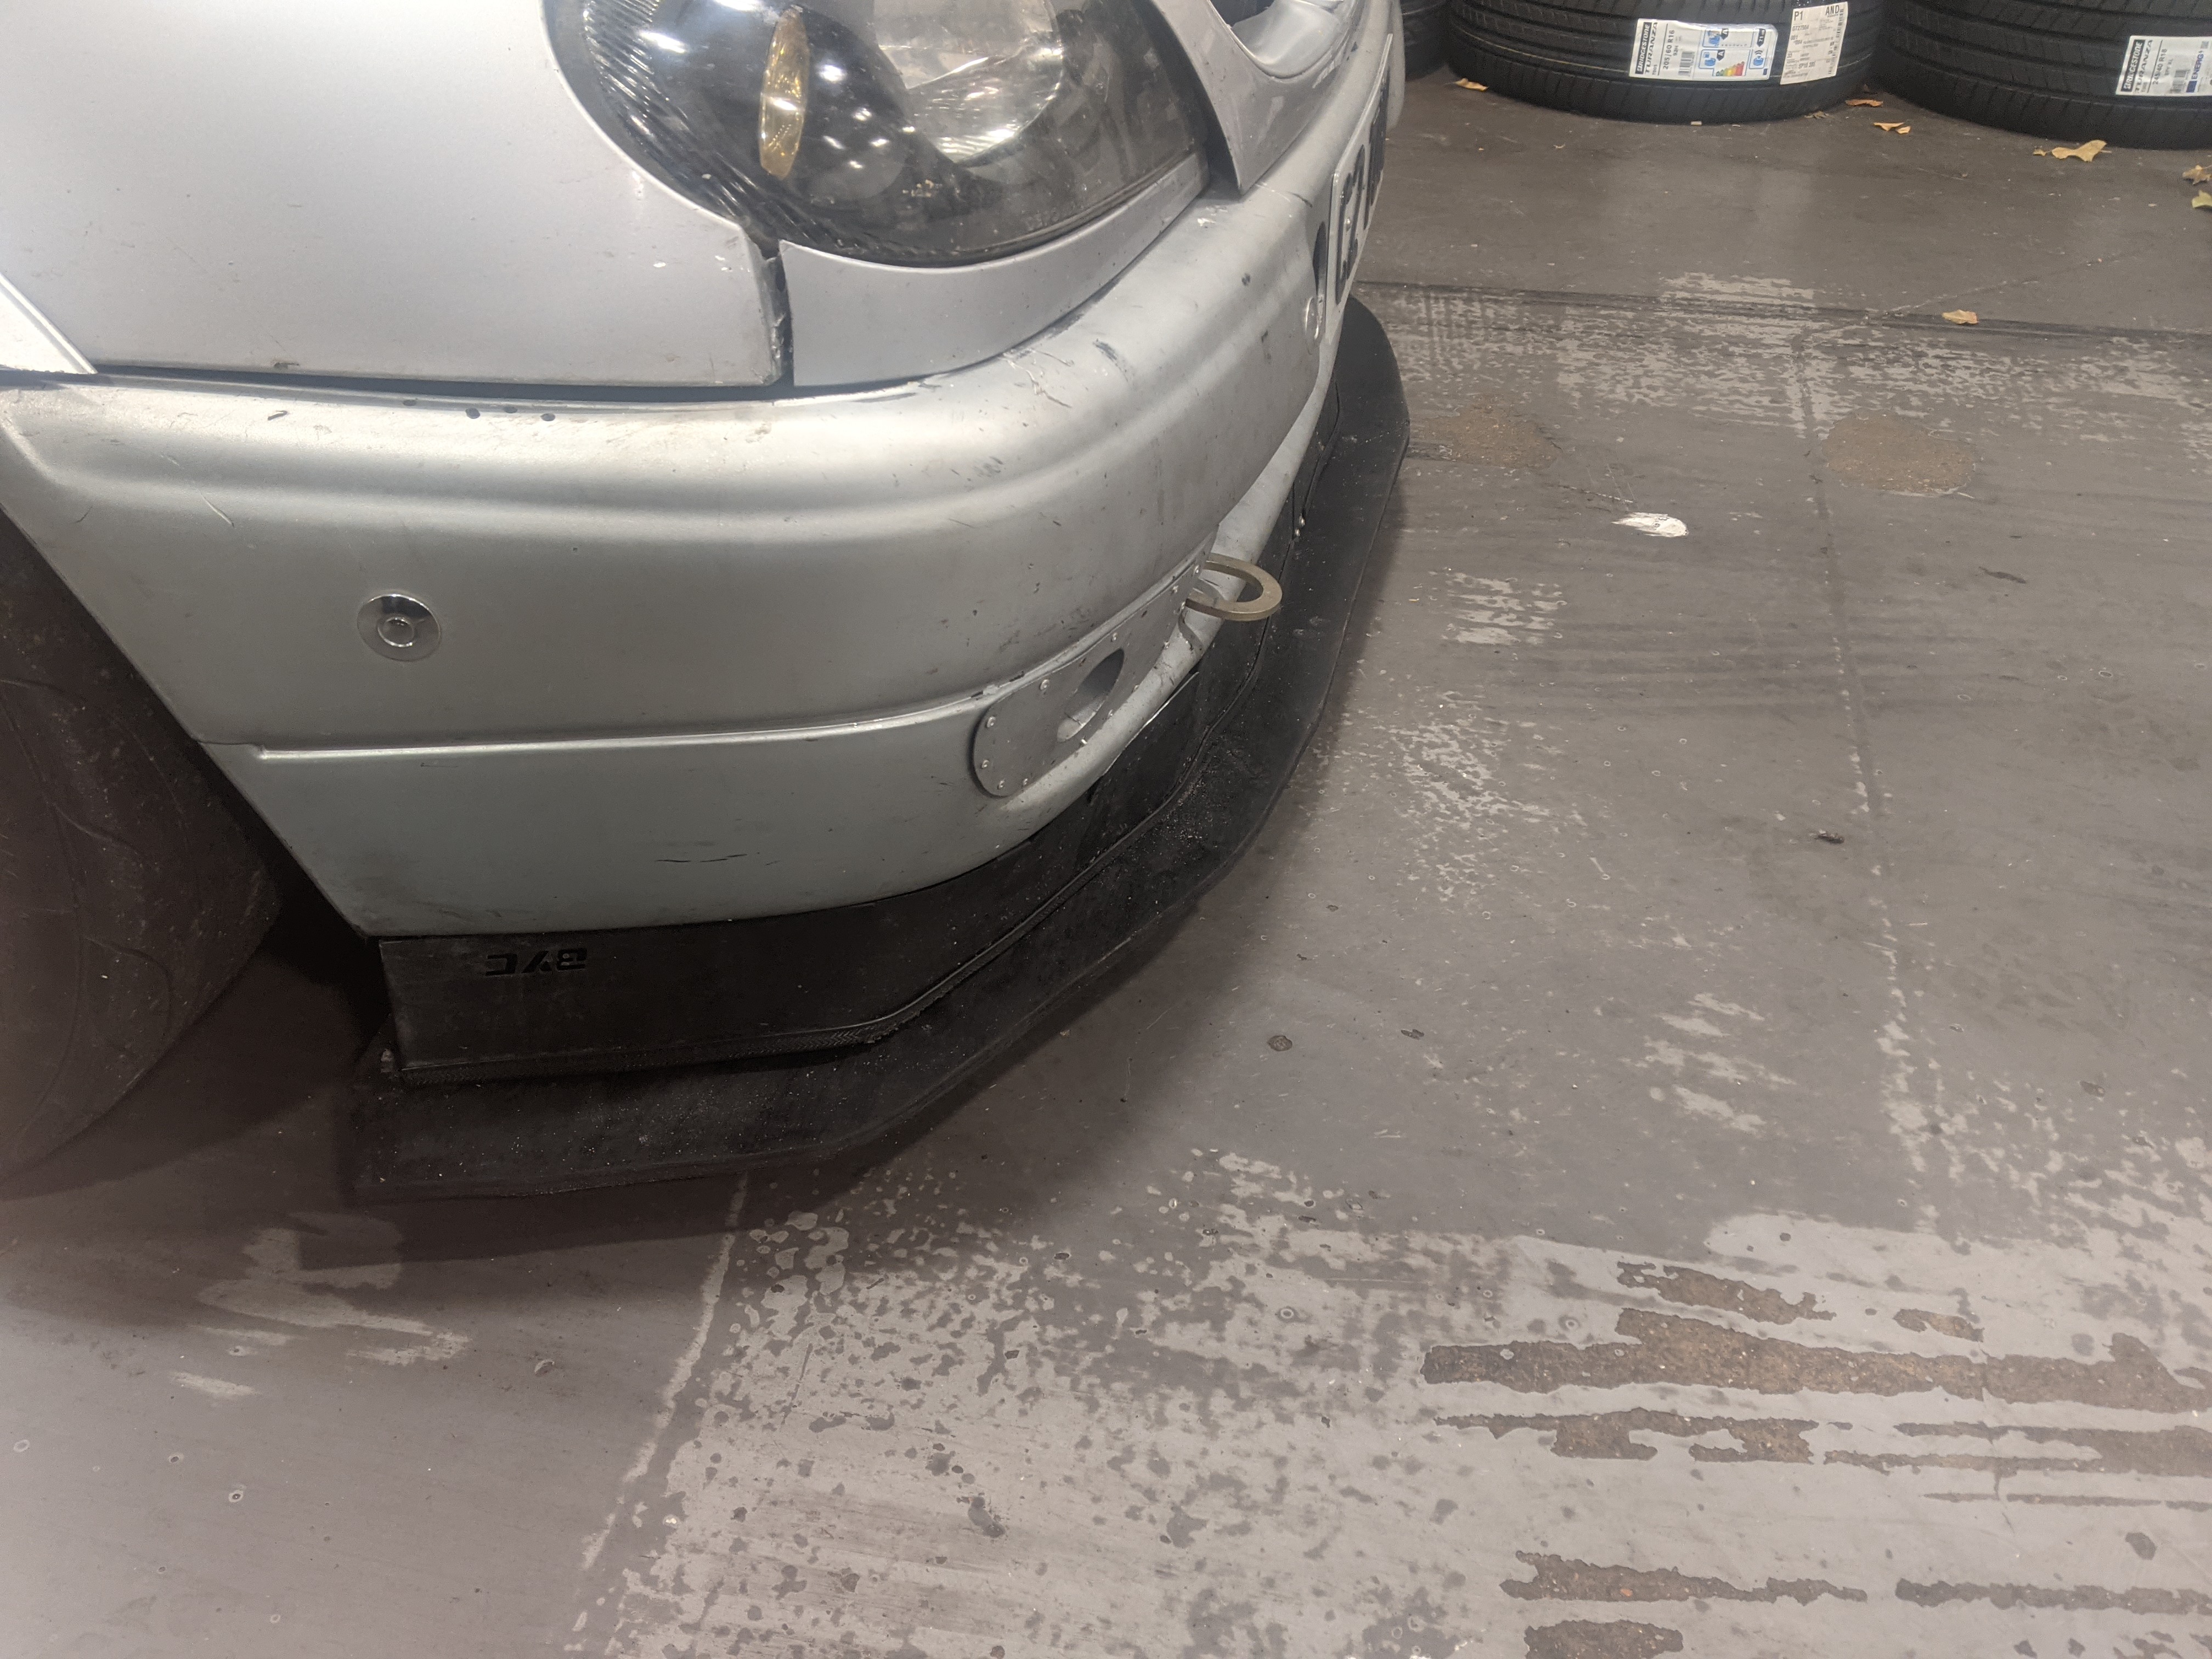
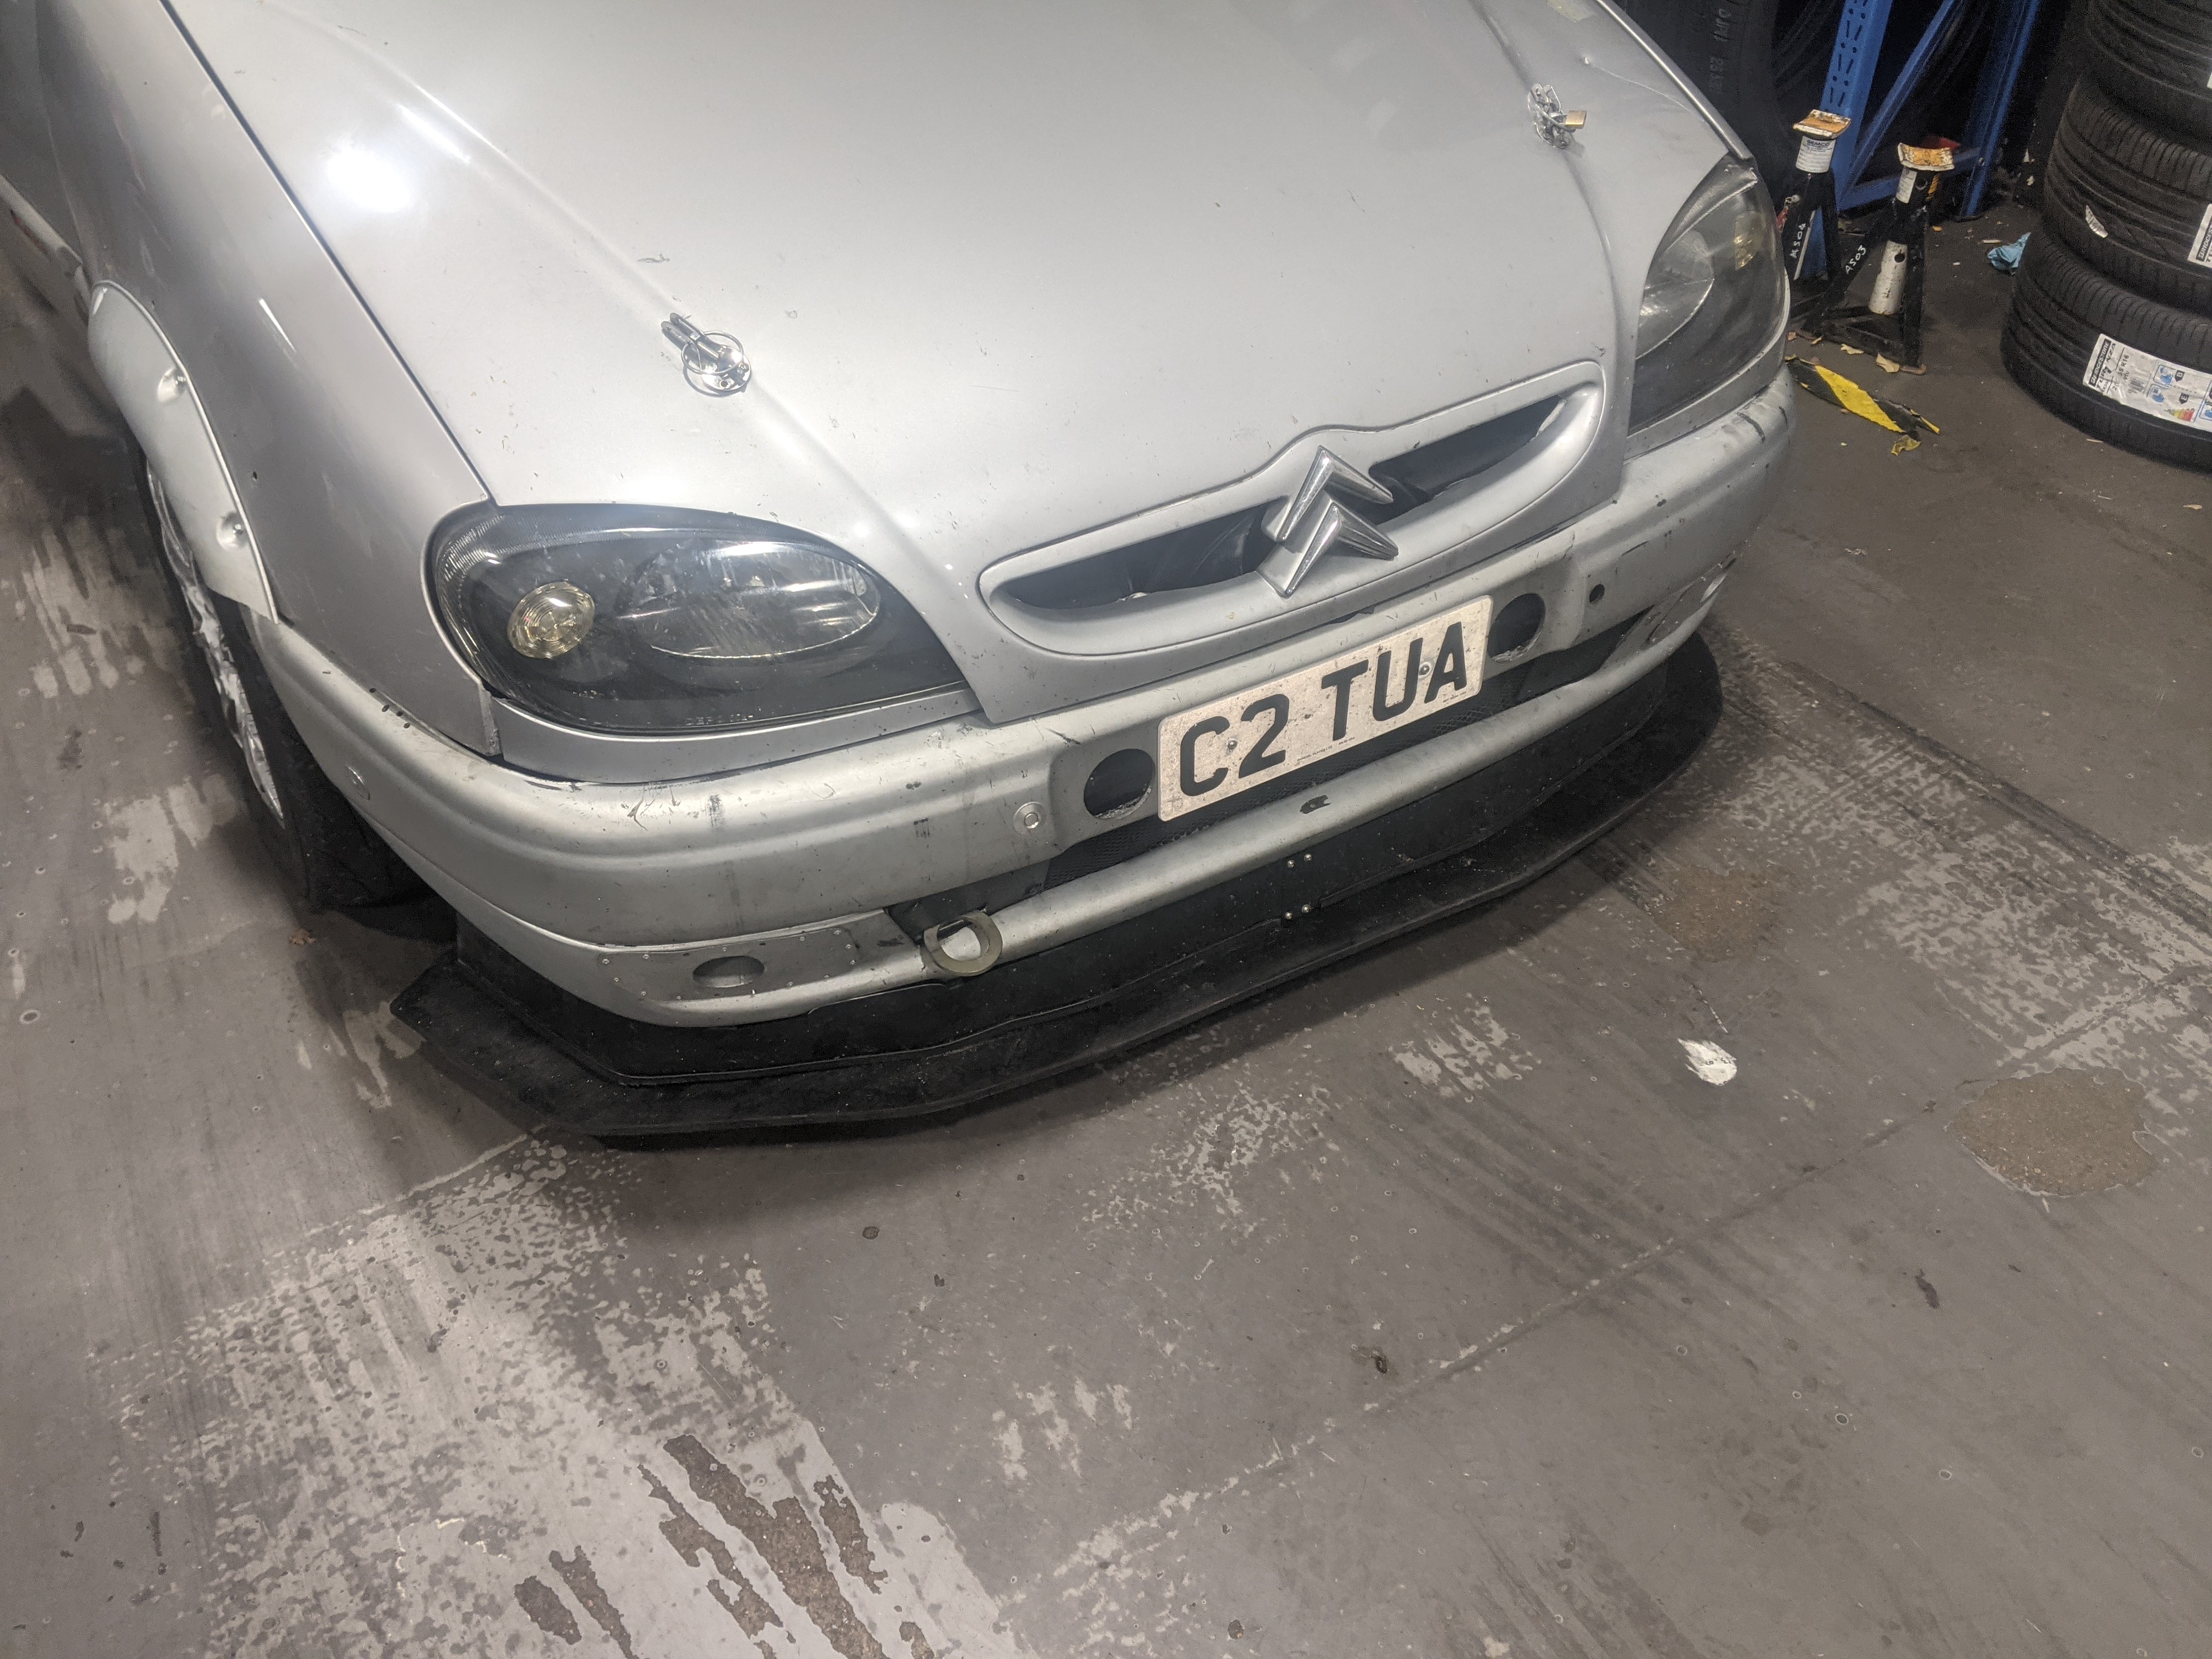
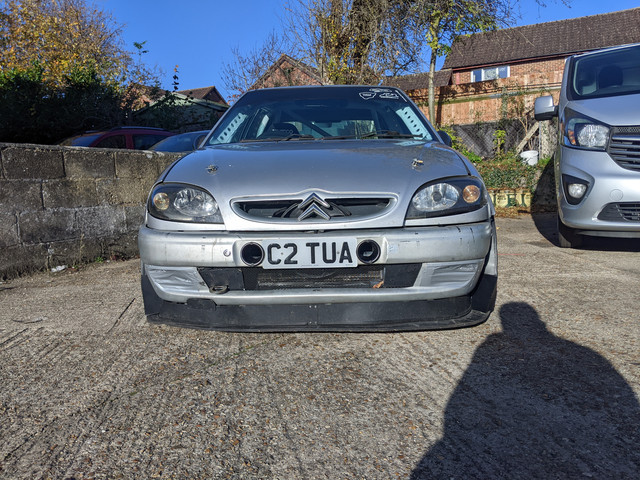
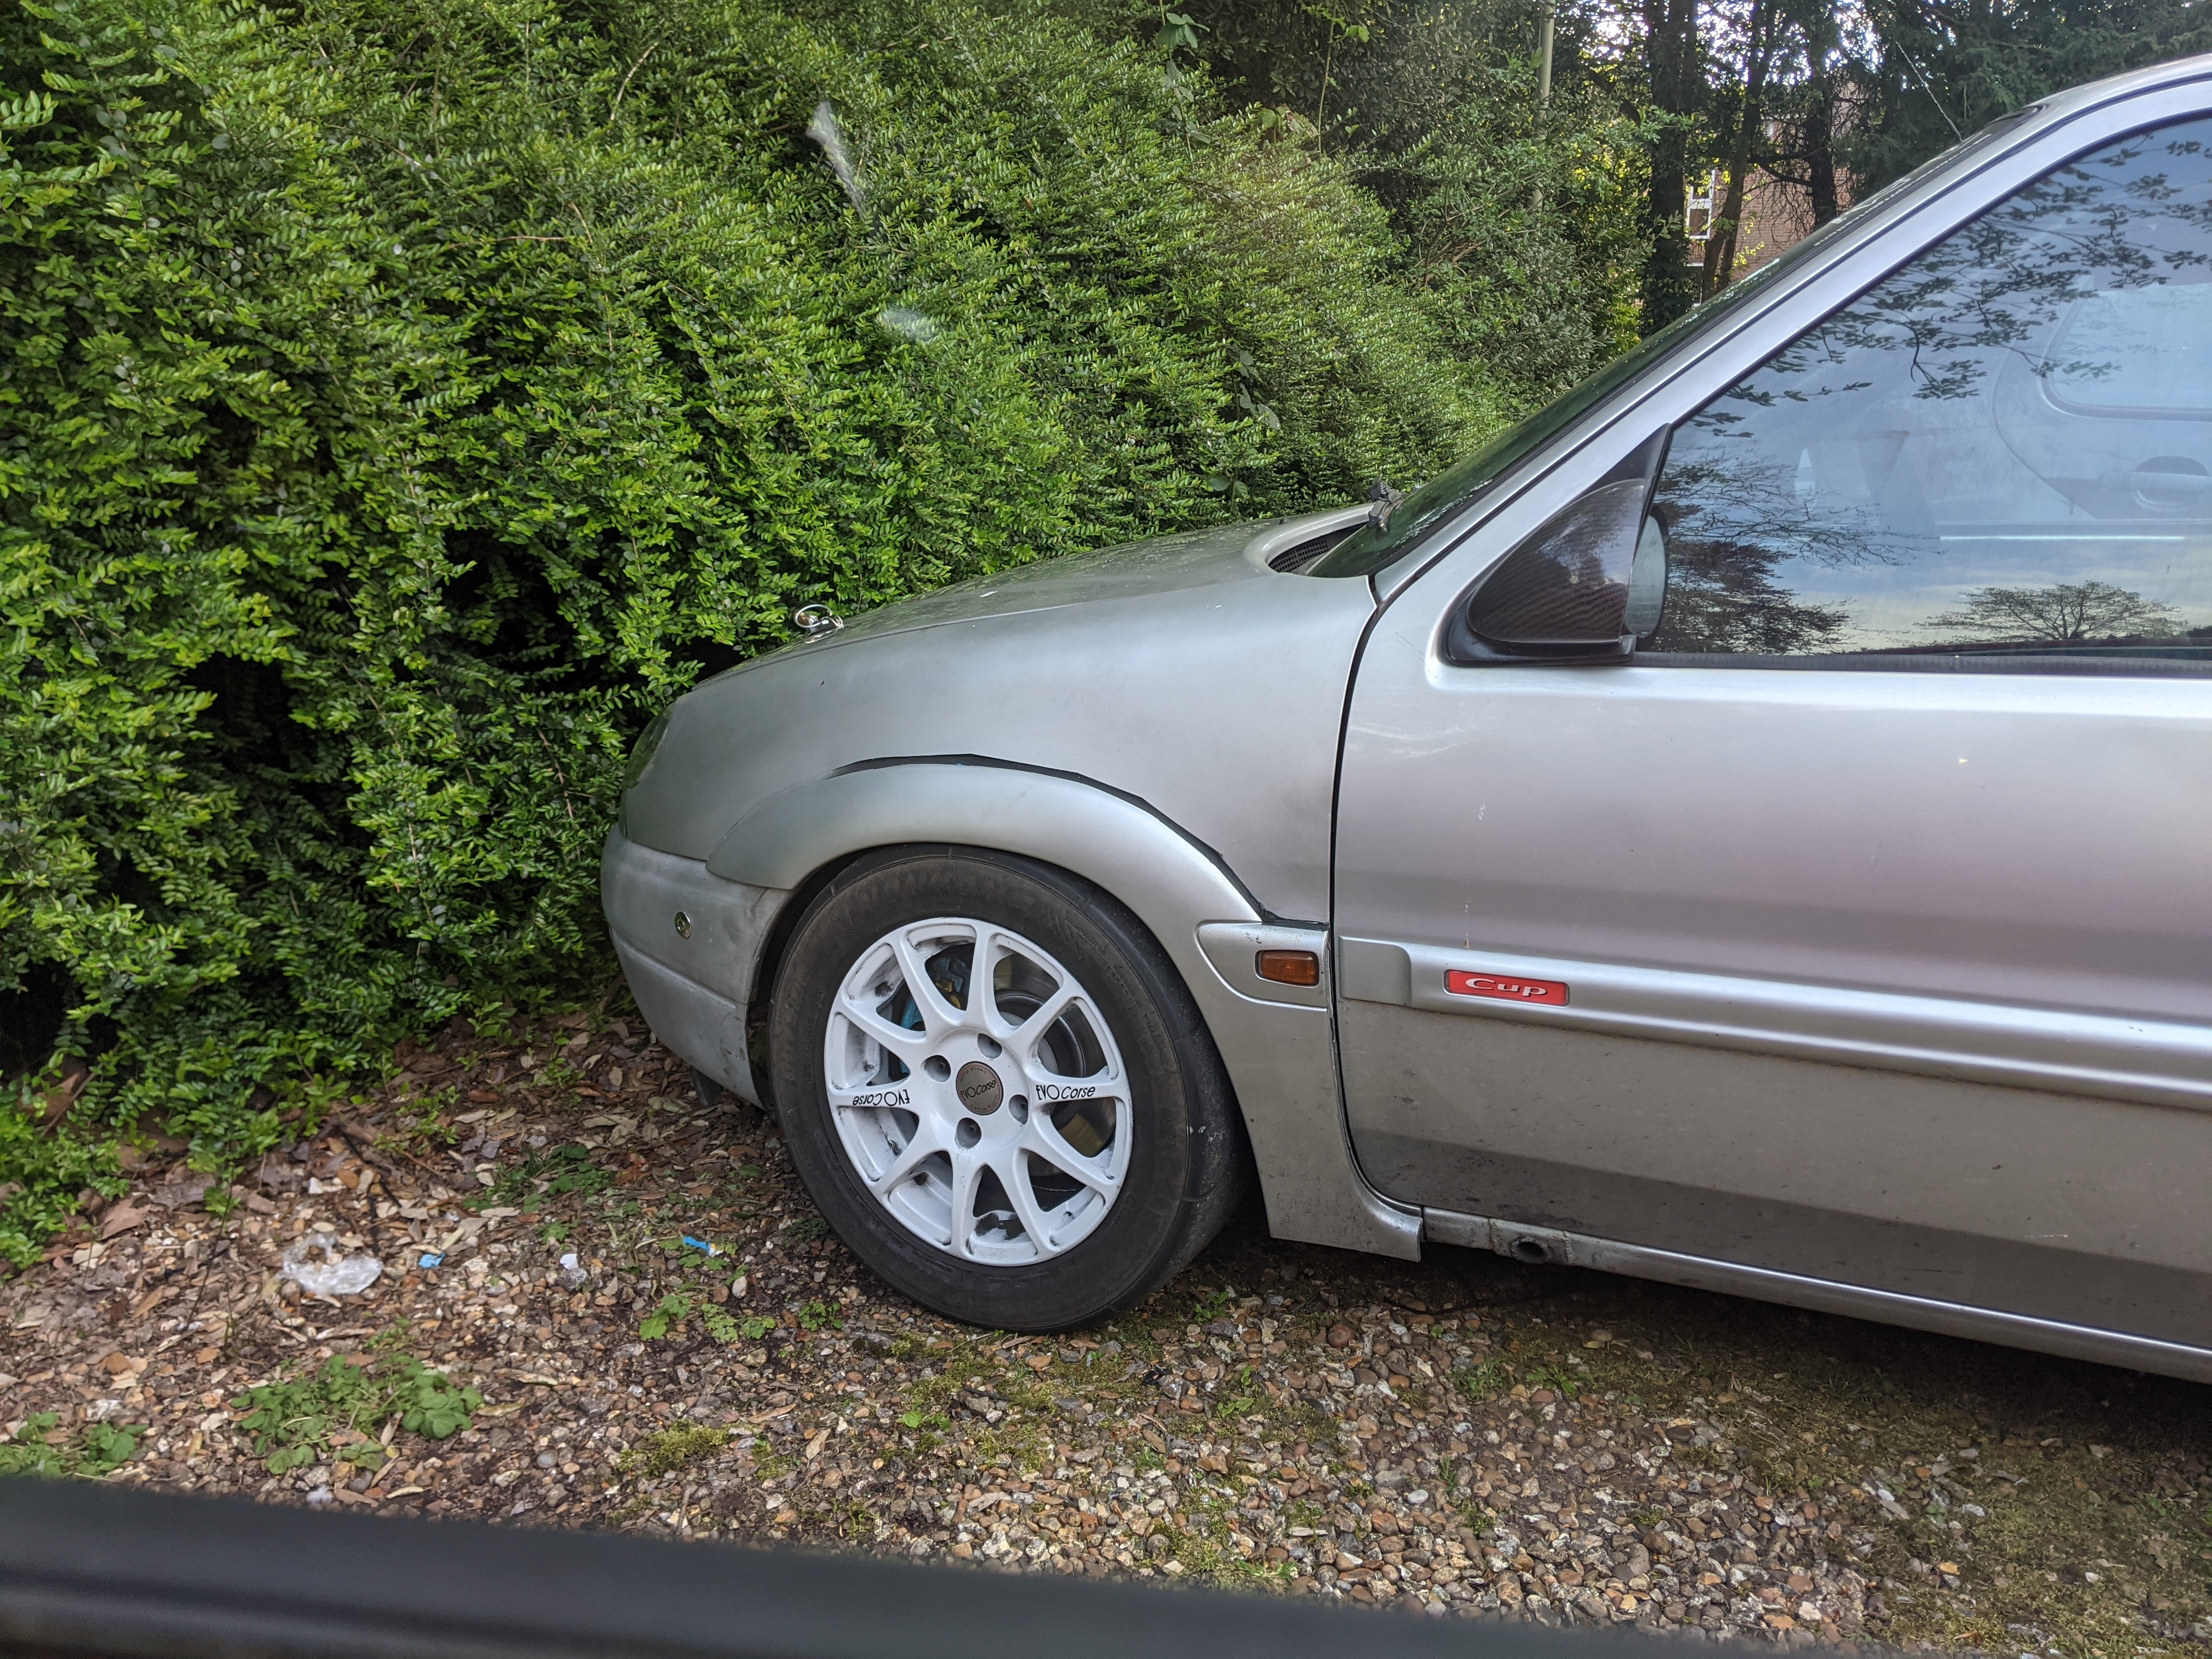
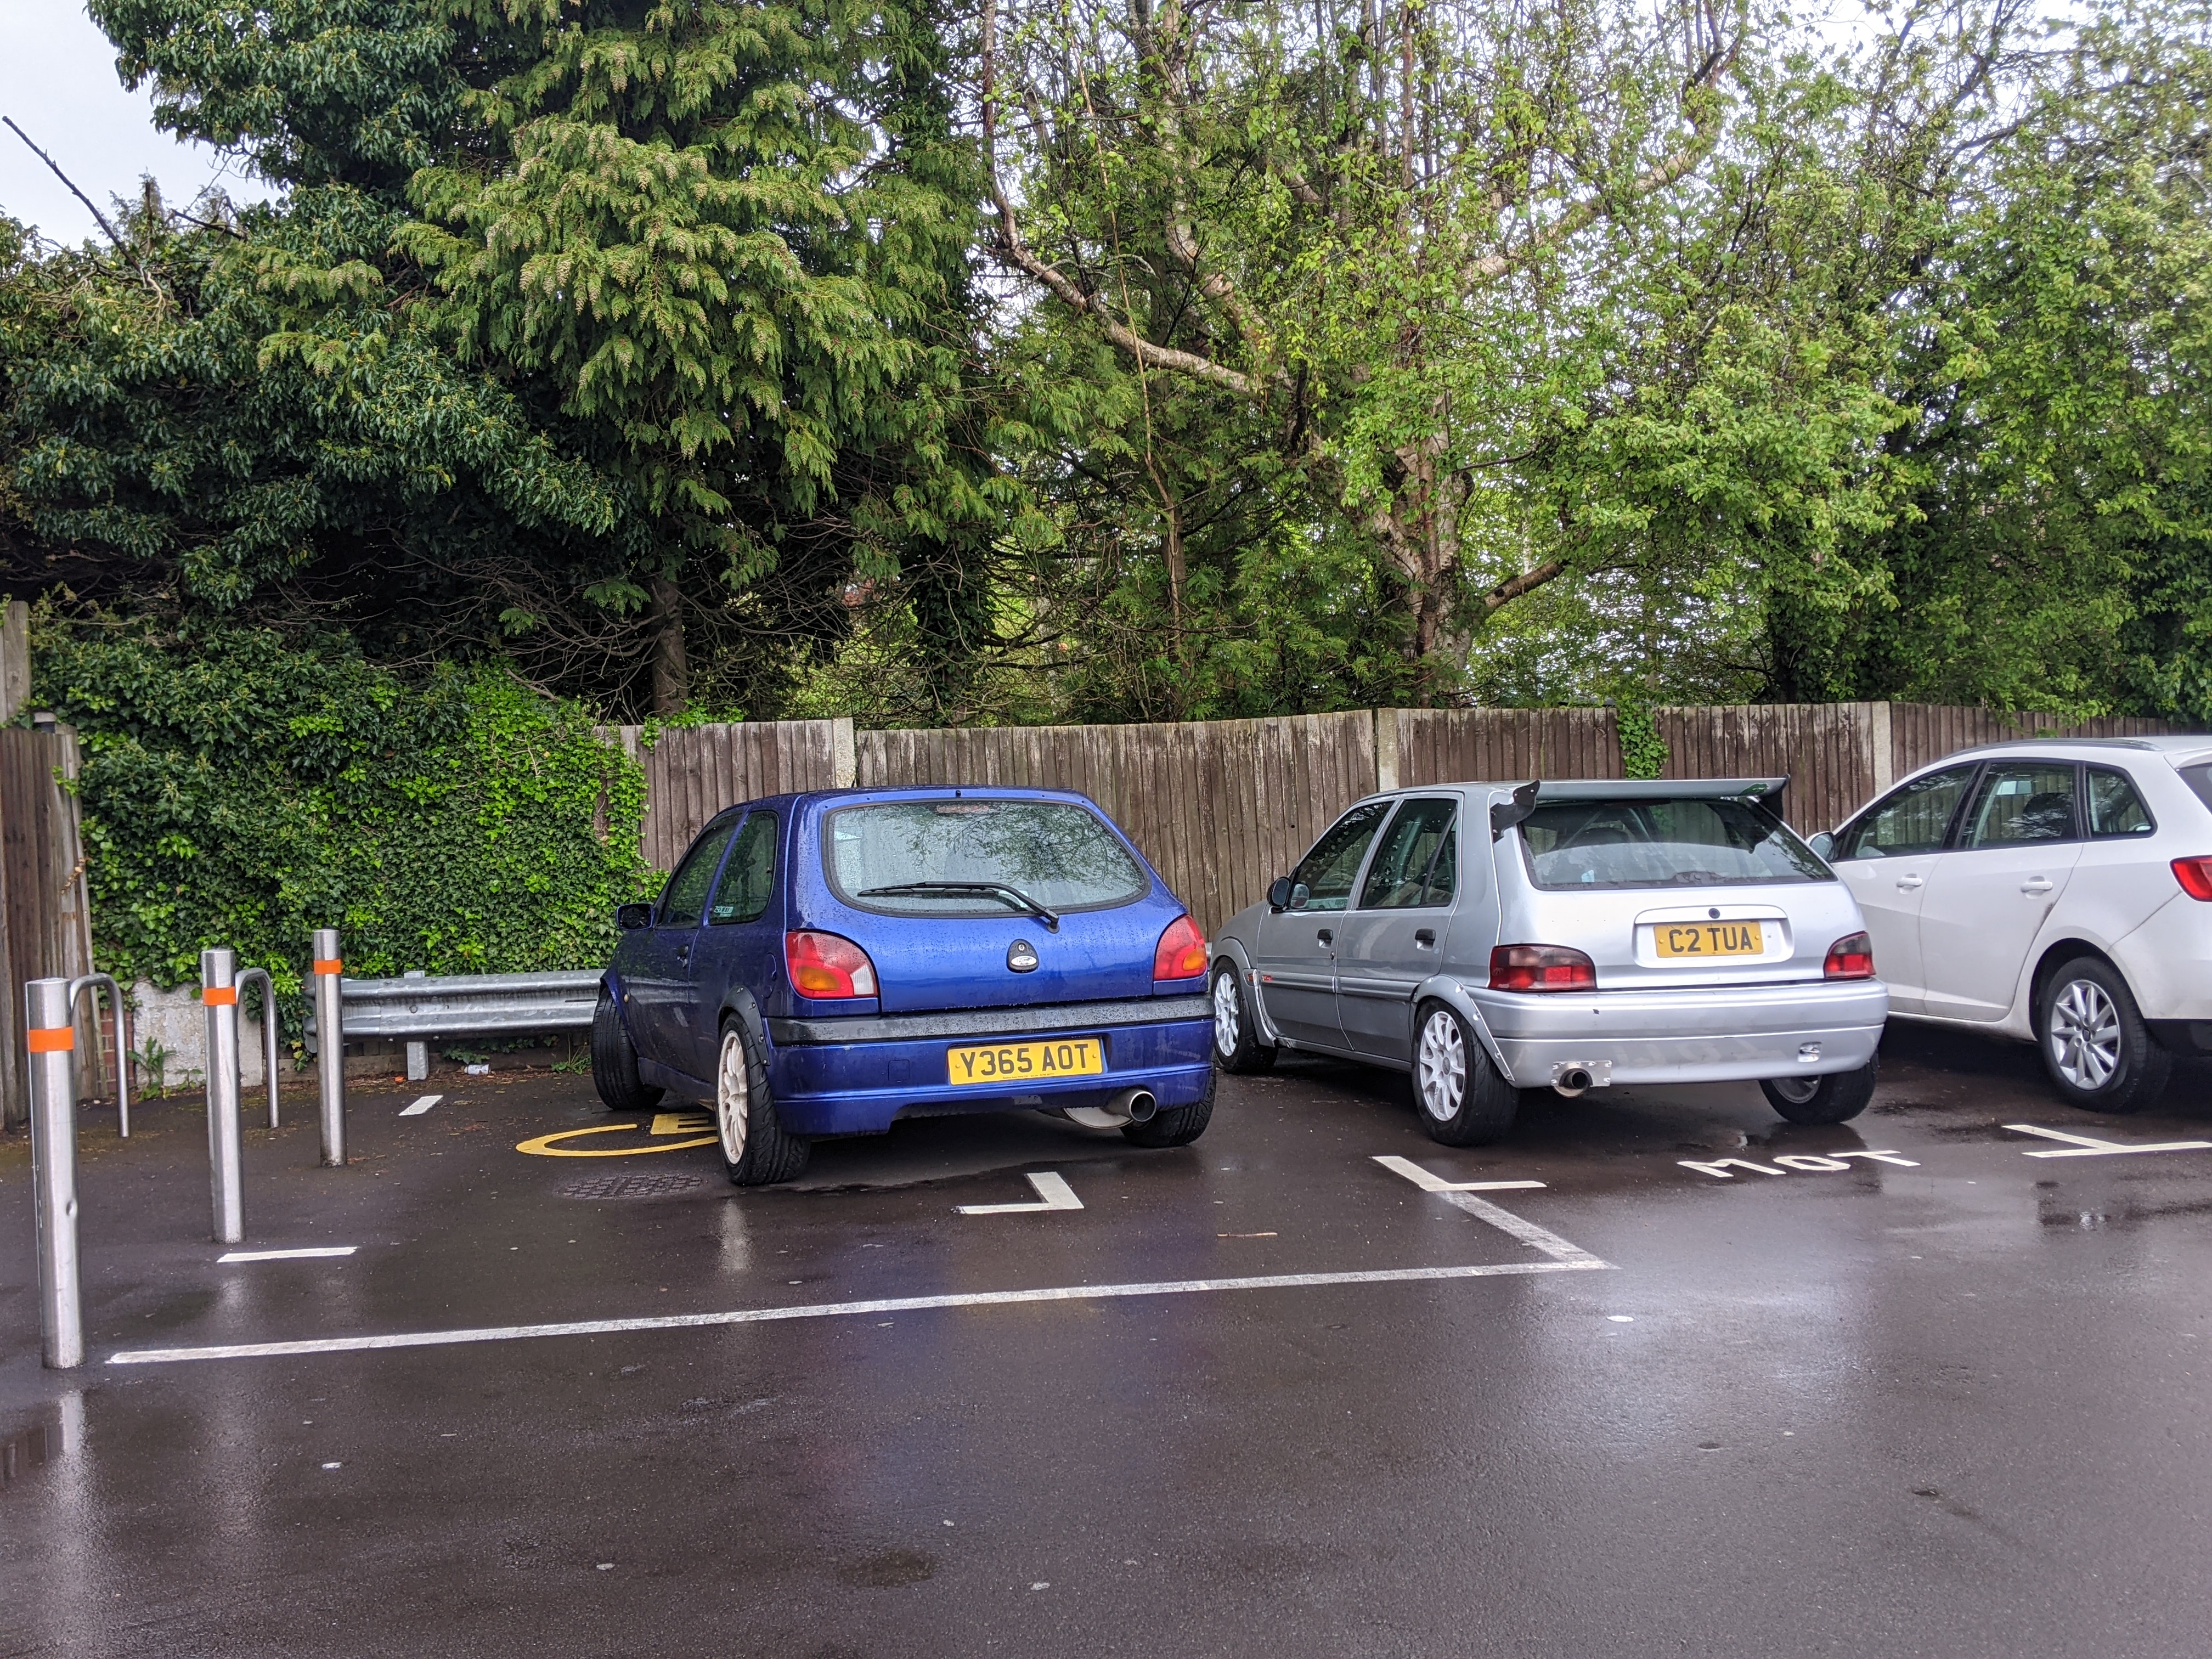
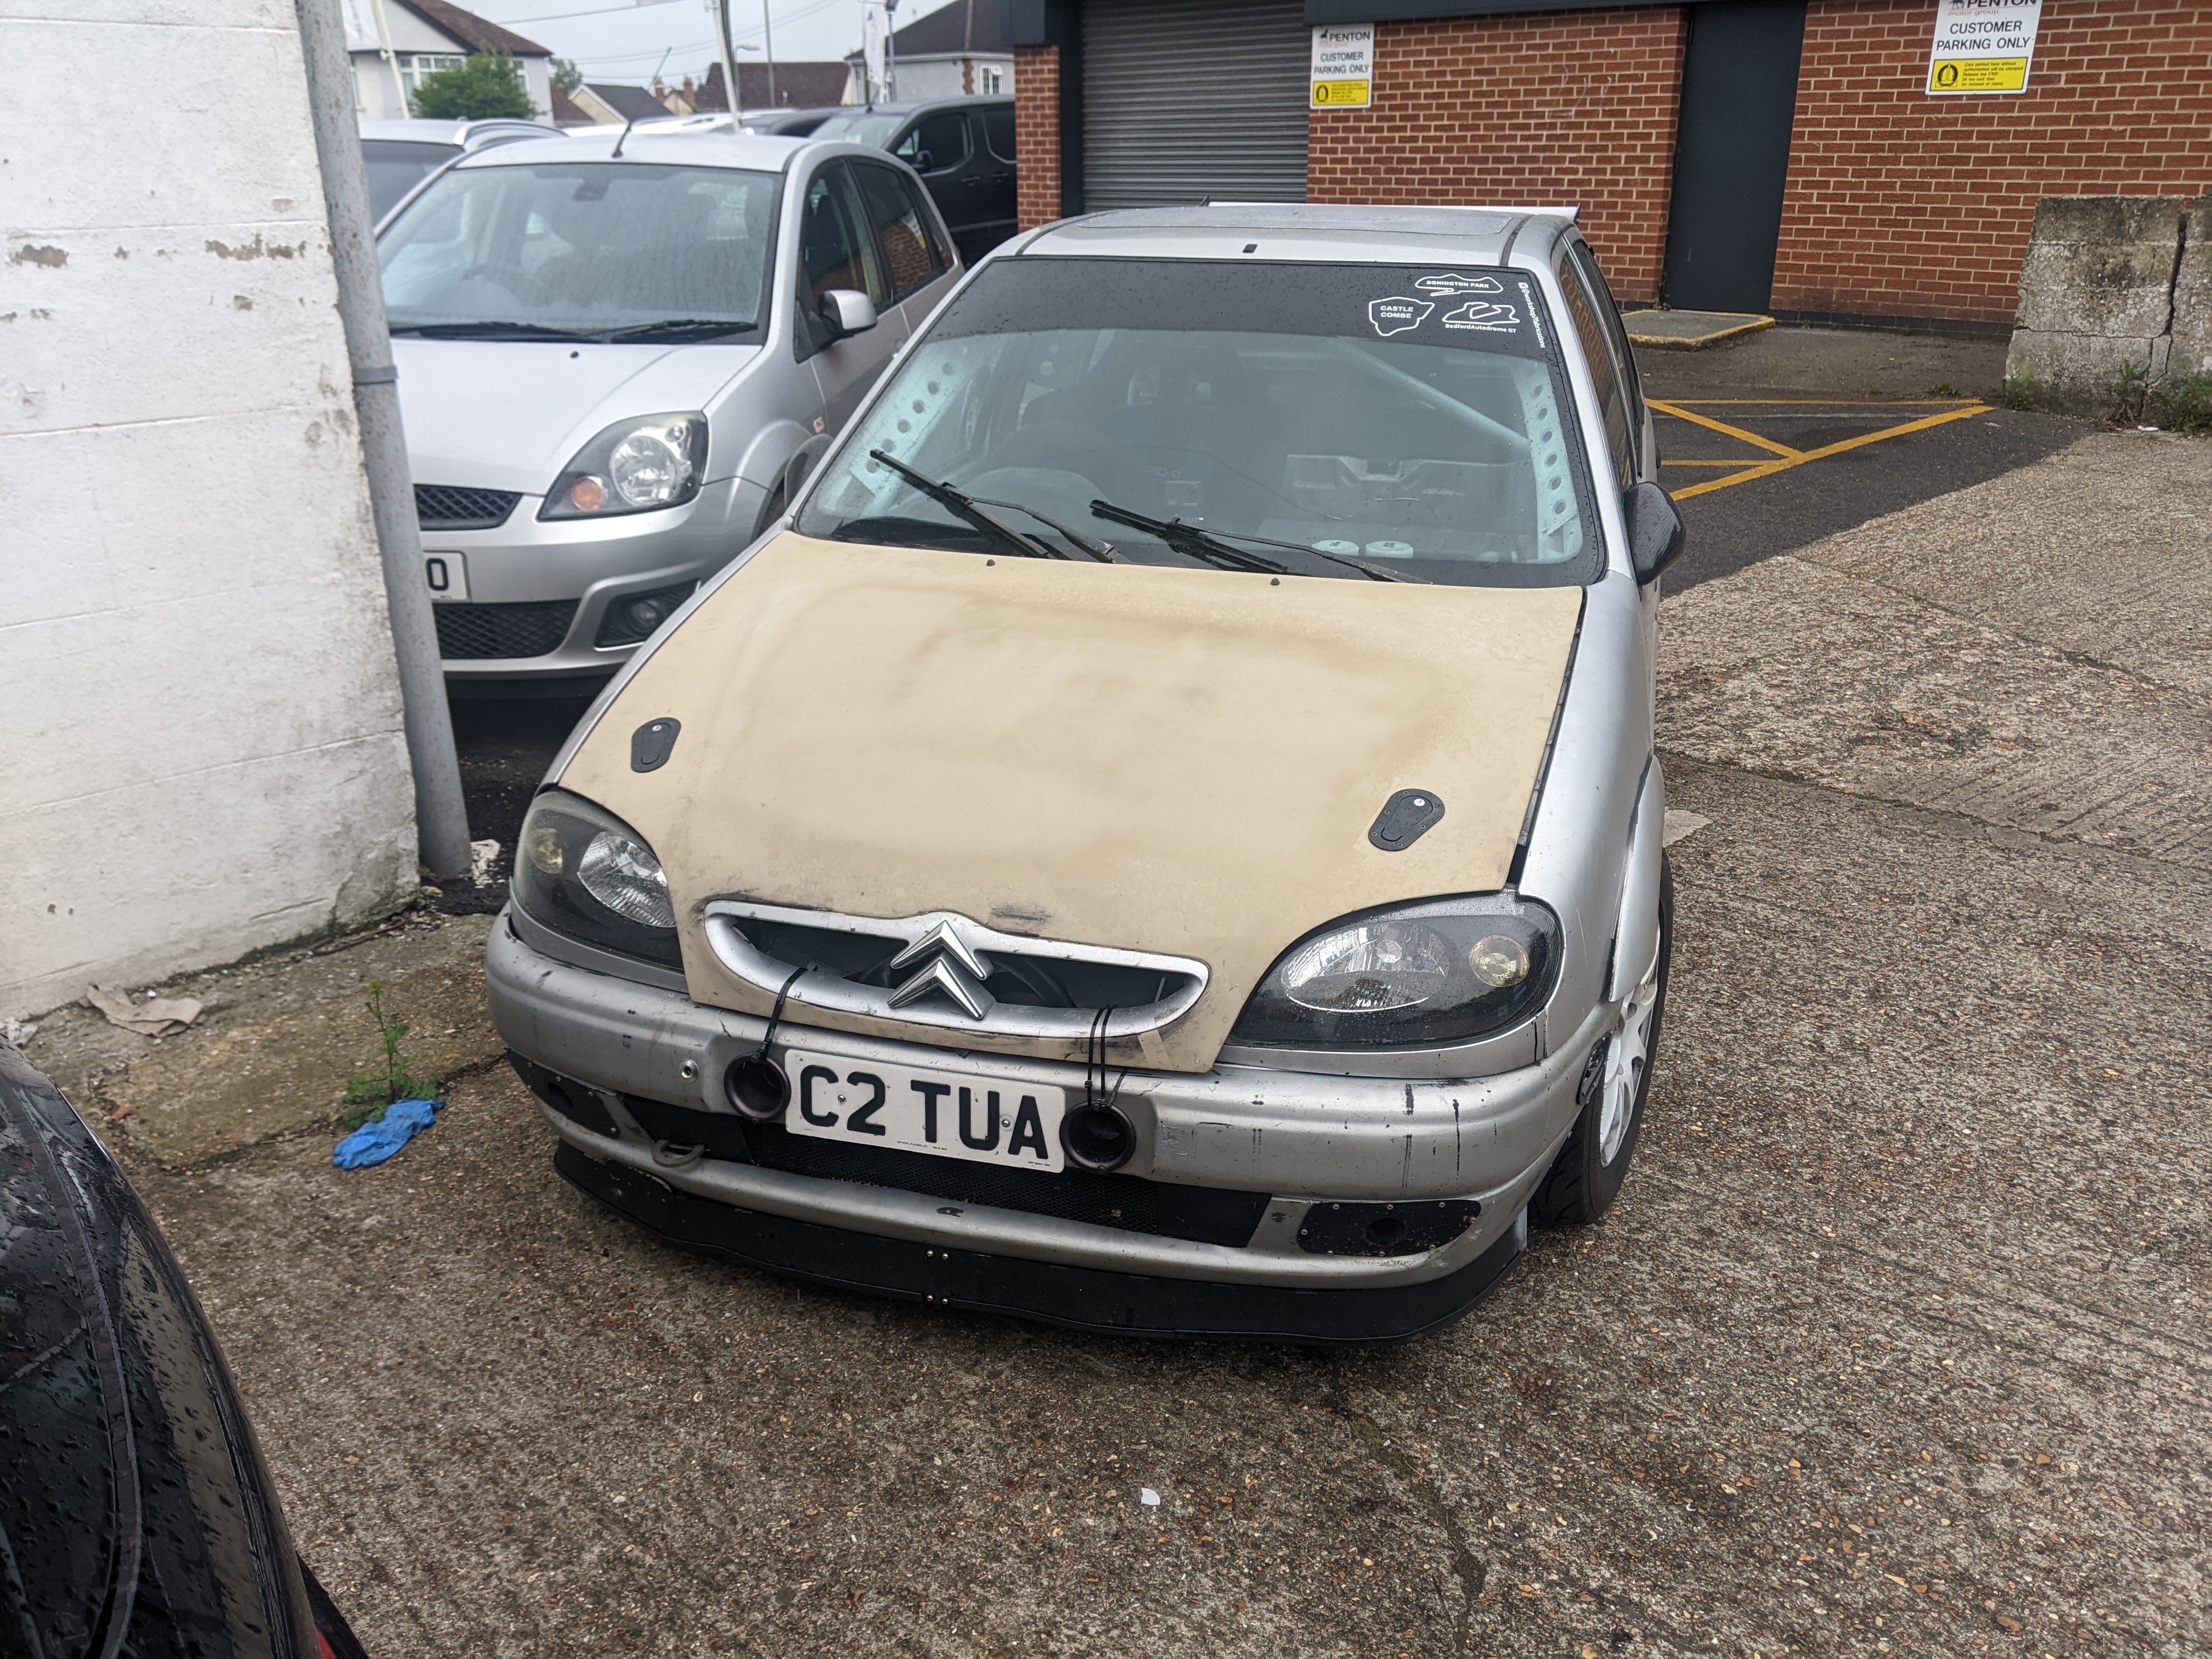
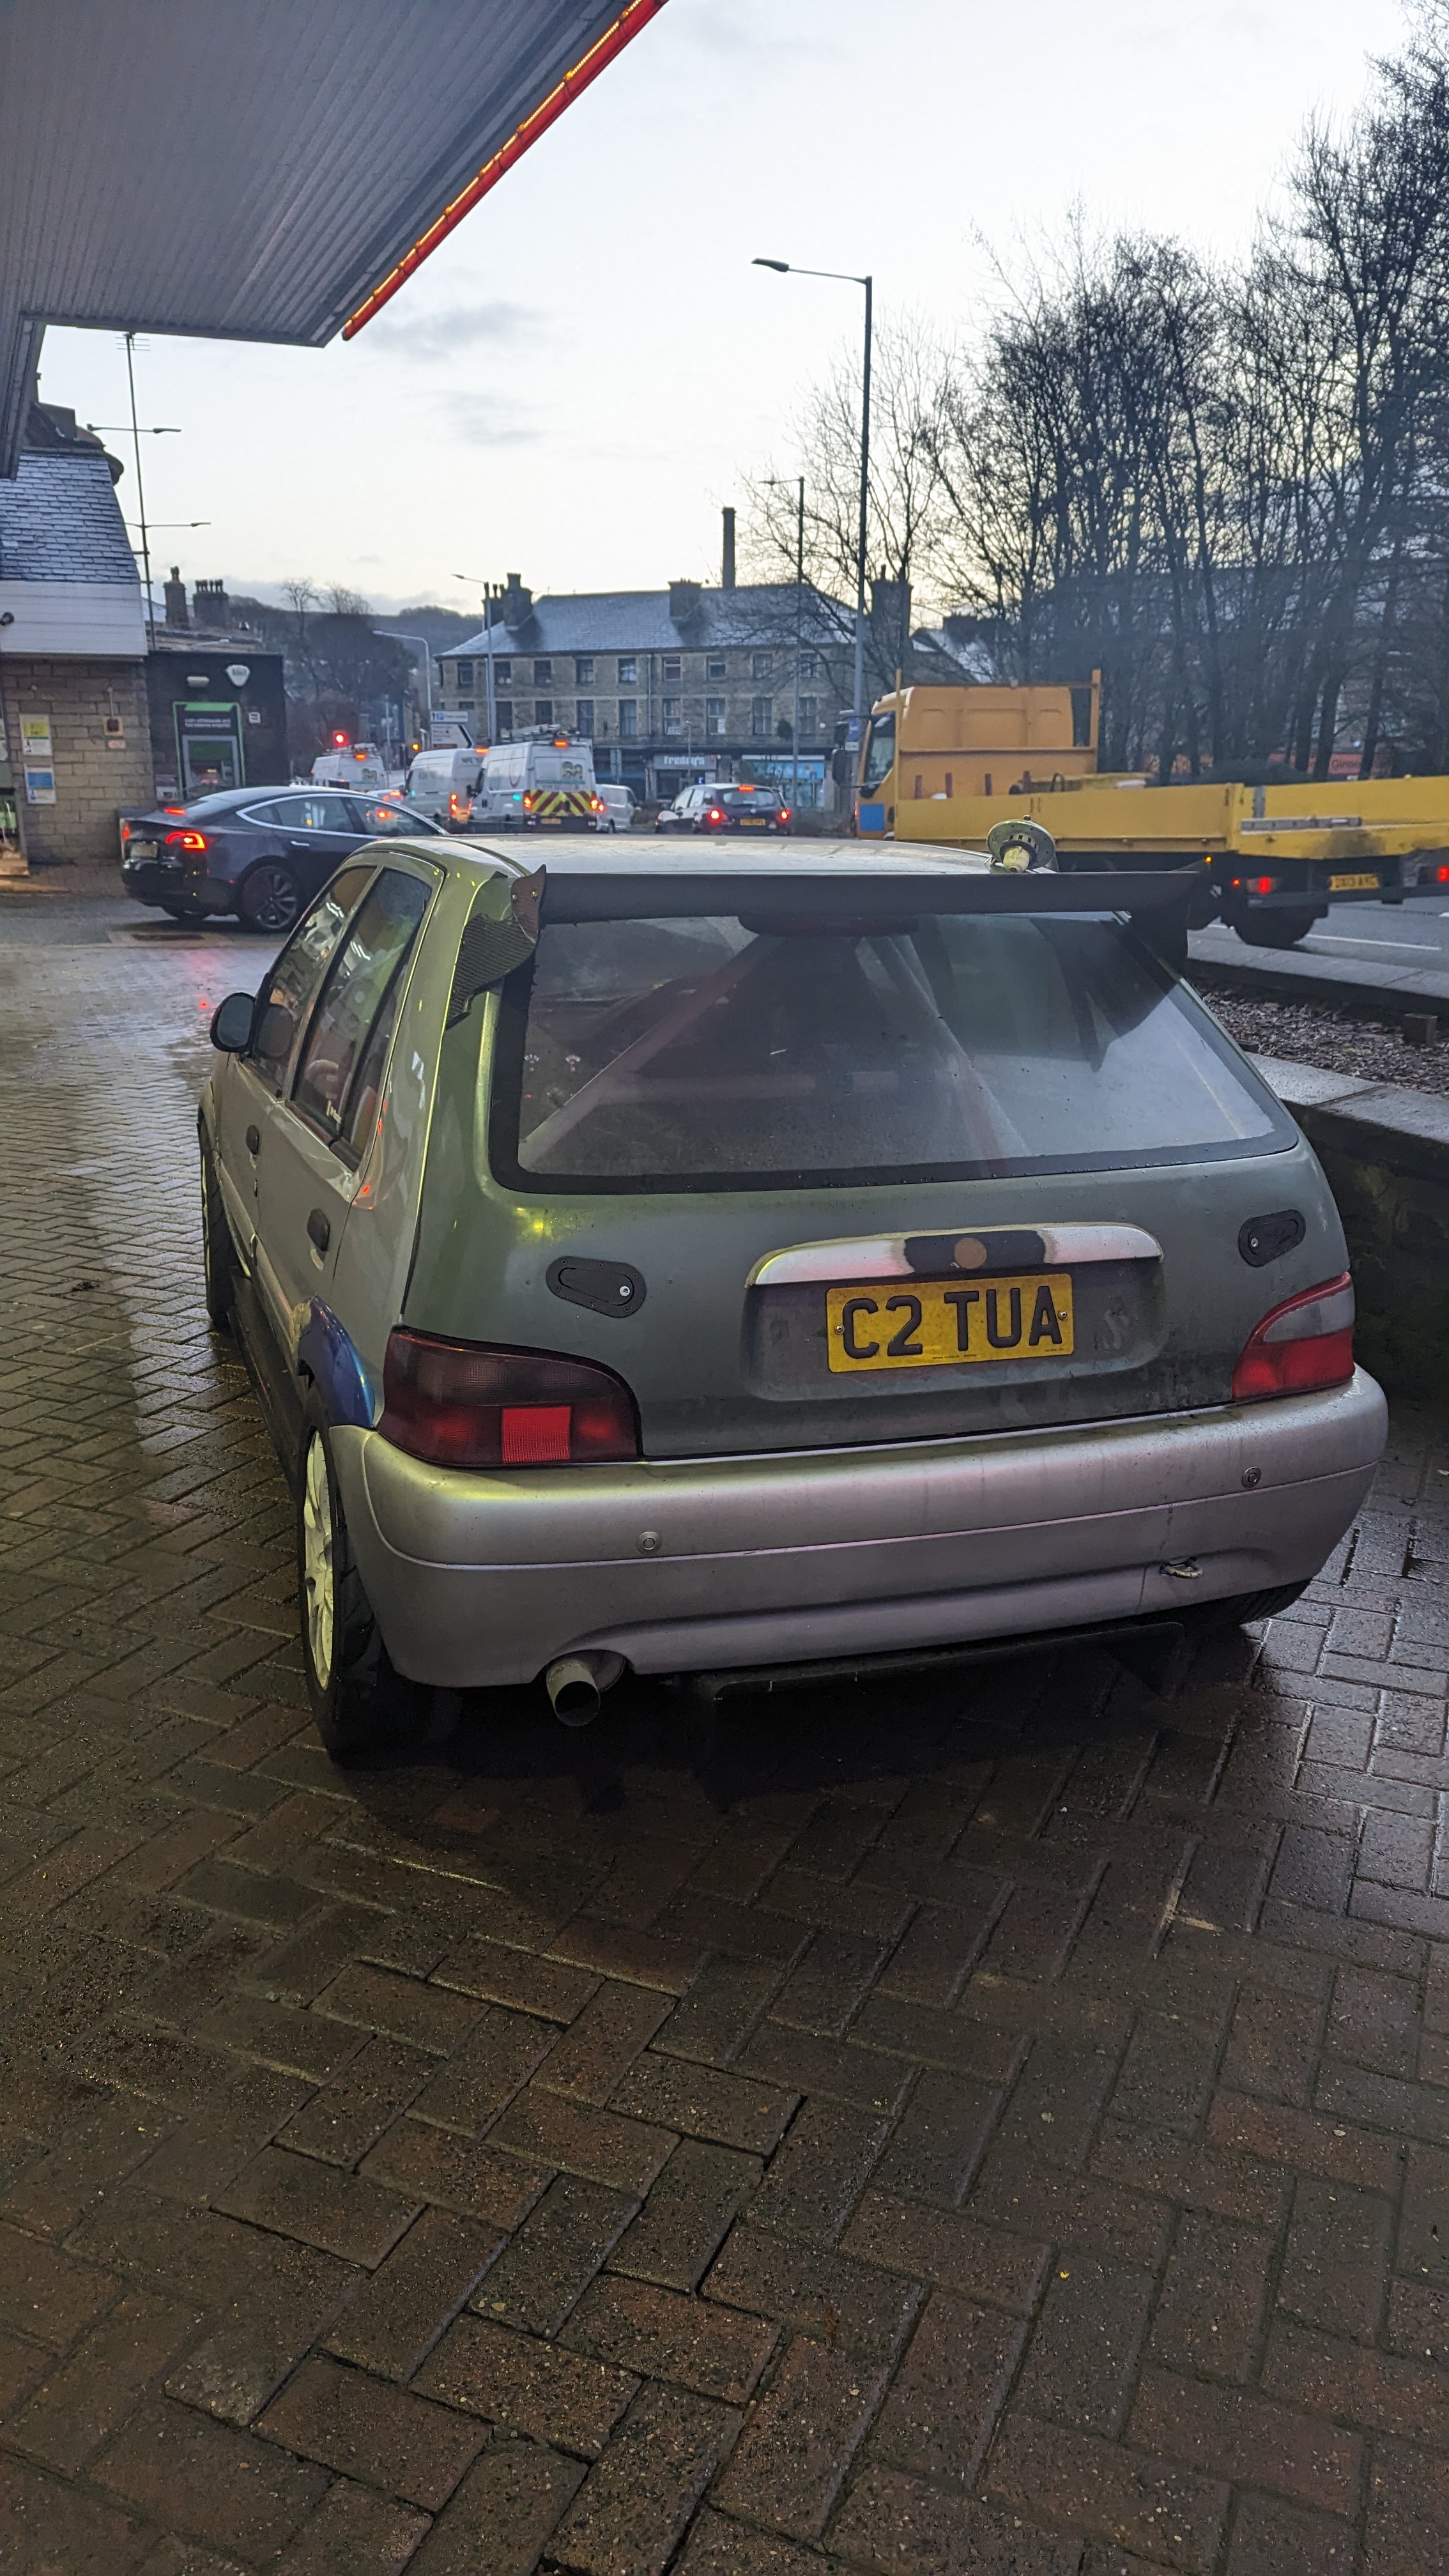
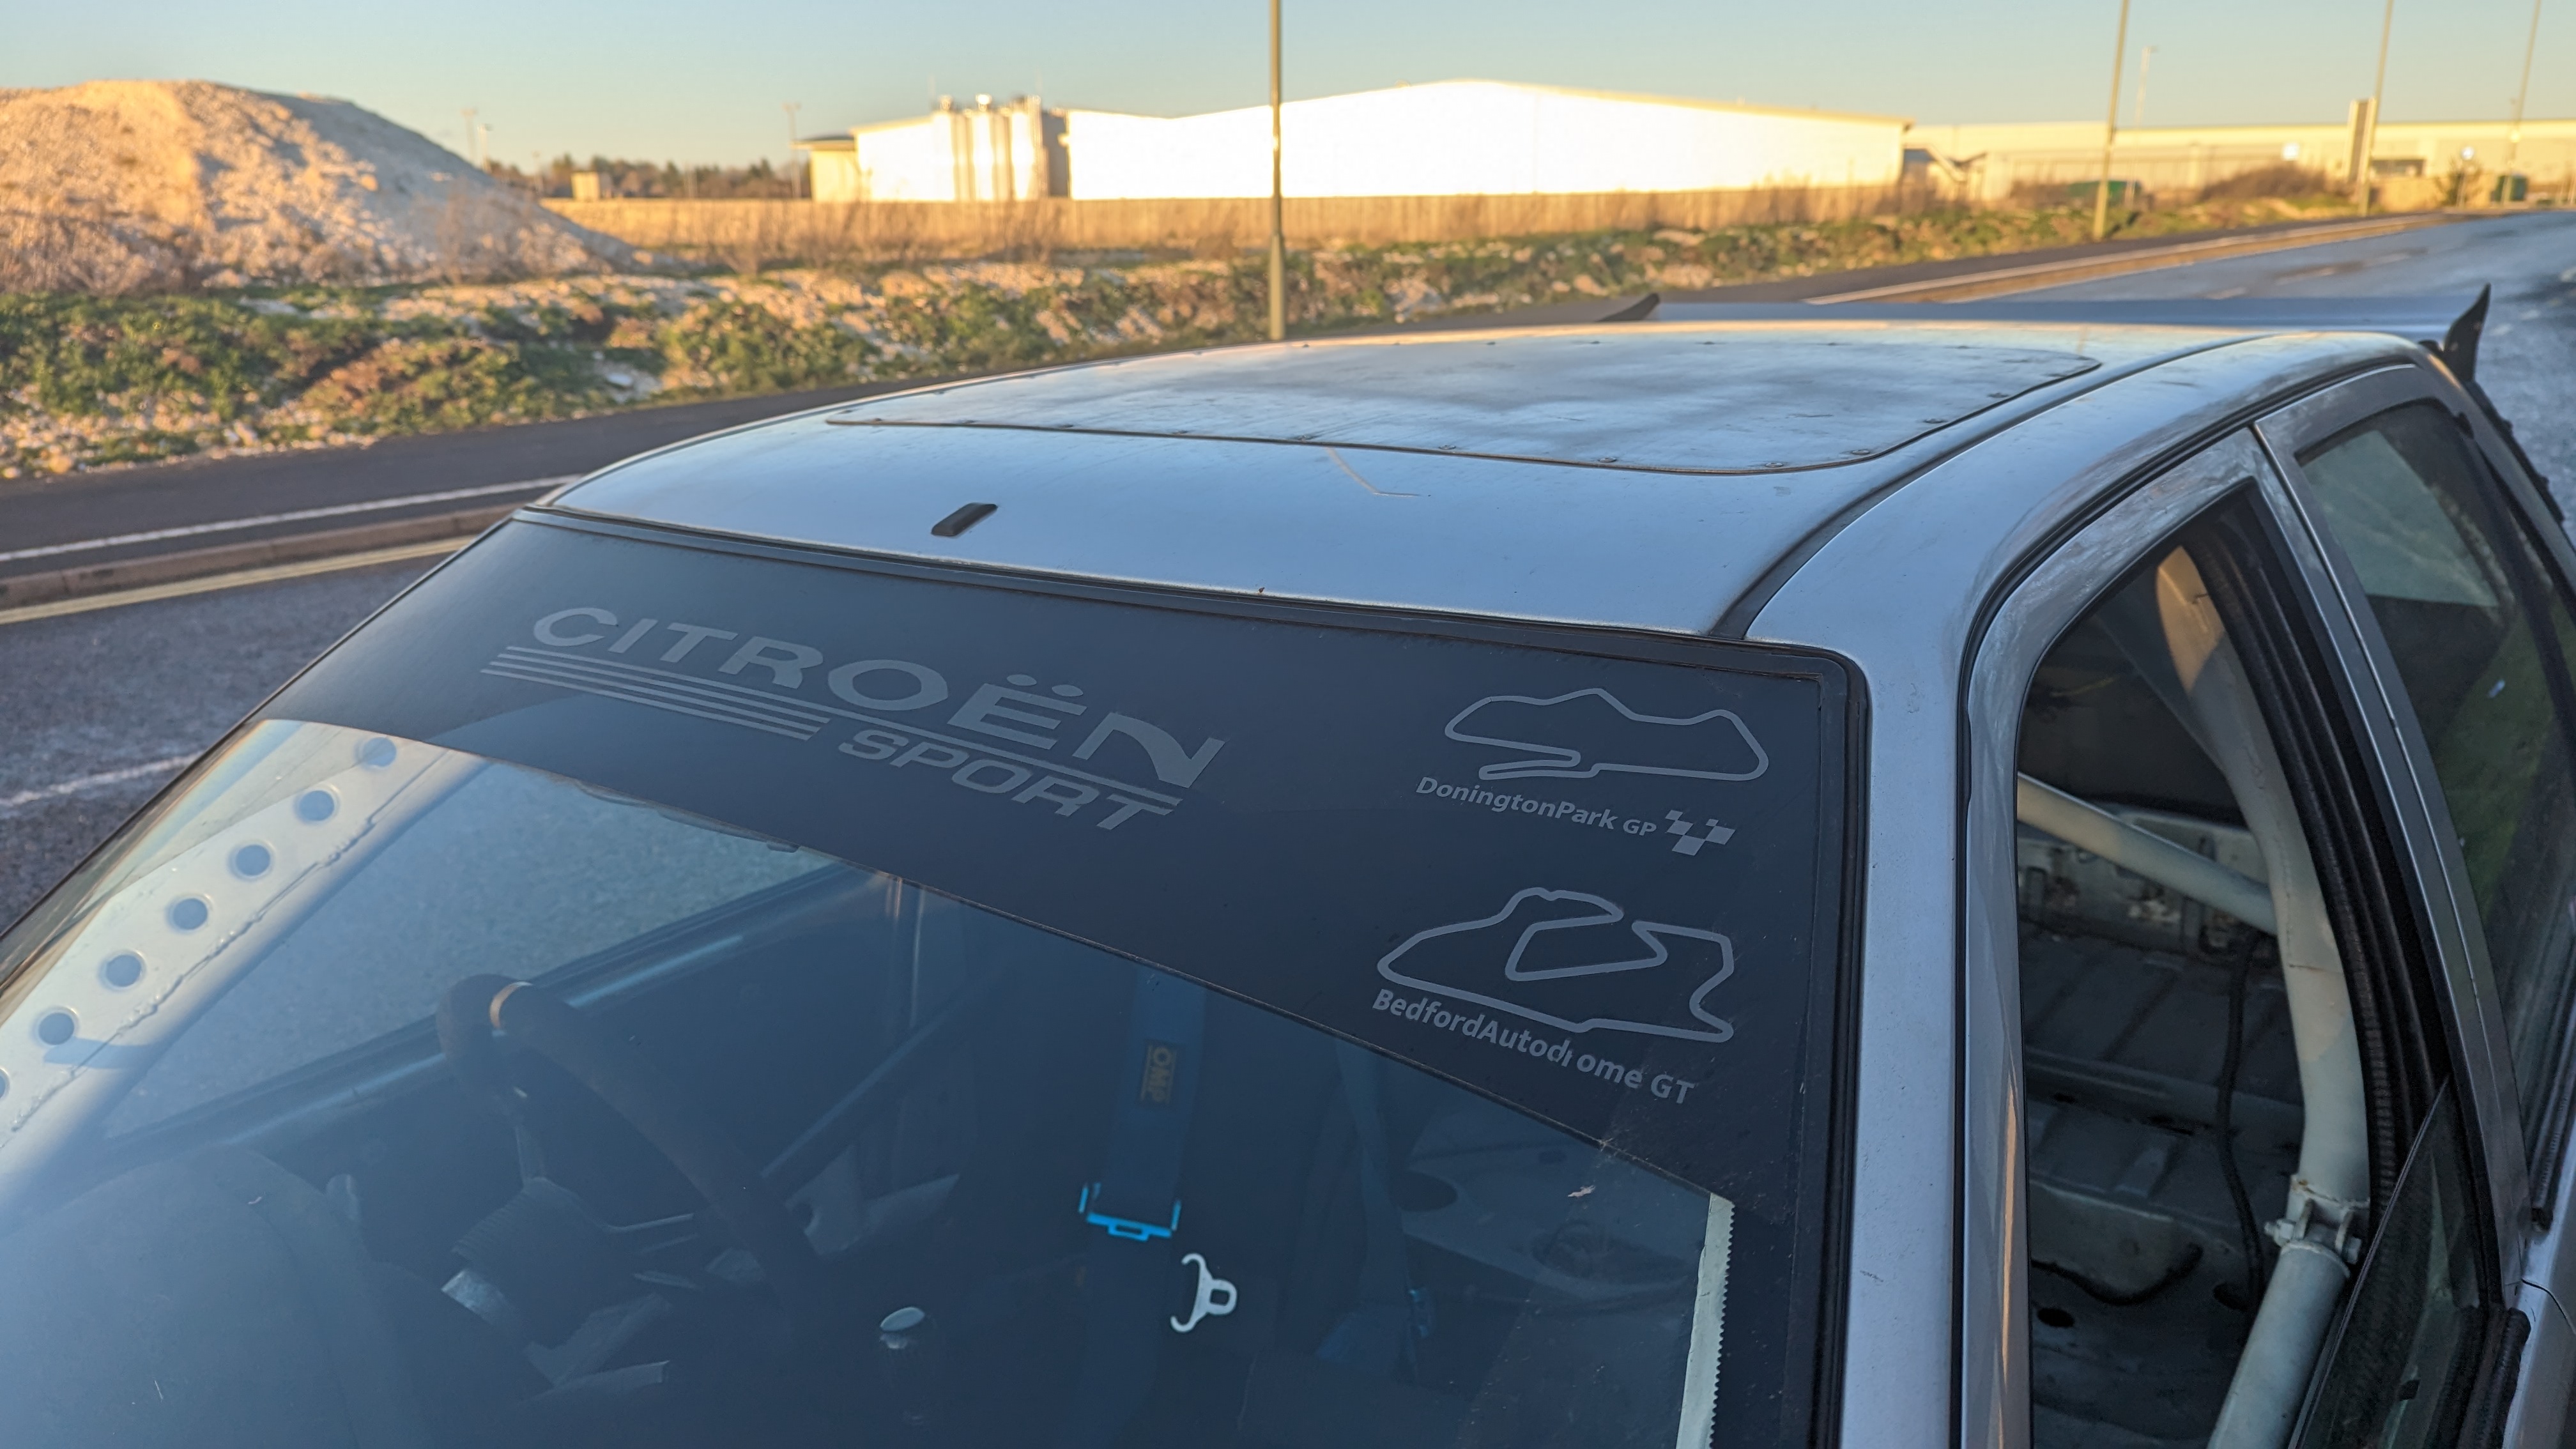
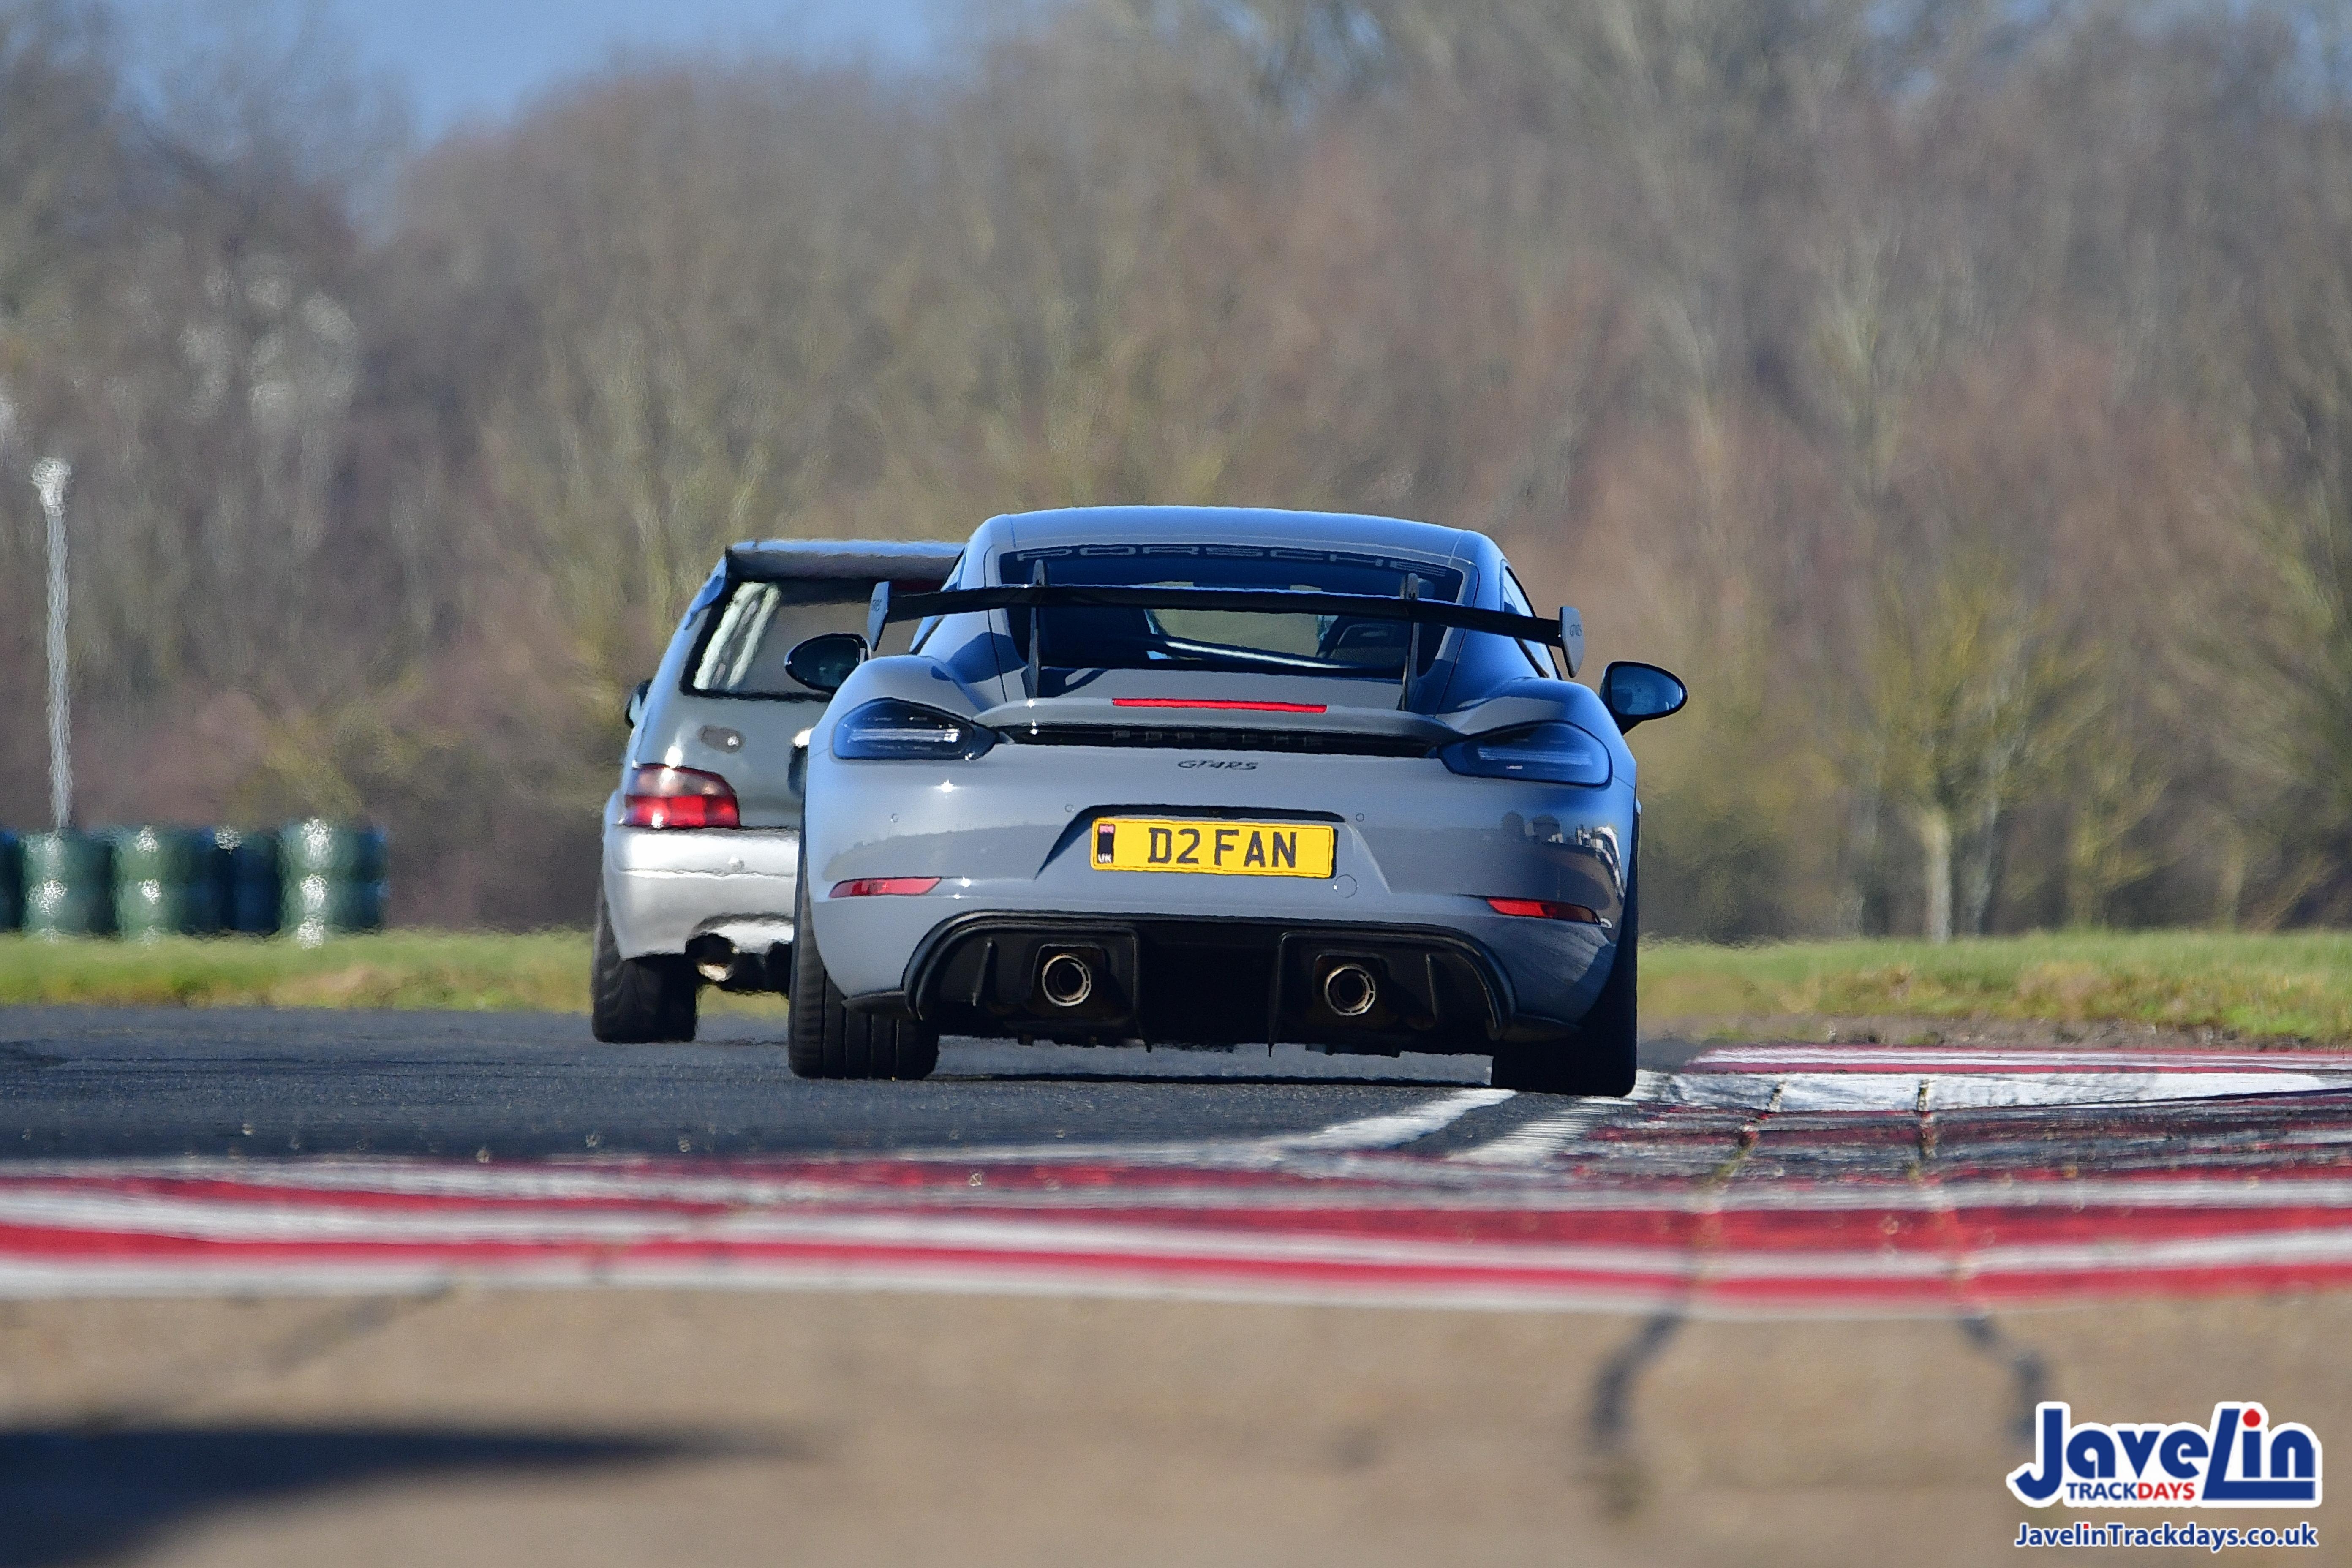
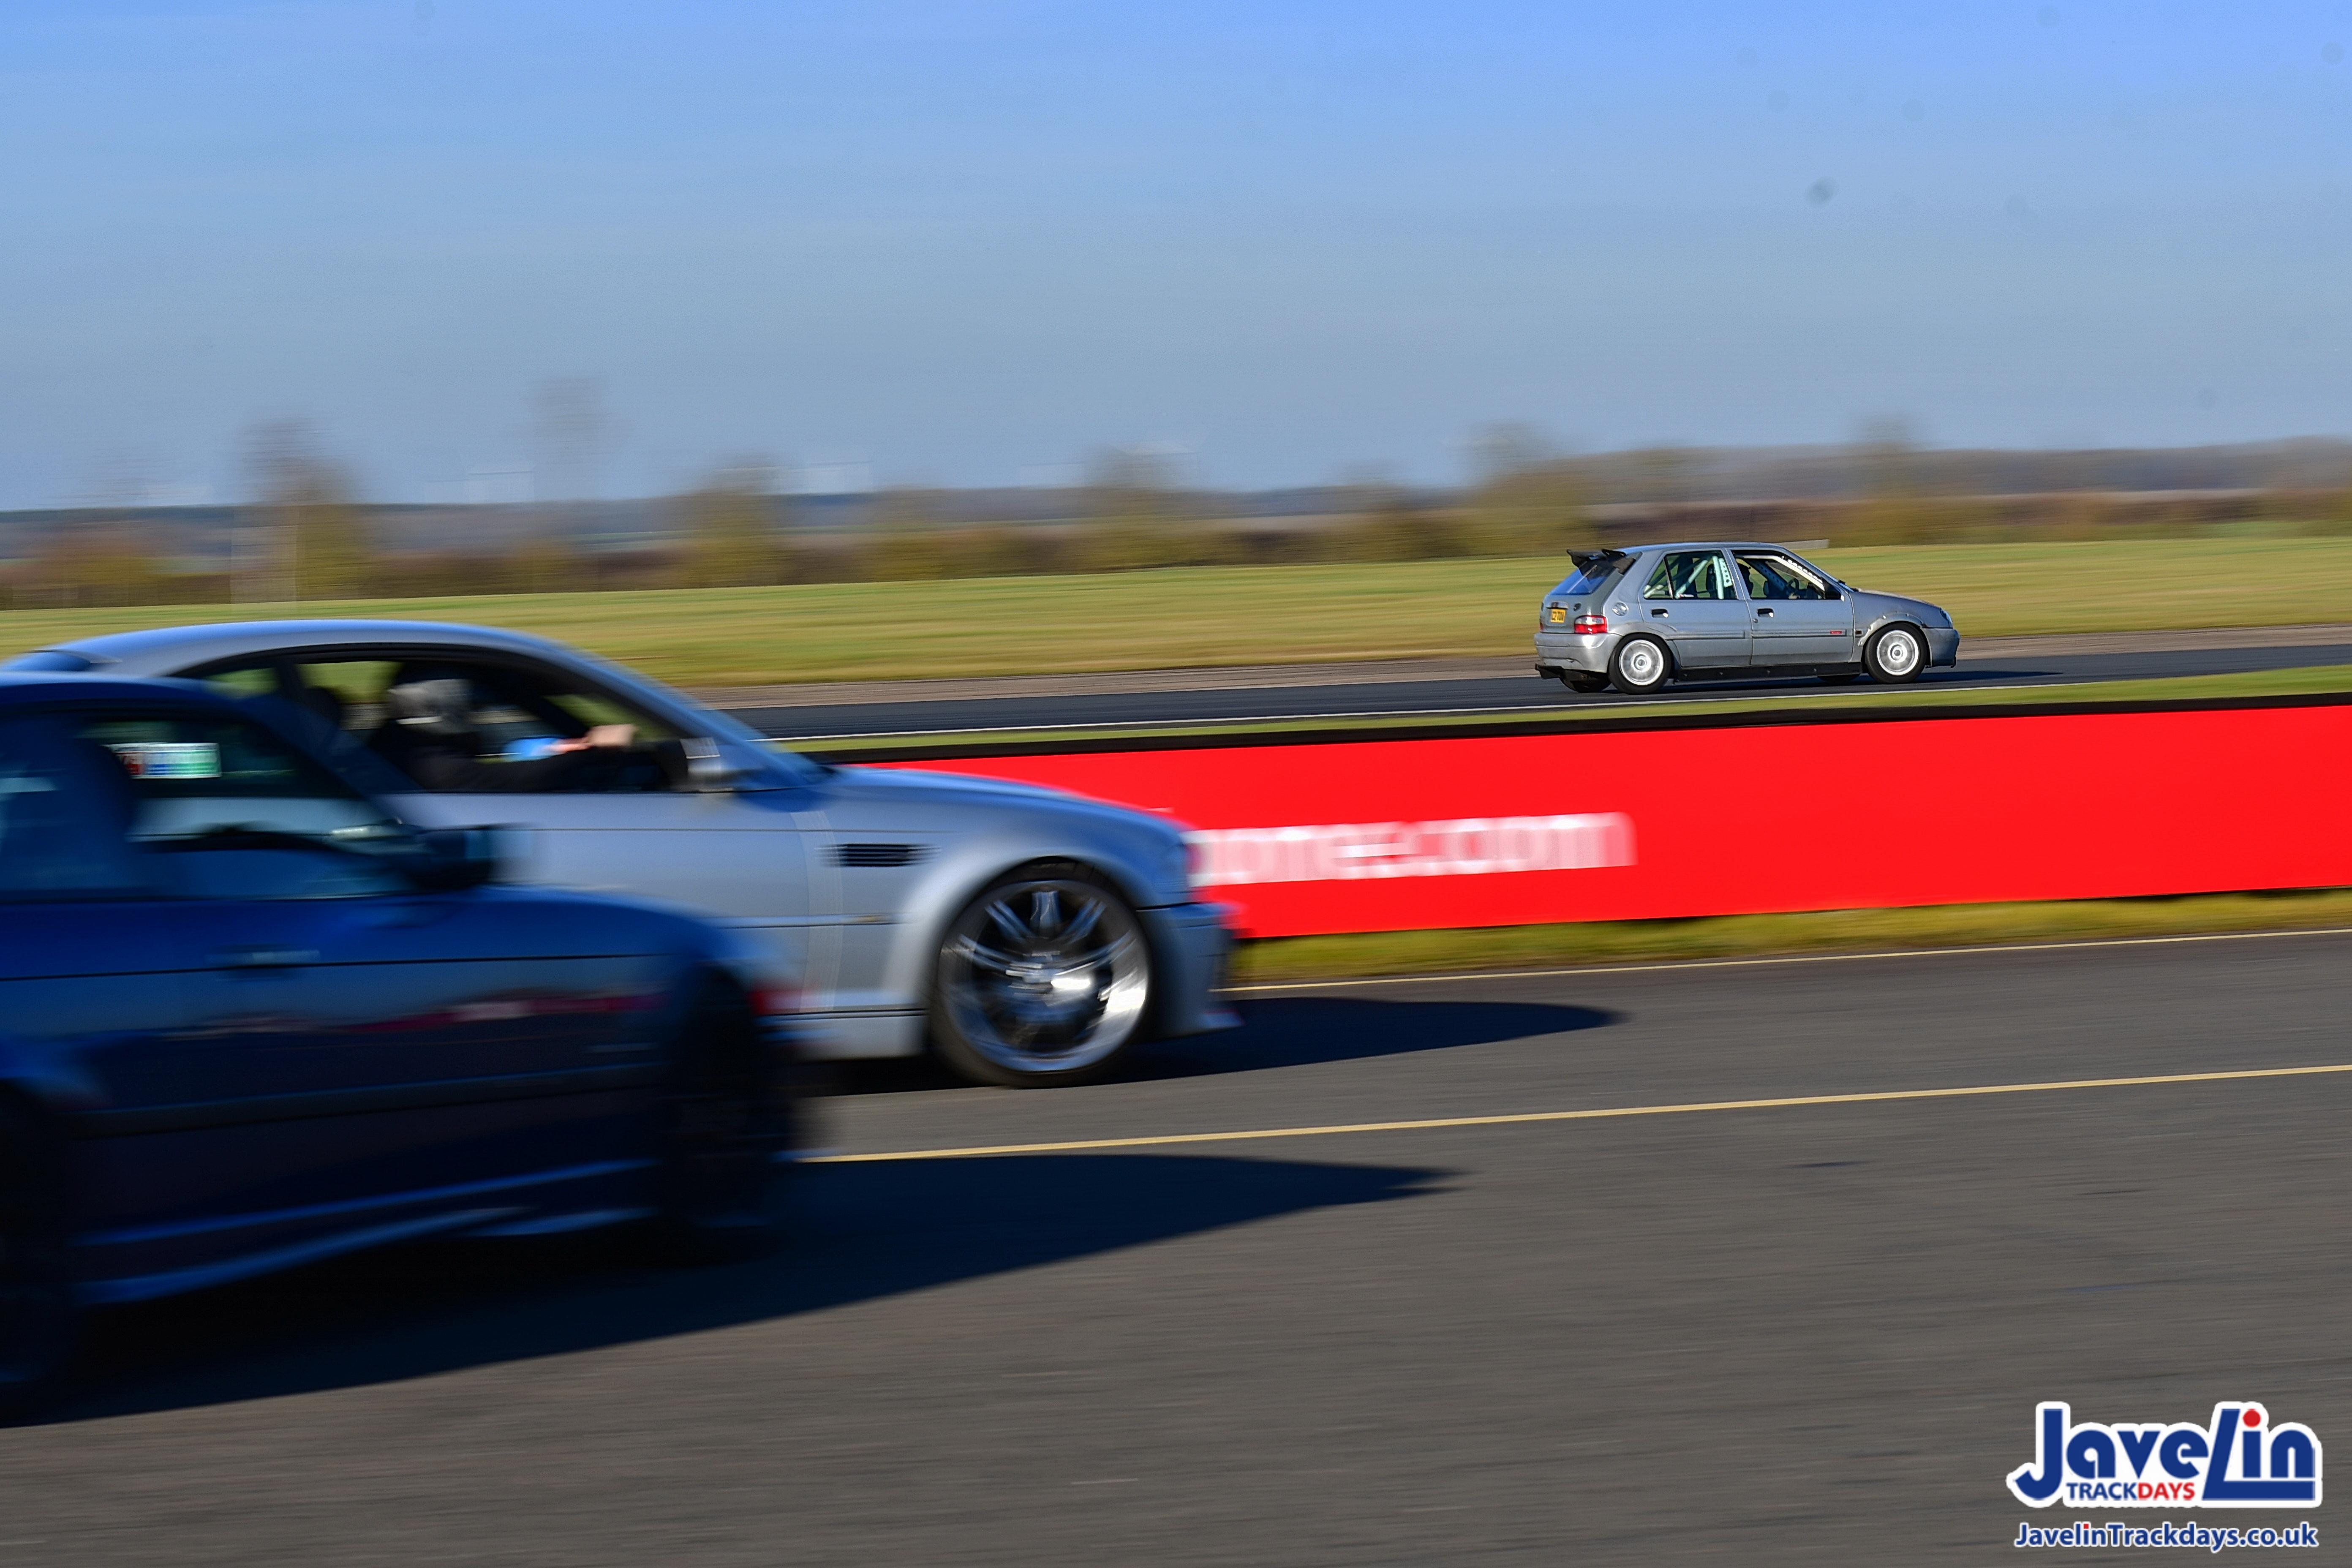
    Thought I would share my project car to try and revive the forum a little bit as well.
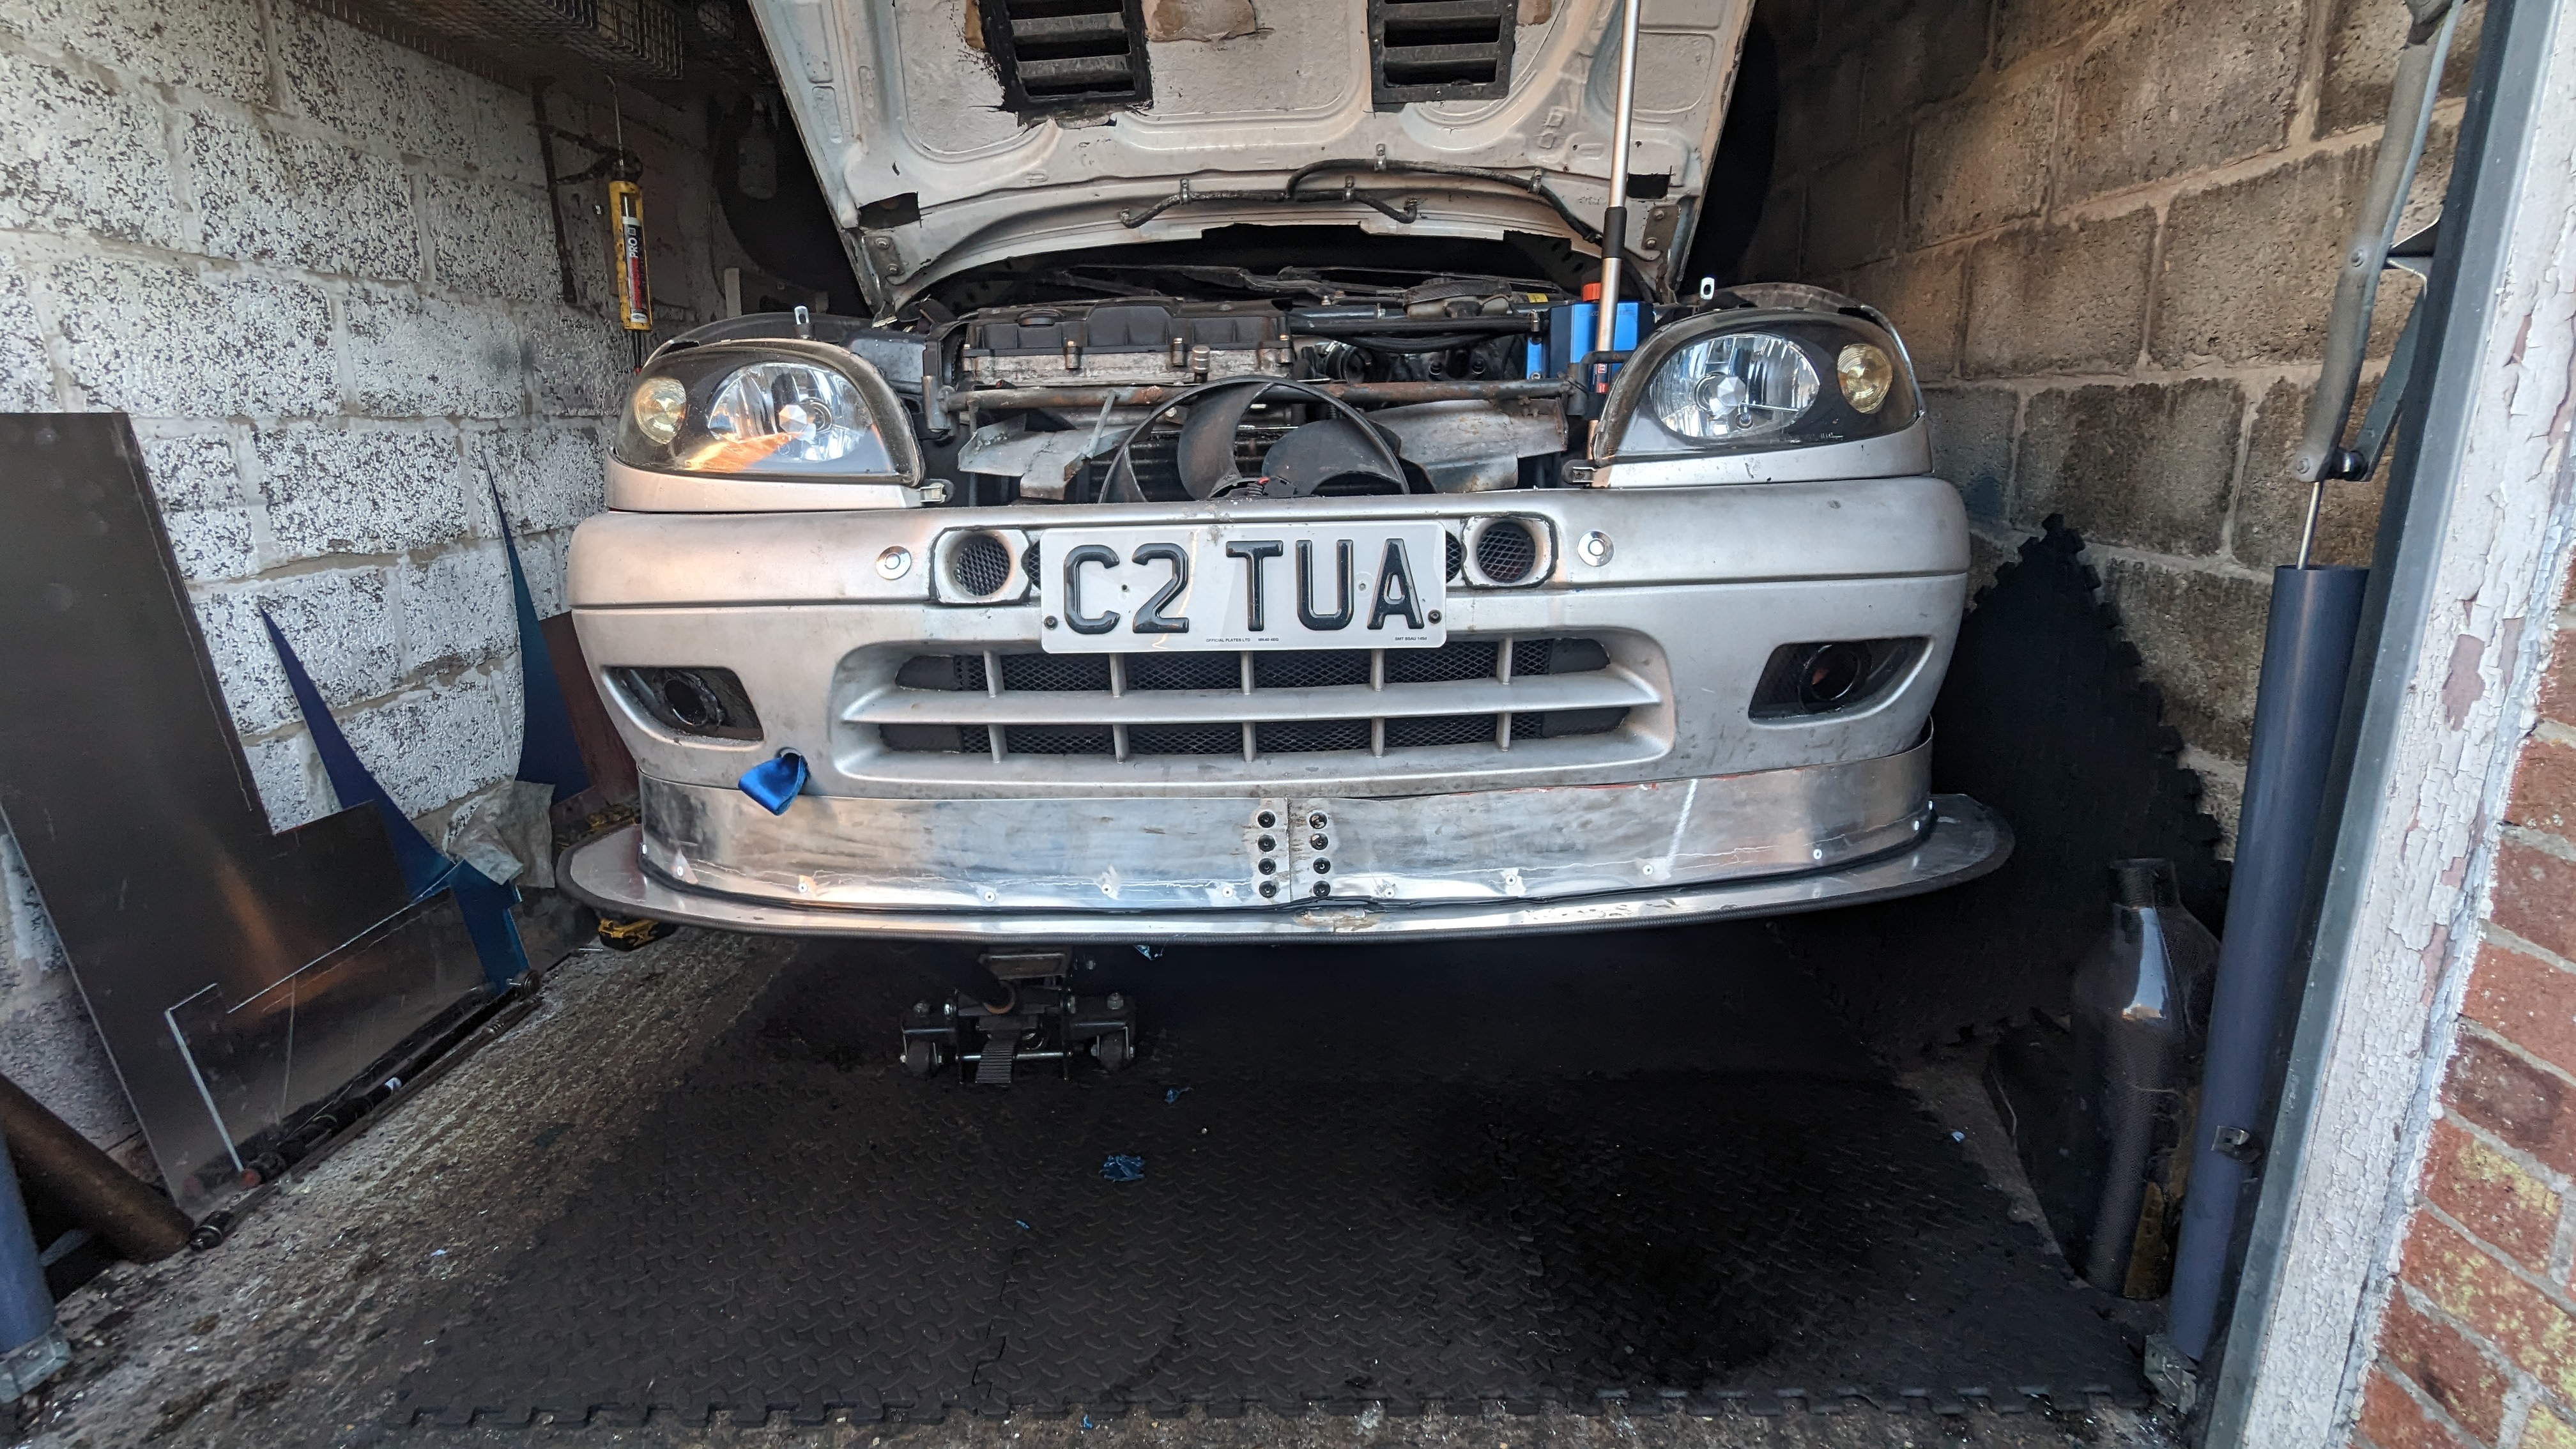
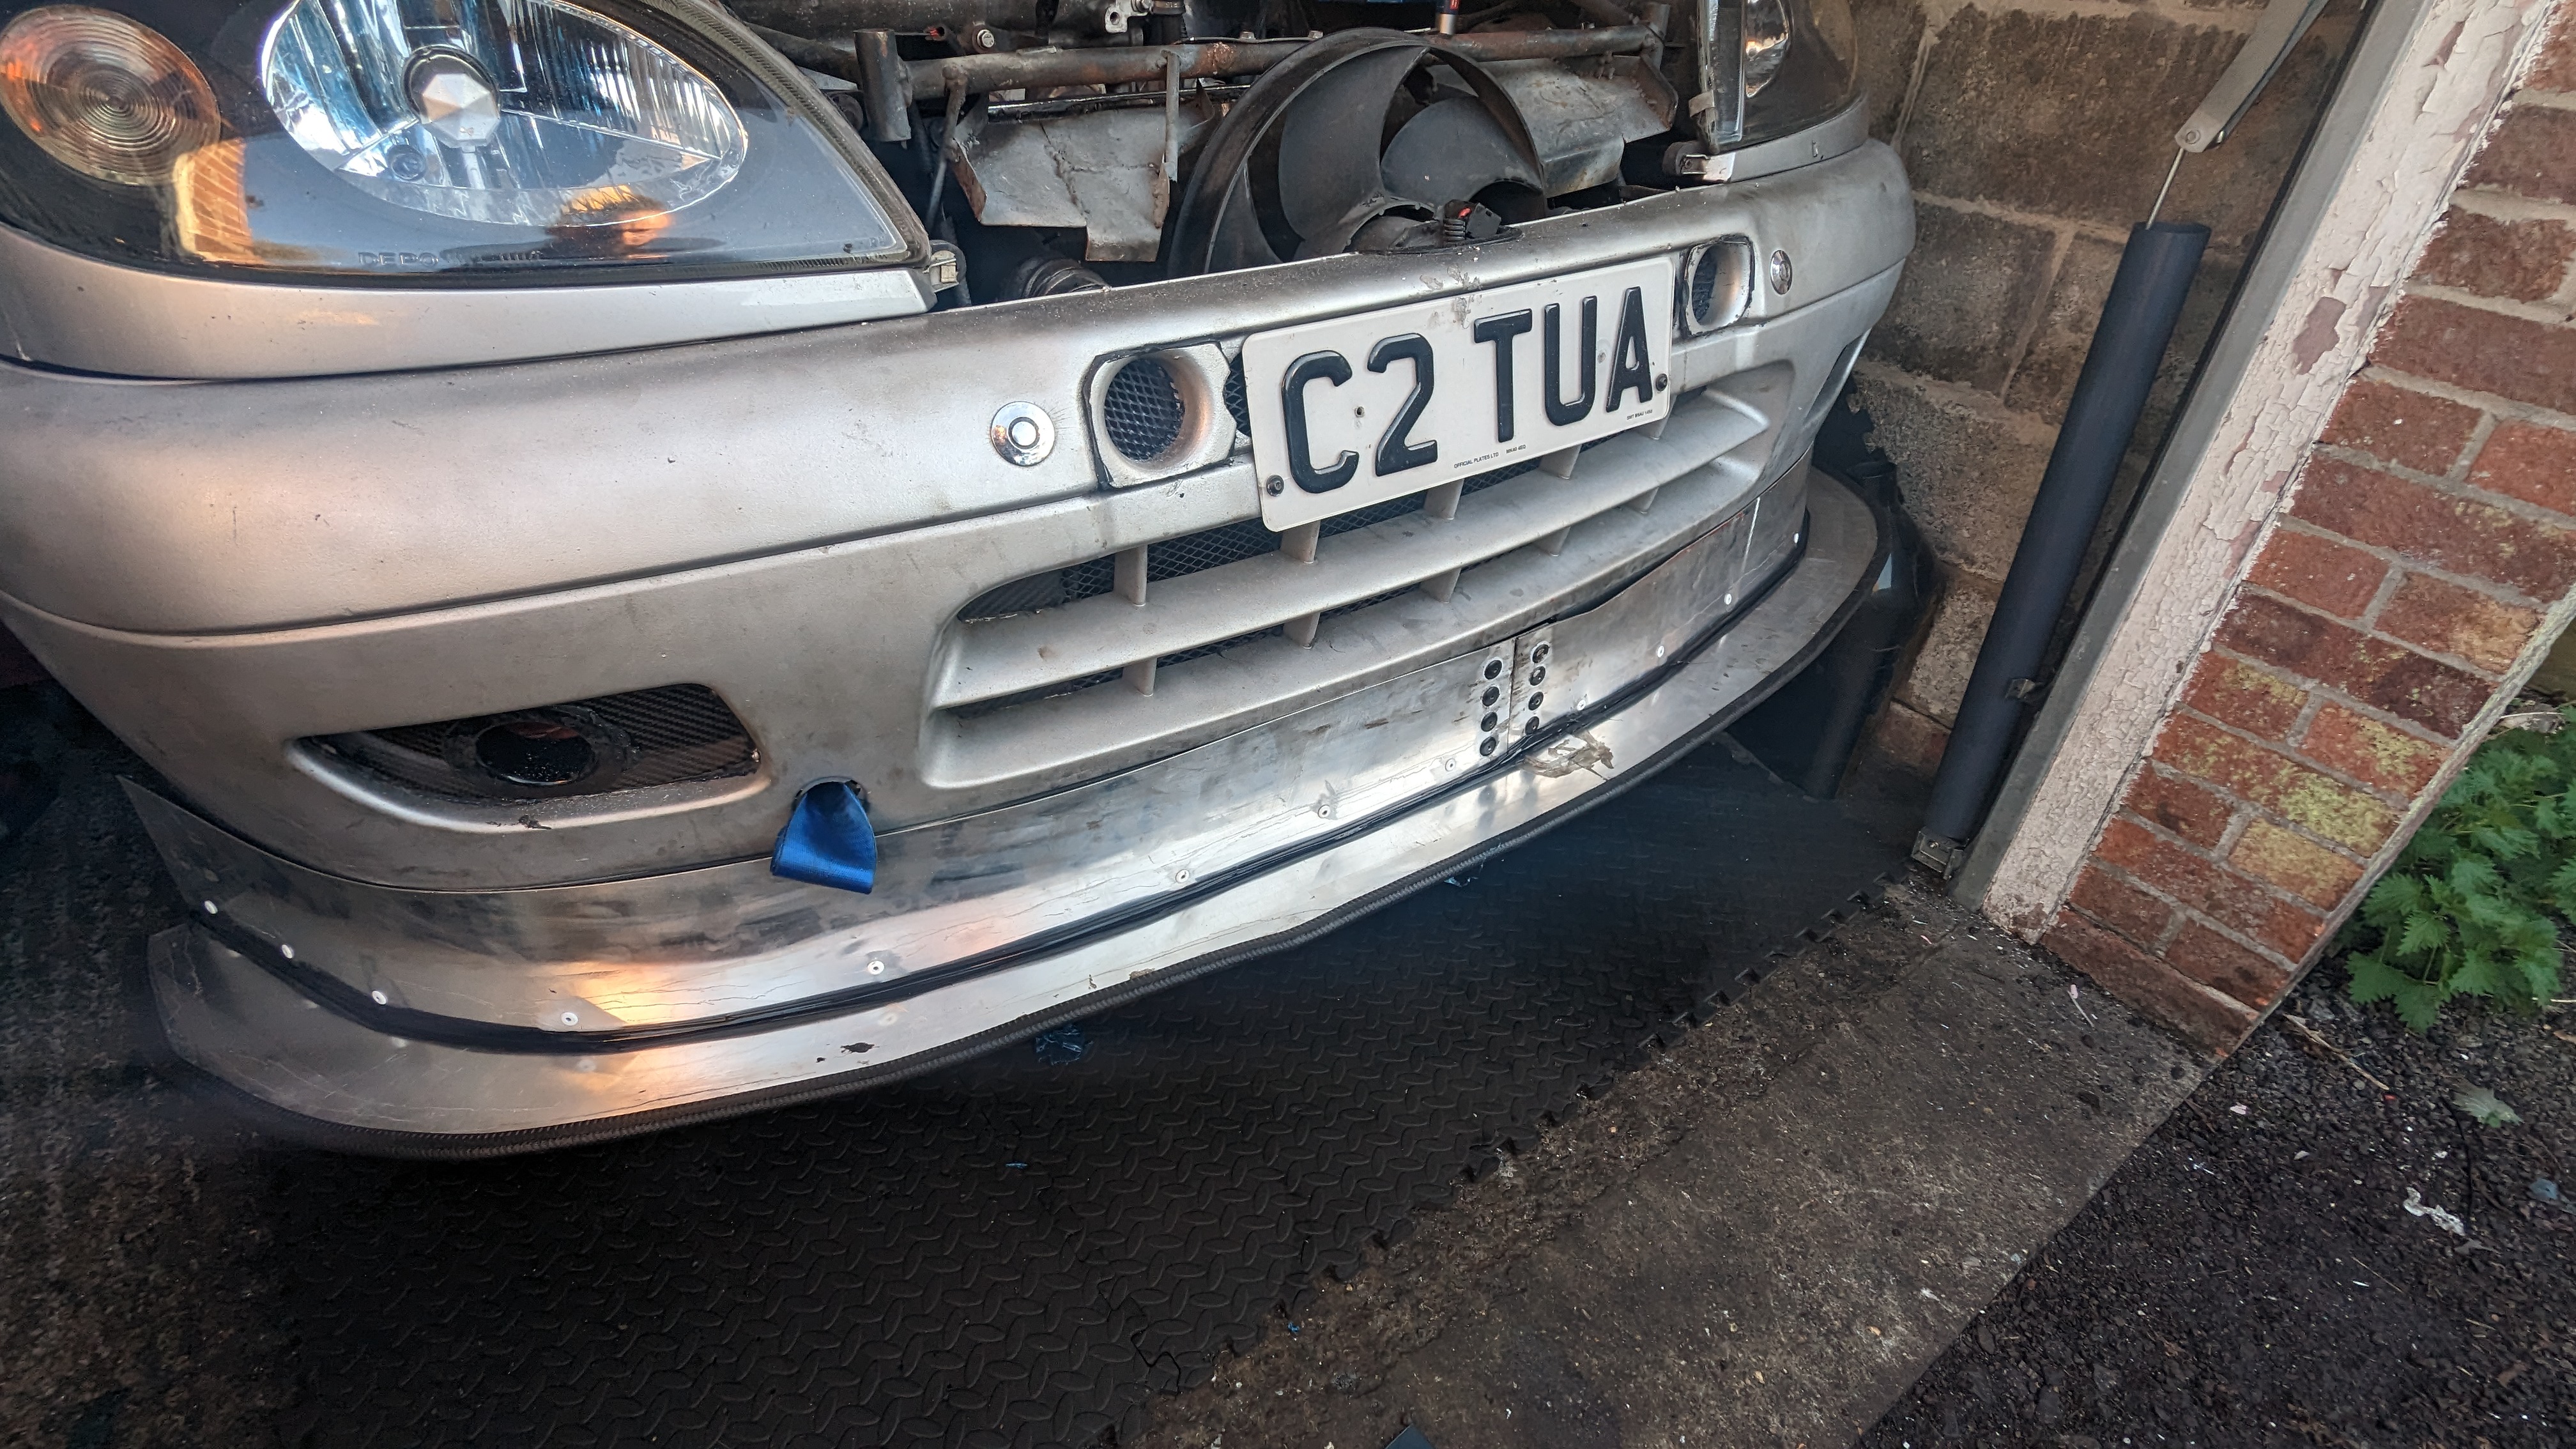
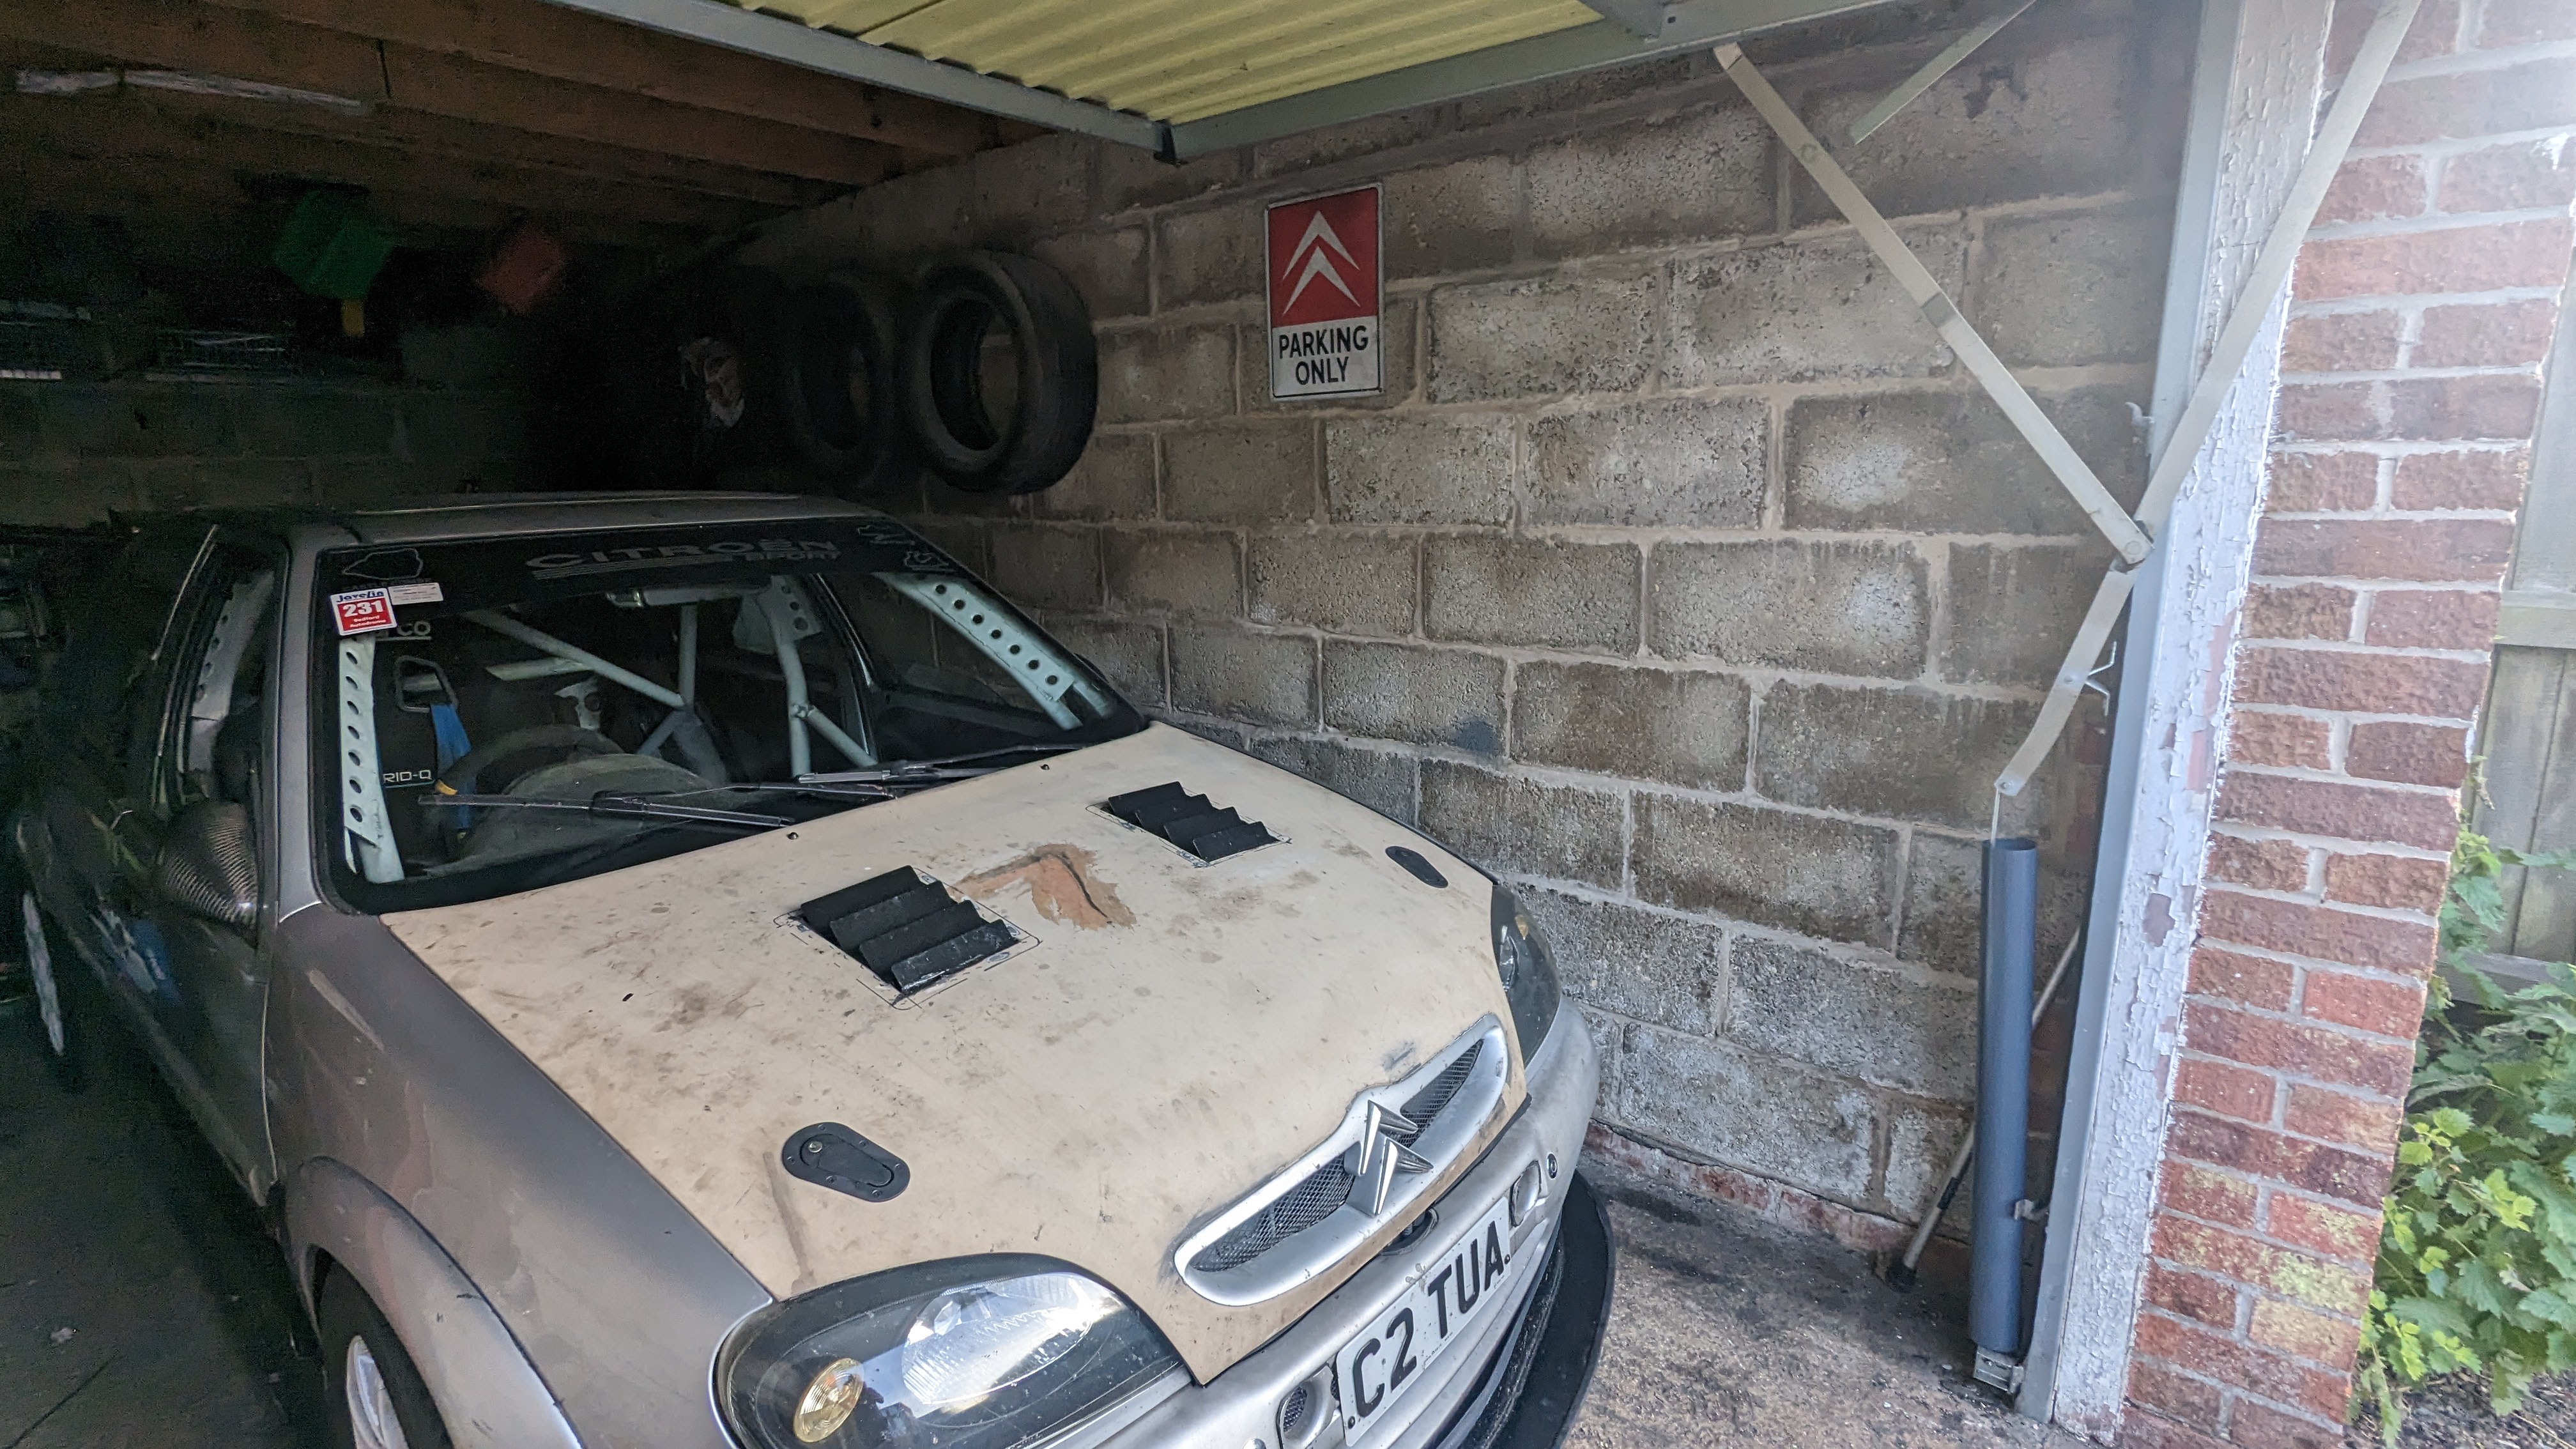
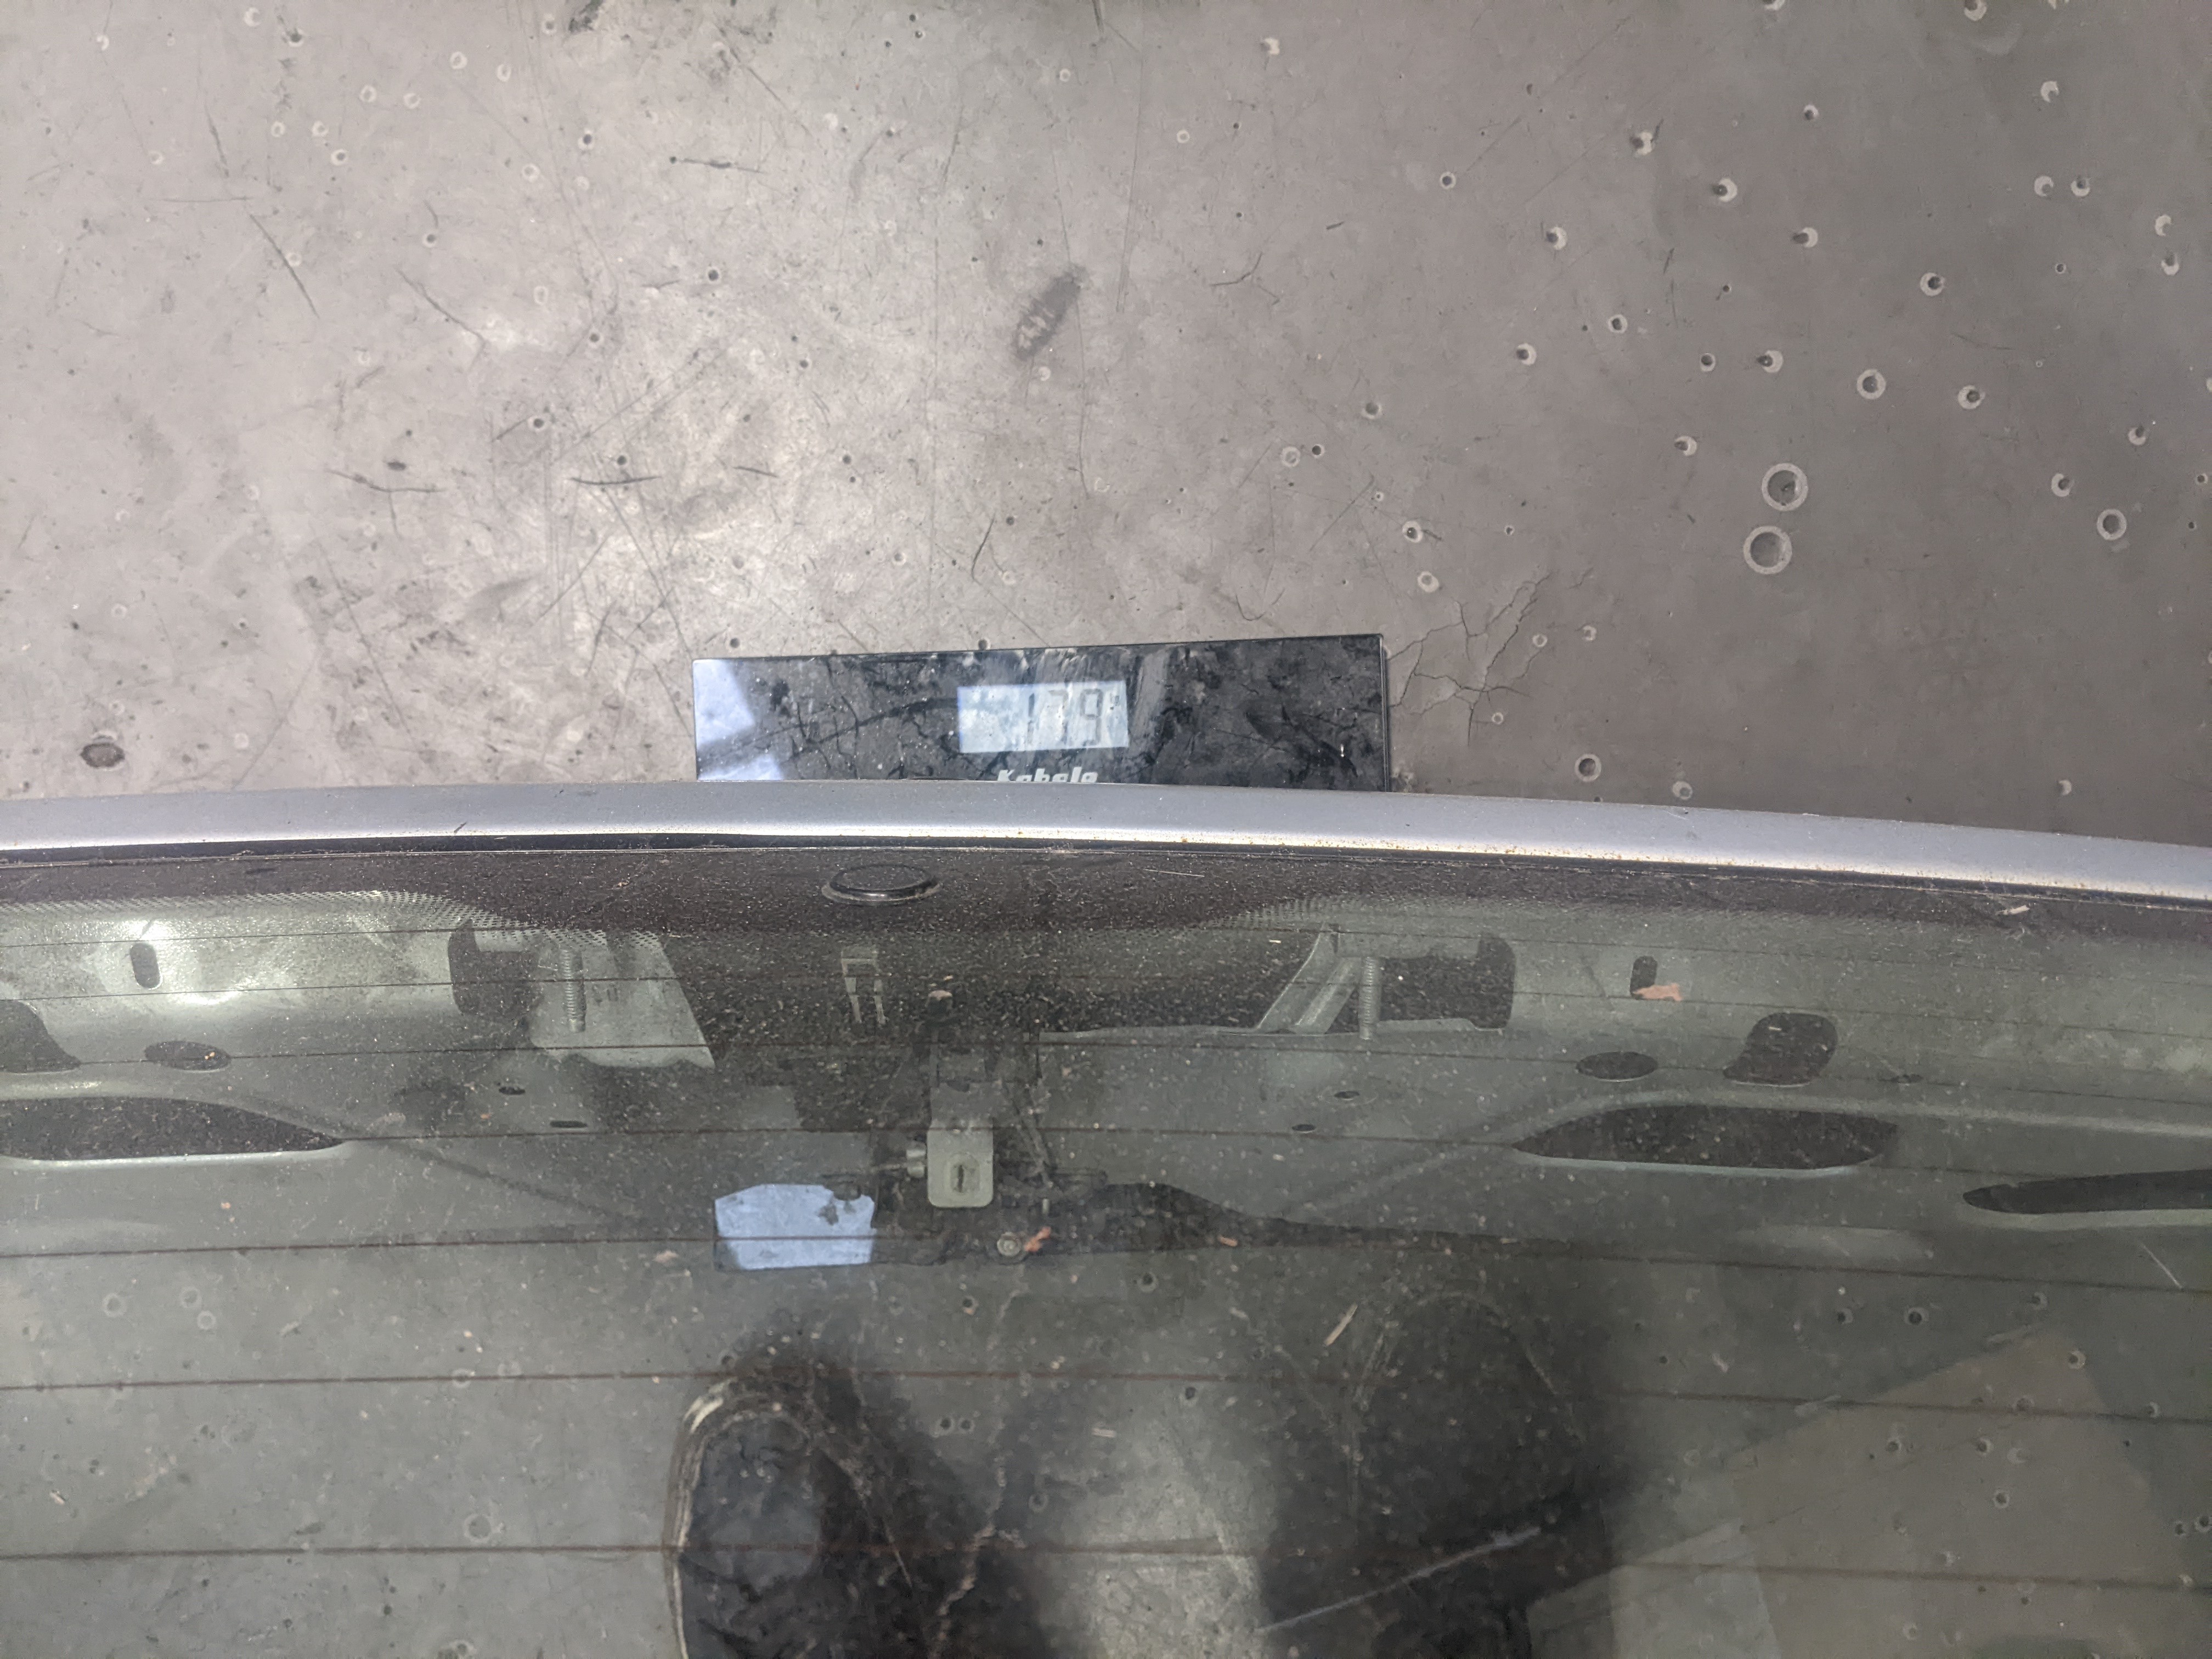
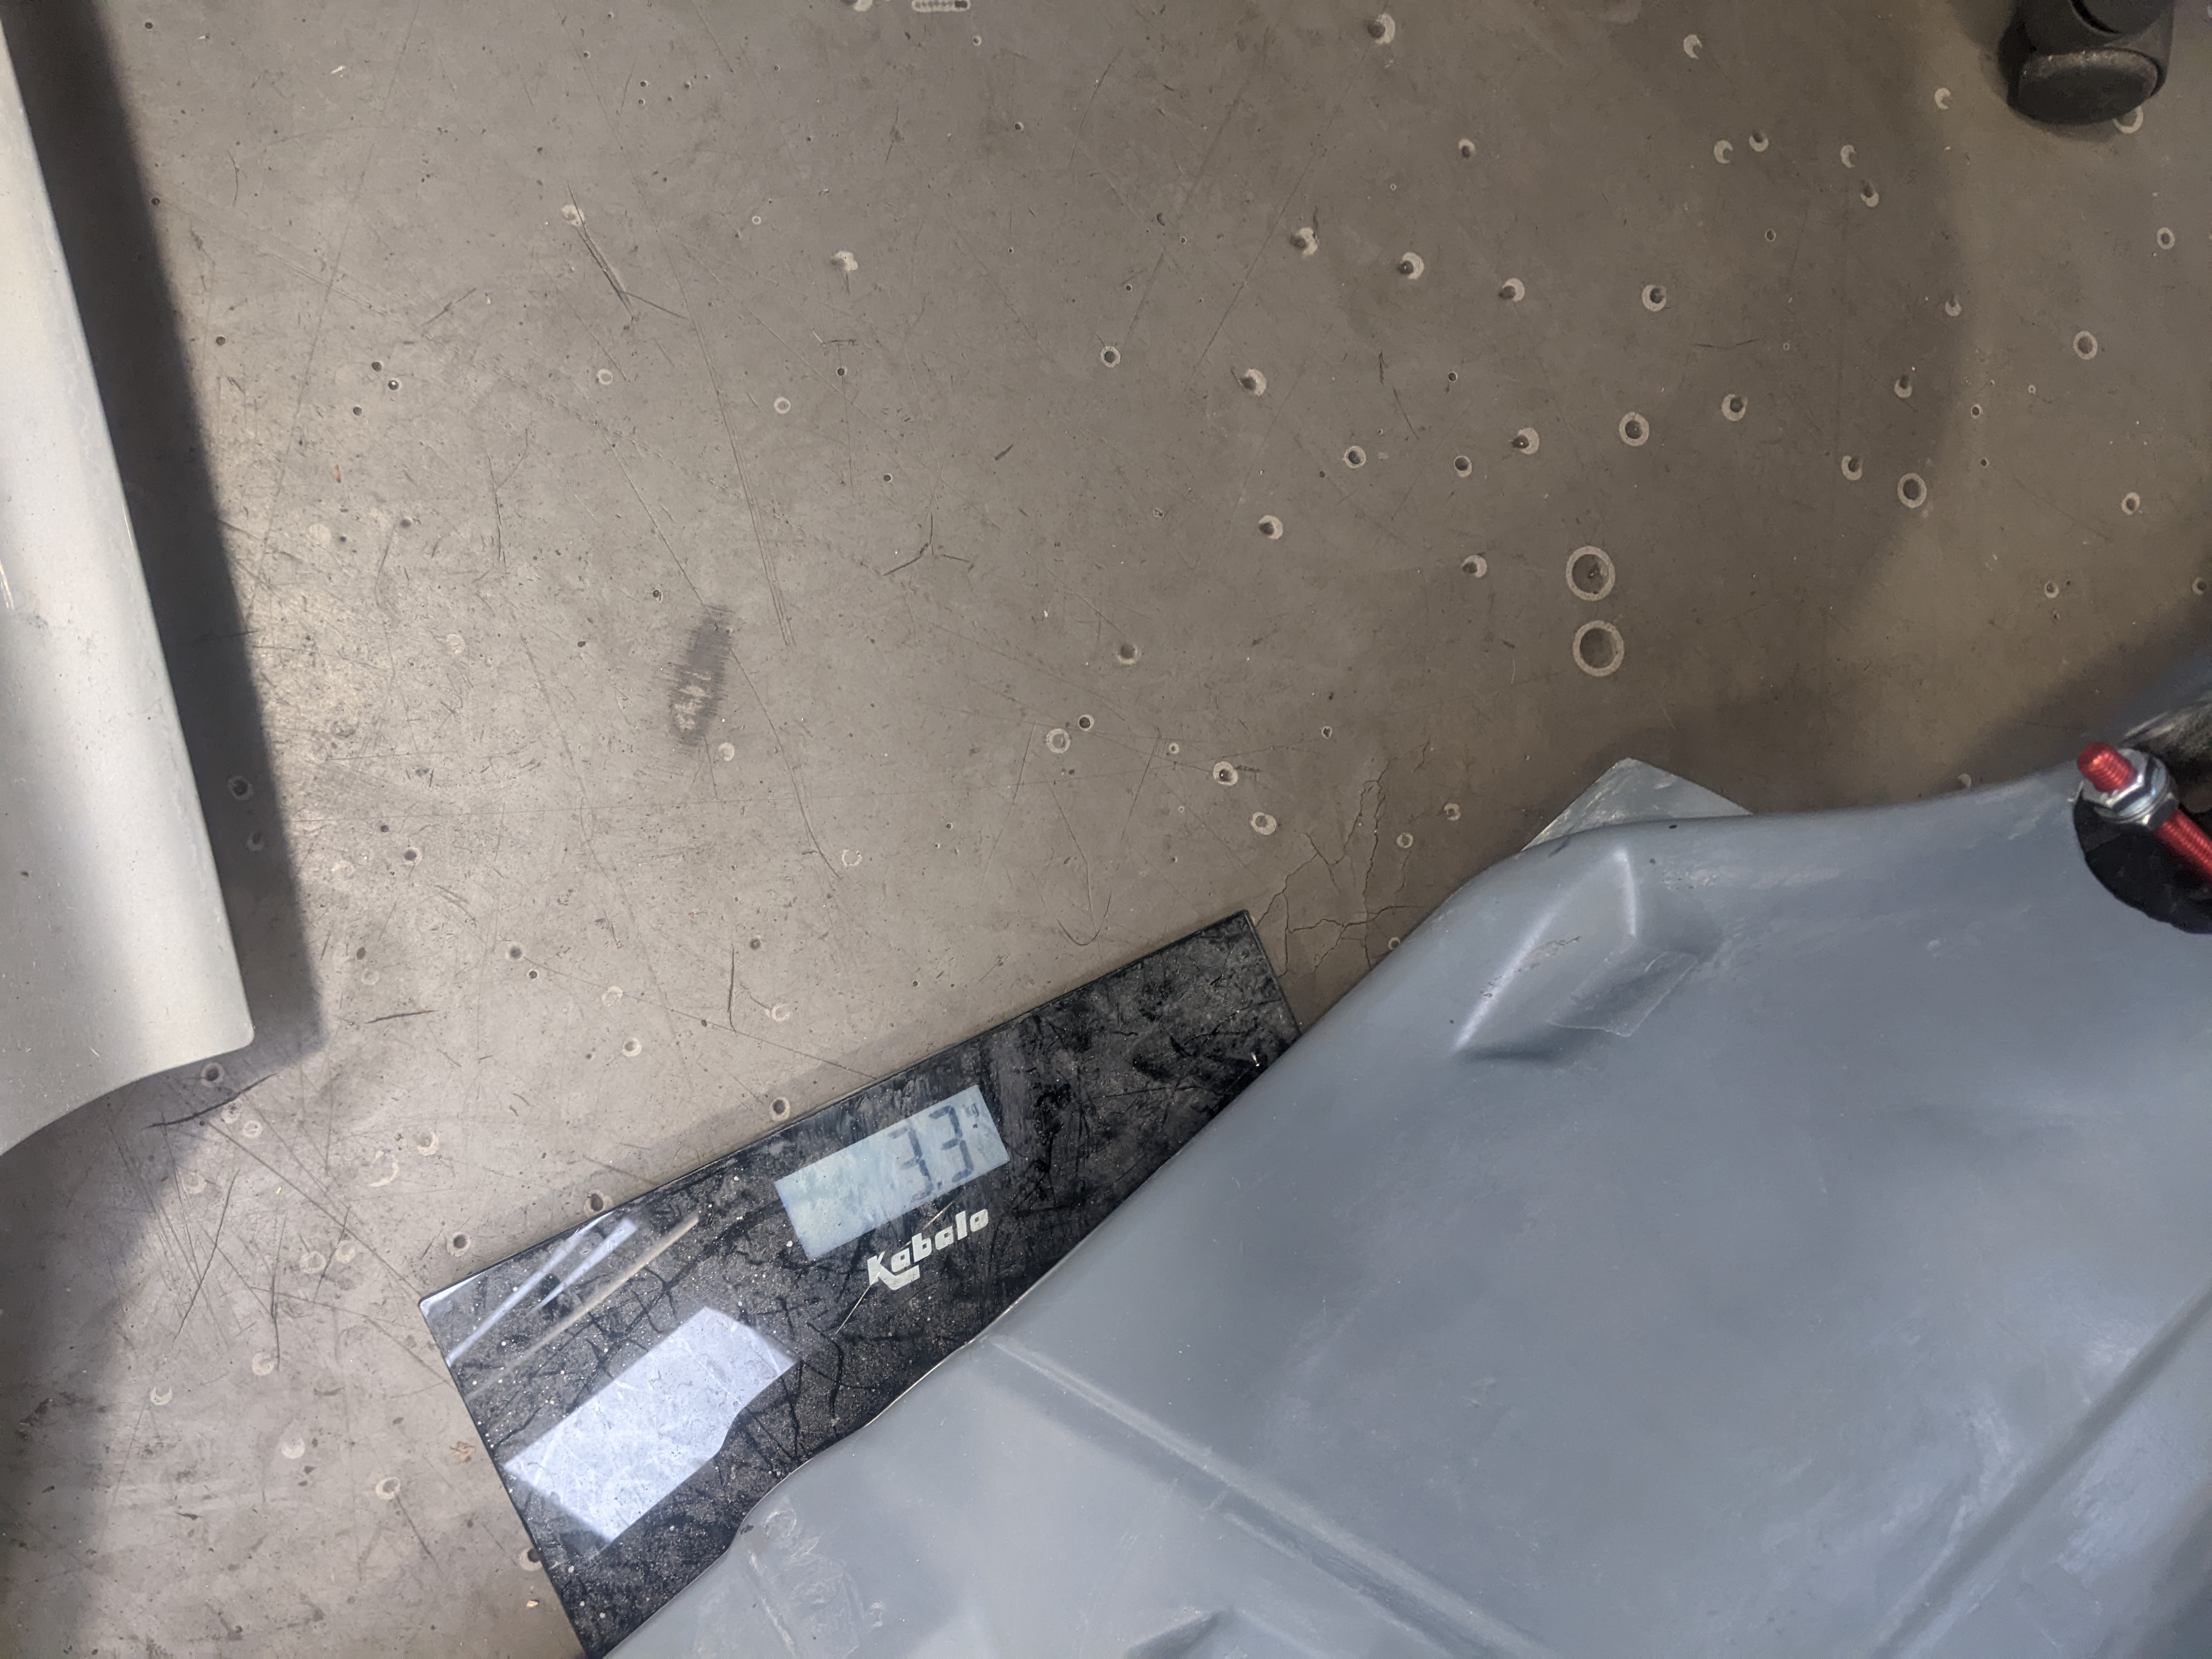
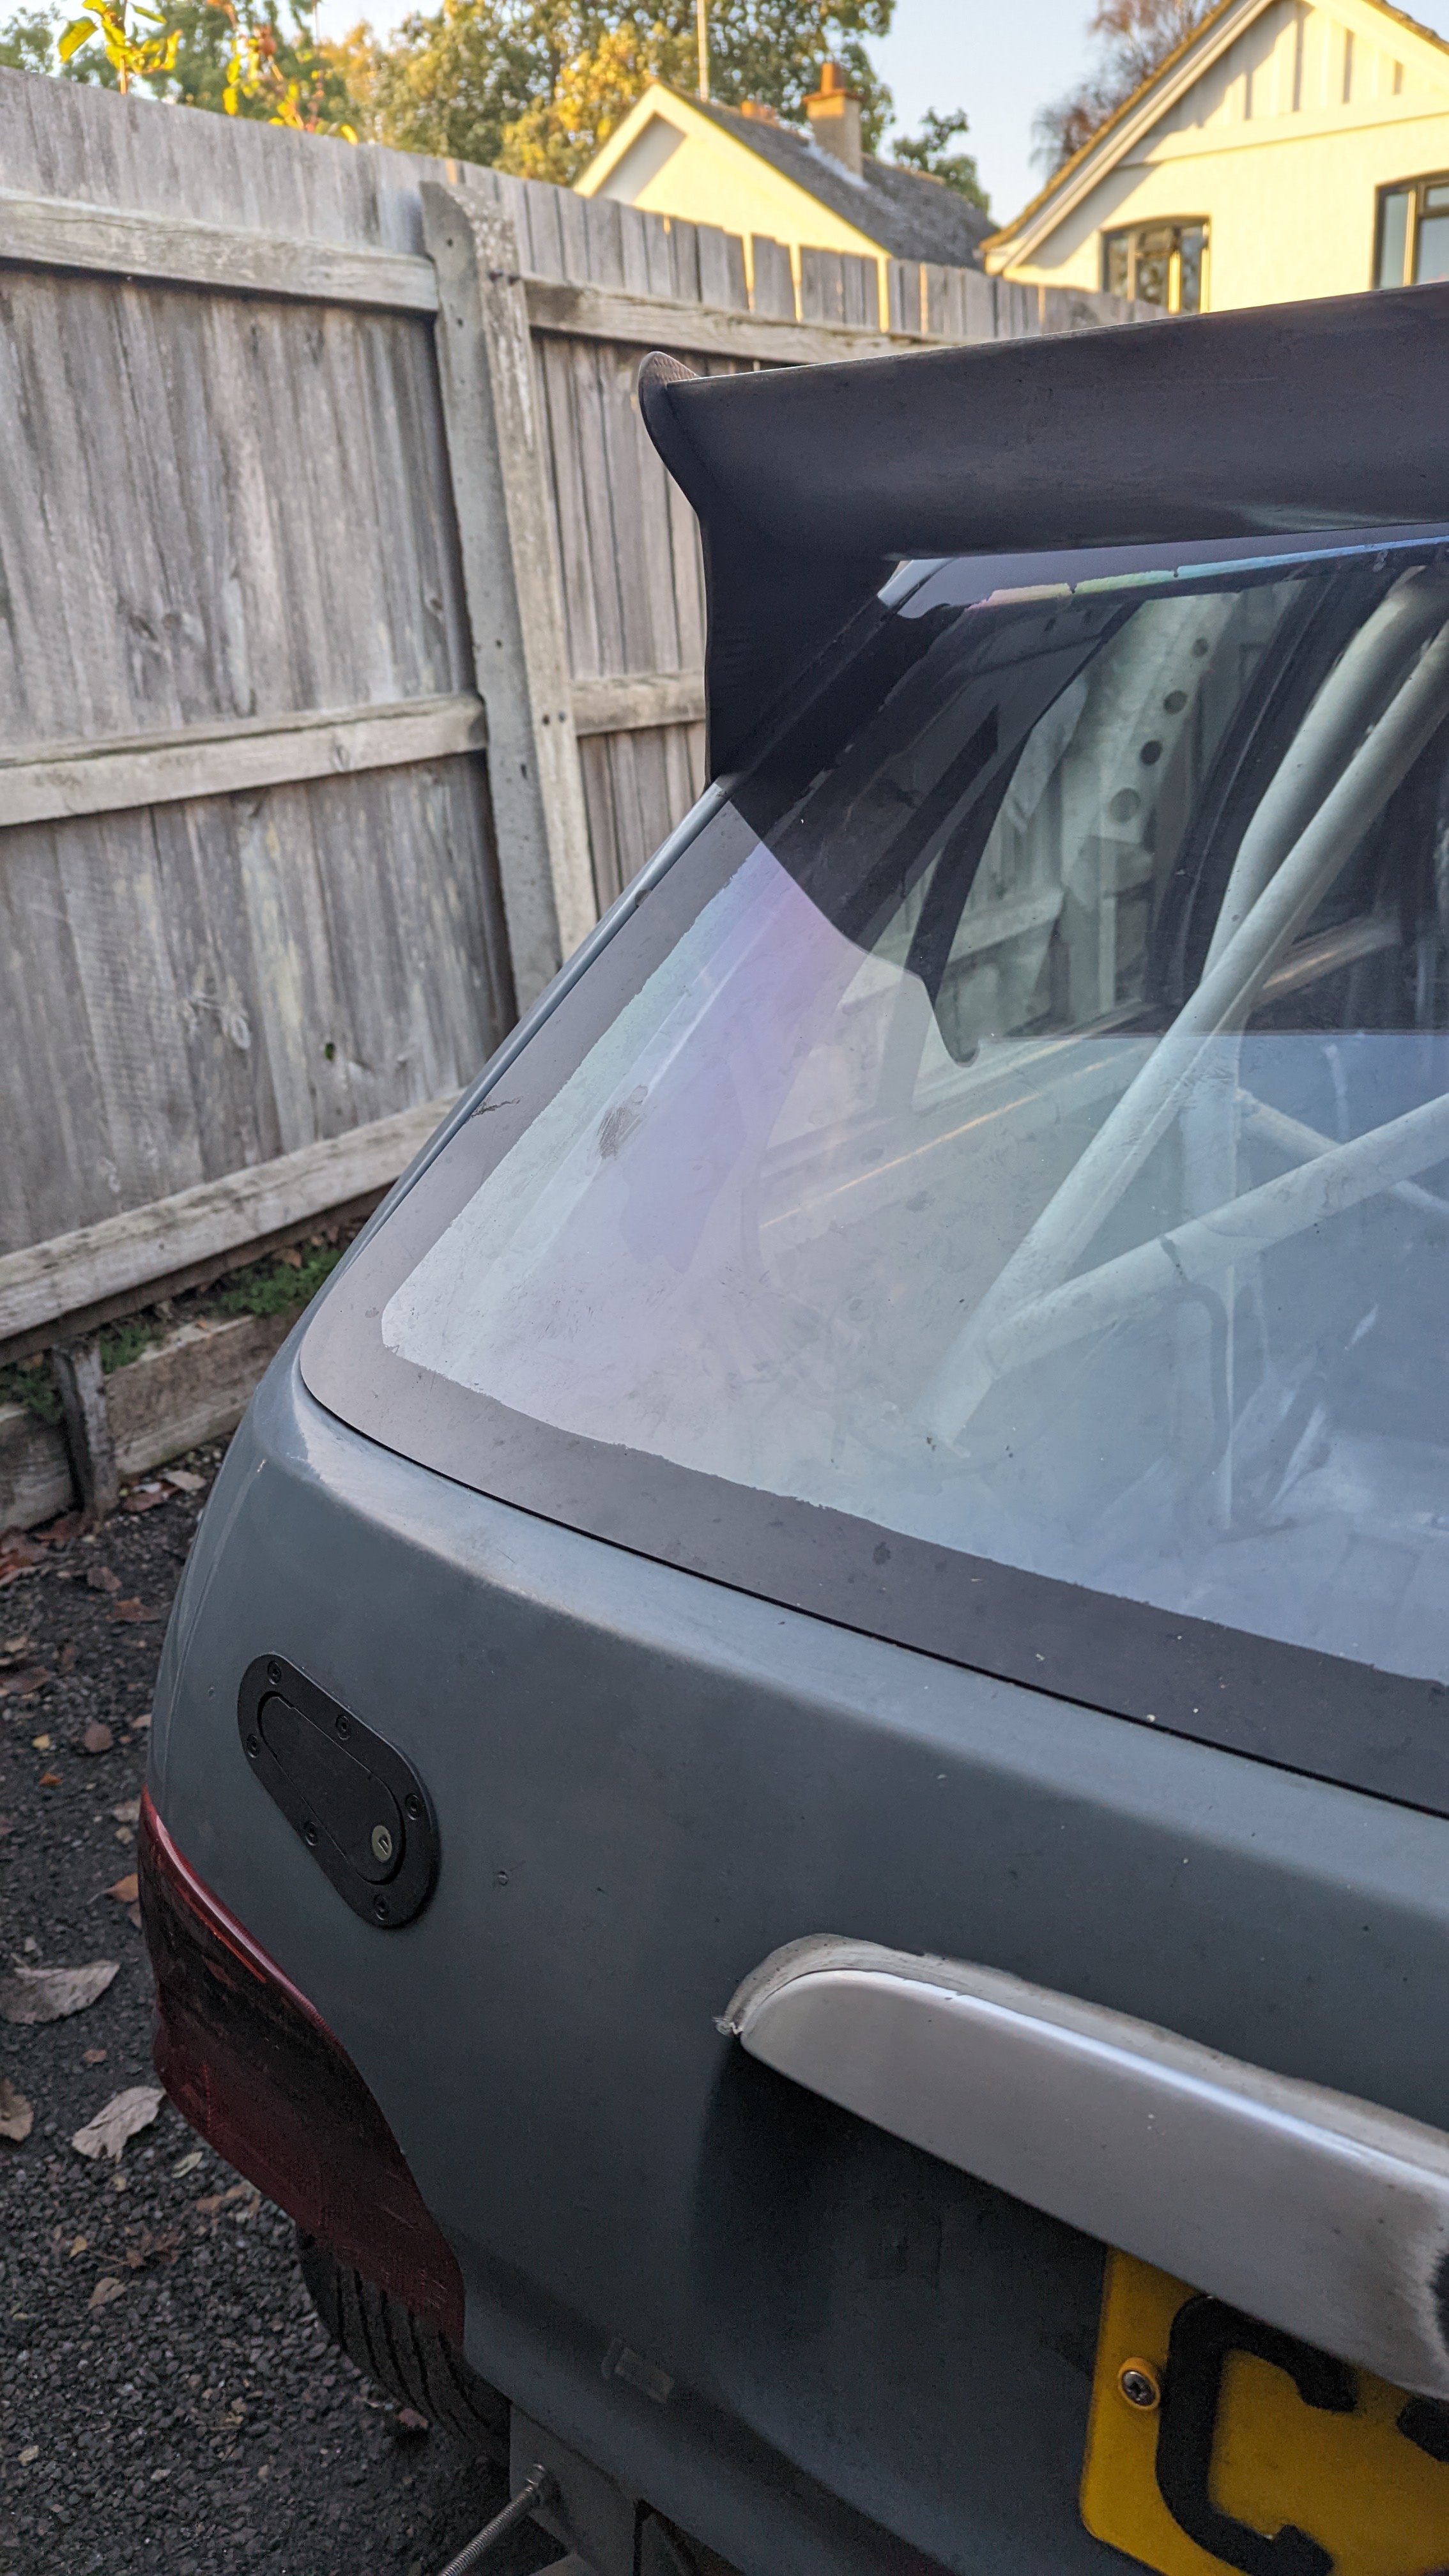
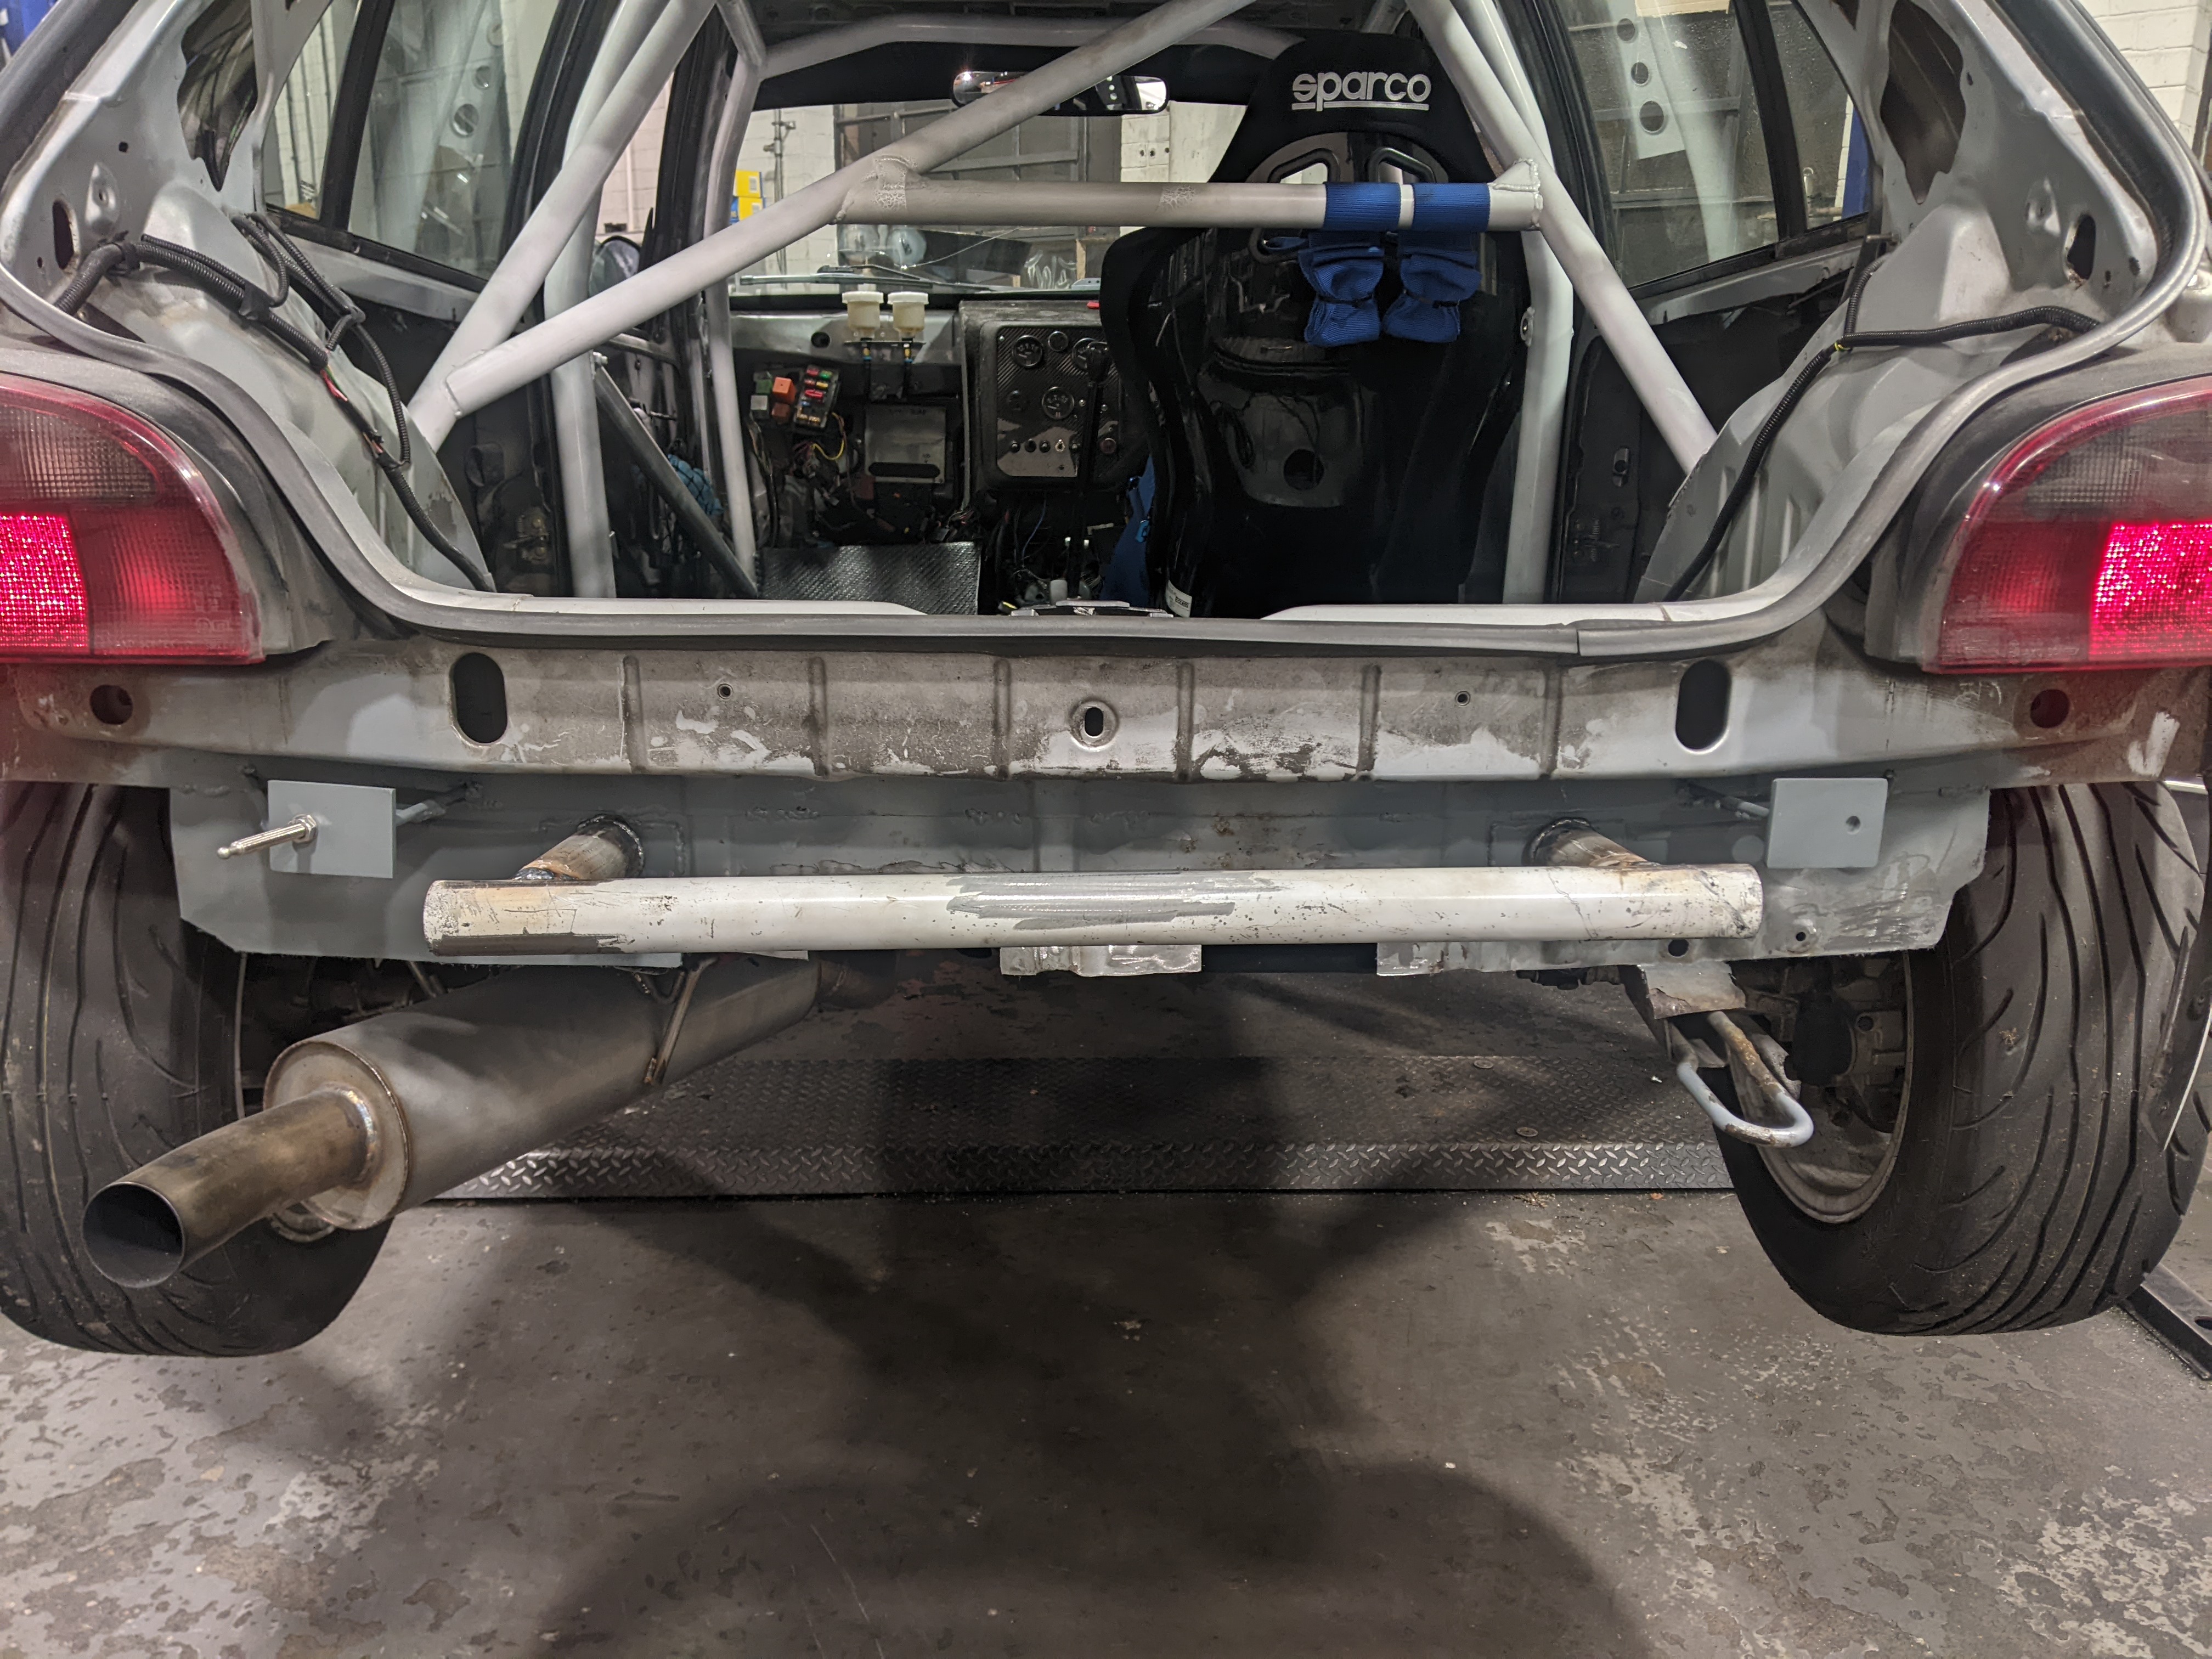
    This started as a 1.1 Saxo then swapped to a VTR engine,done 1 track day at Donnington and decided I wanted more so put the 1.6 16v in,some pictures of the the job I went trough the last 2,5 years so there is going to be quite a lot of pictures.
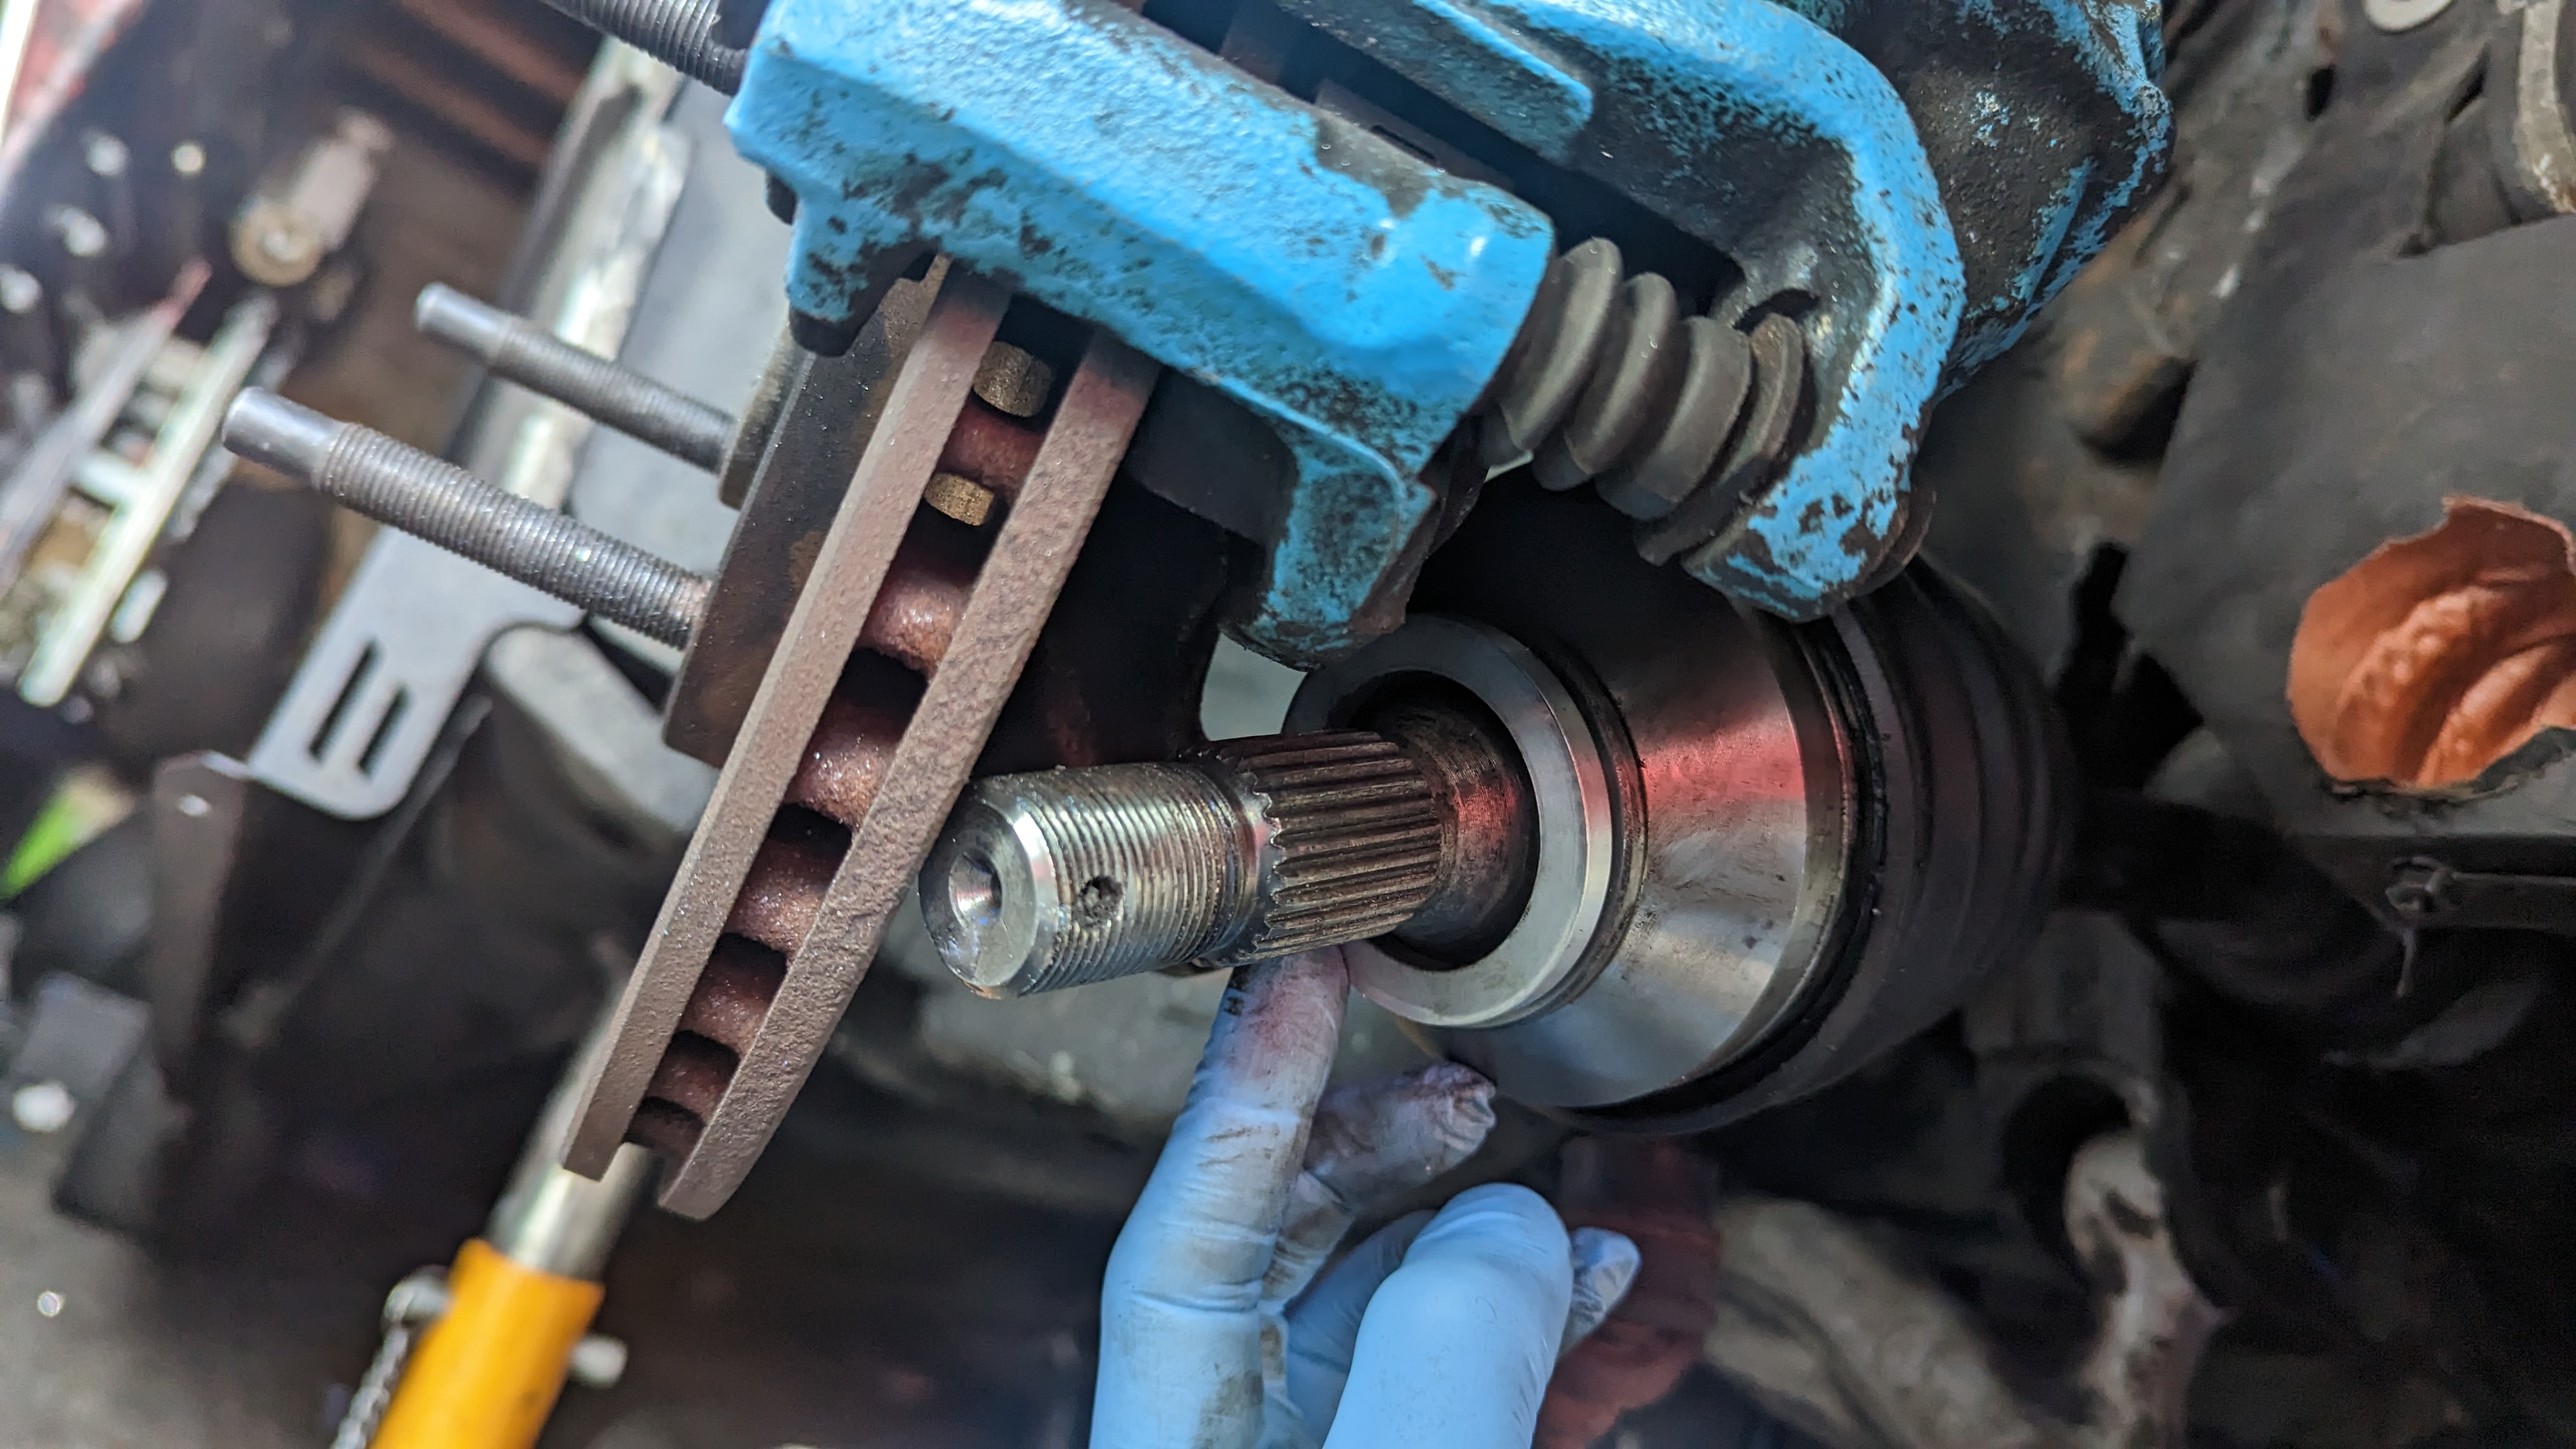
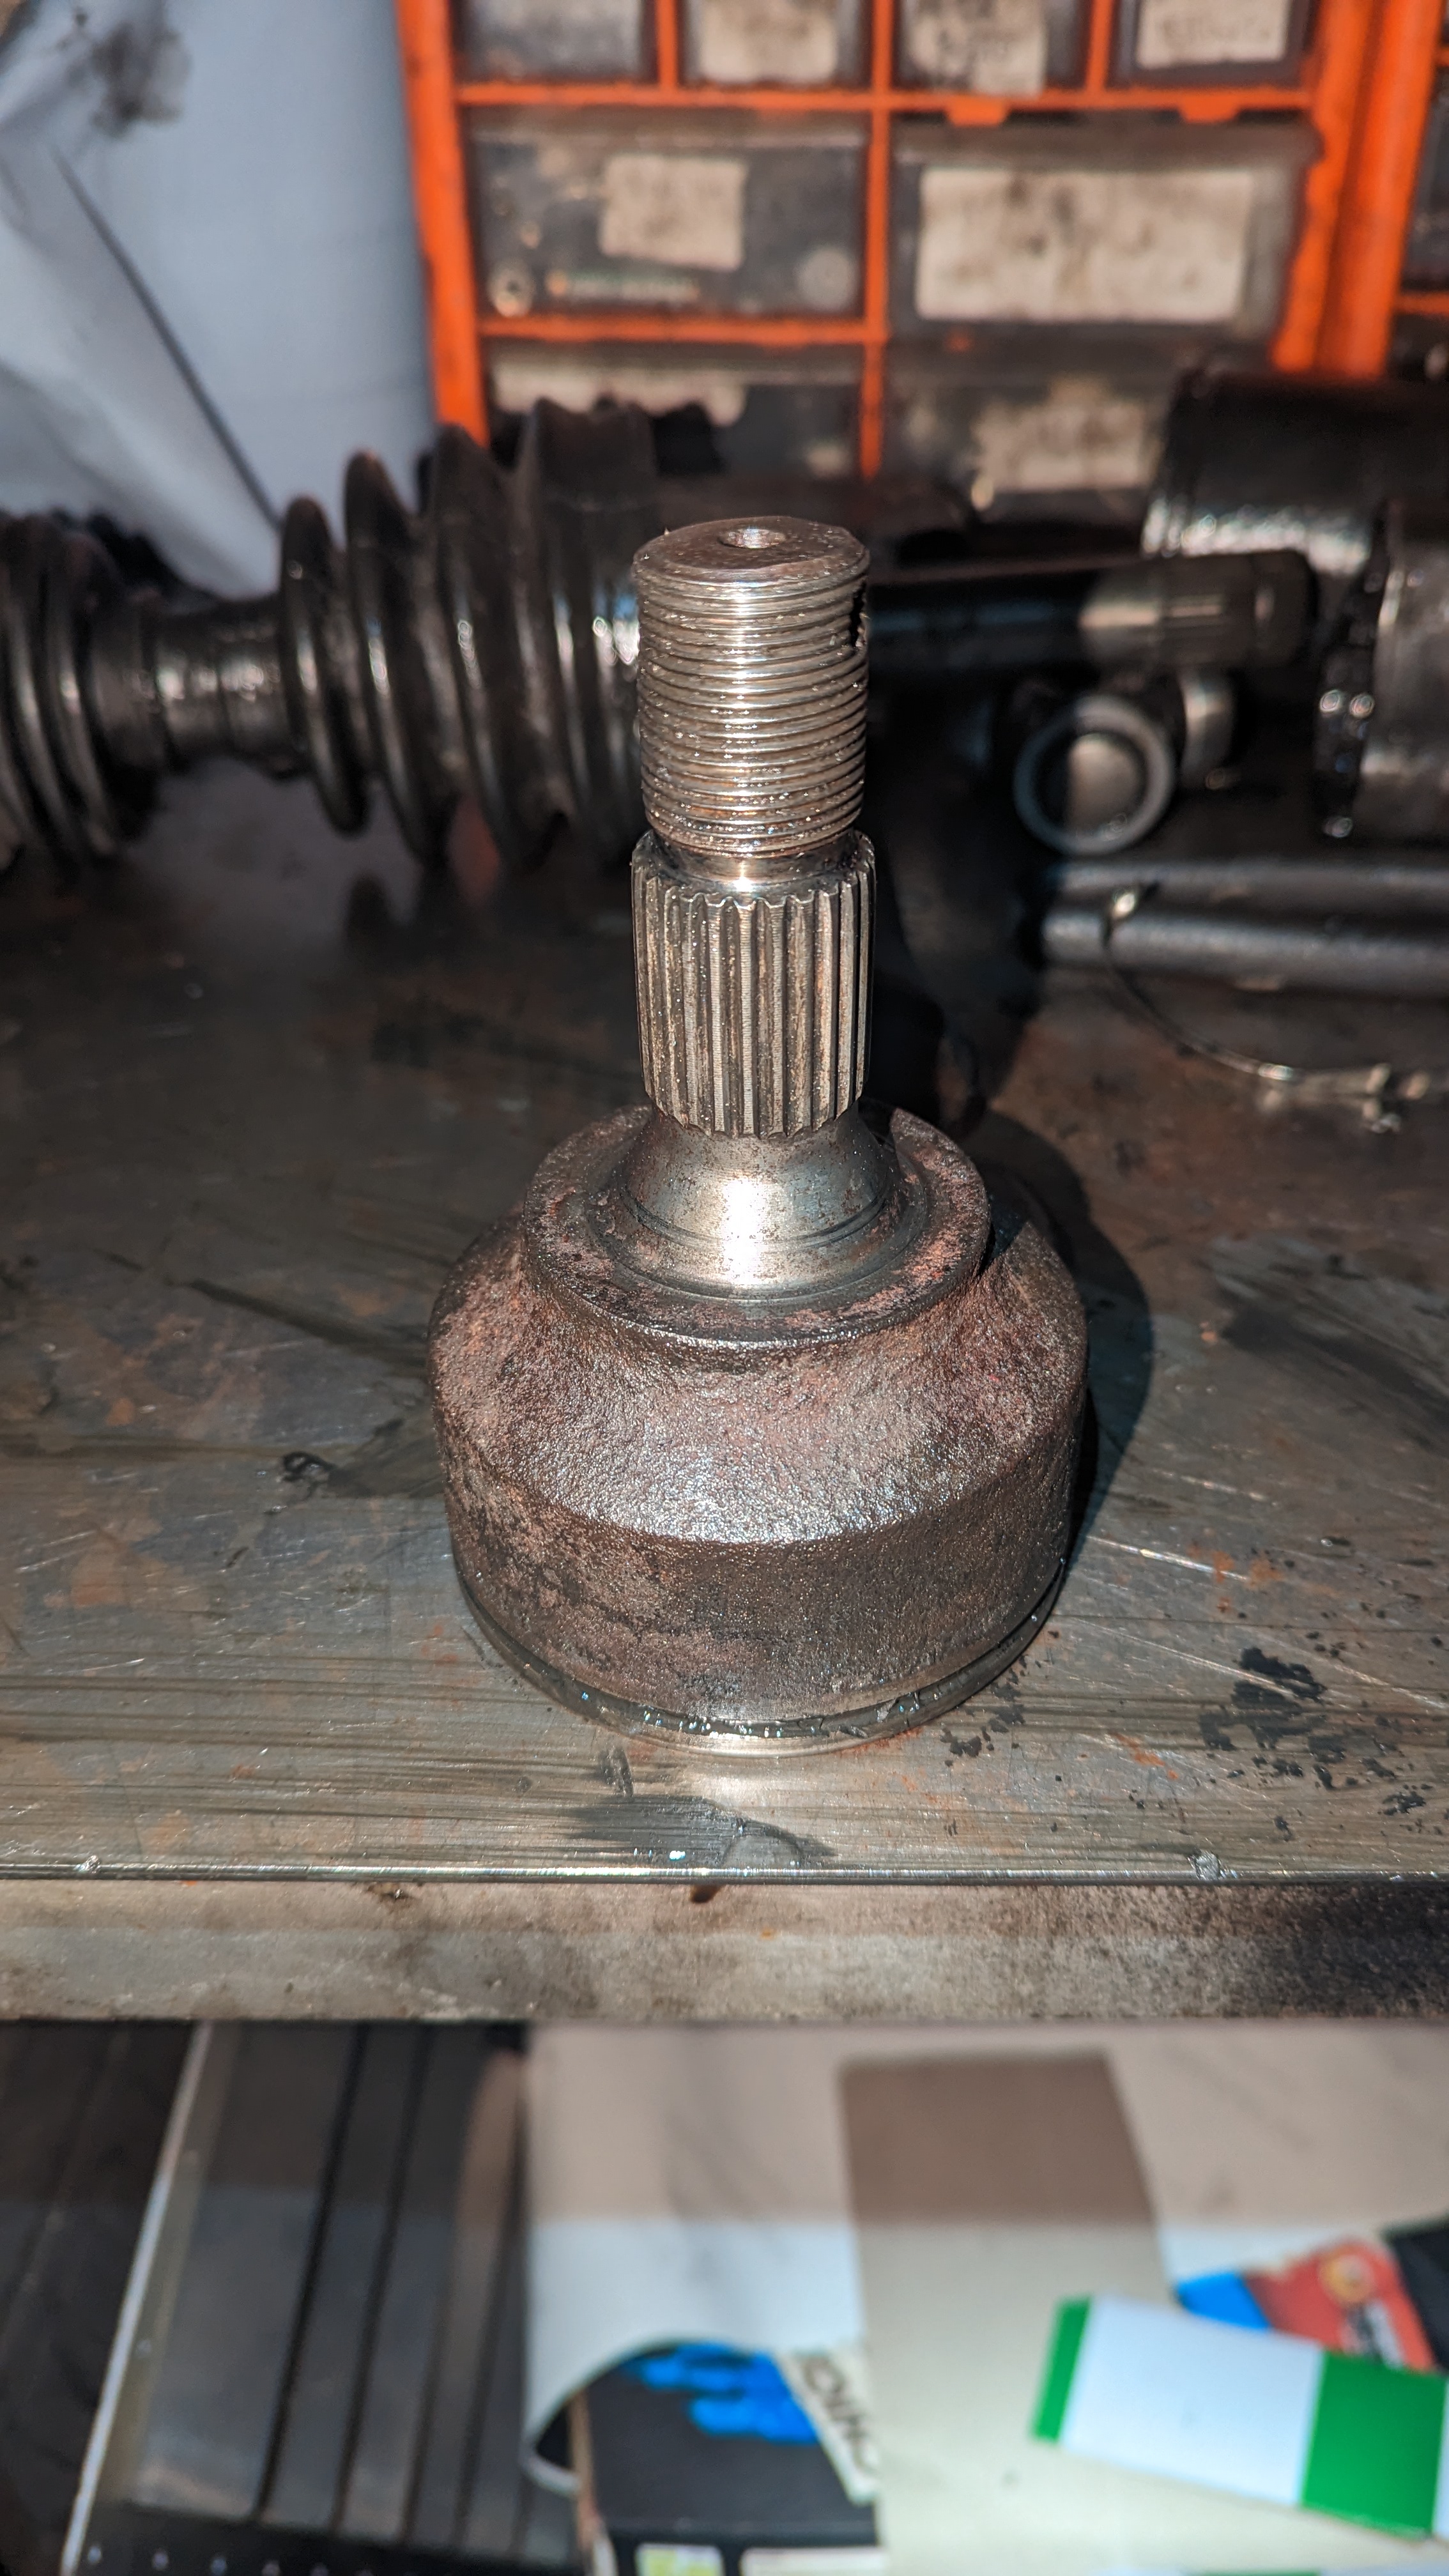
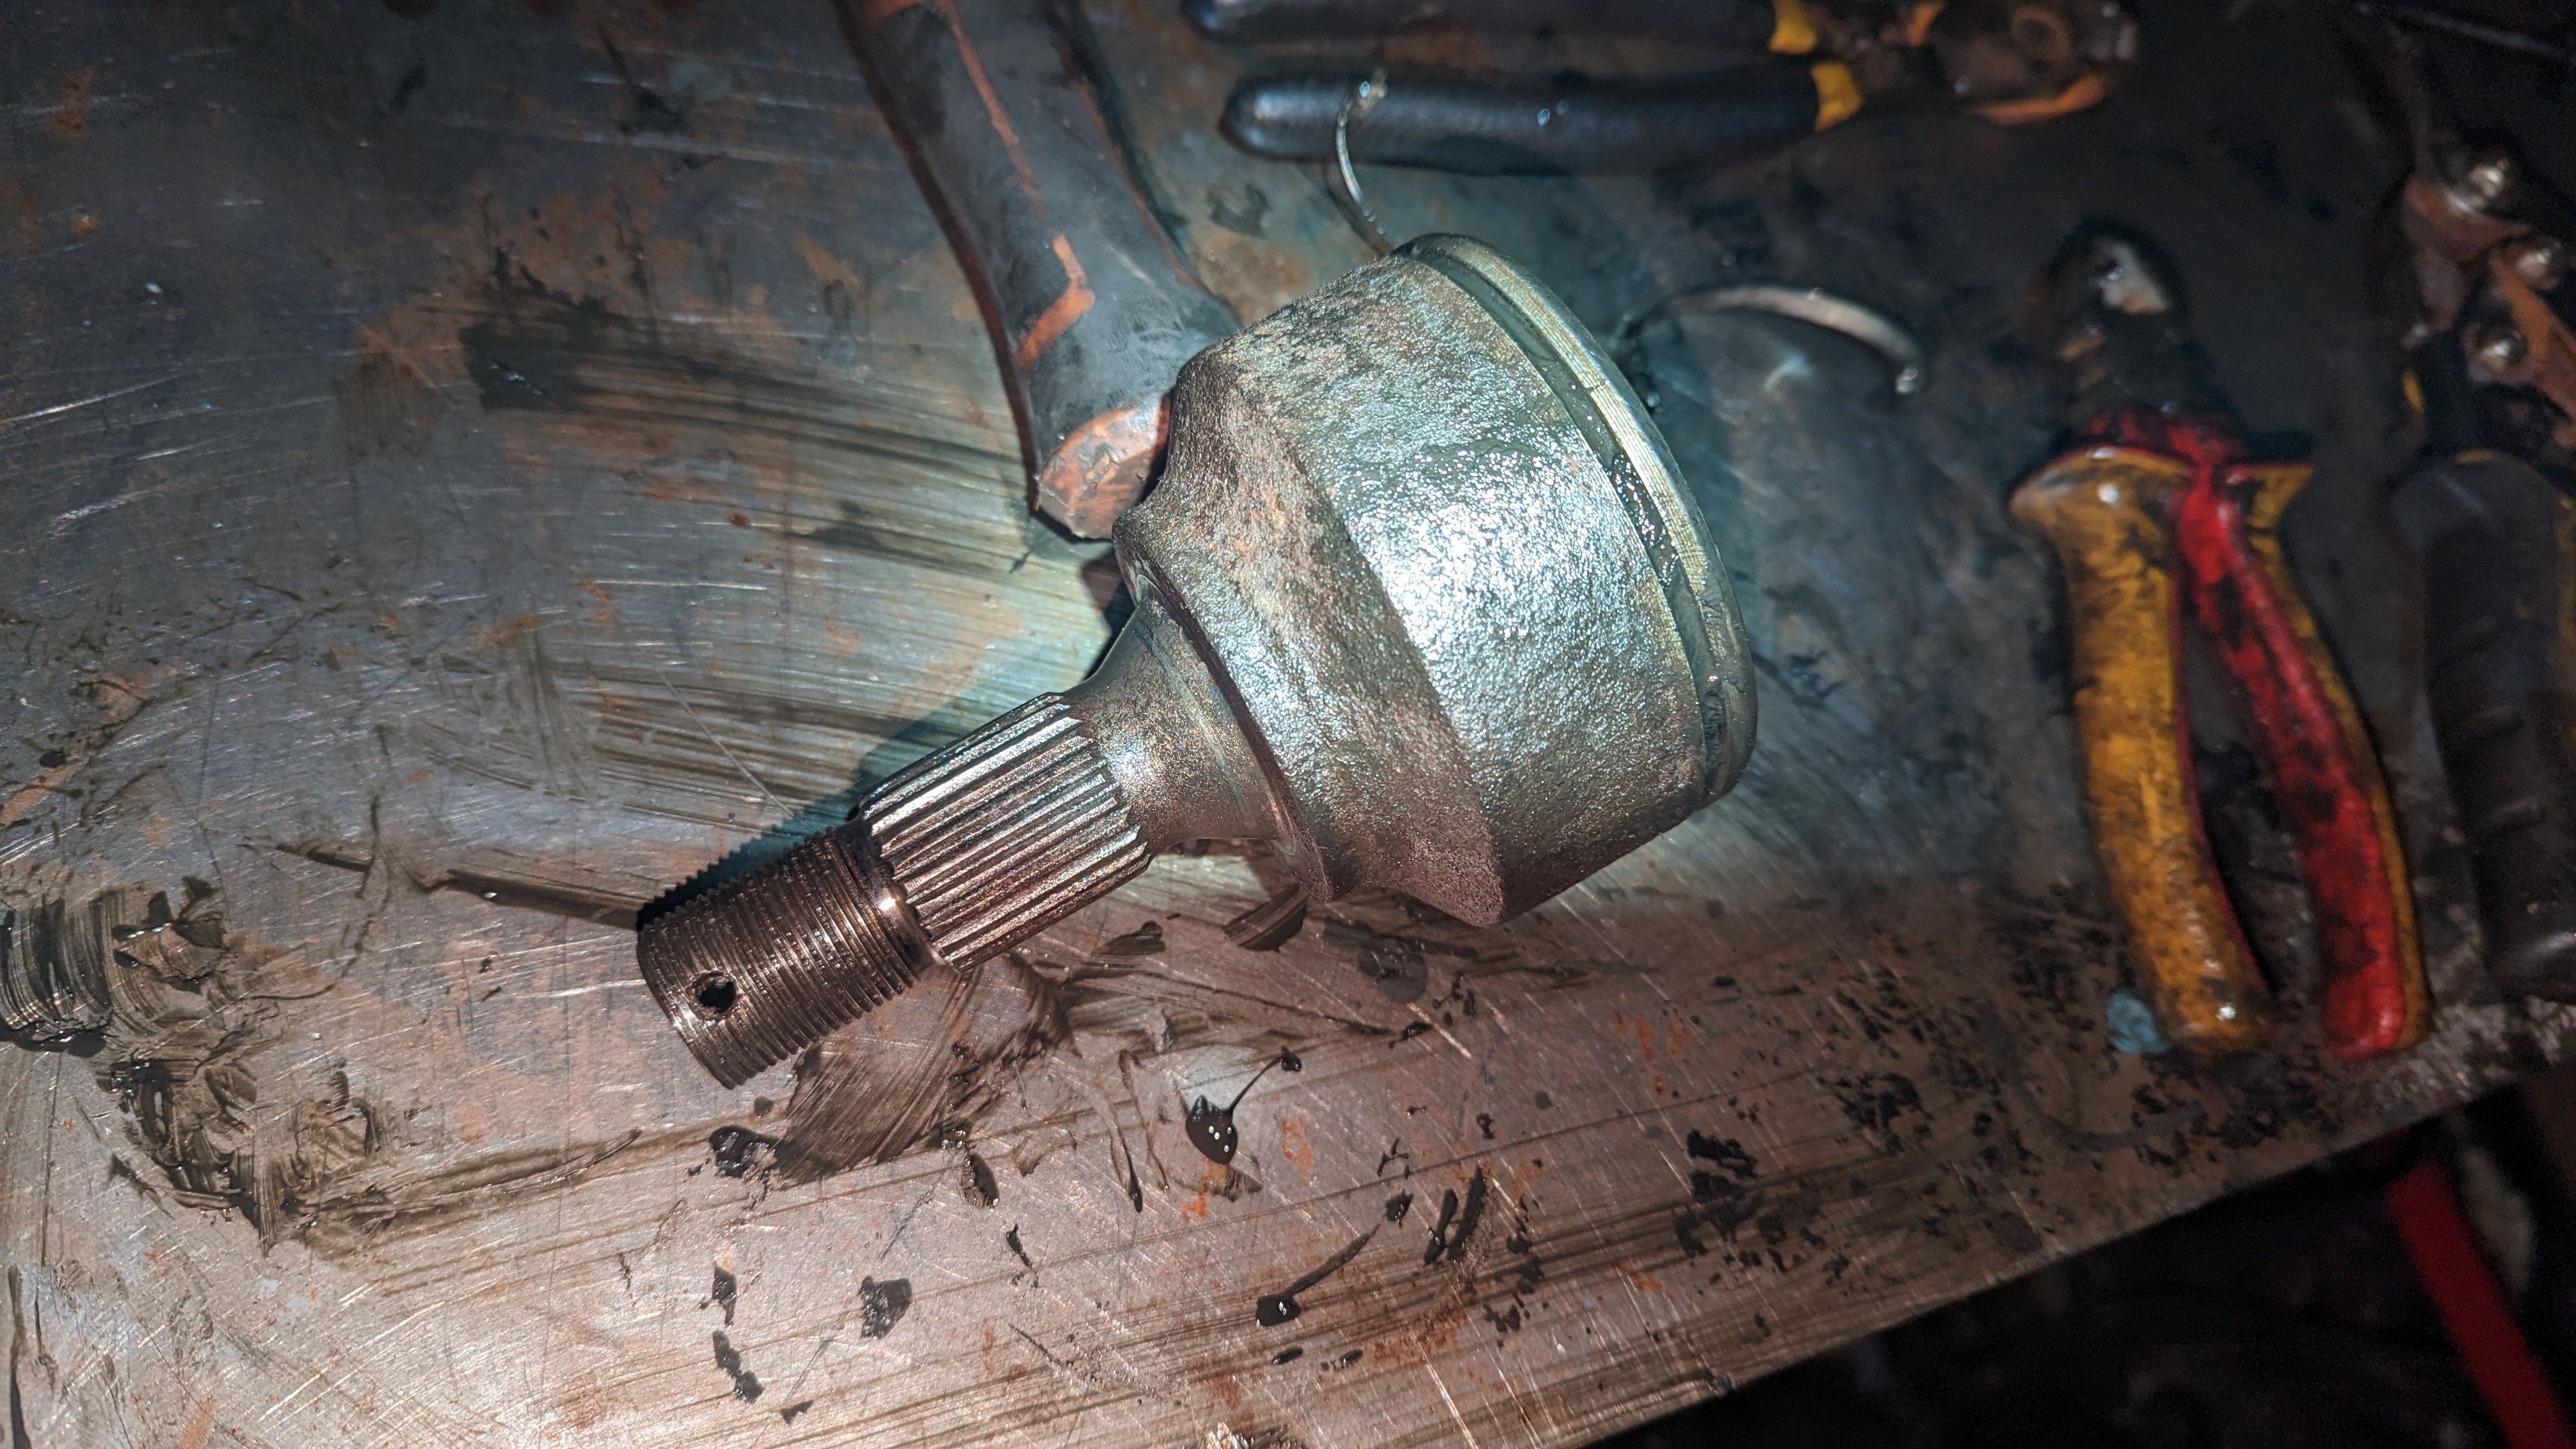
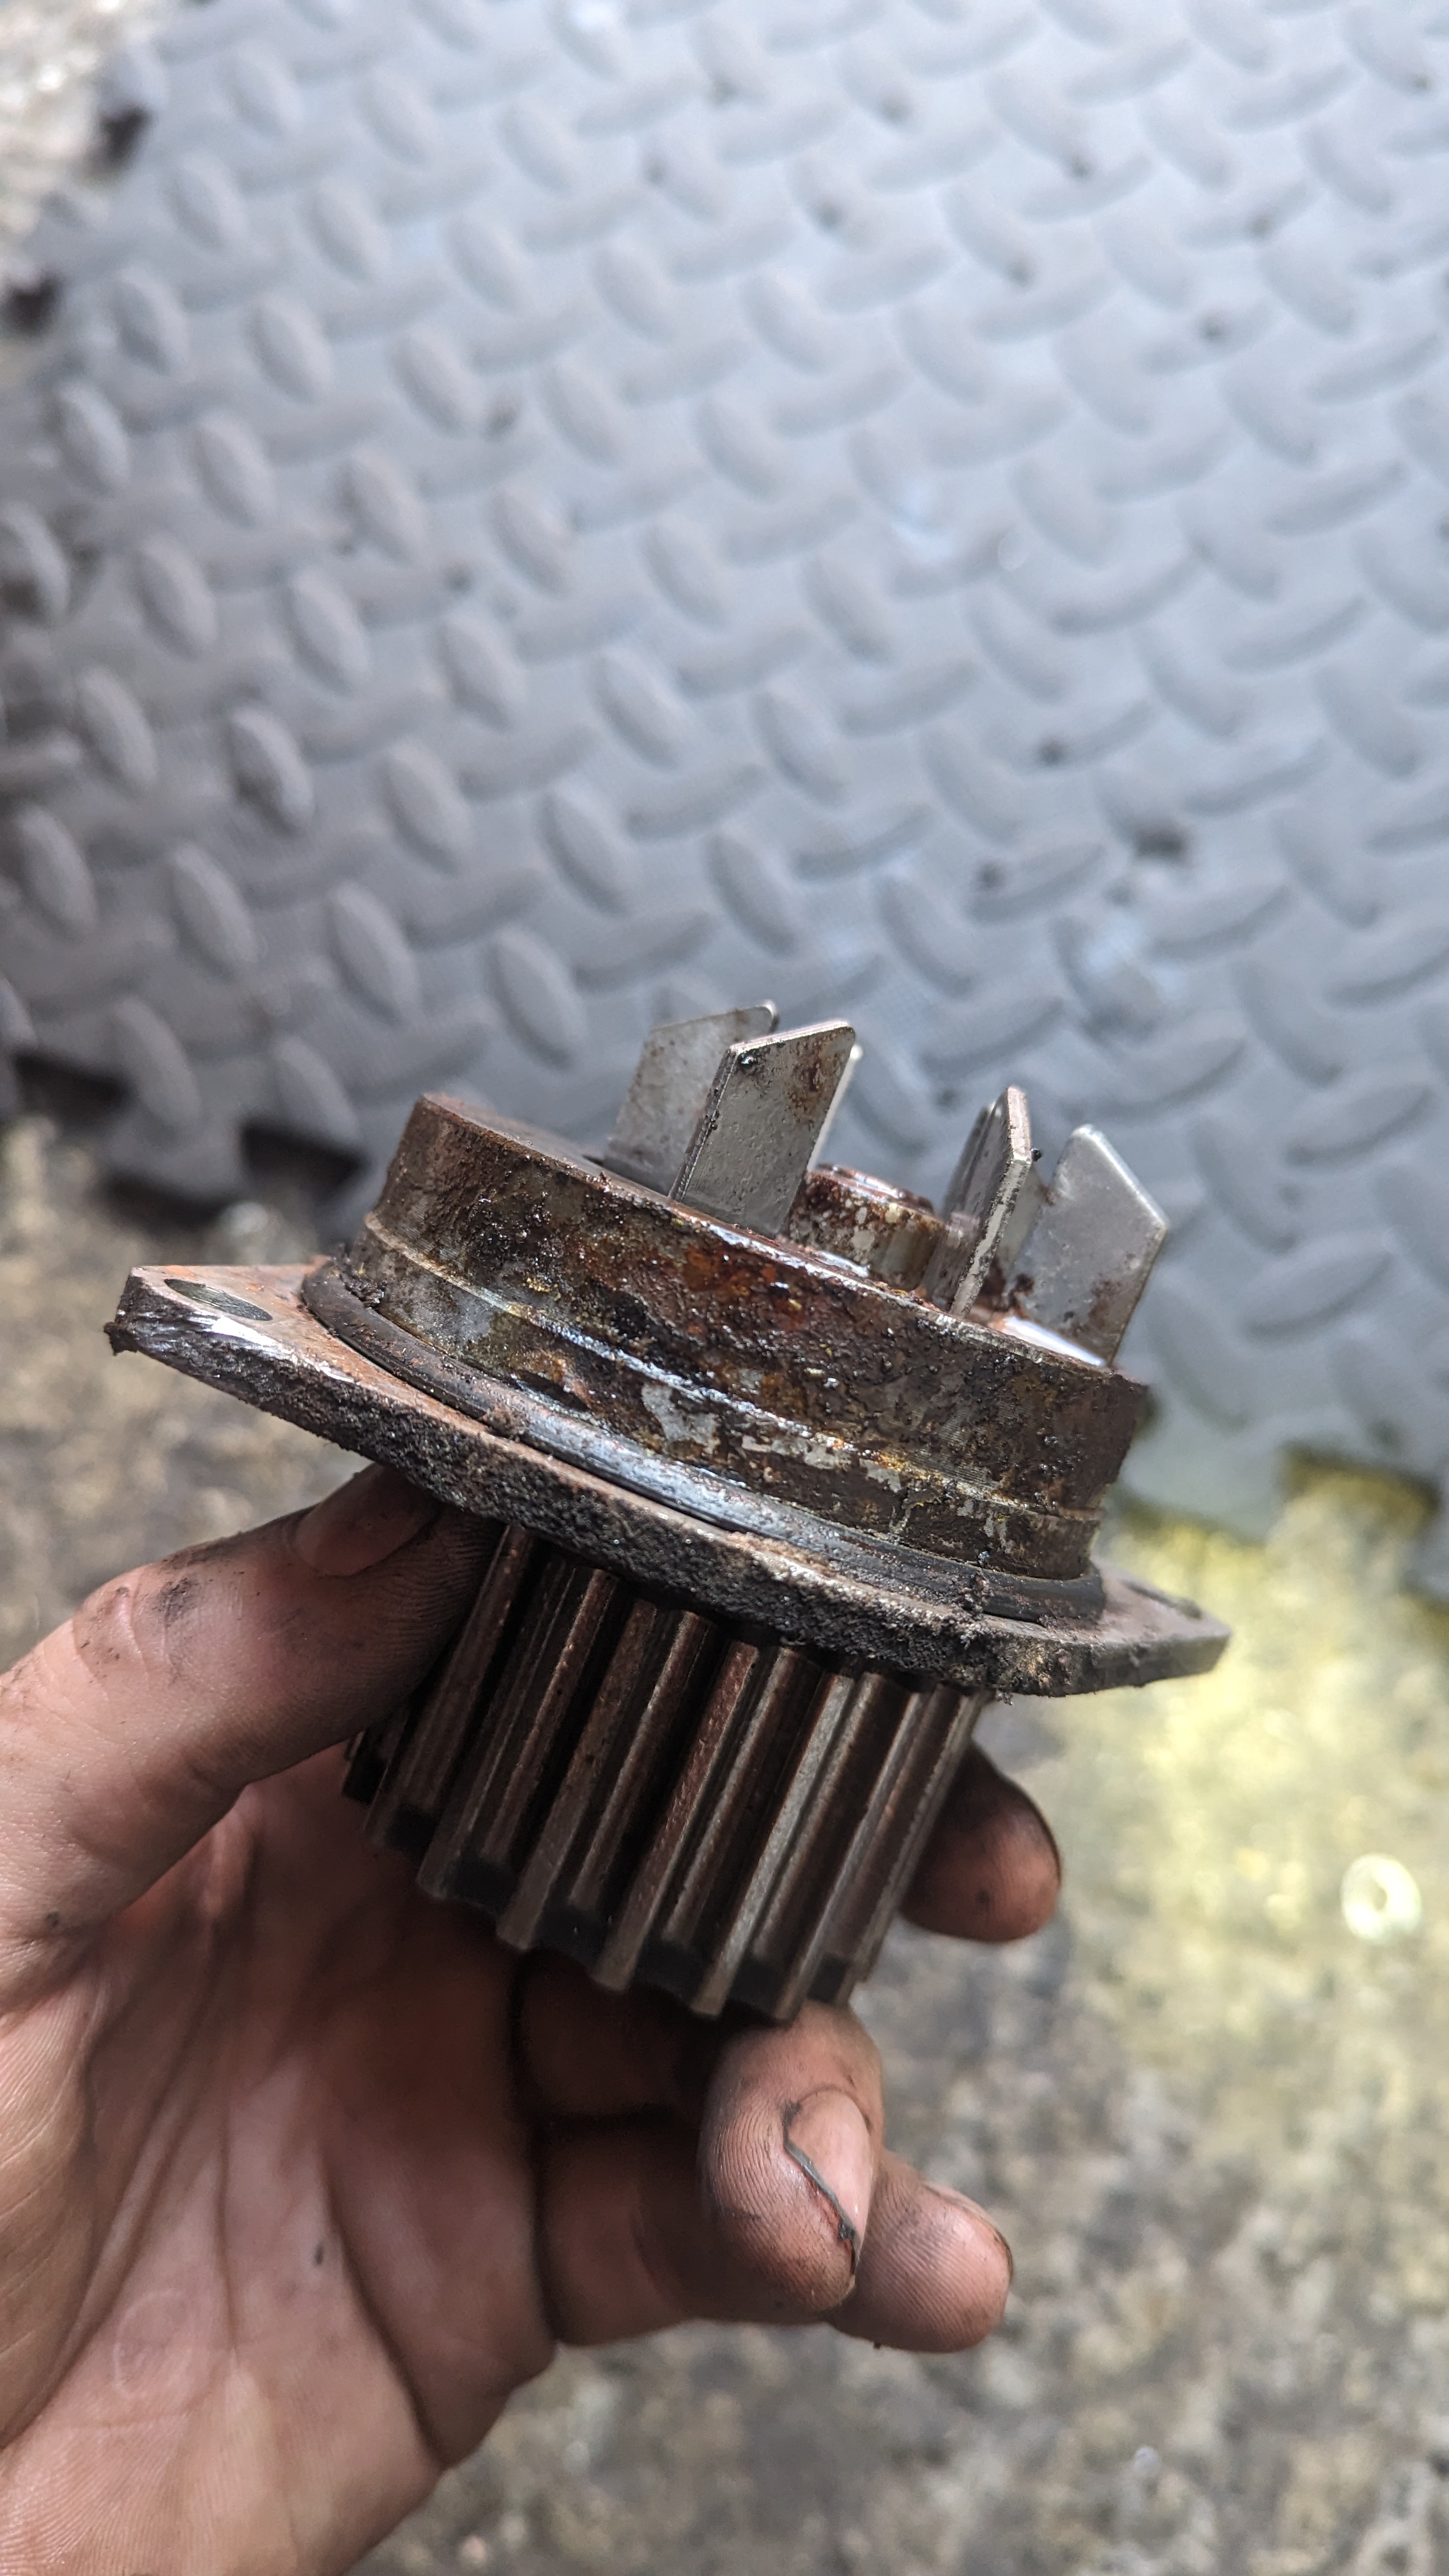
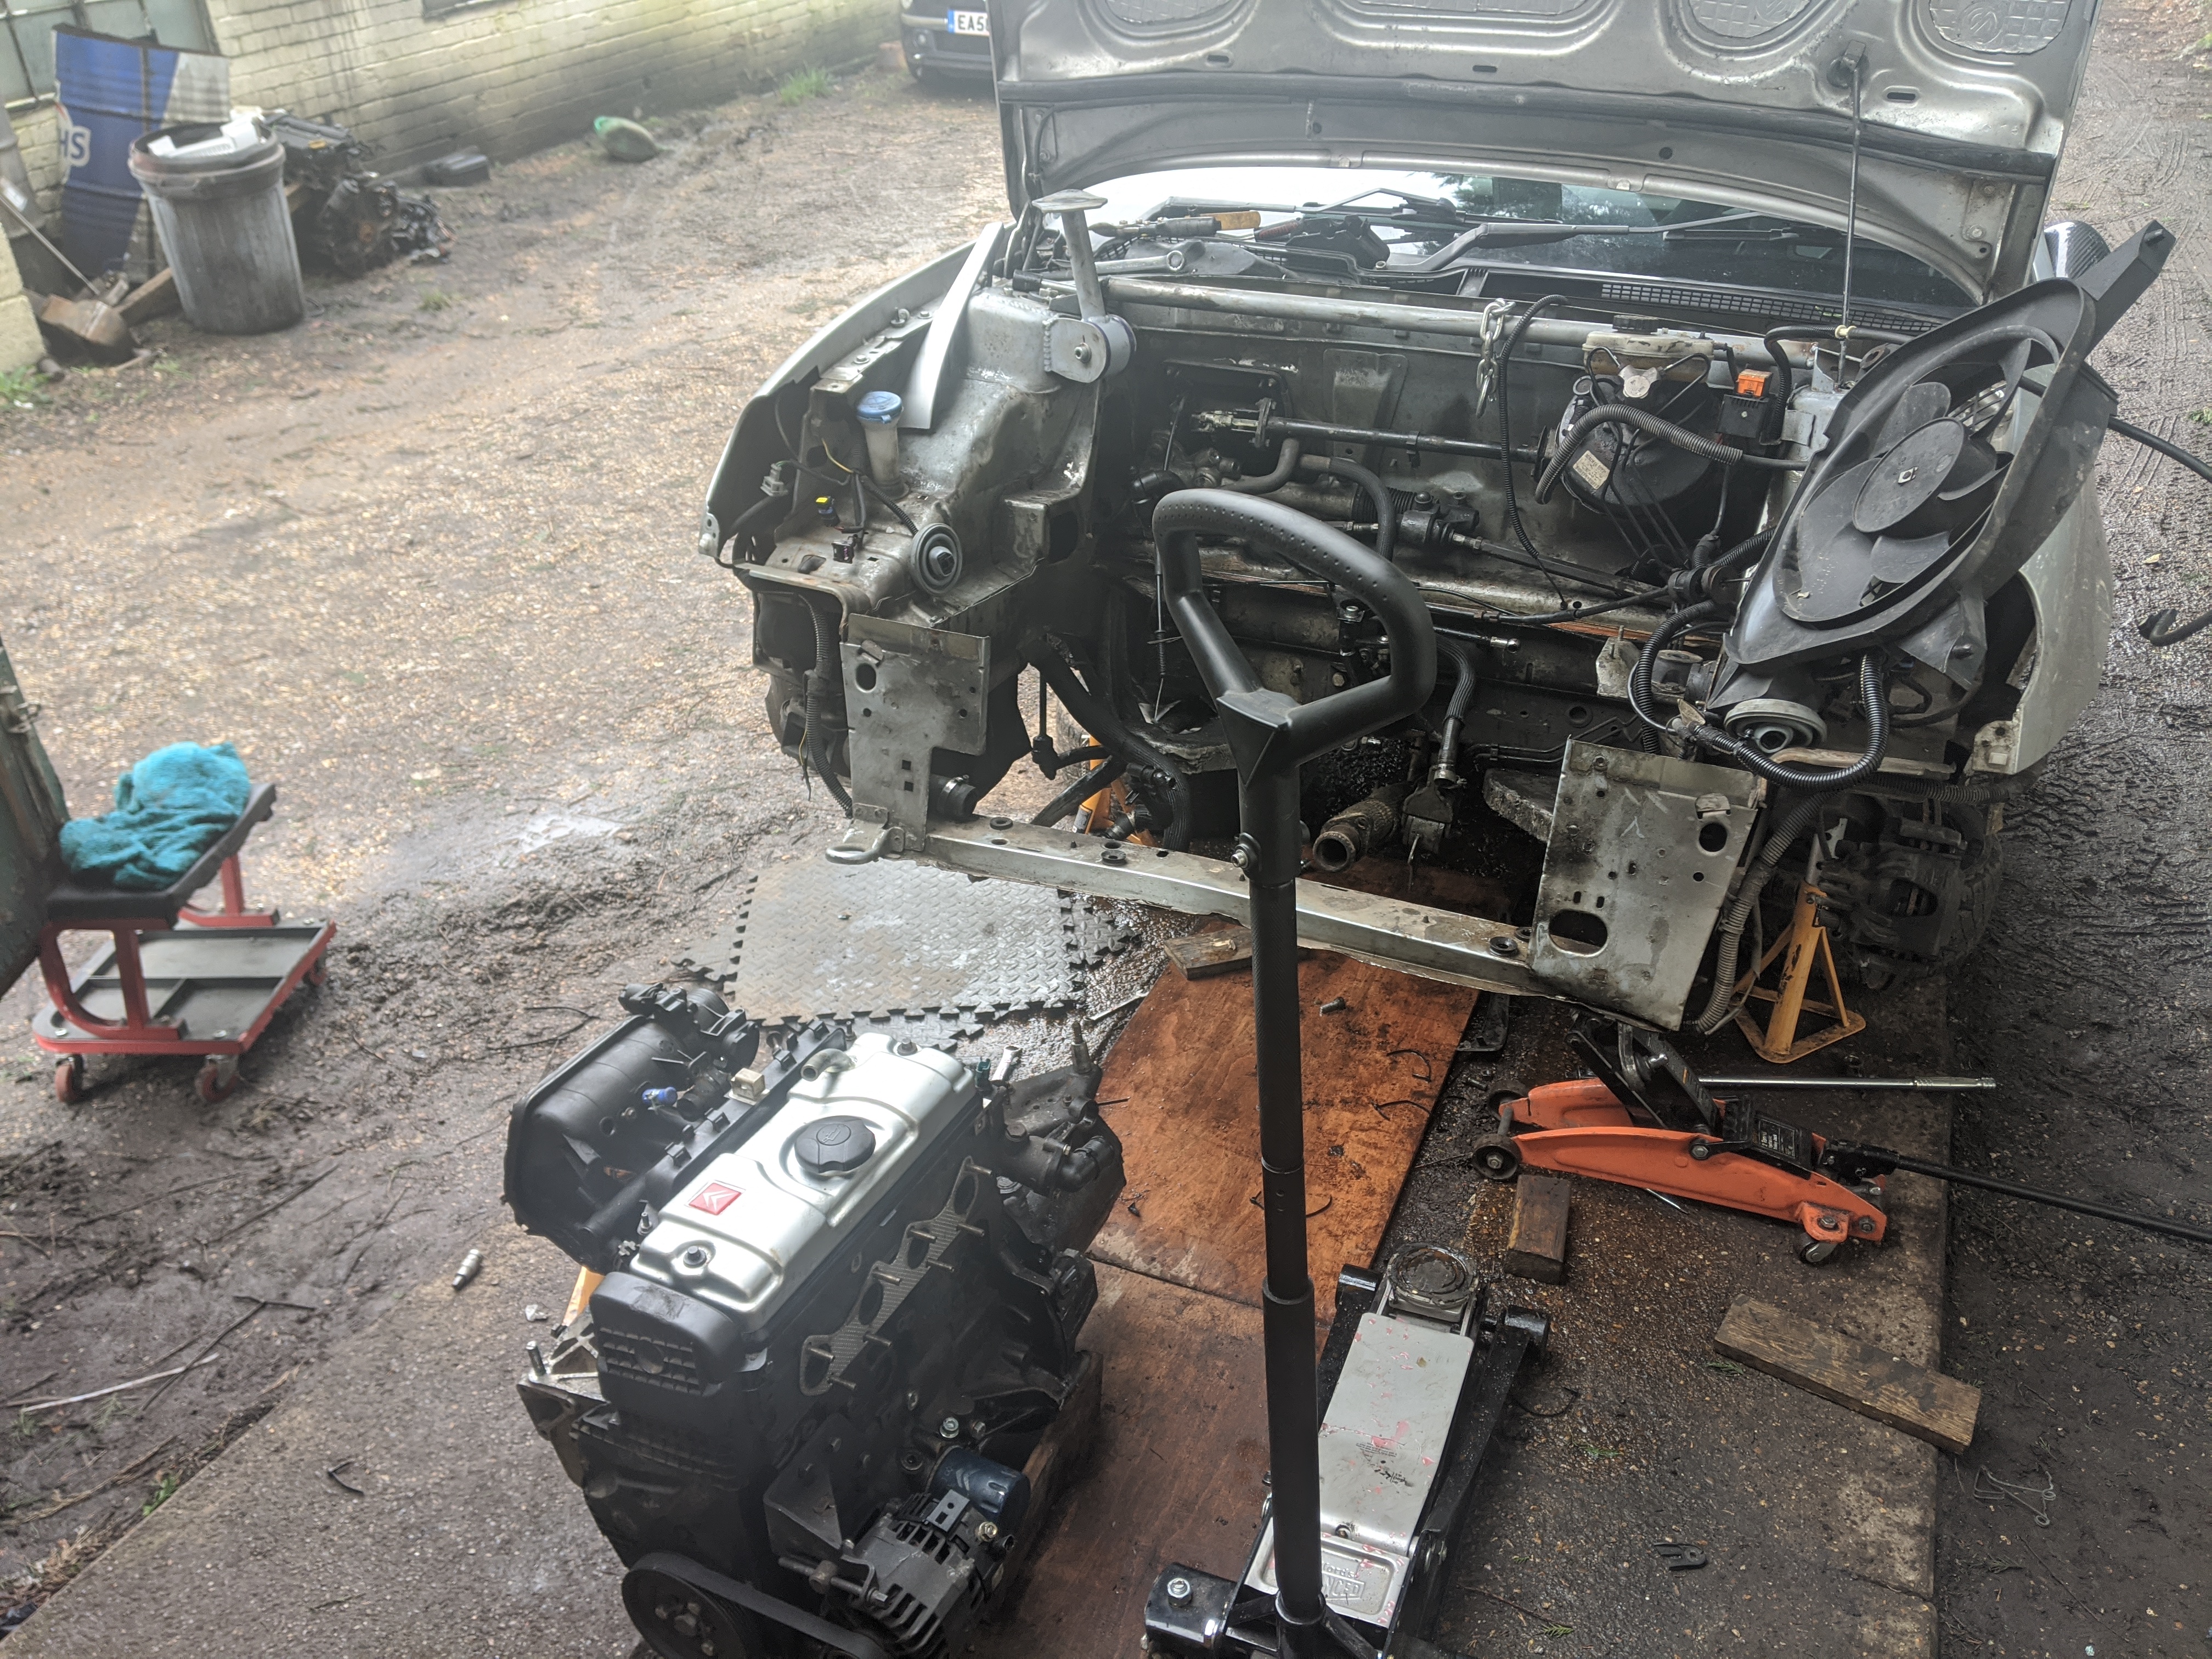
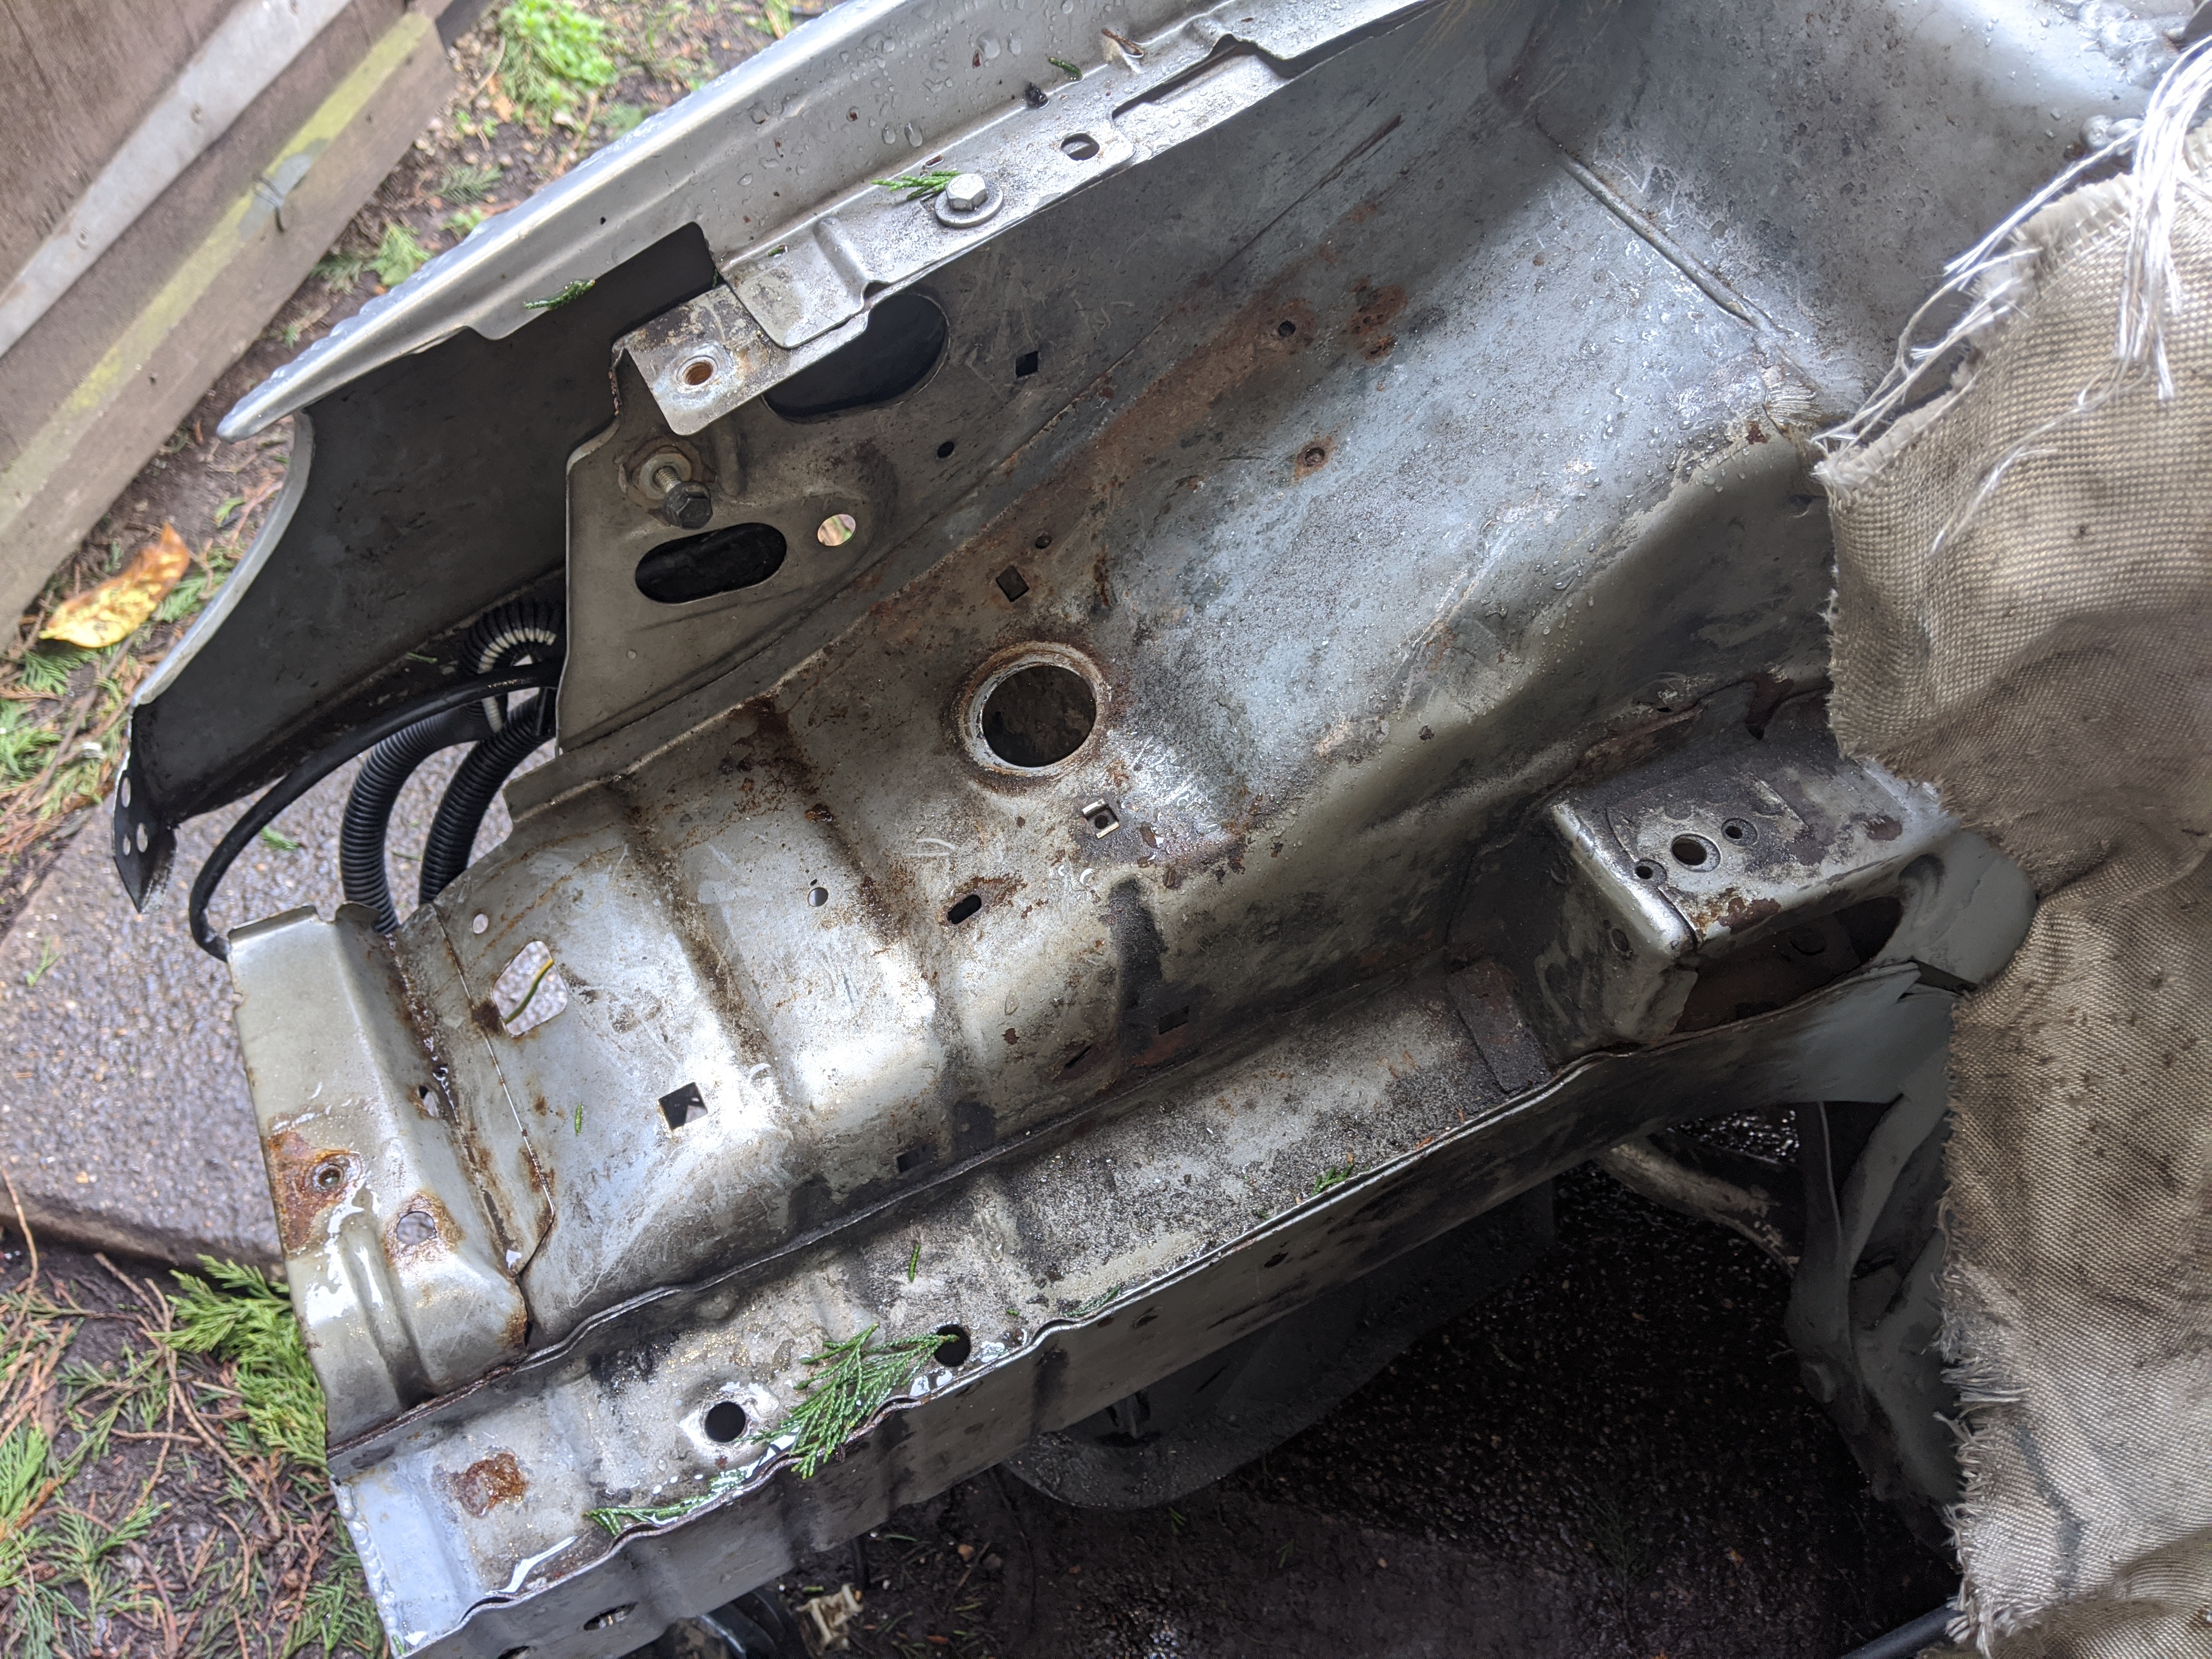
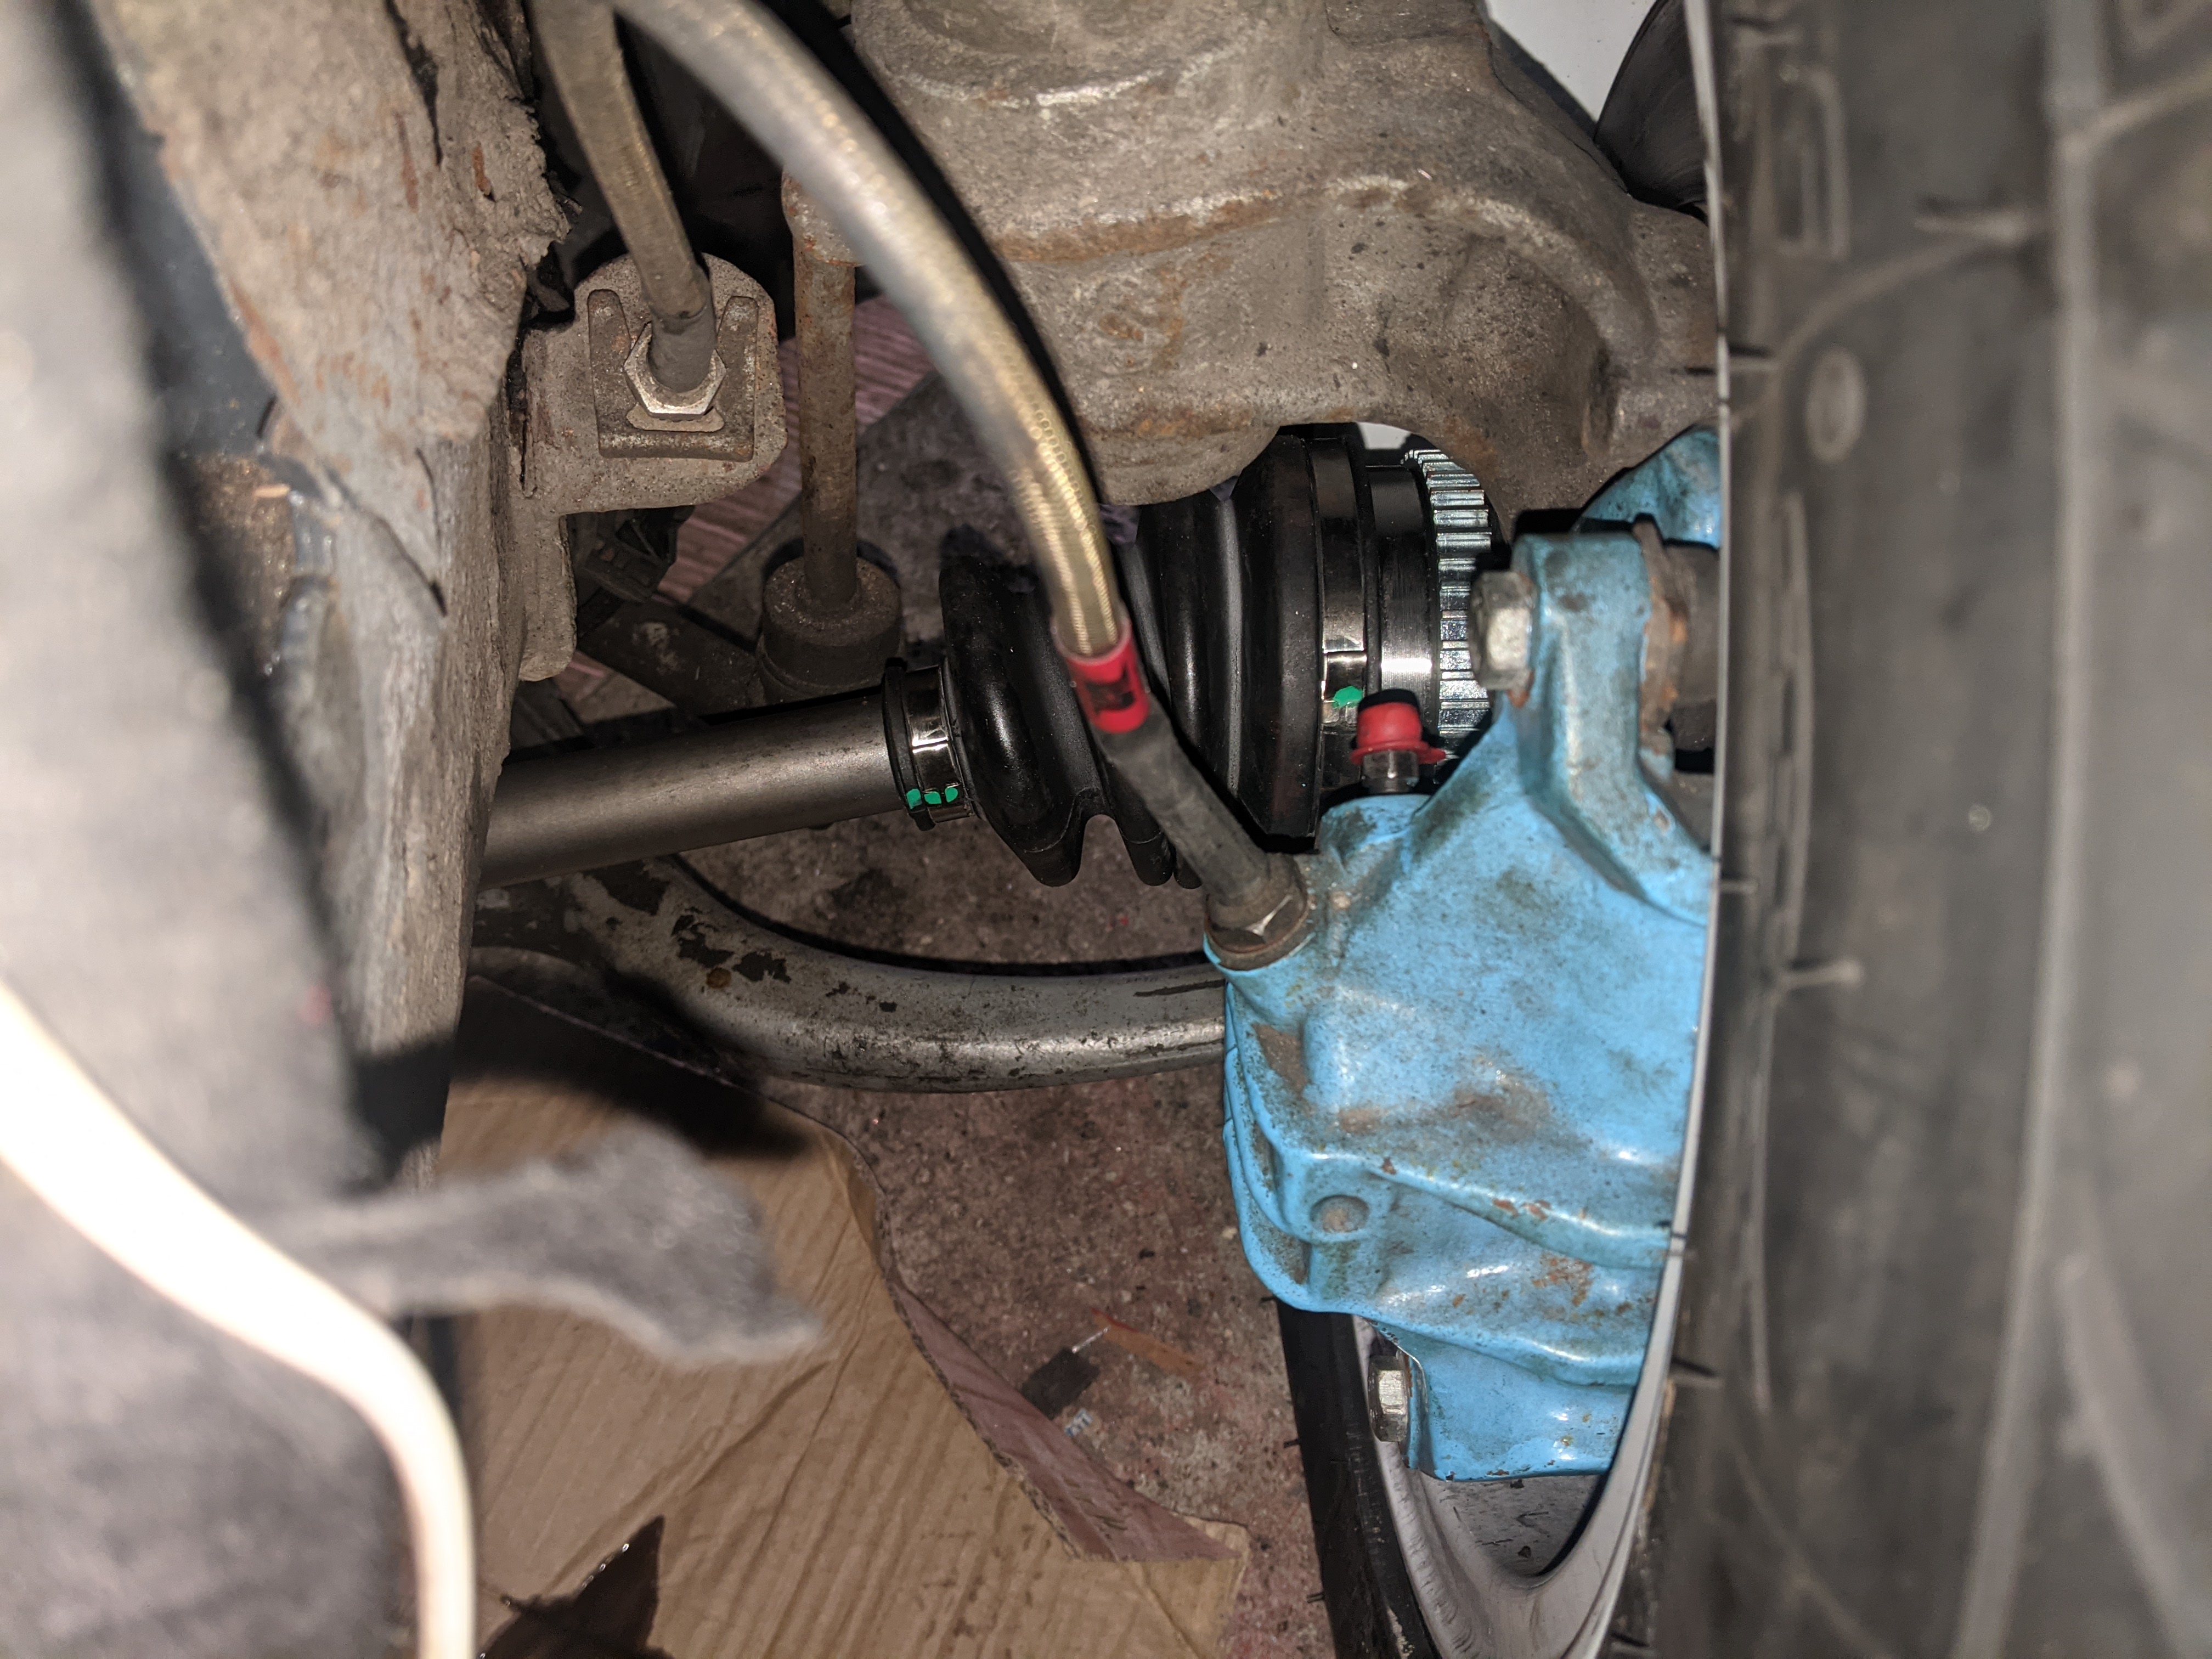
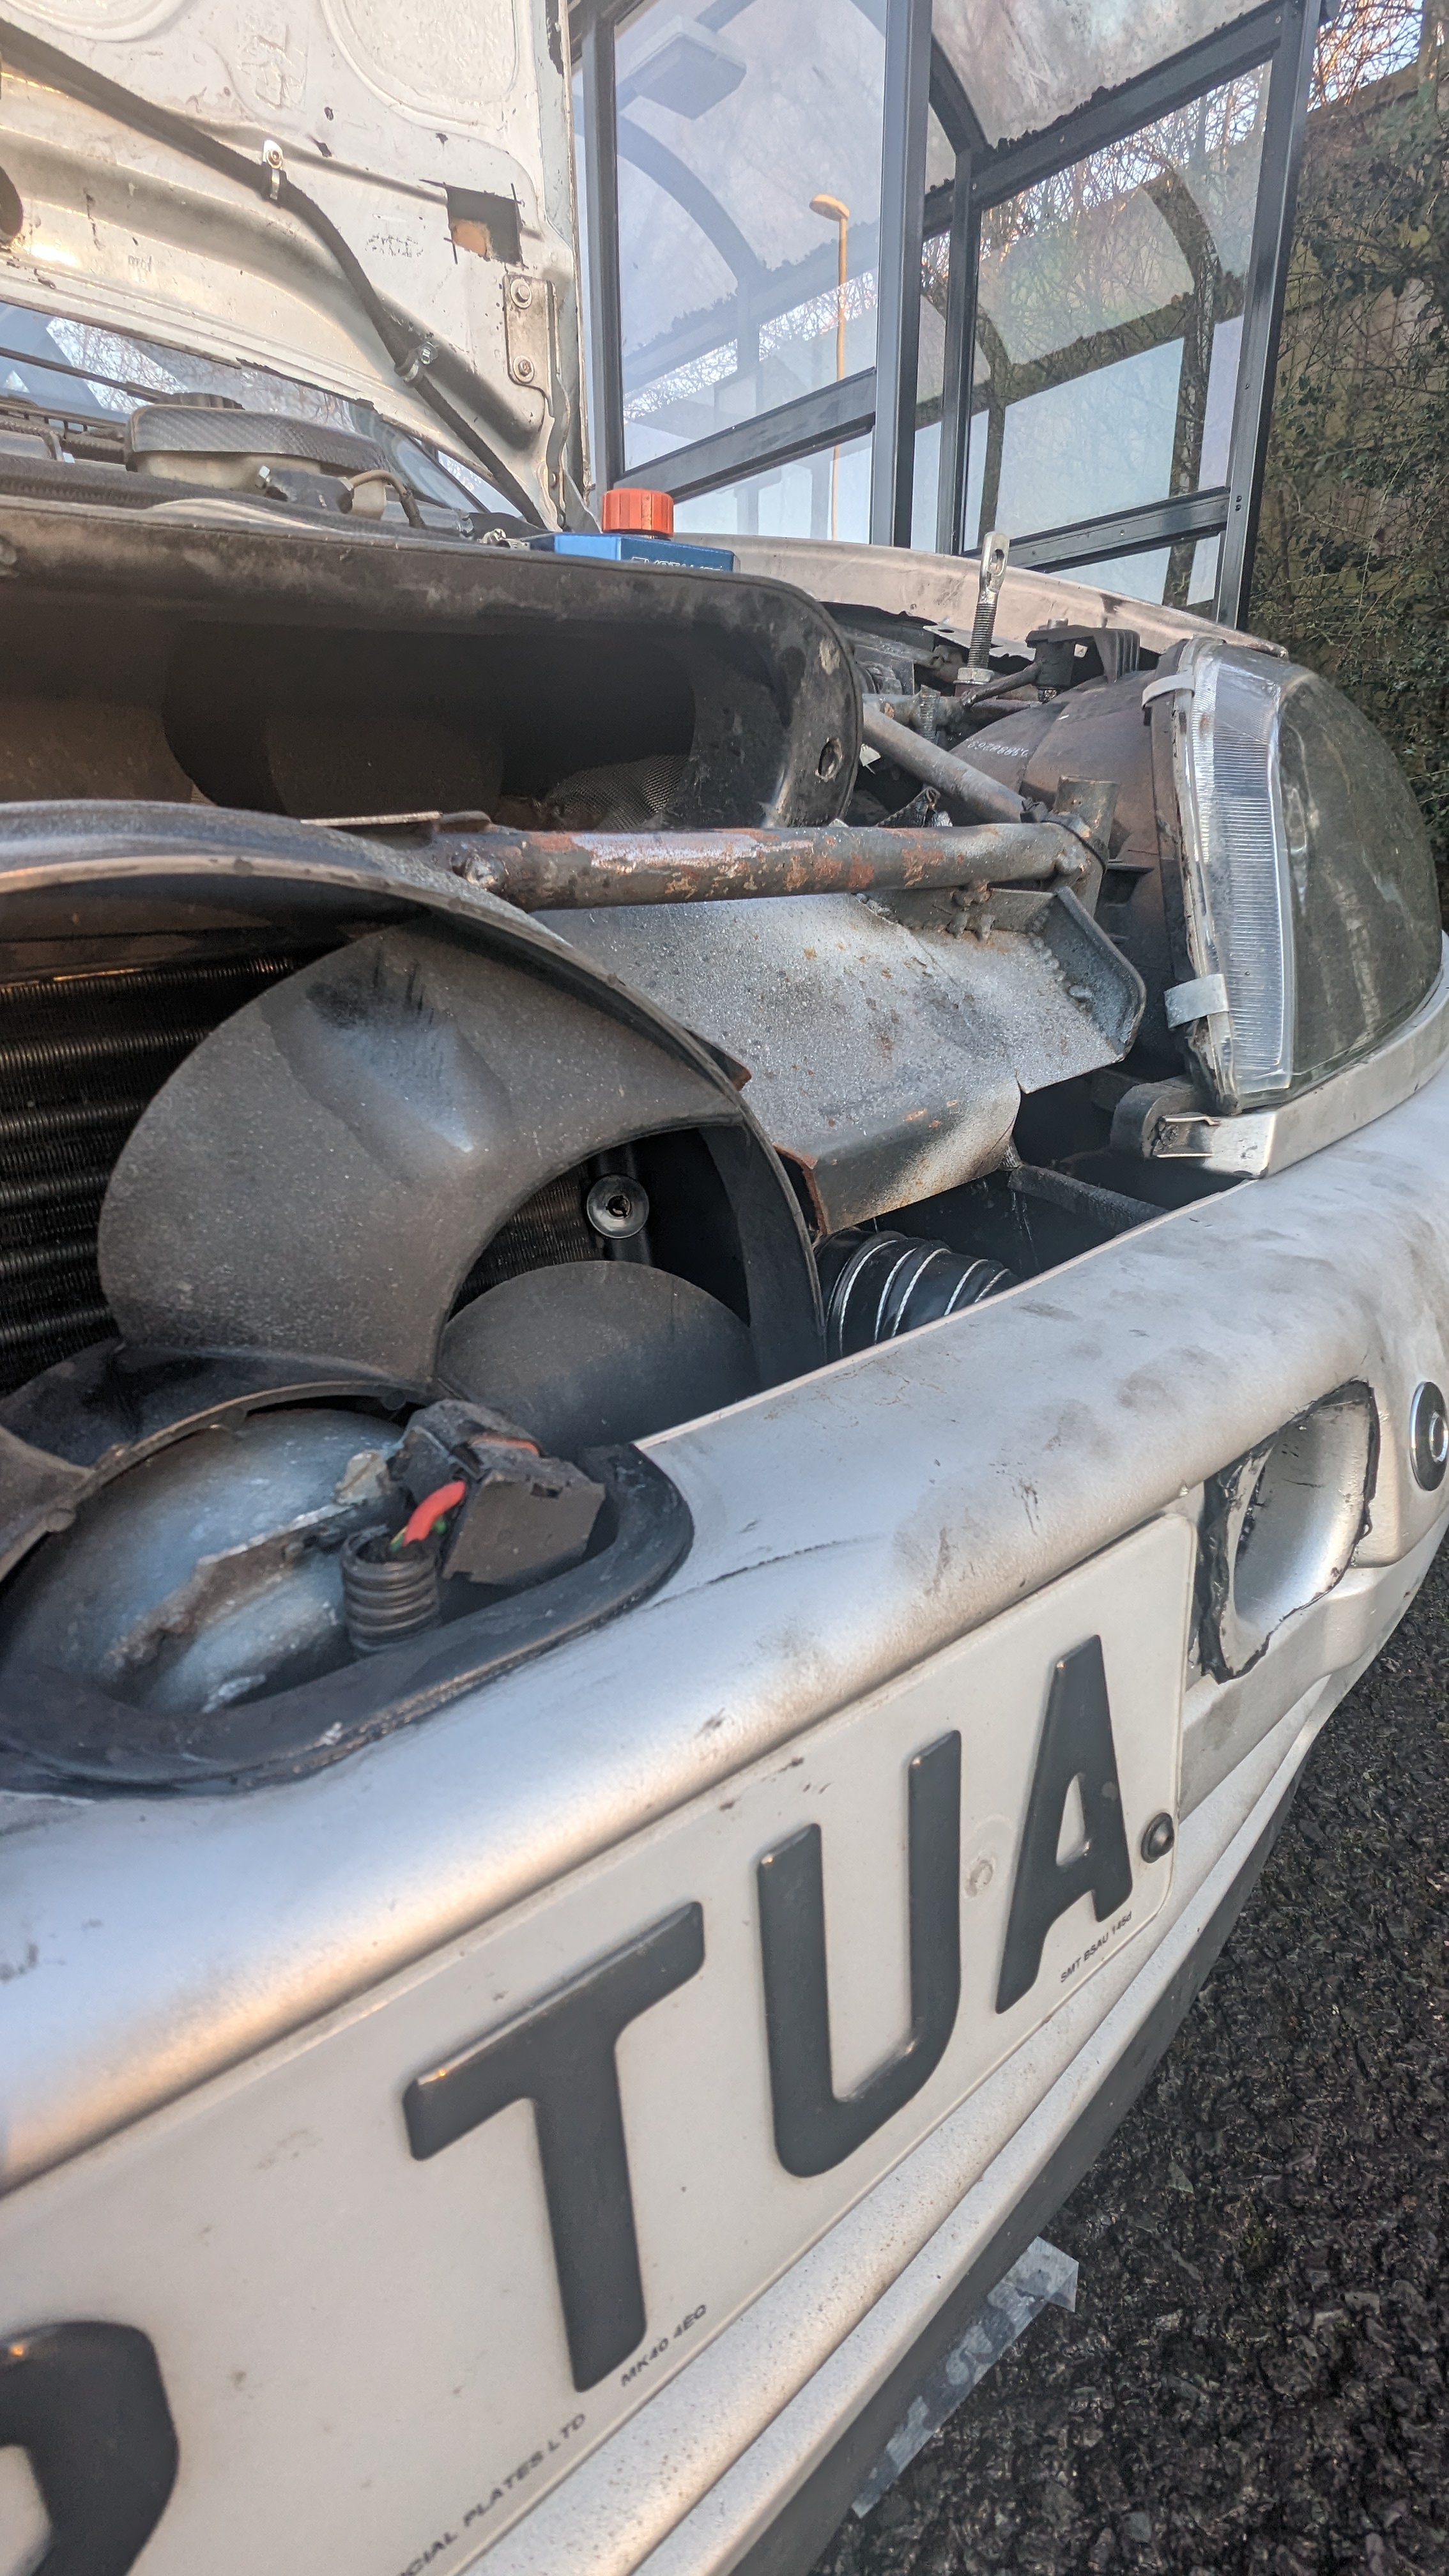
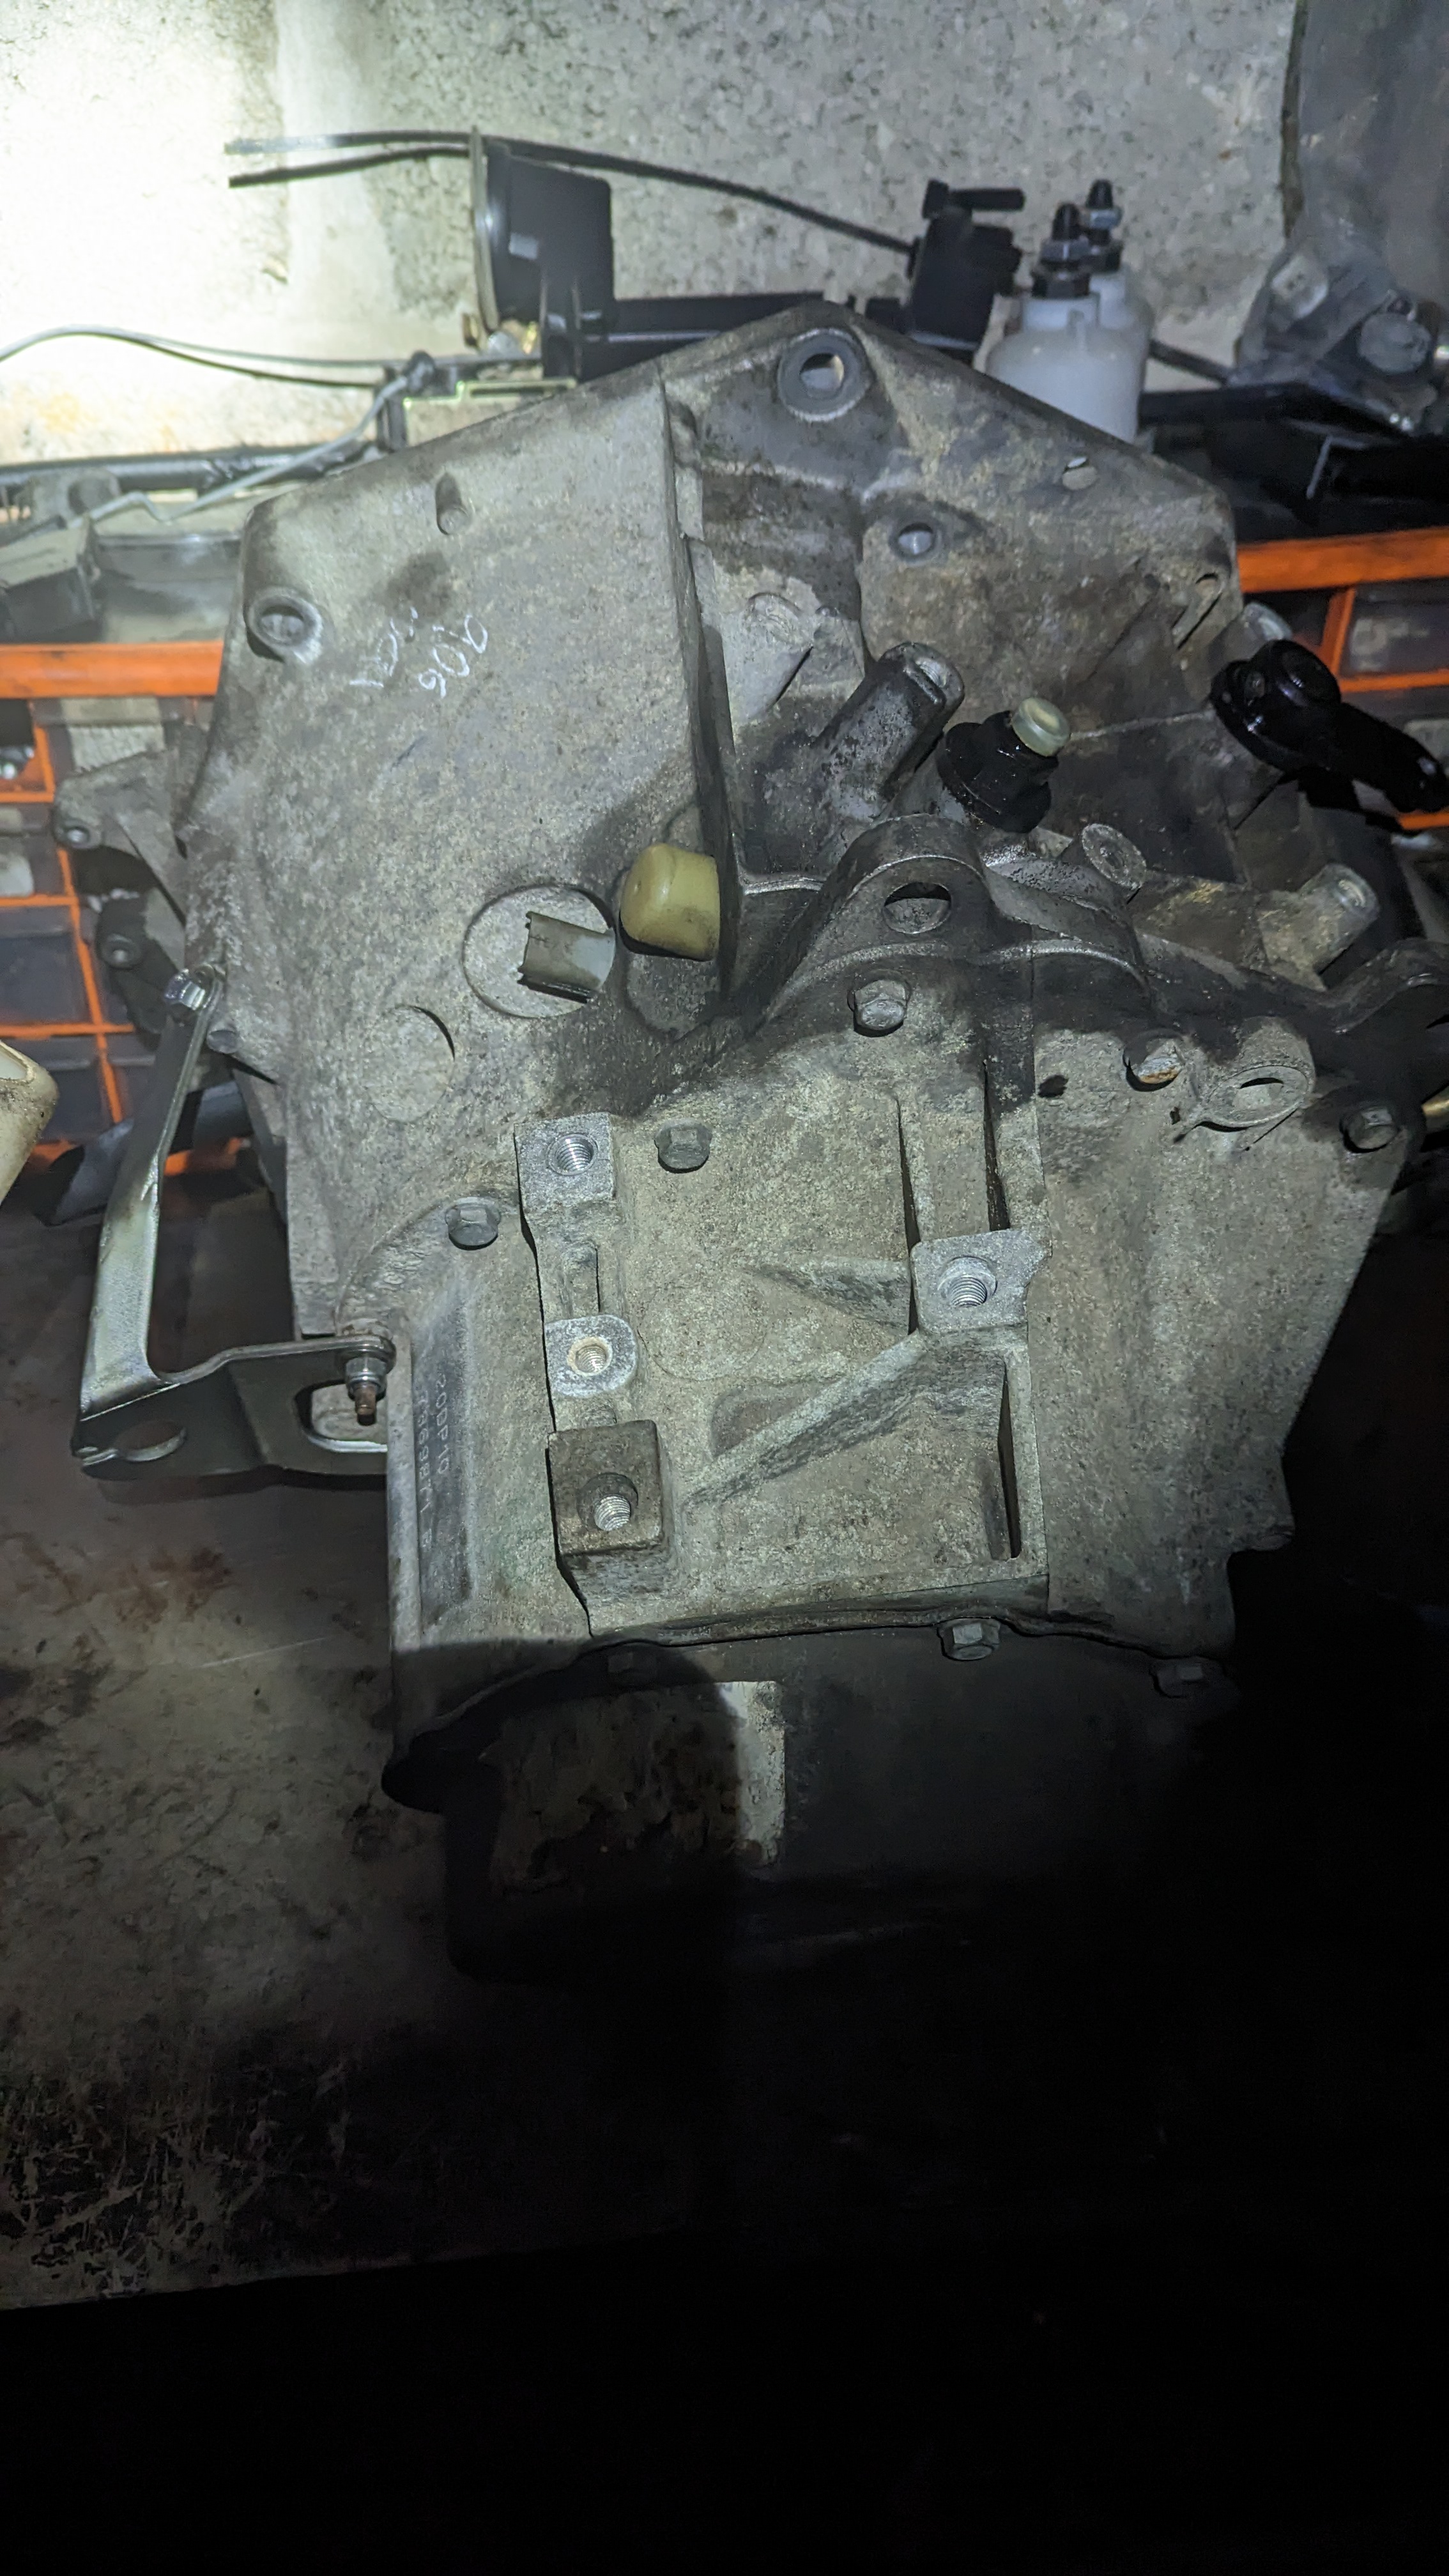
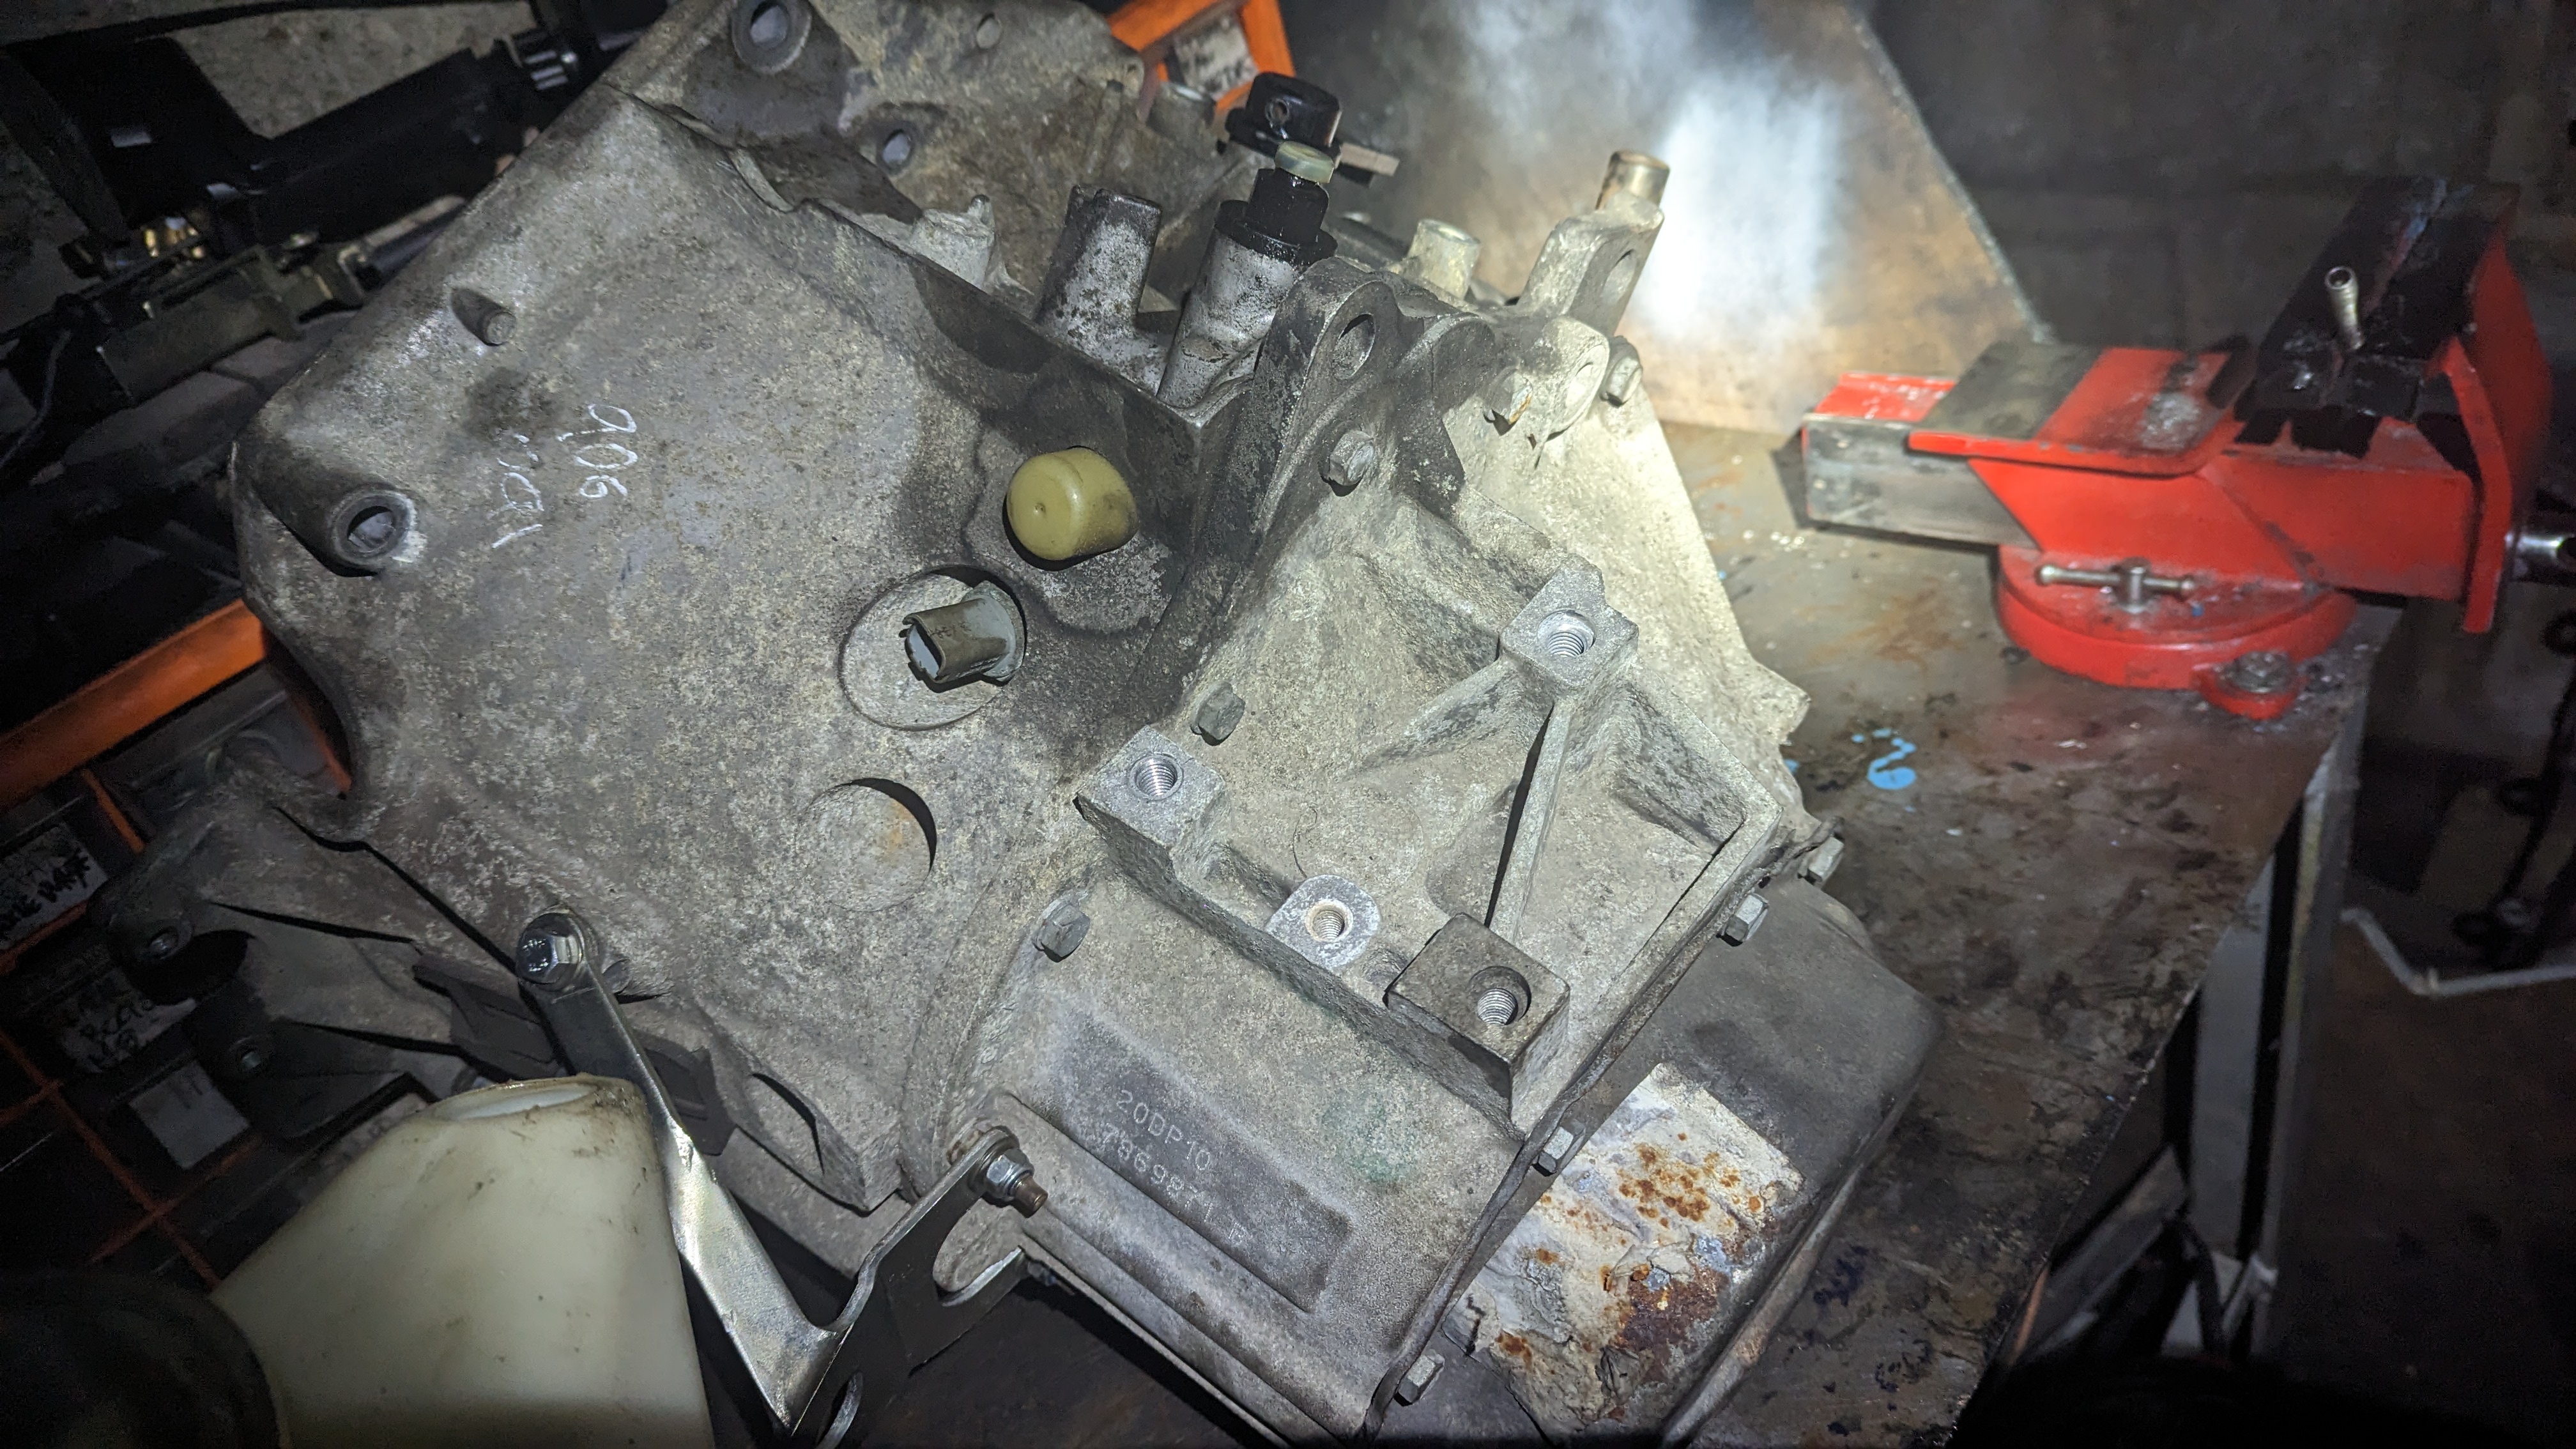
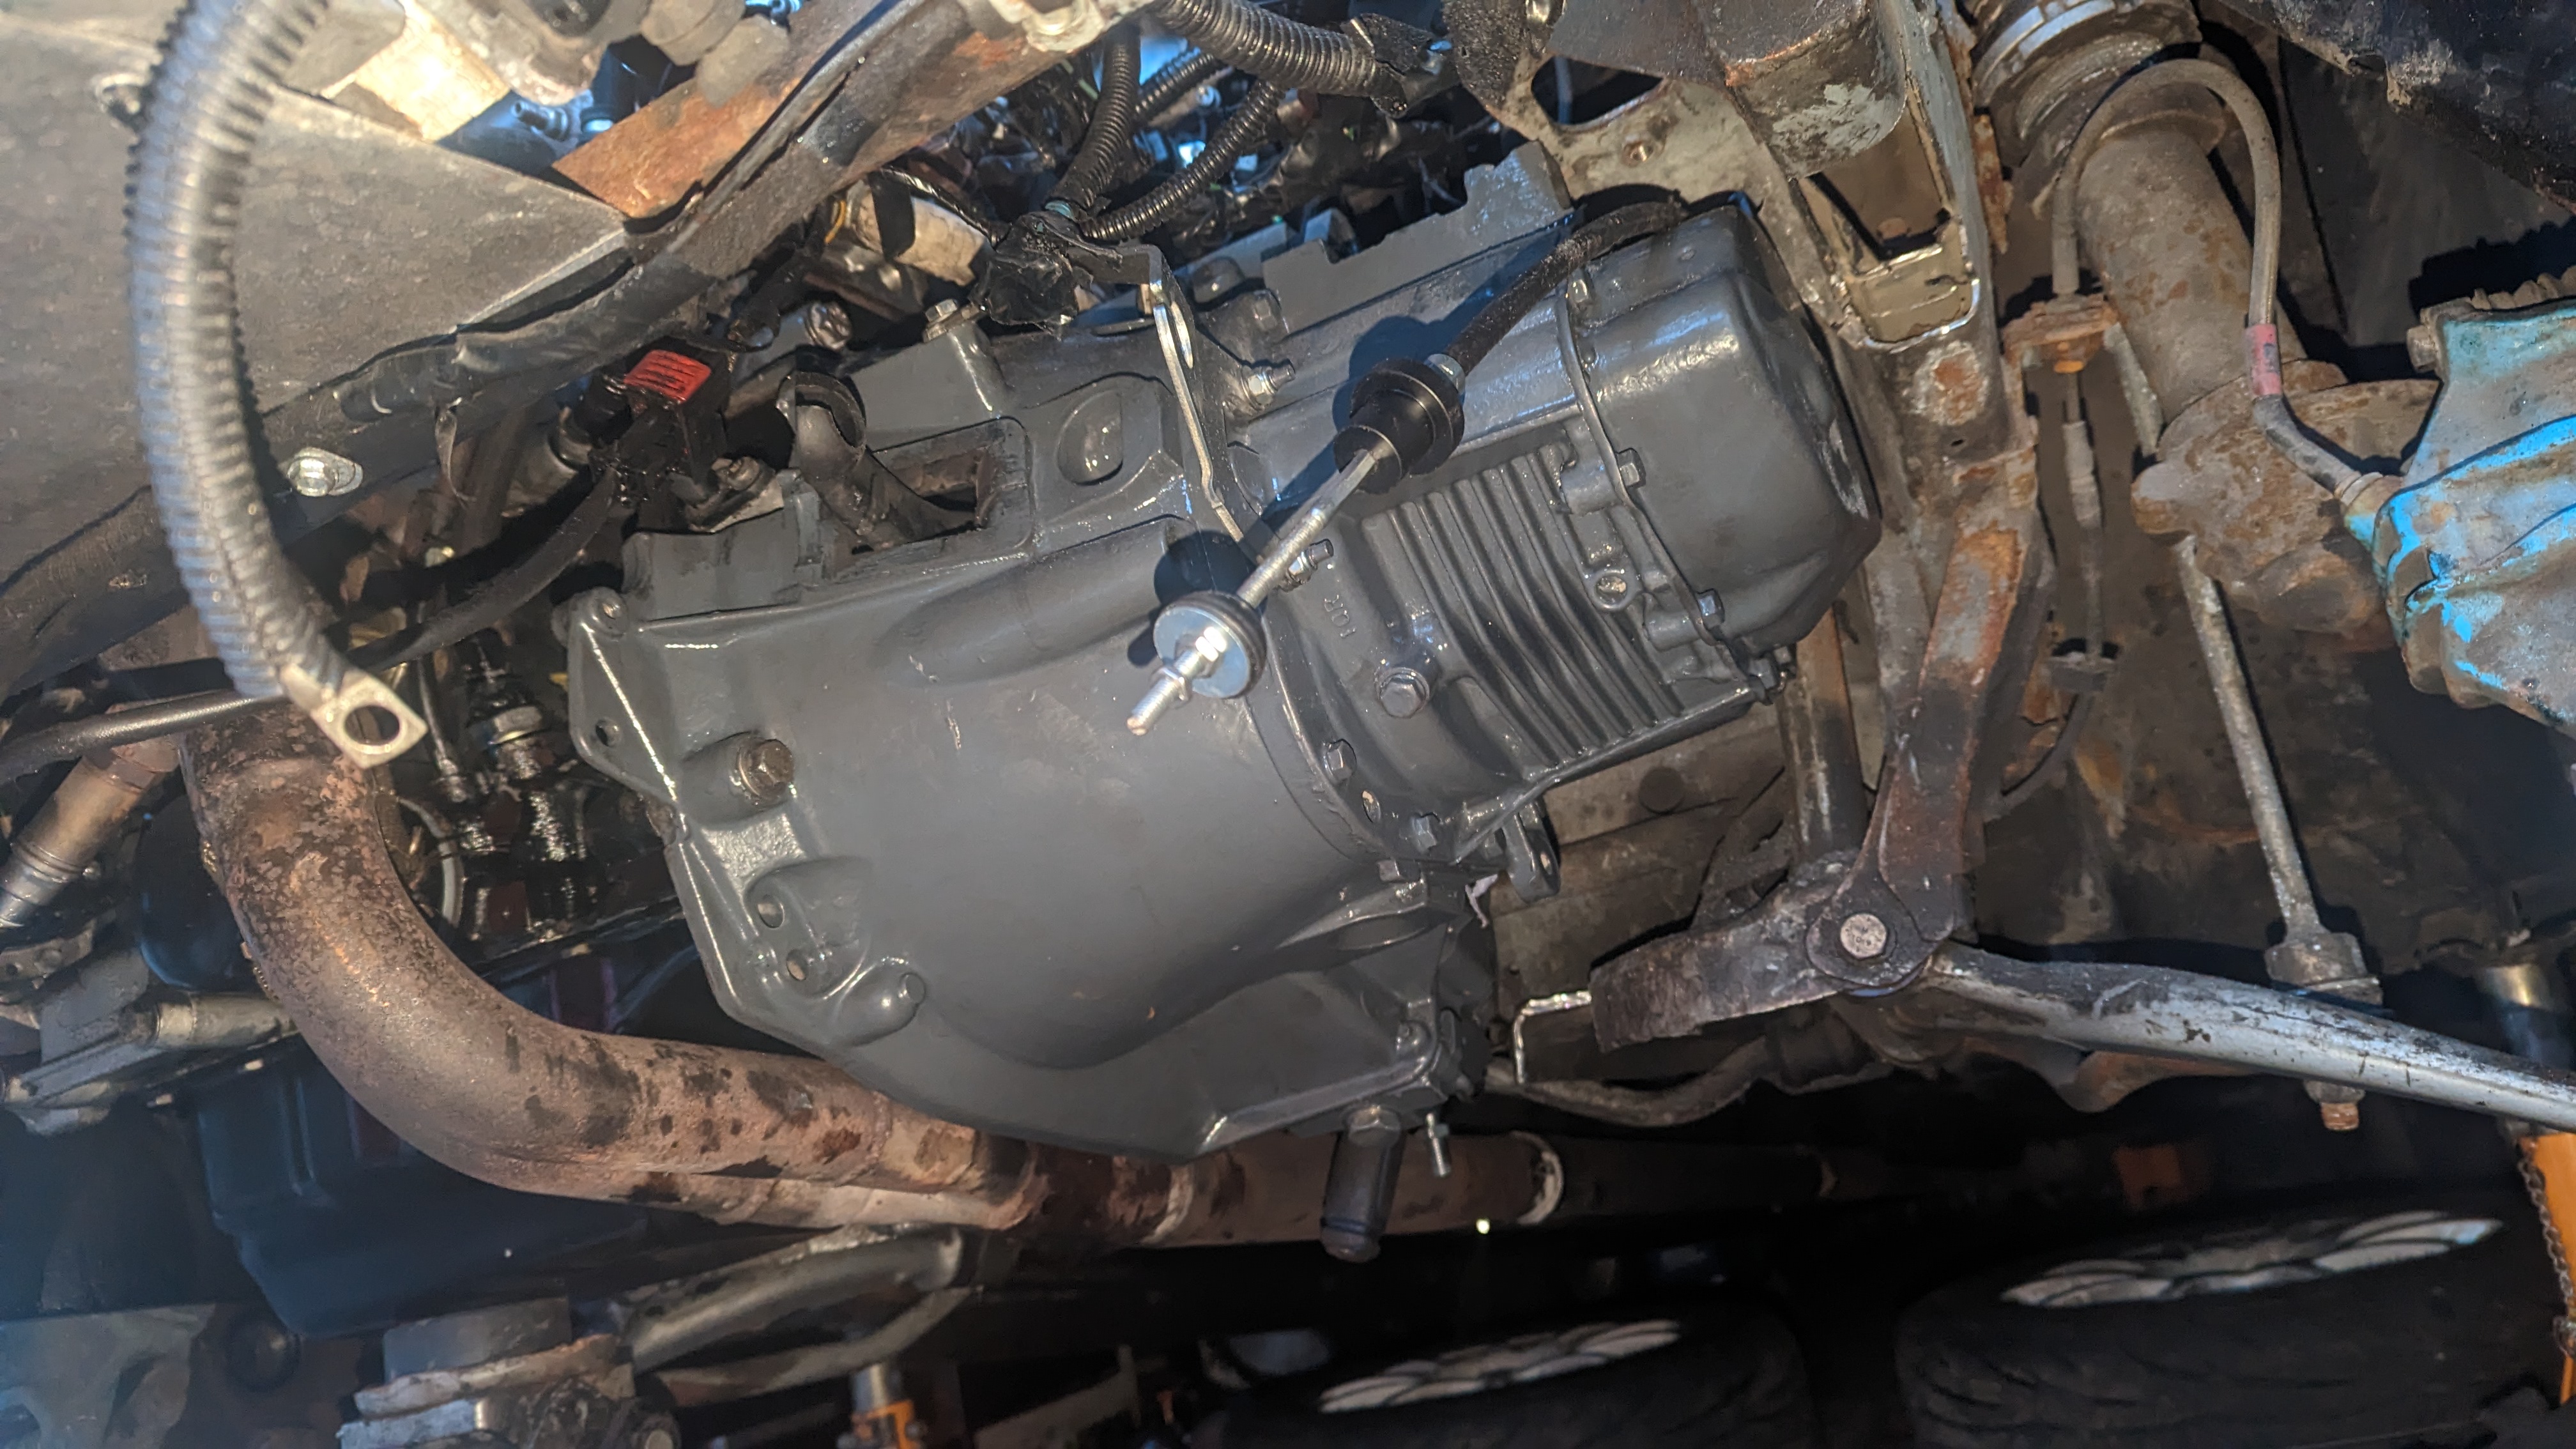
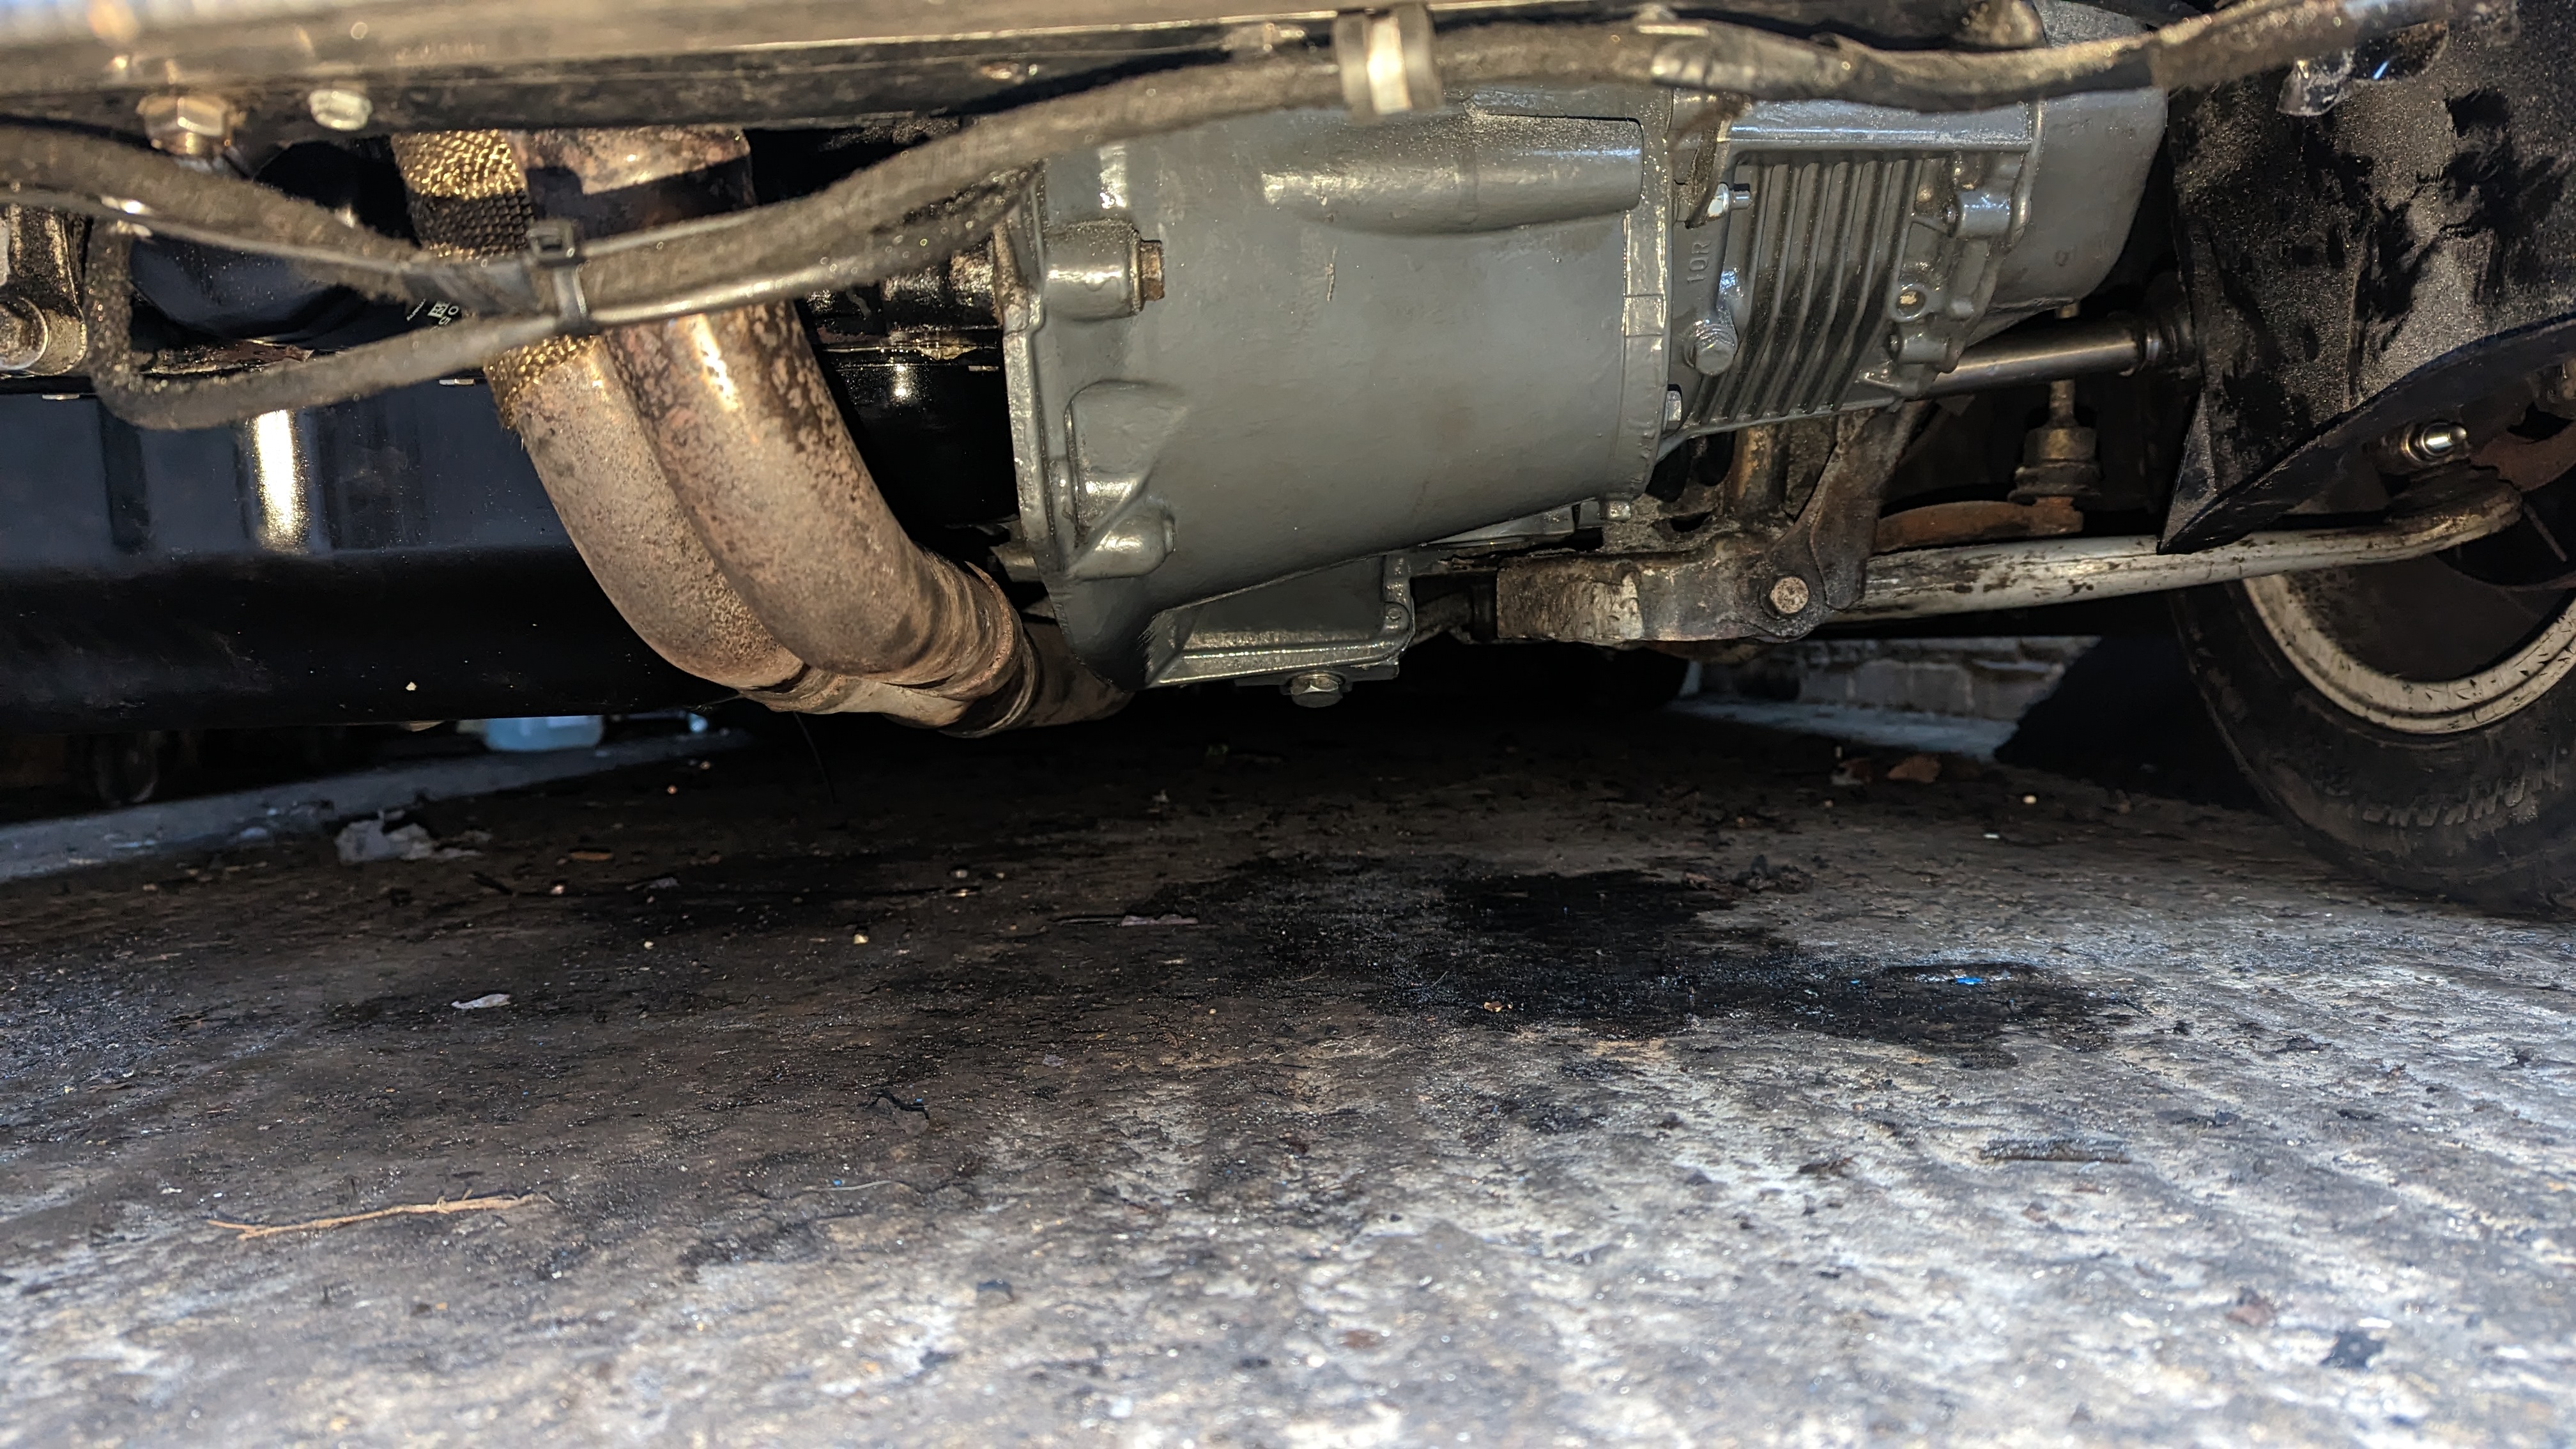
    VTR engine out:


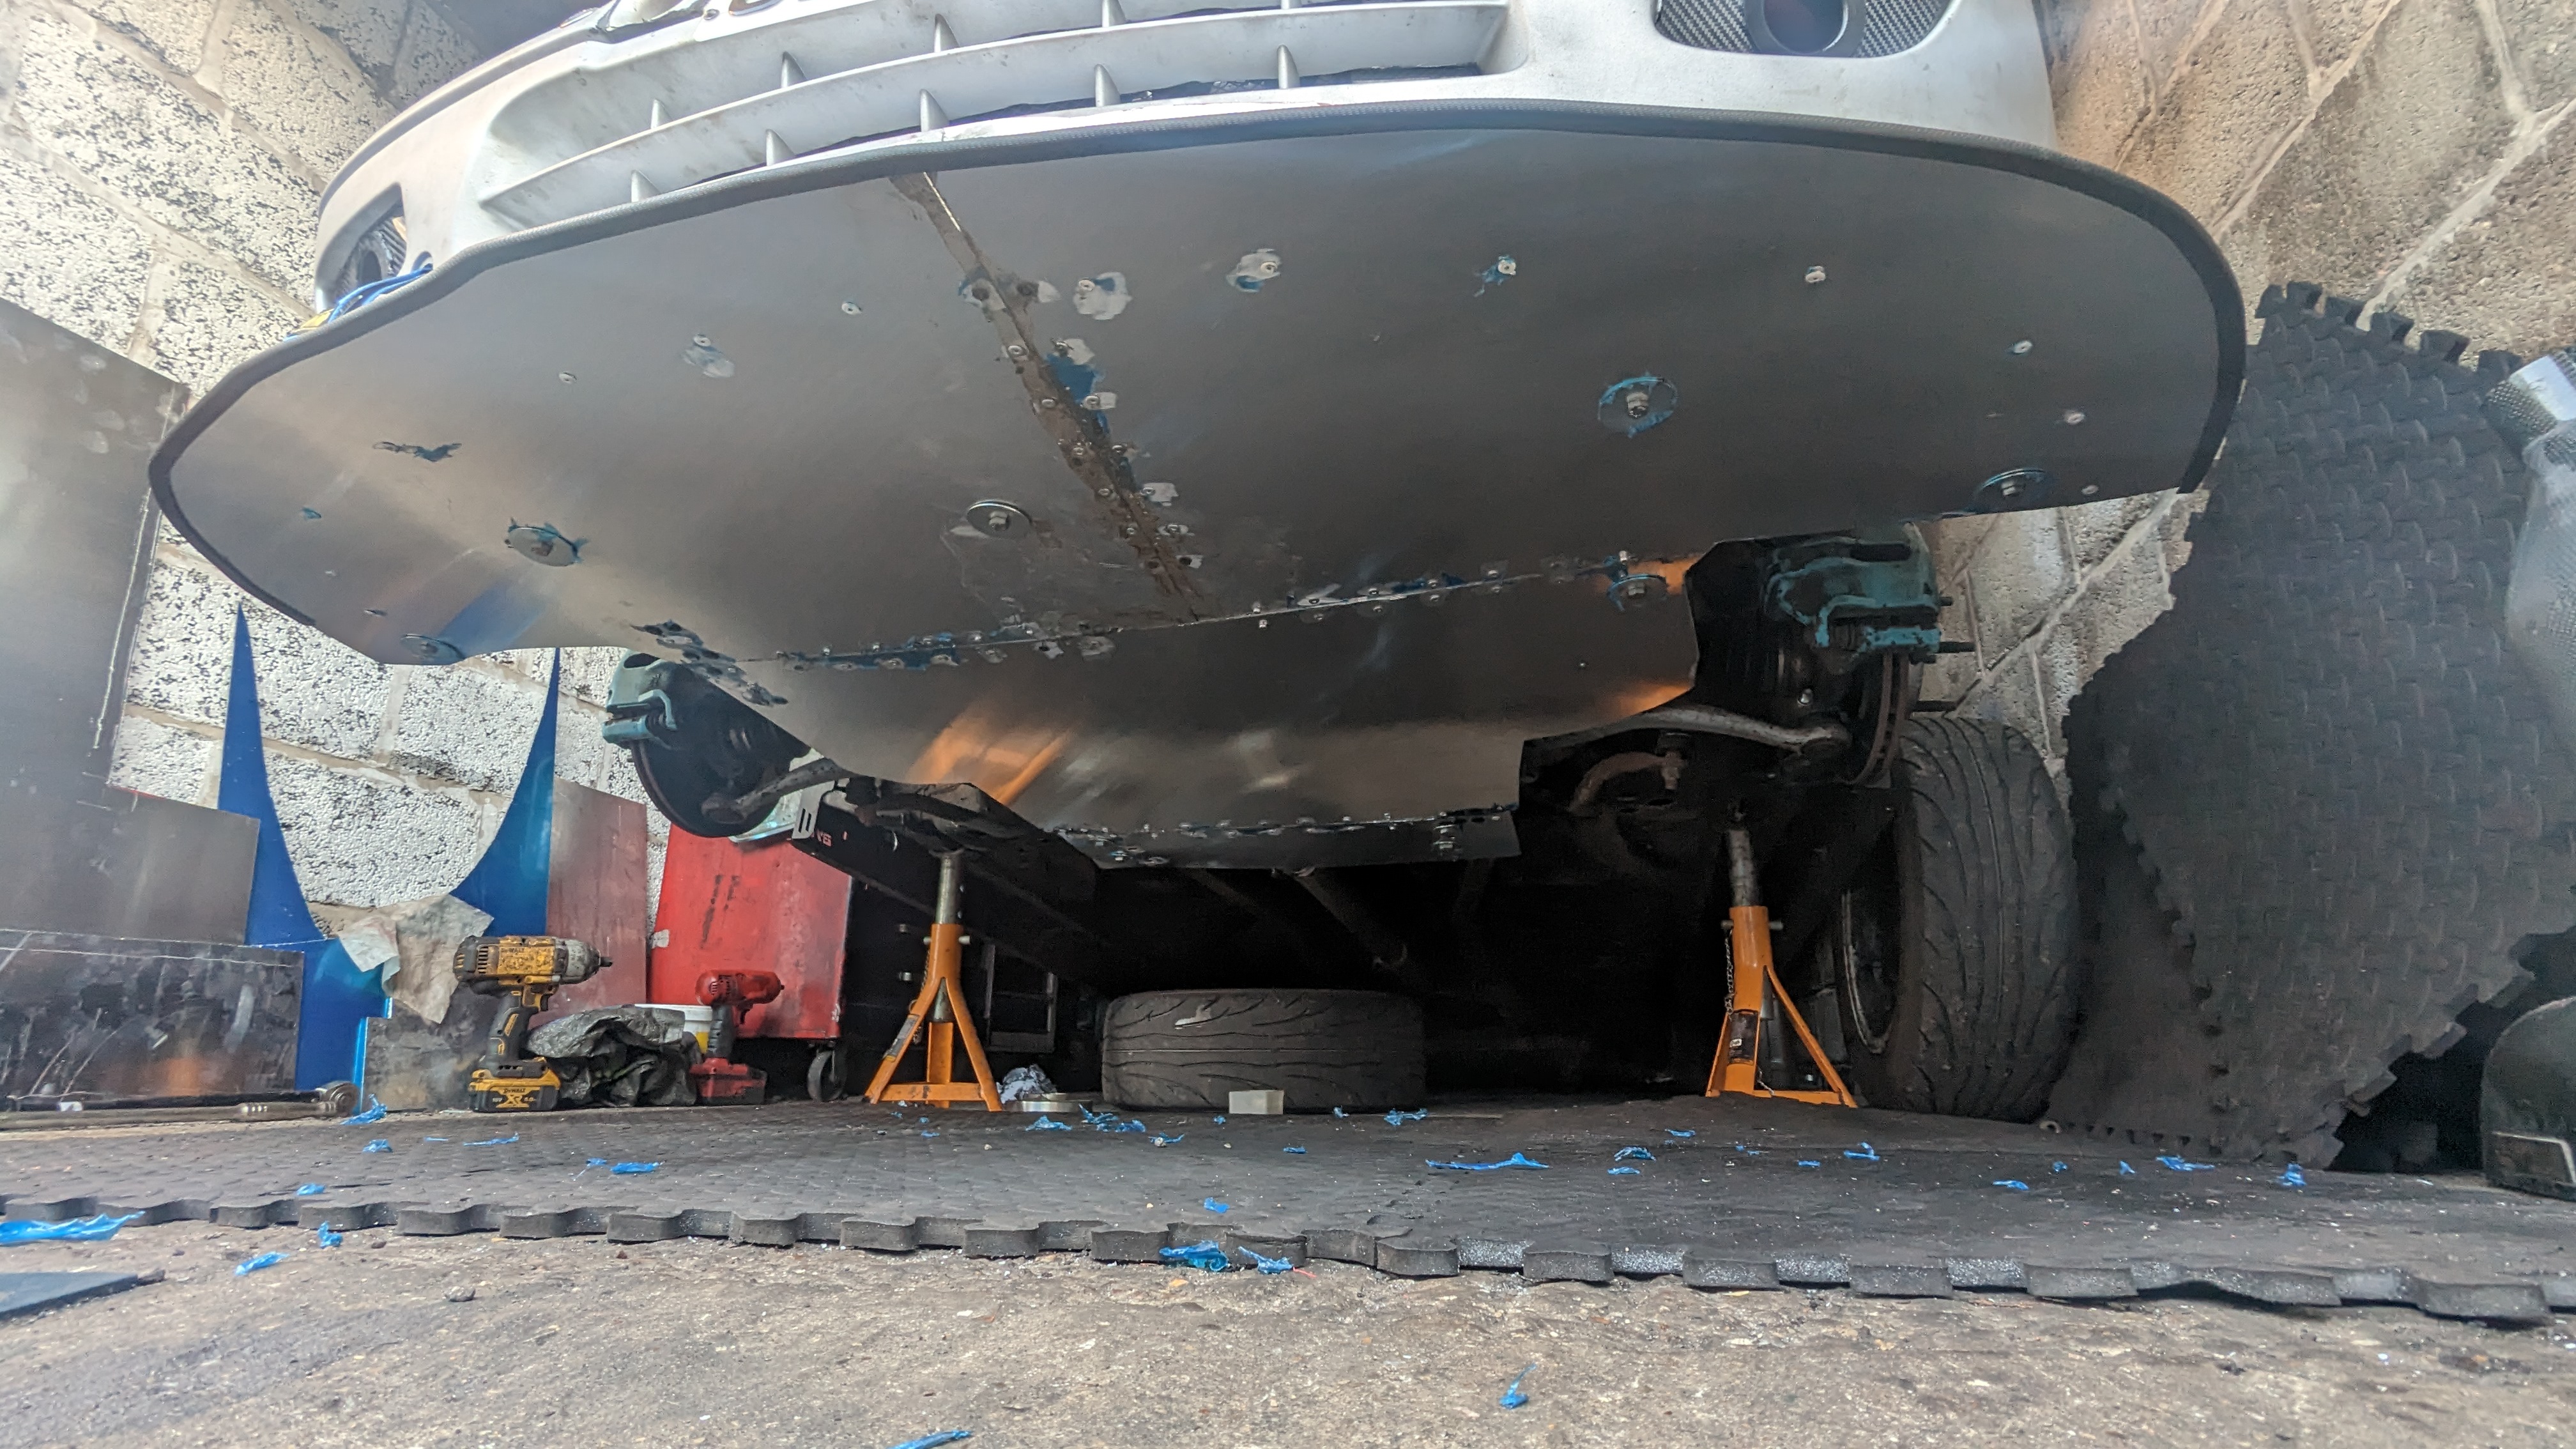
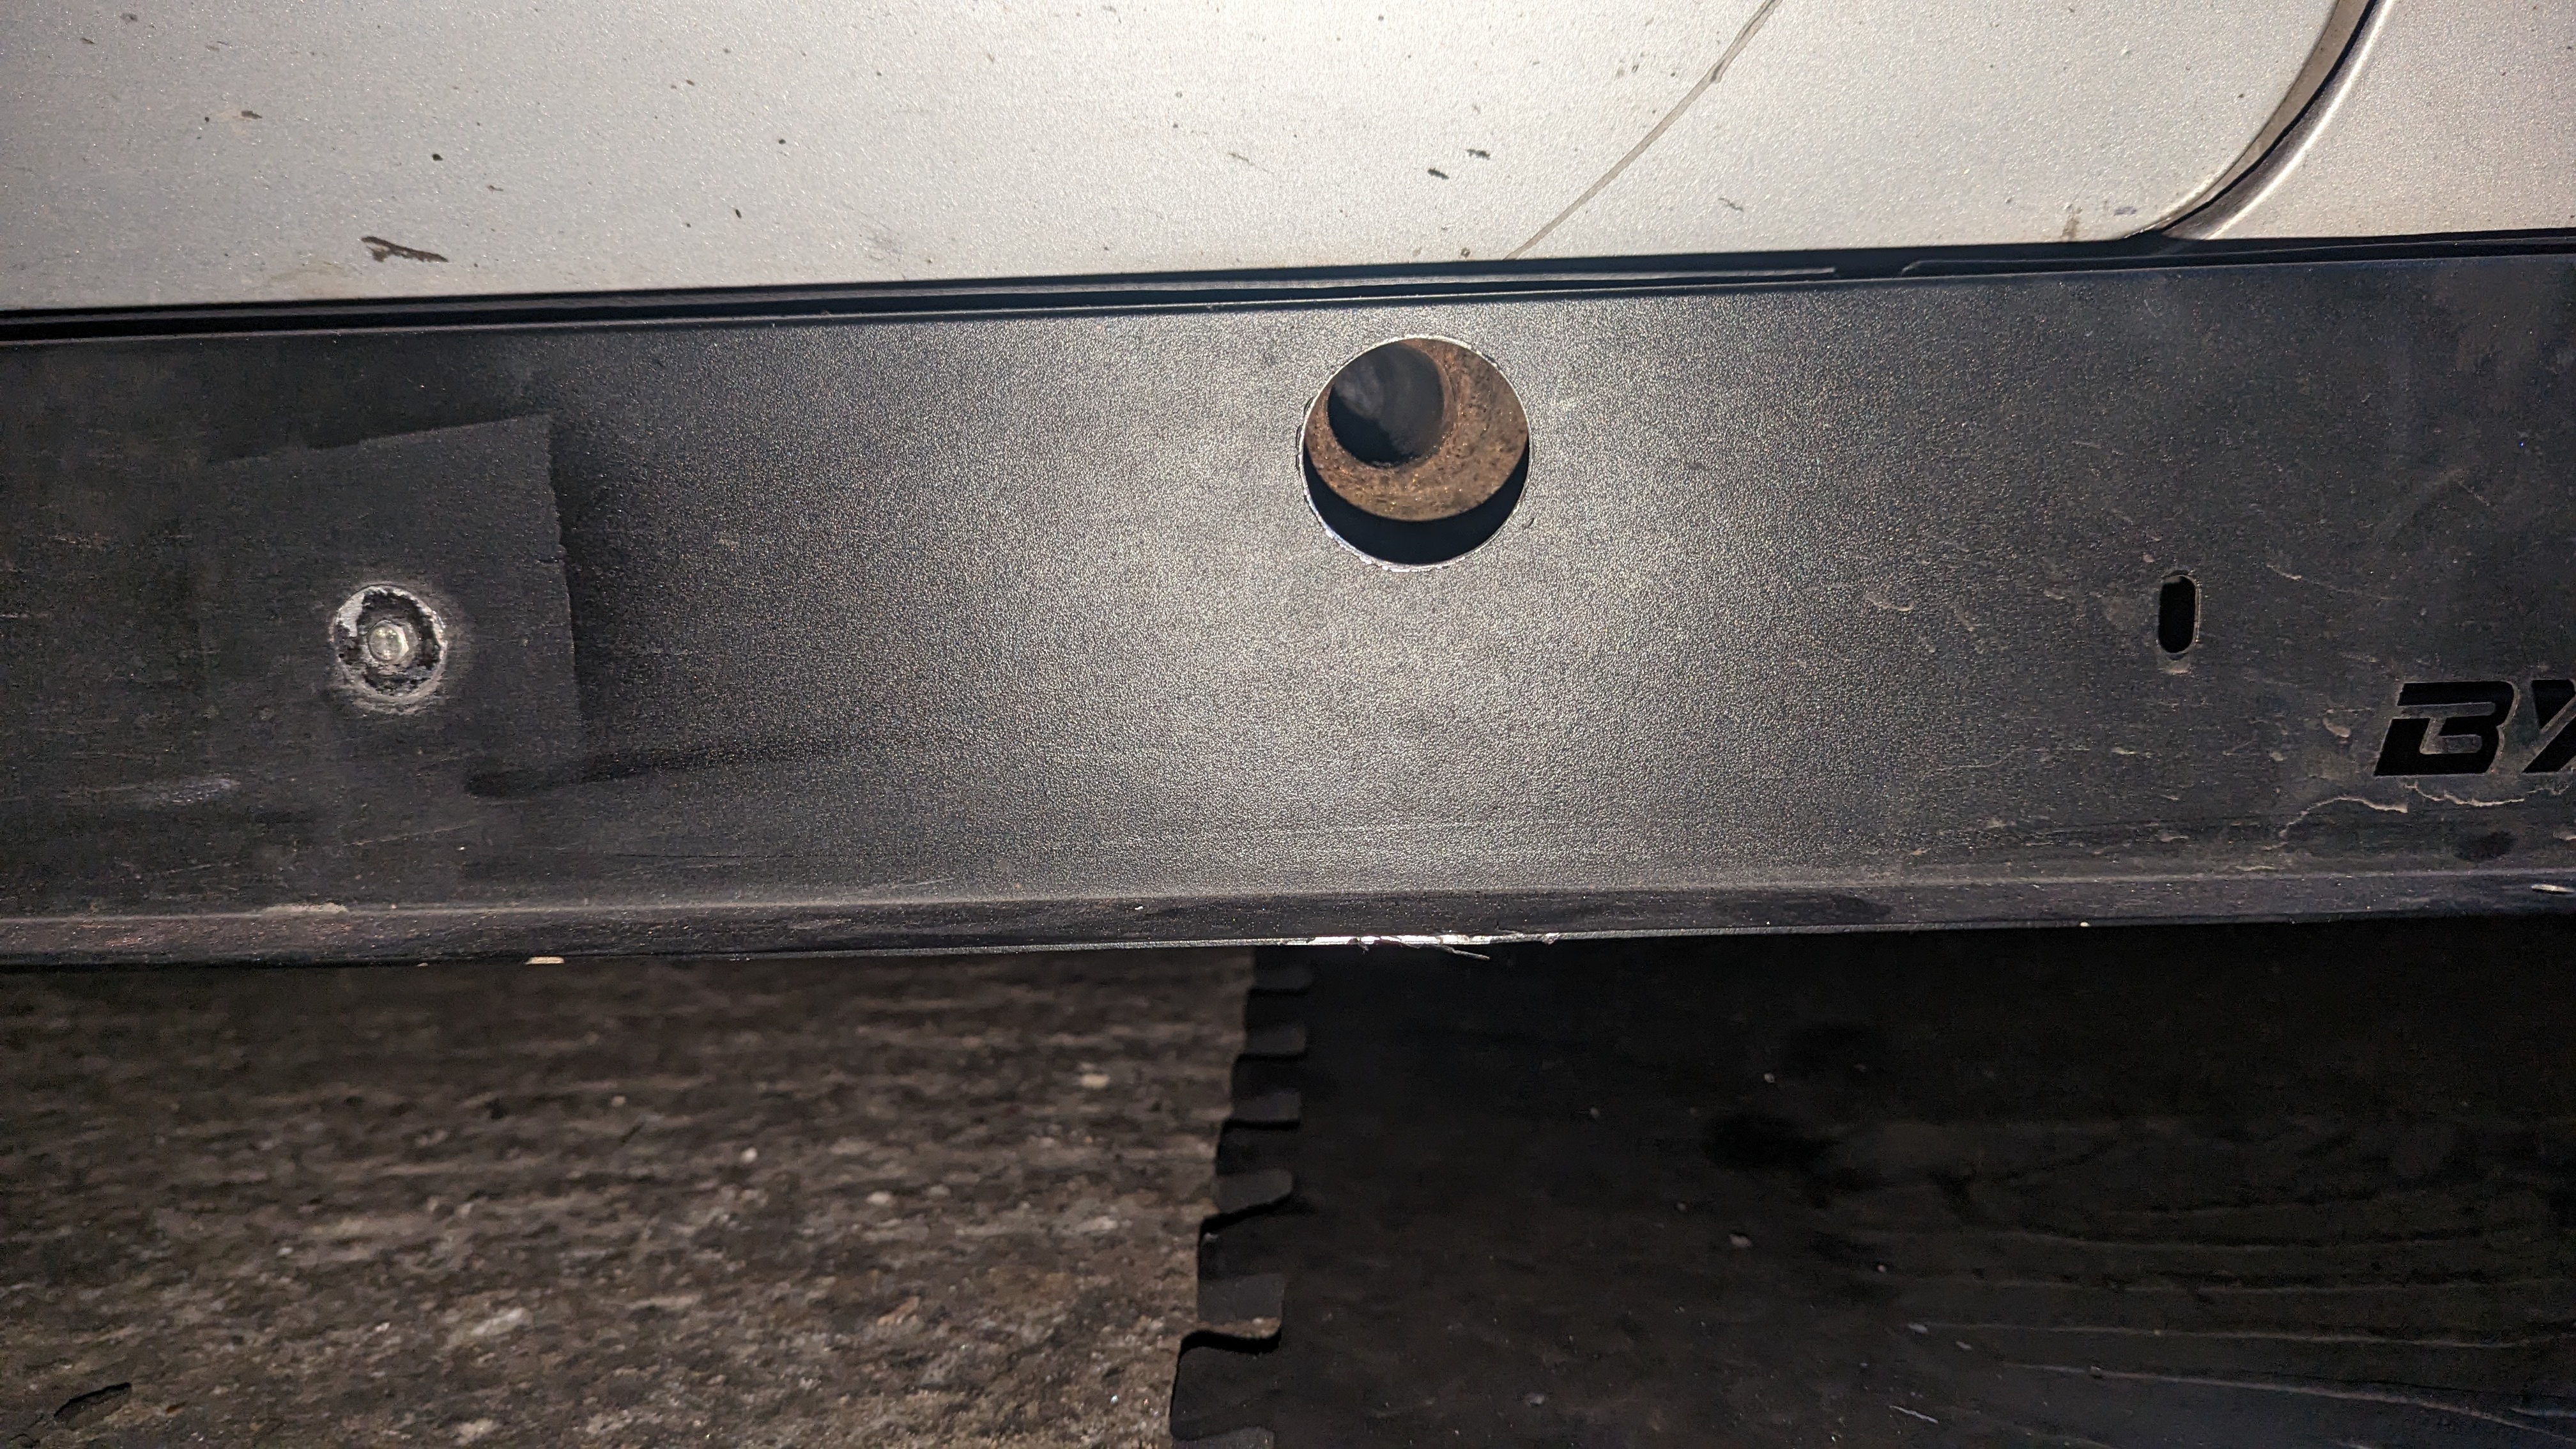
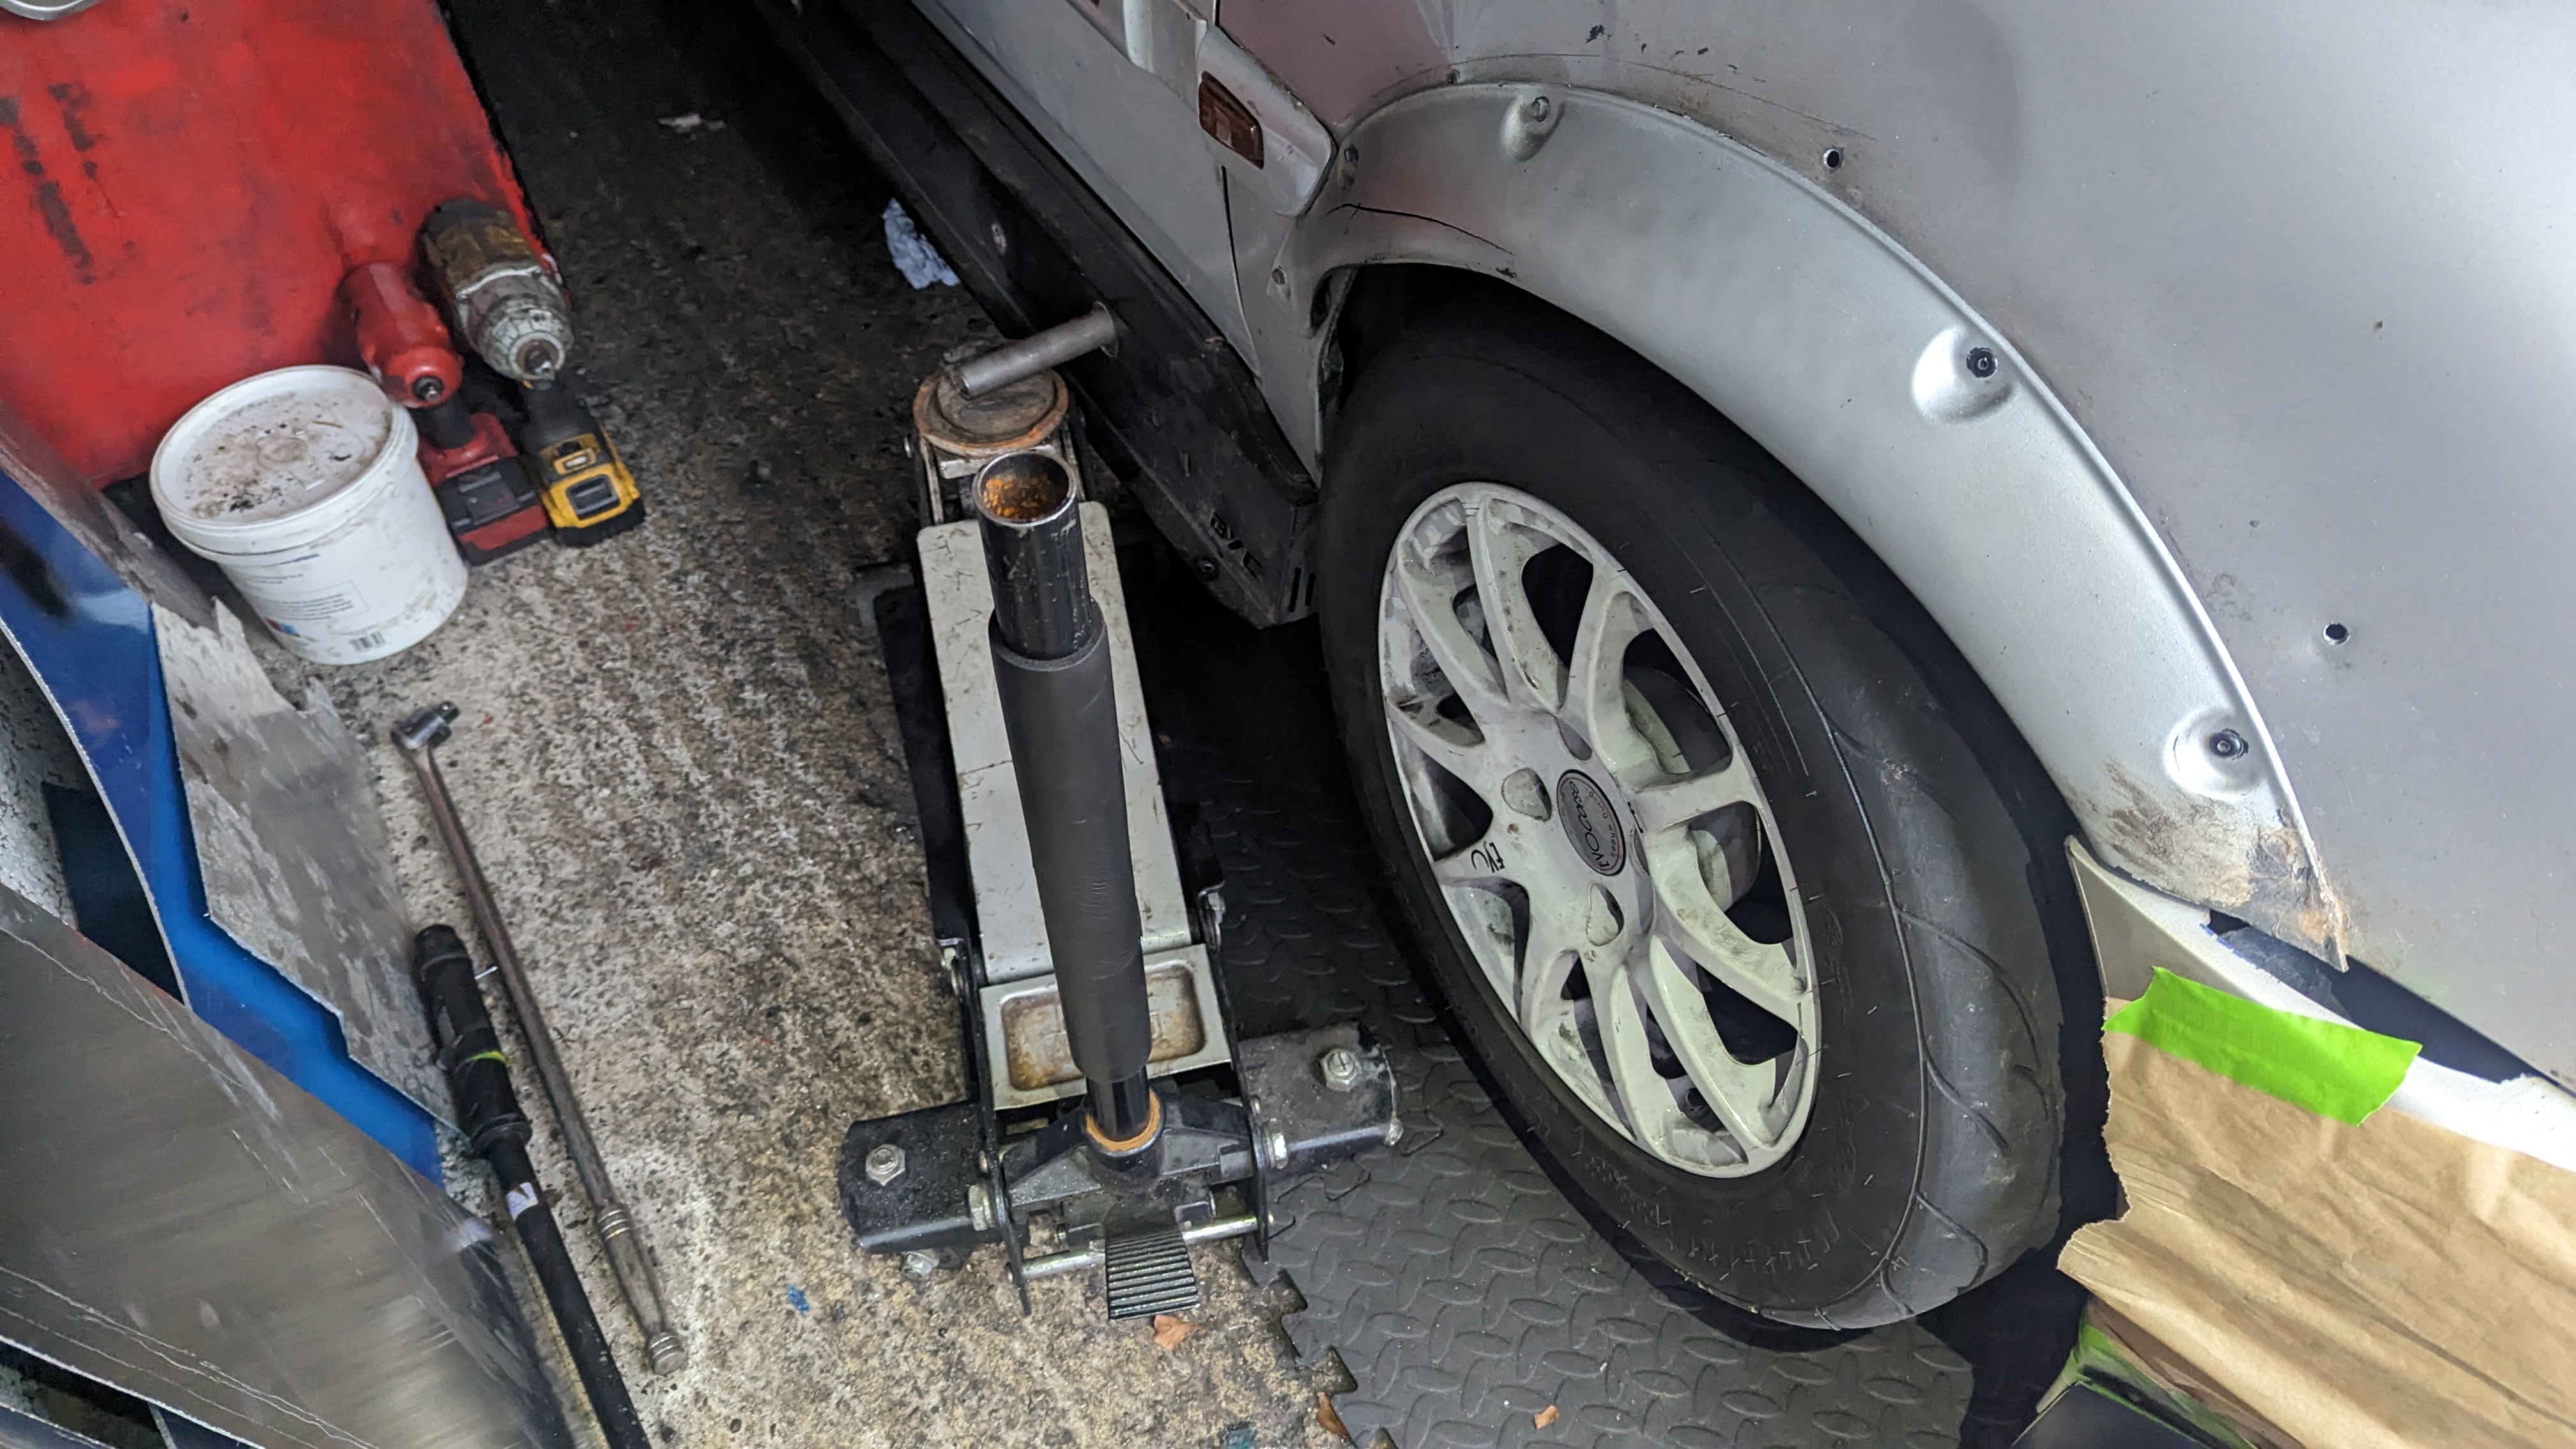
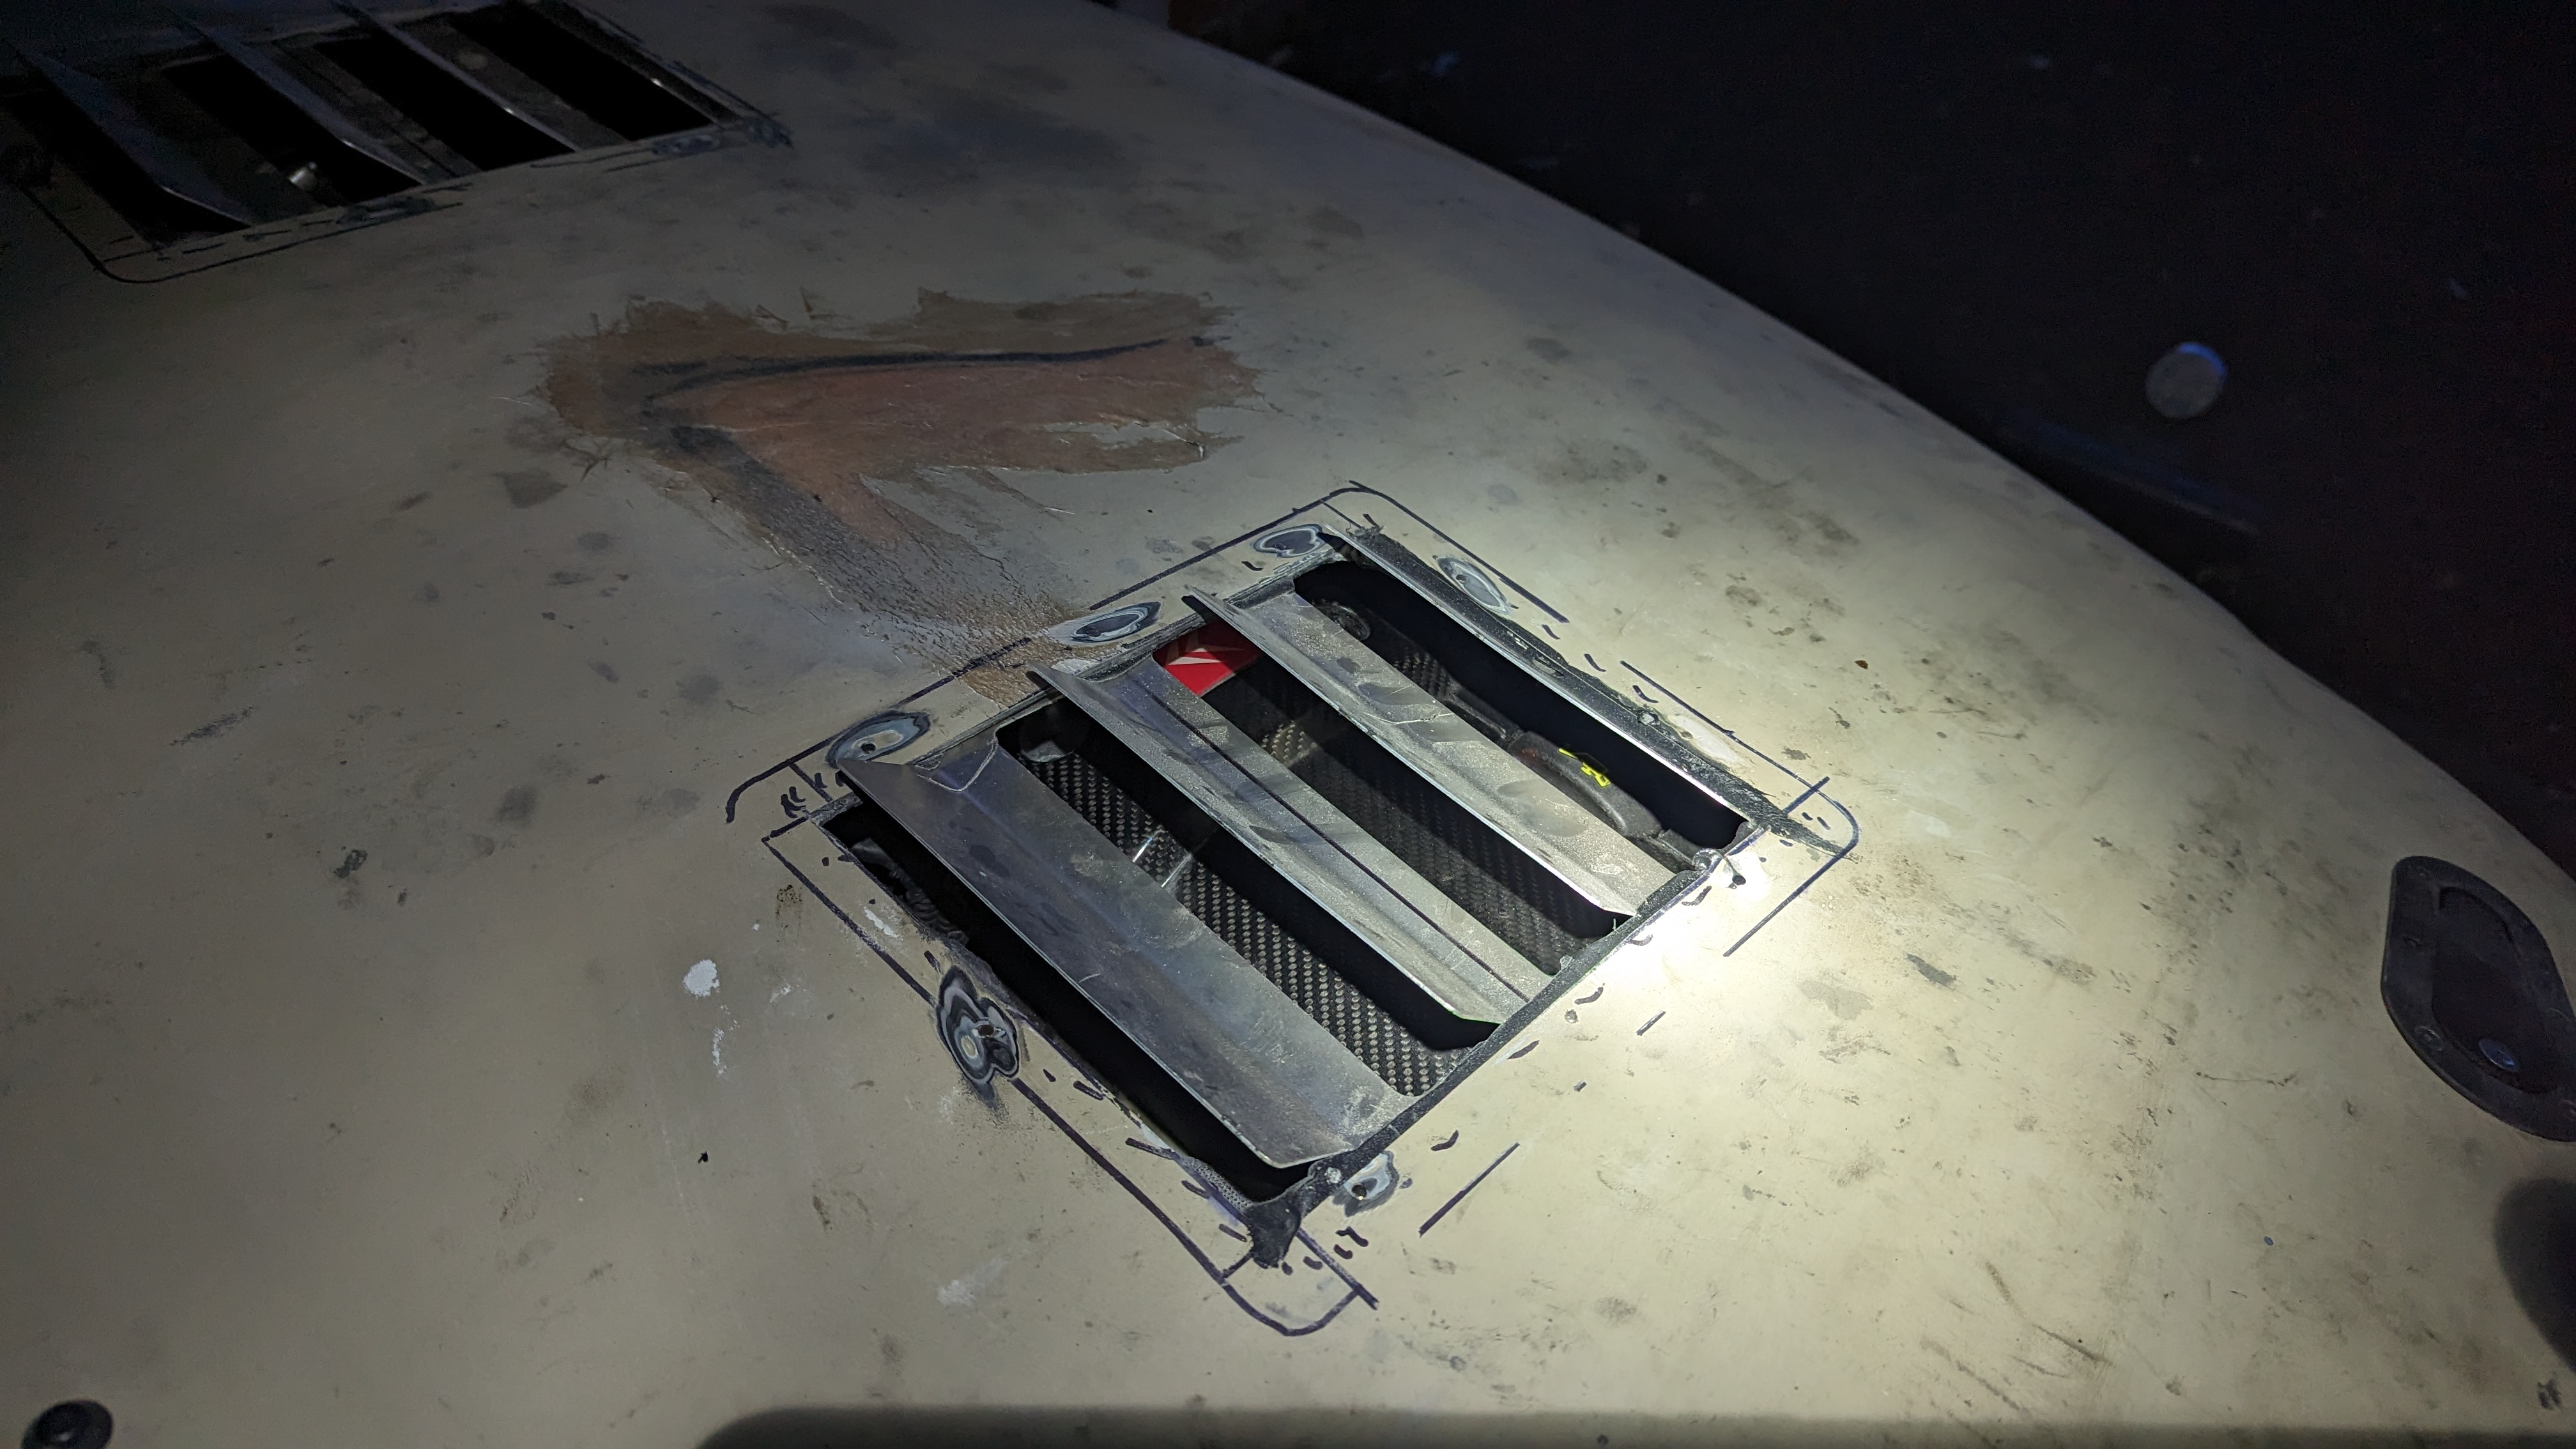
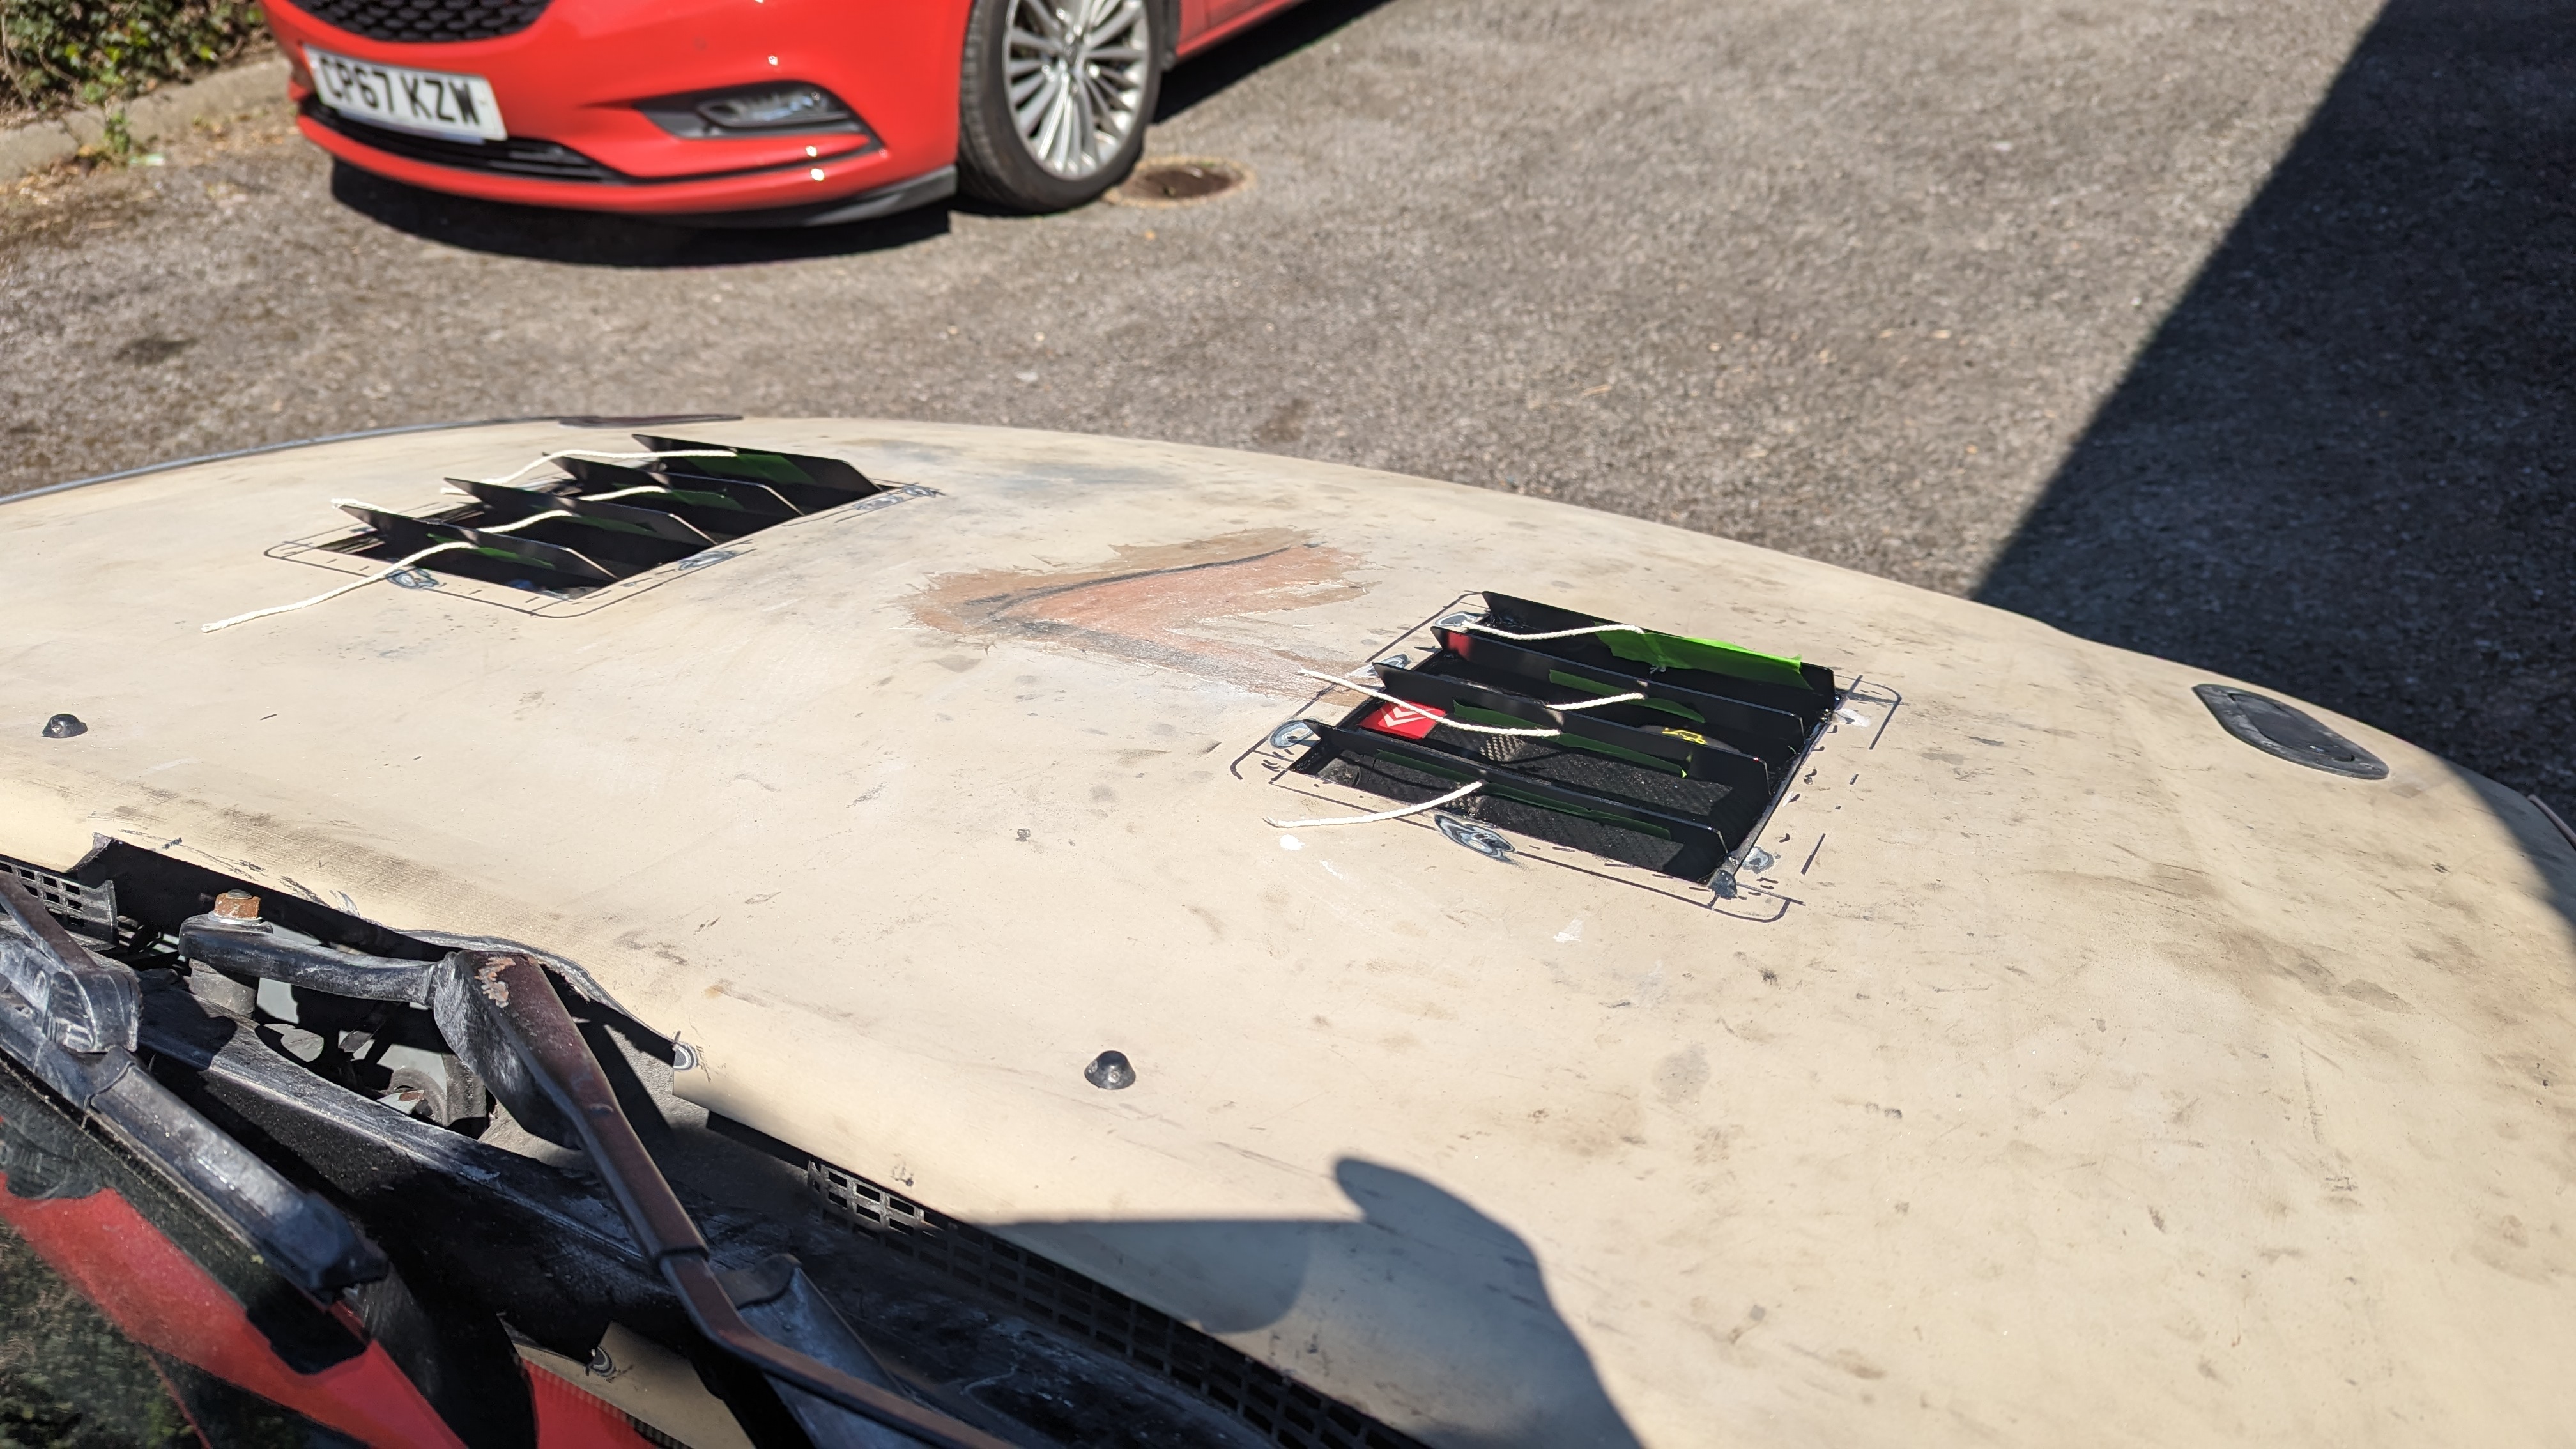
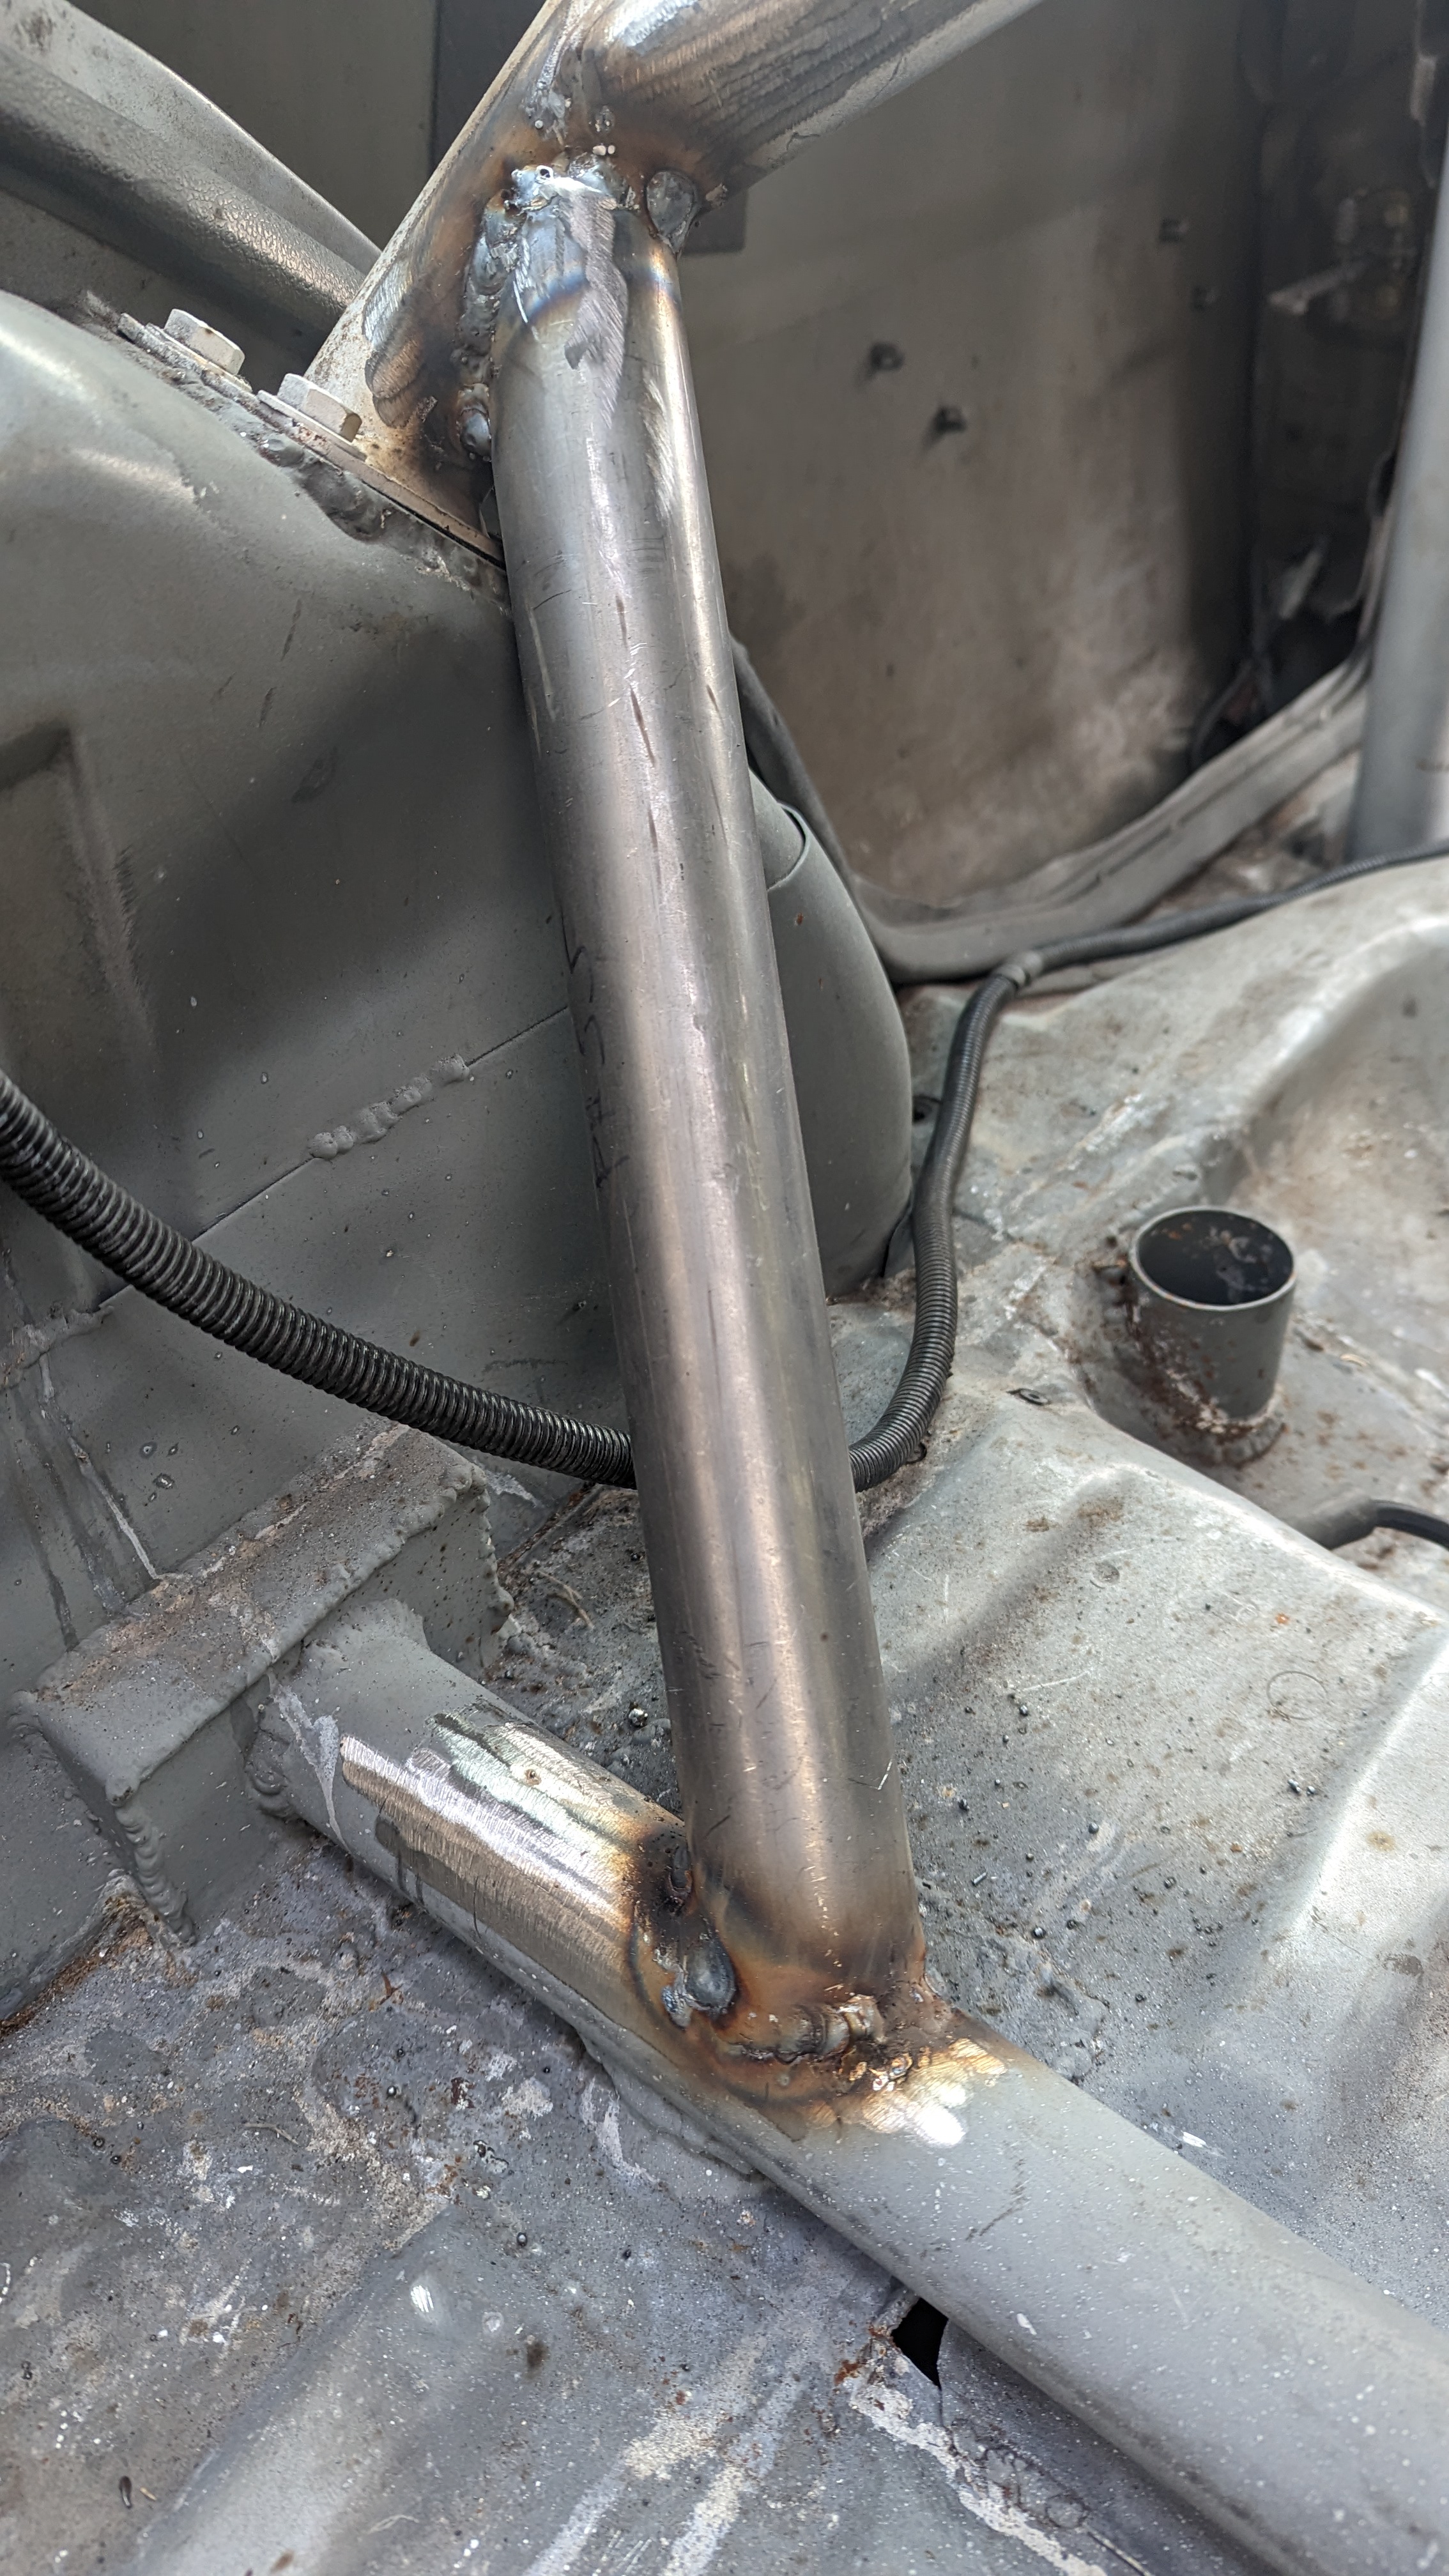
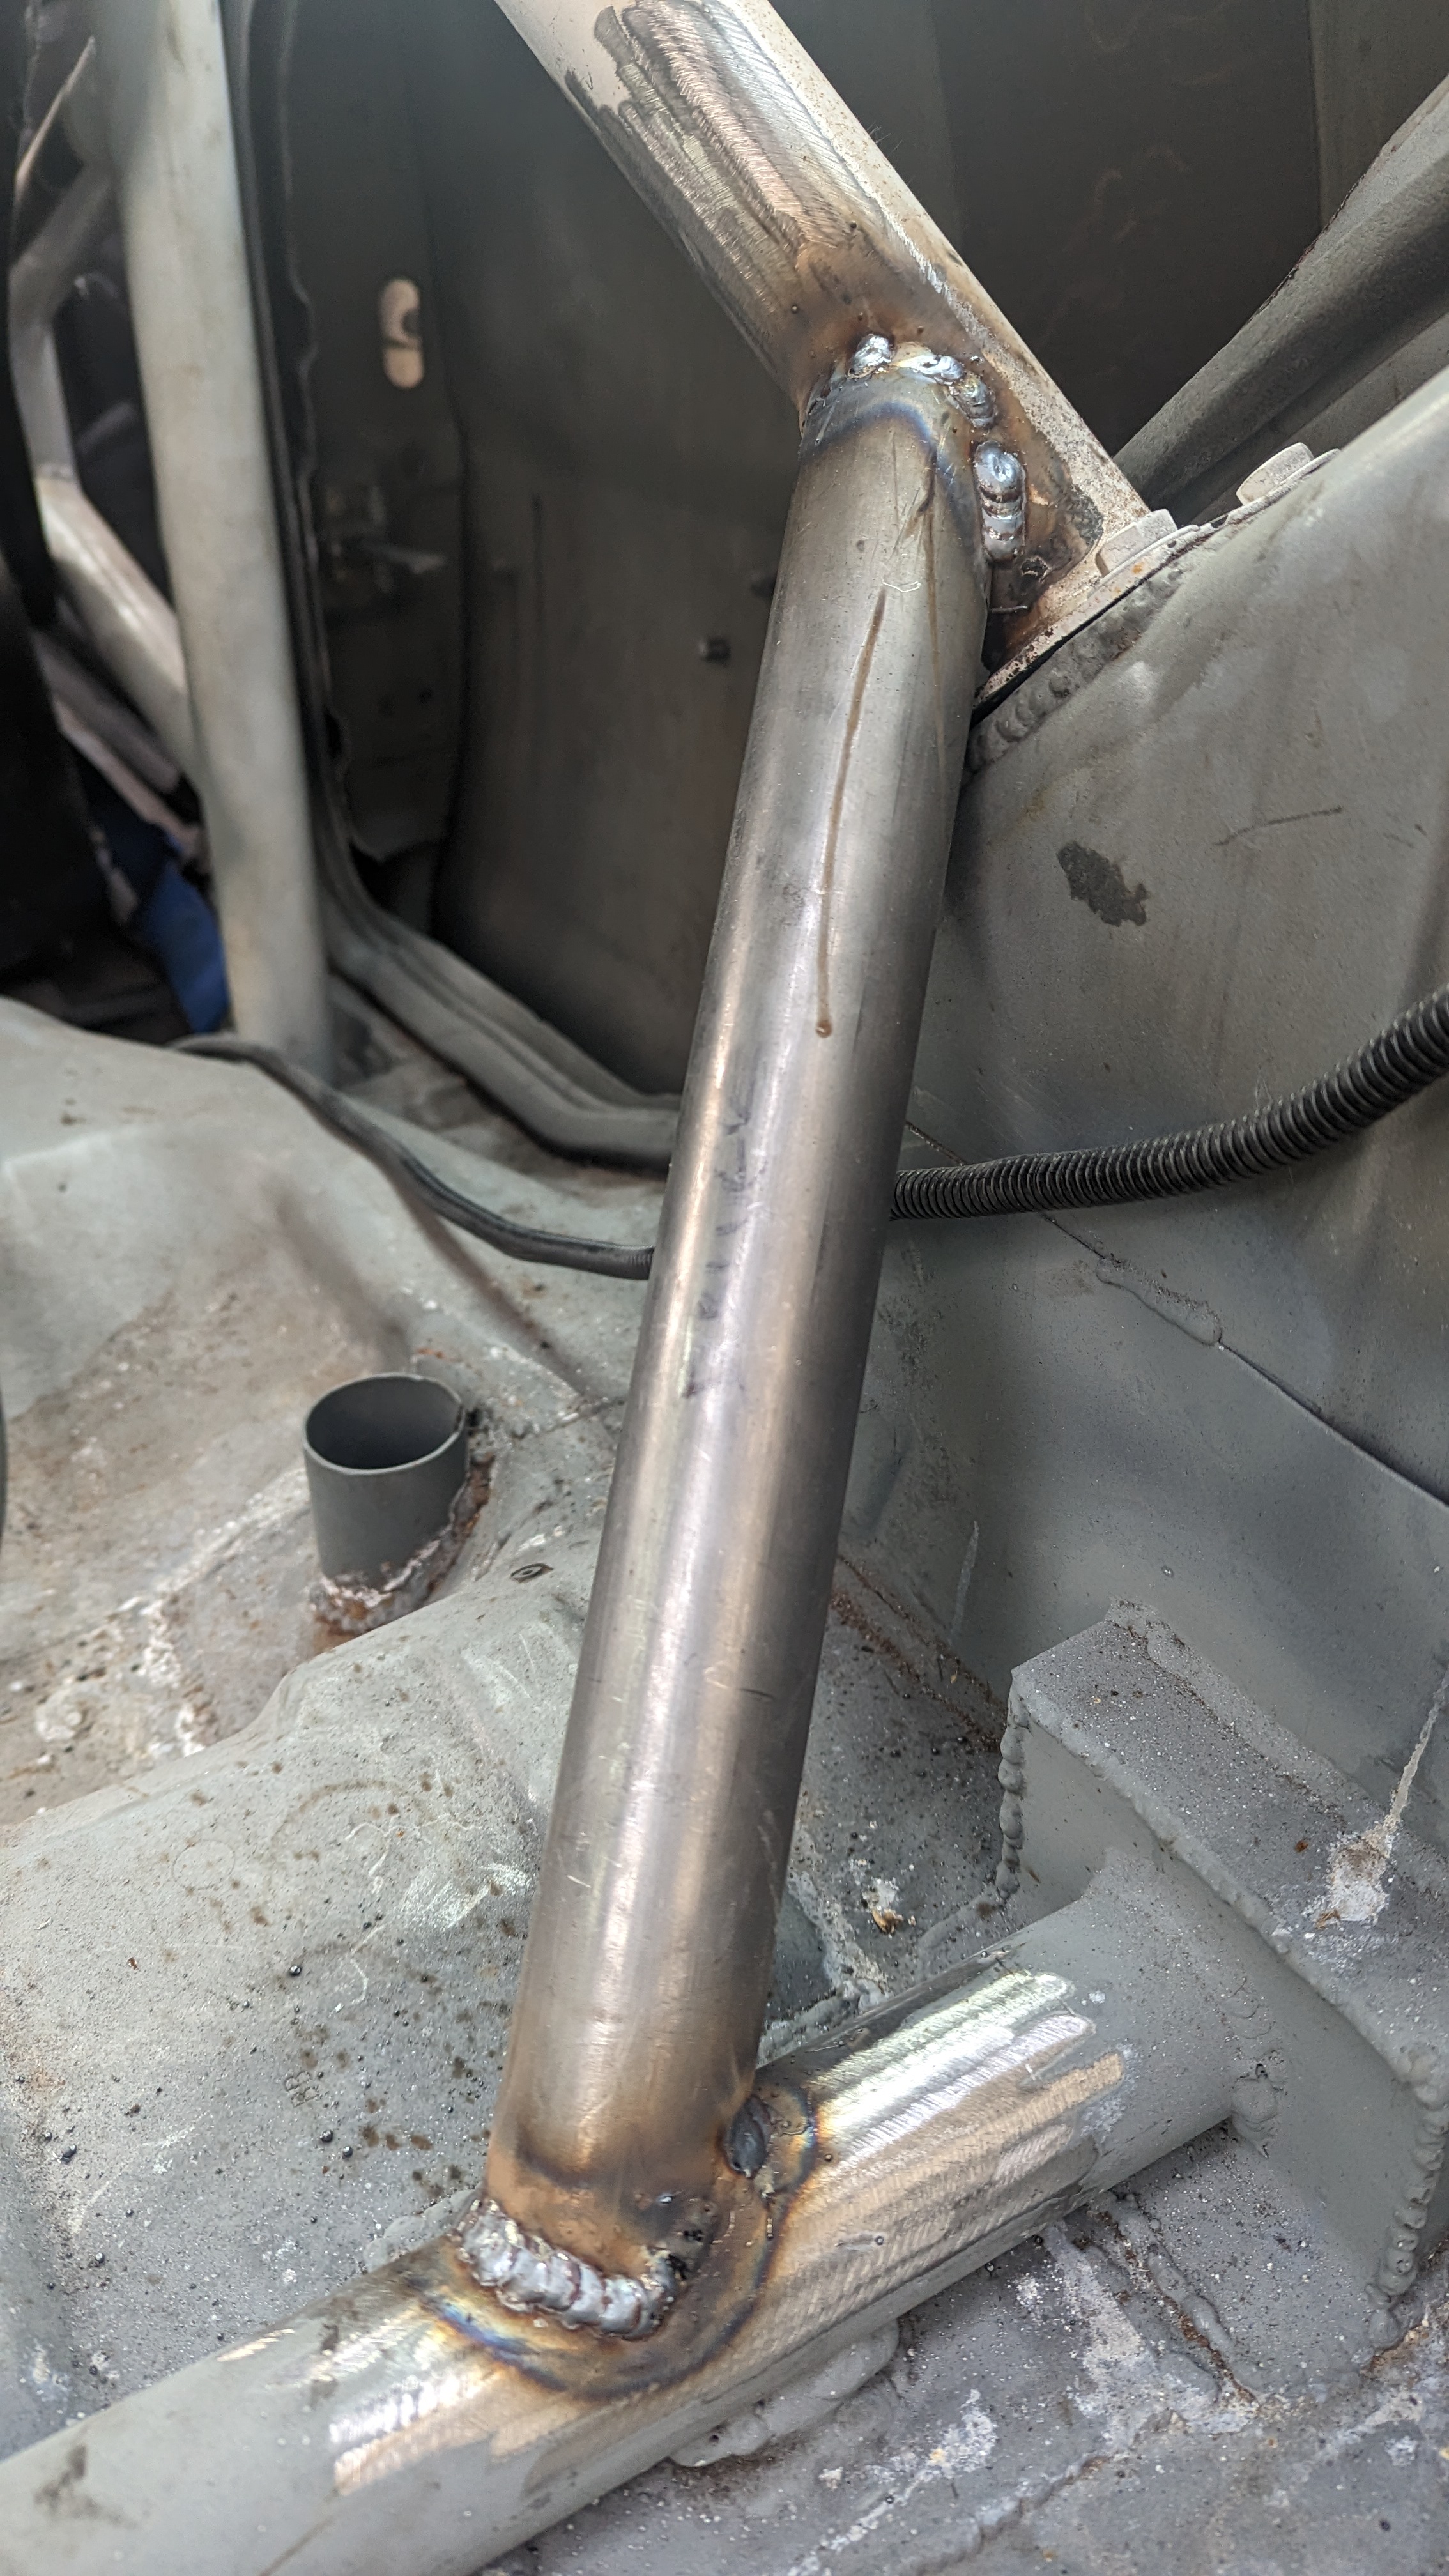
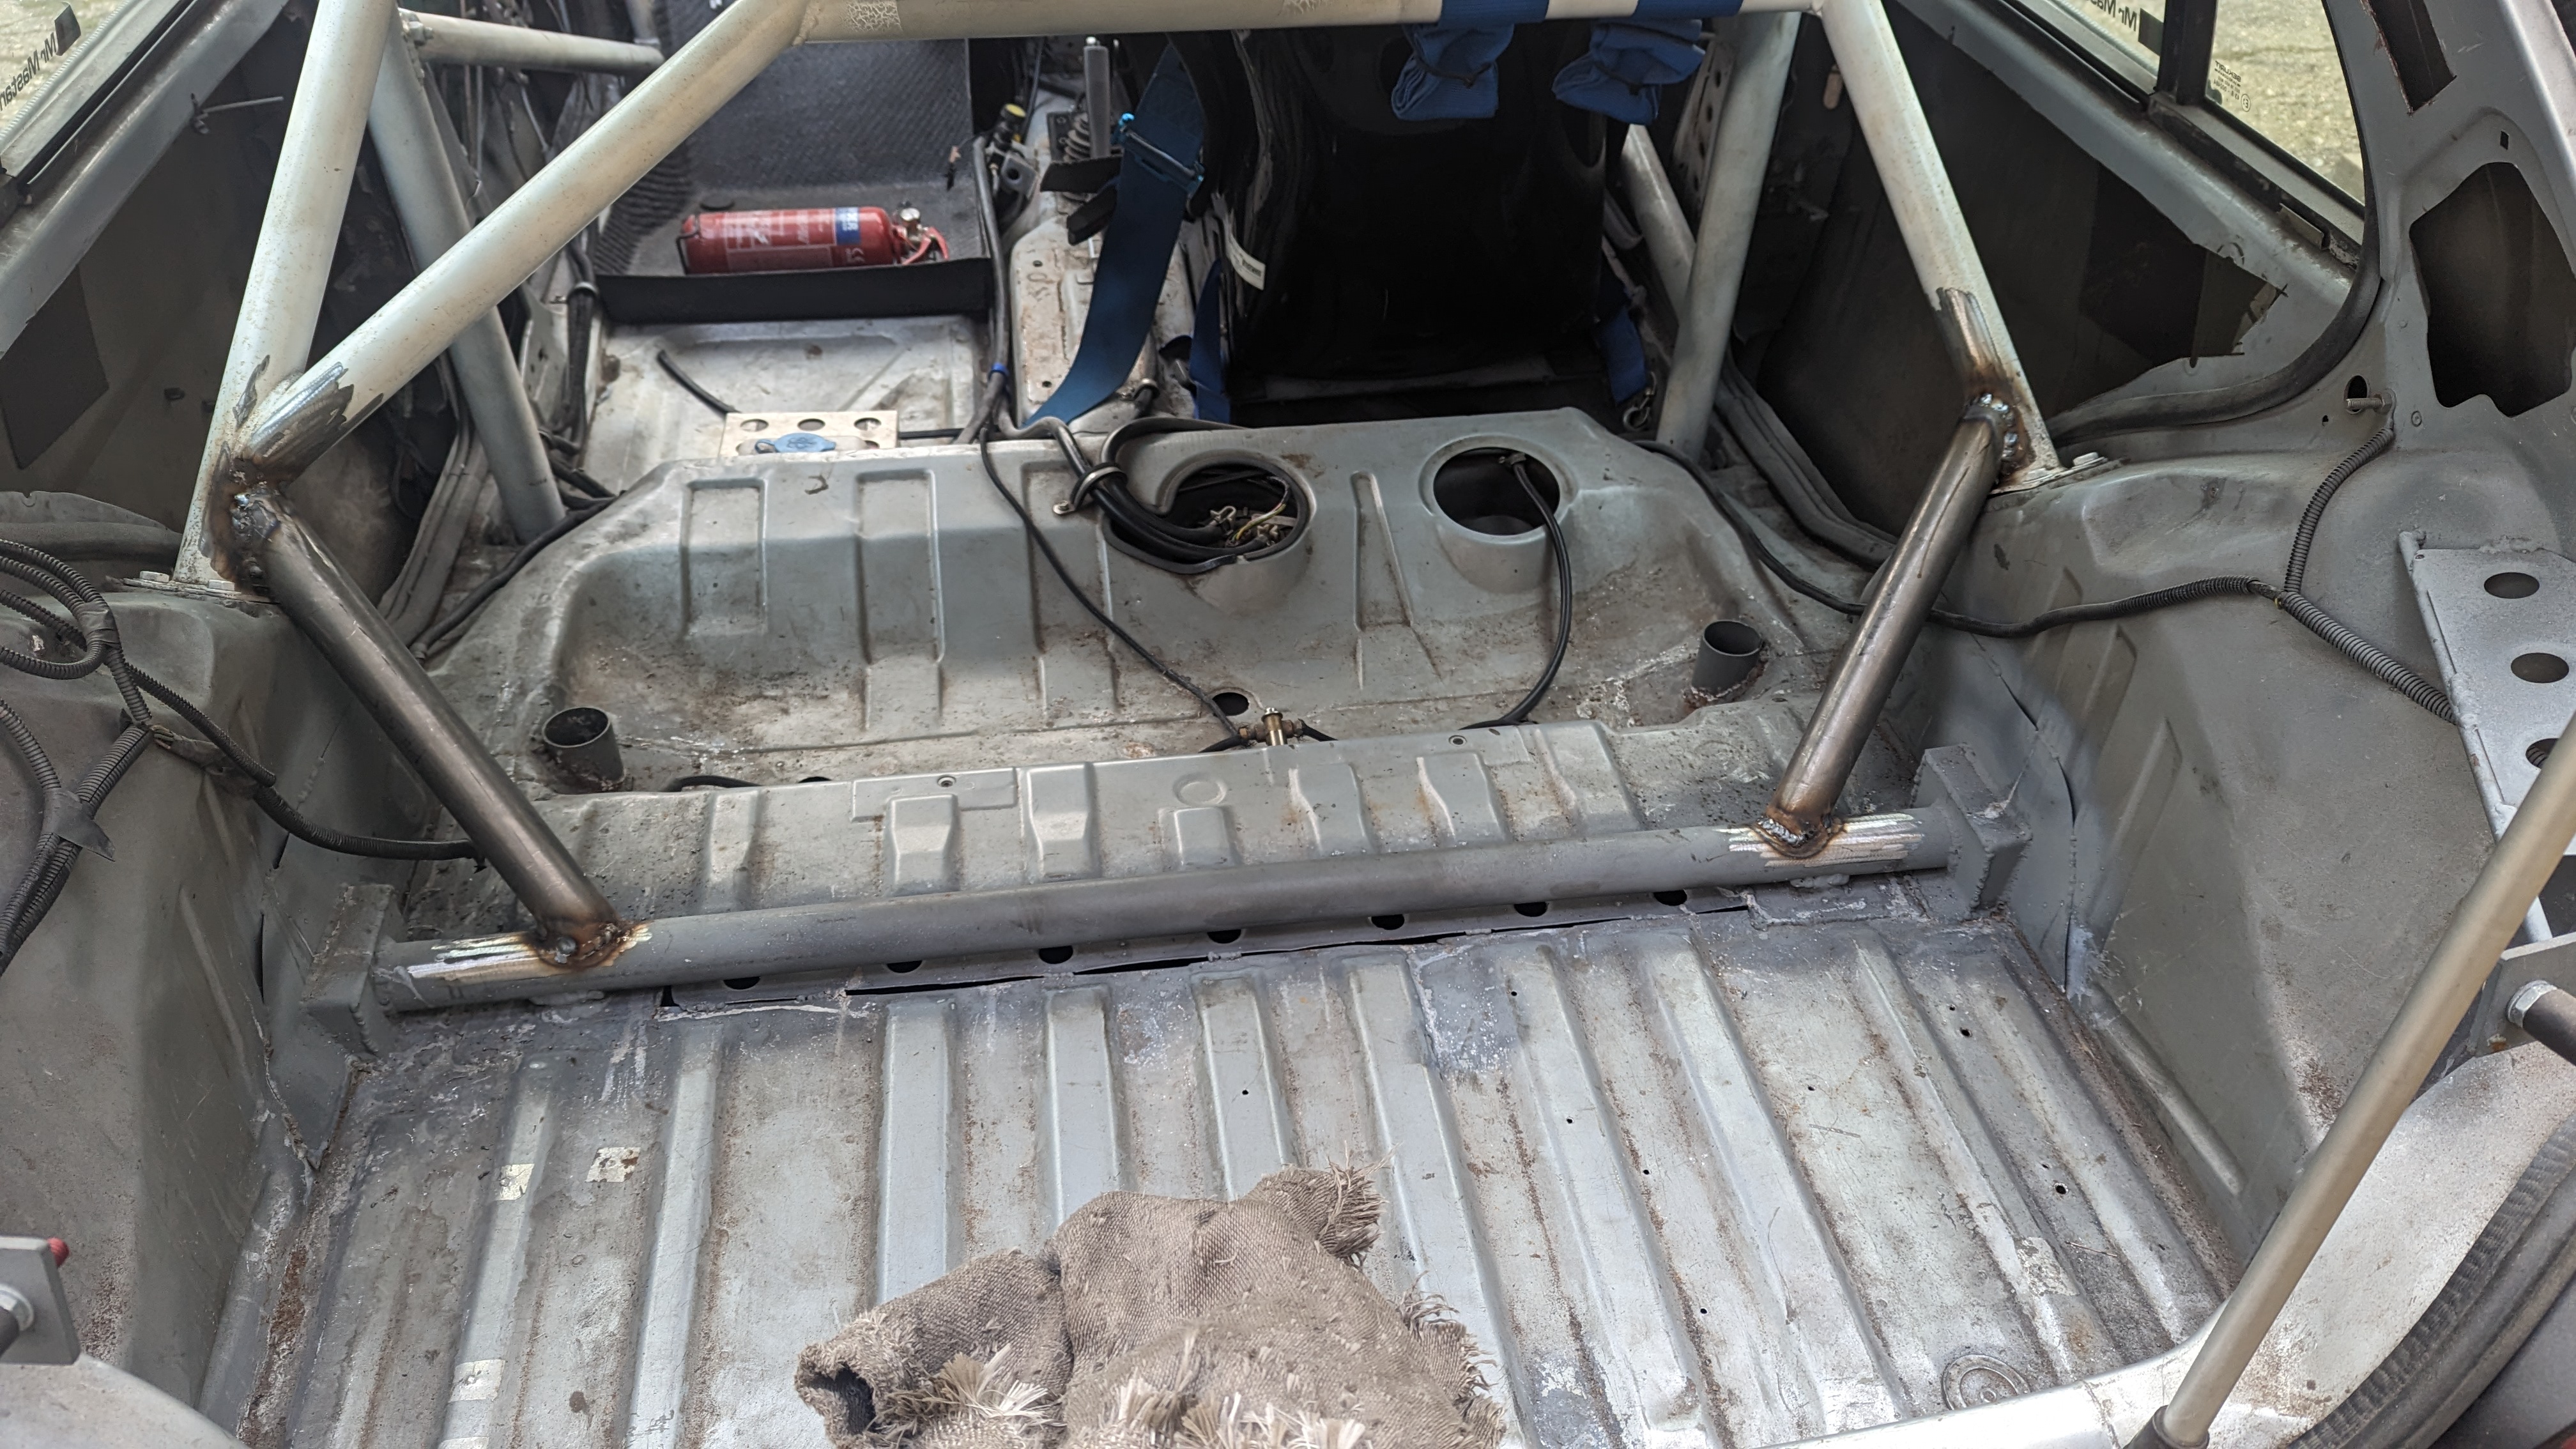
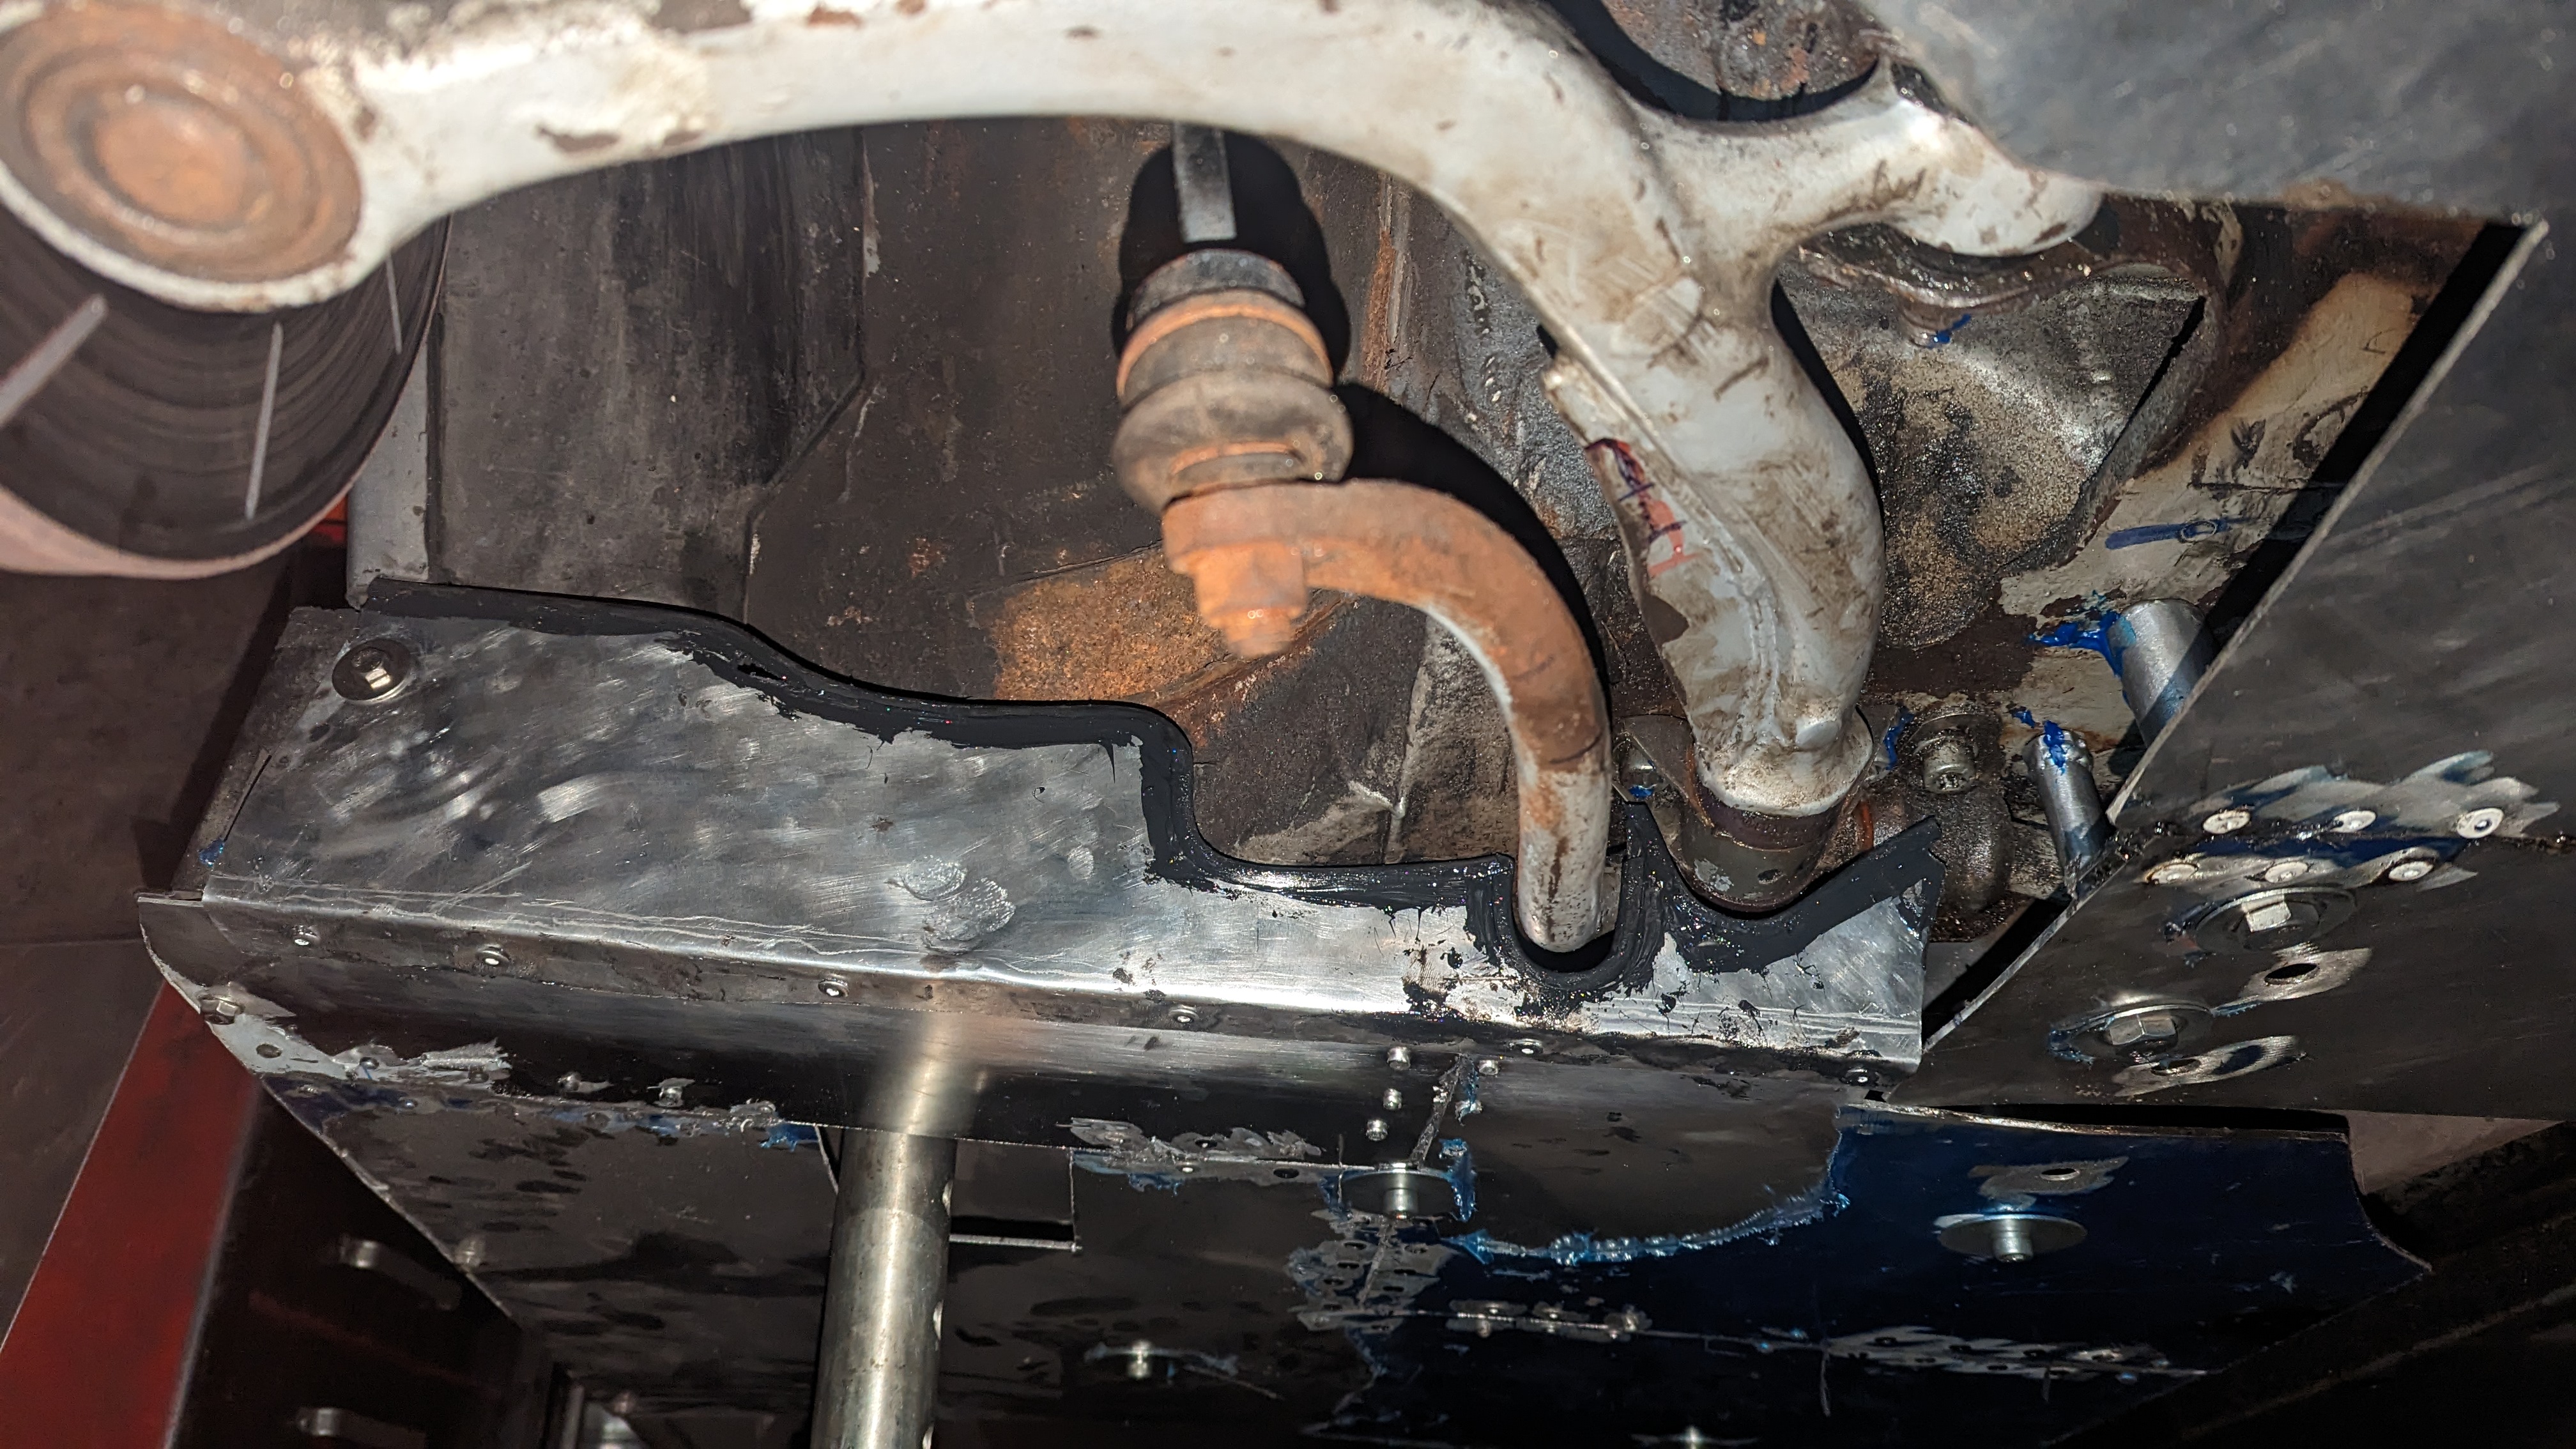
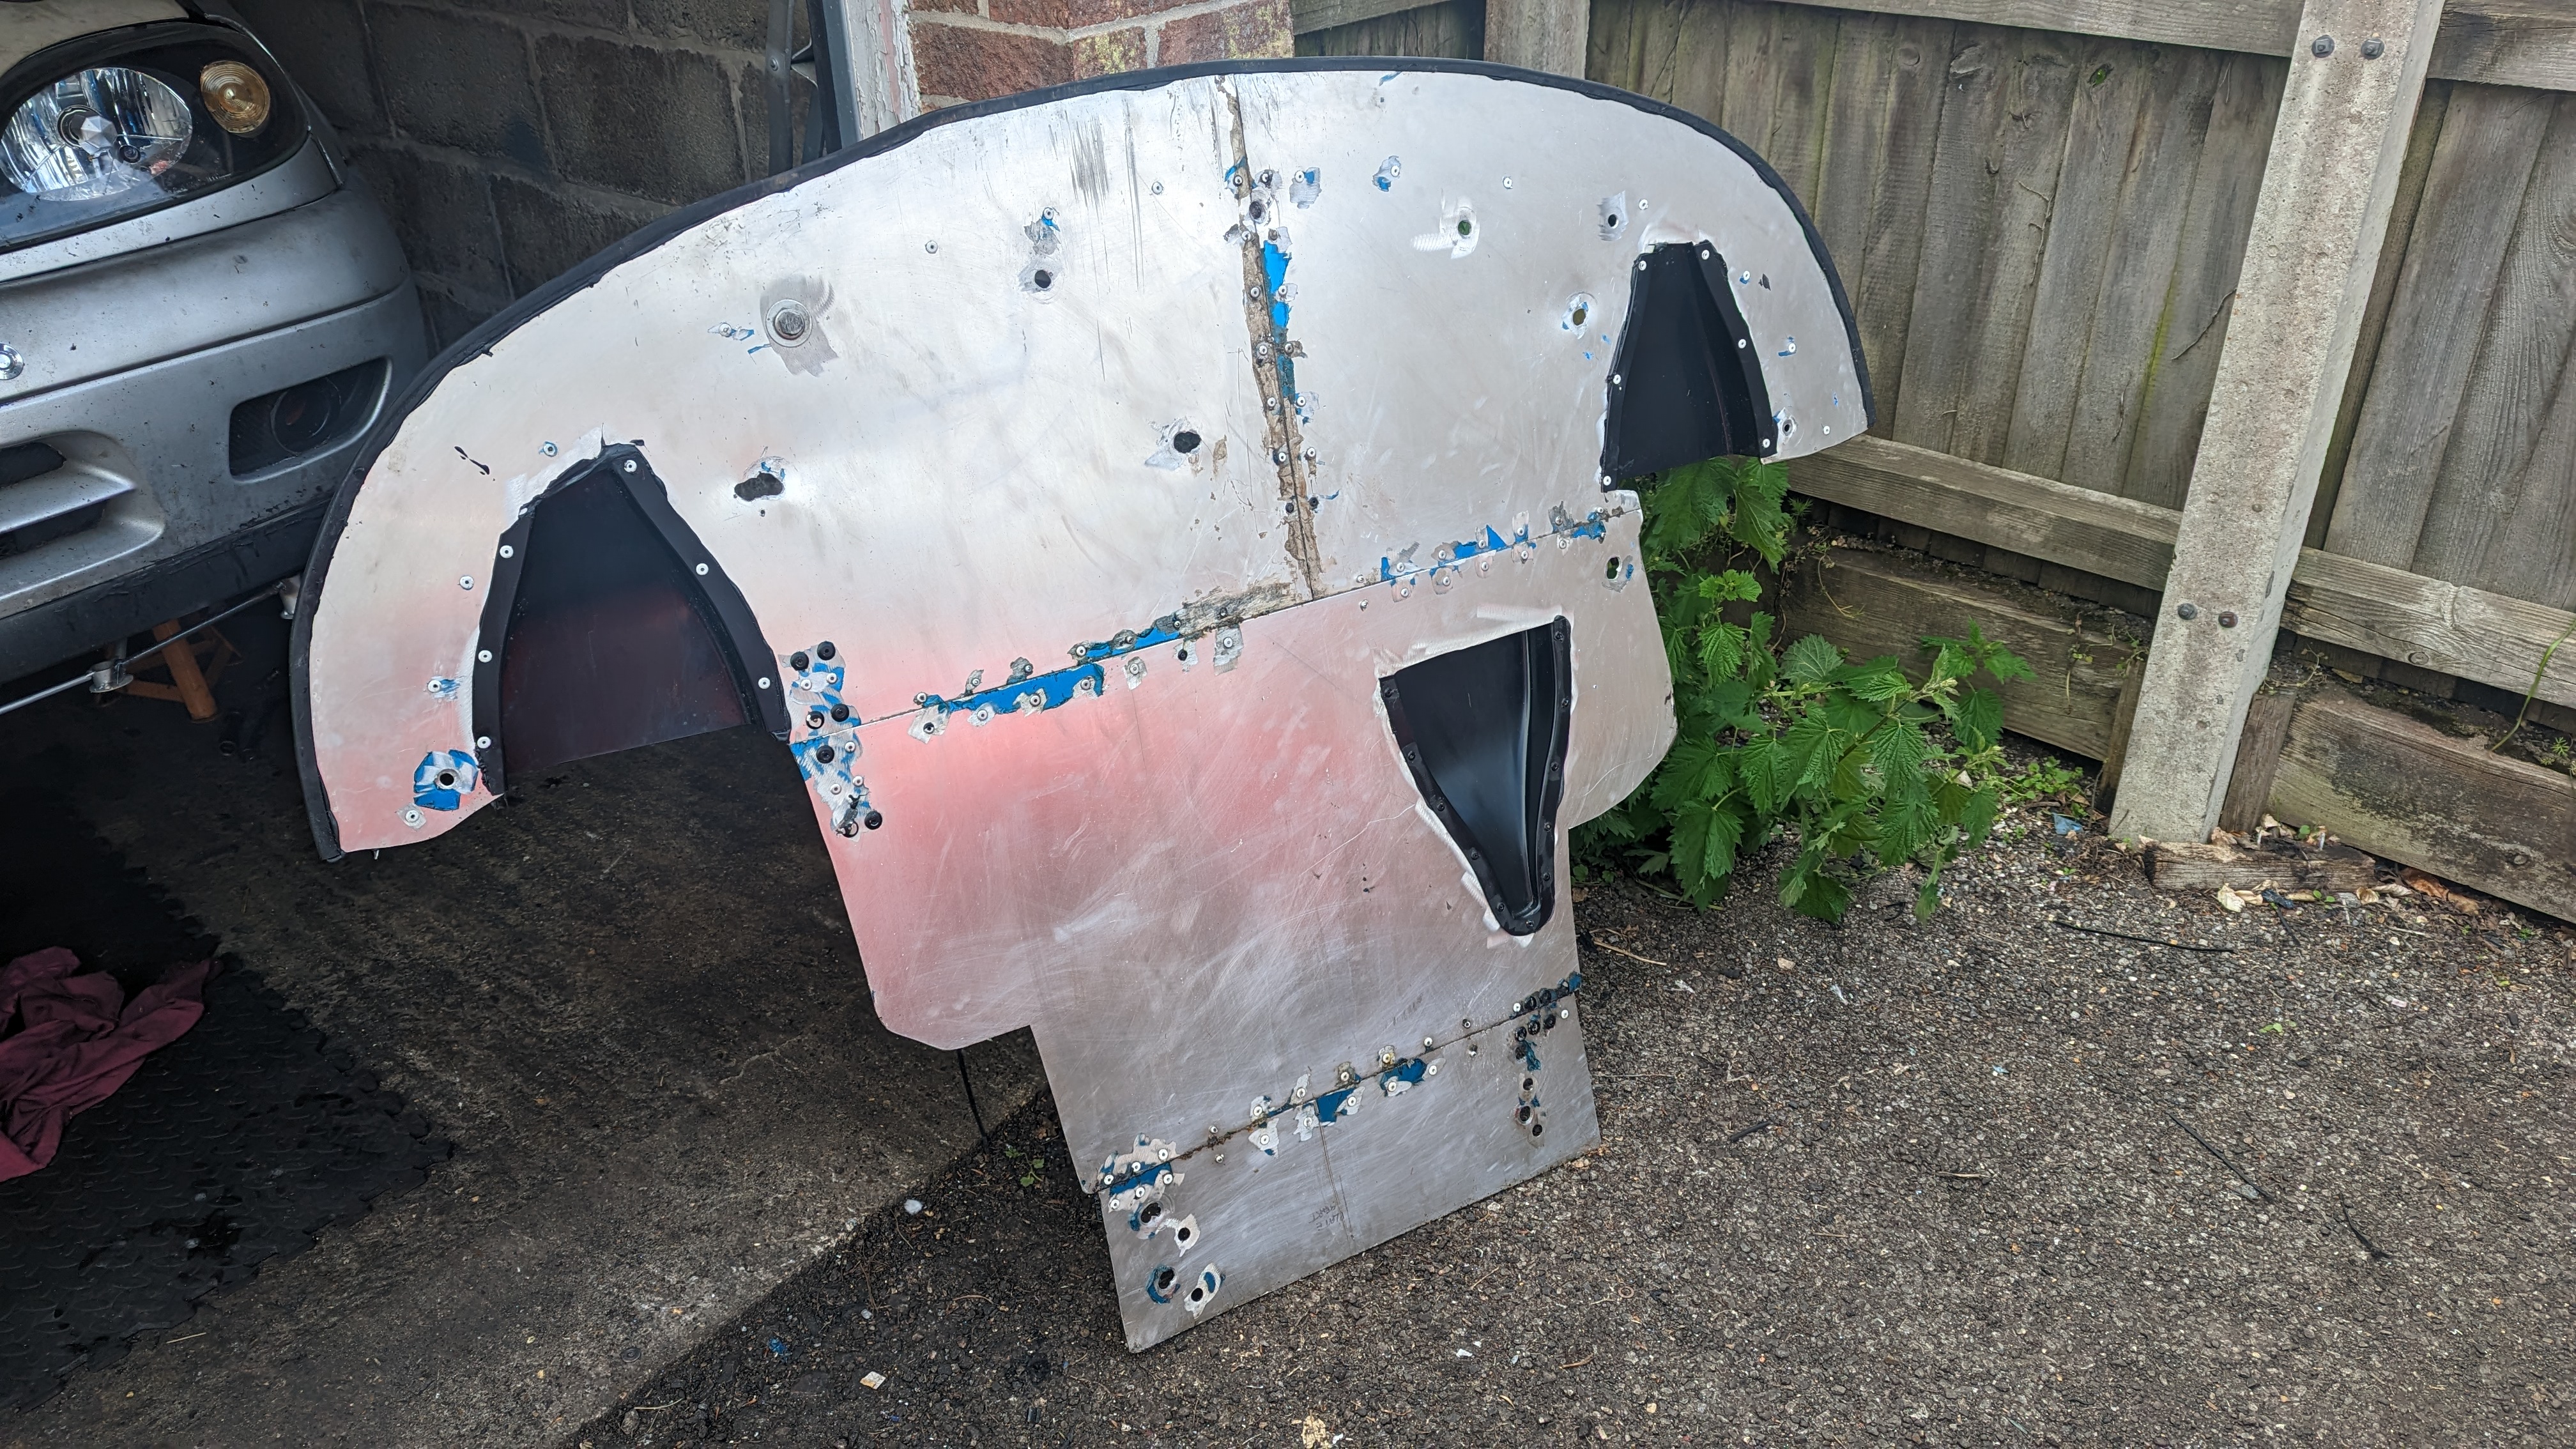
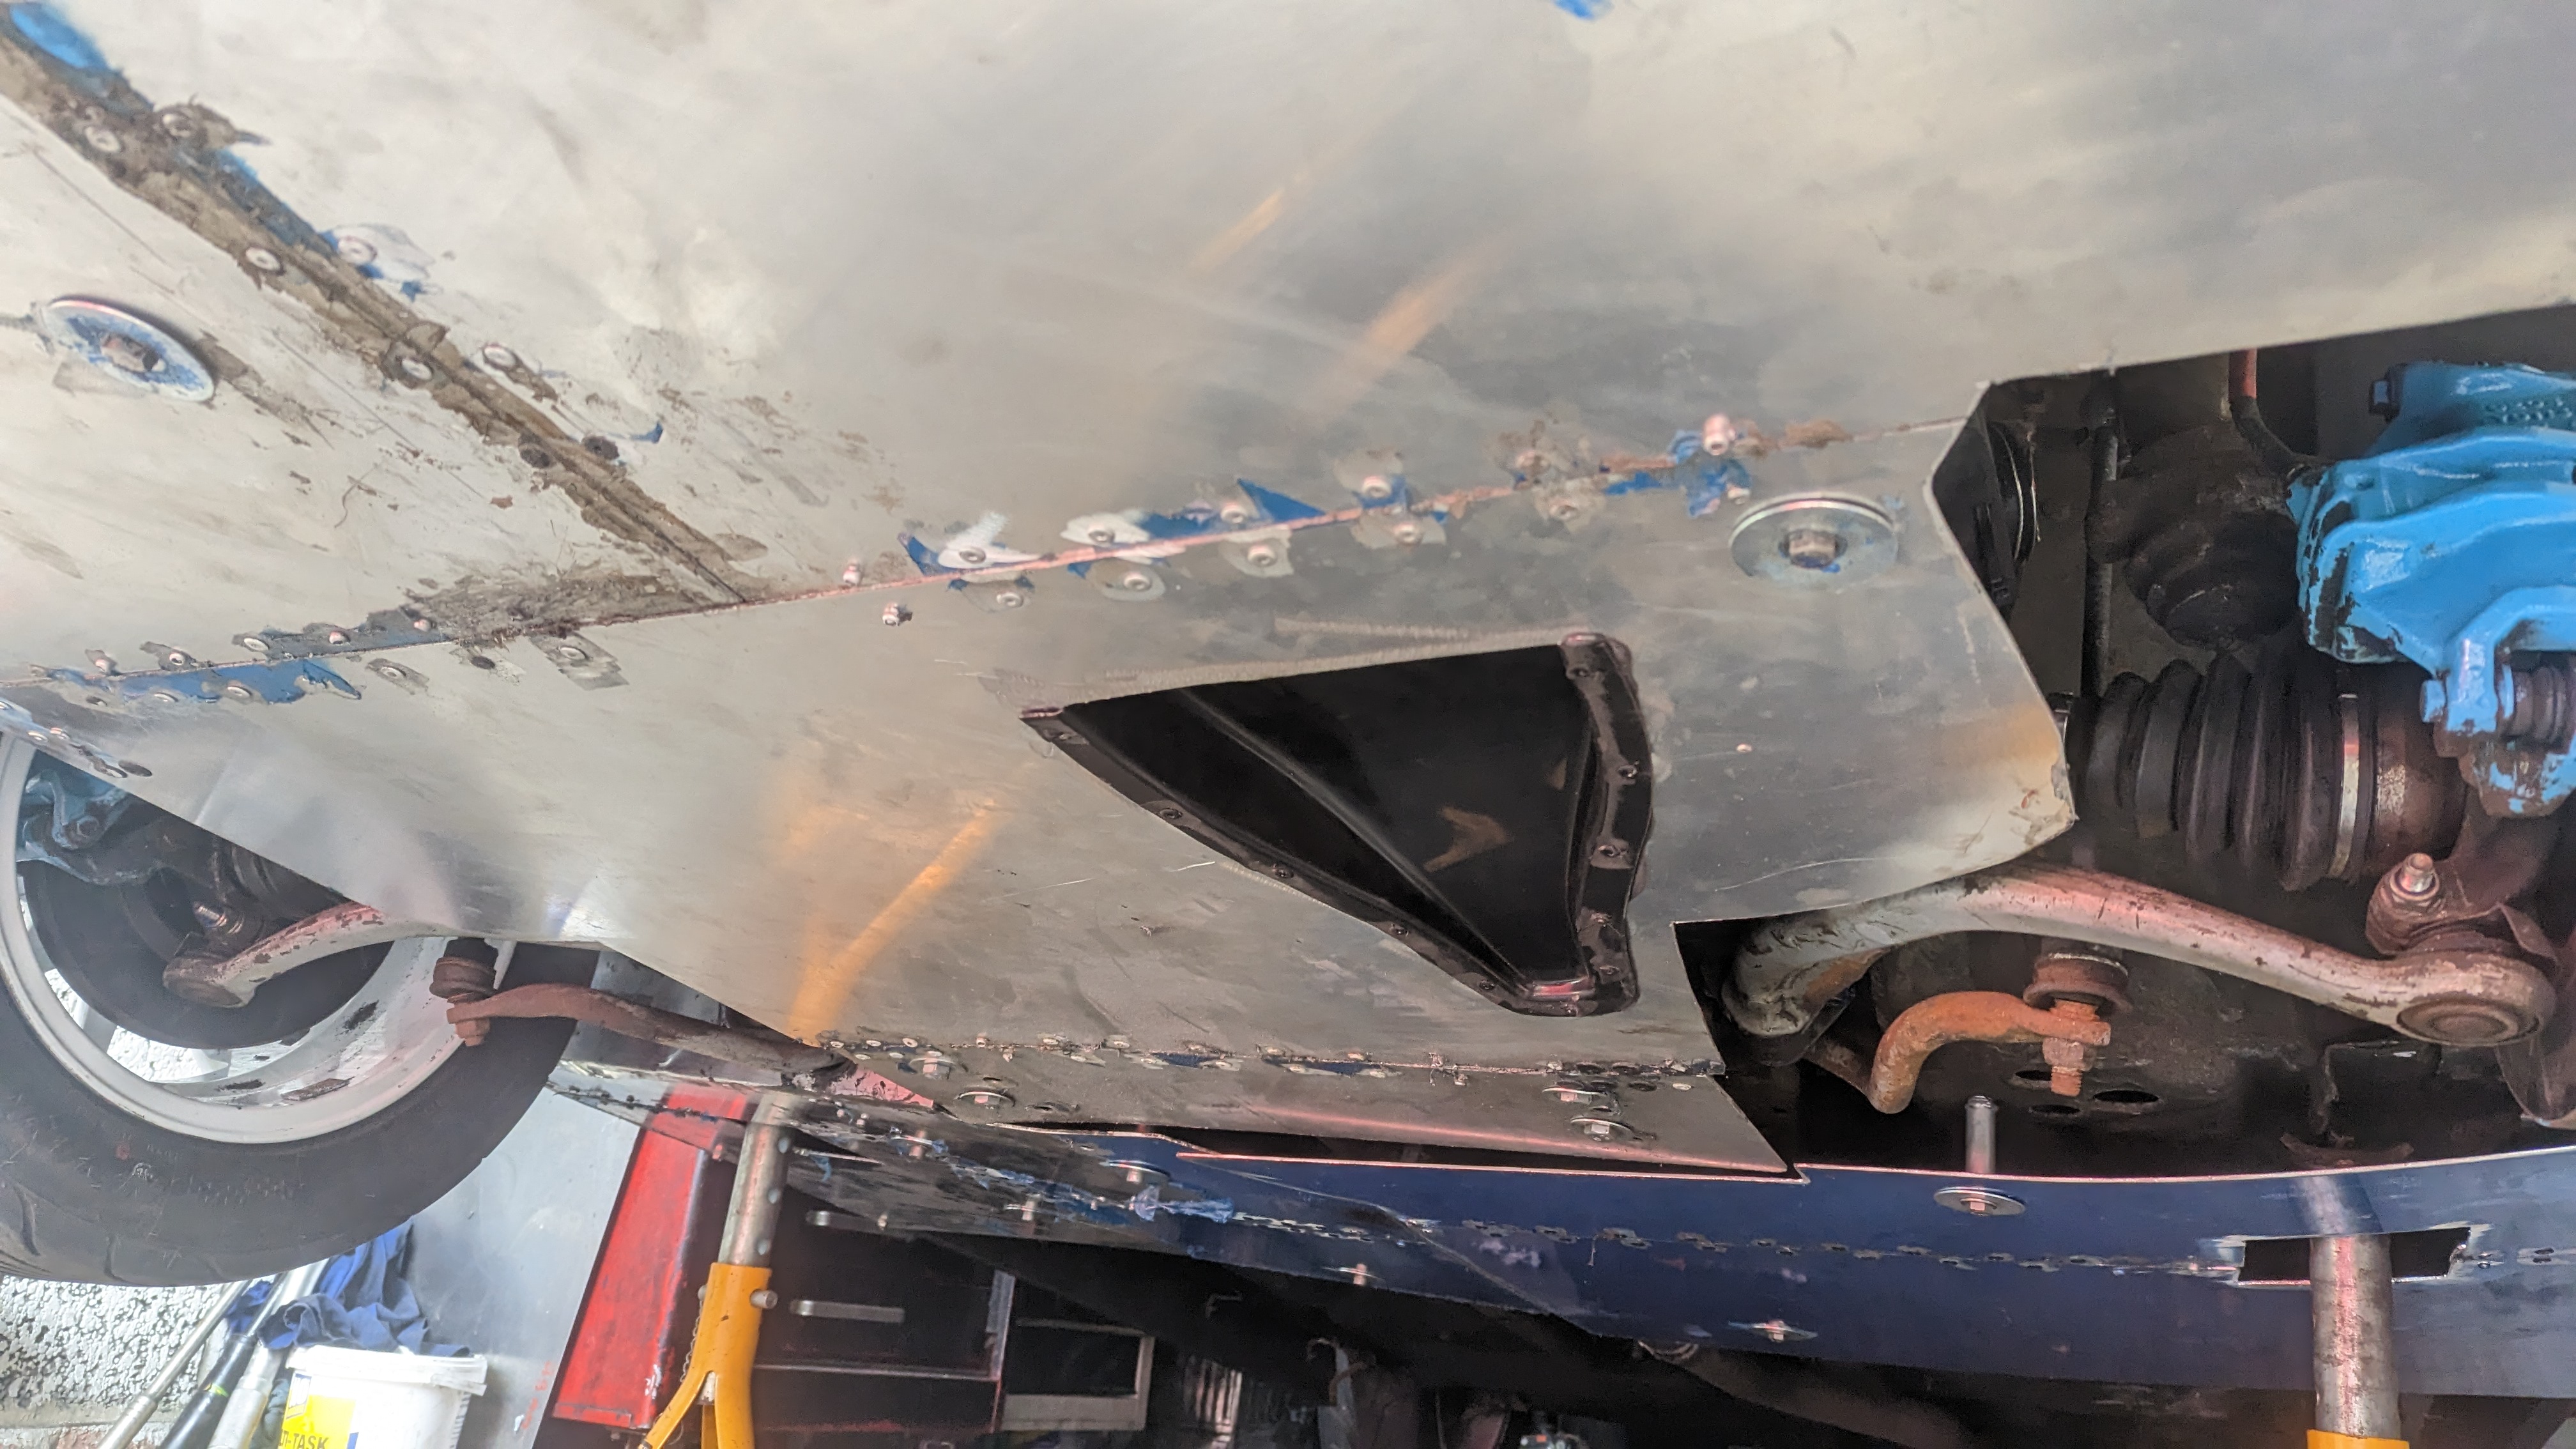
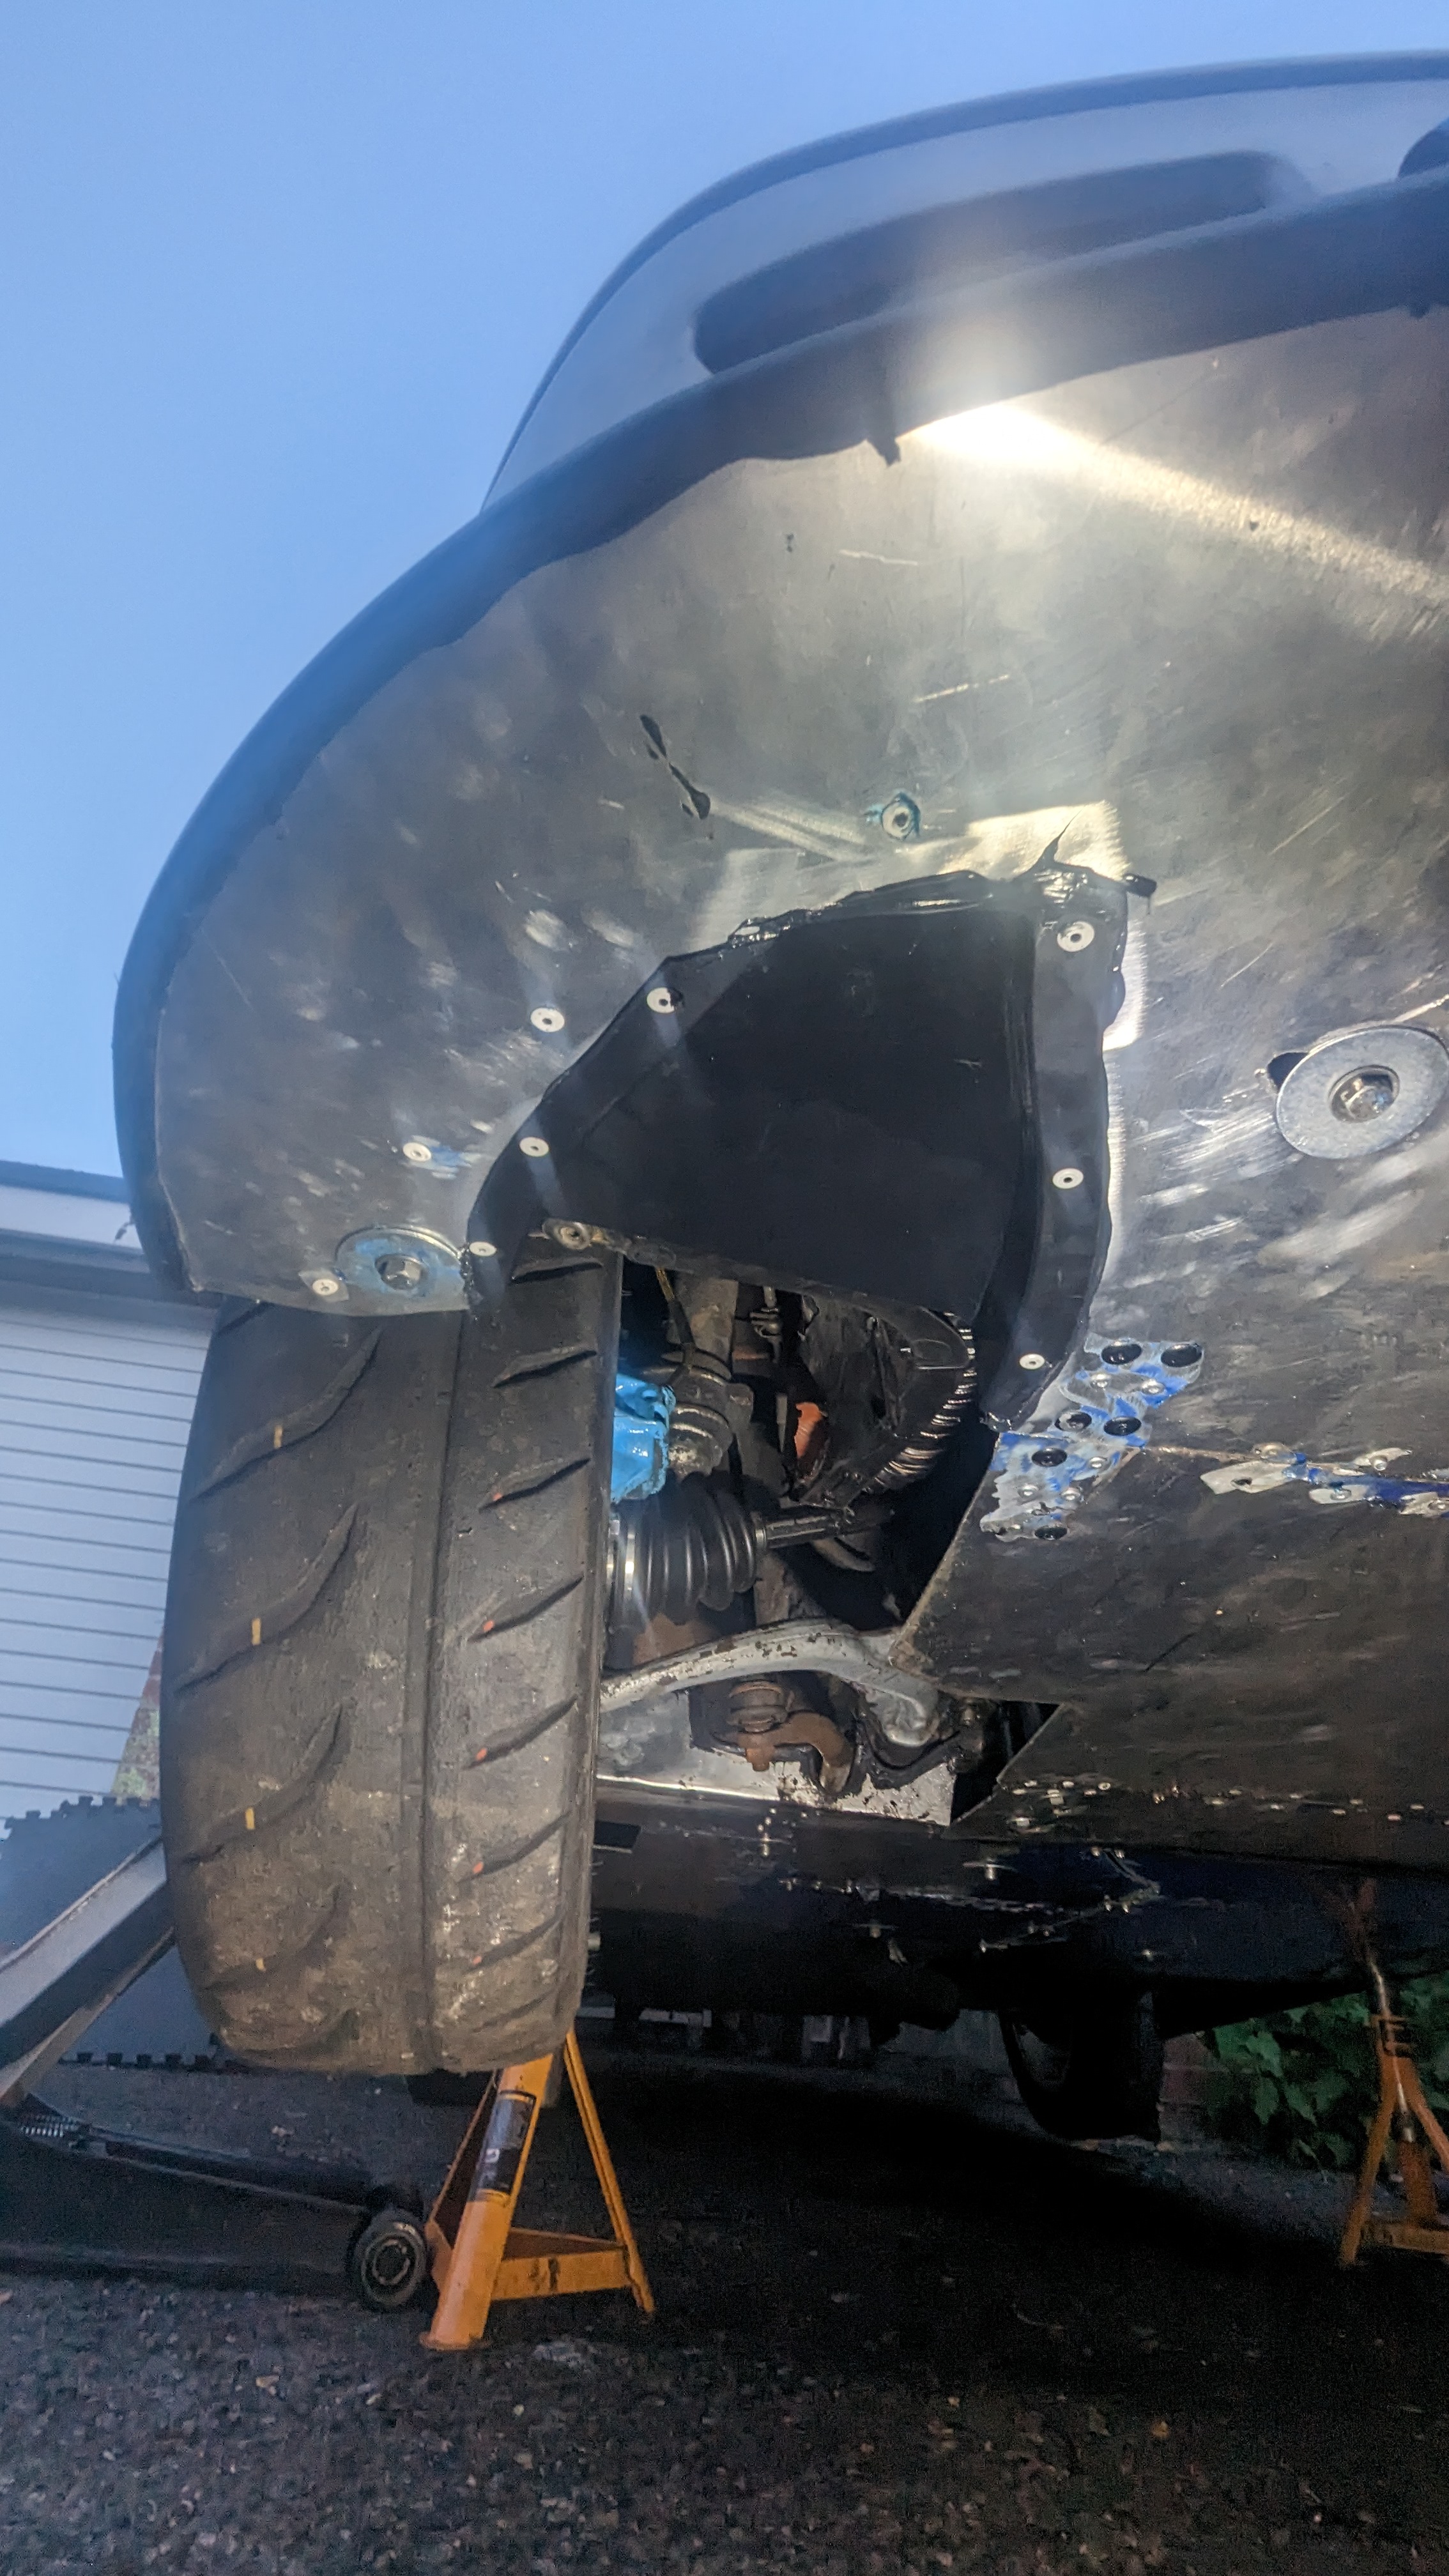
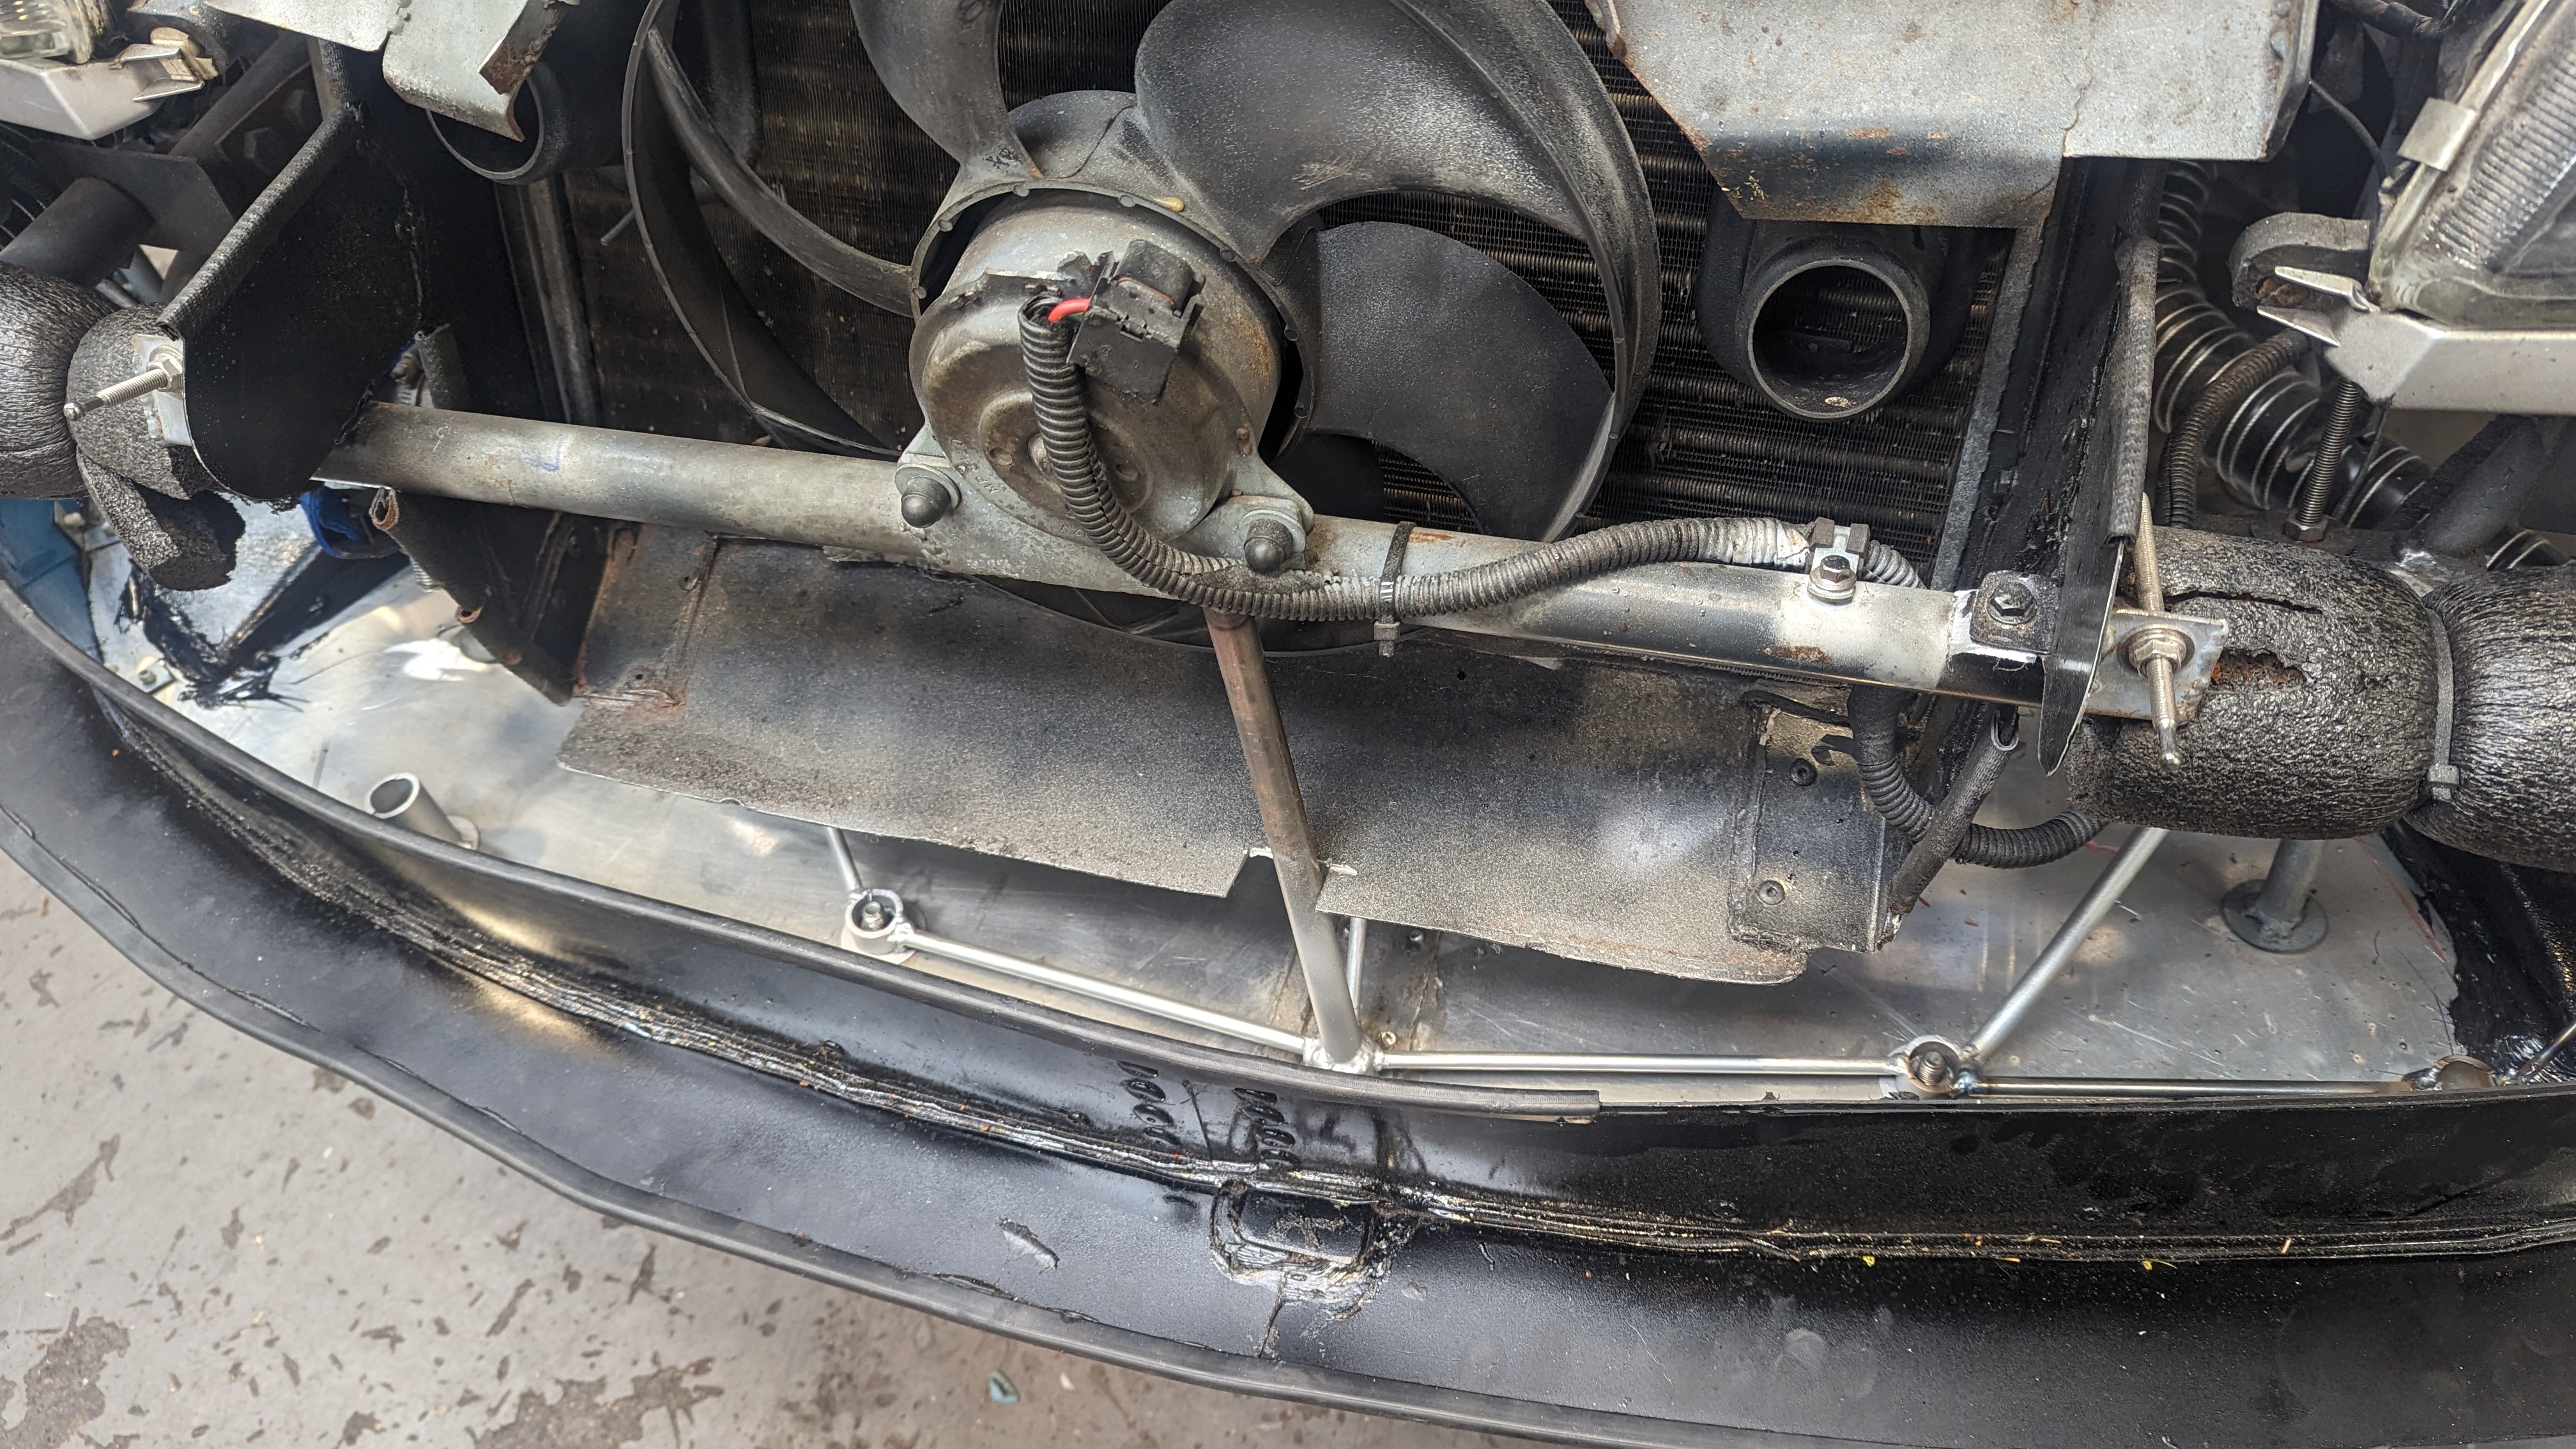
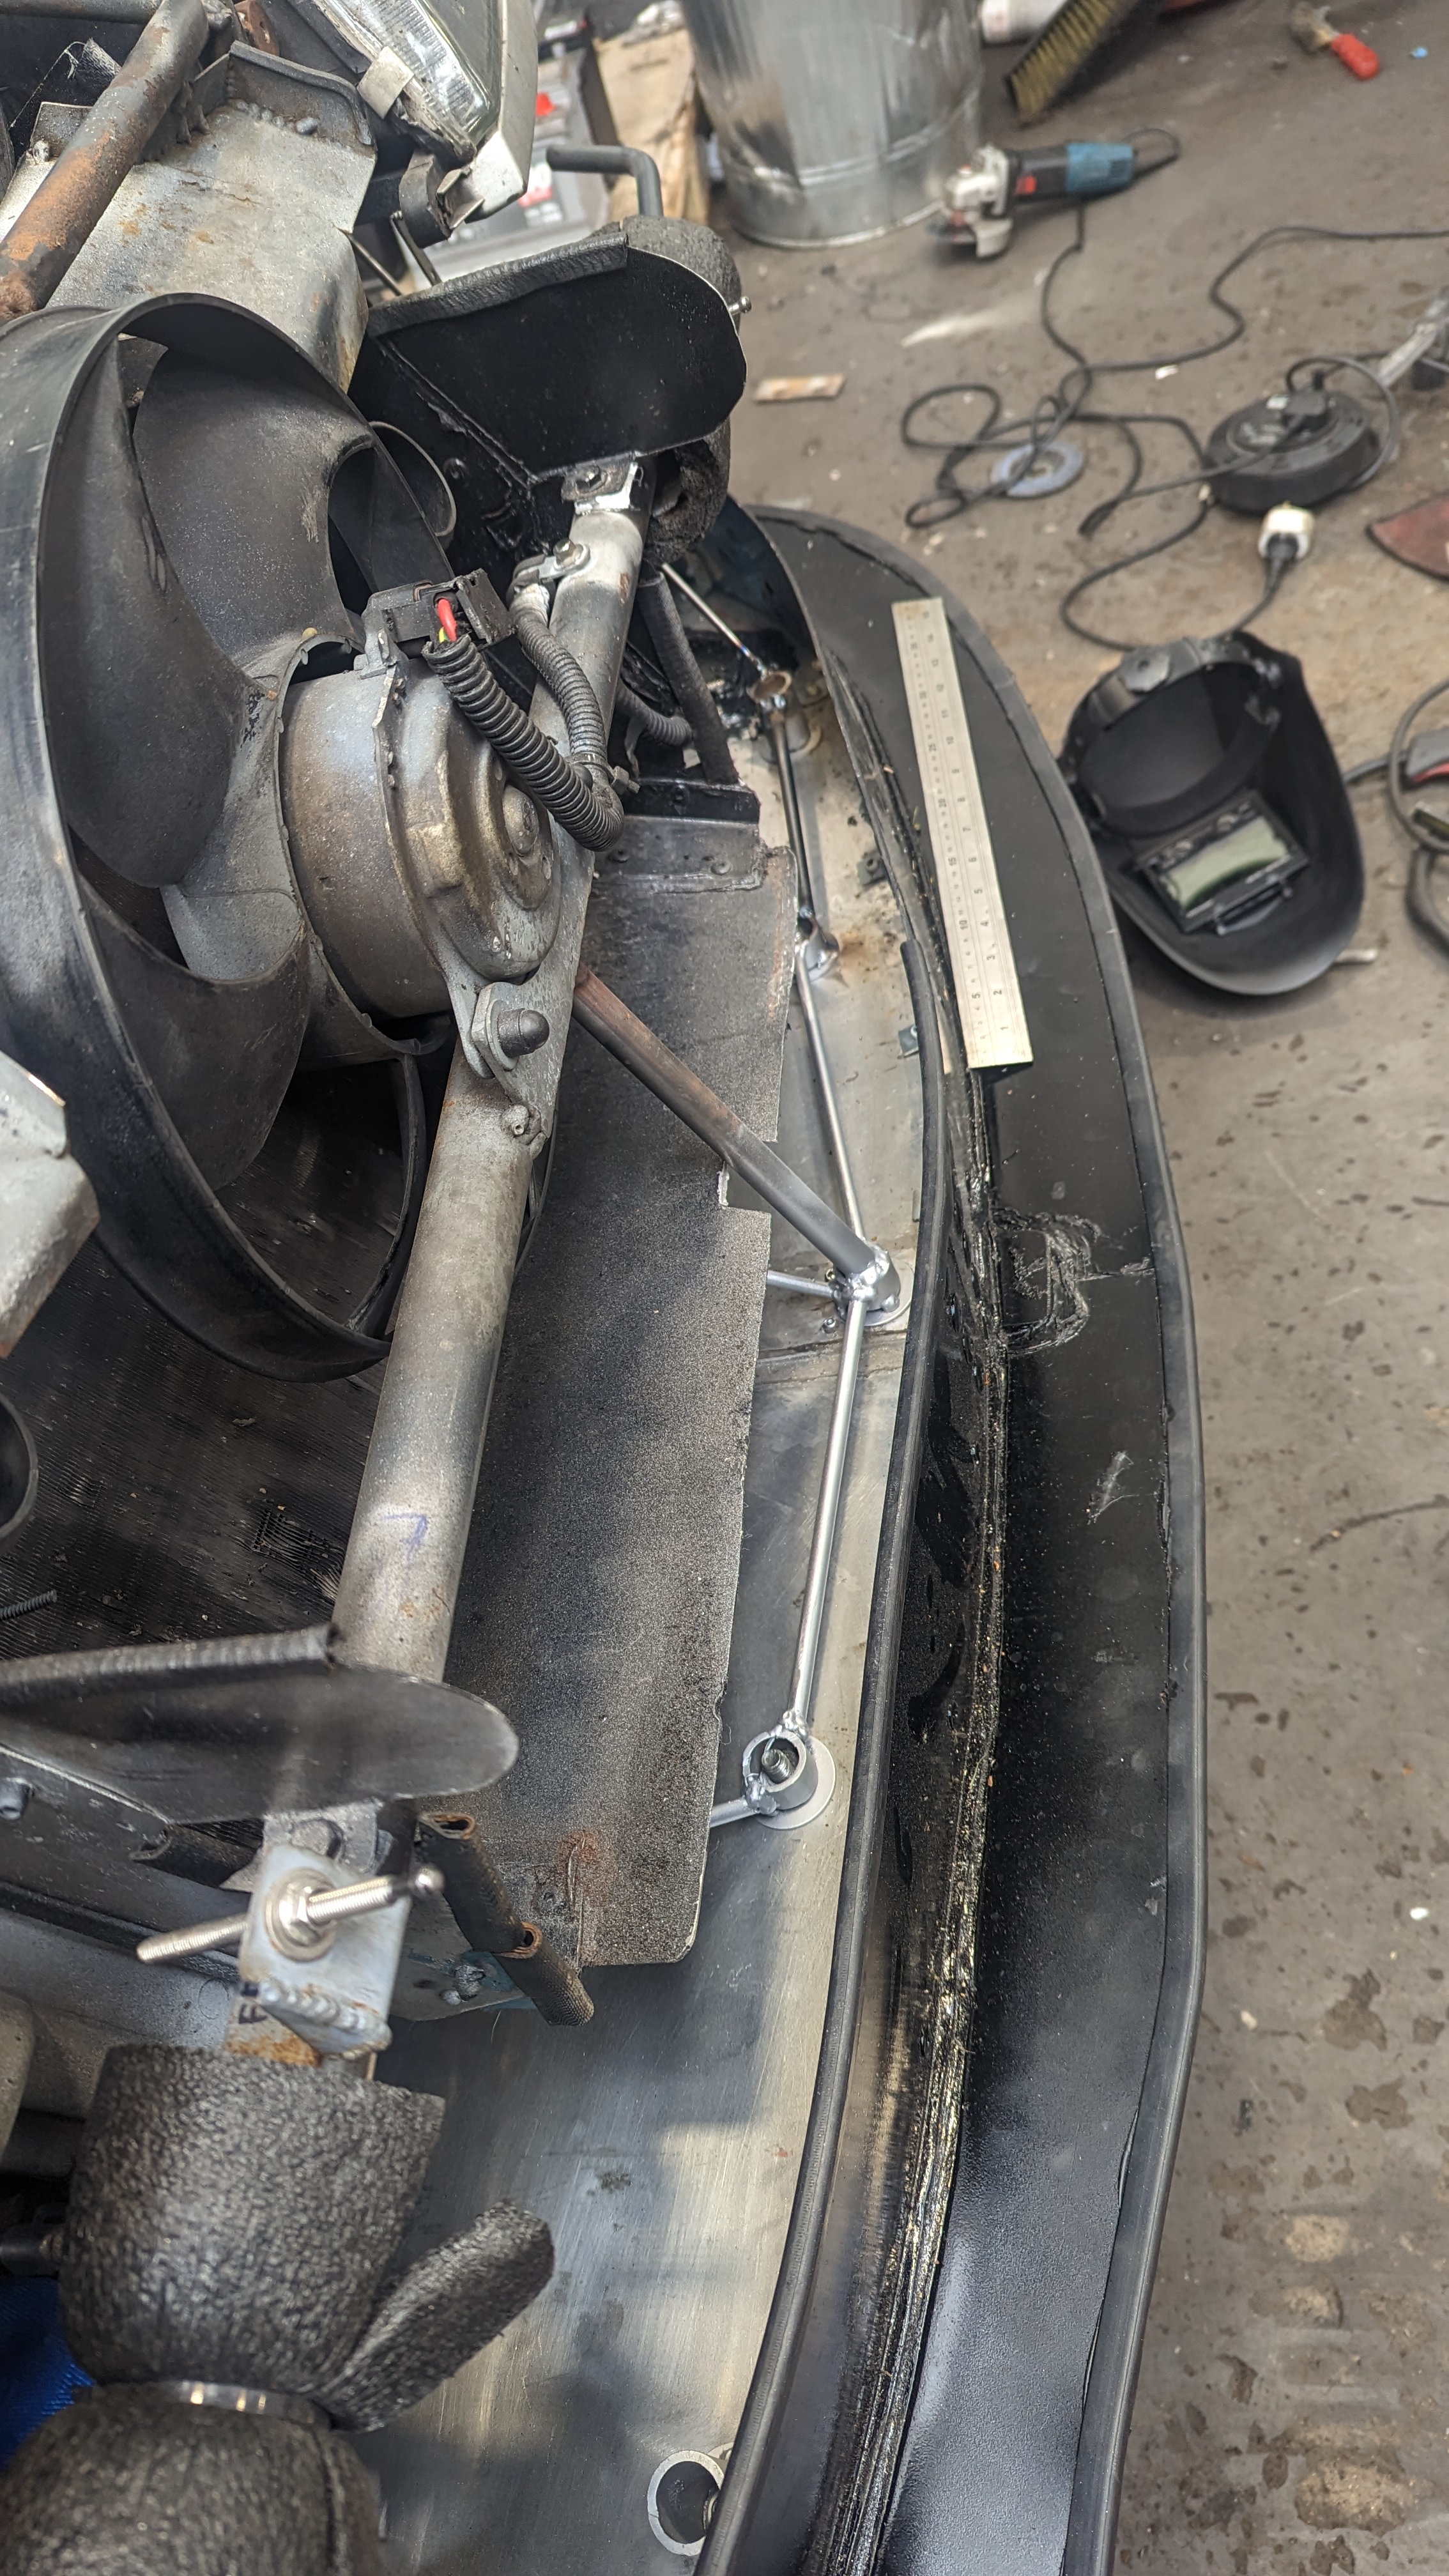
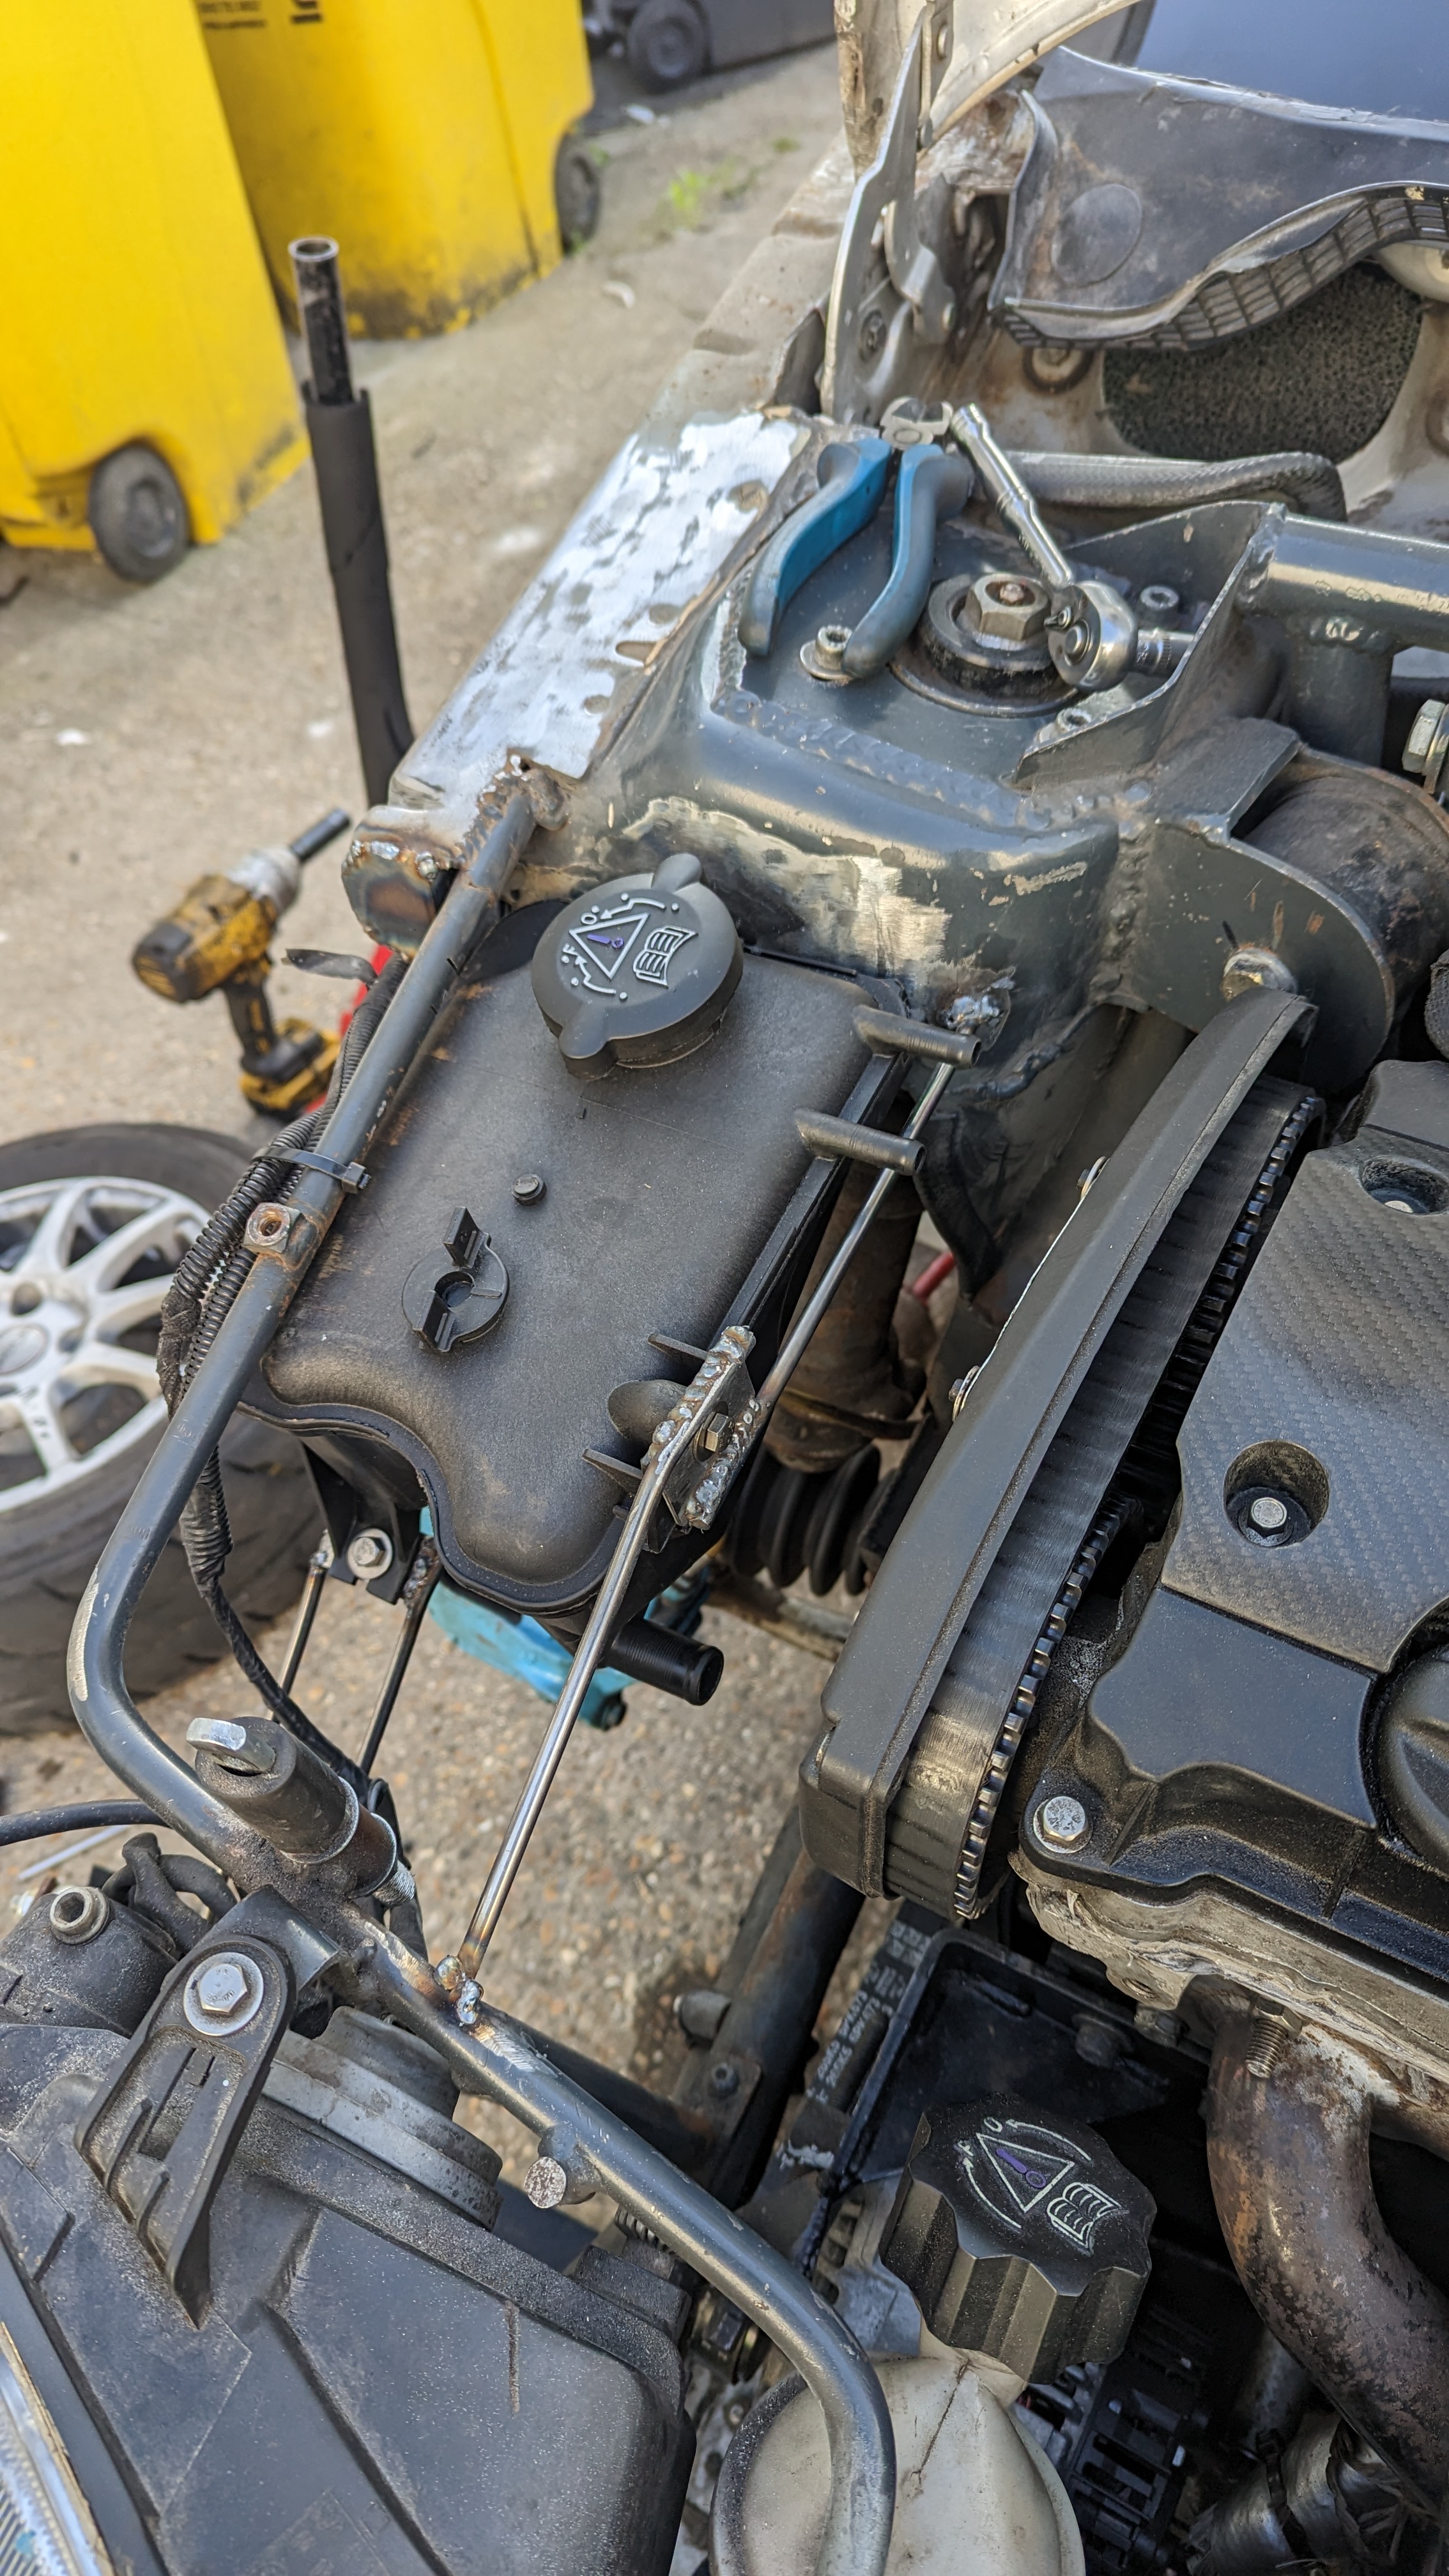
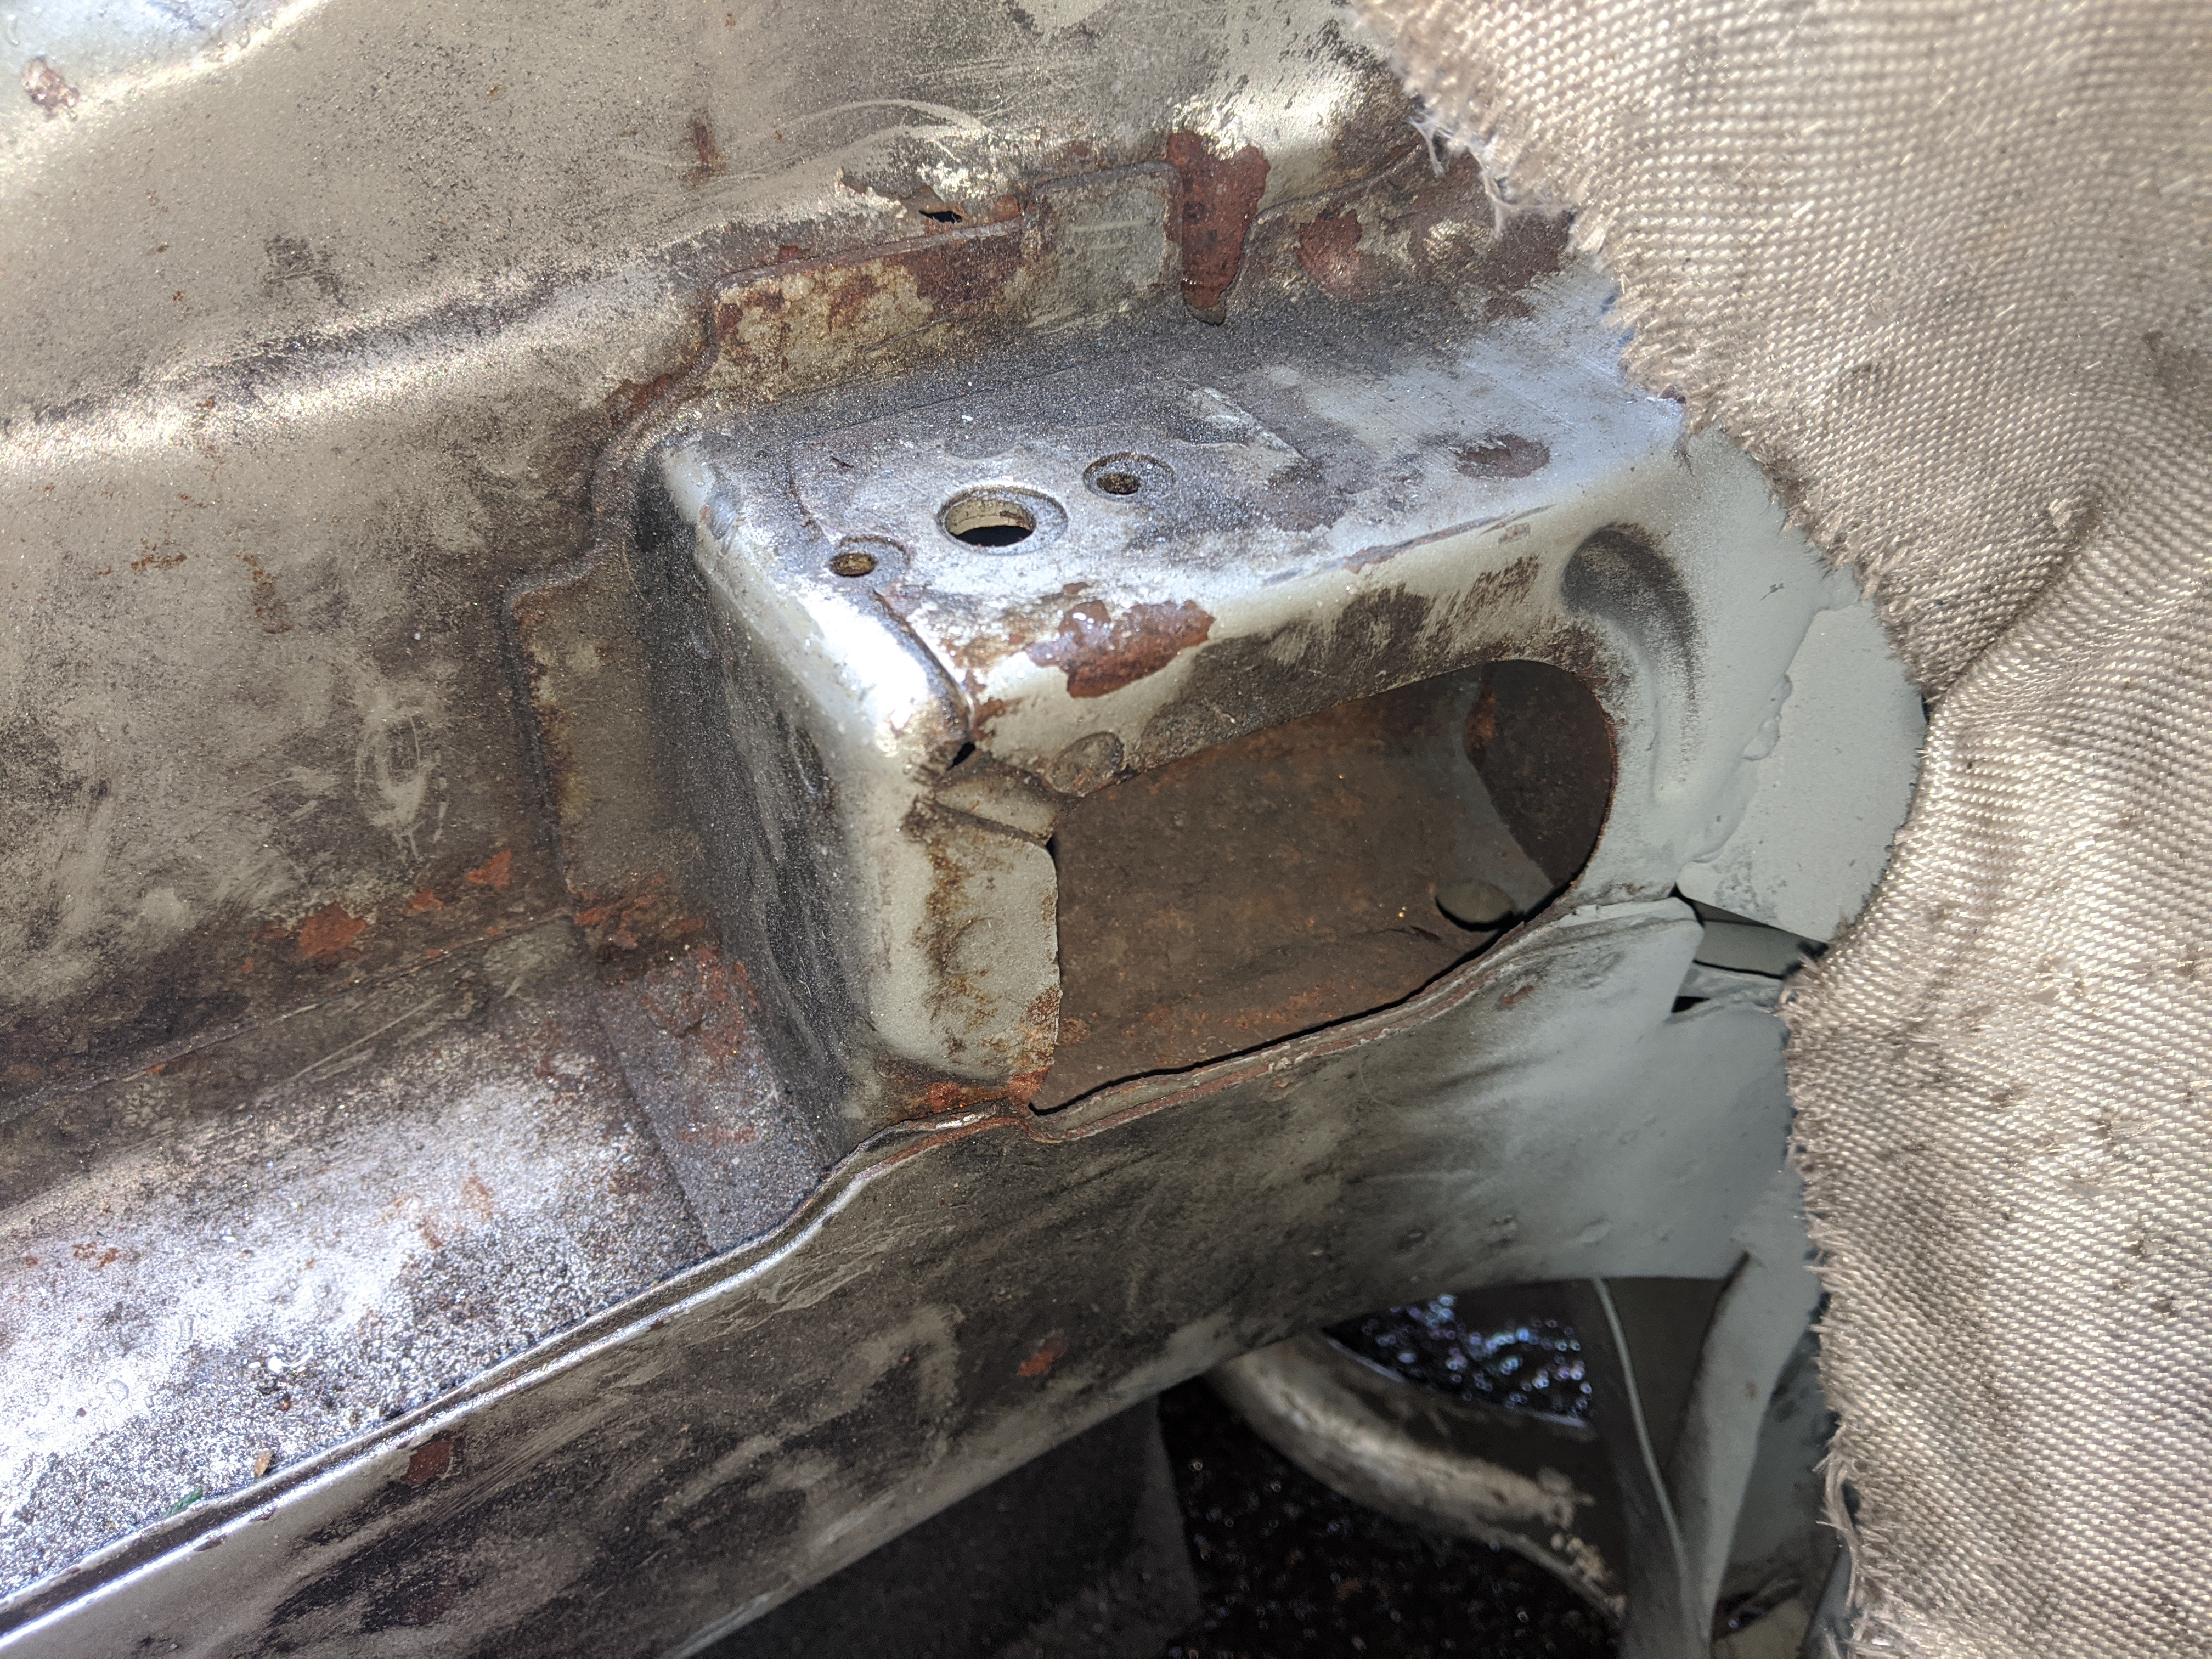
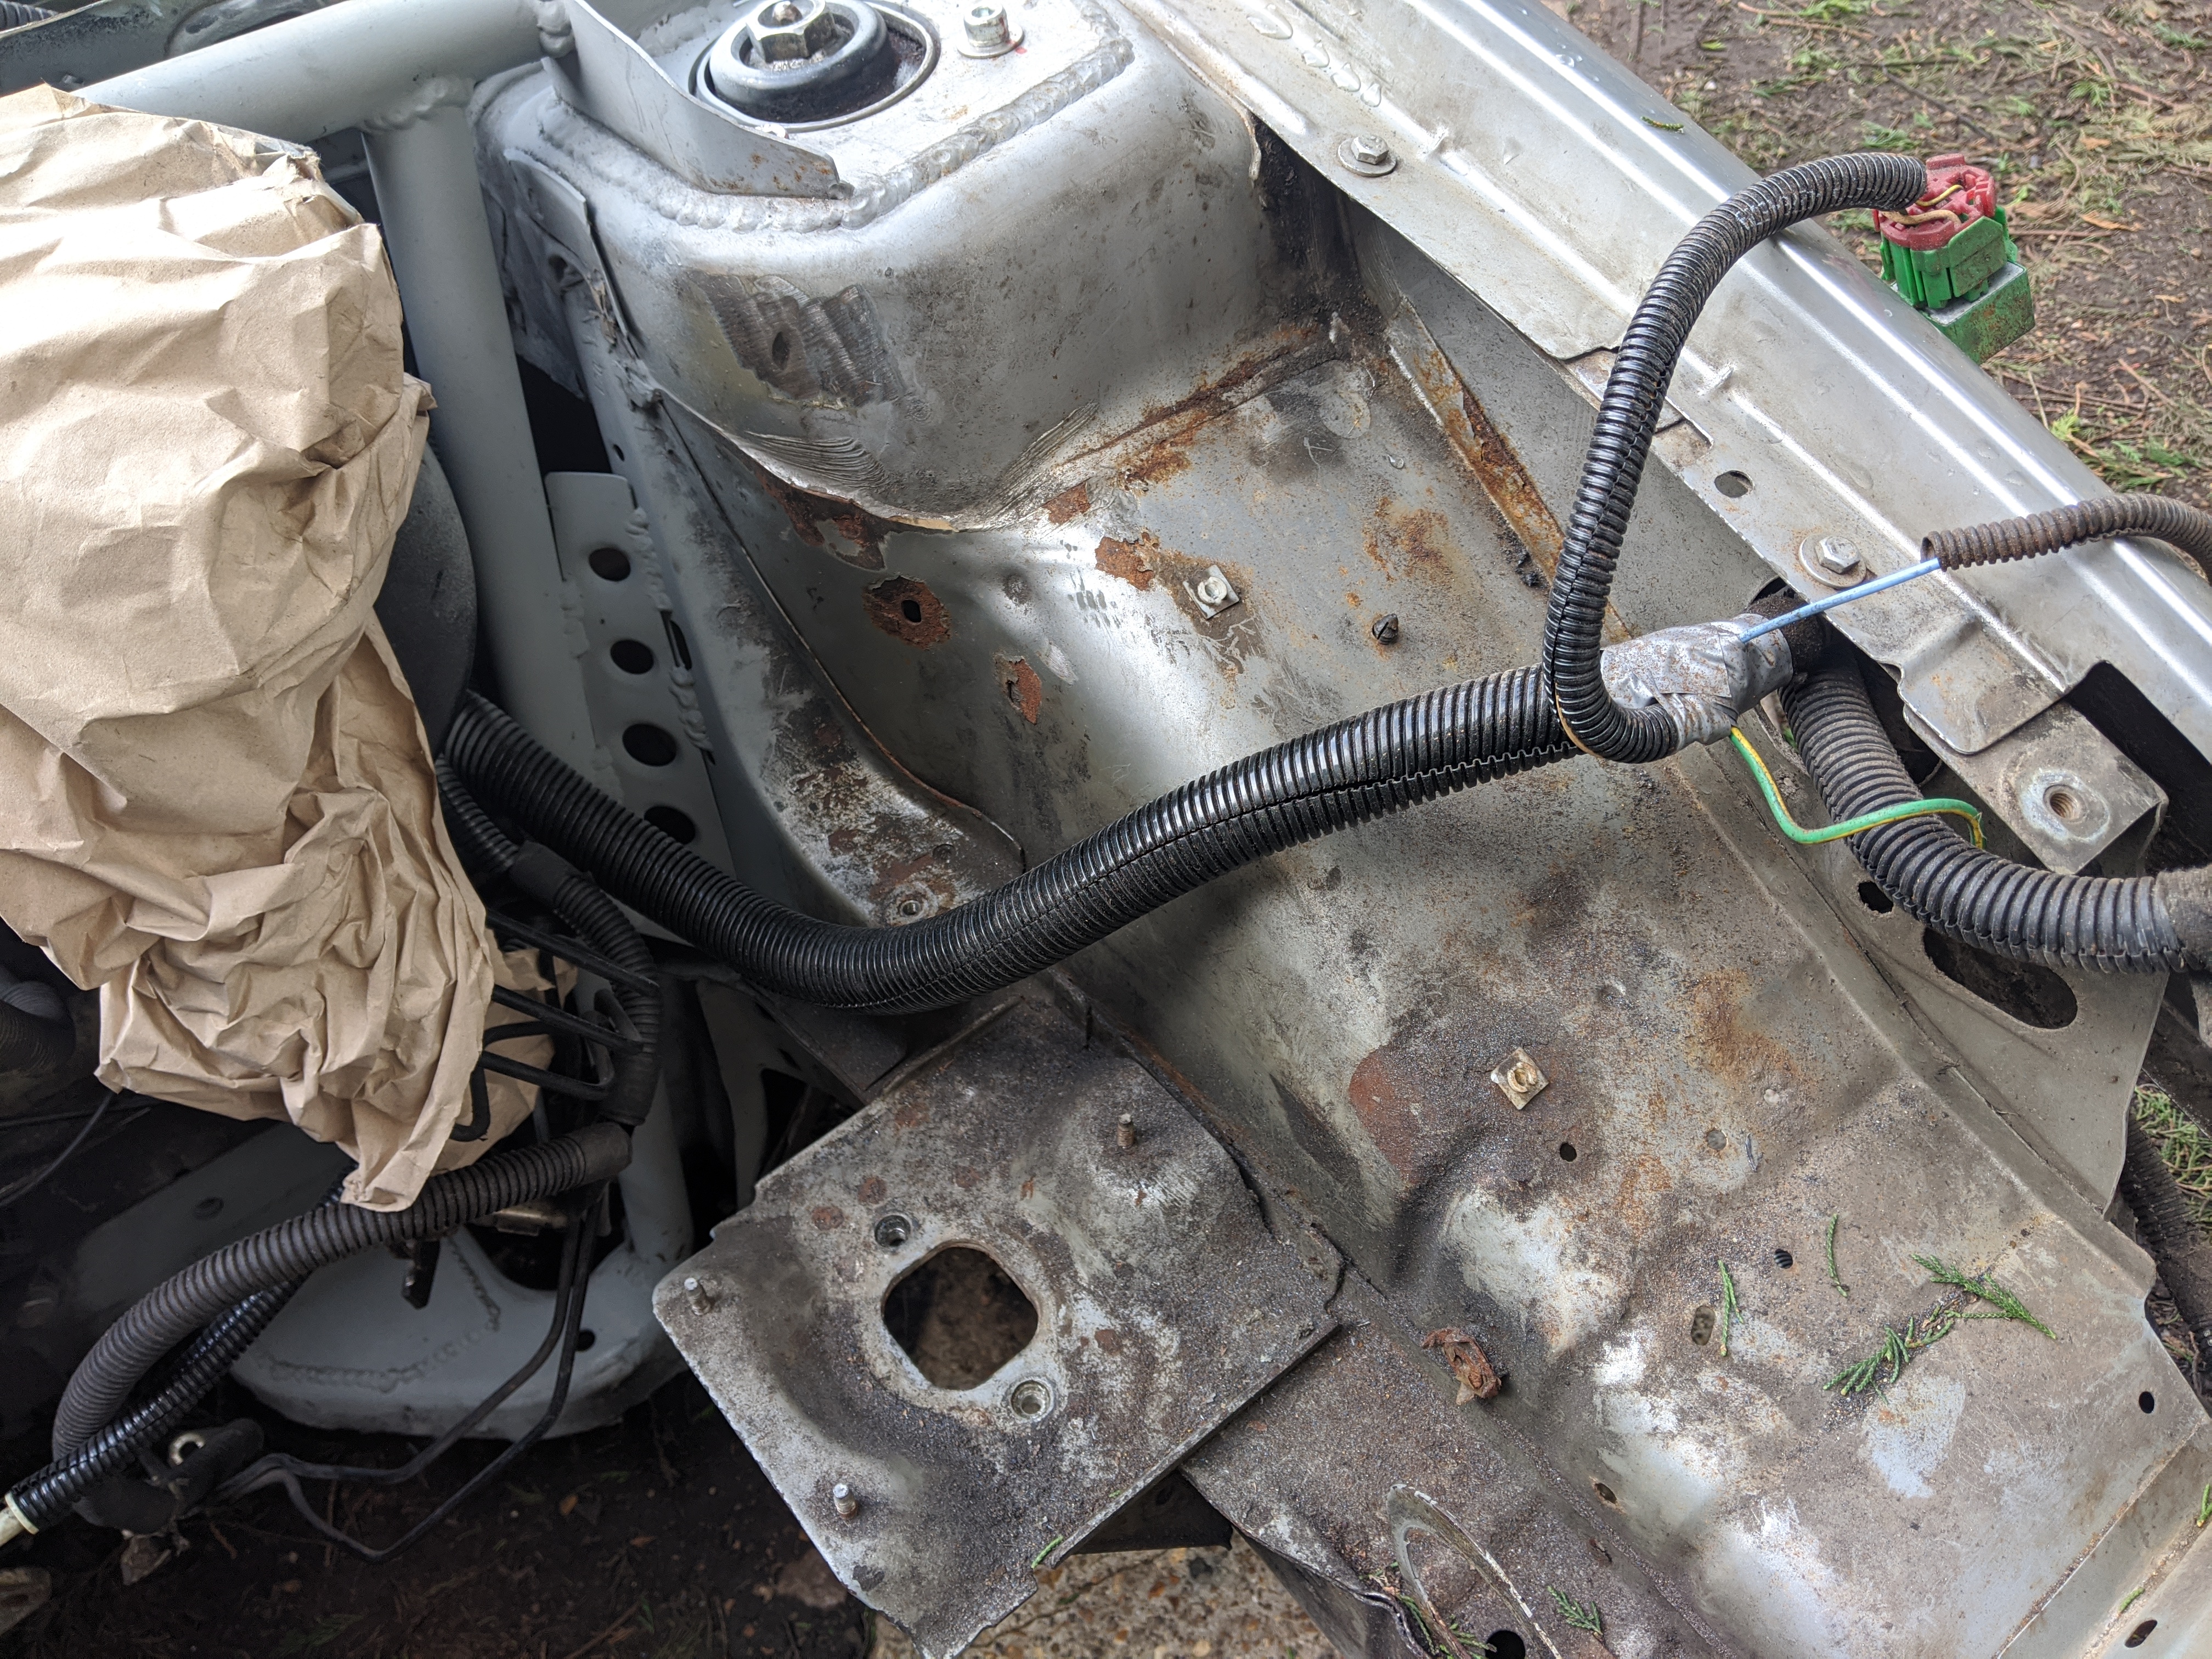
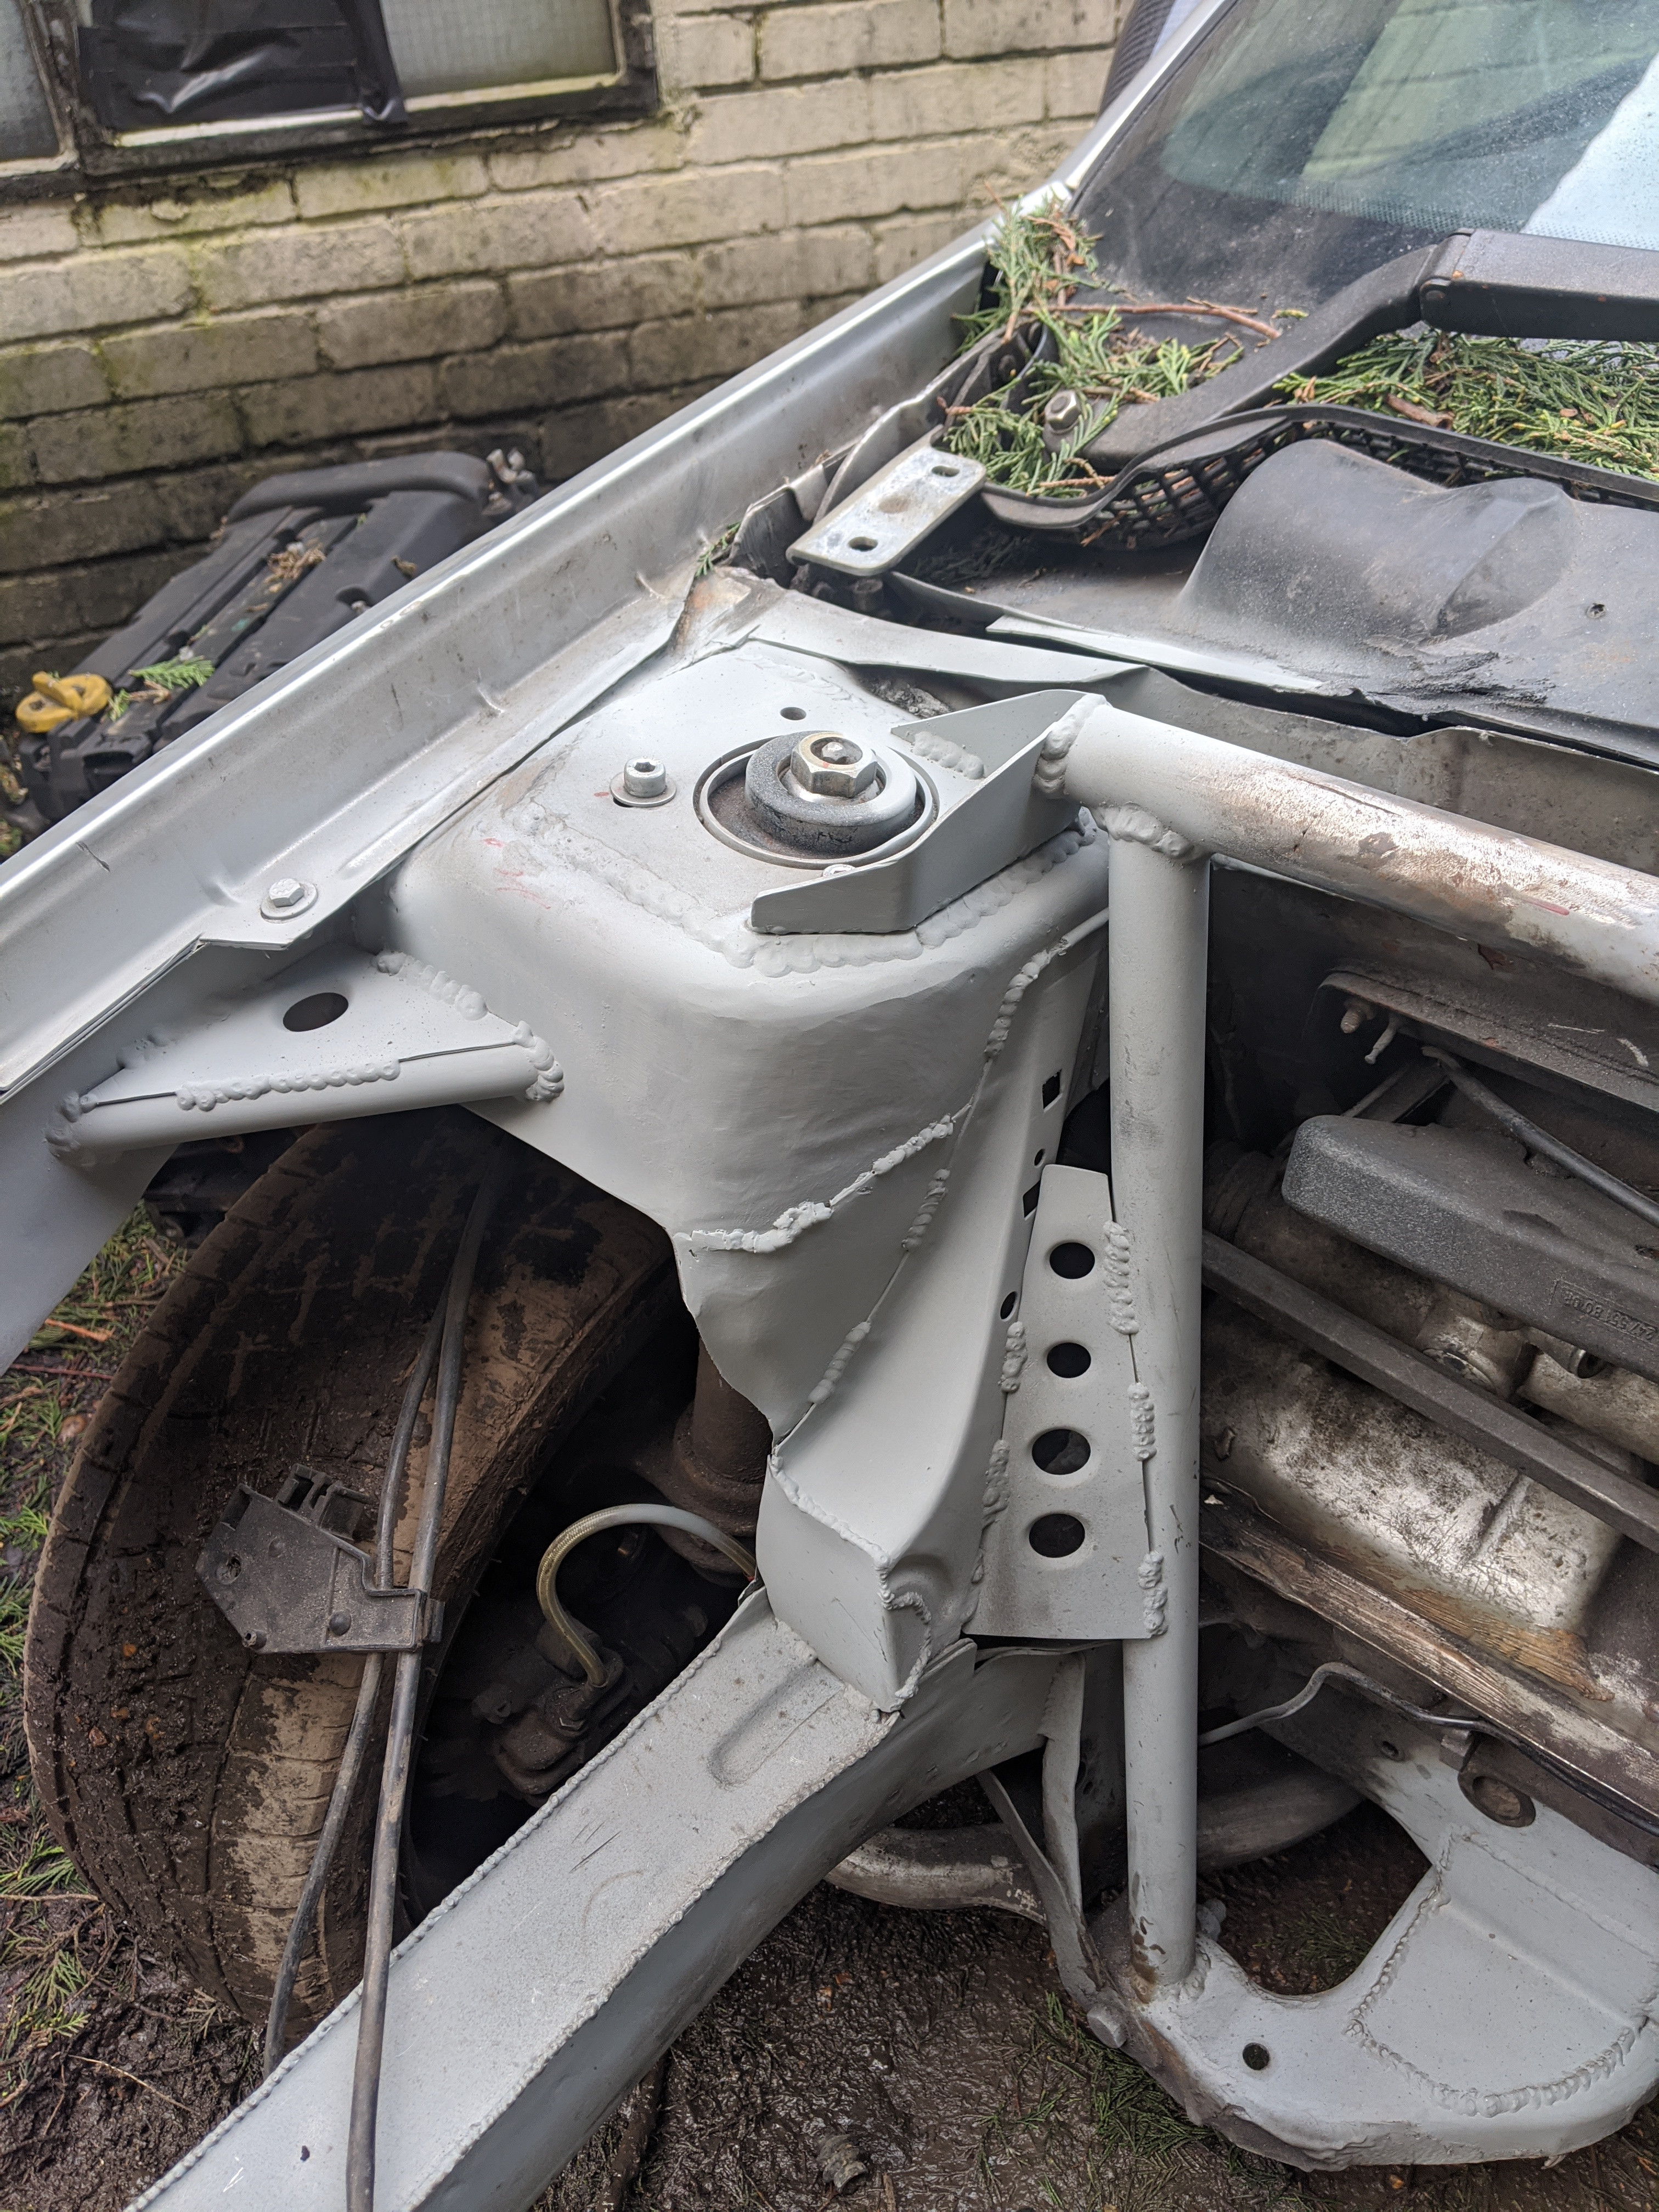
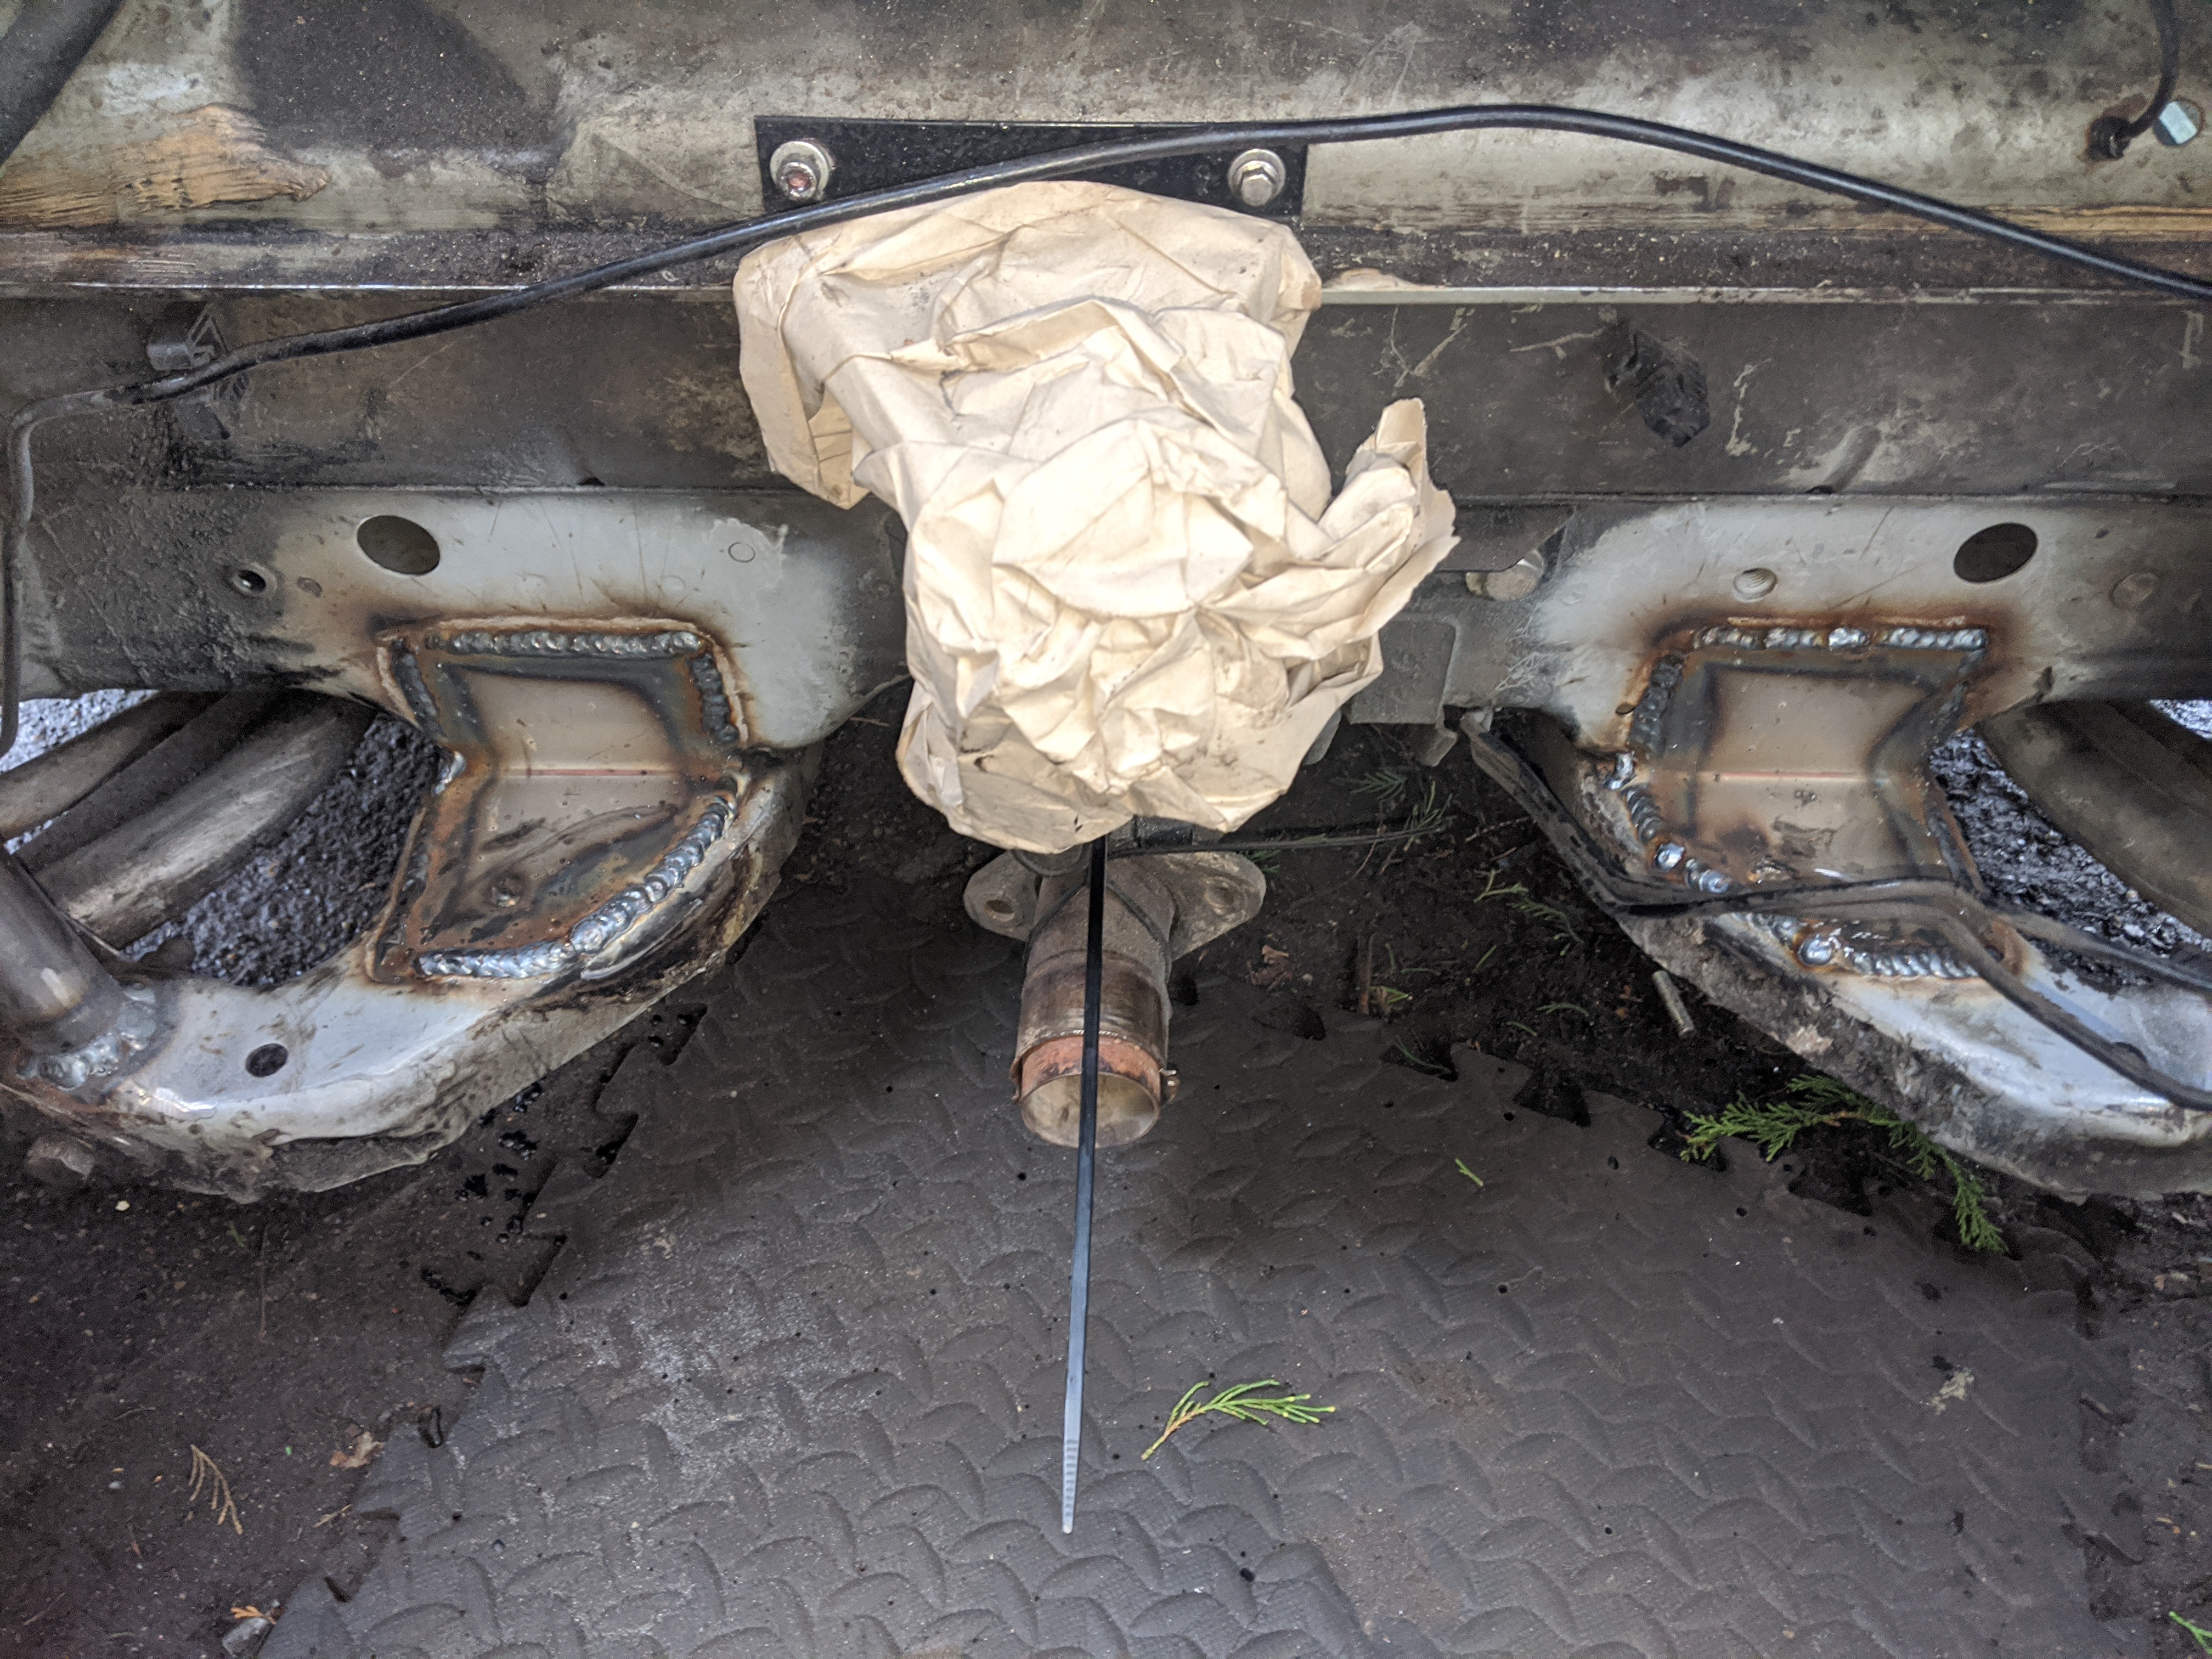
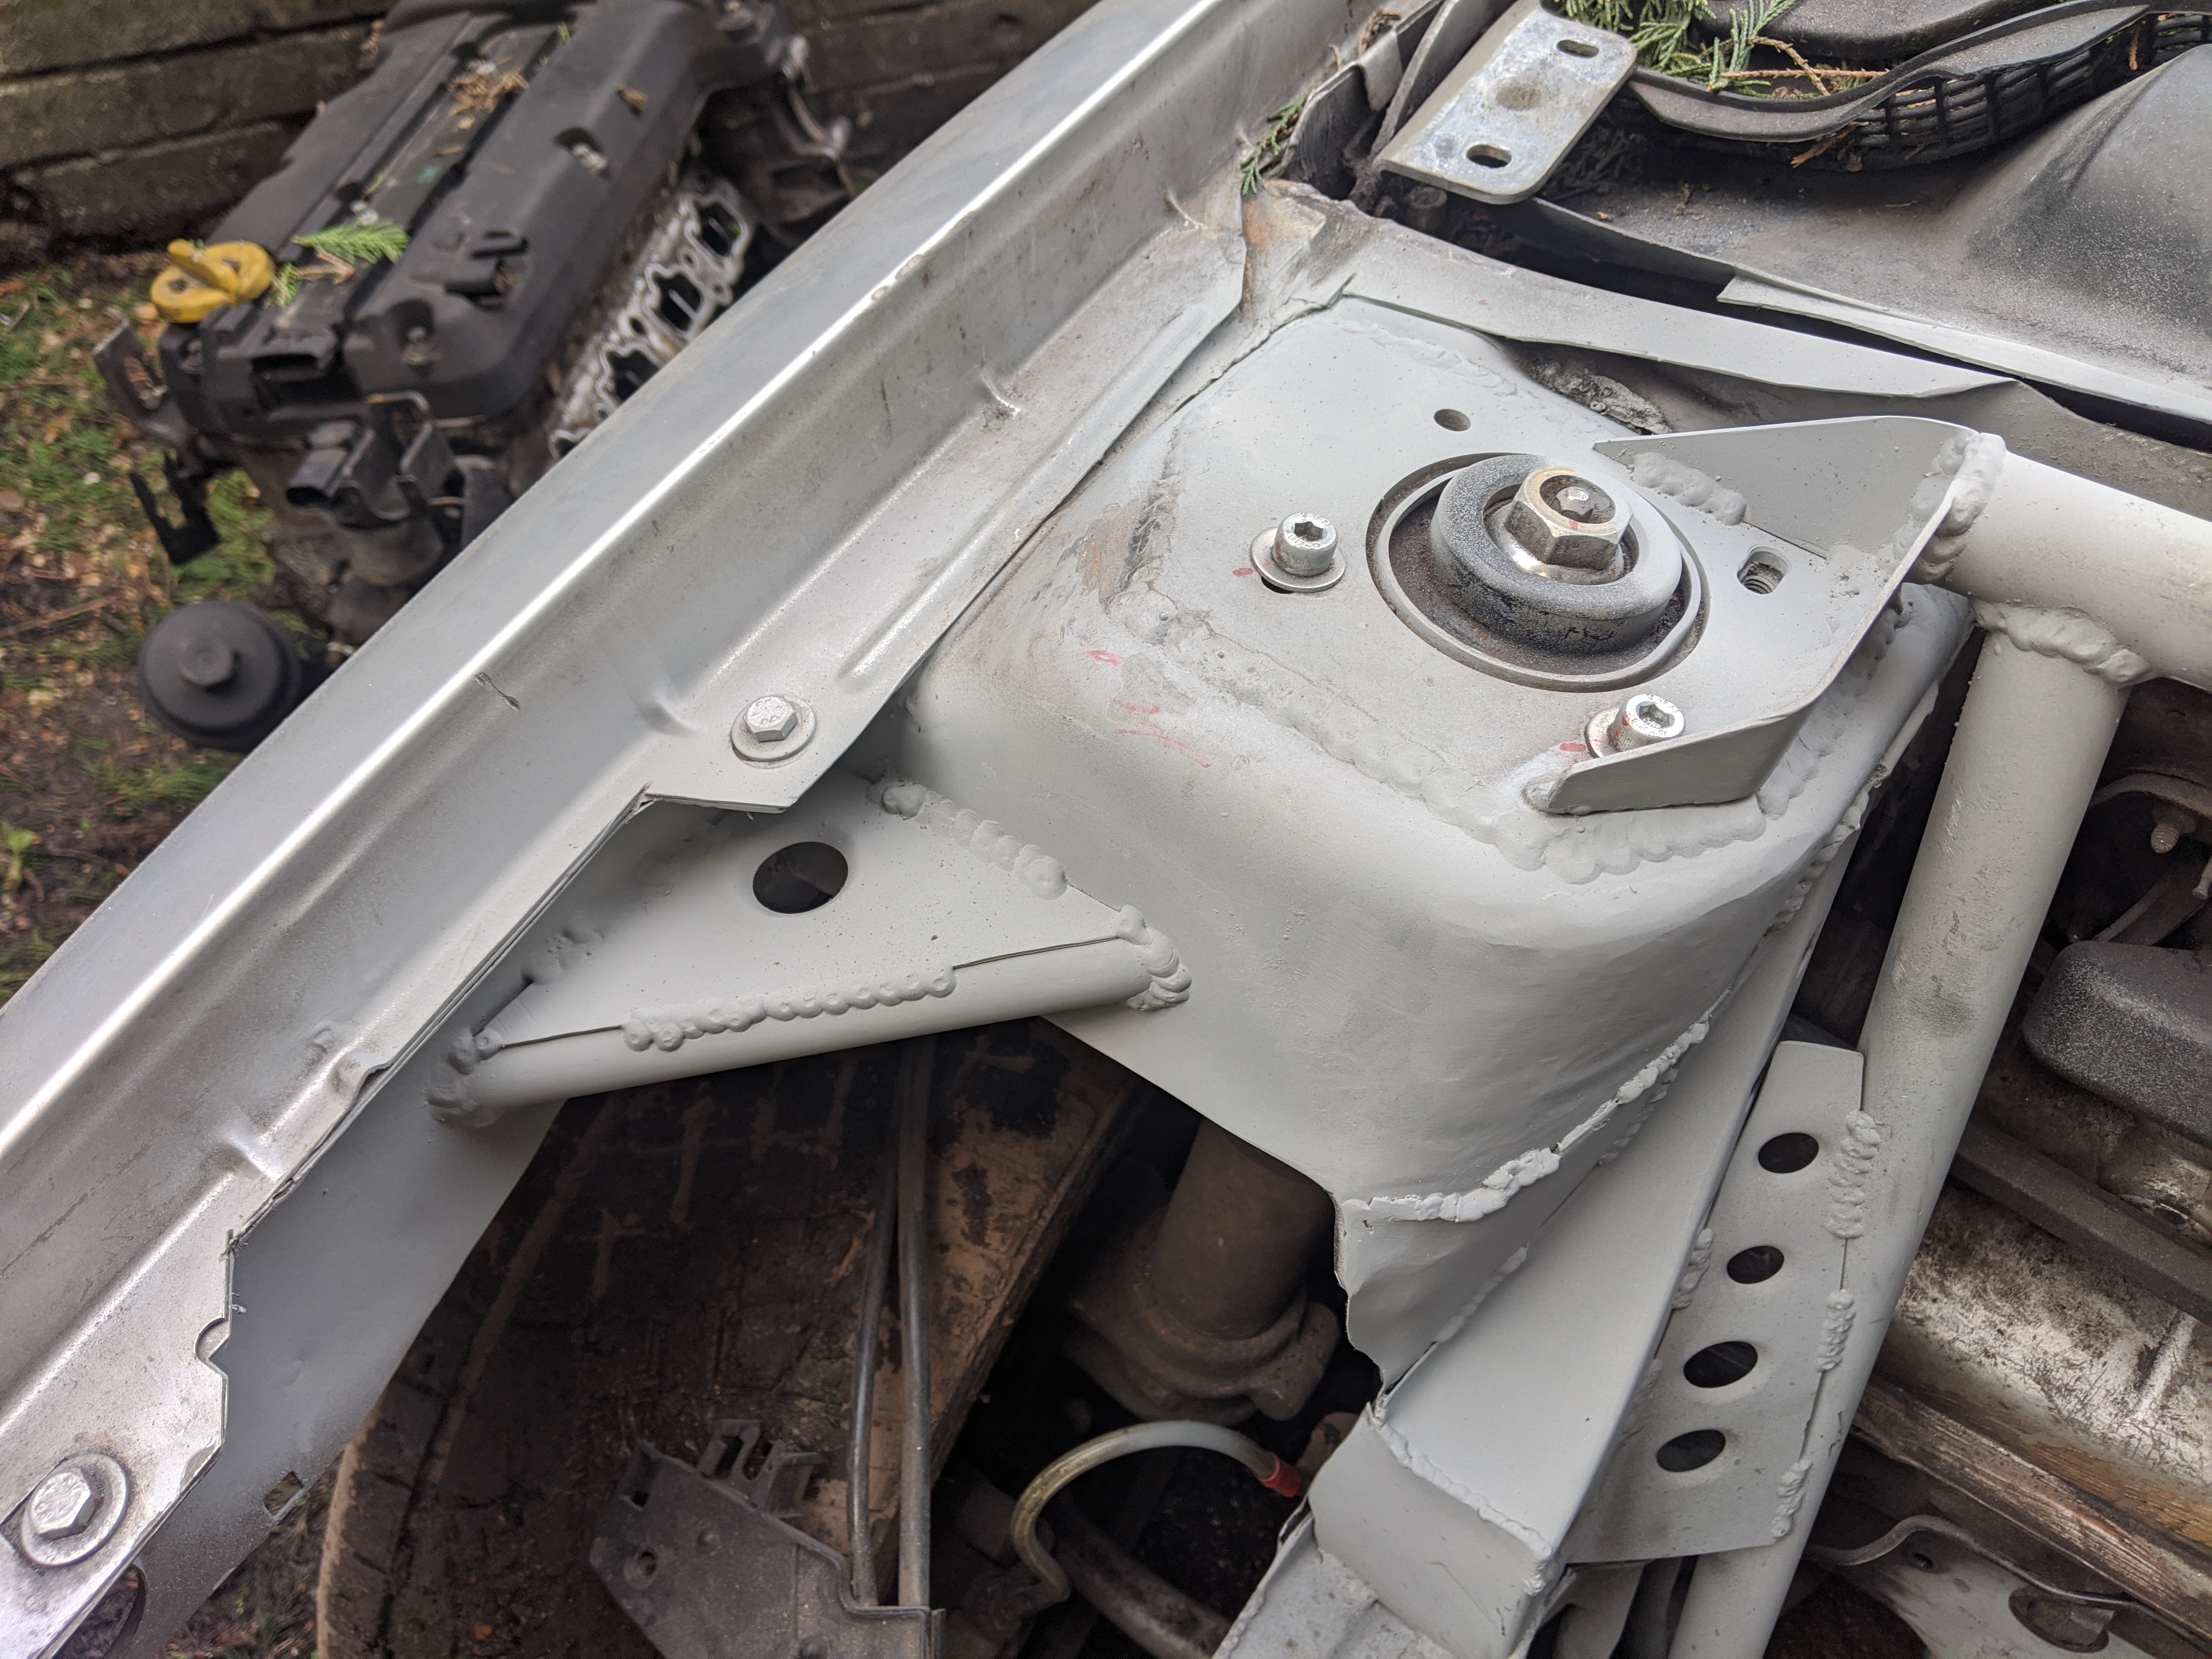
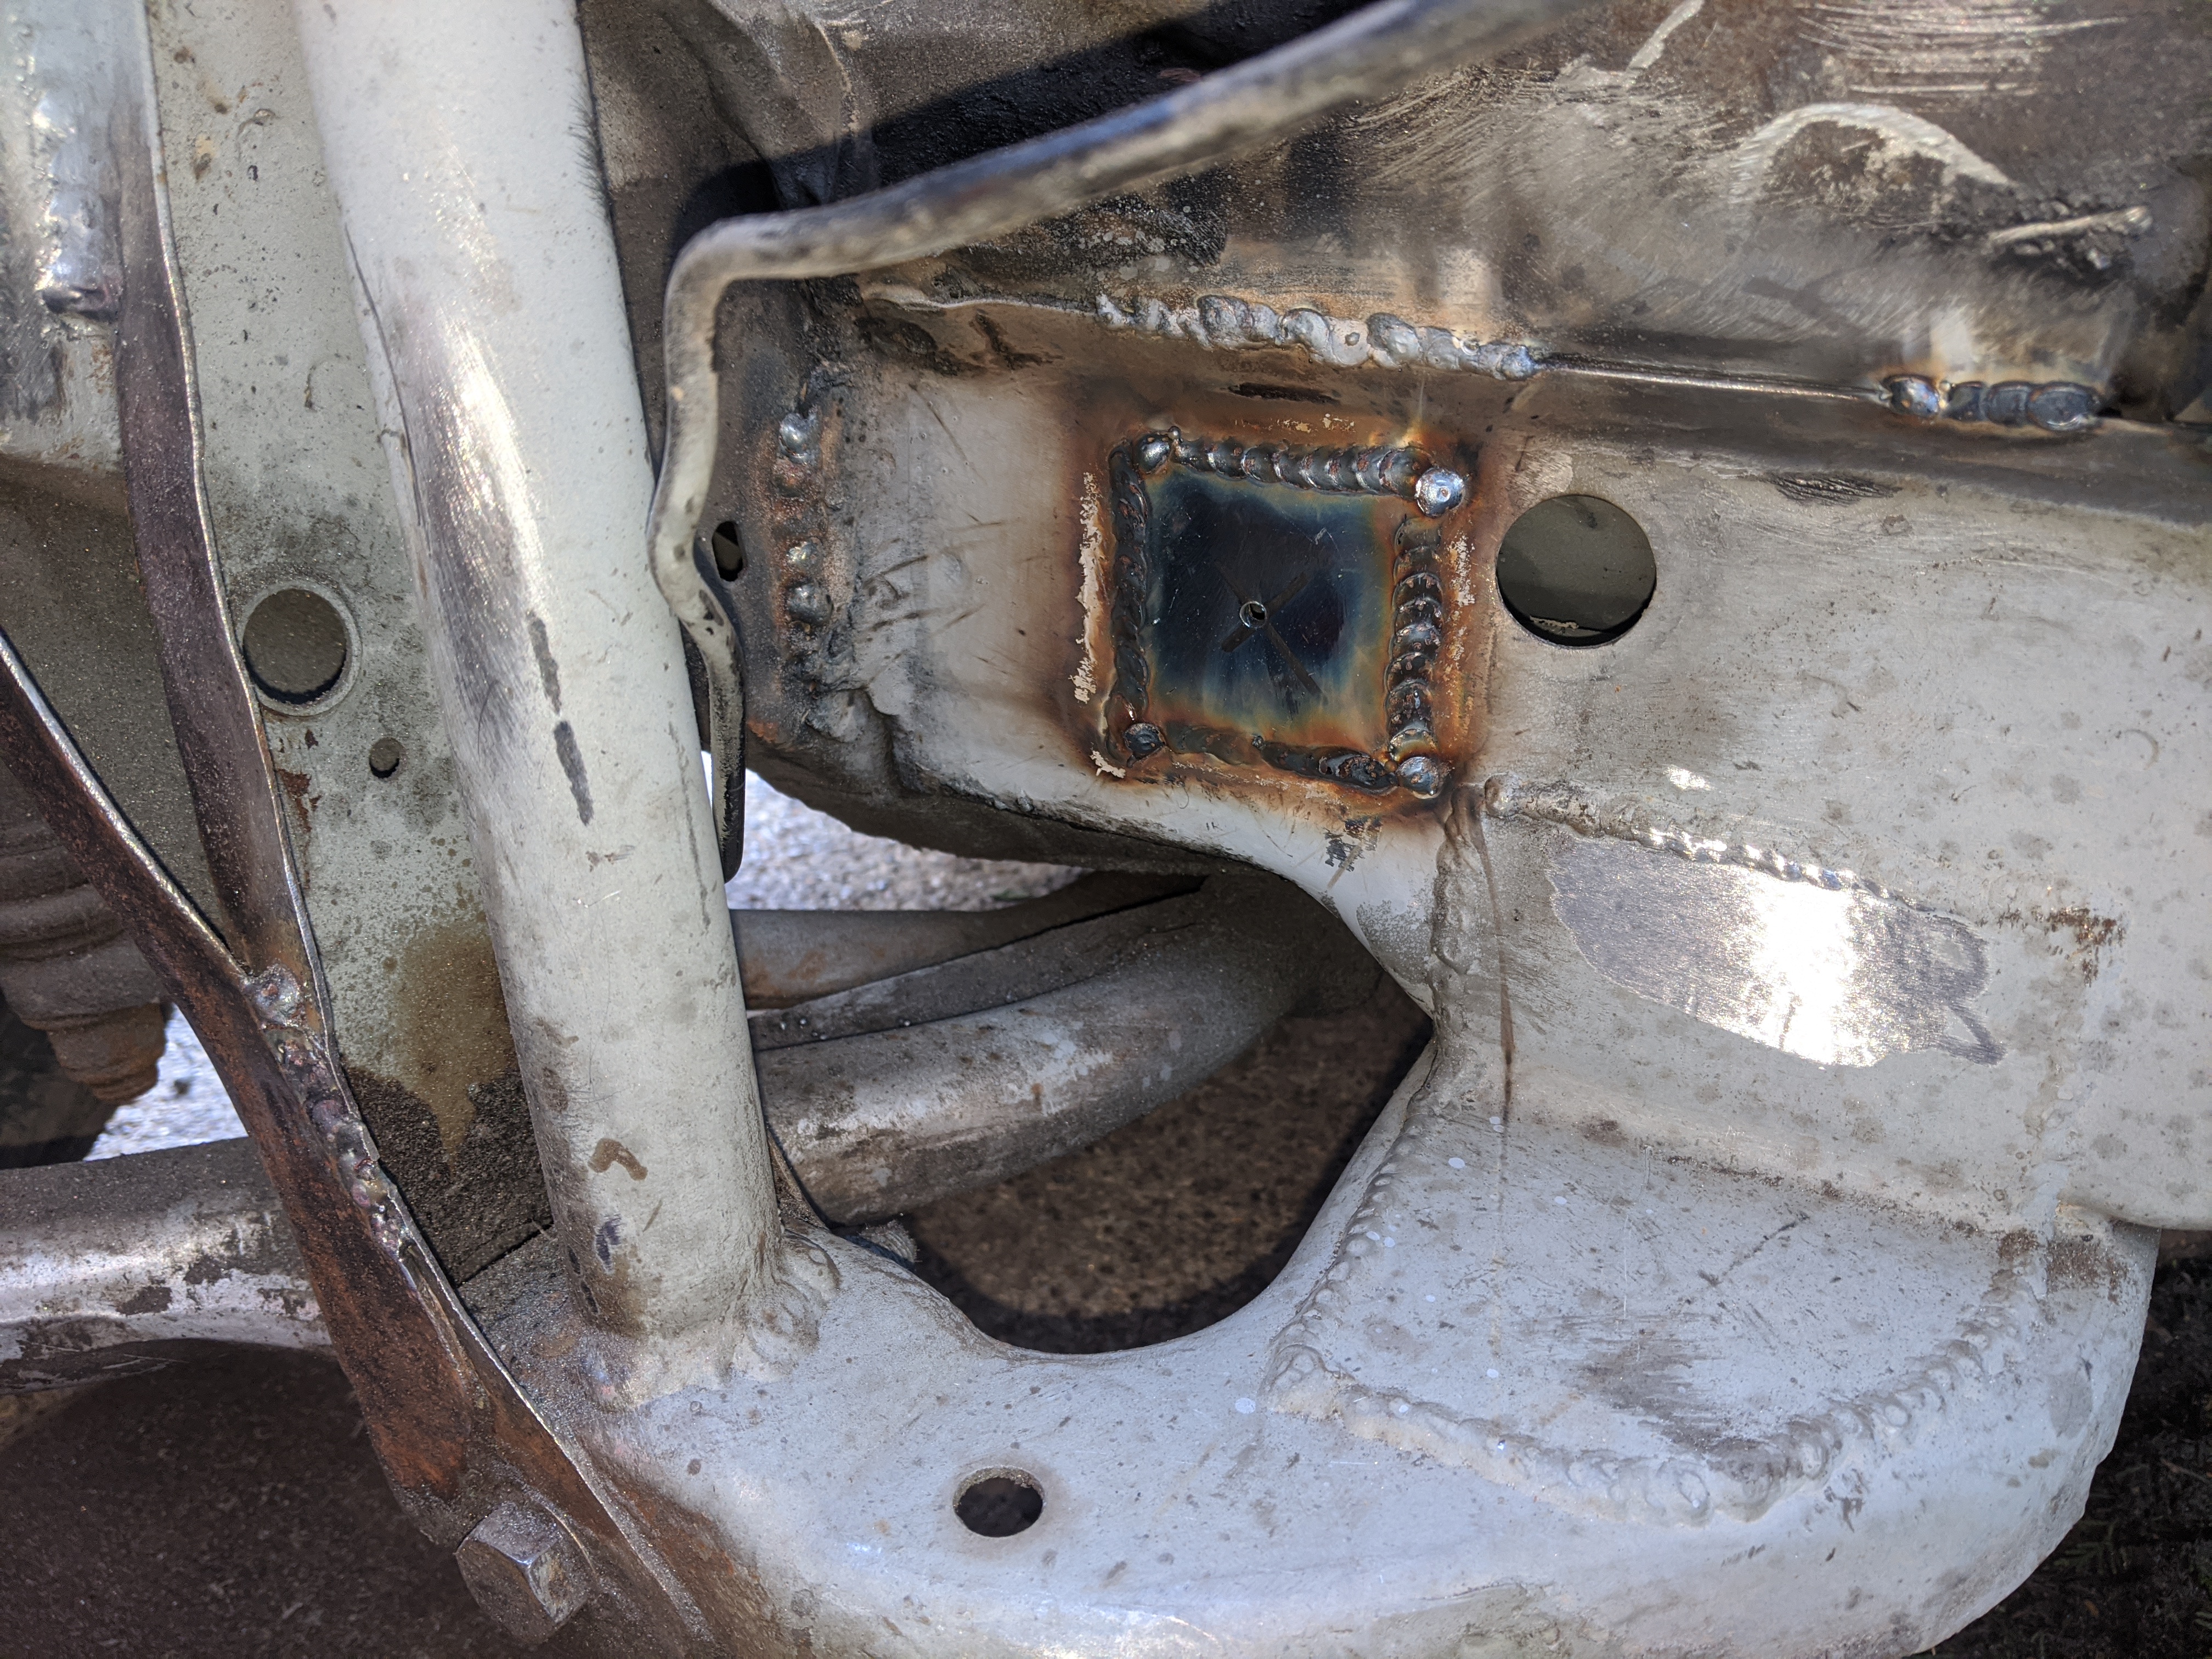
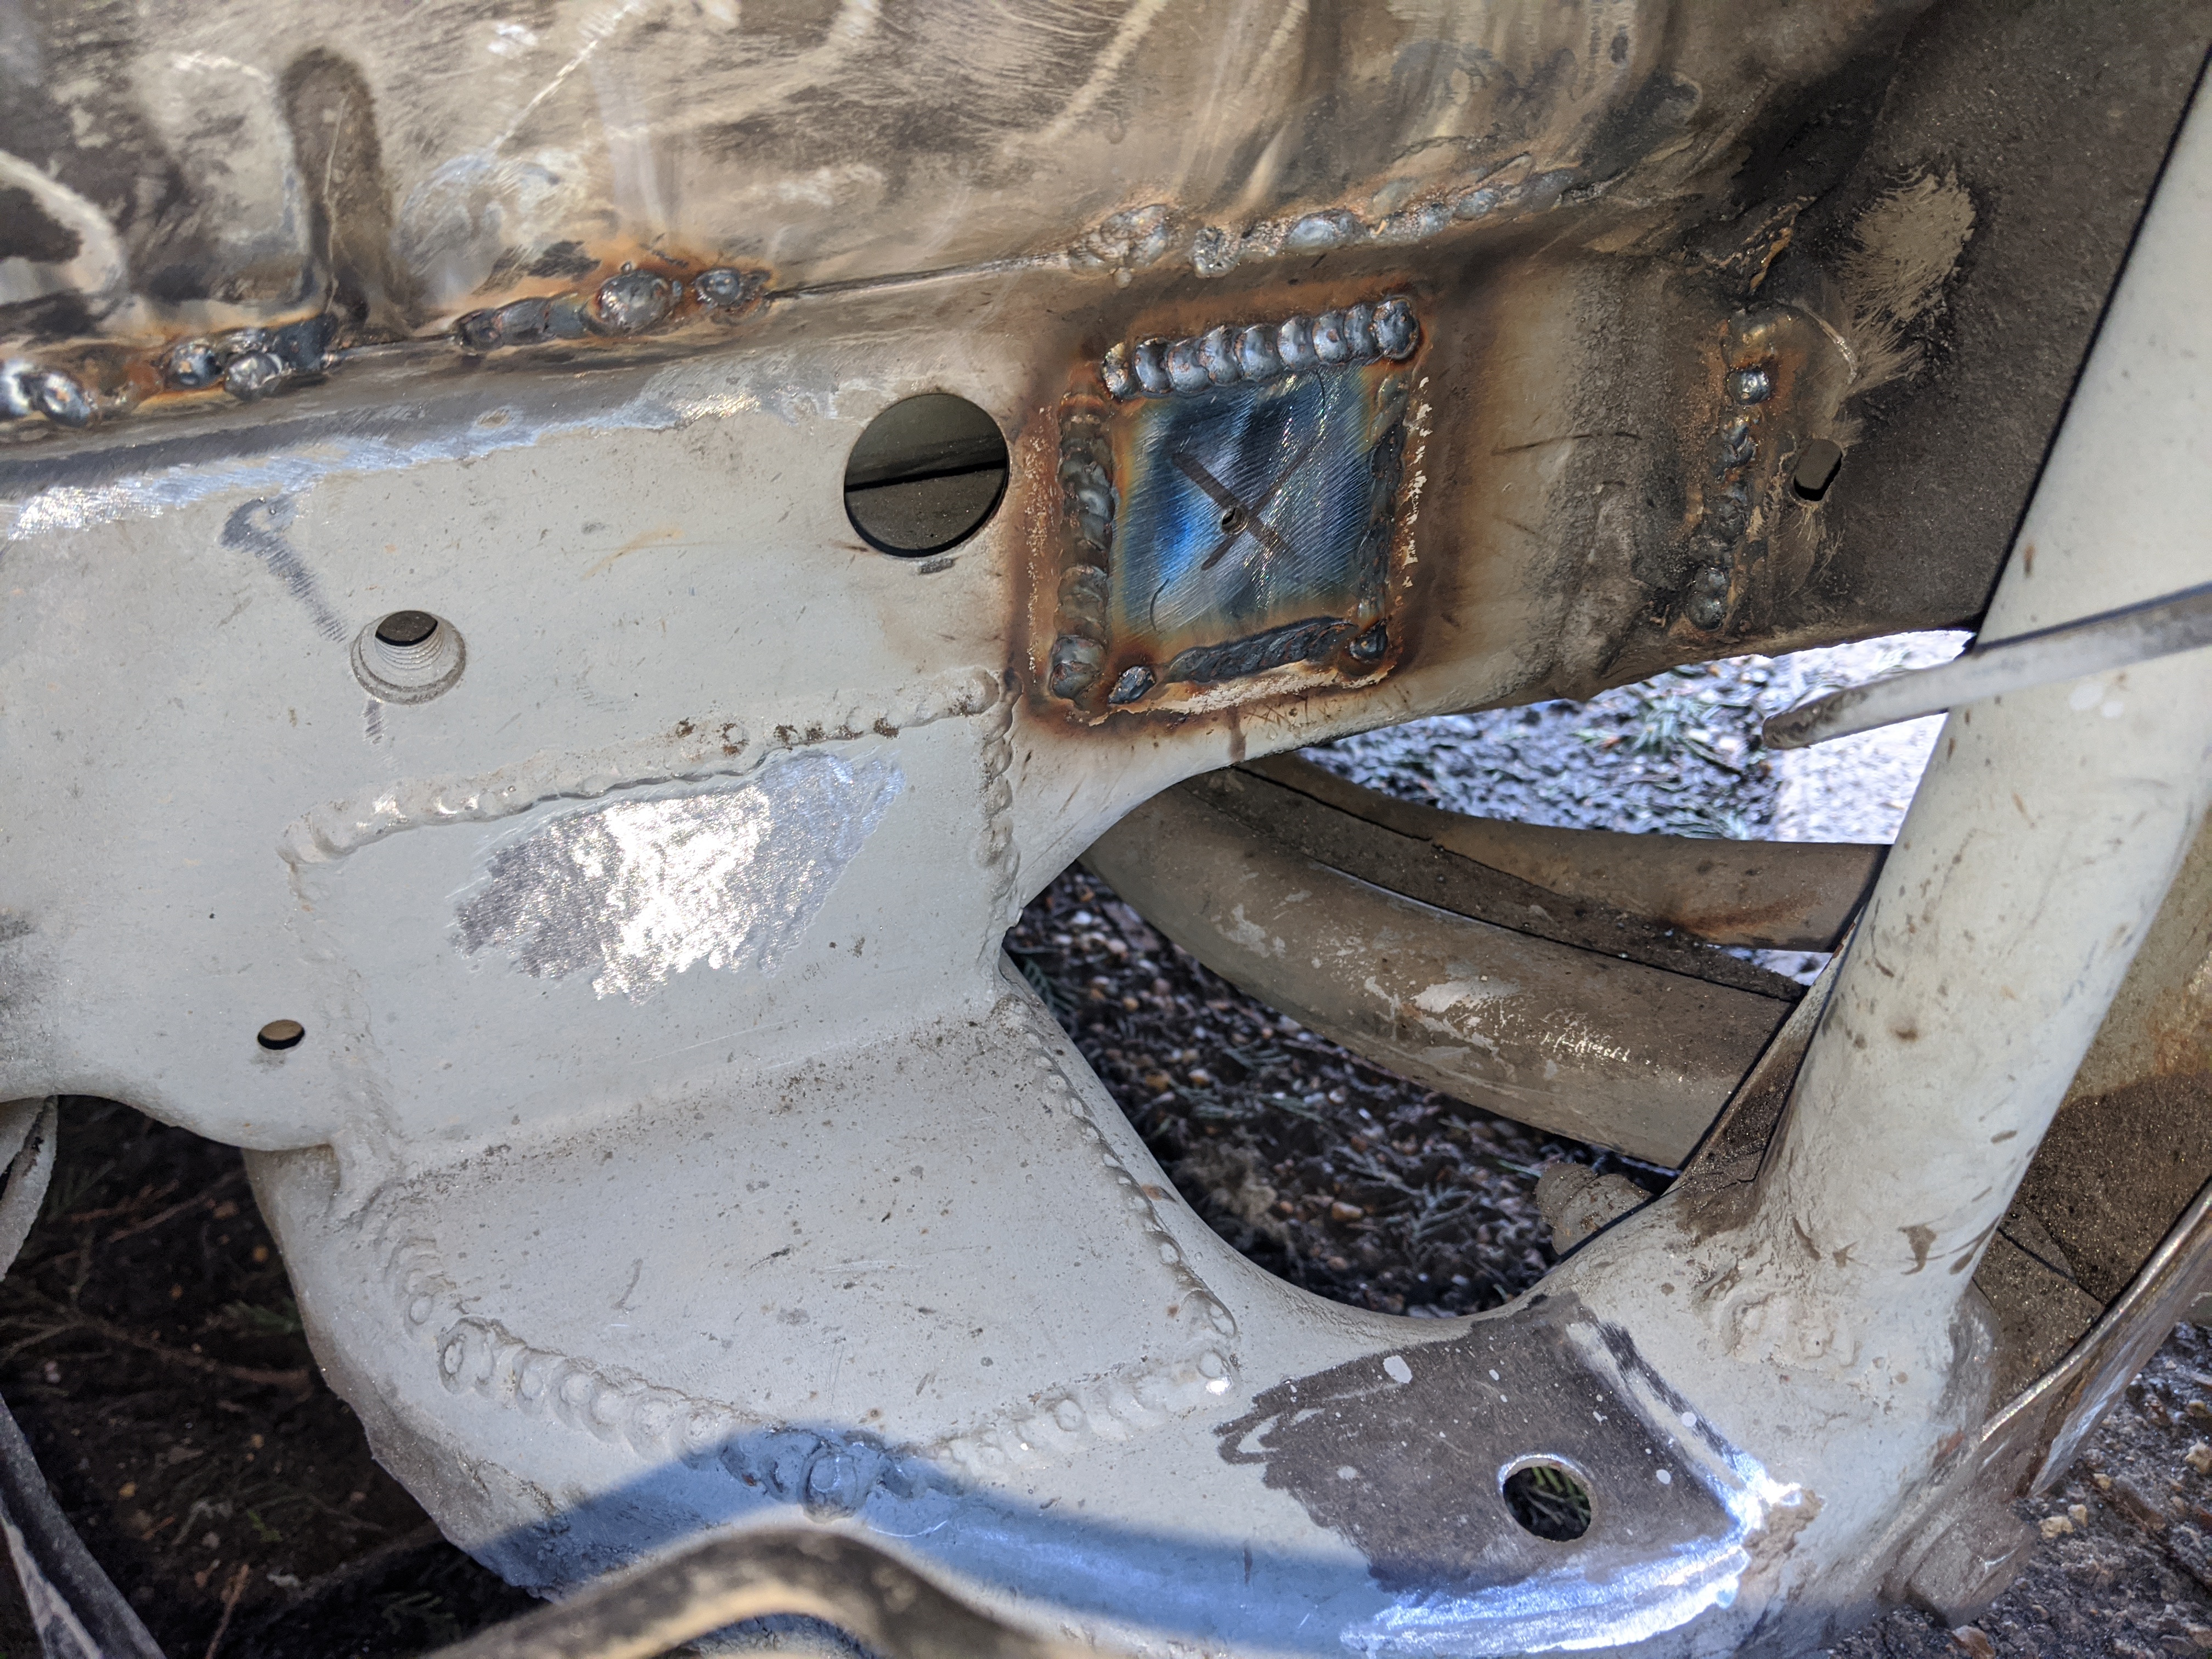
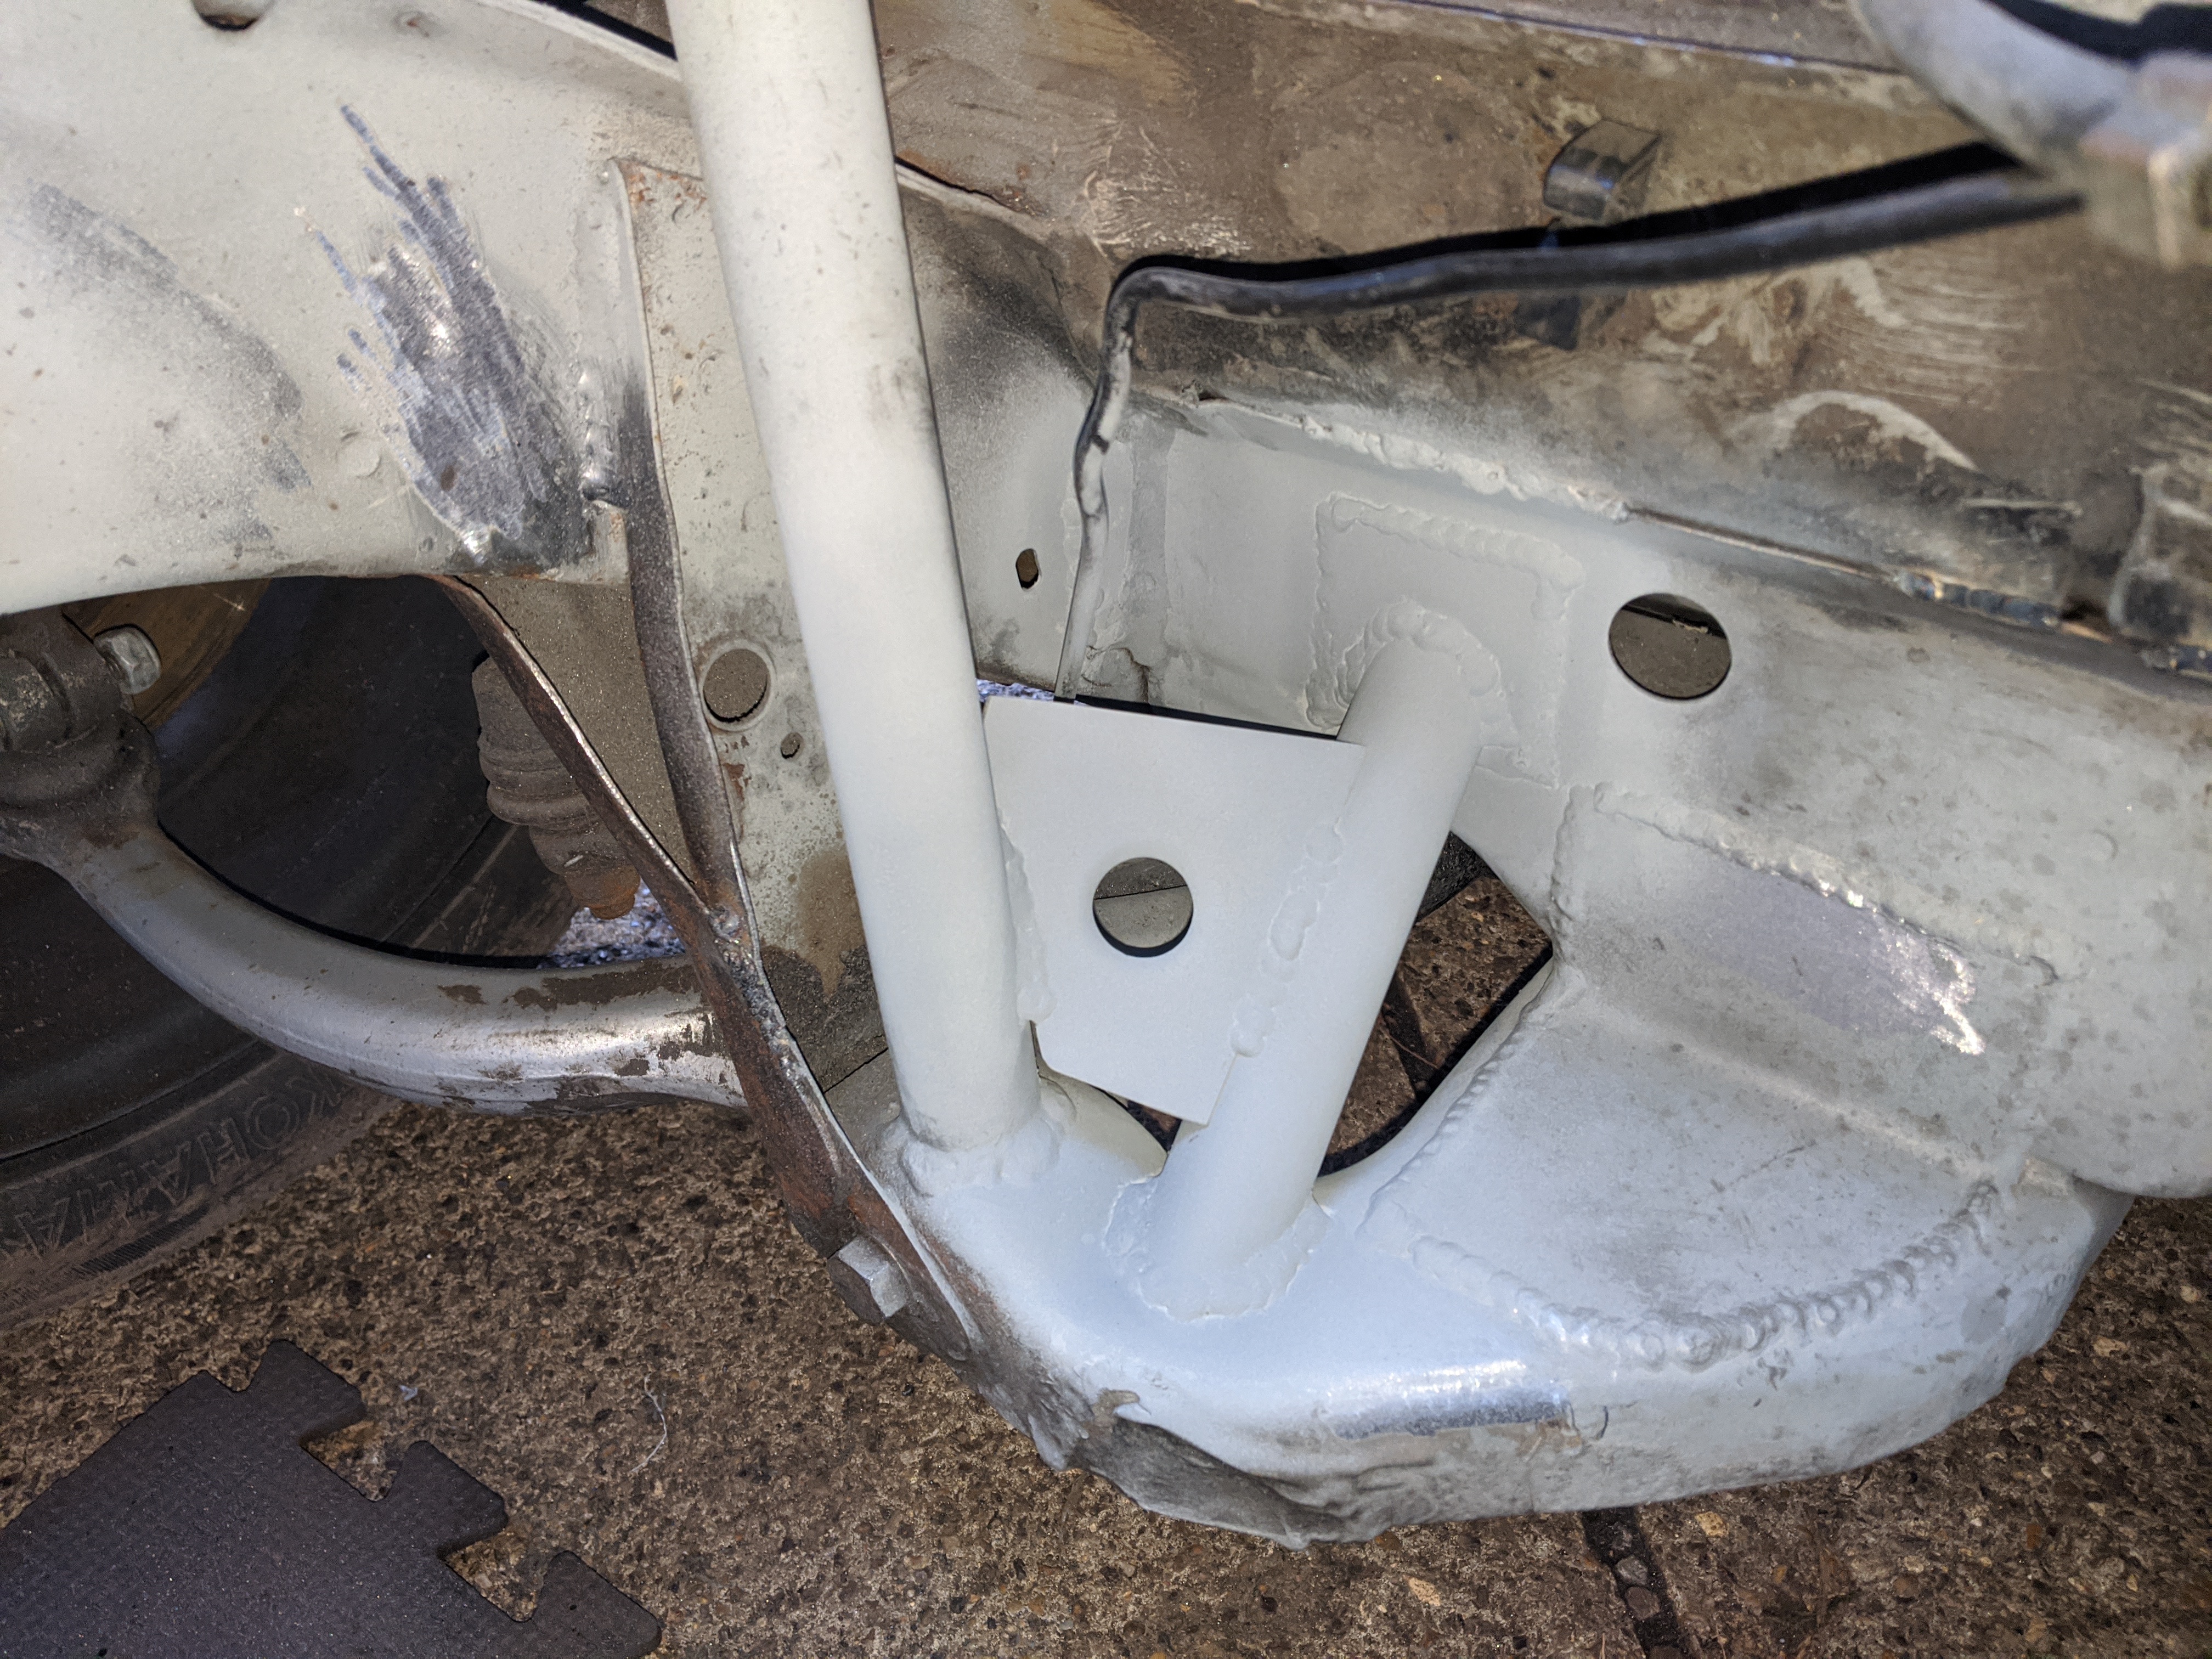
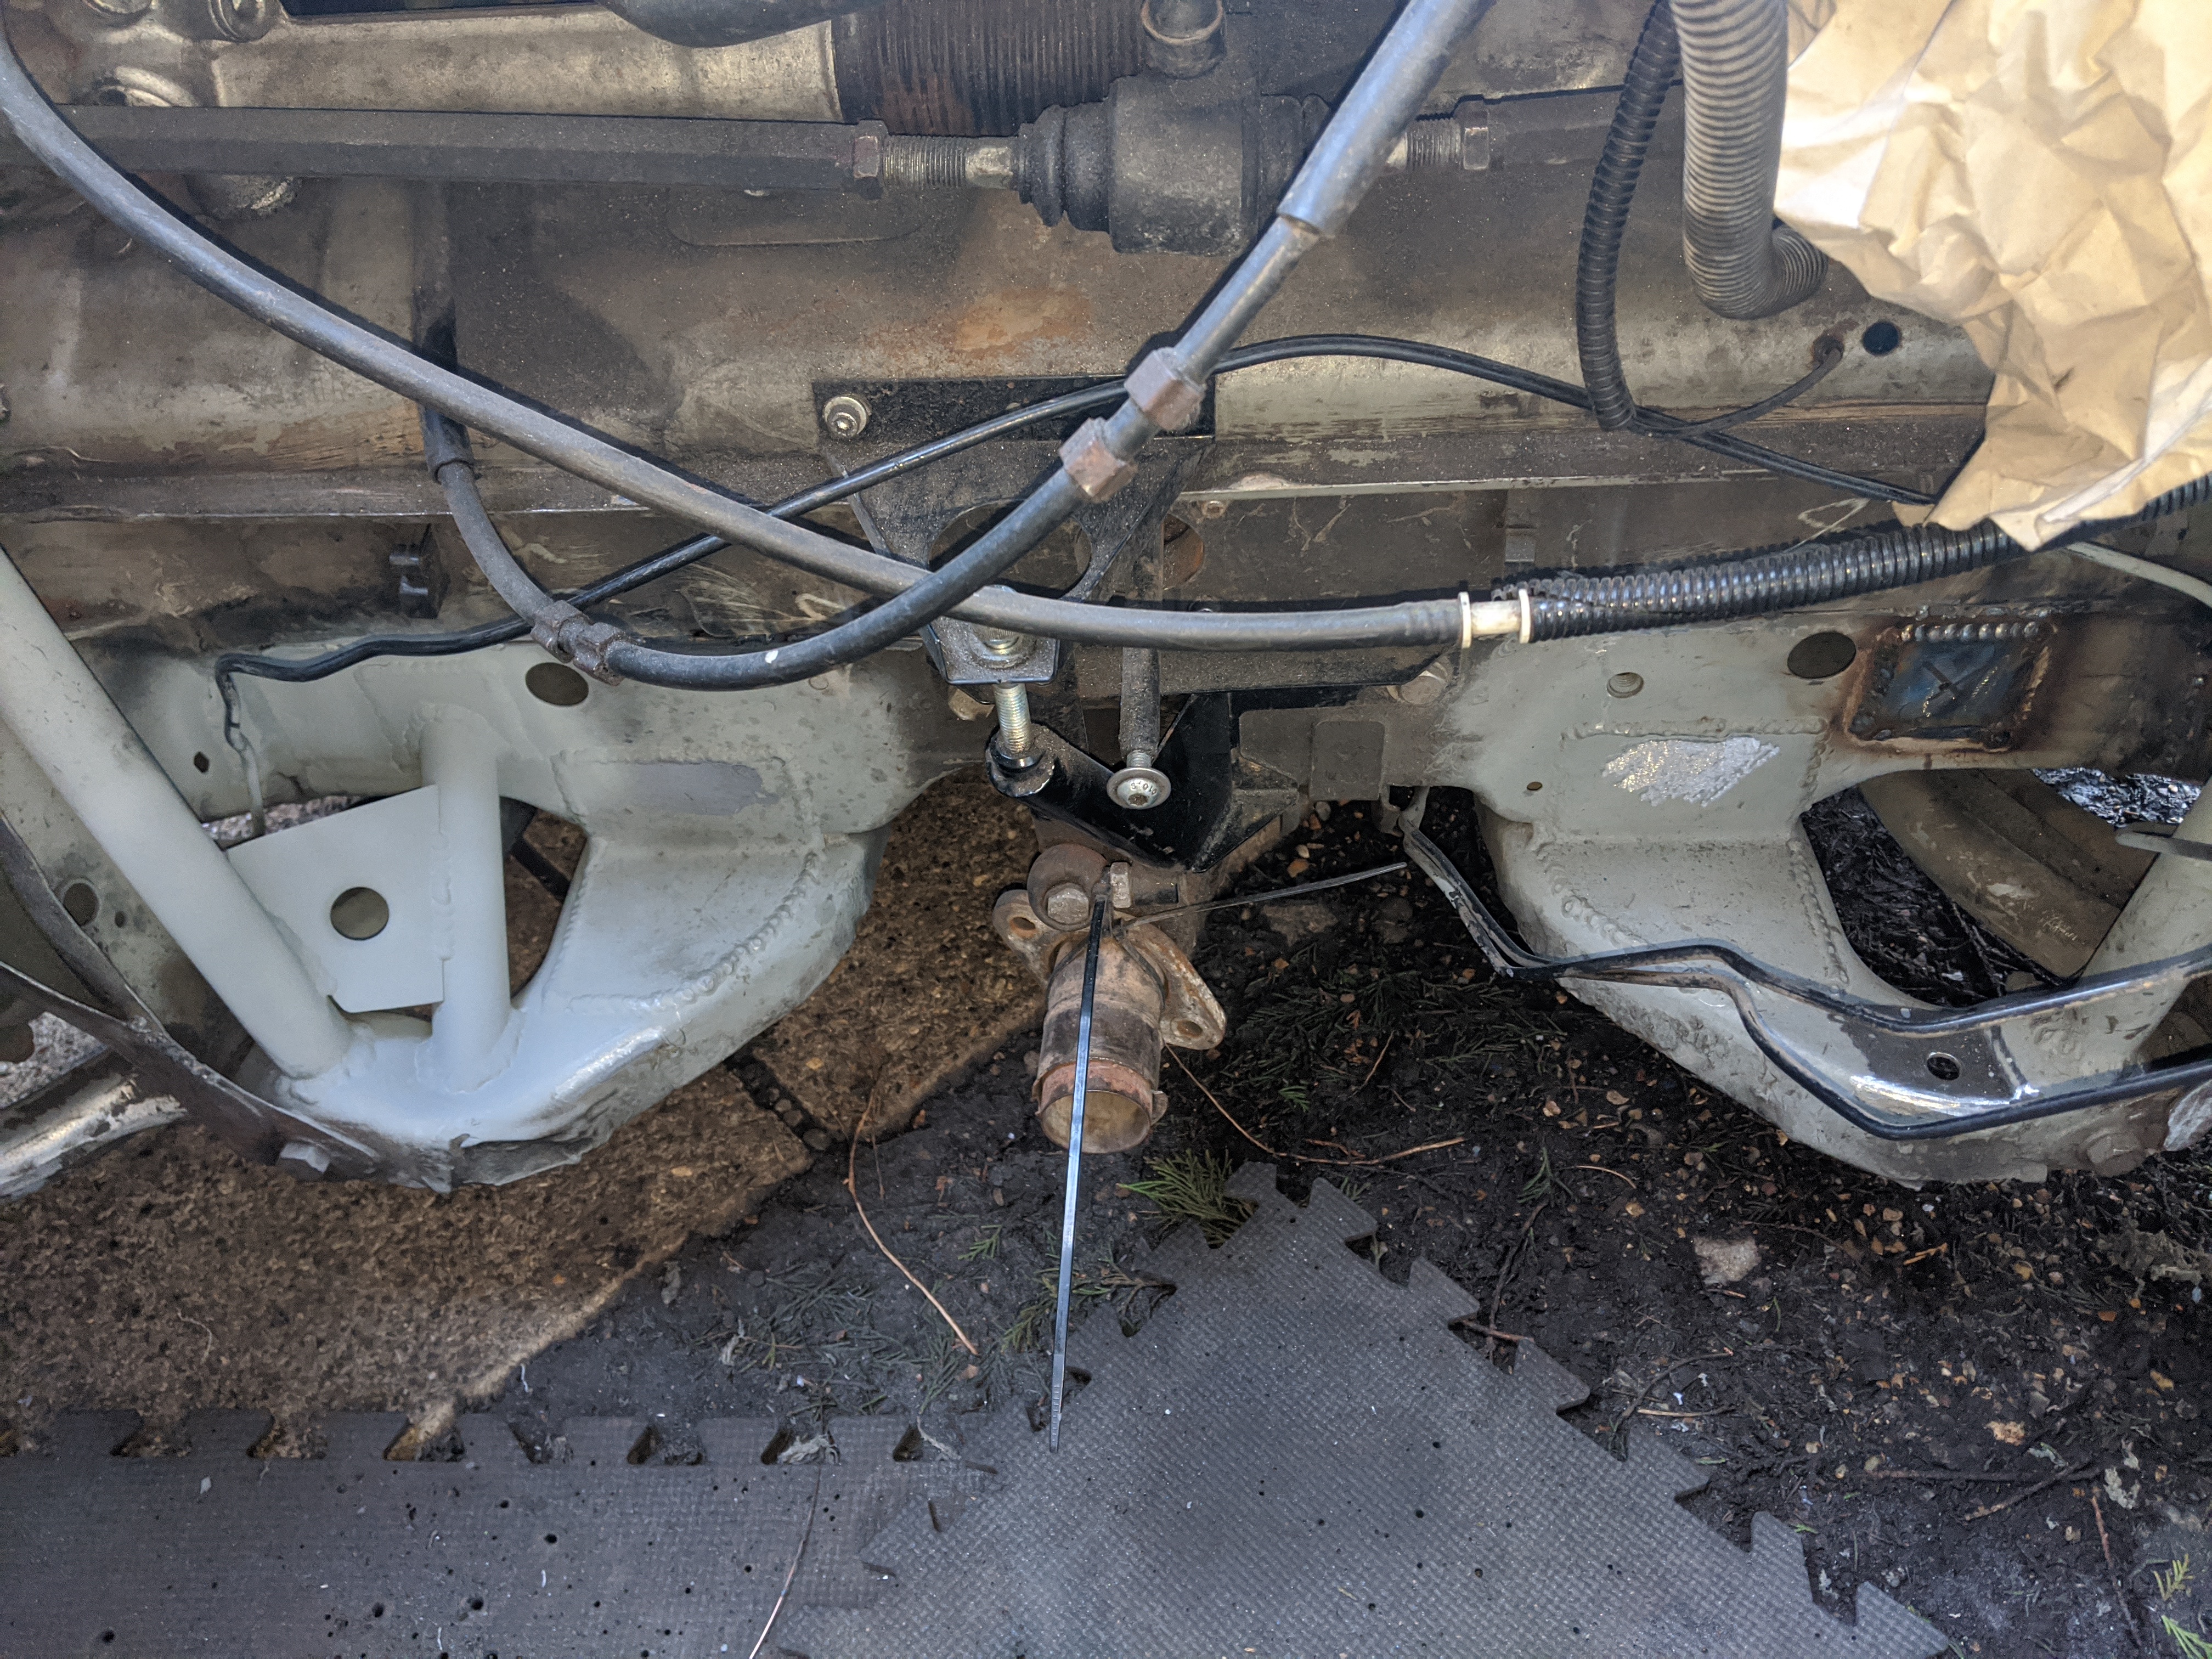
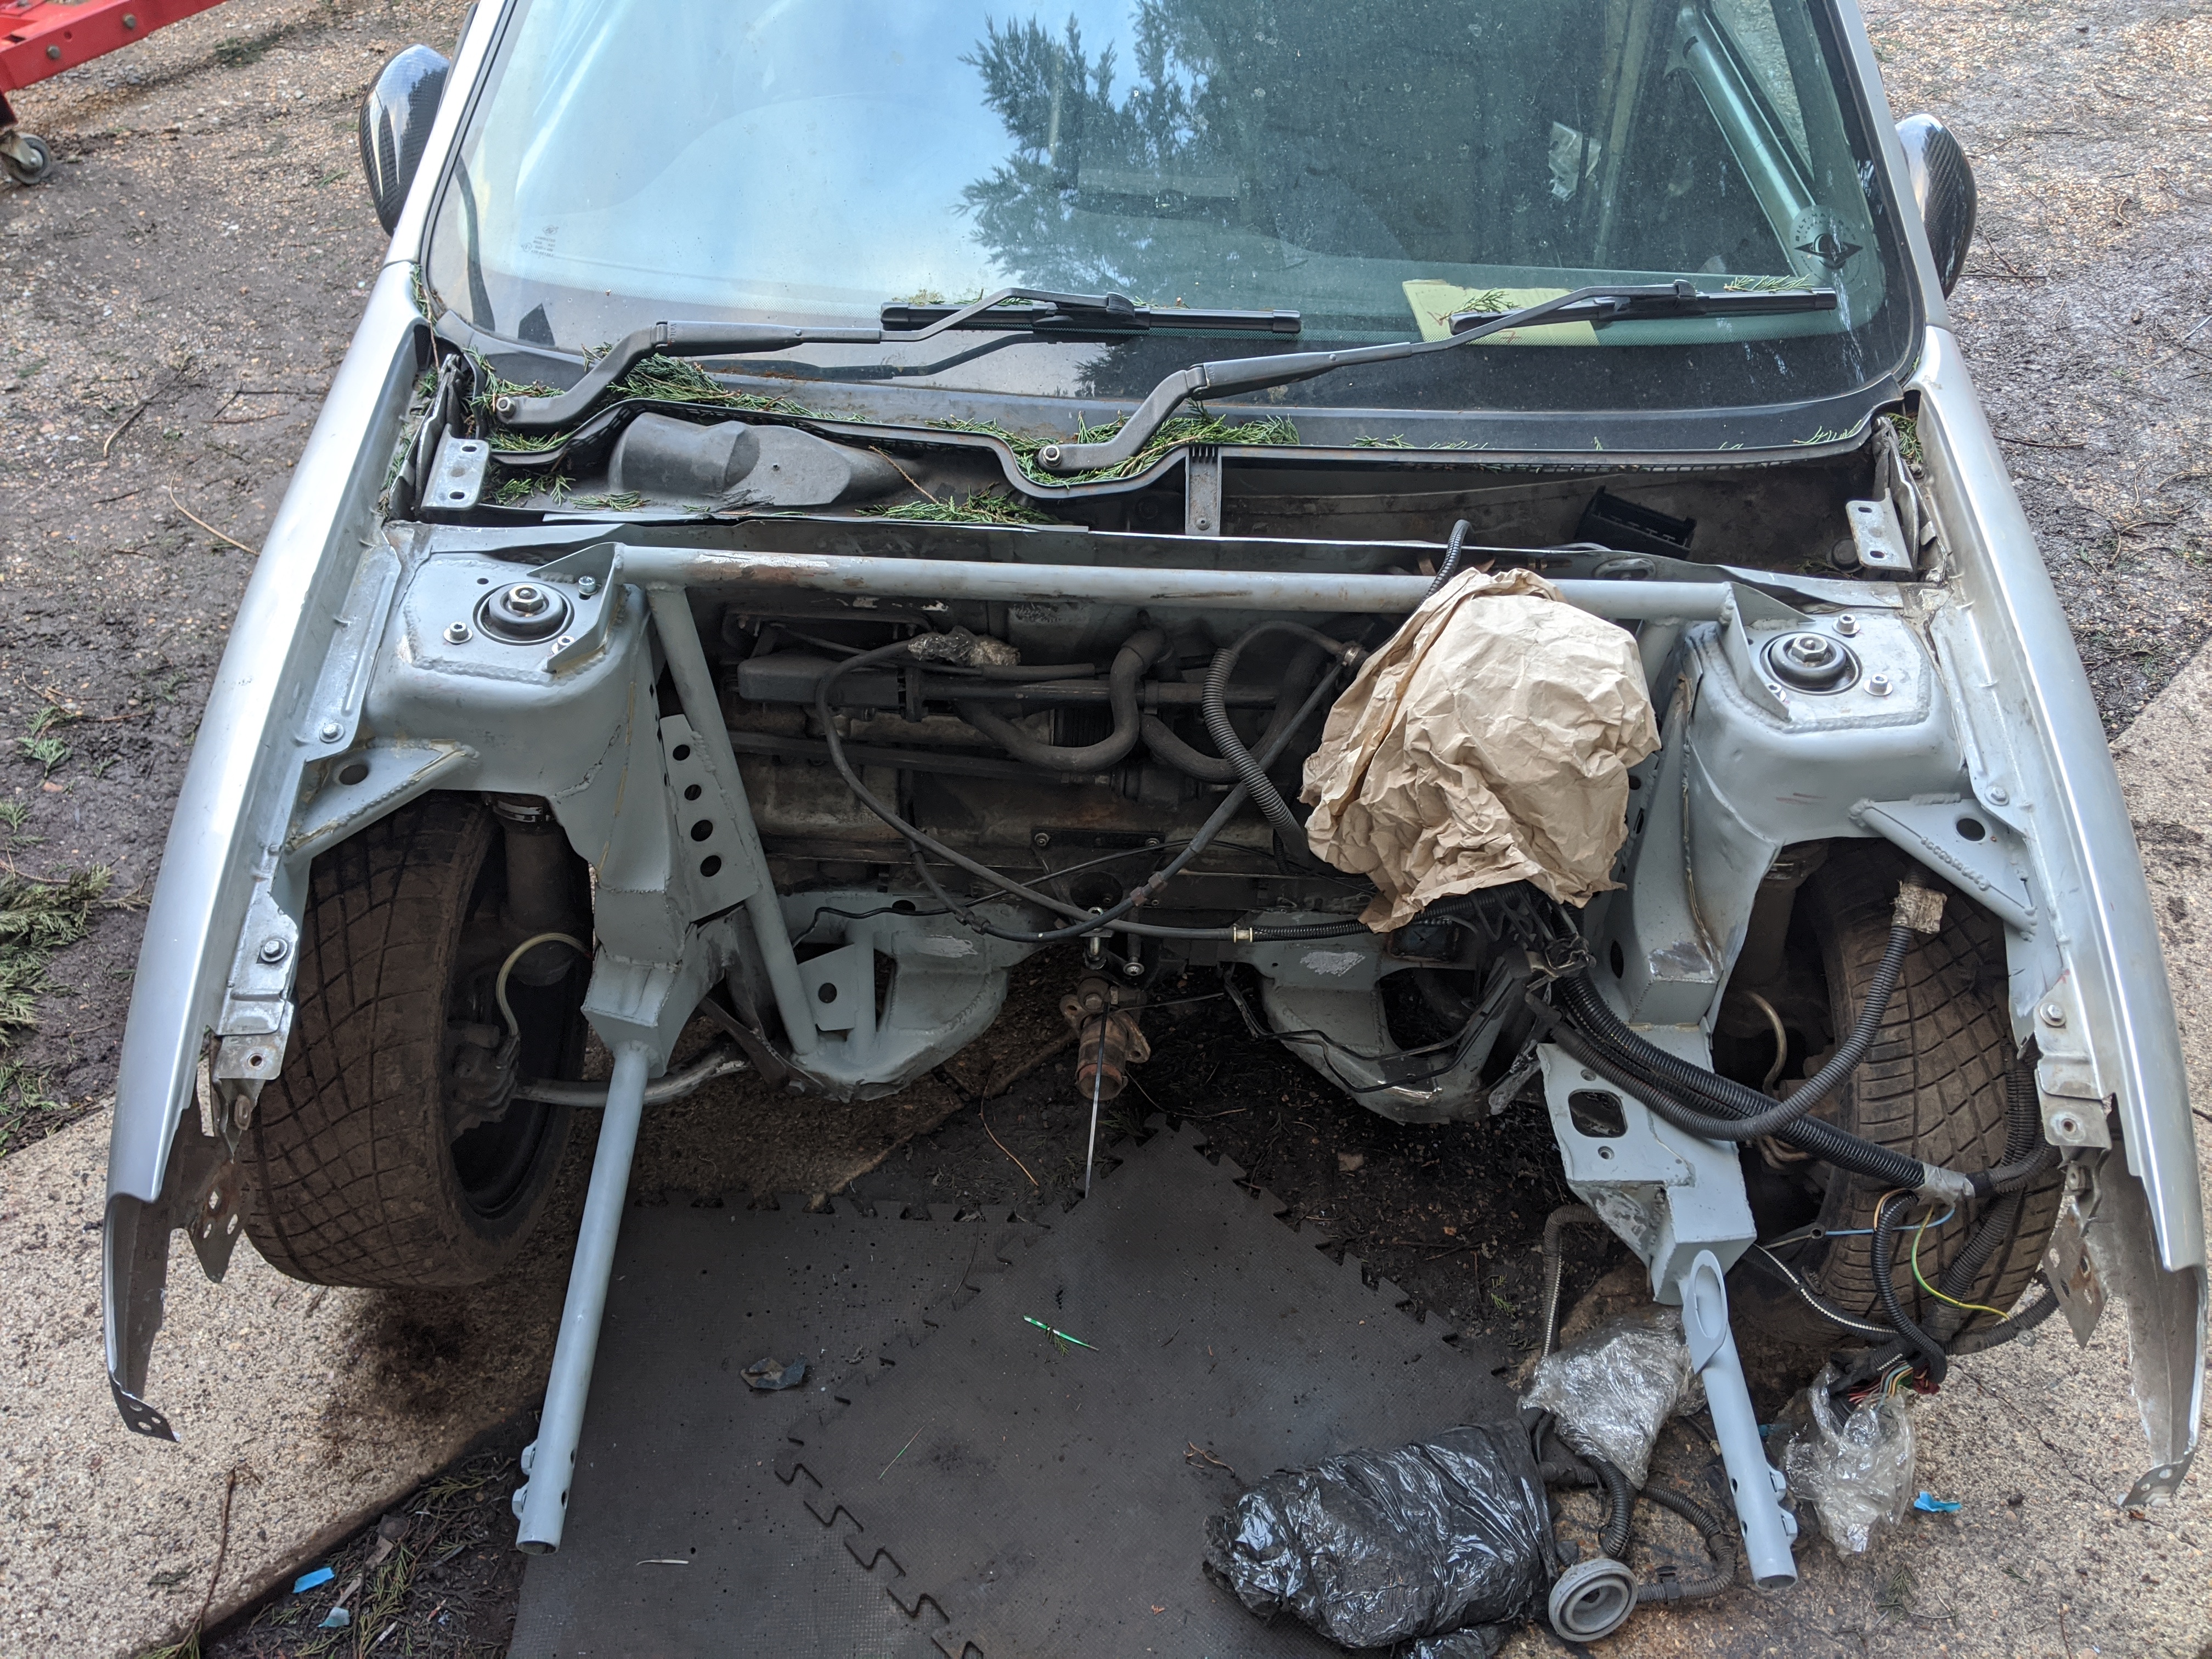
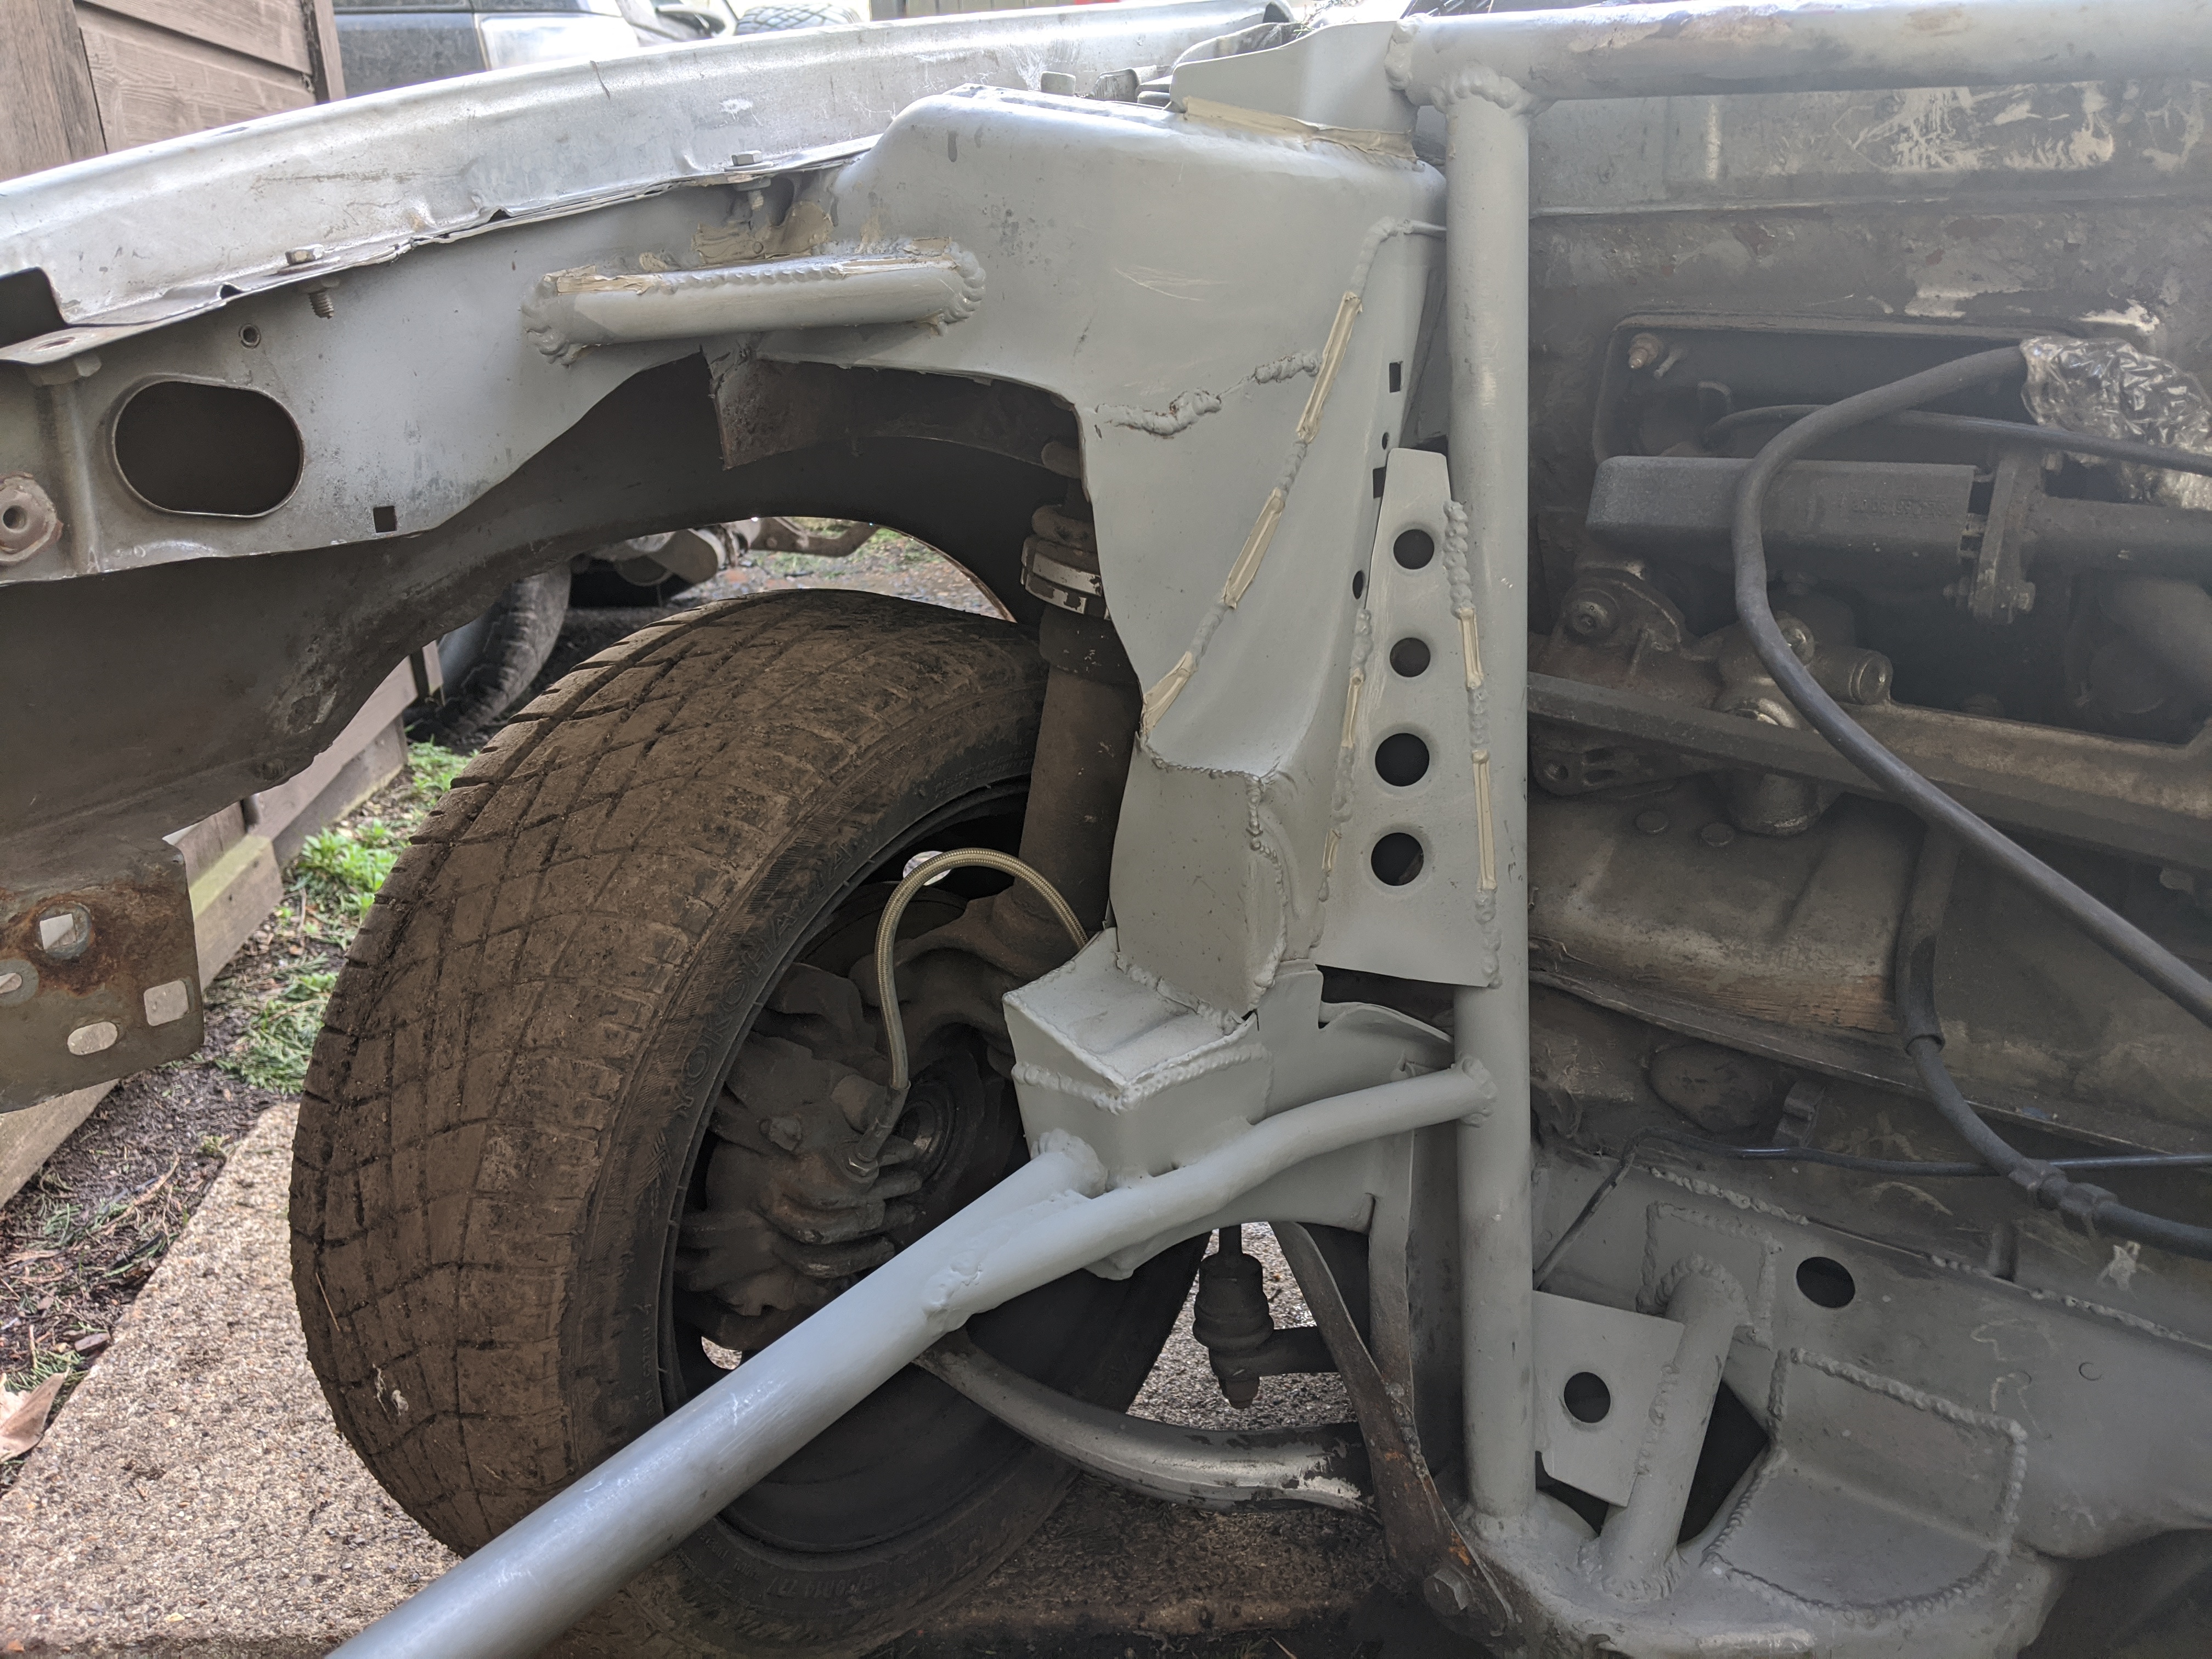
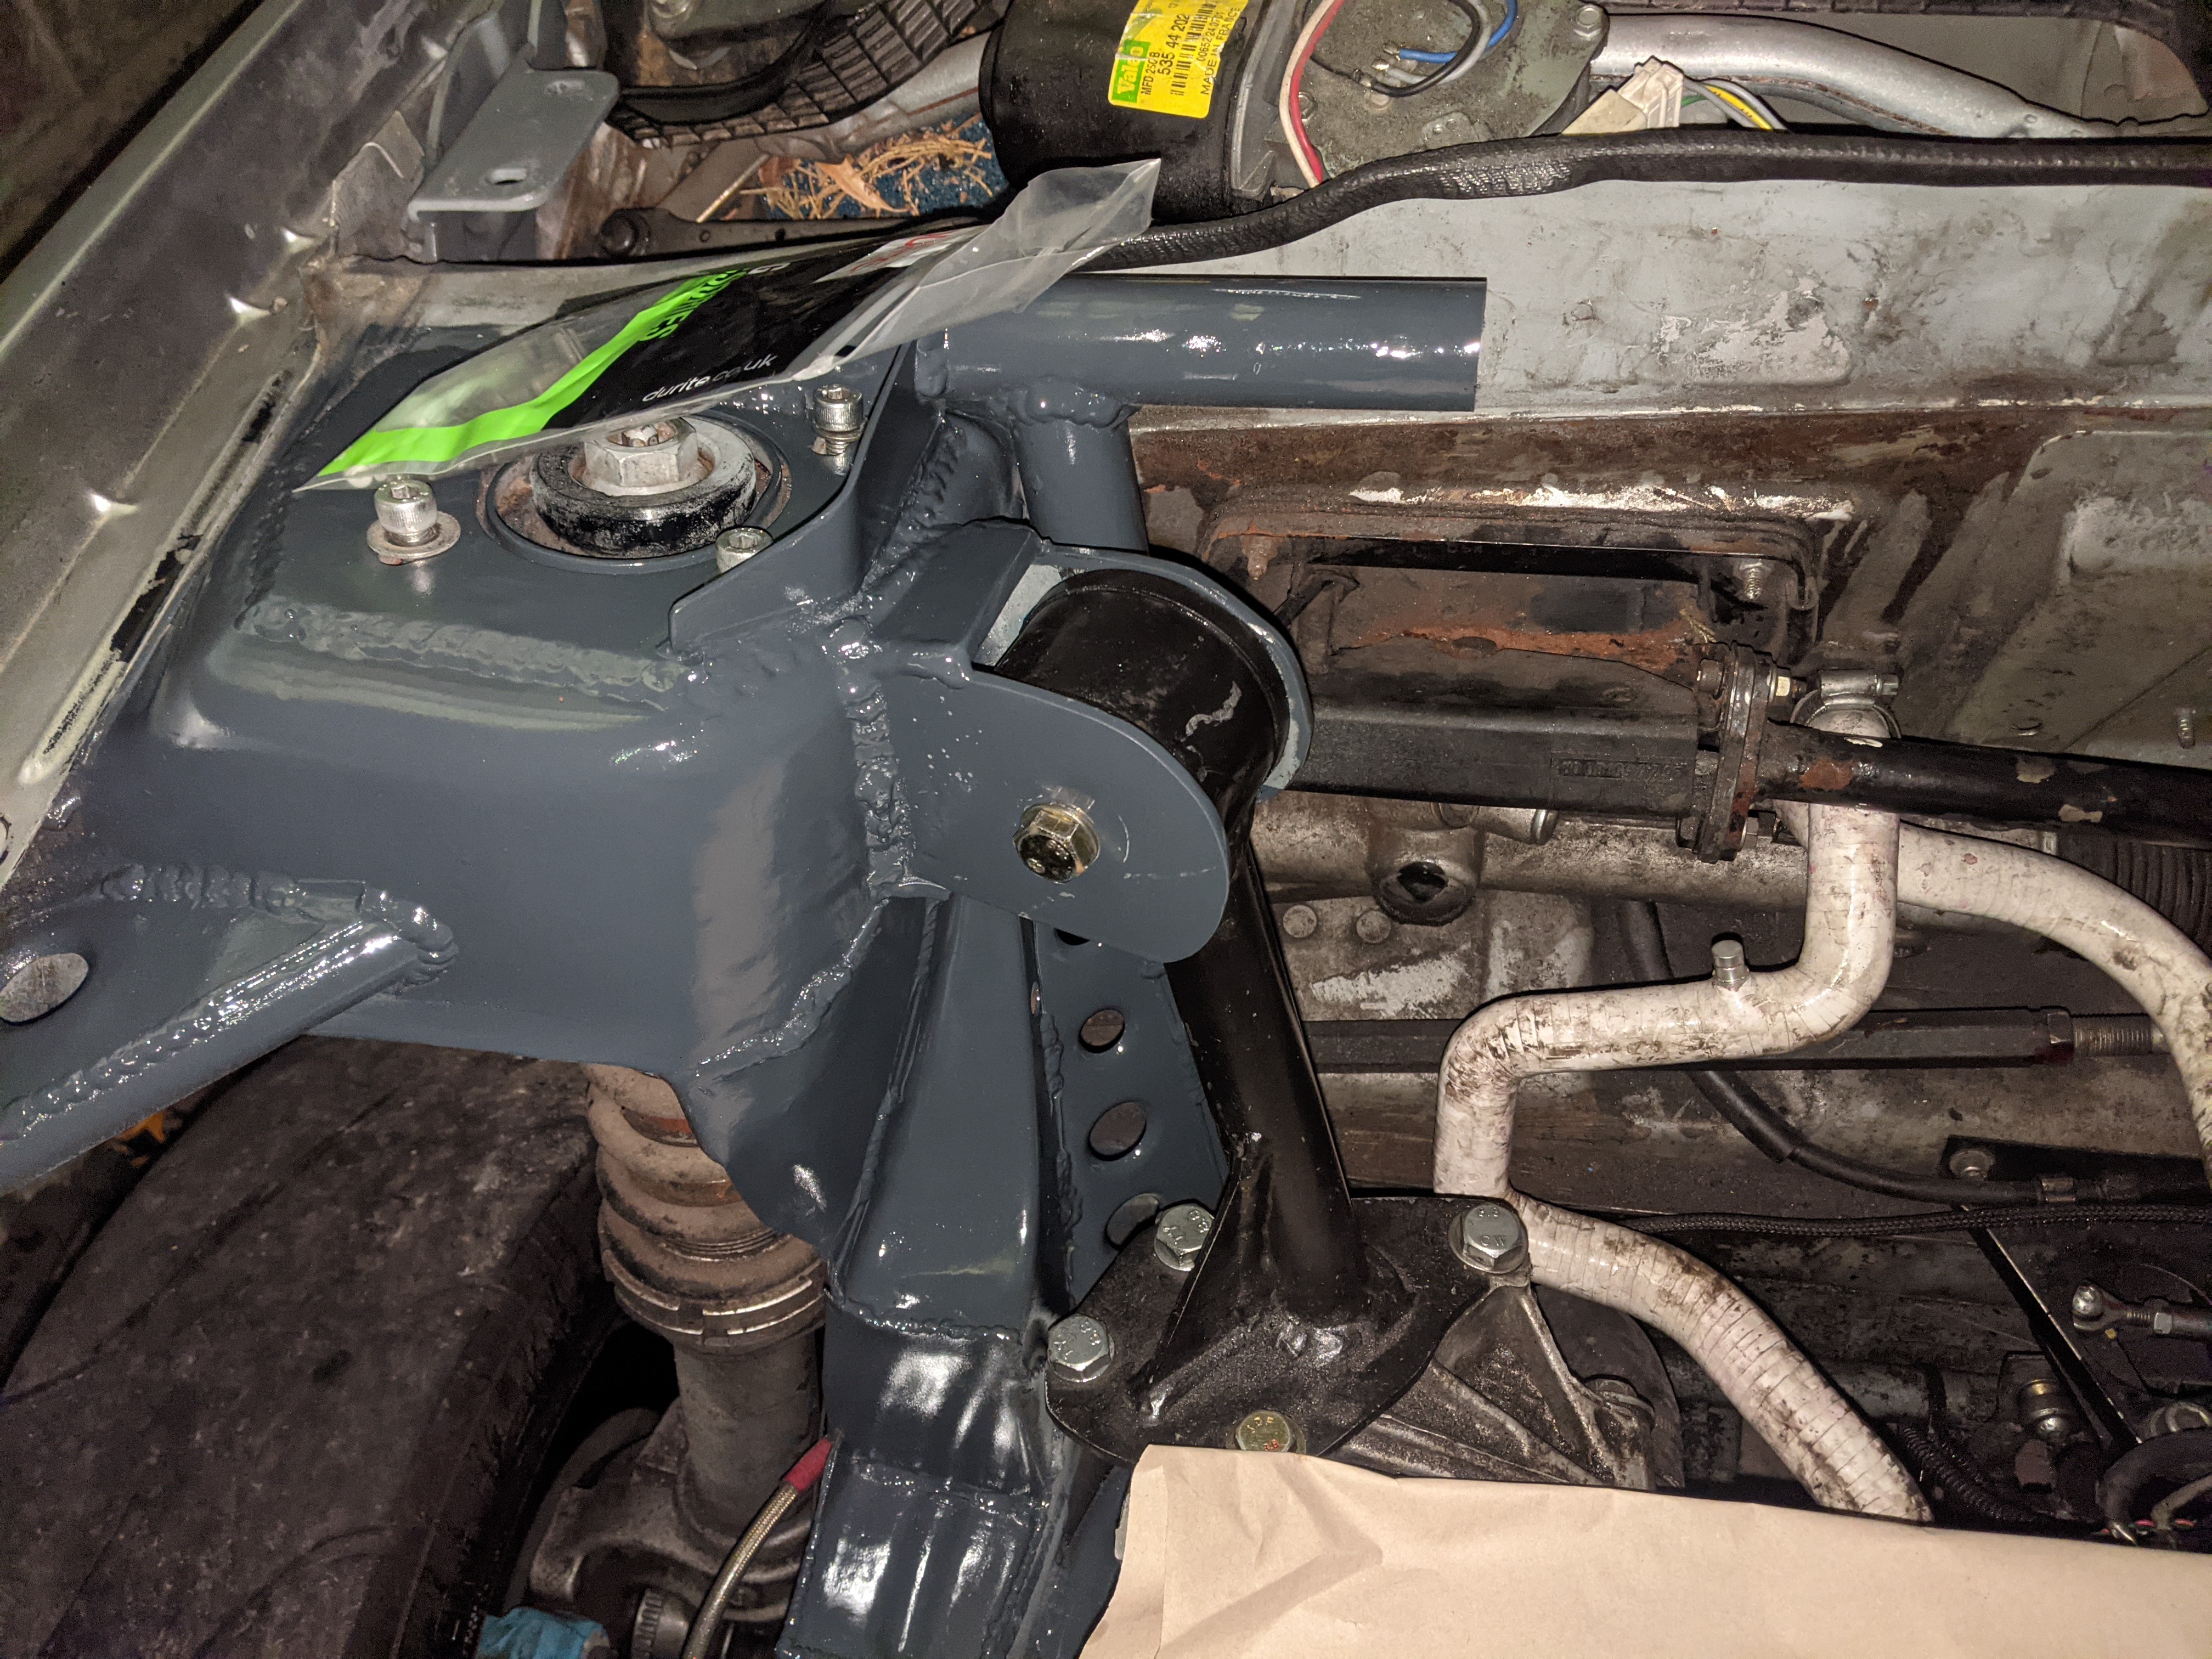
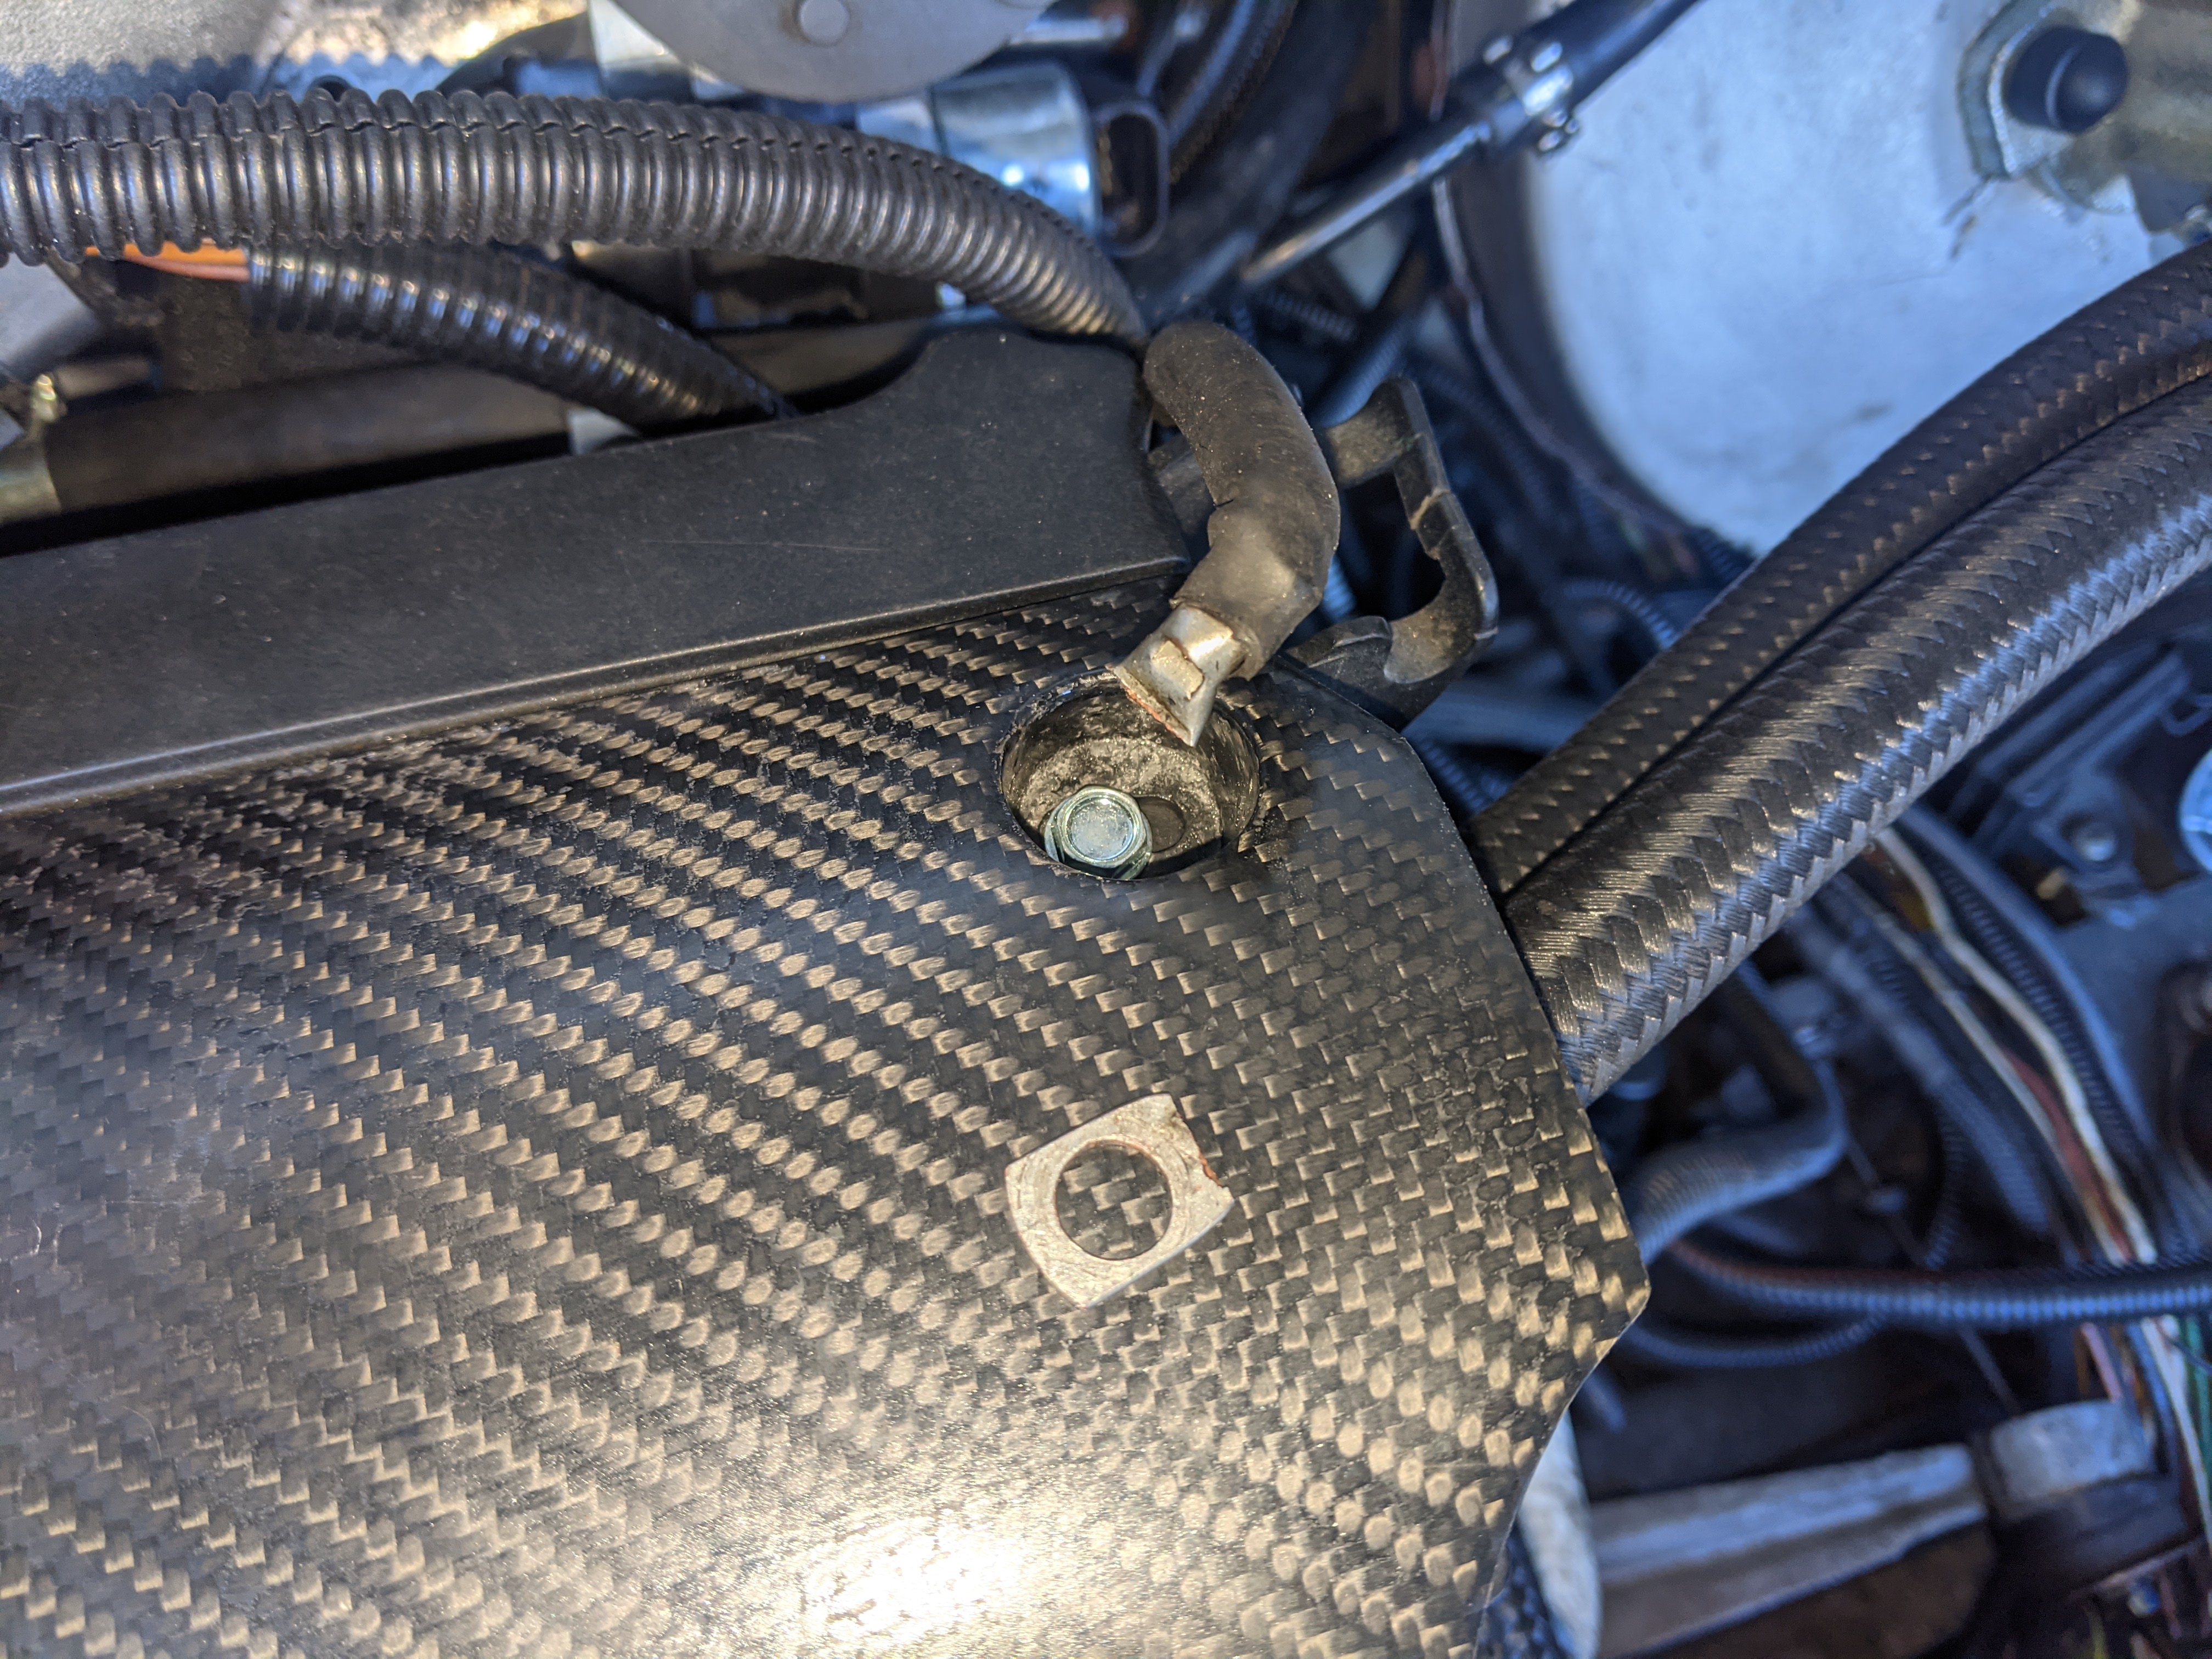
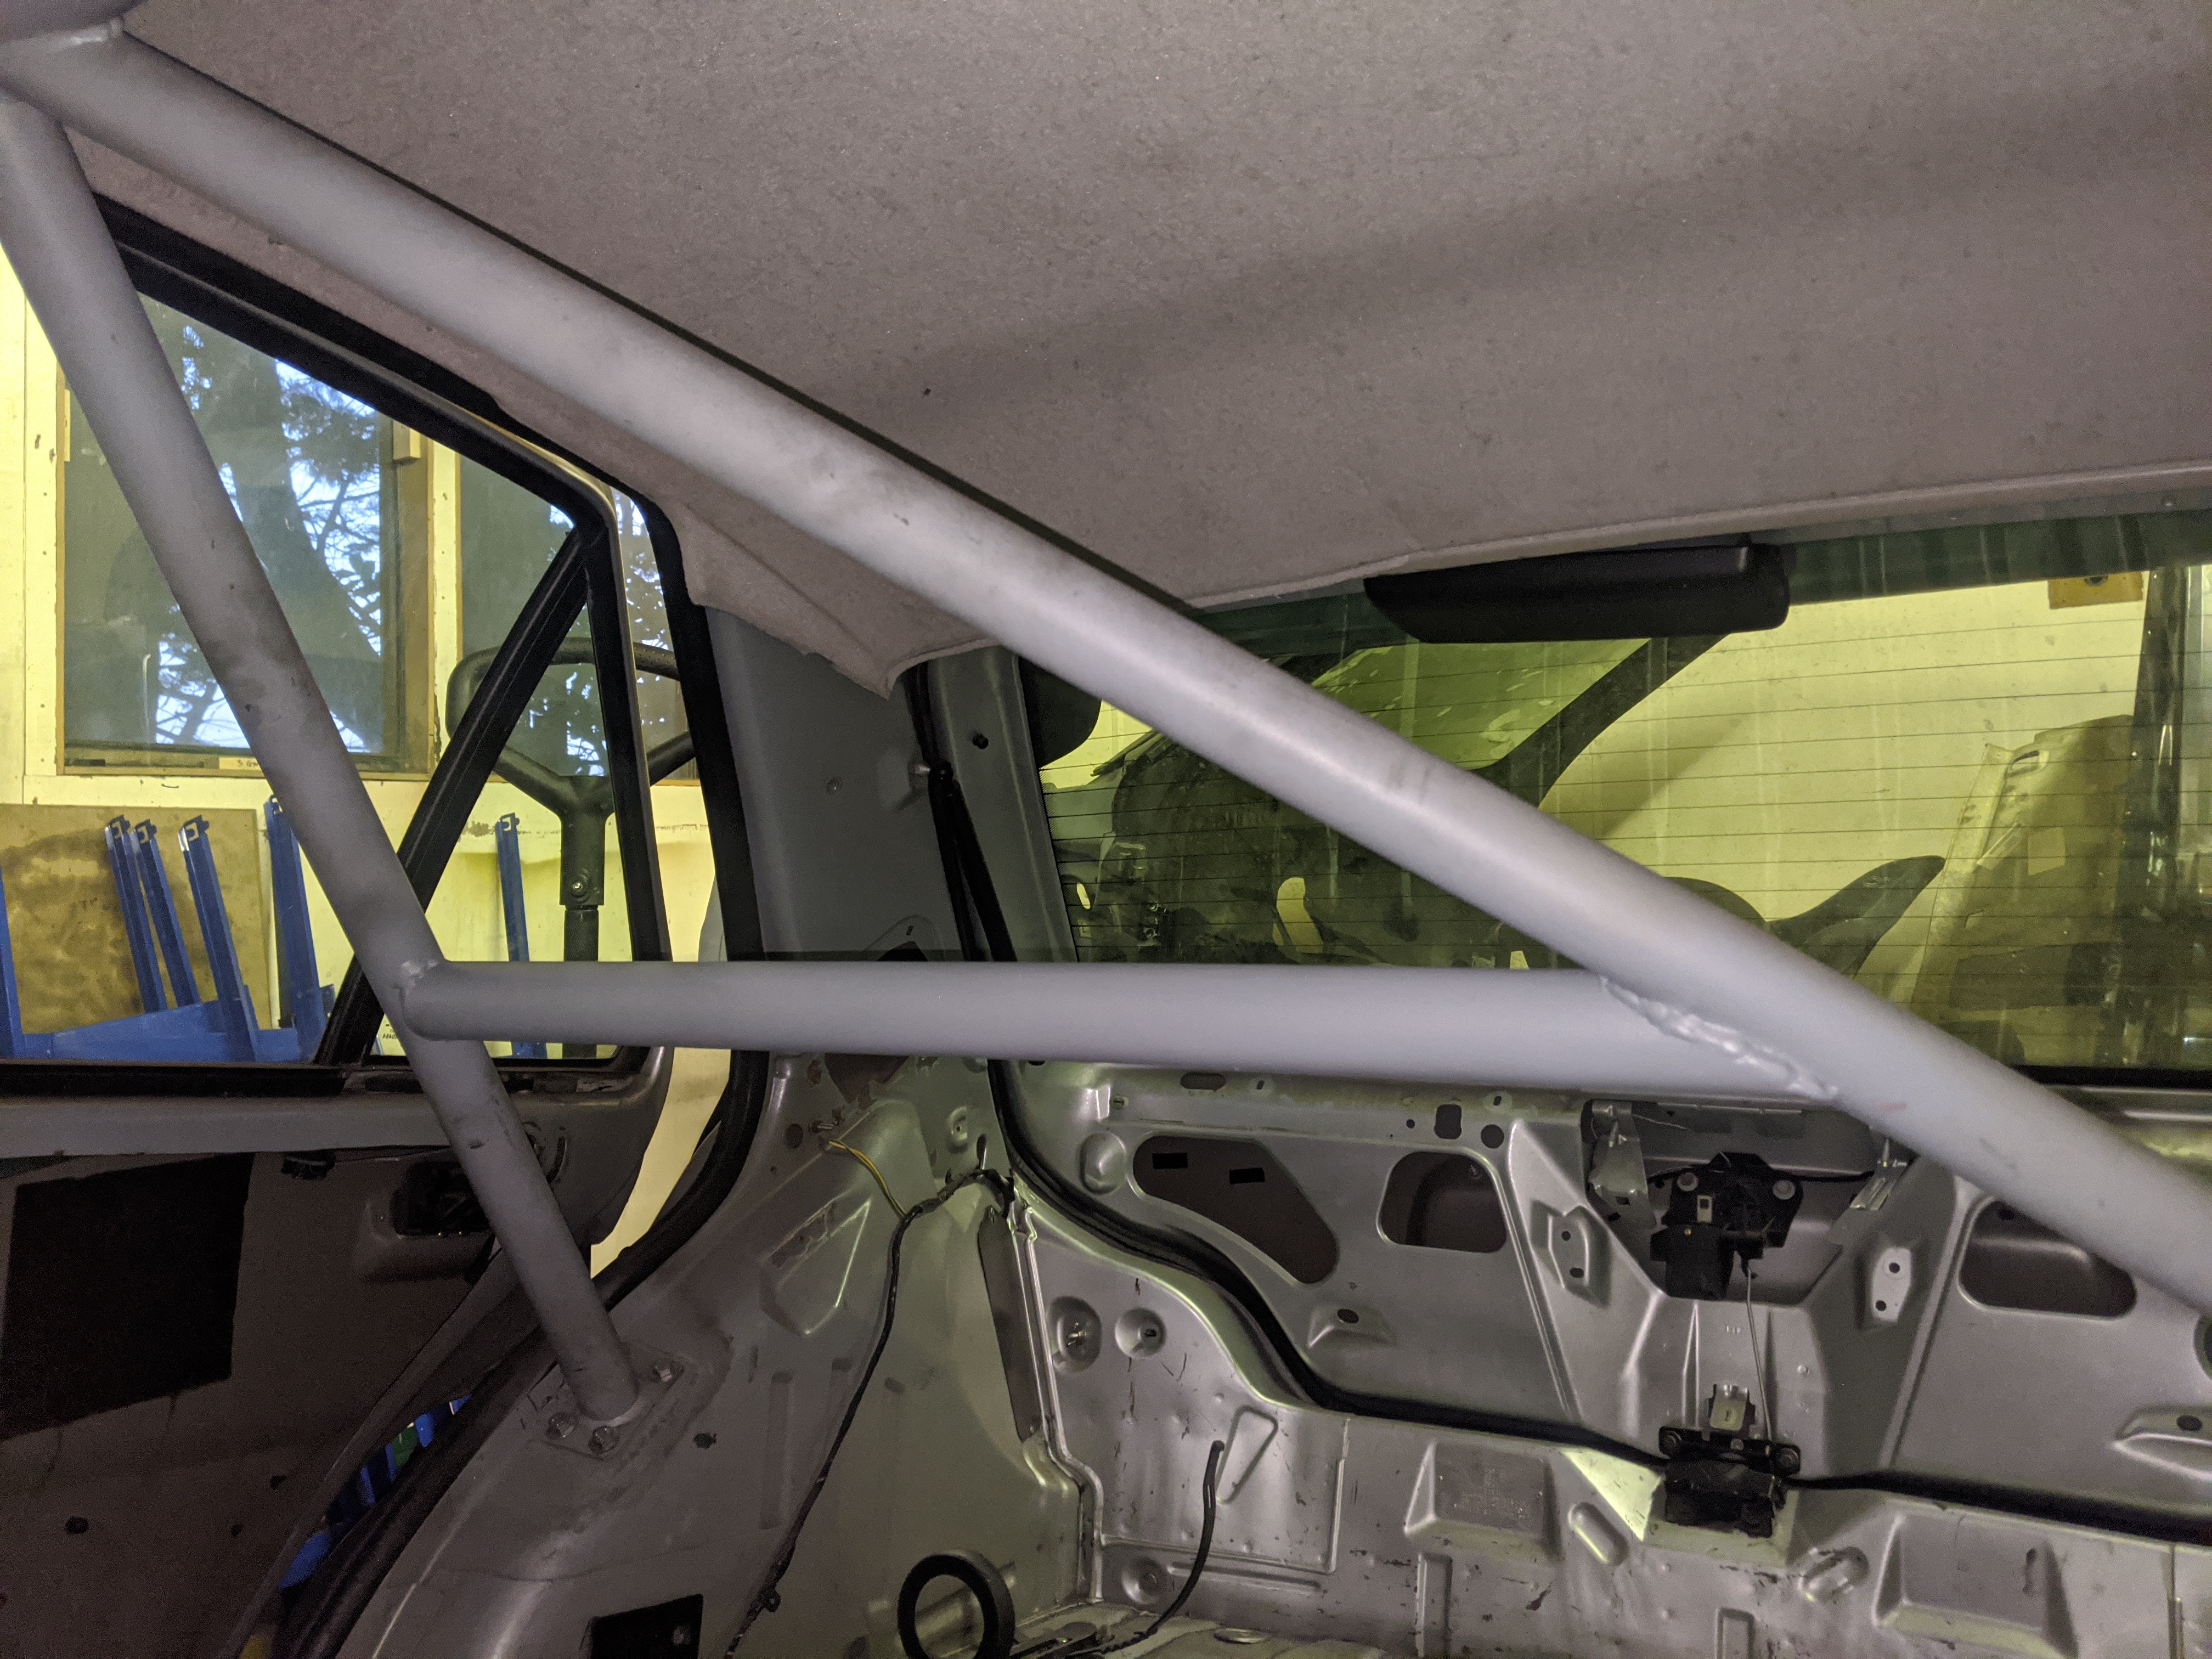
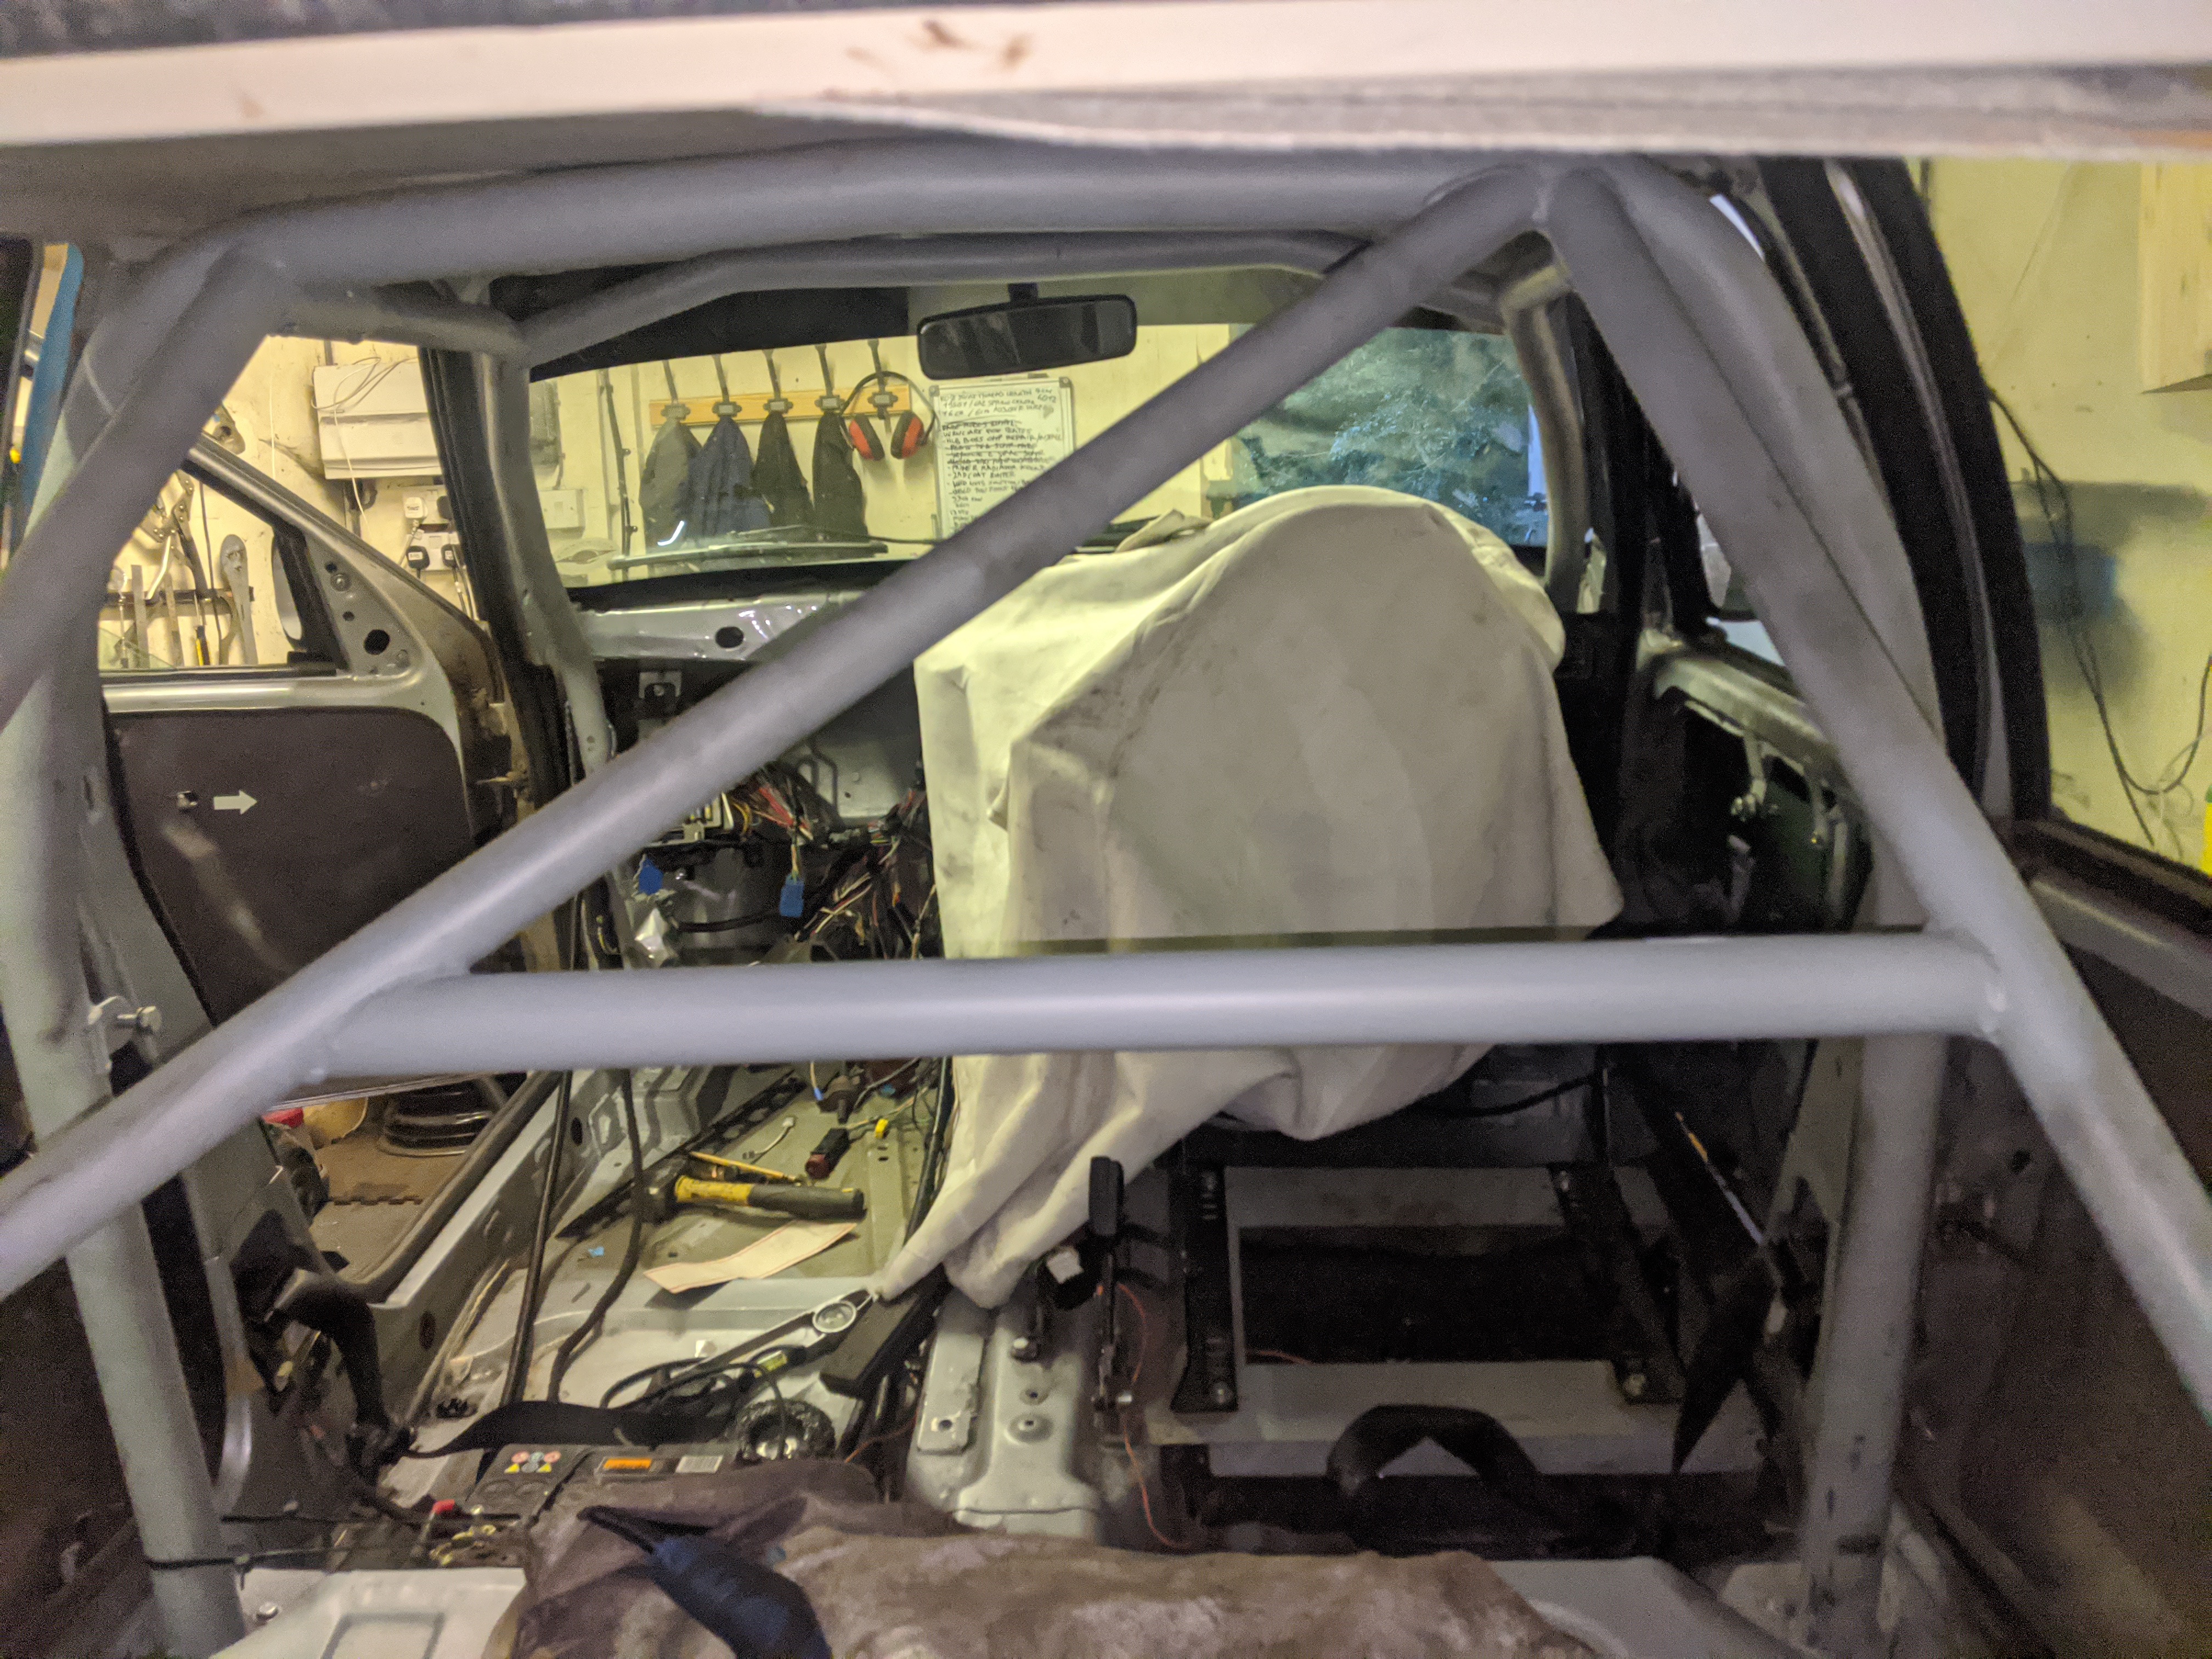
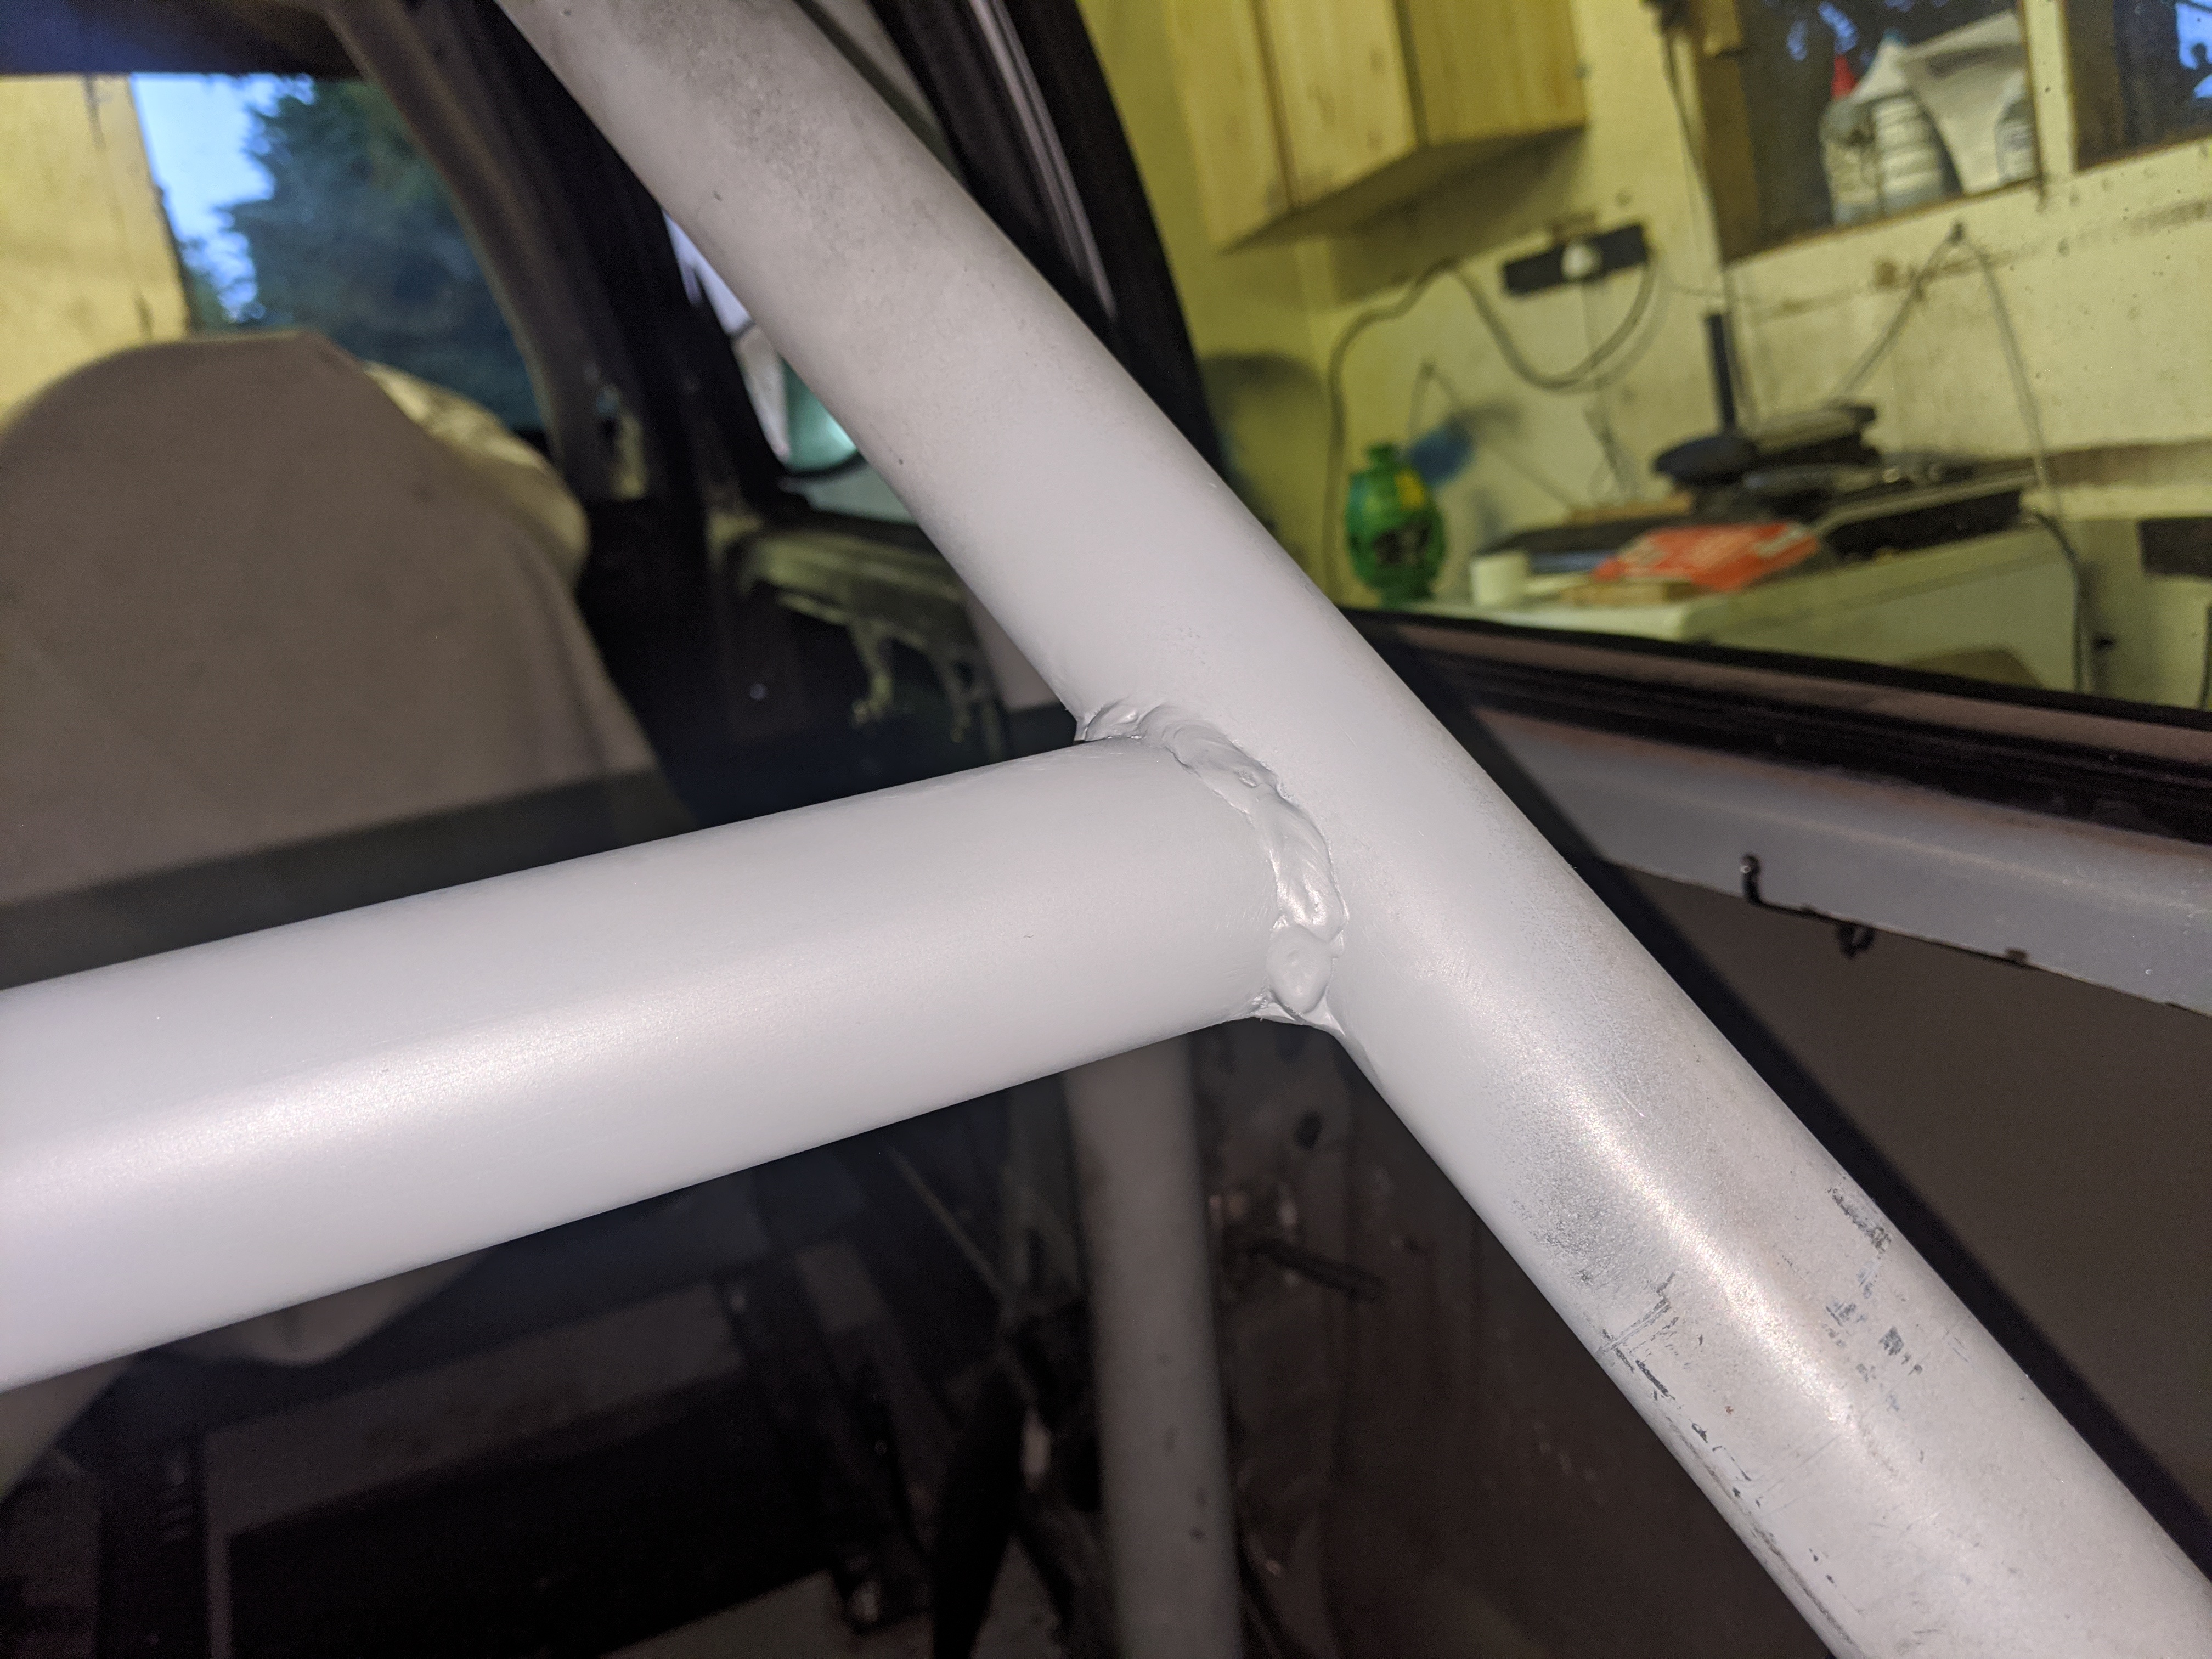
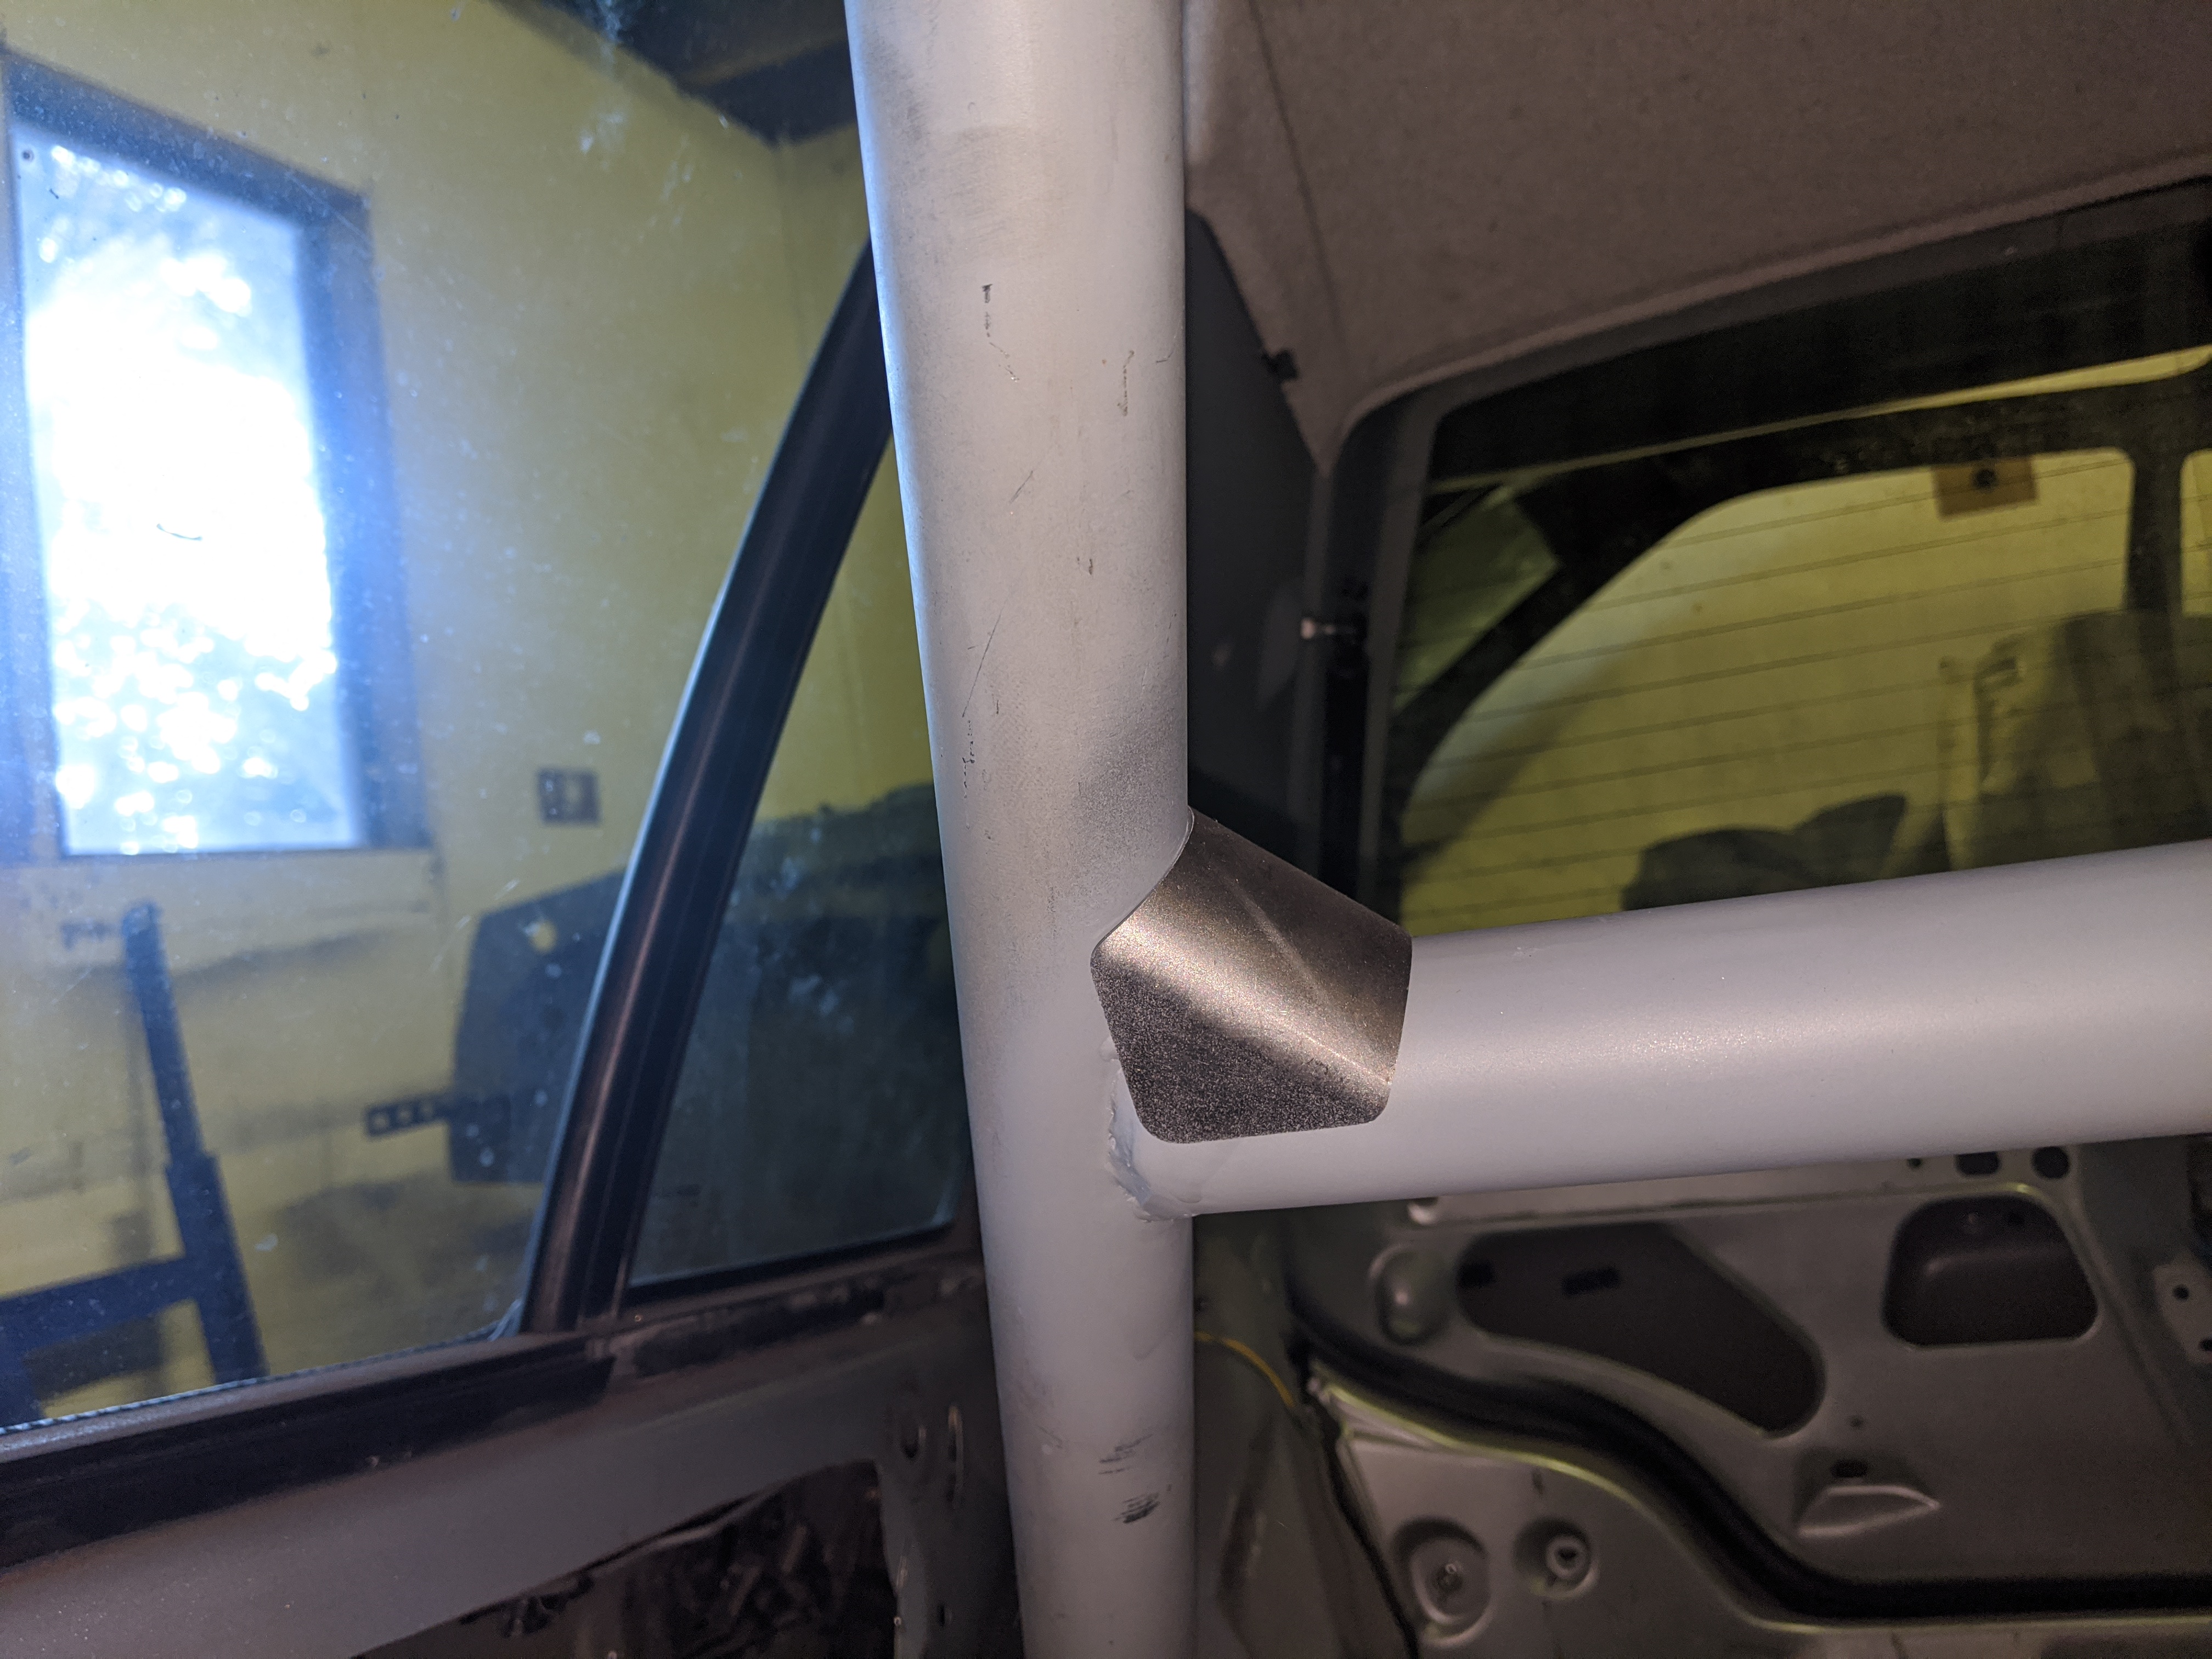
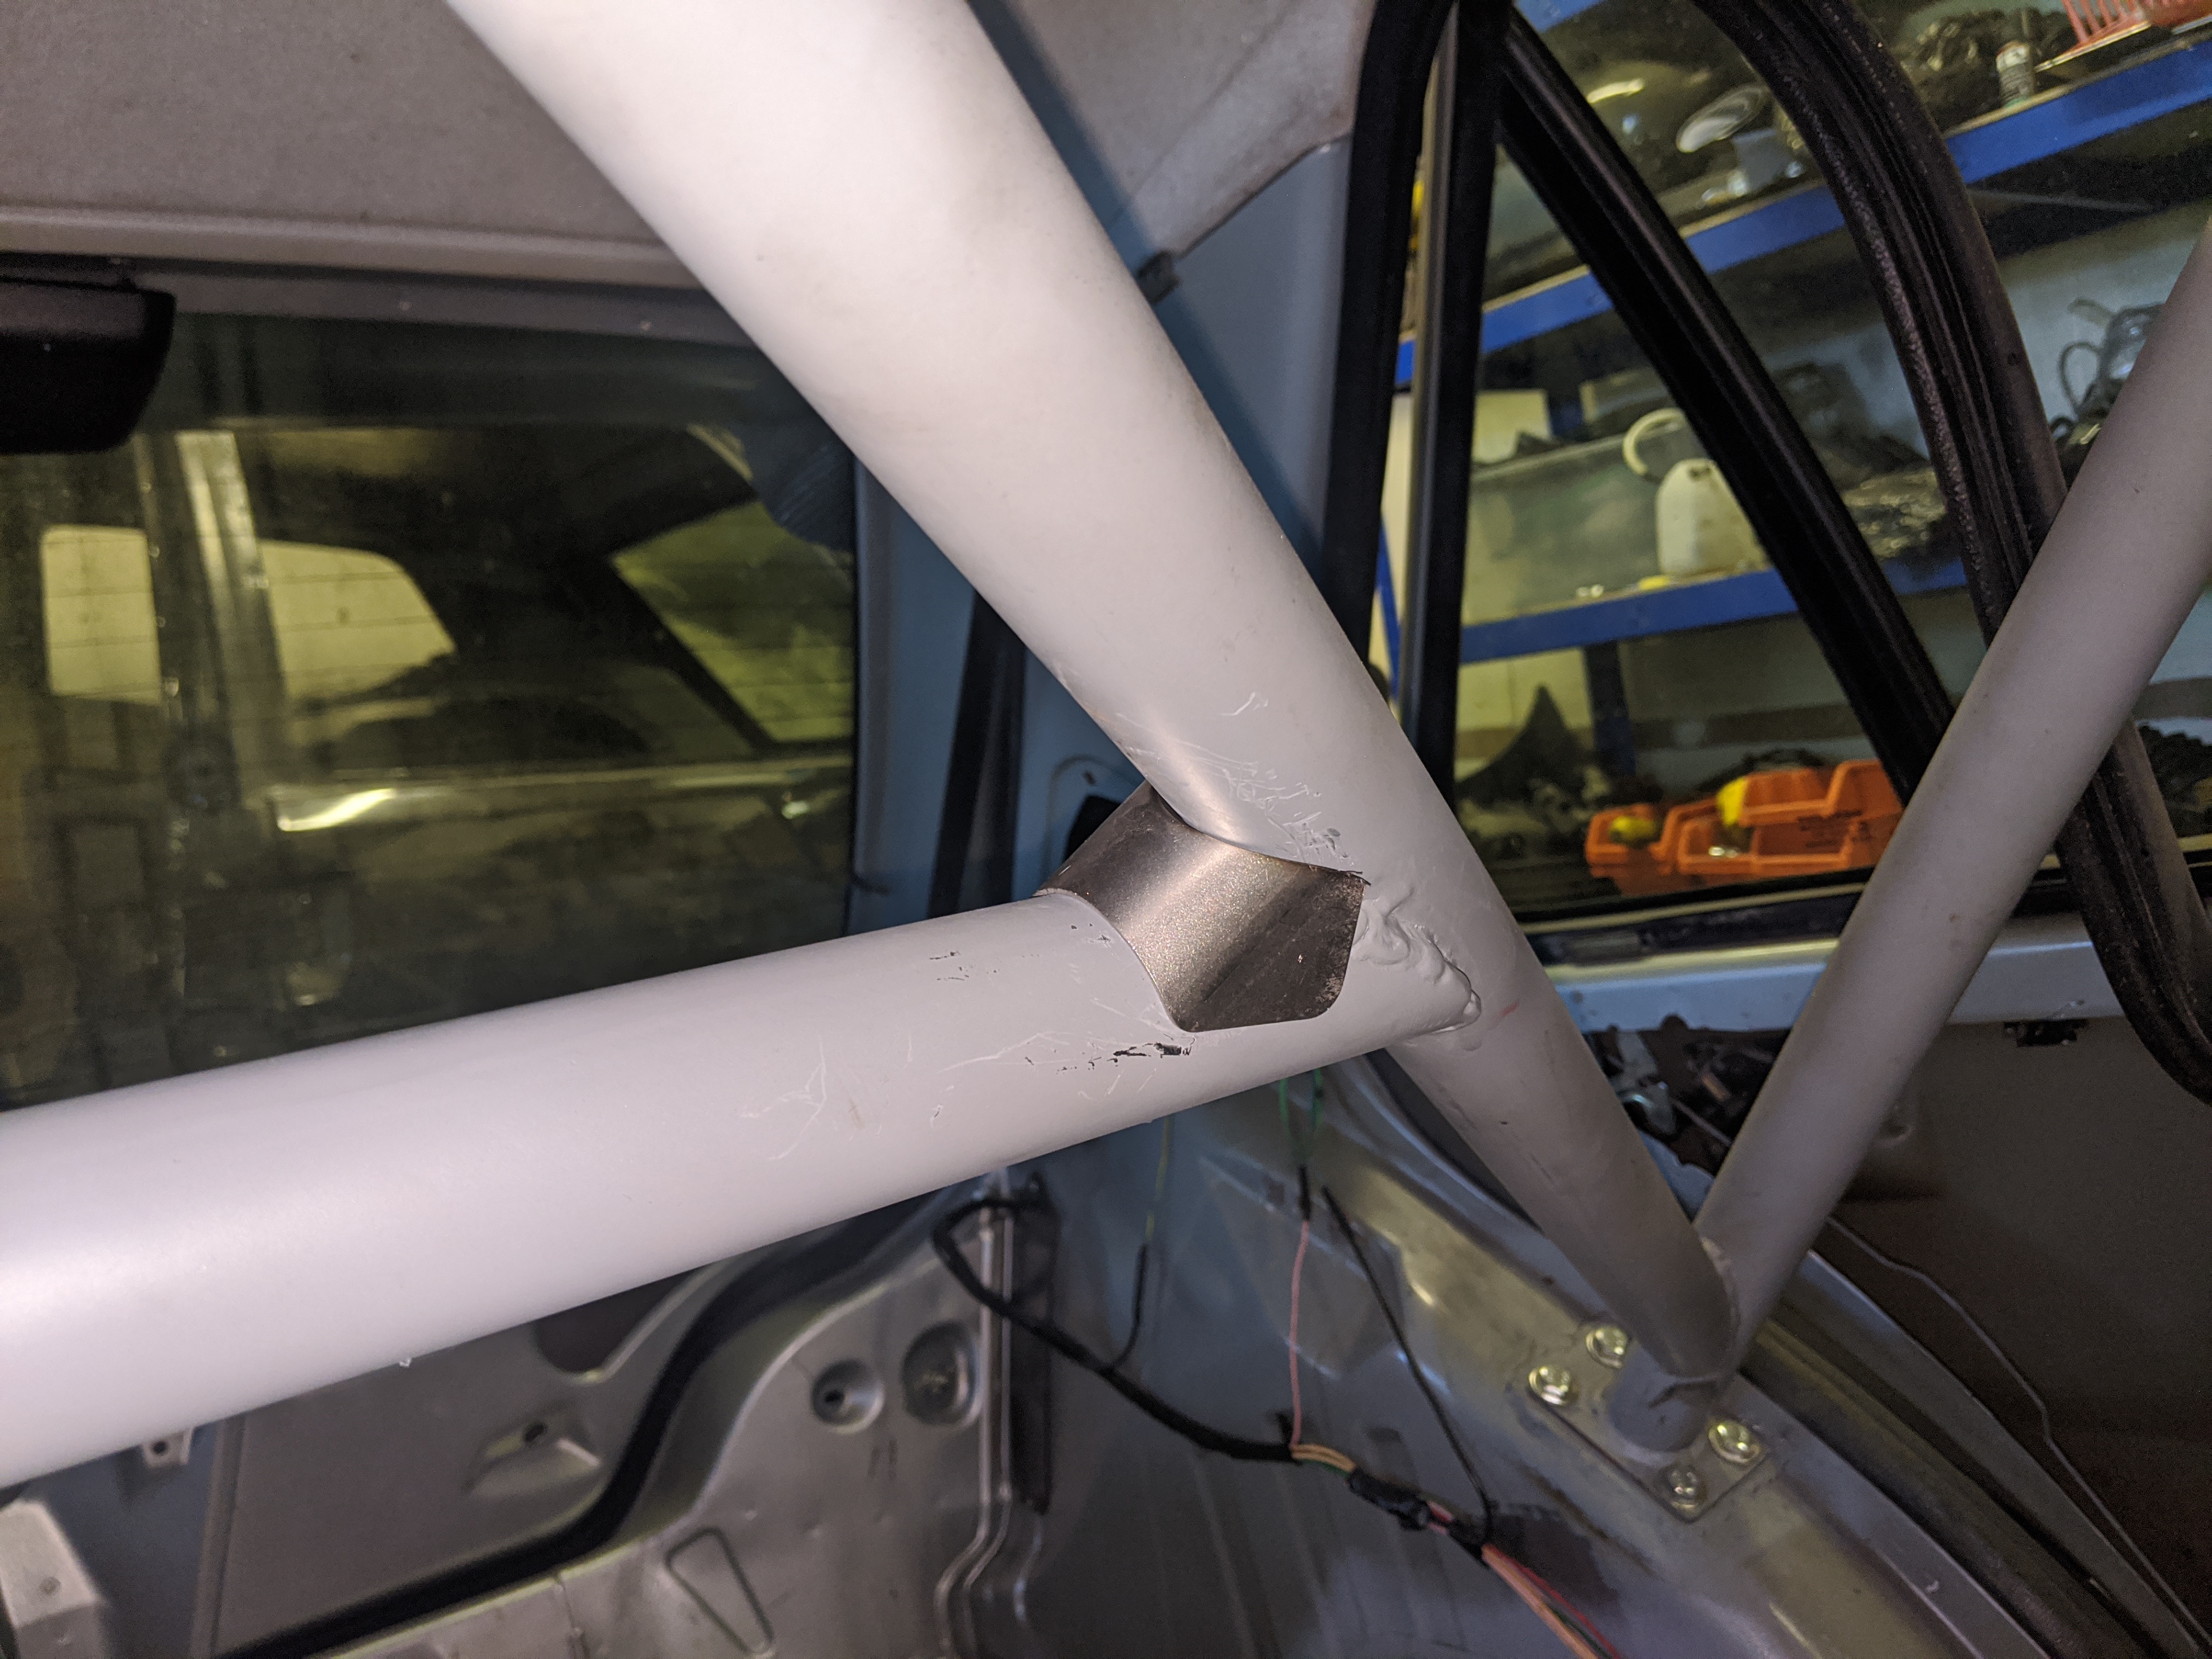
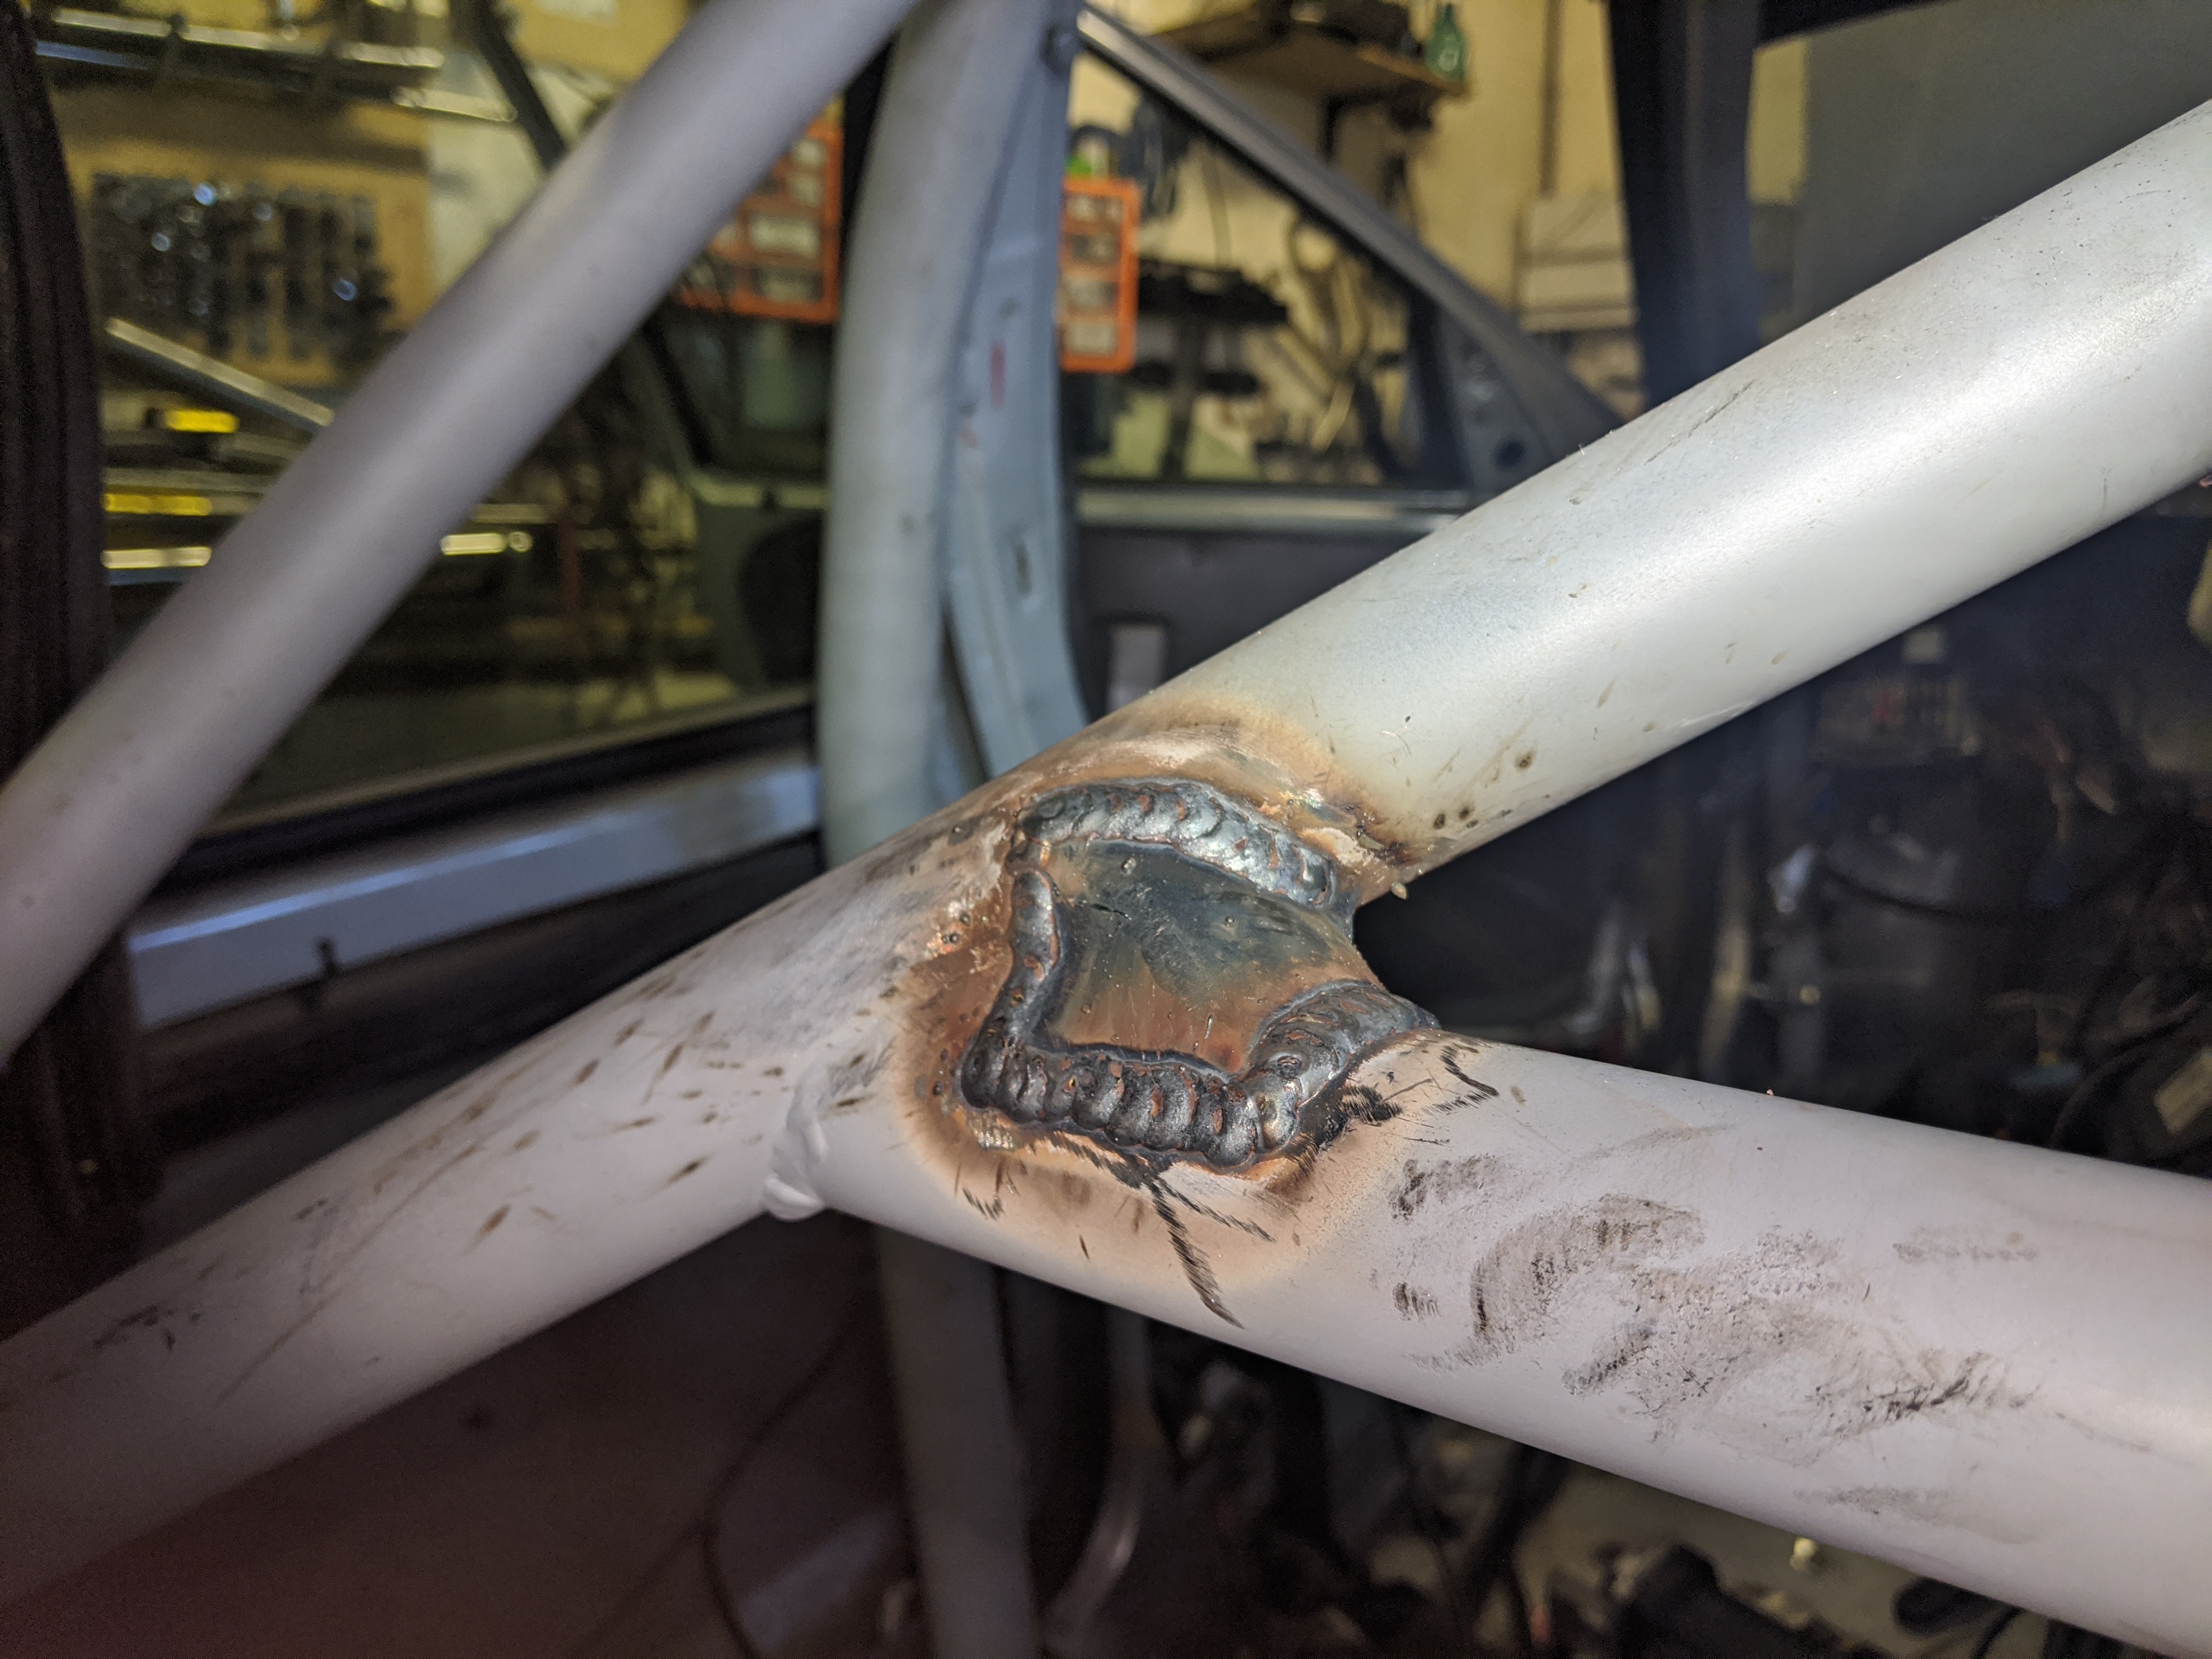
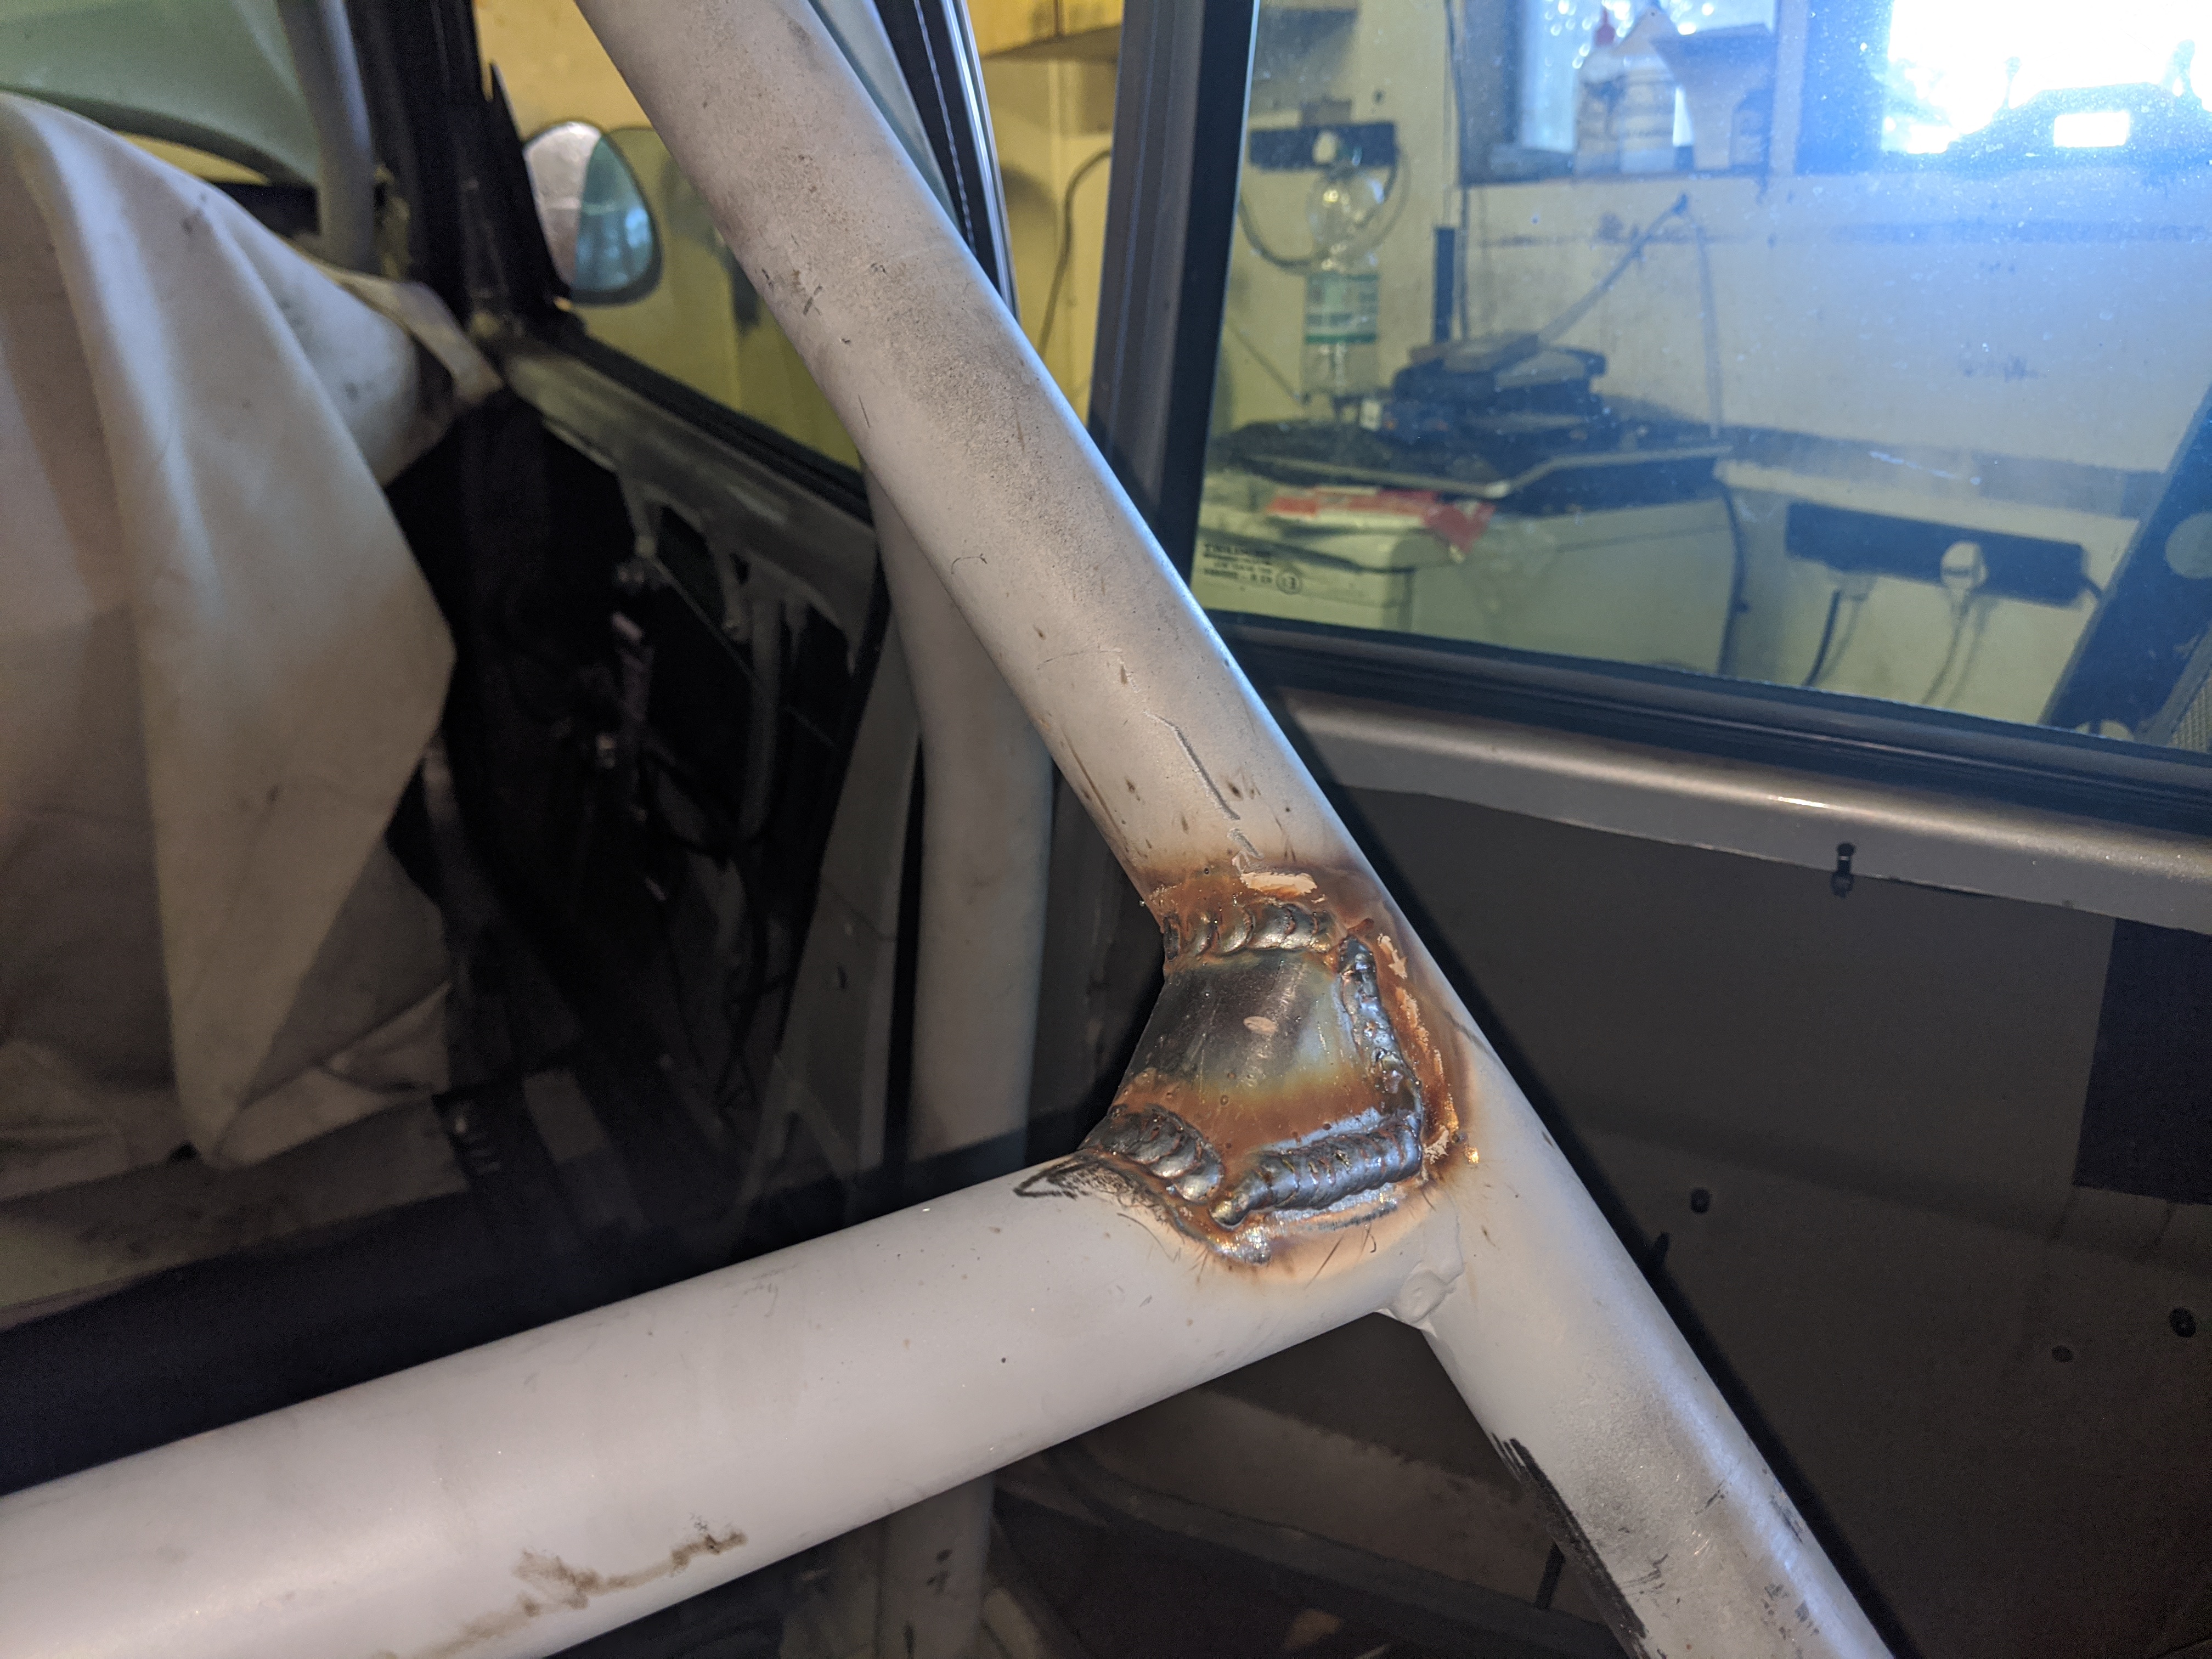
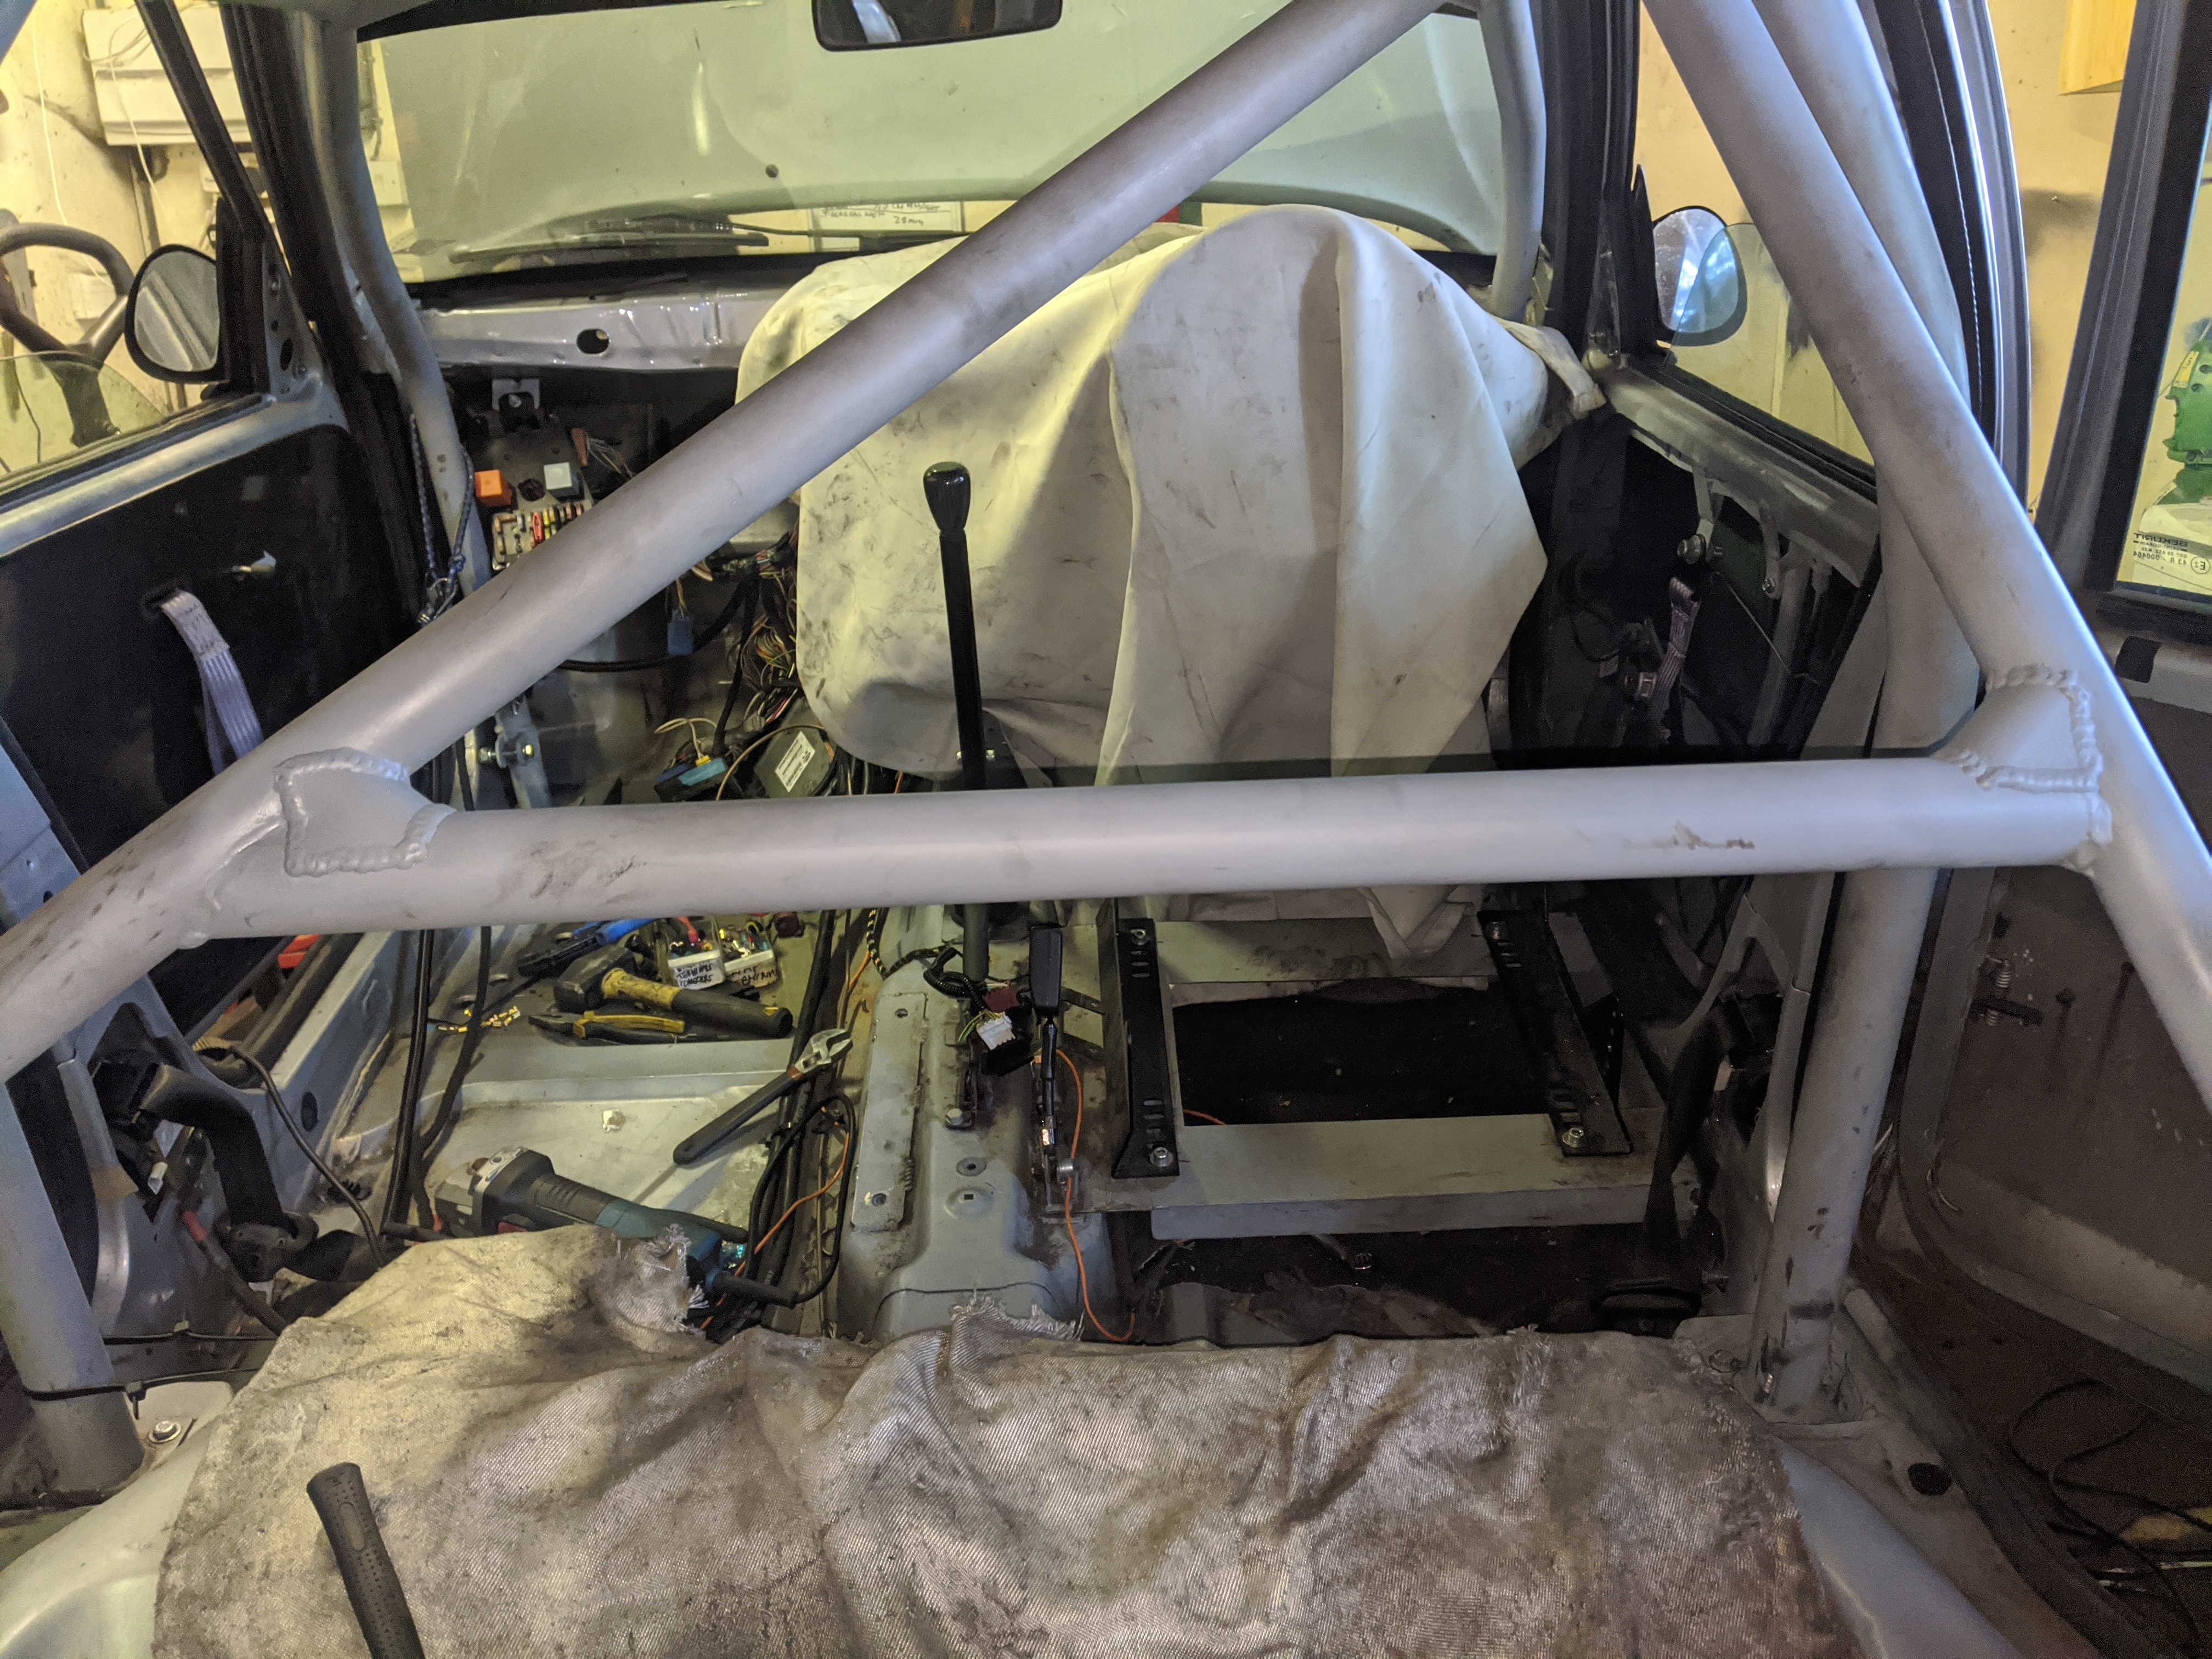
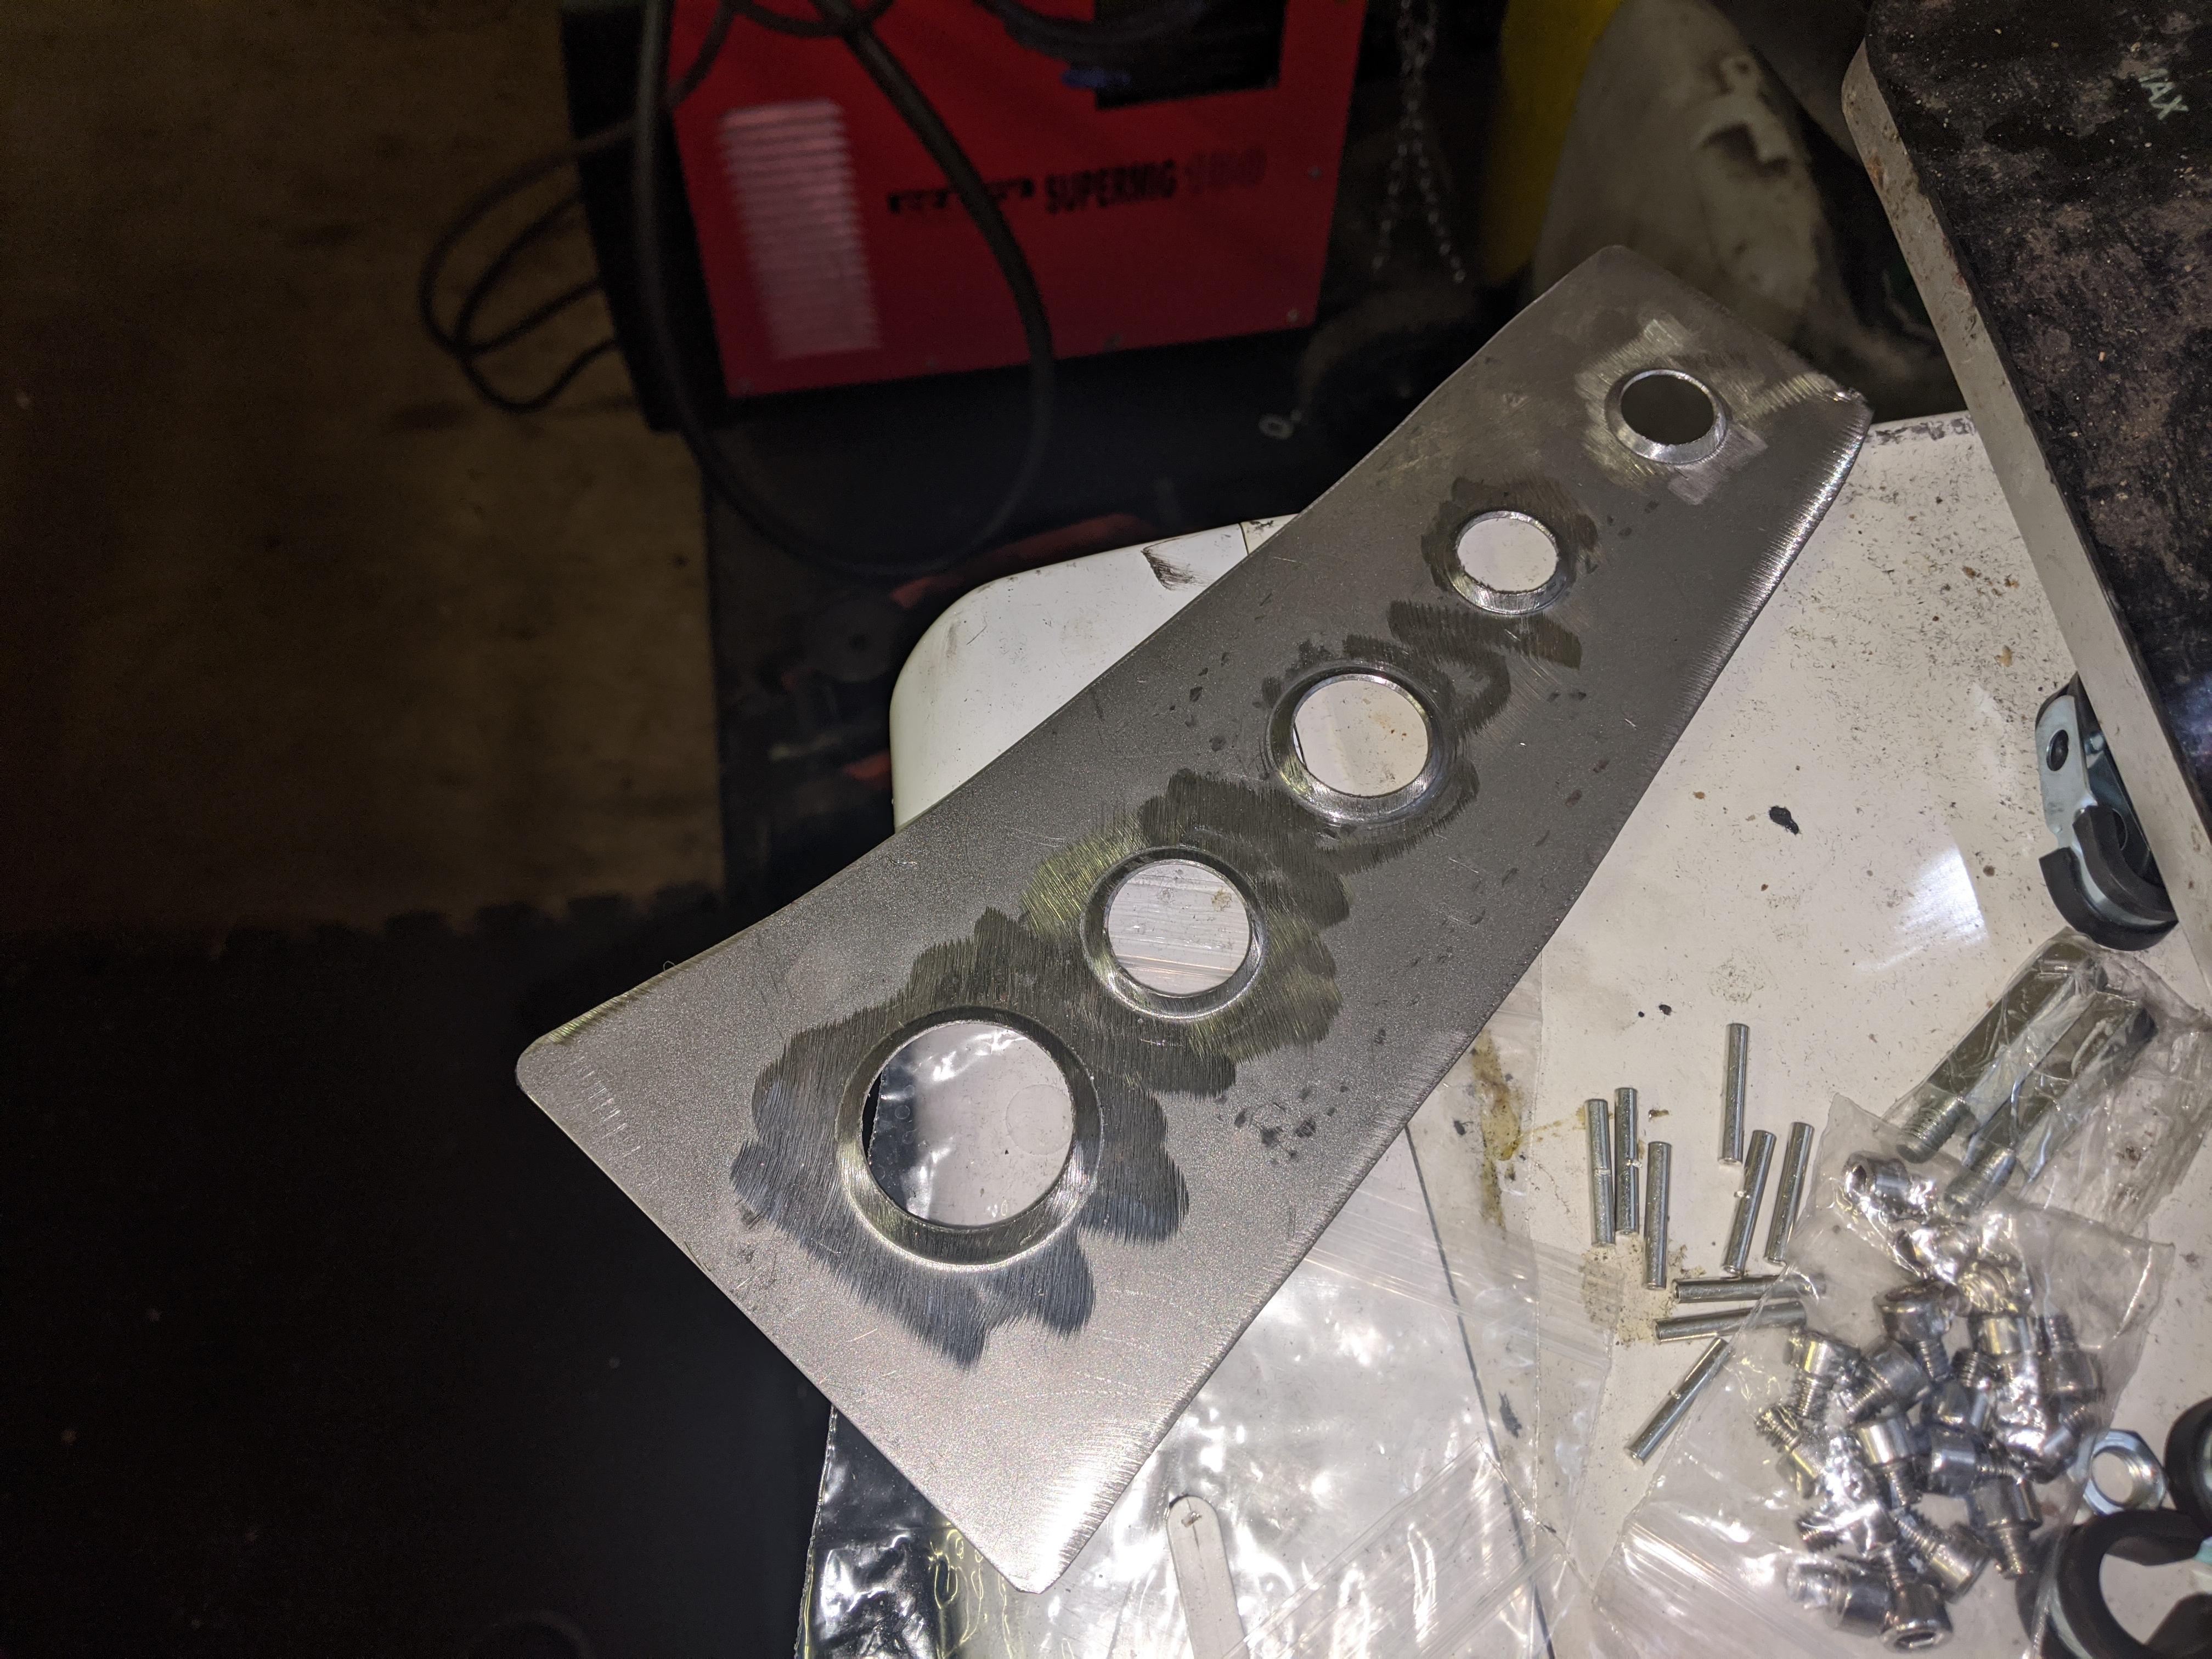
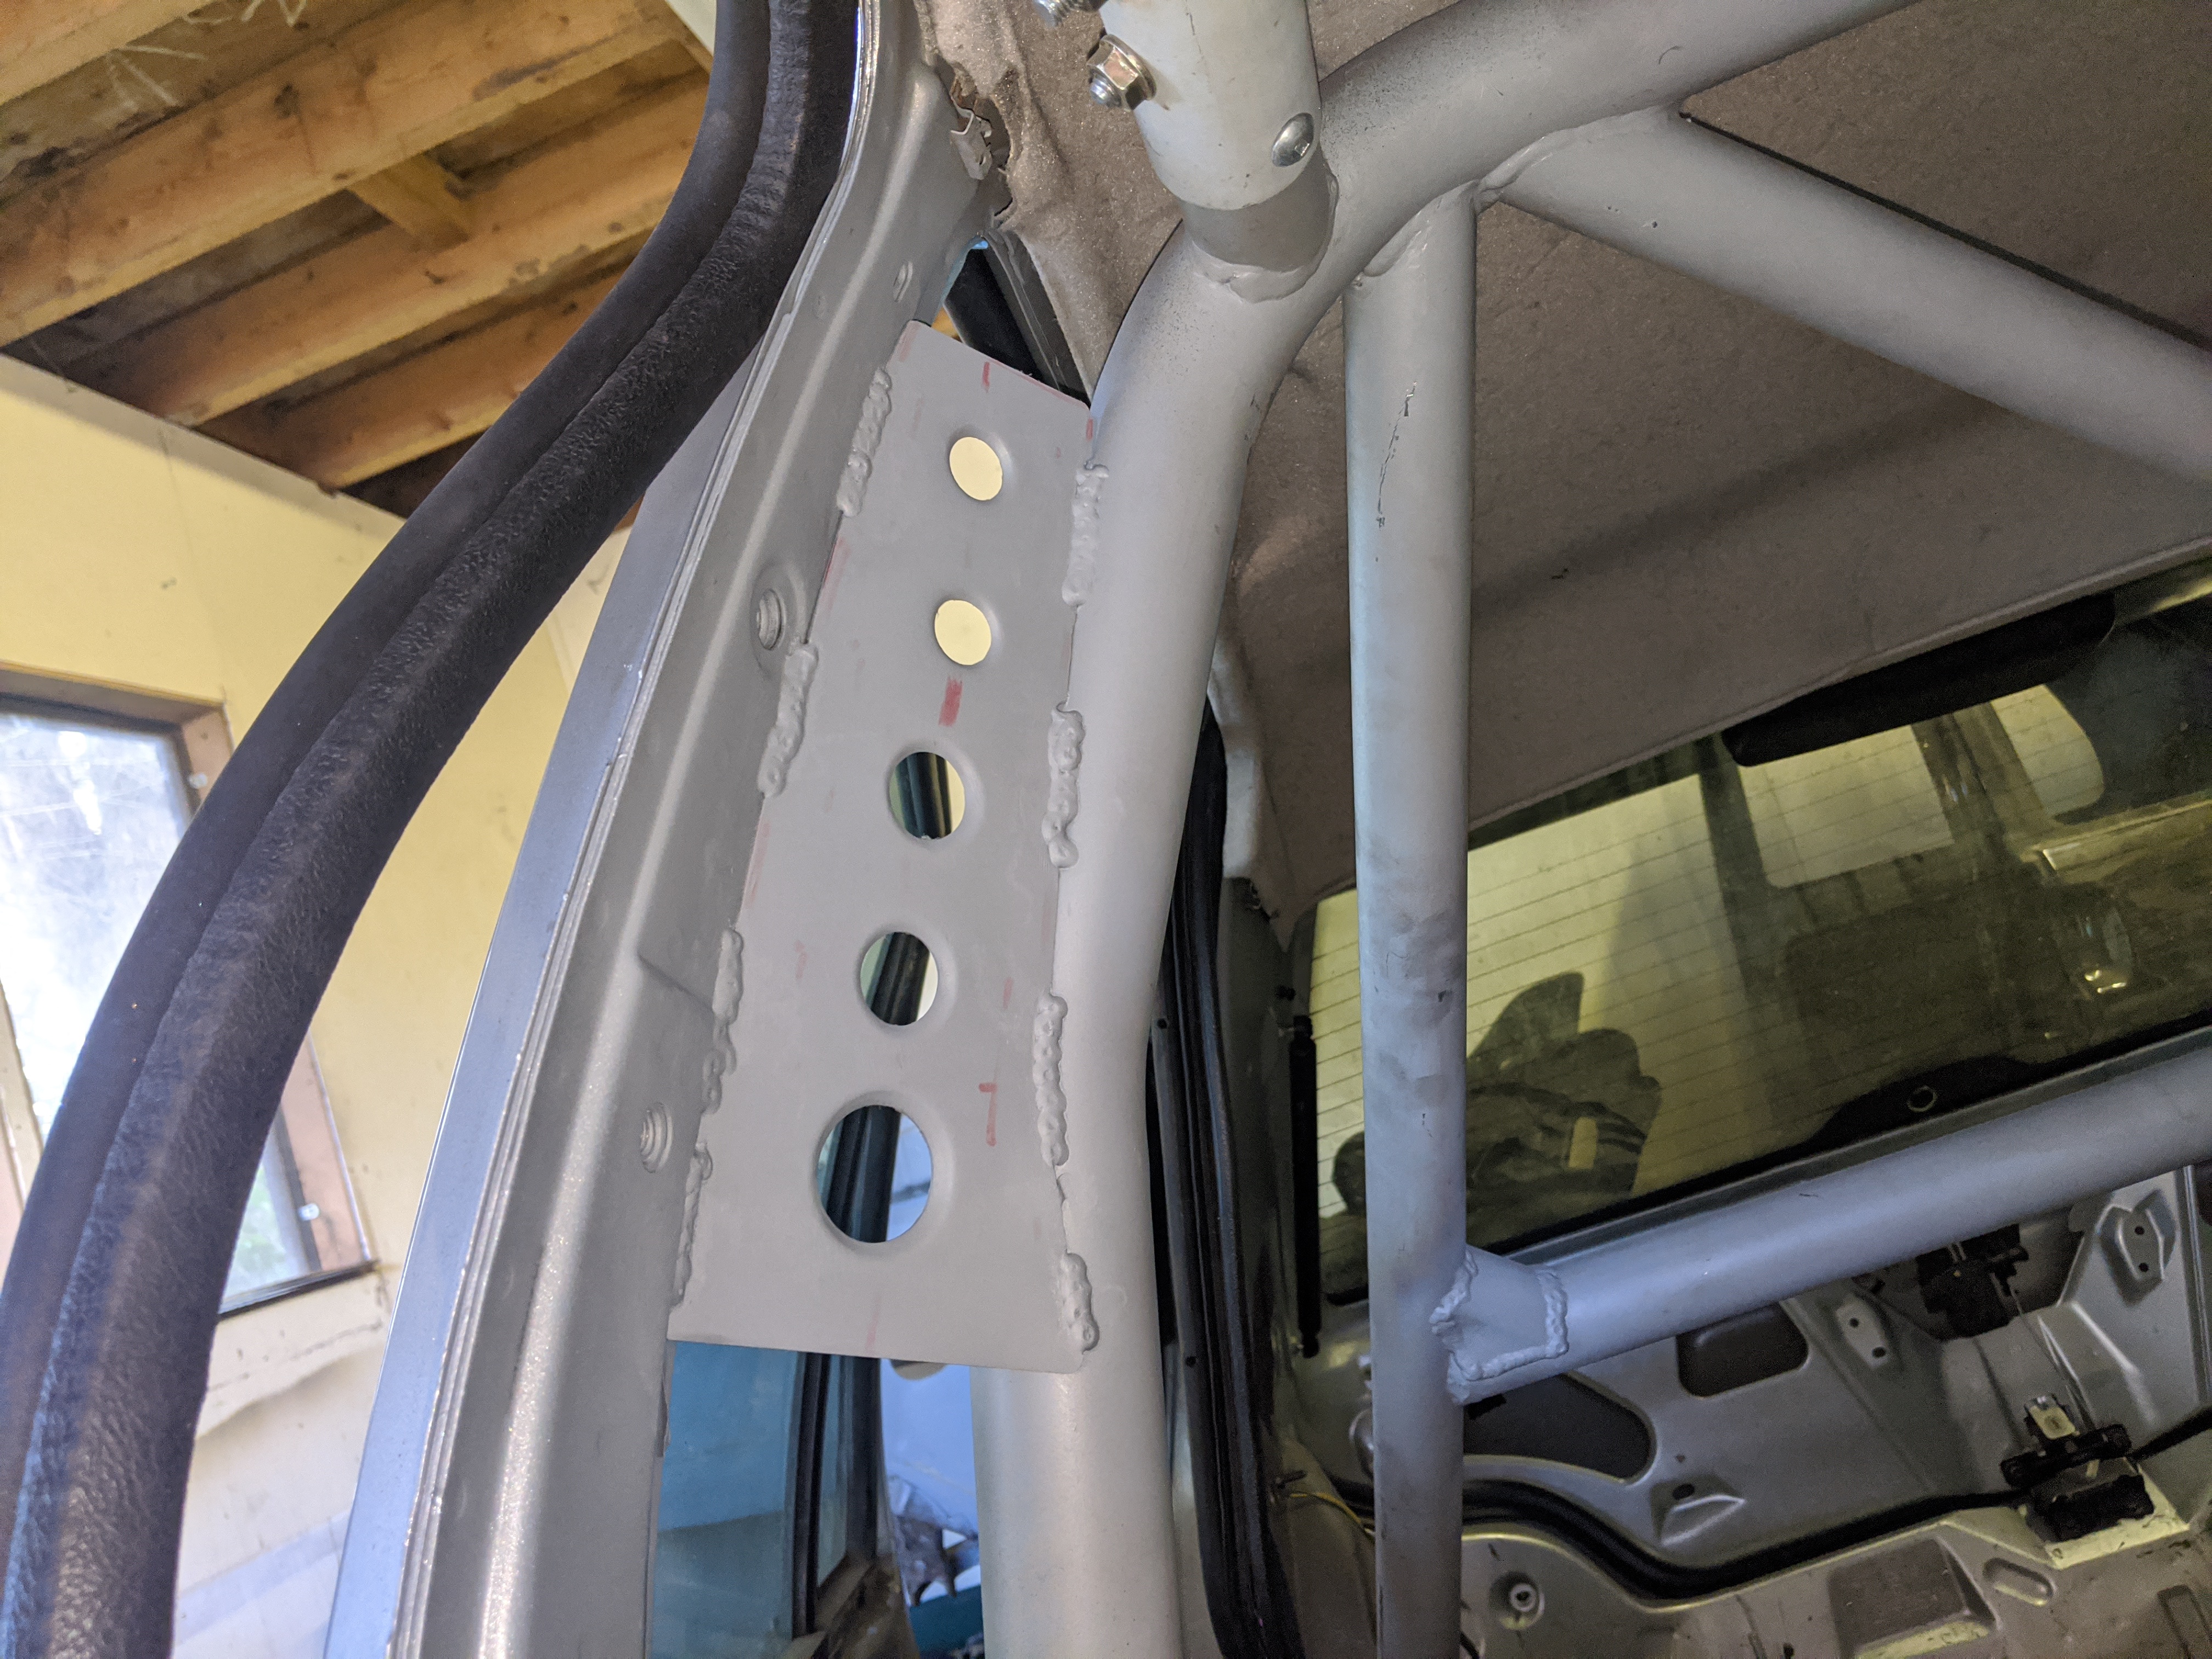
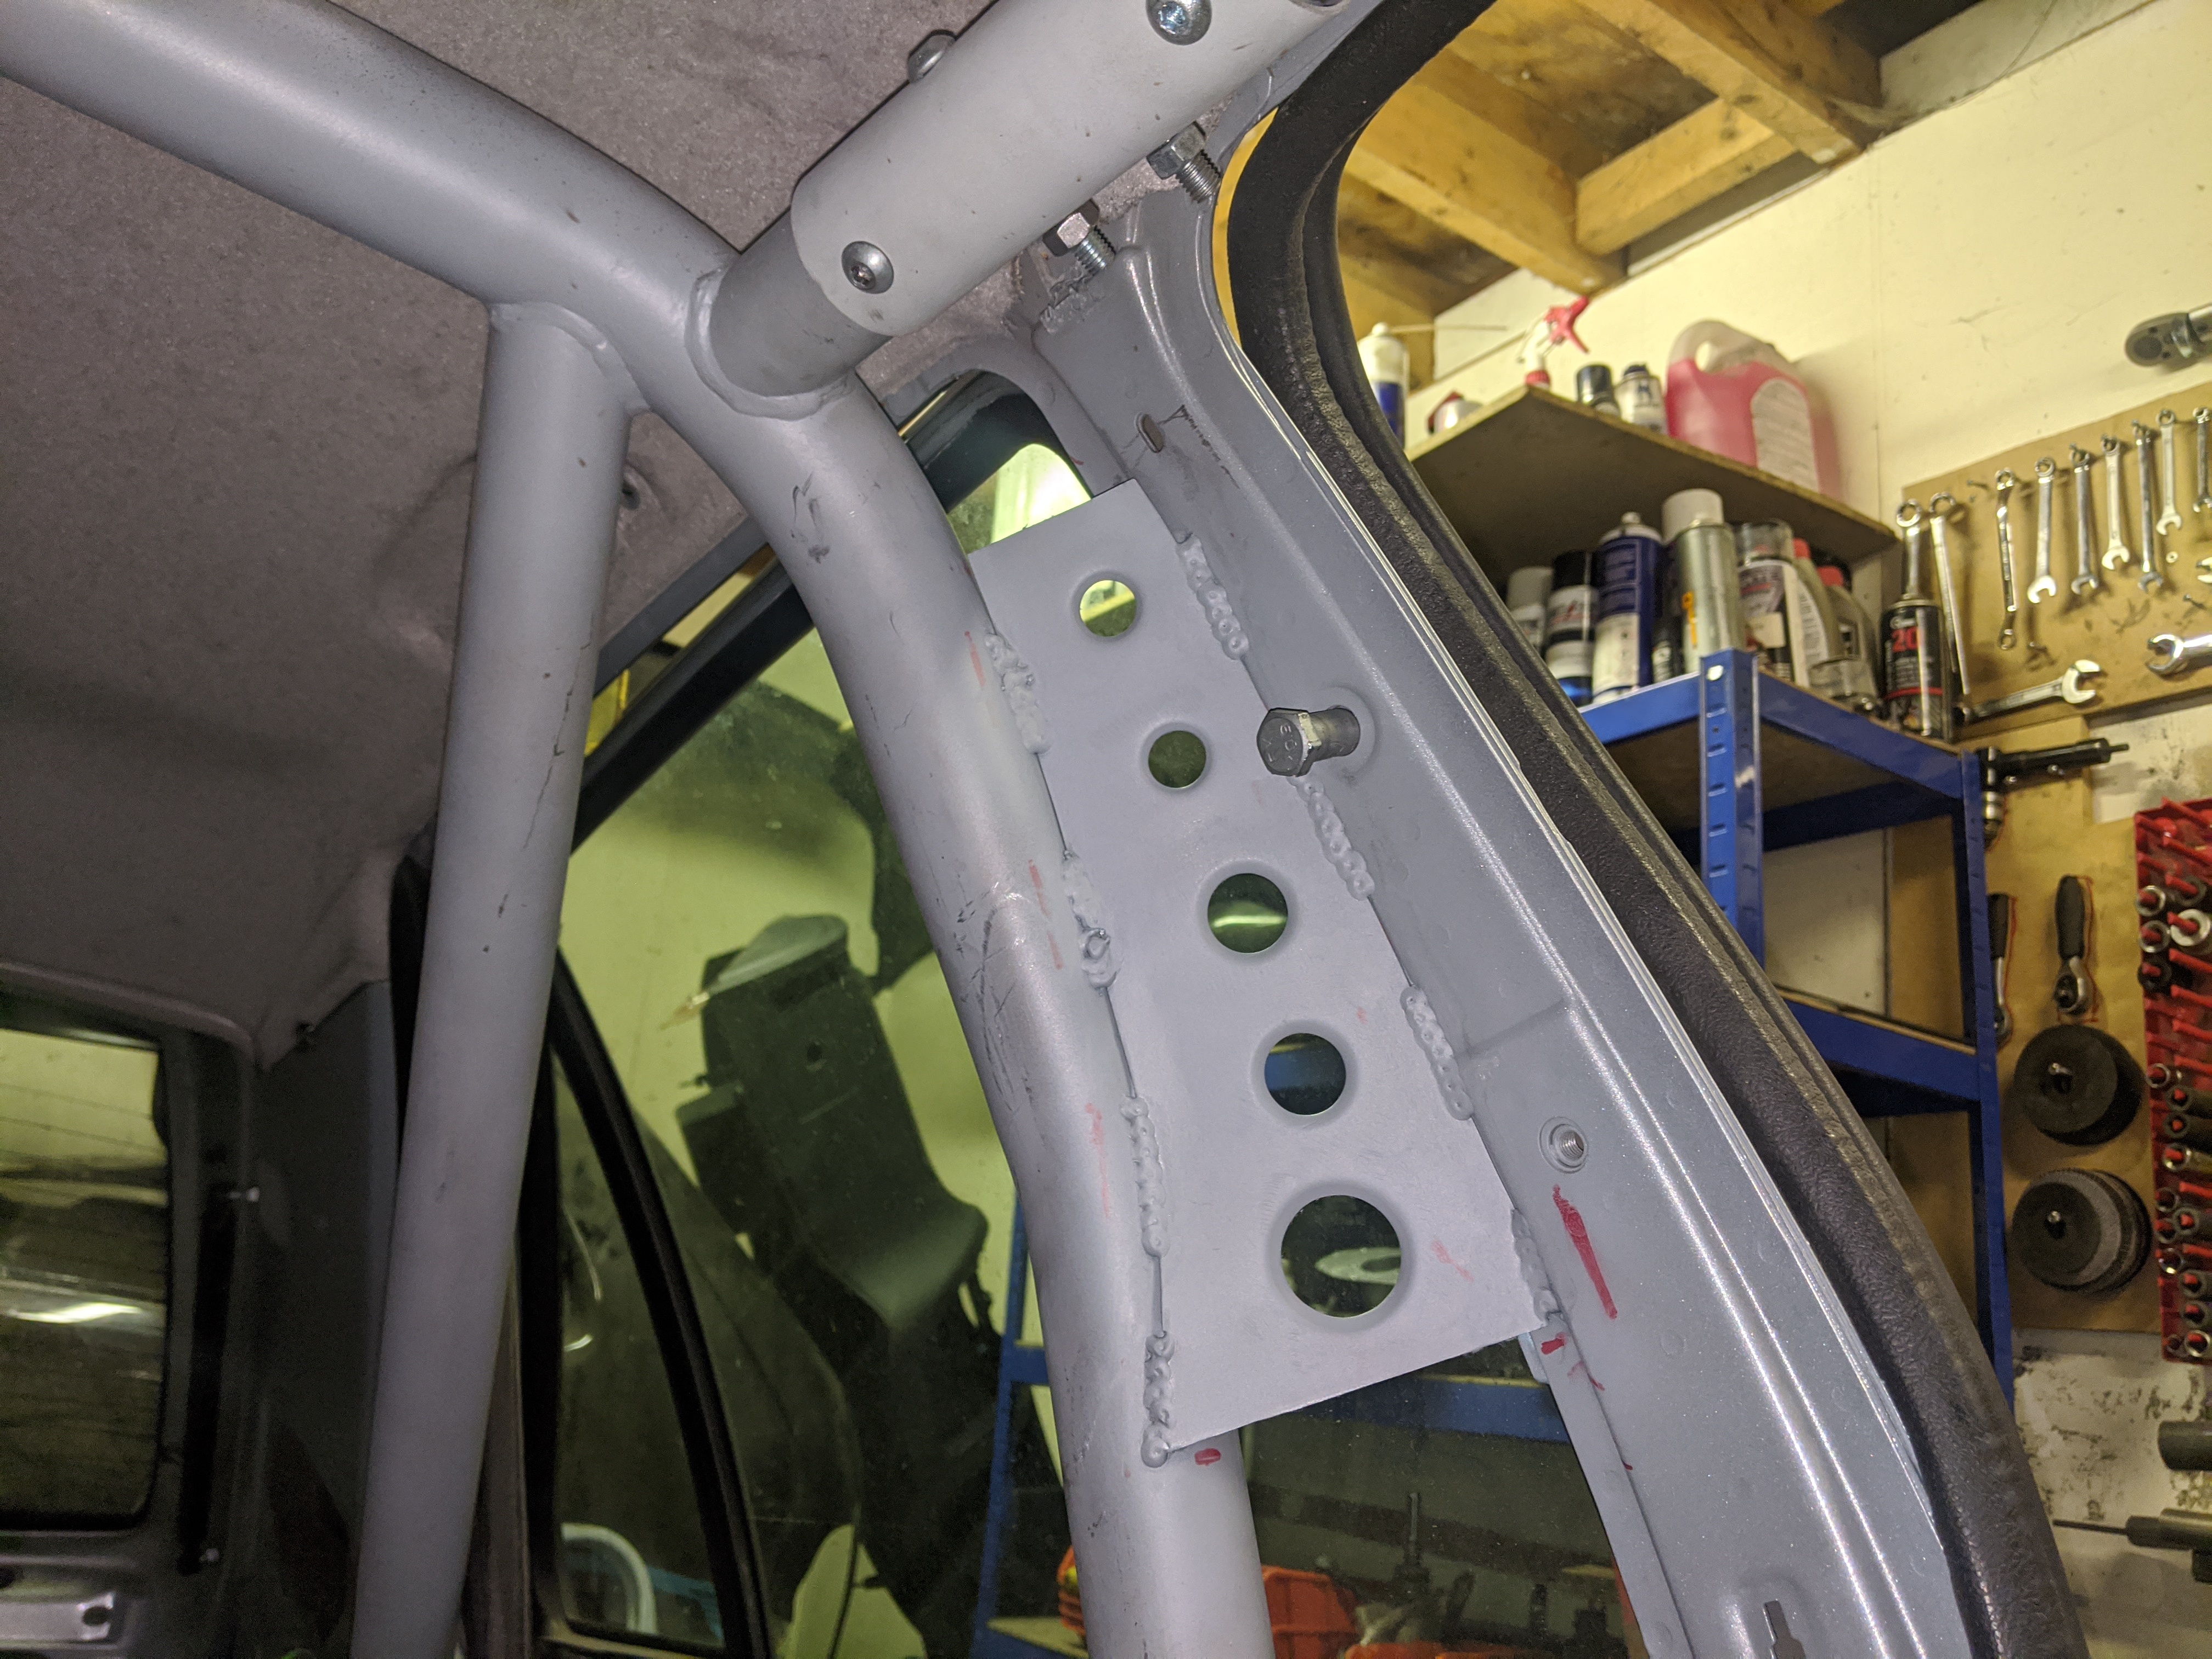
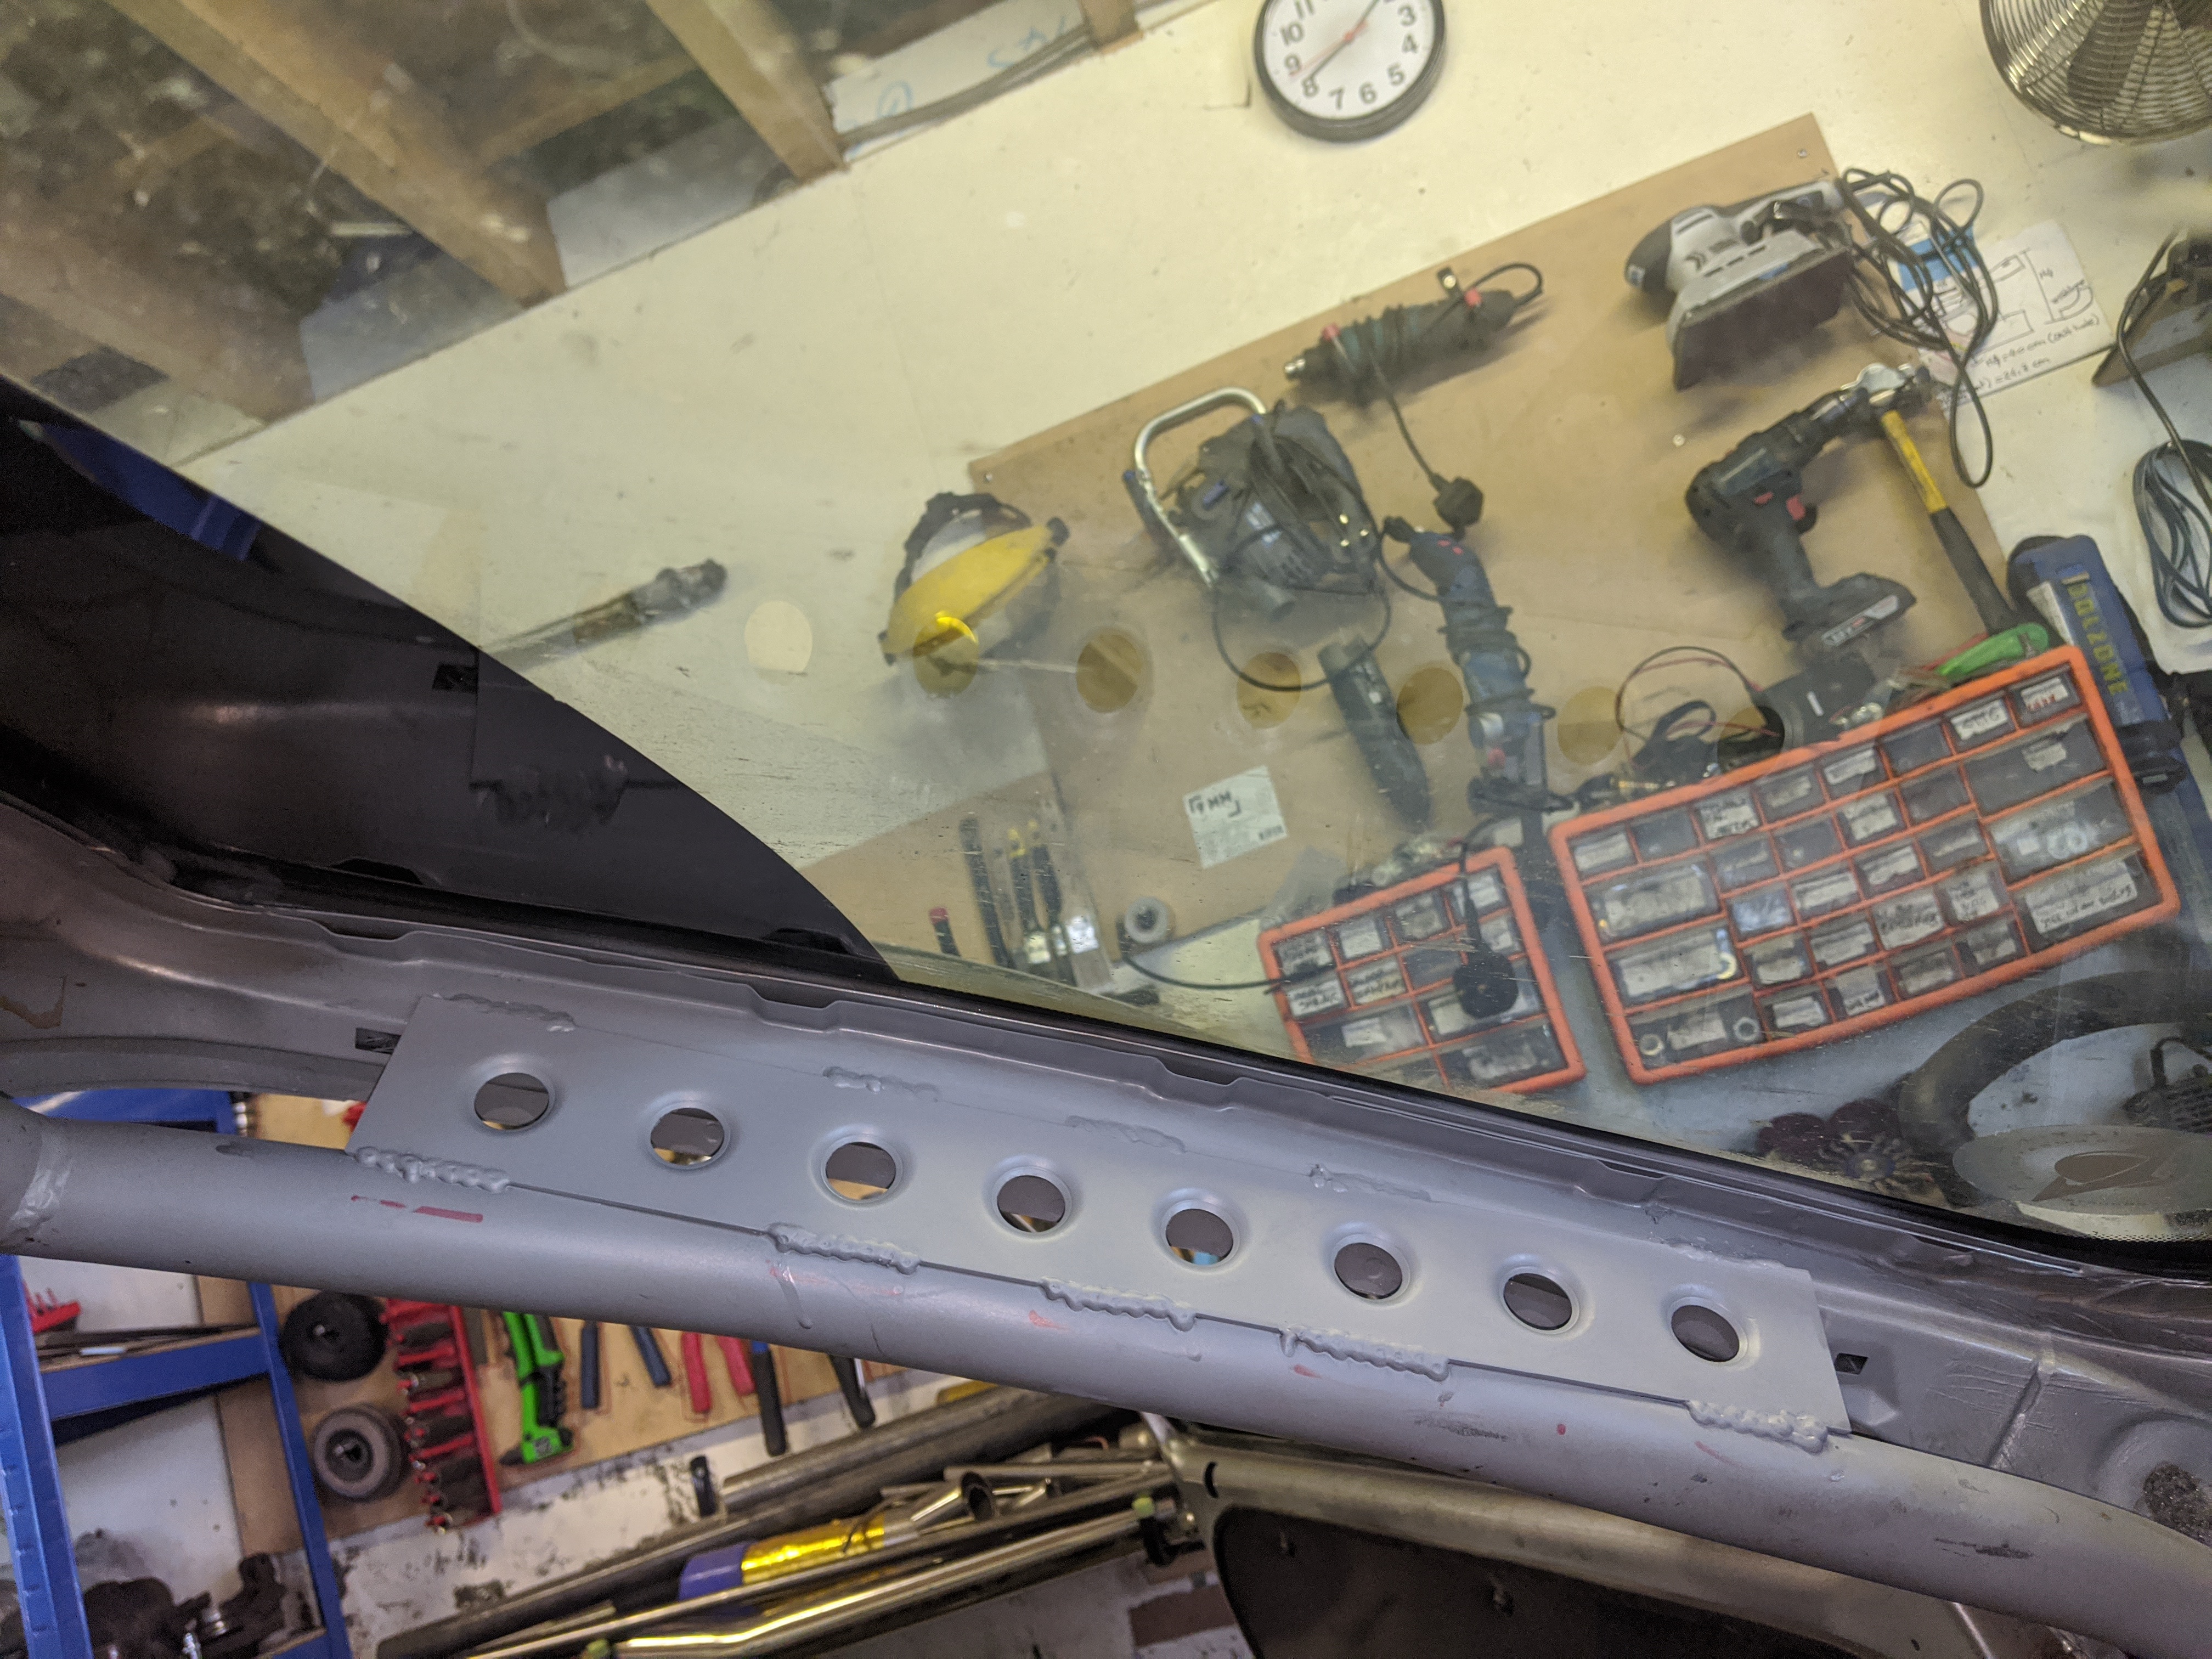
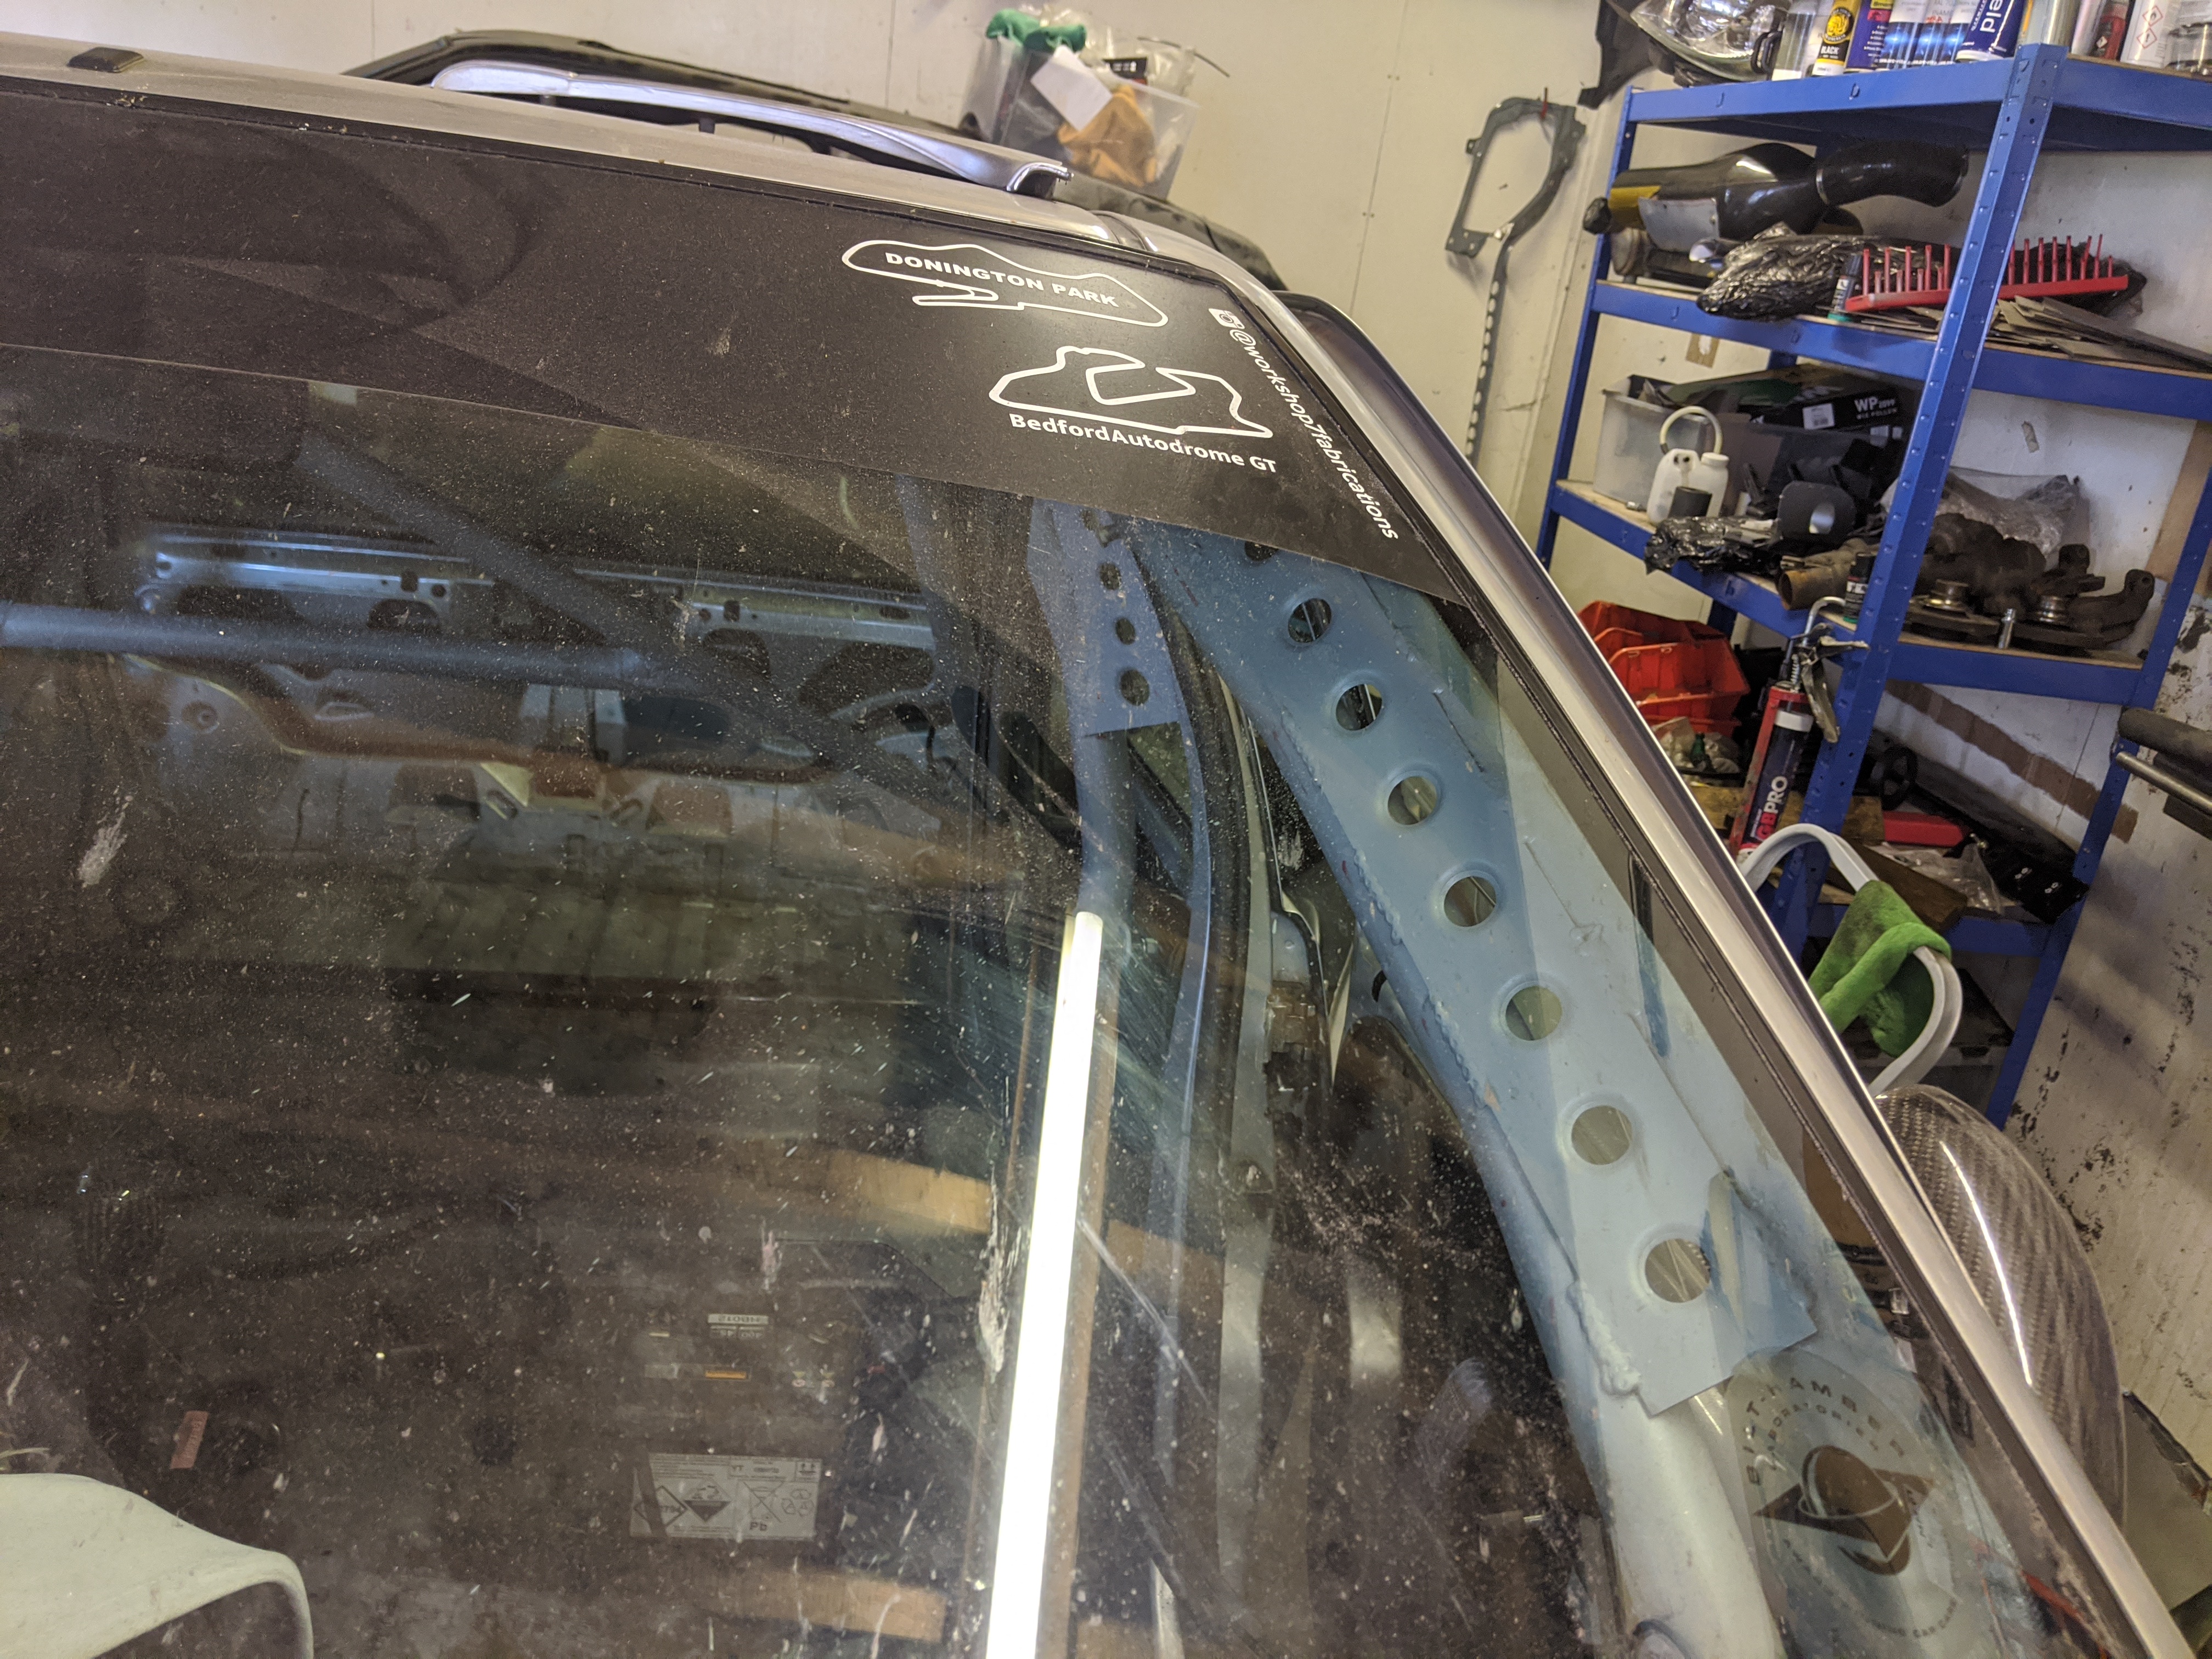
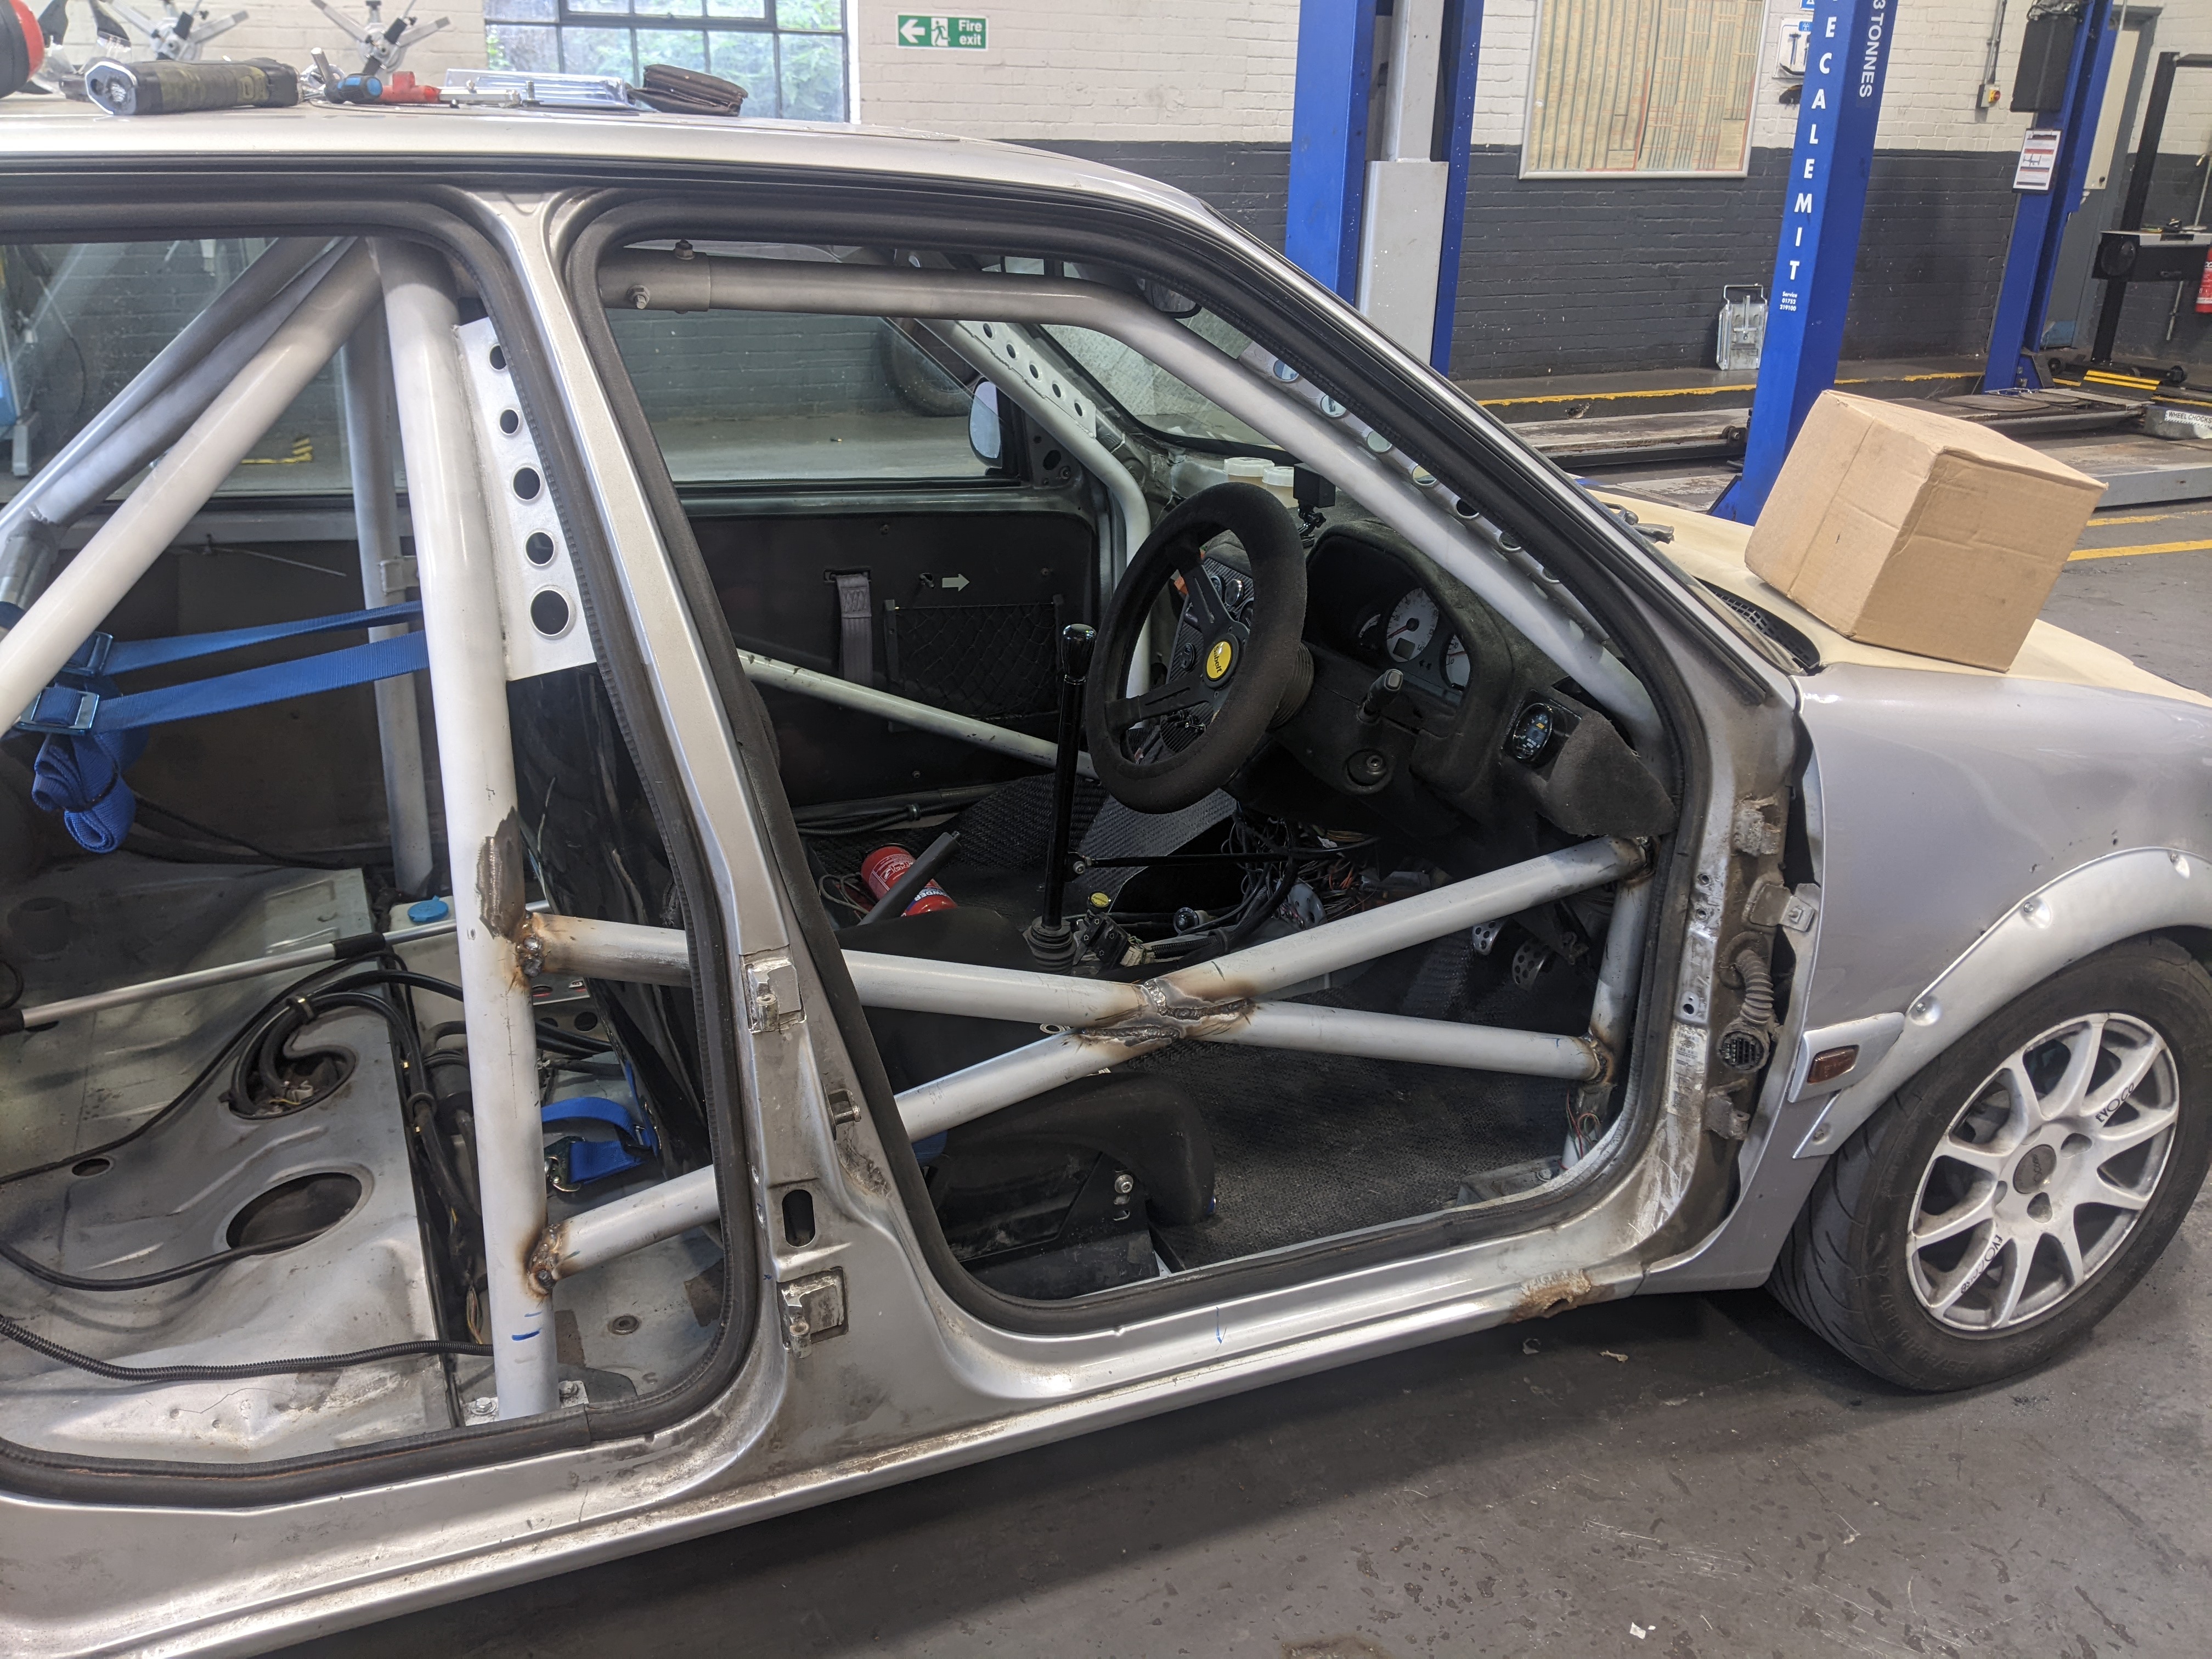
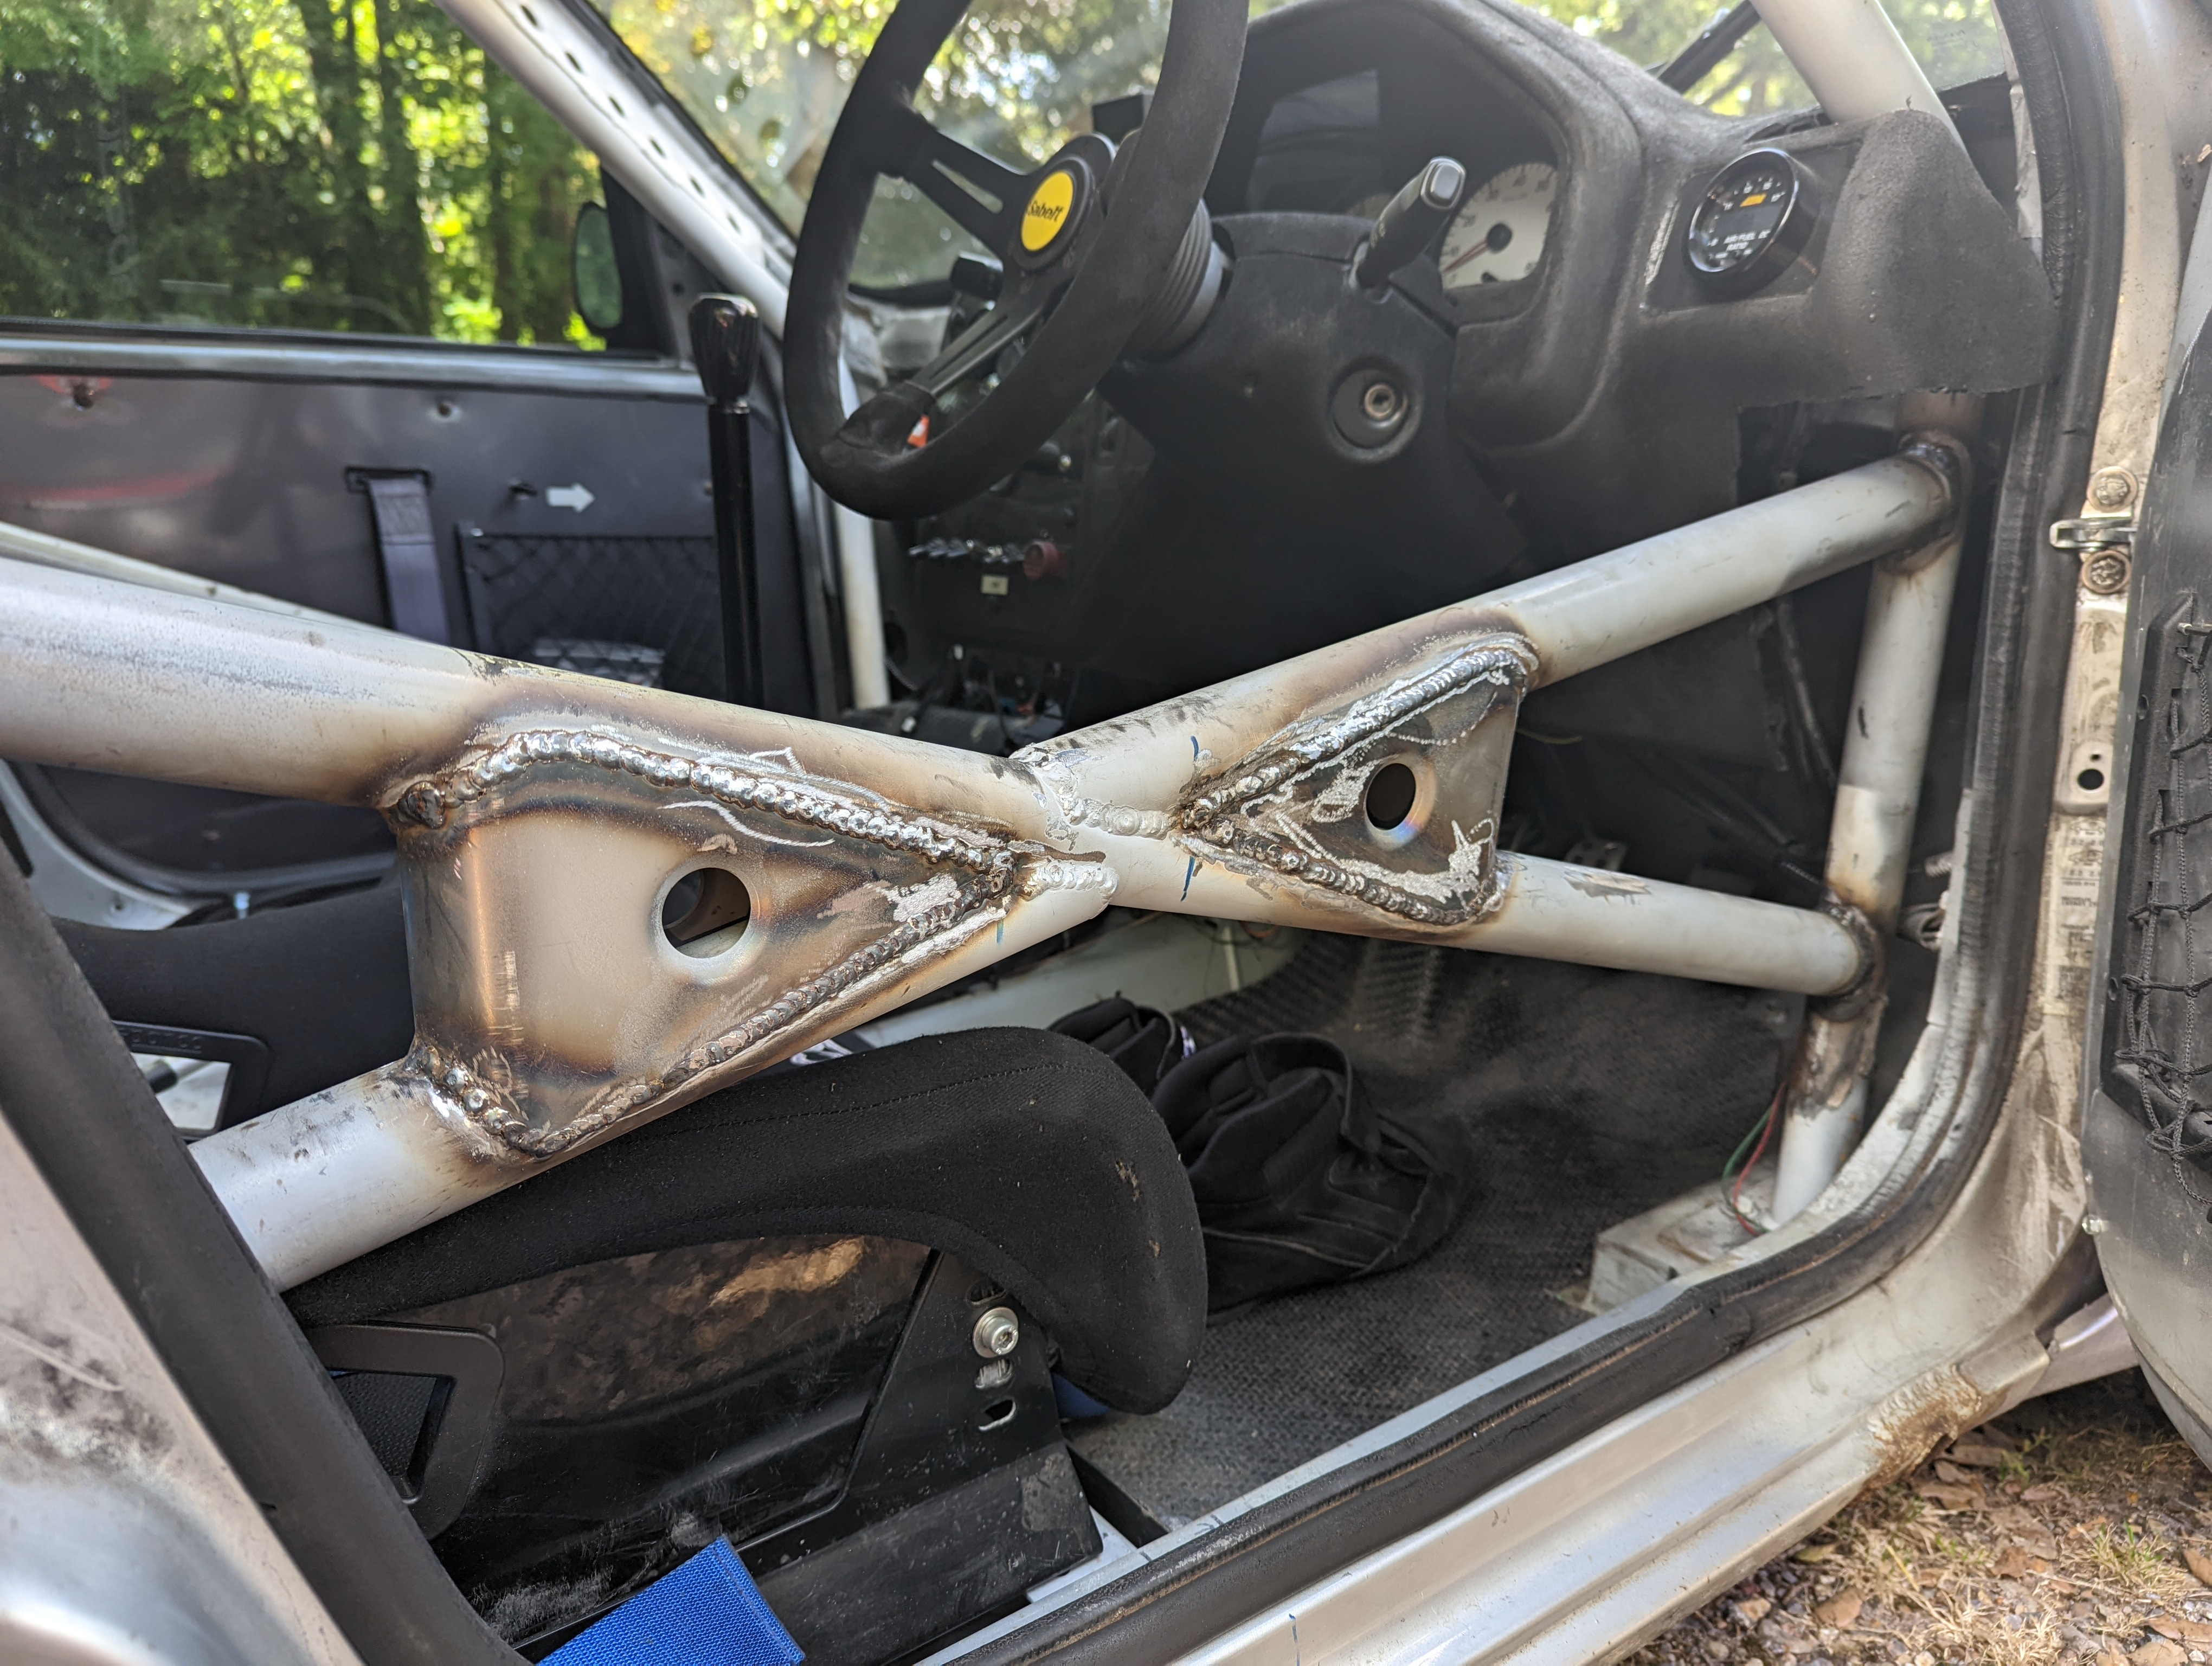
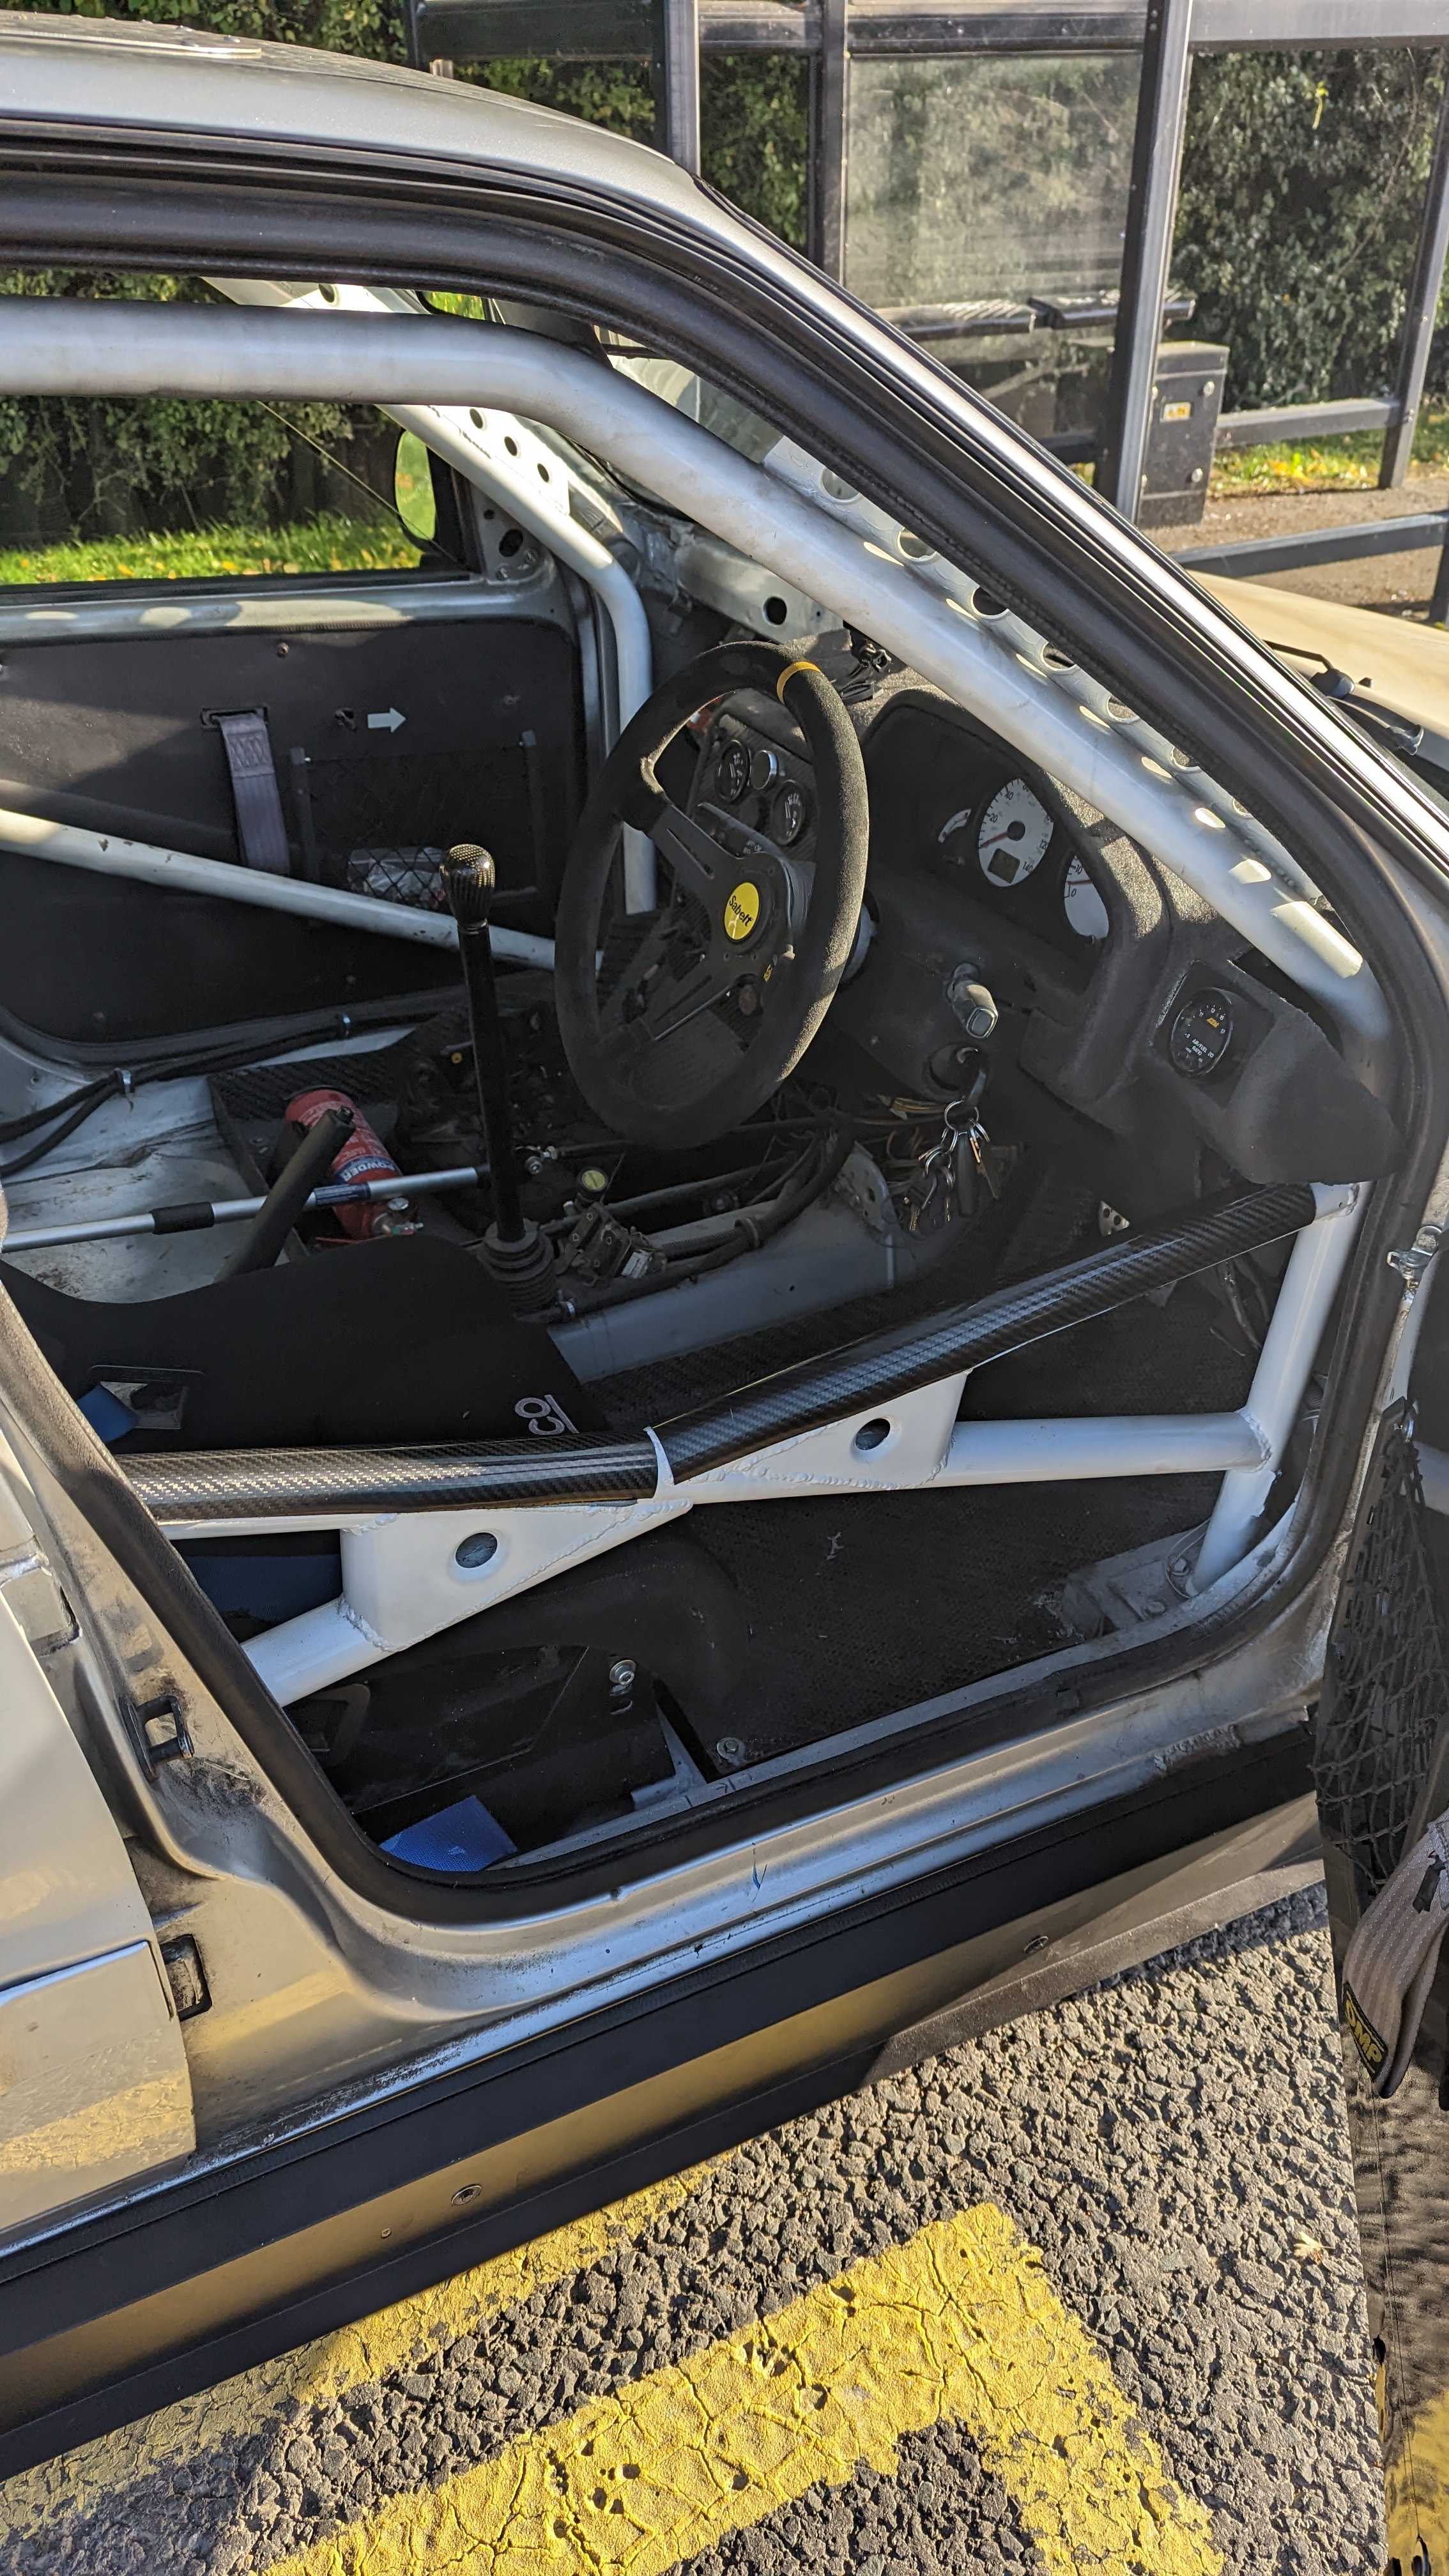
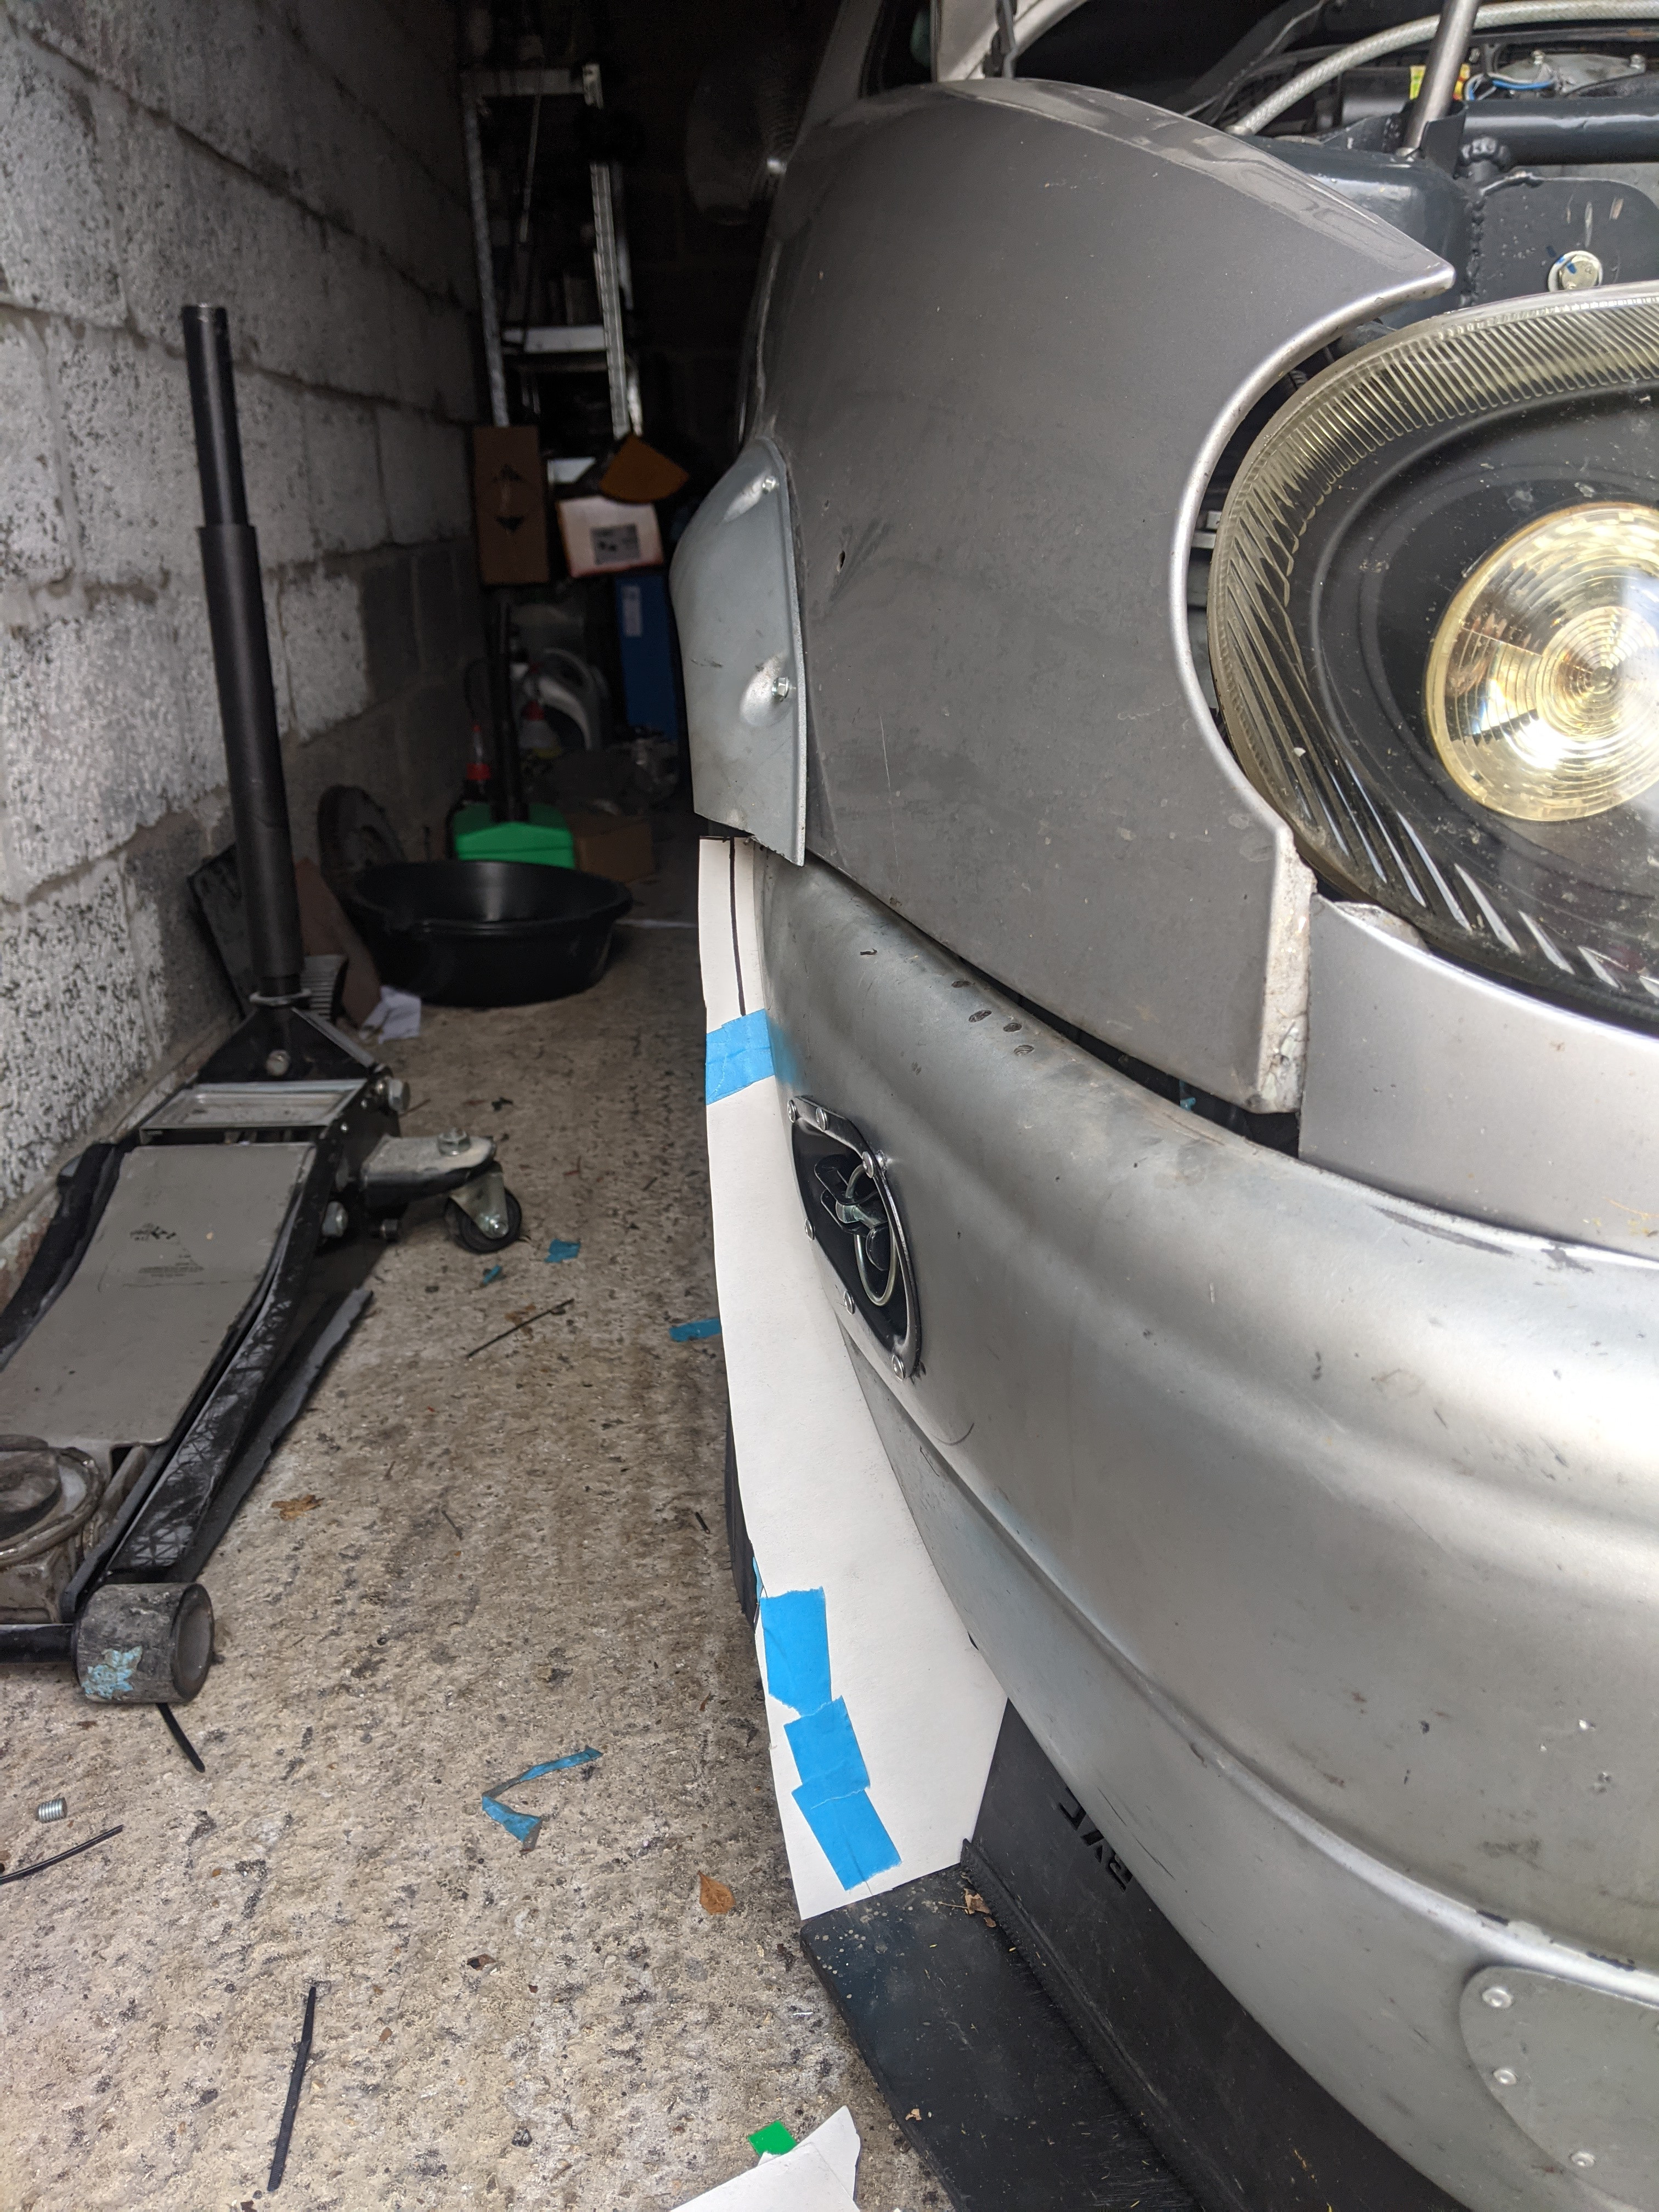
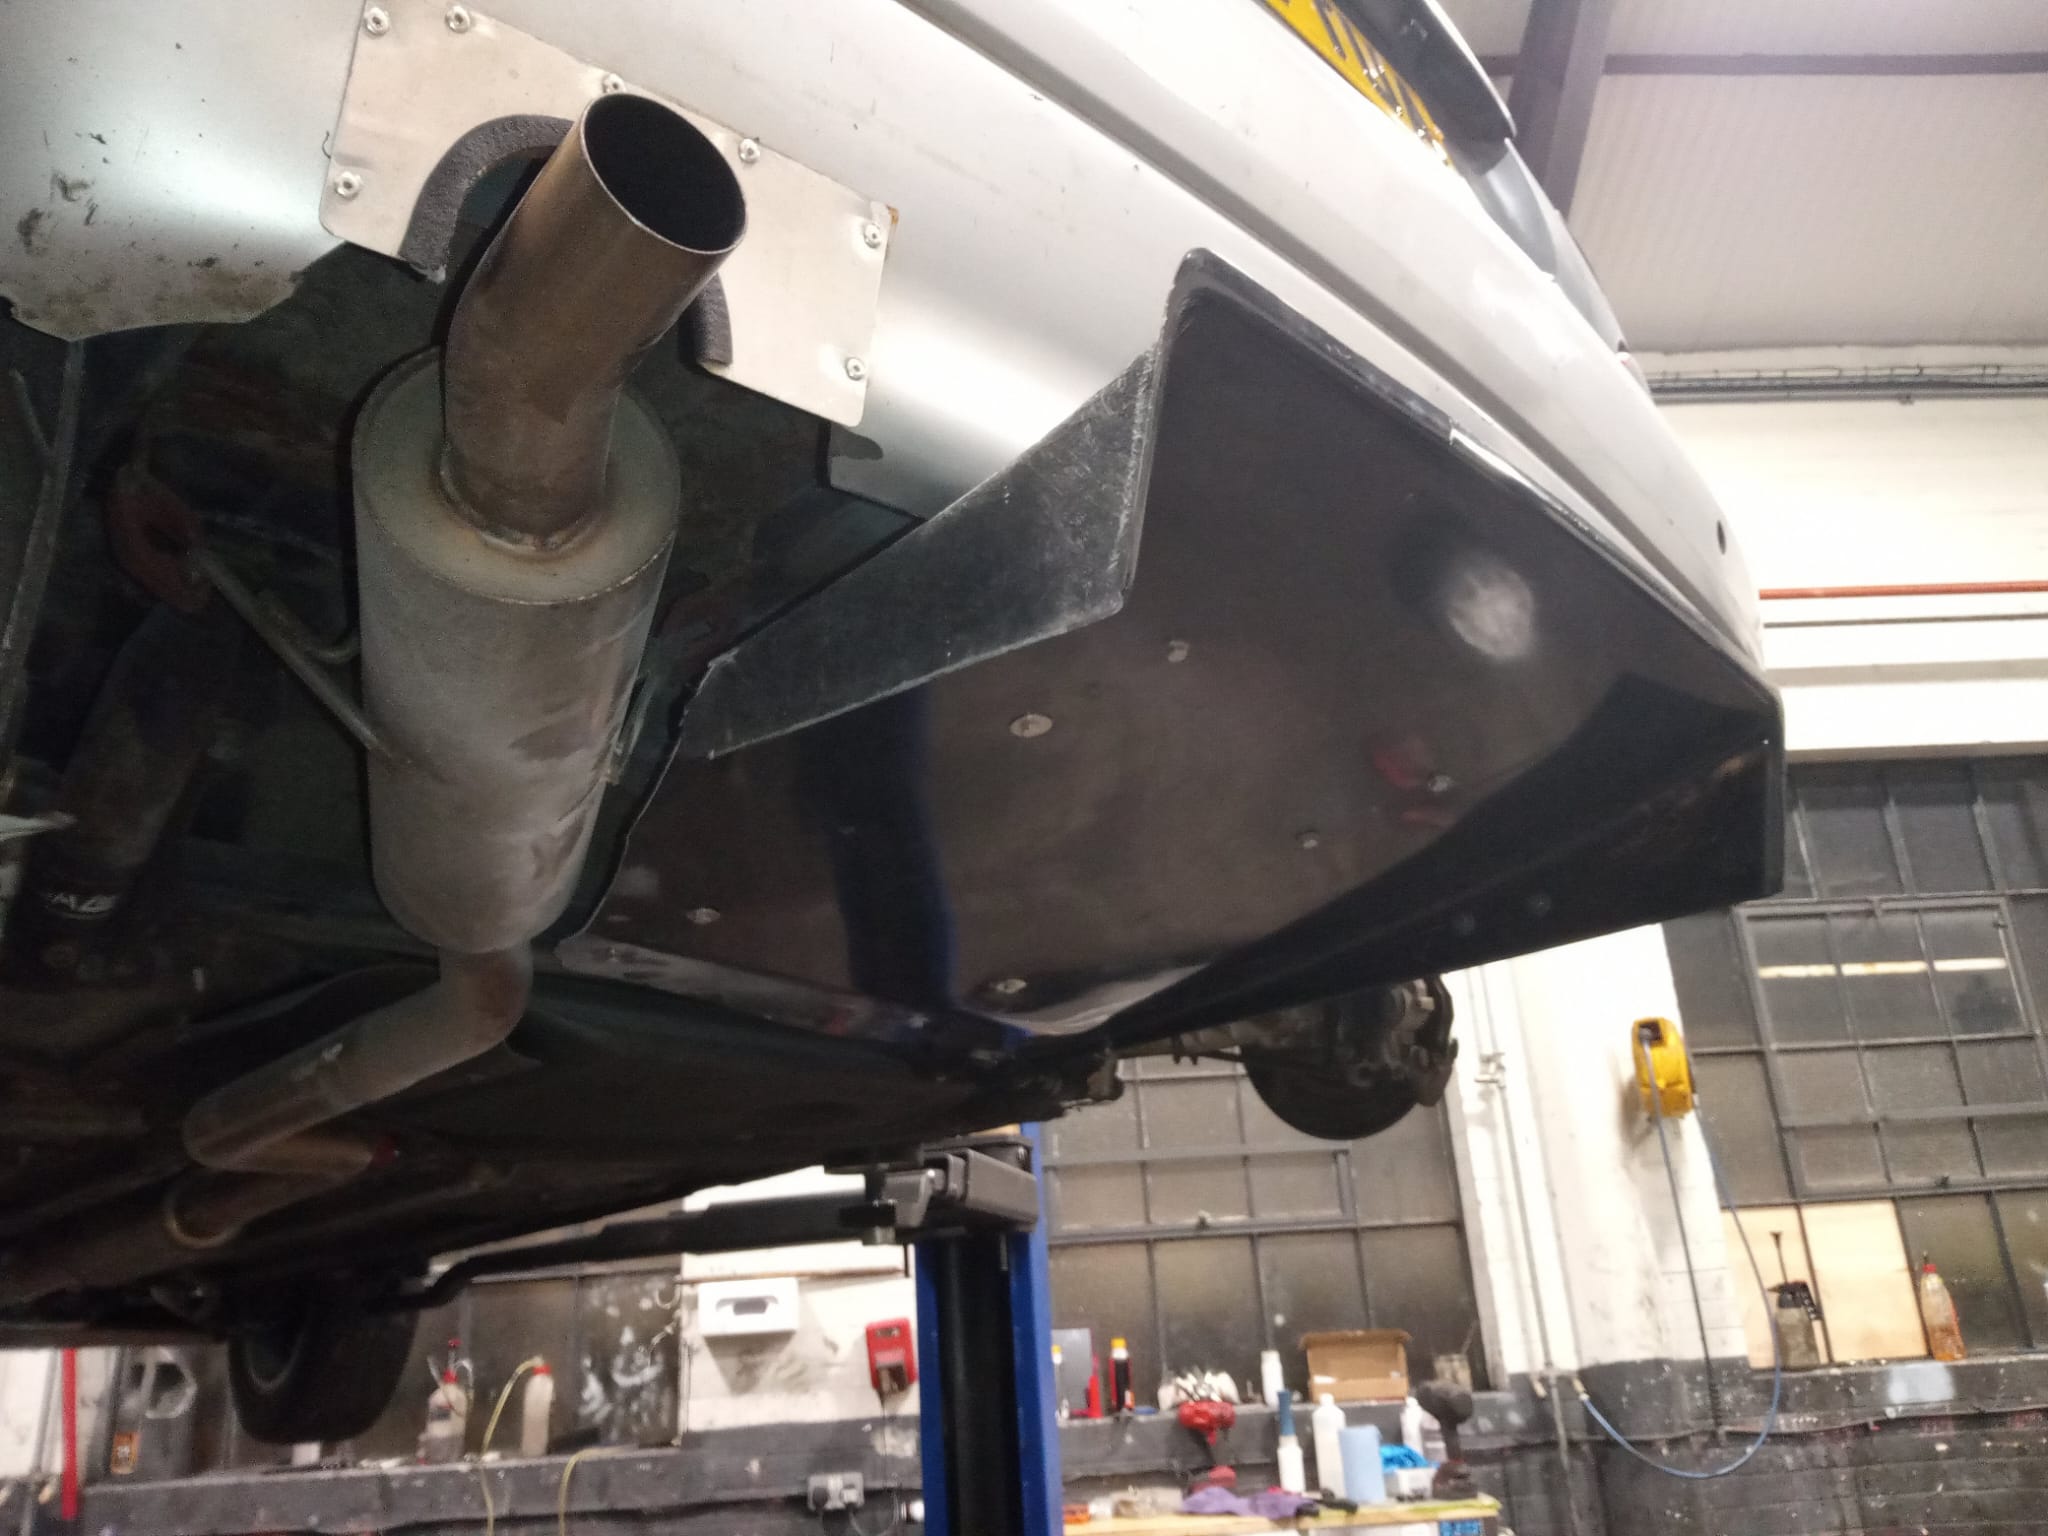
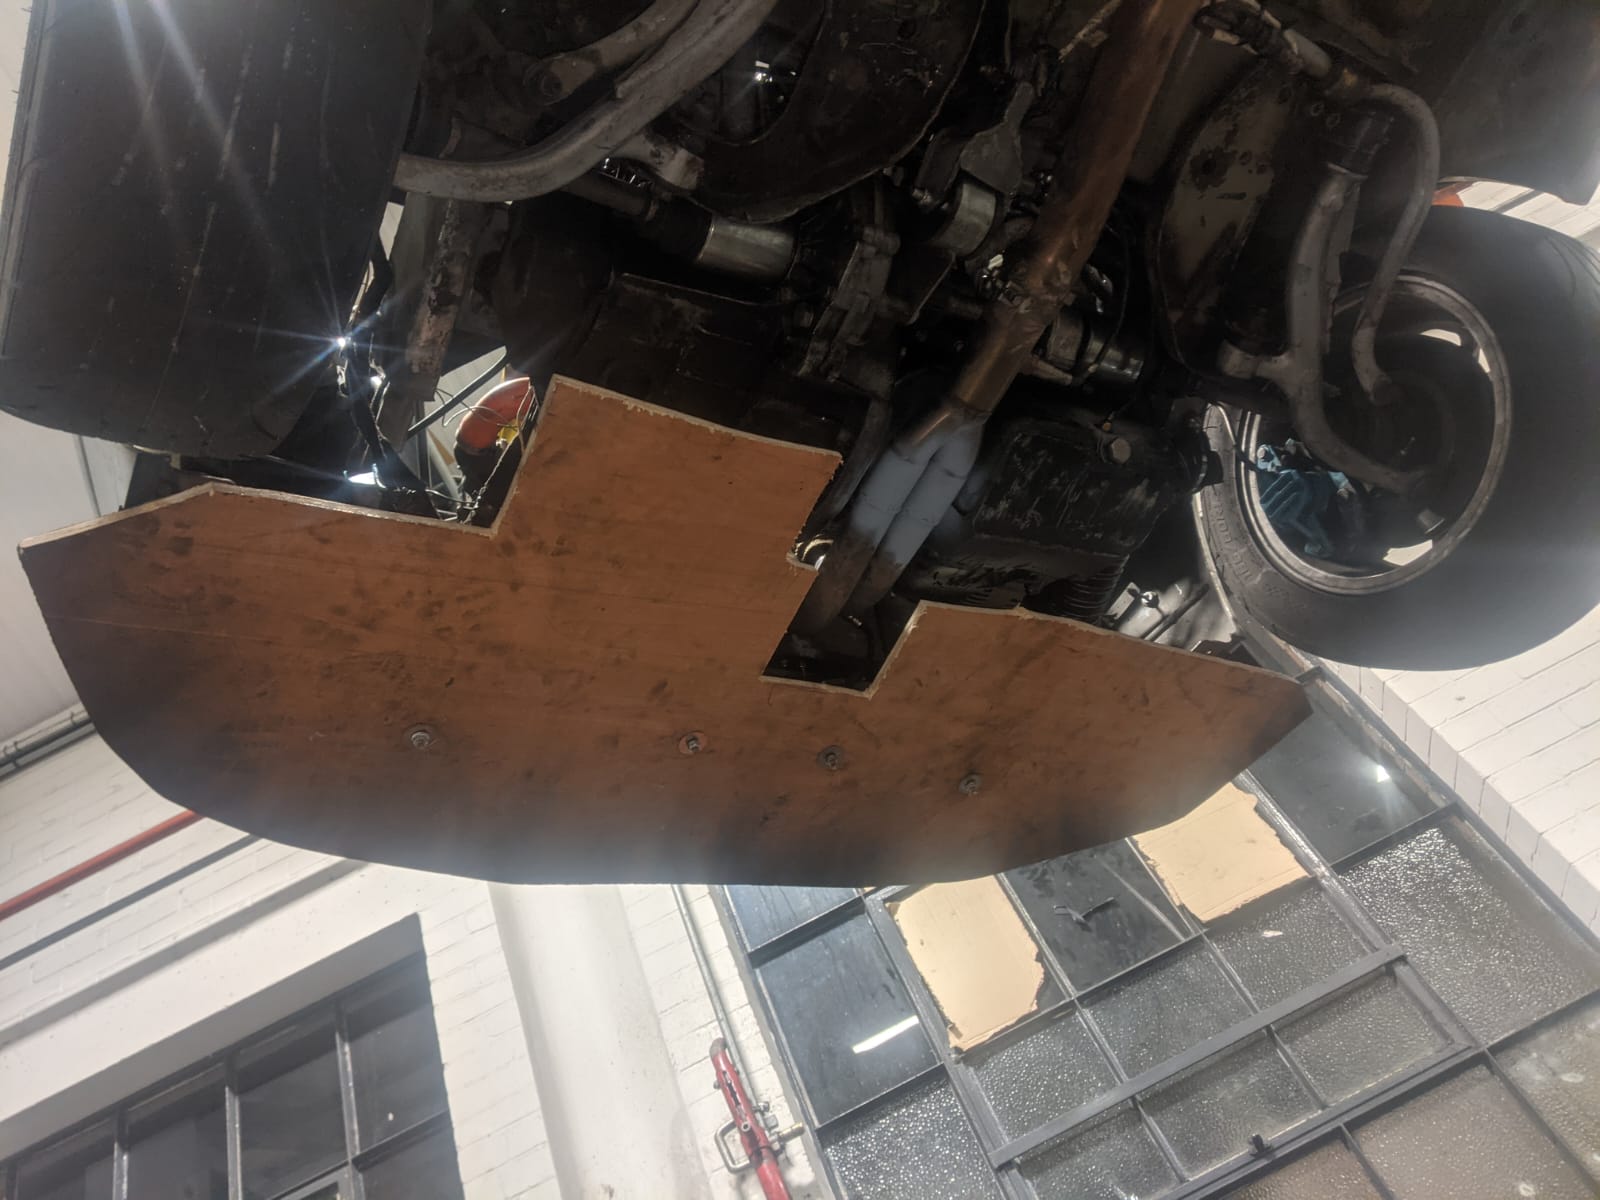
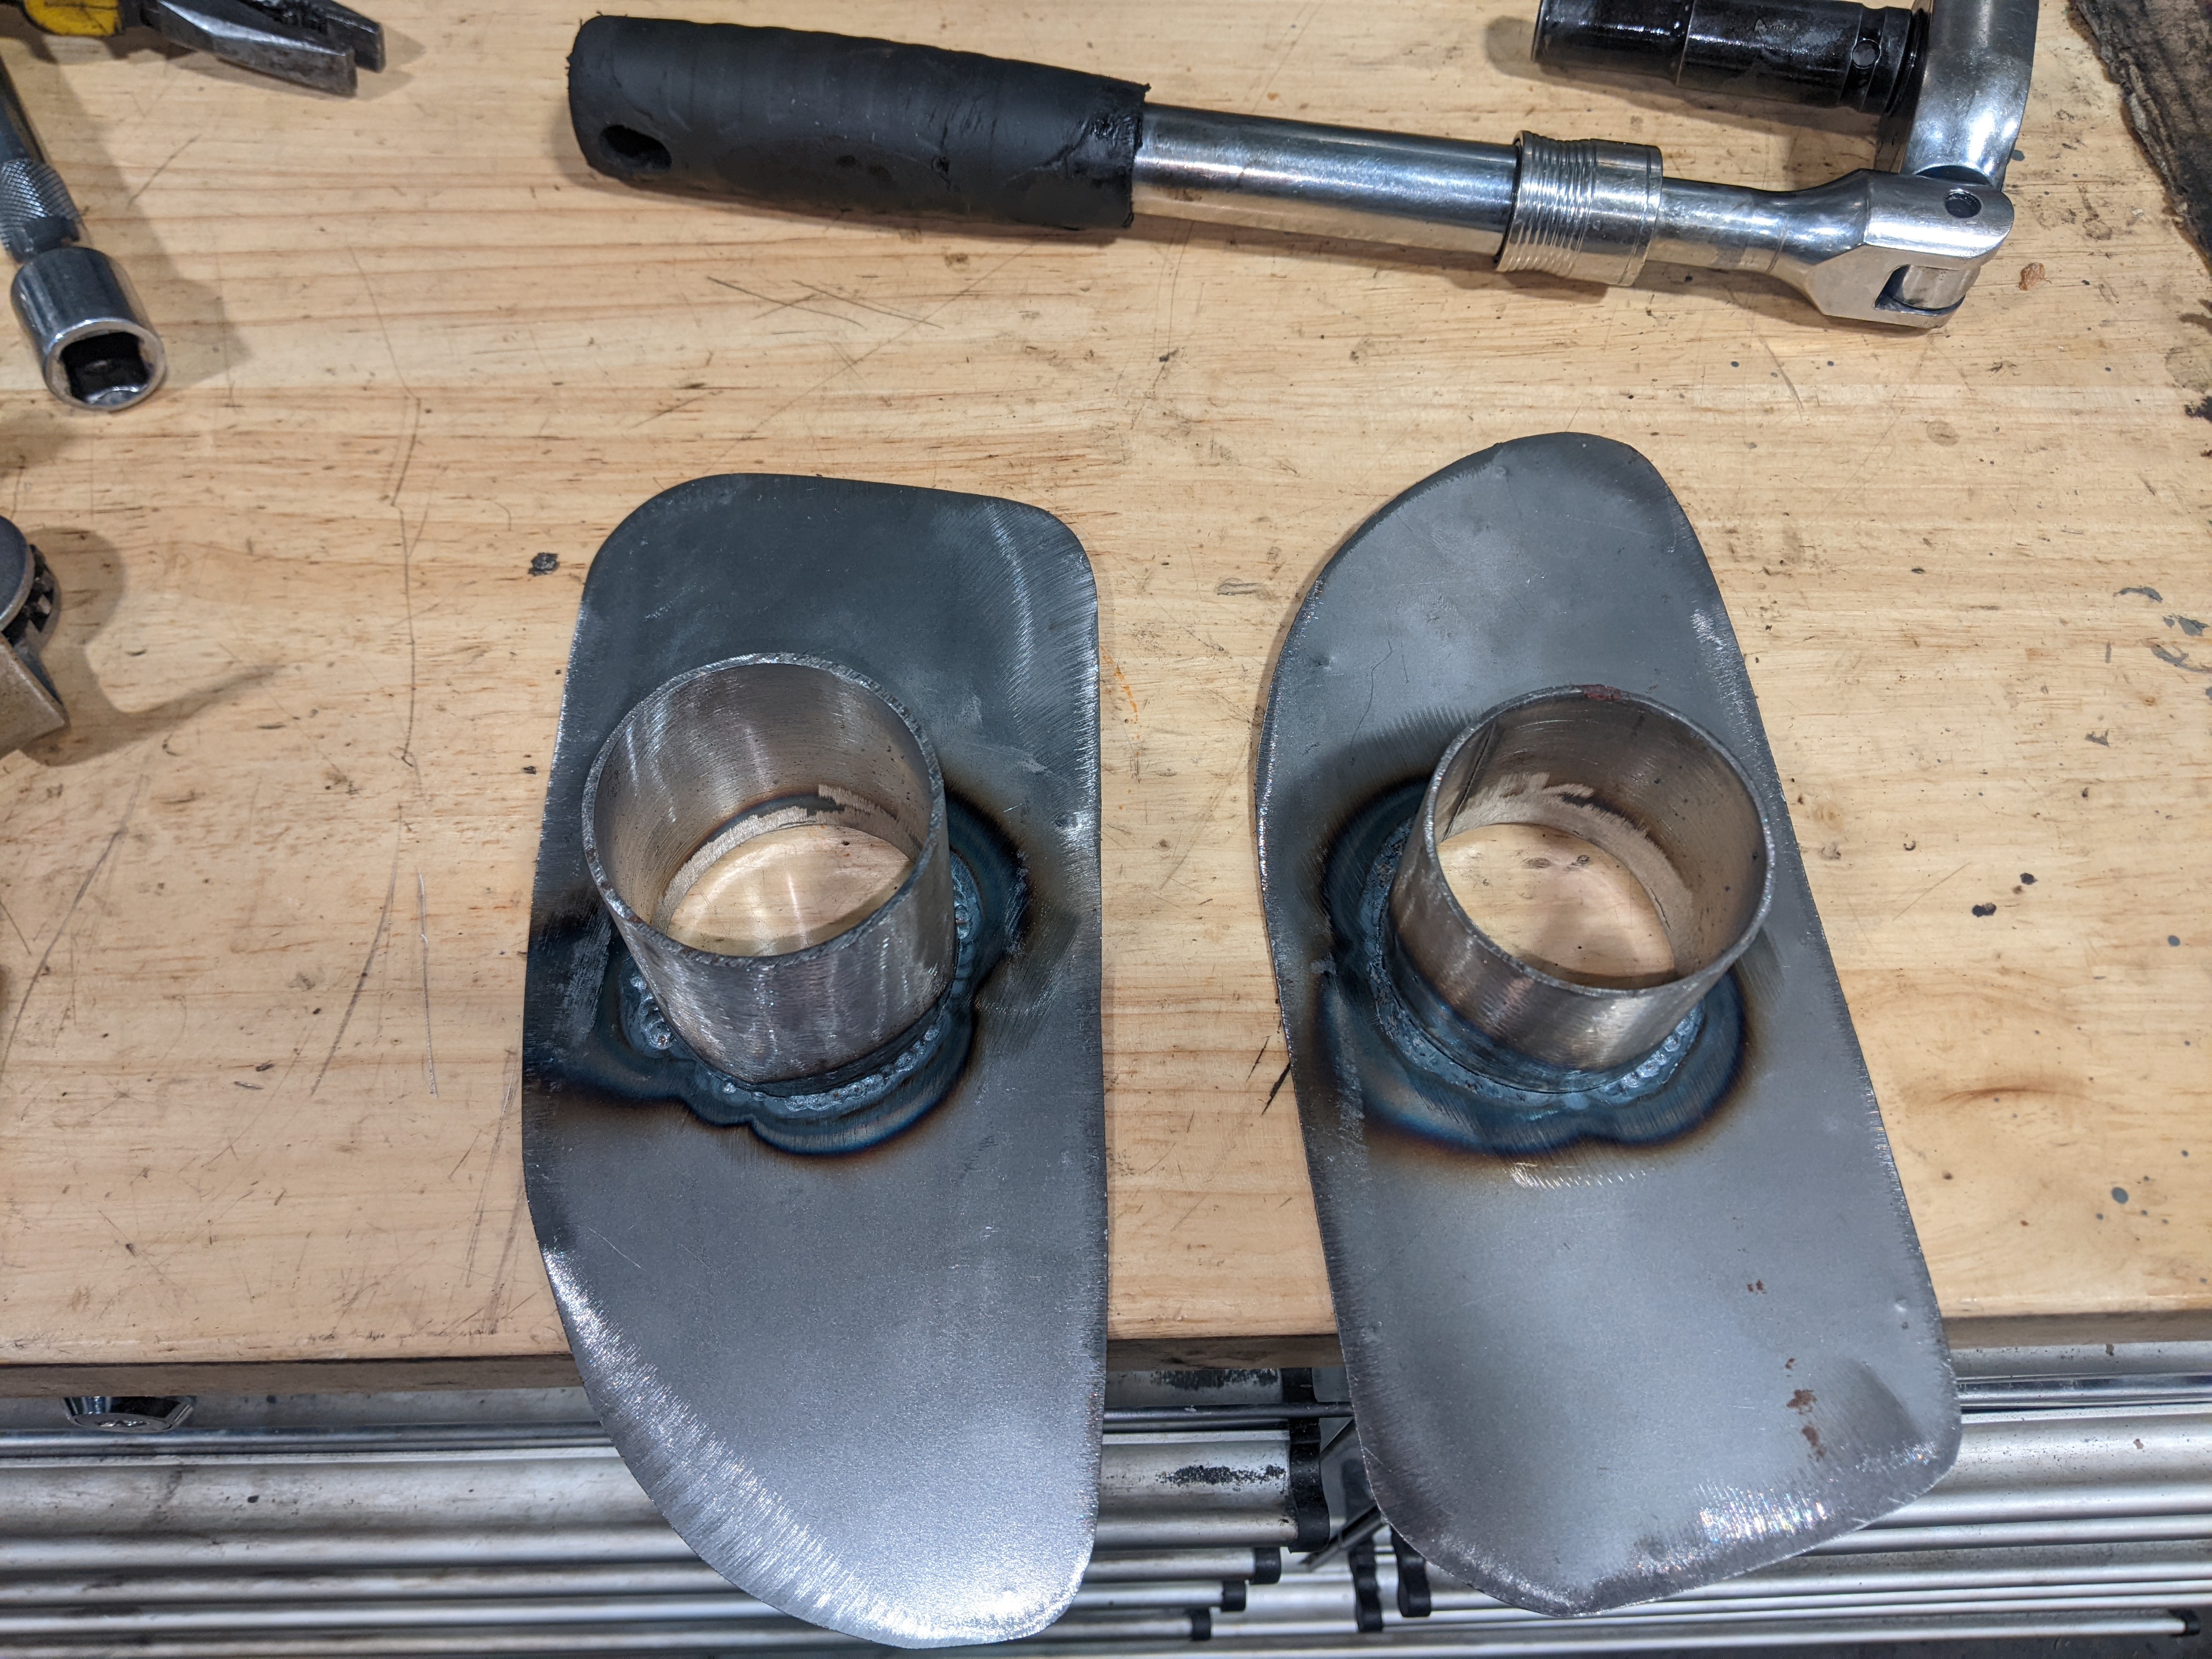
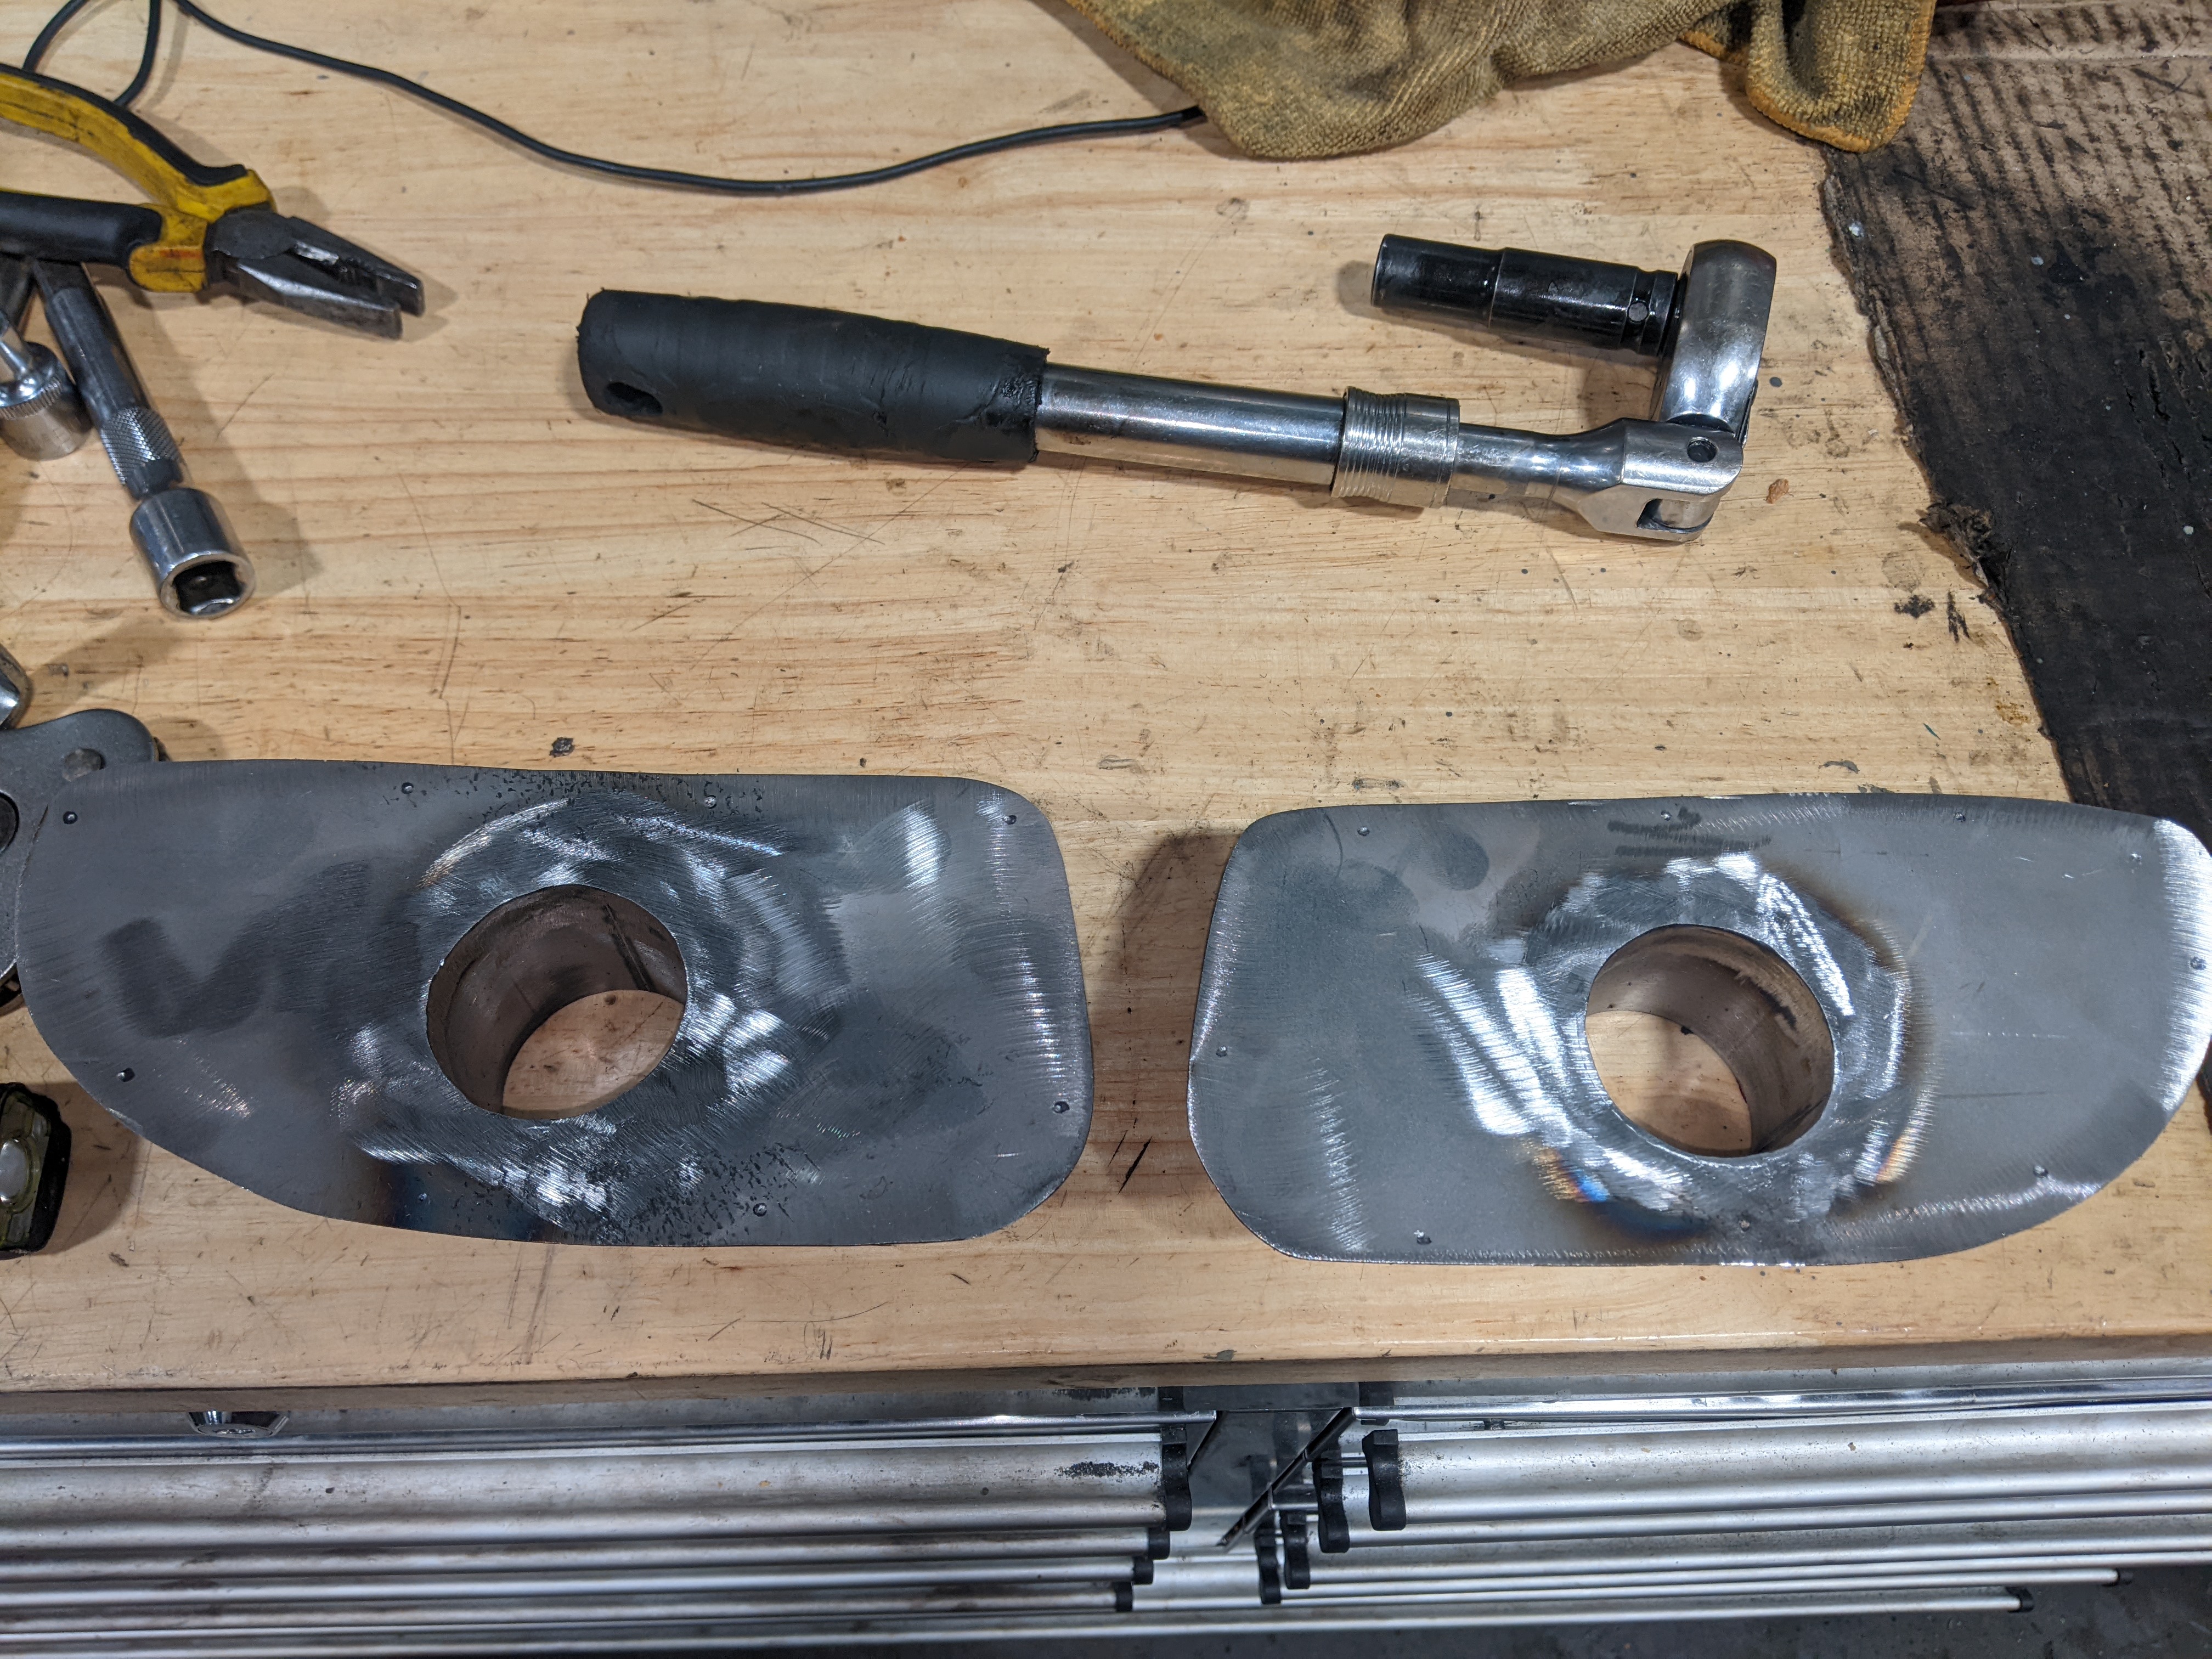
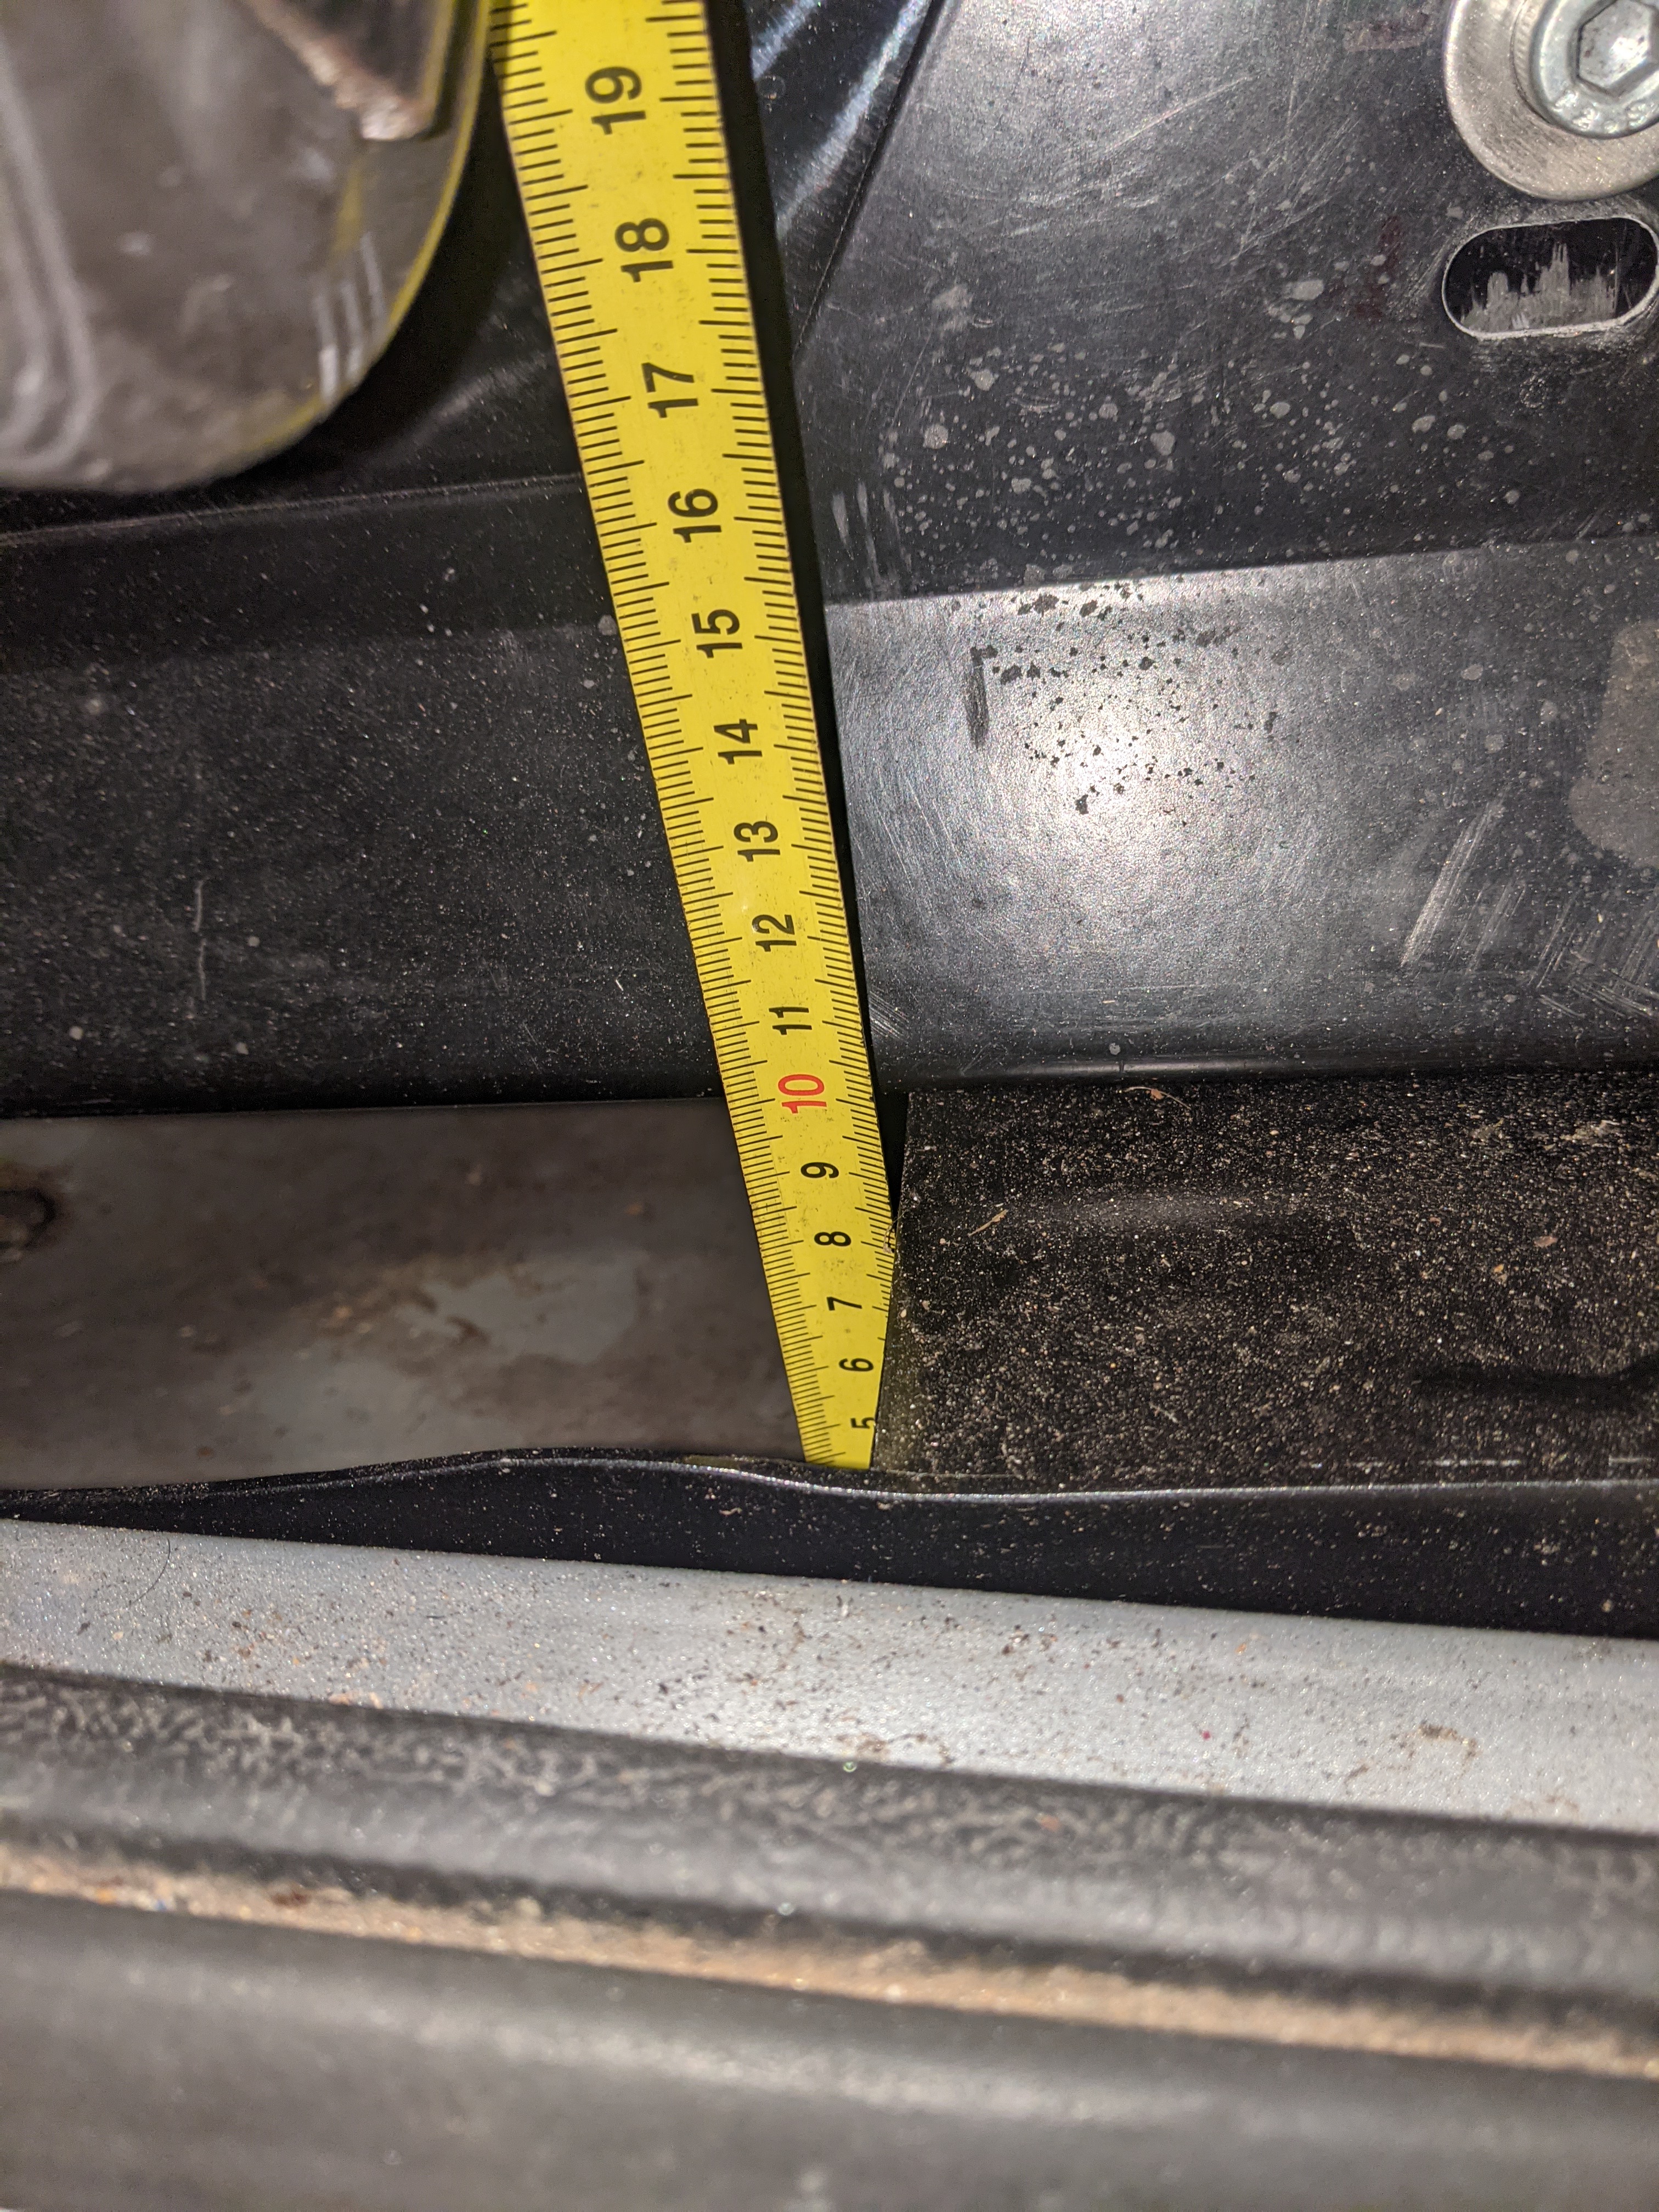
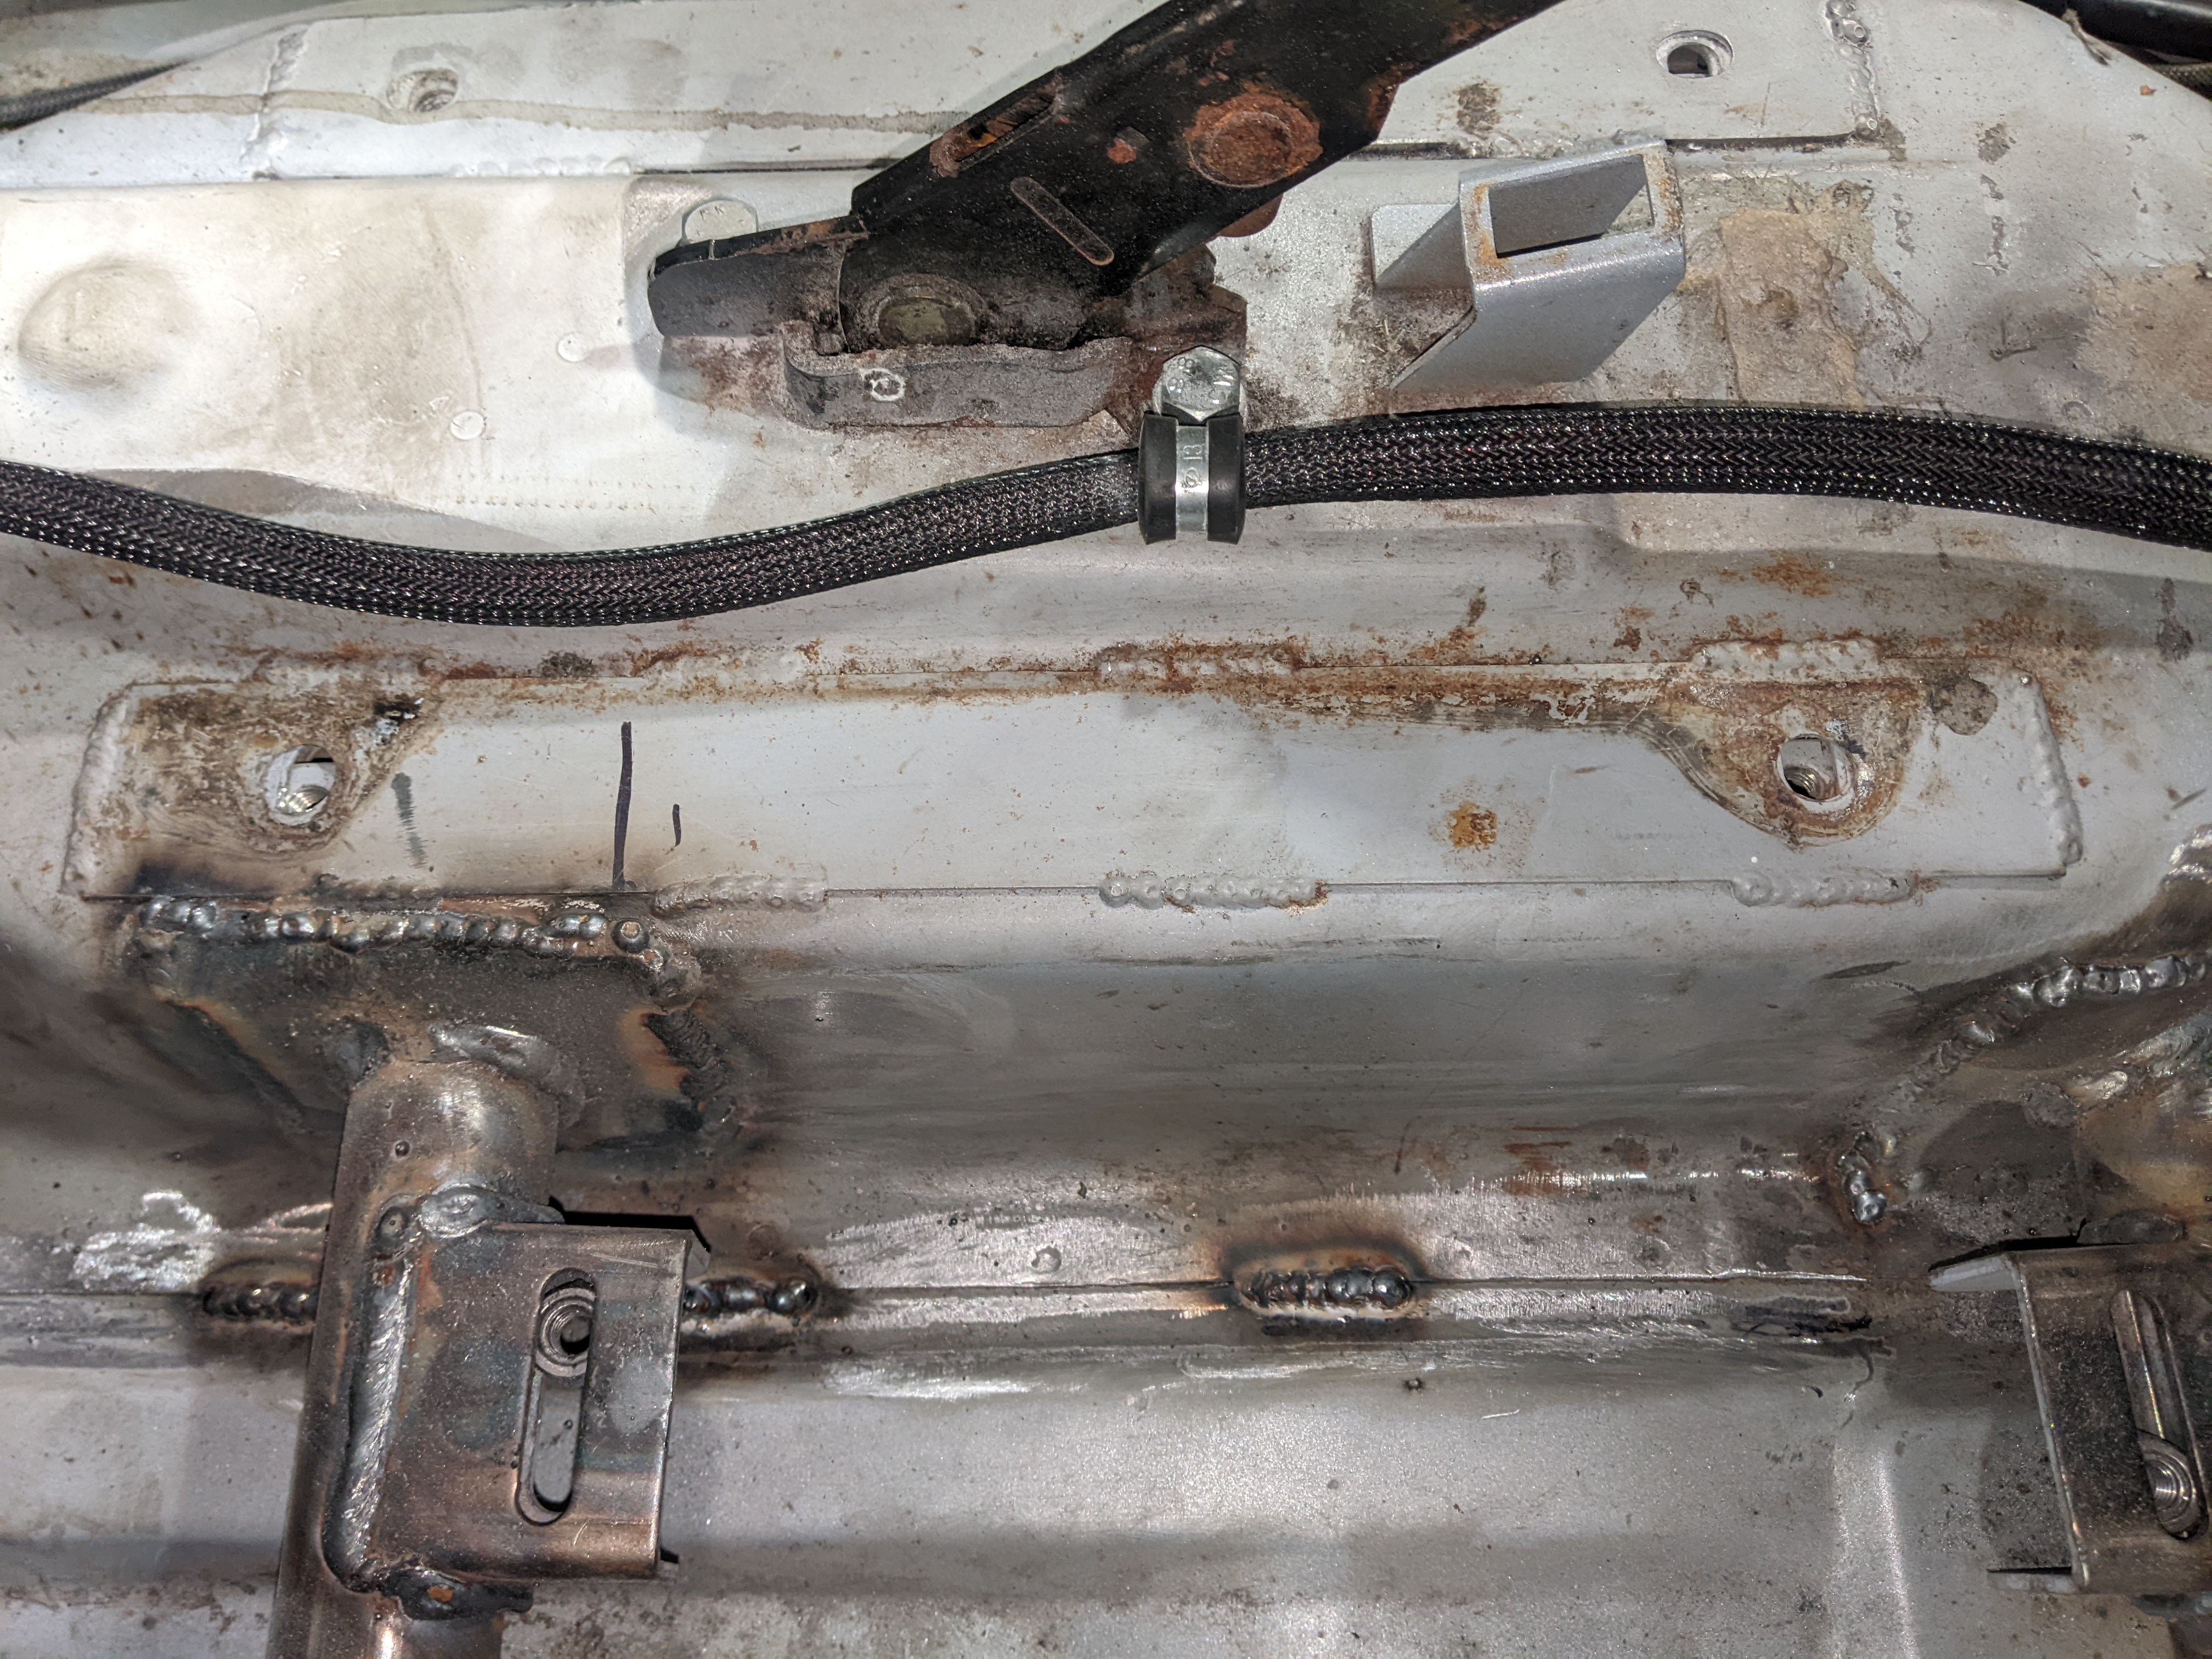
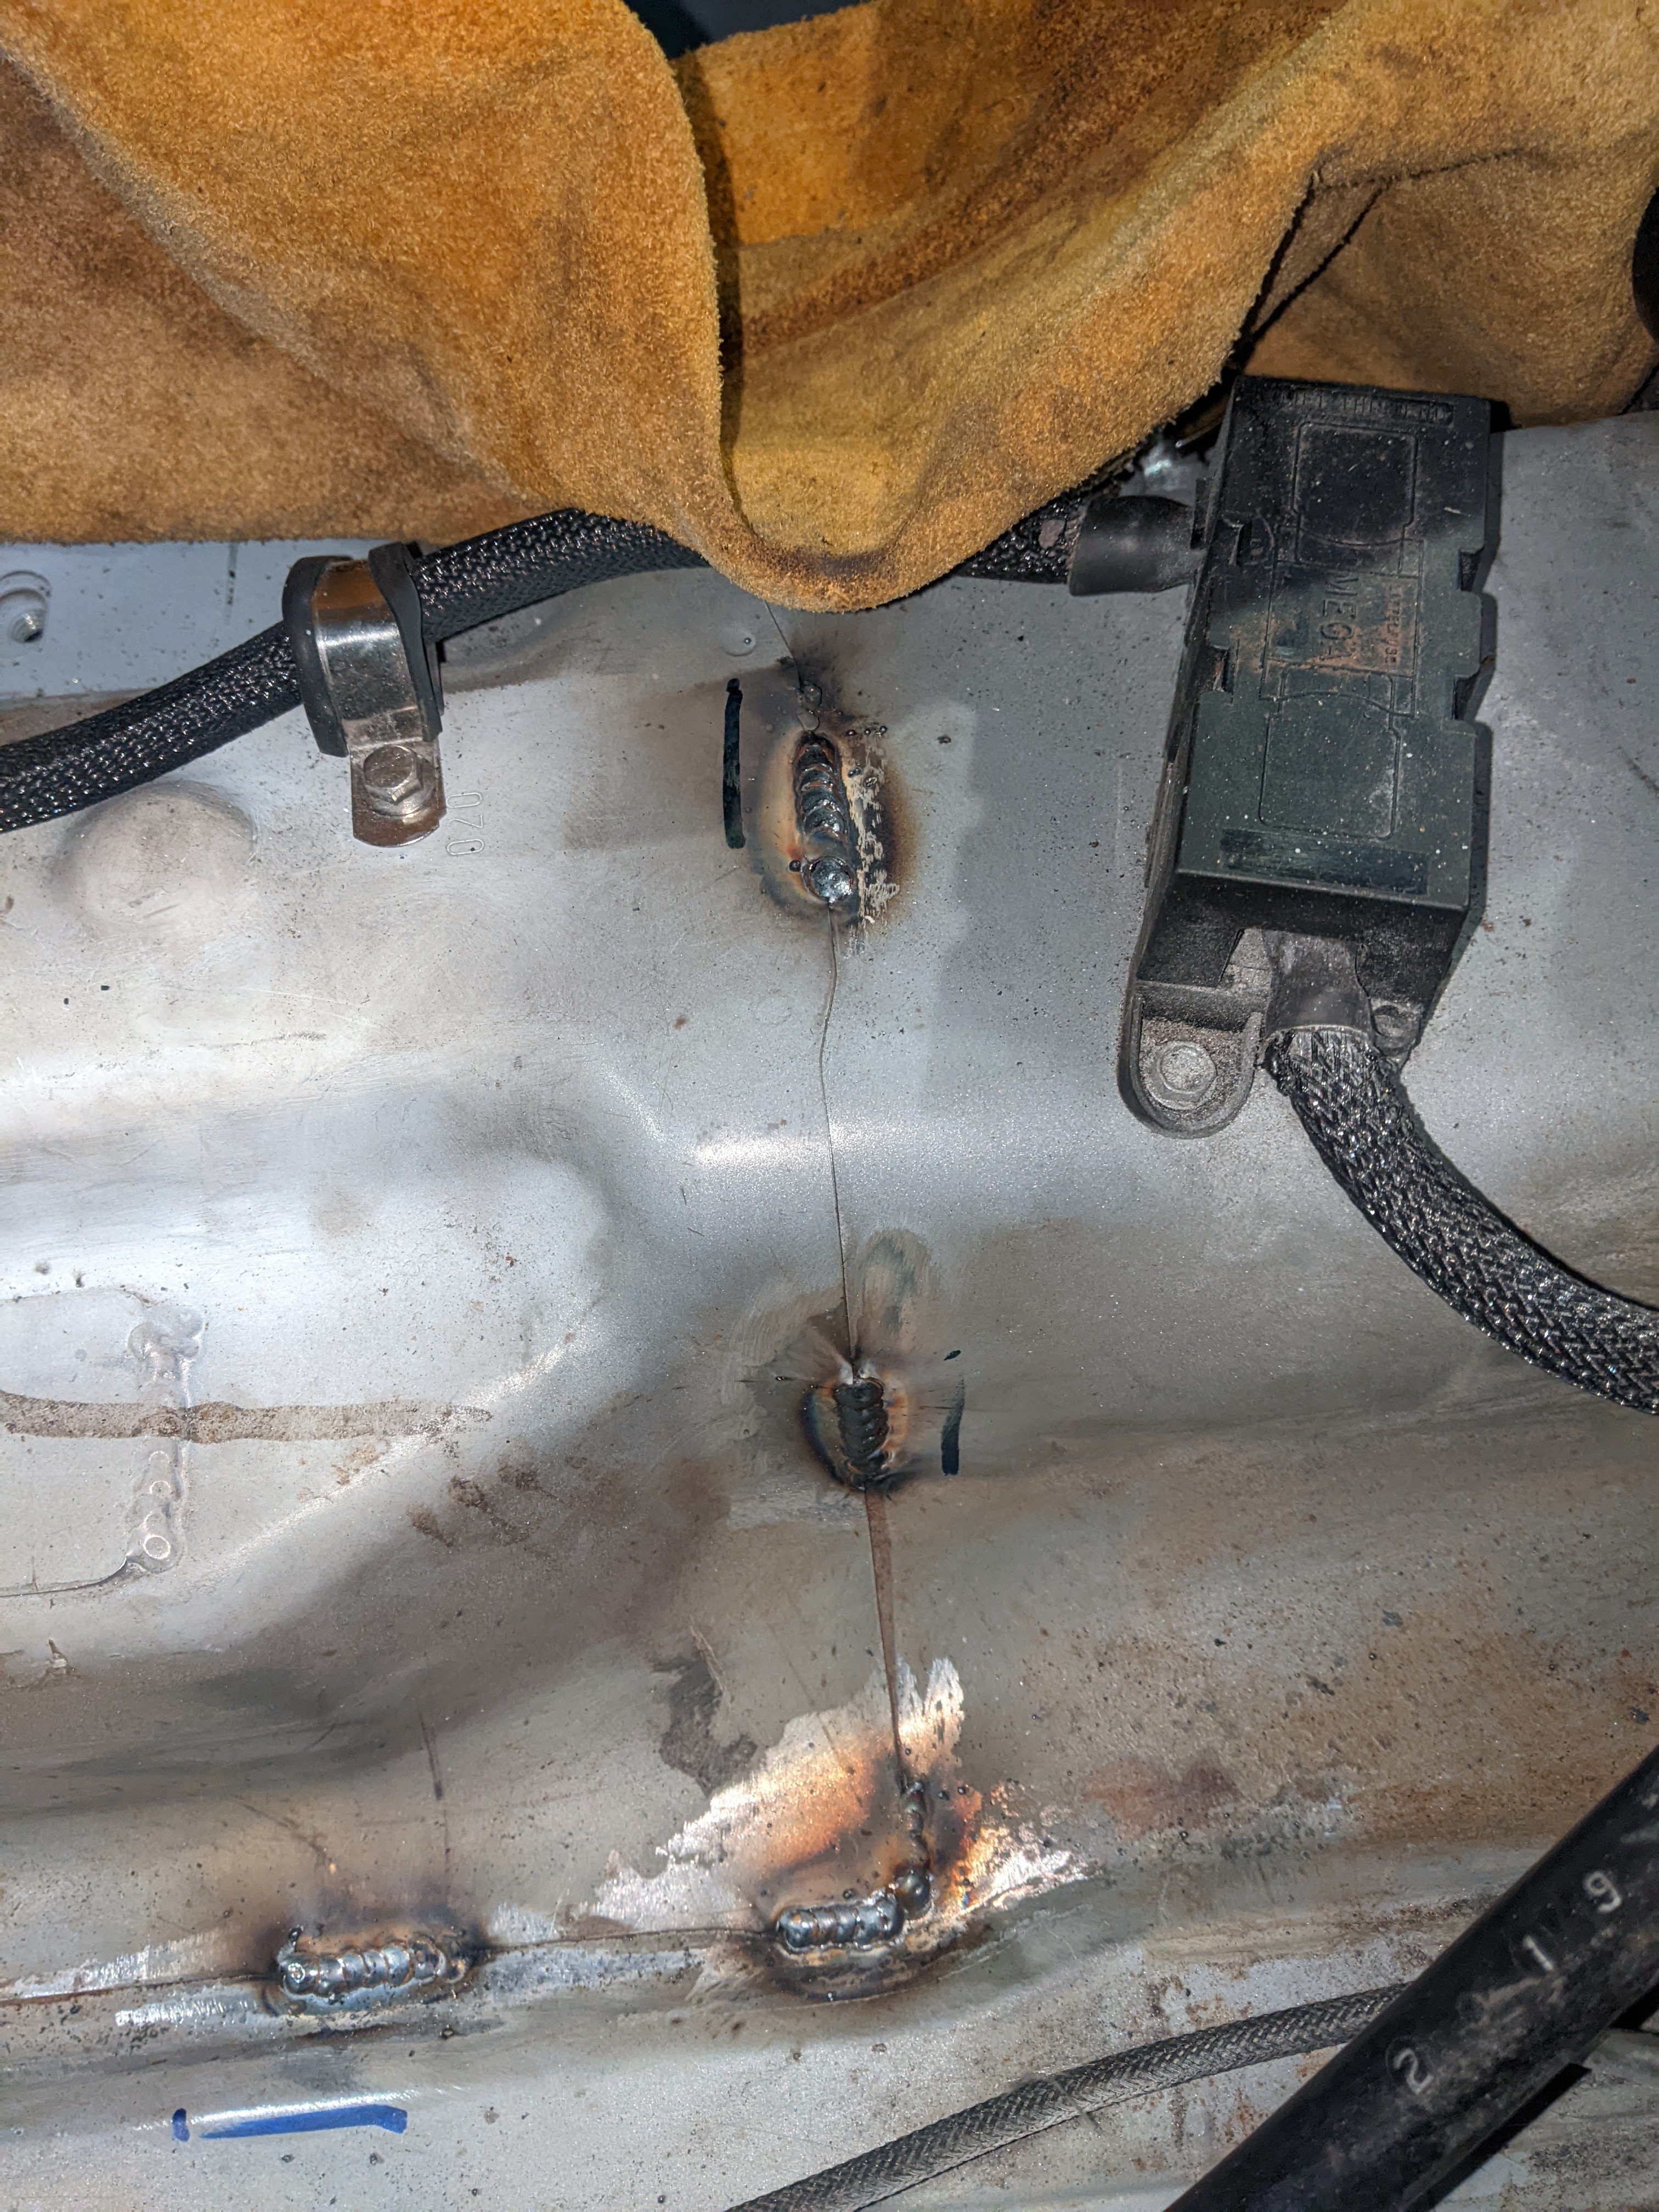
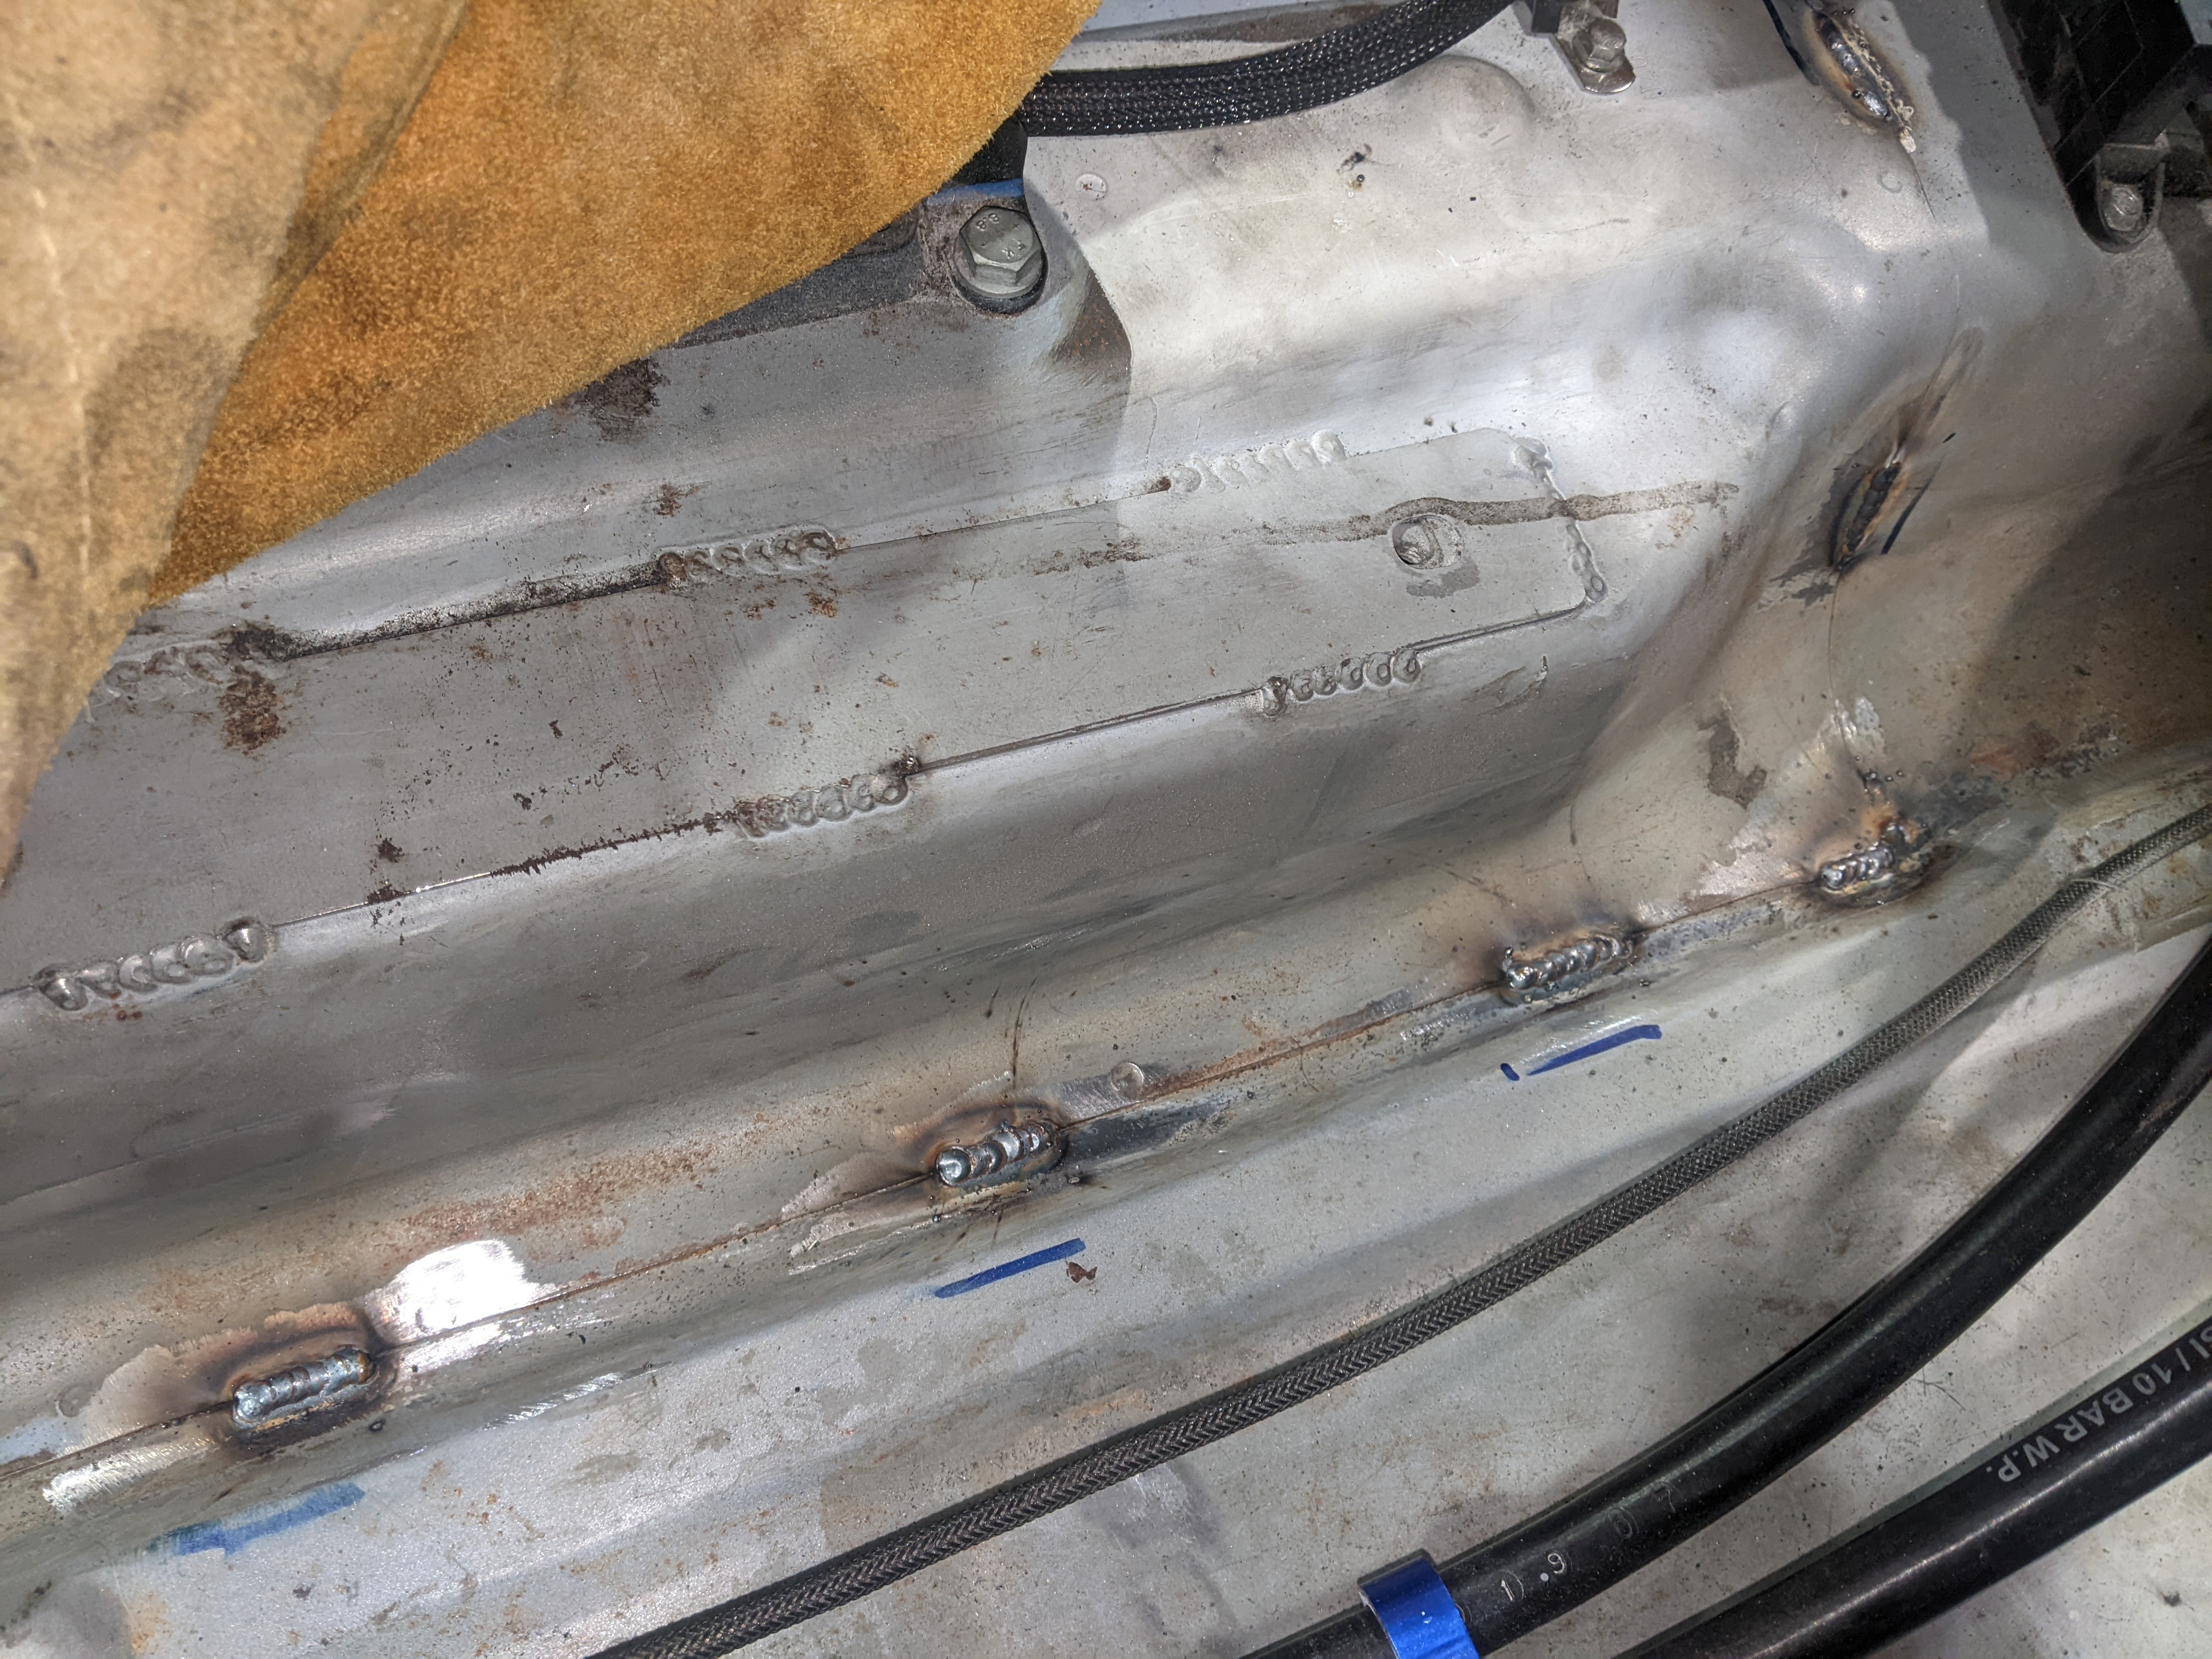
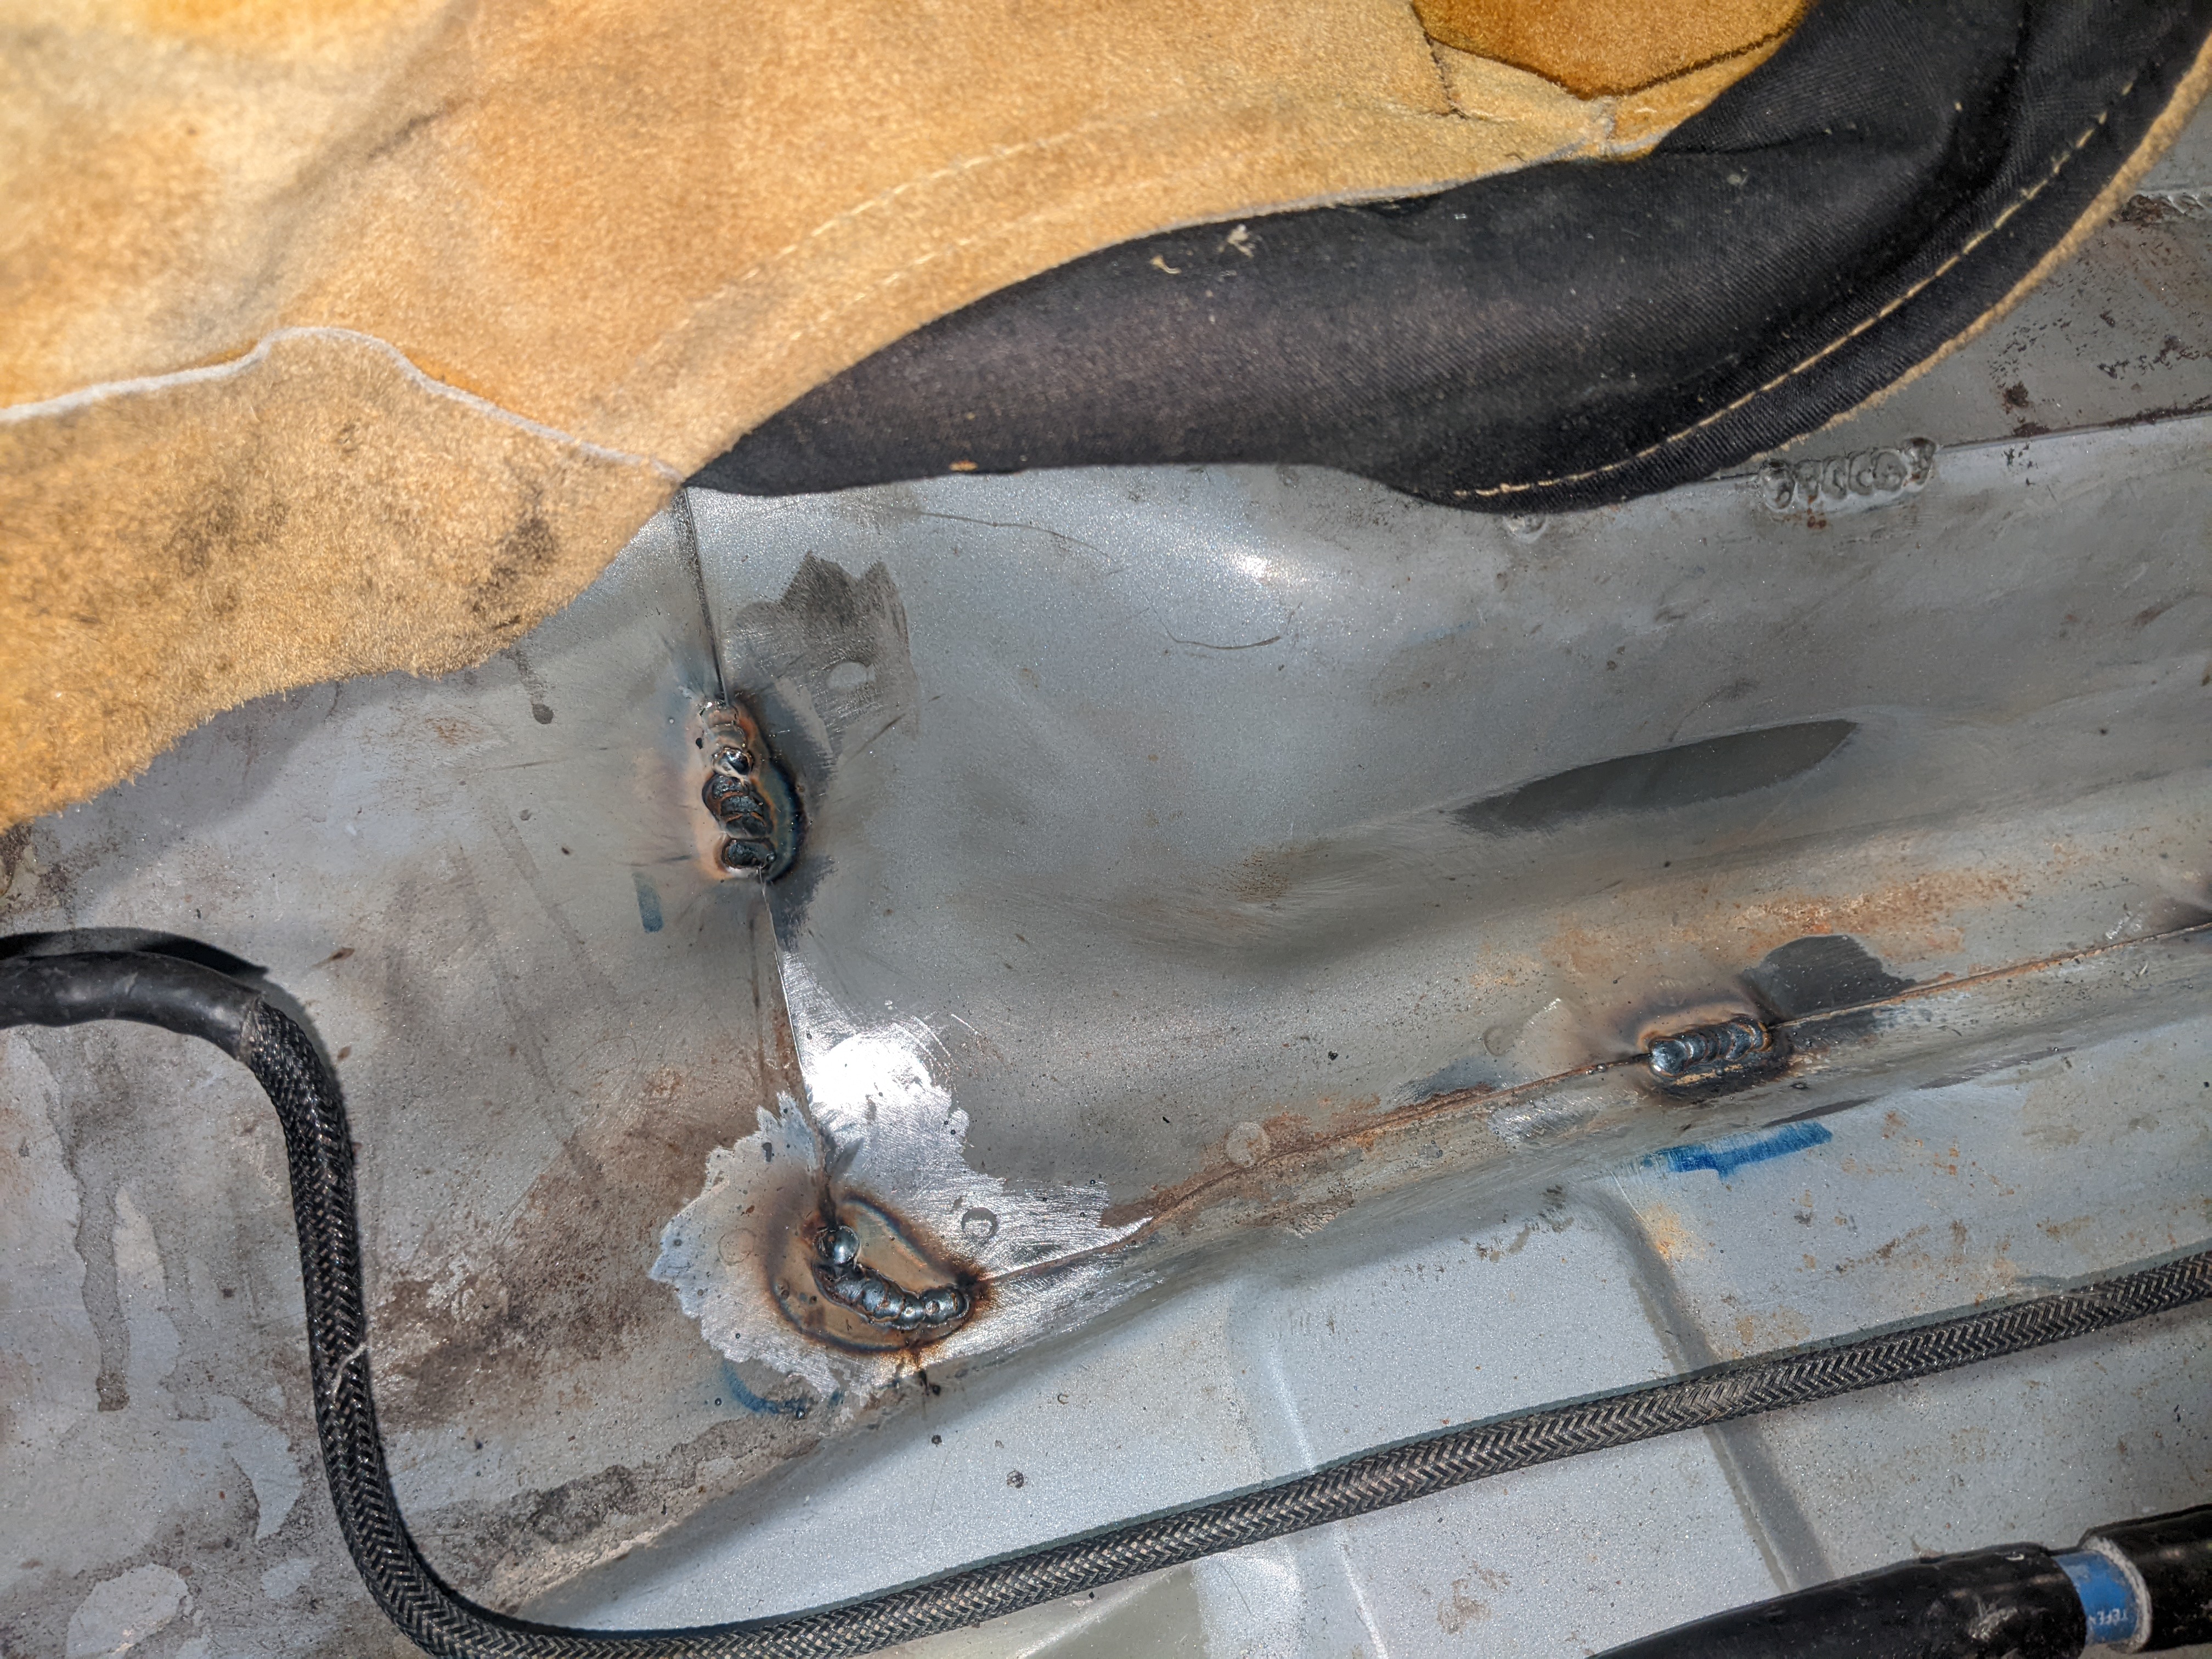
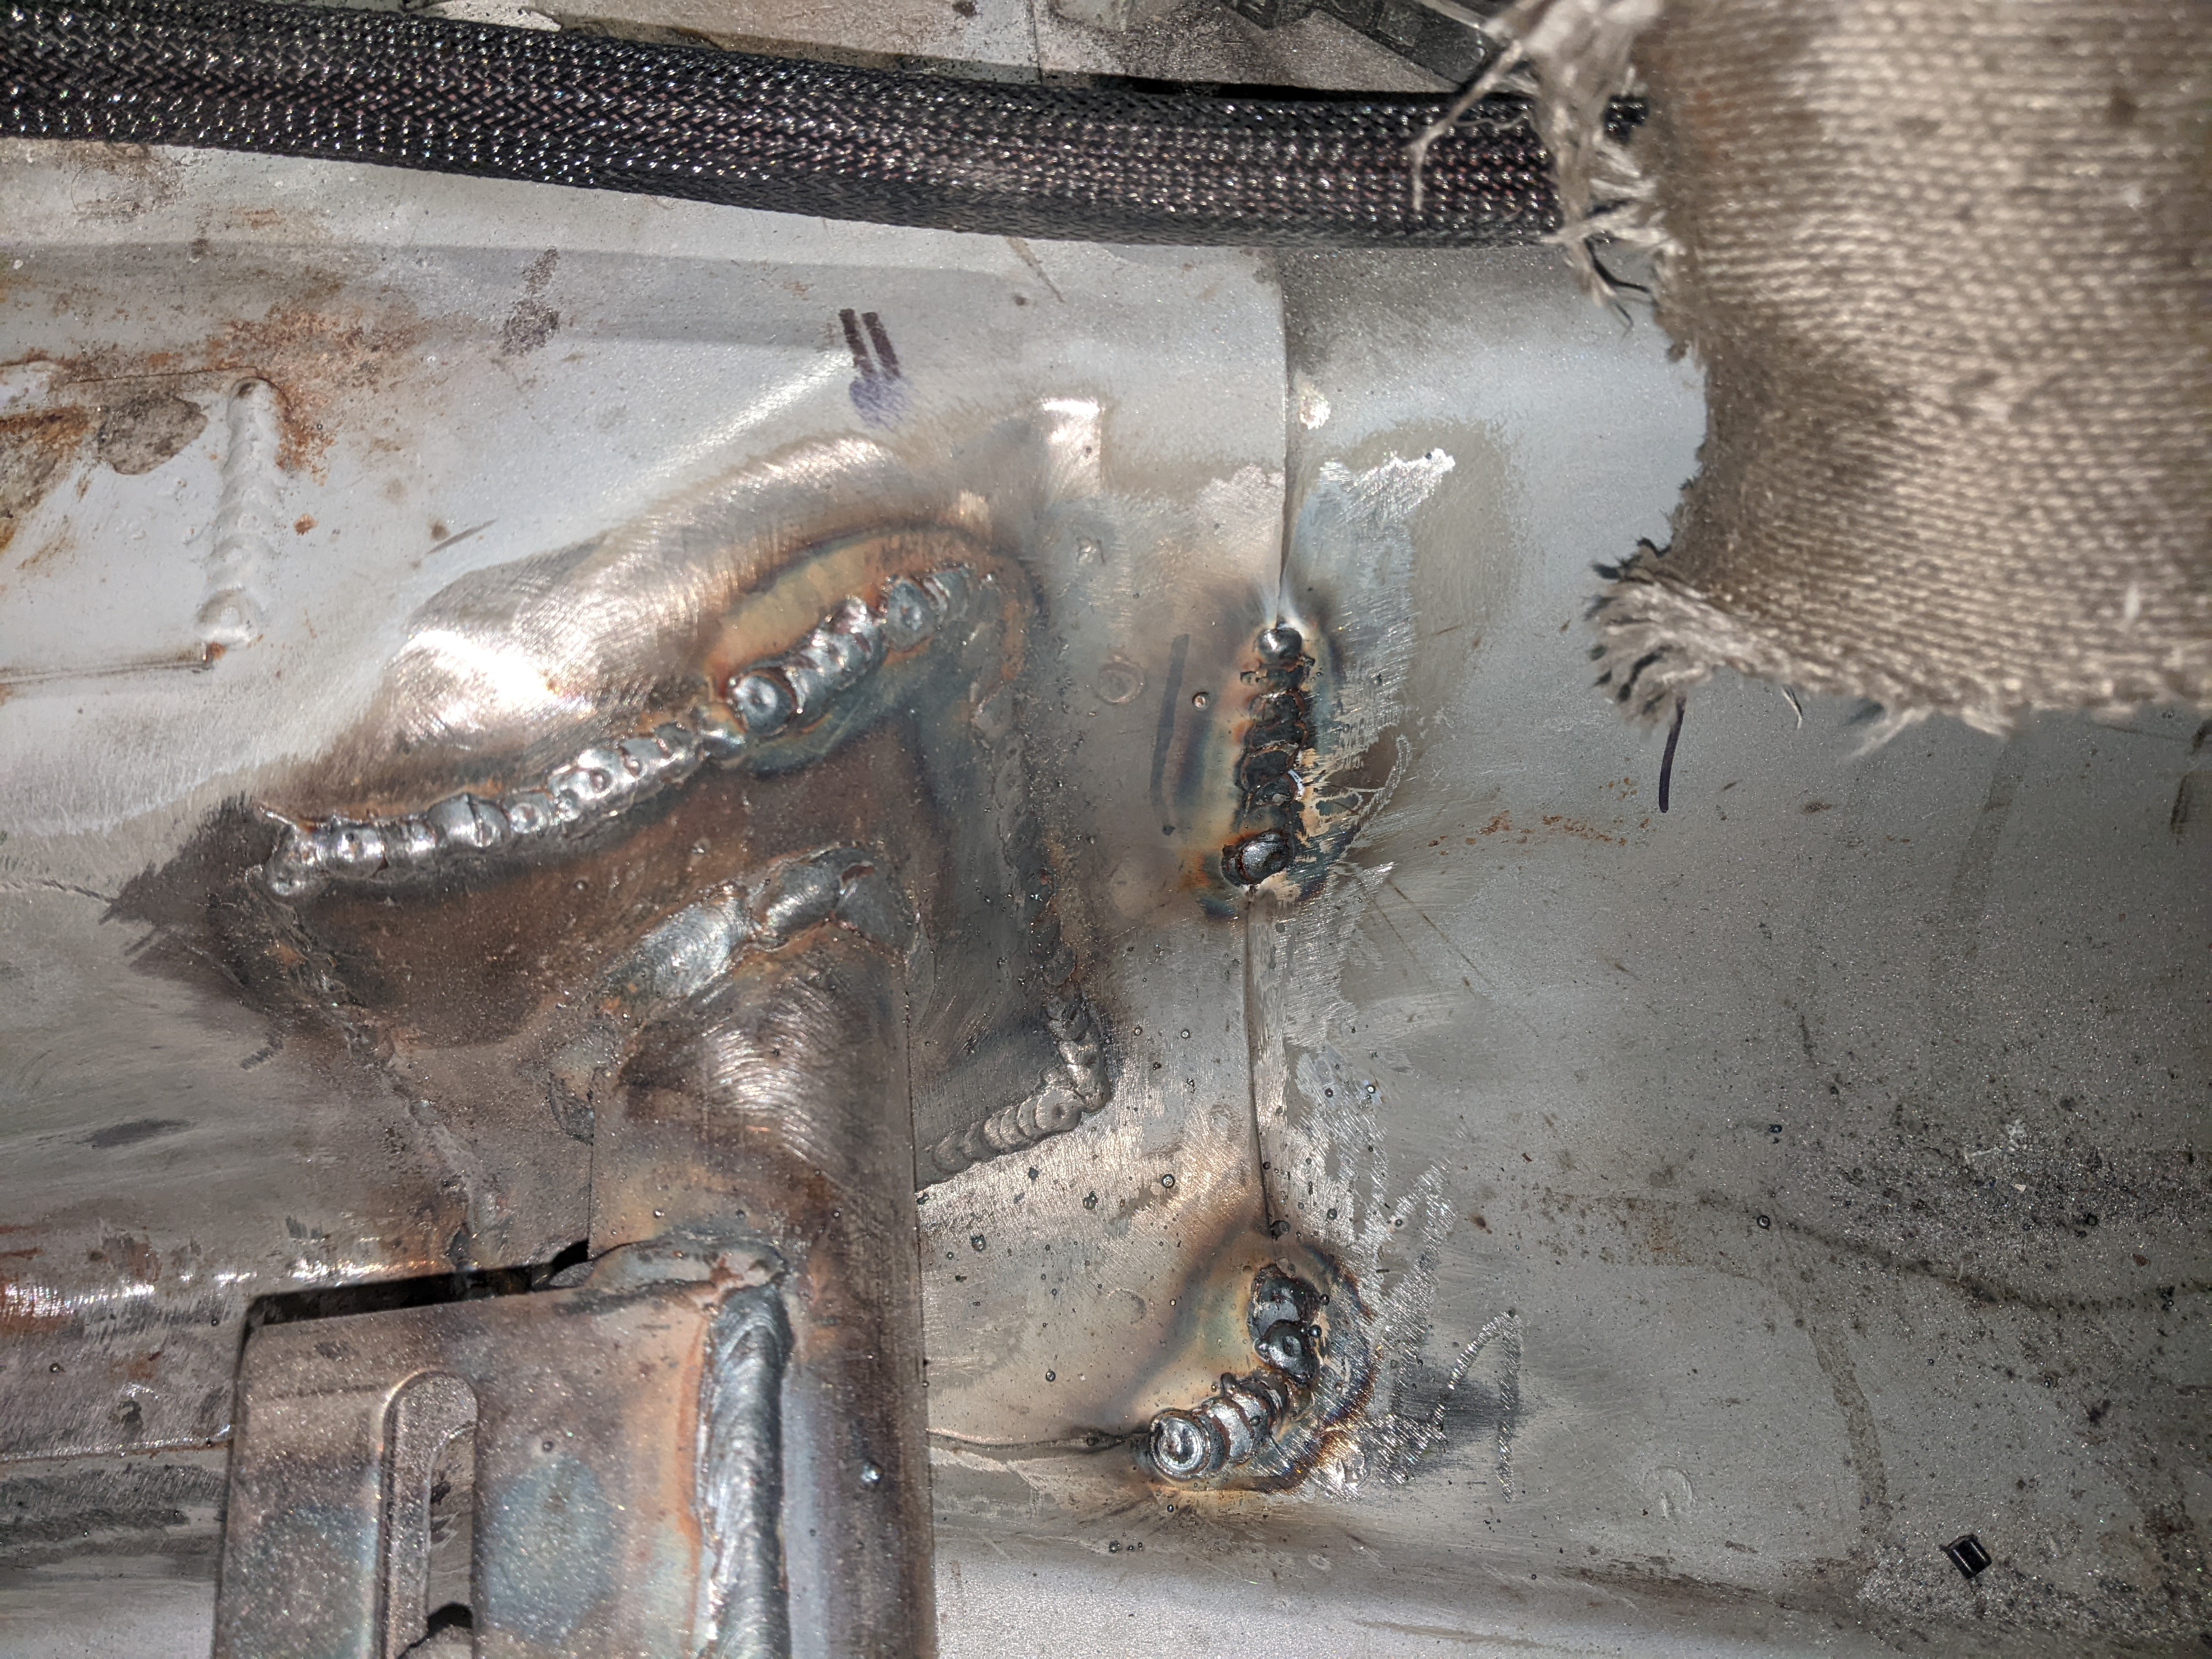
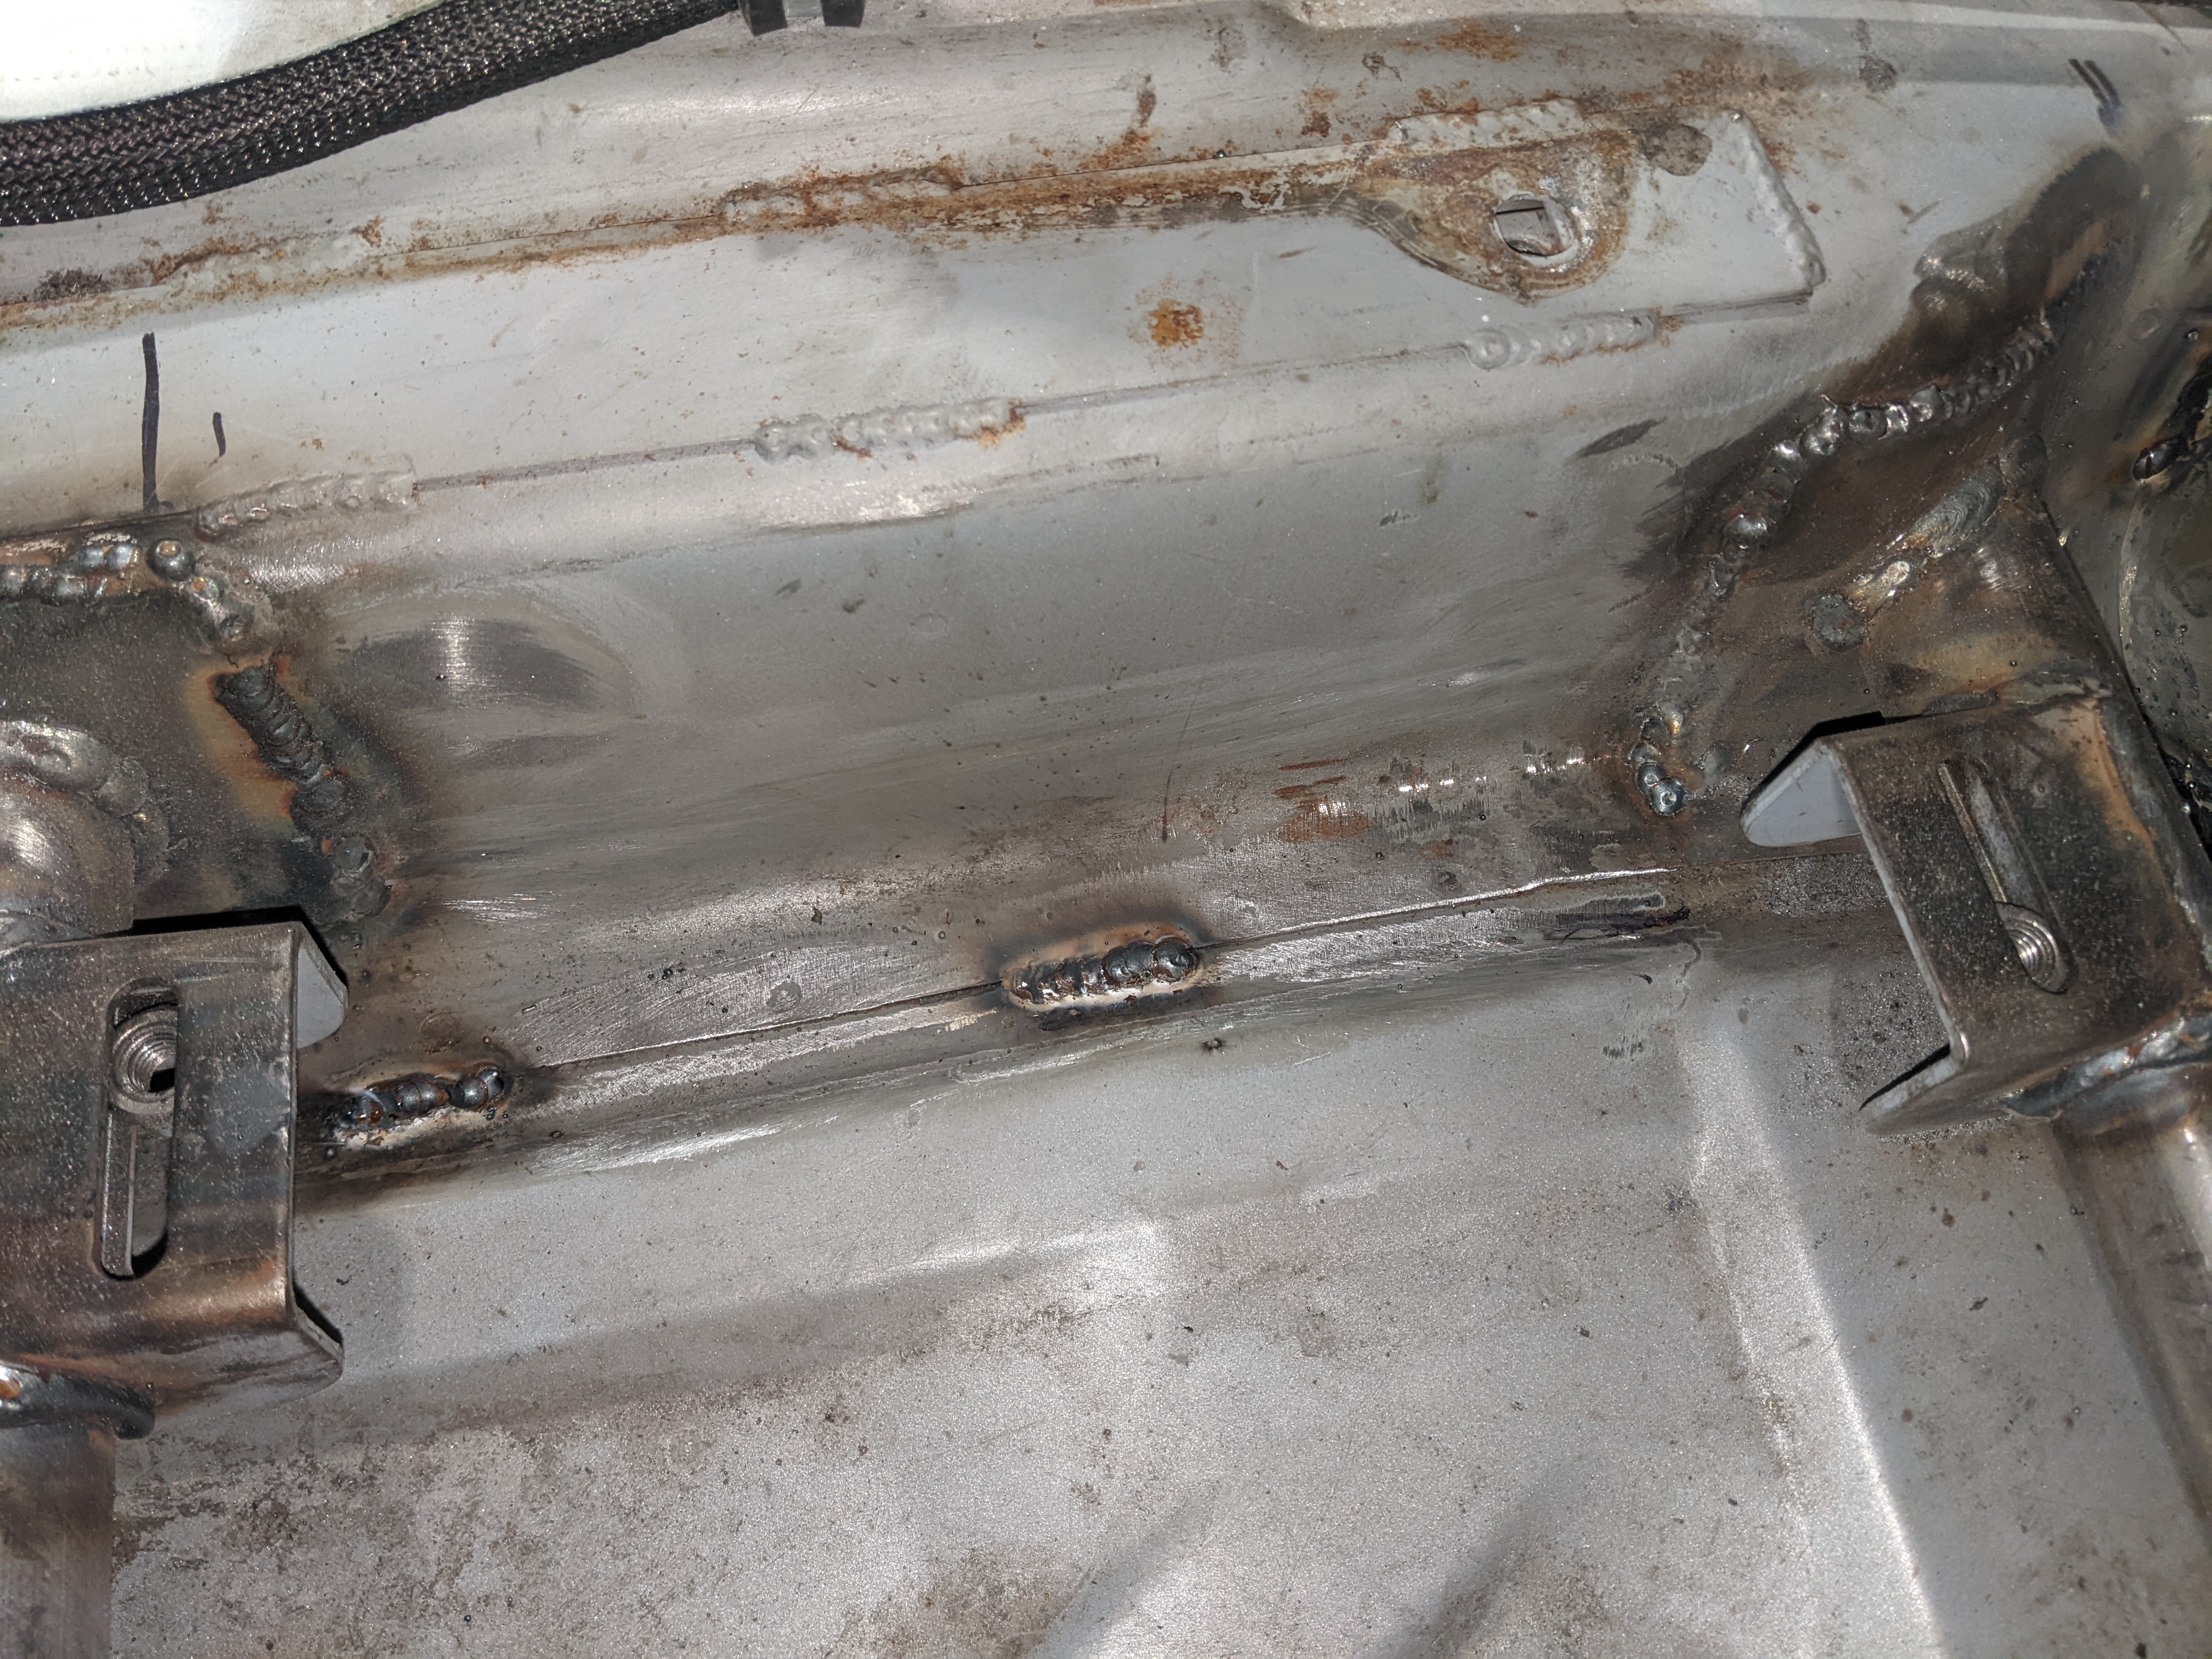
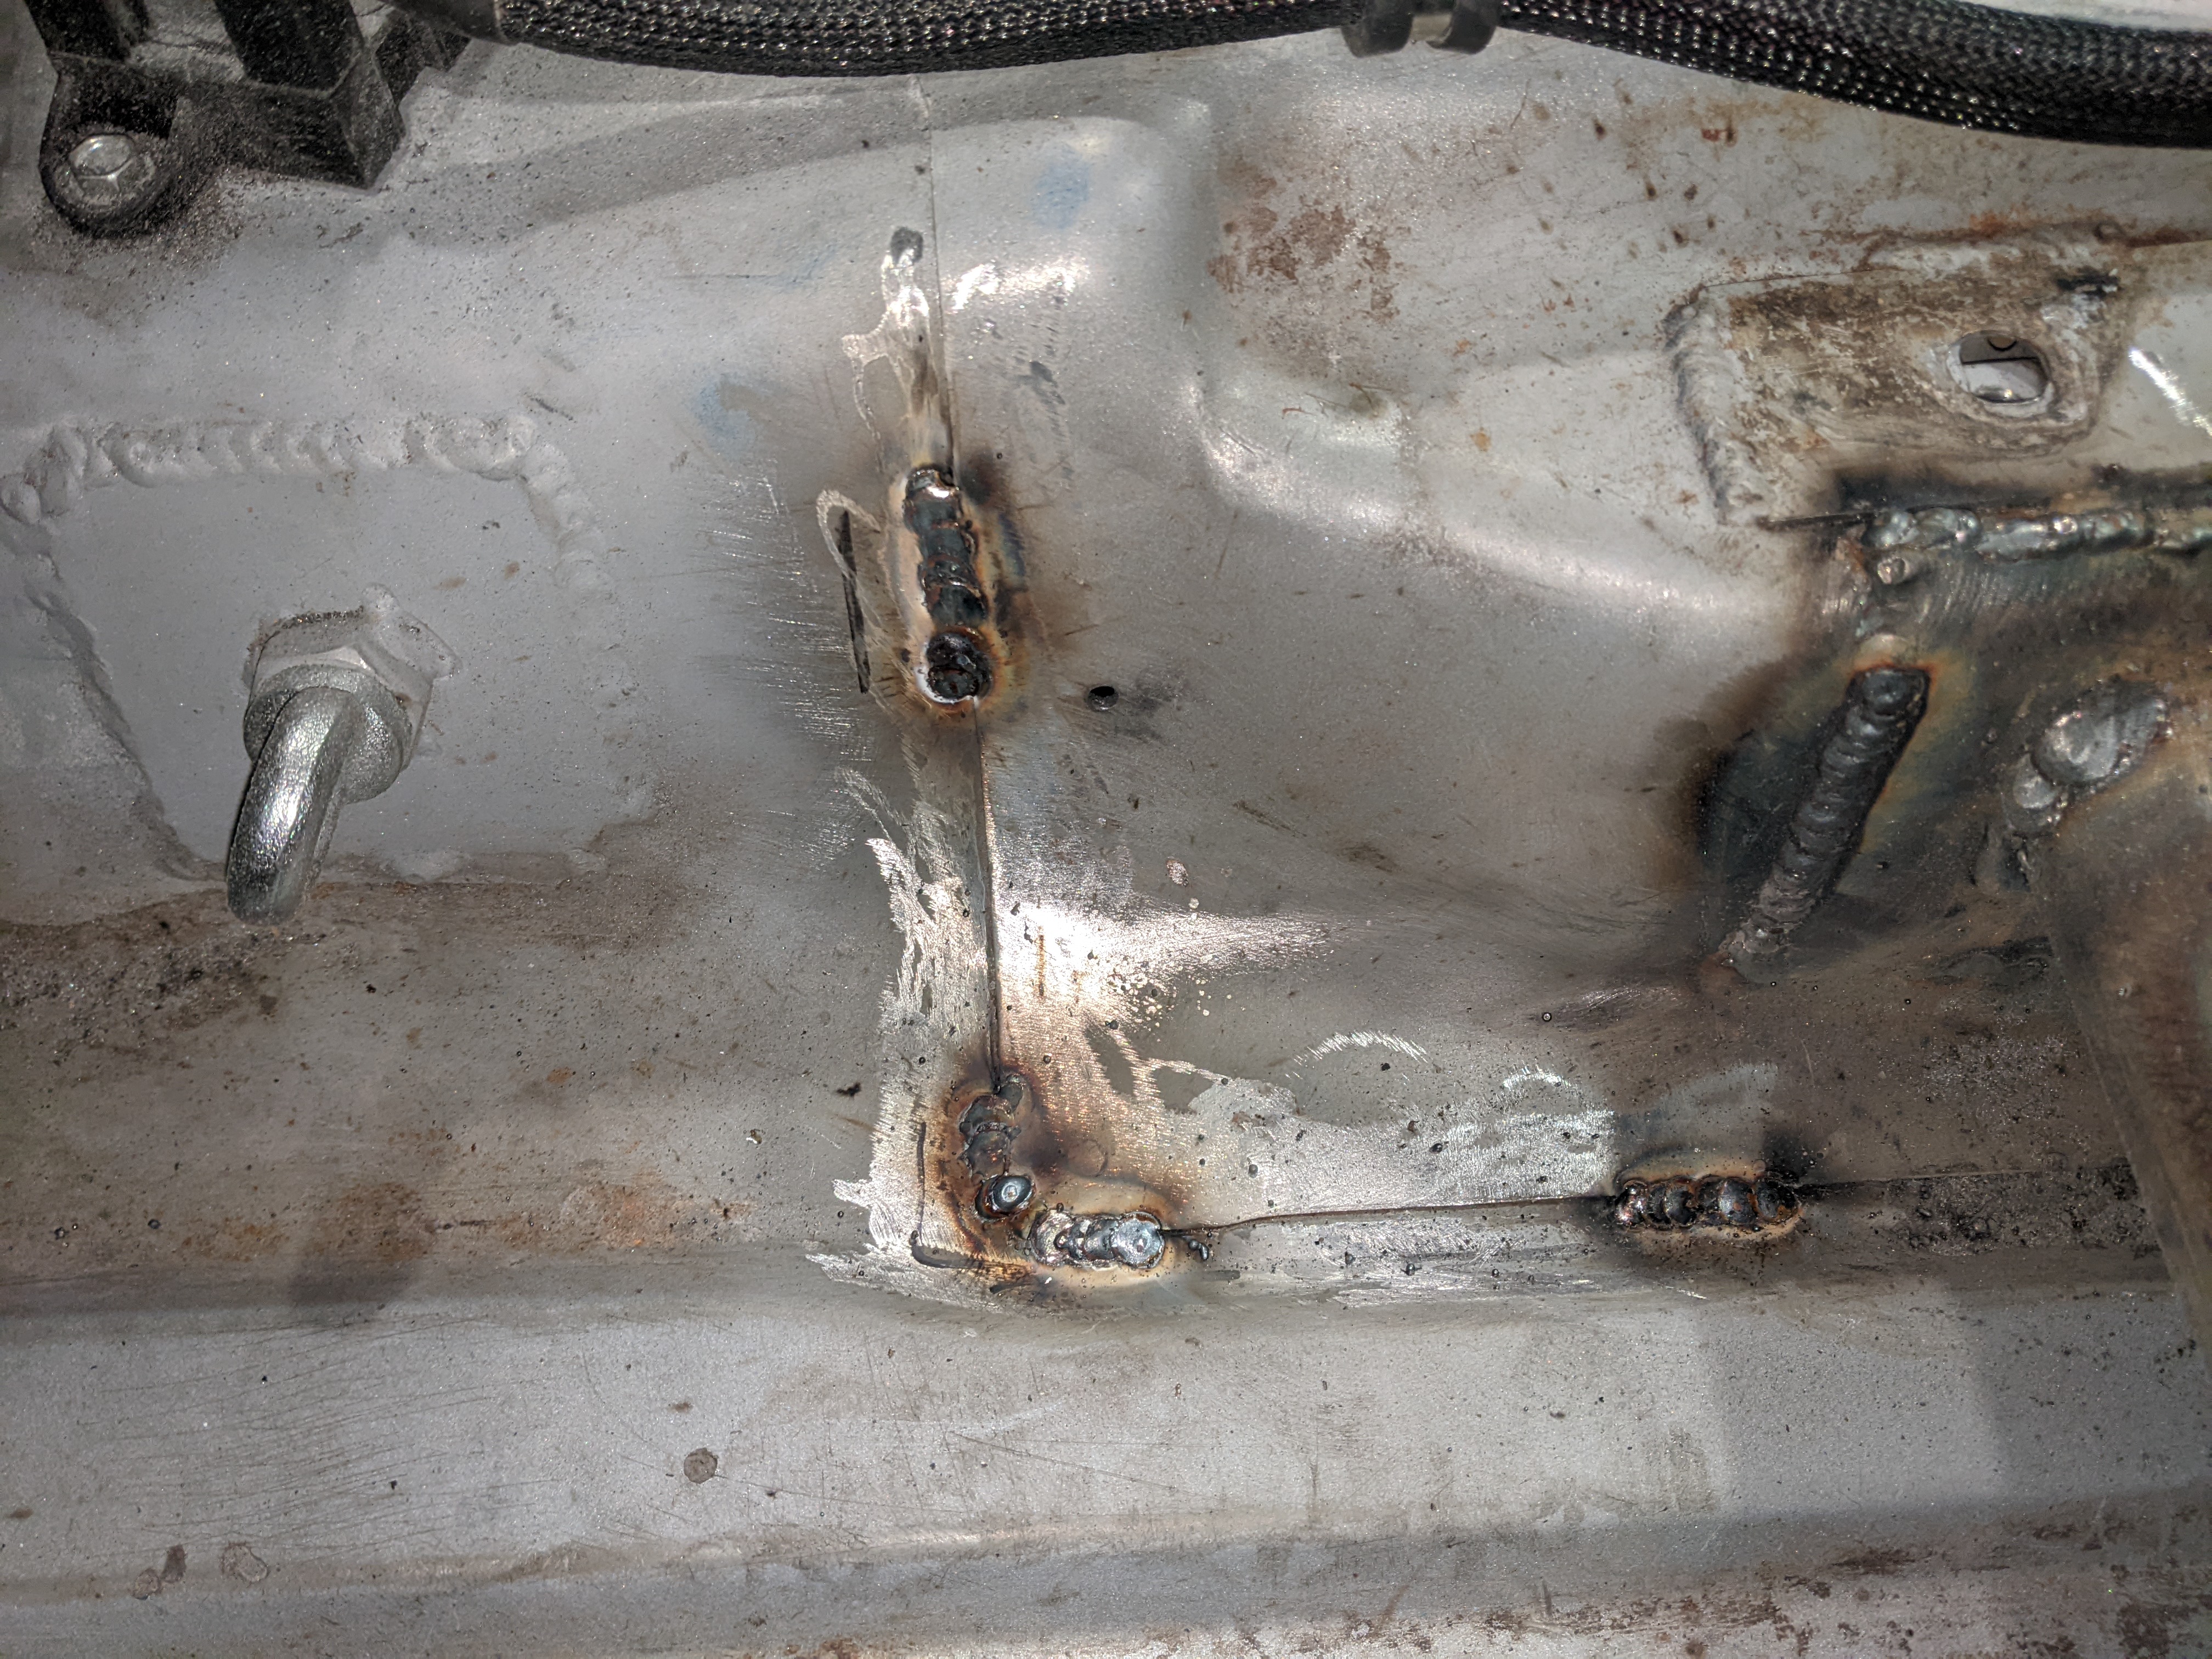
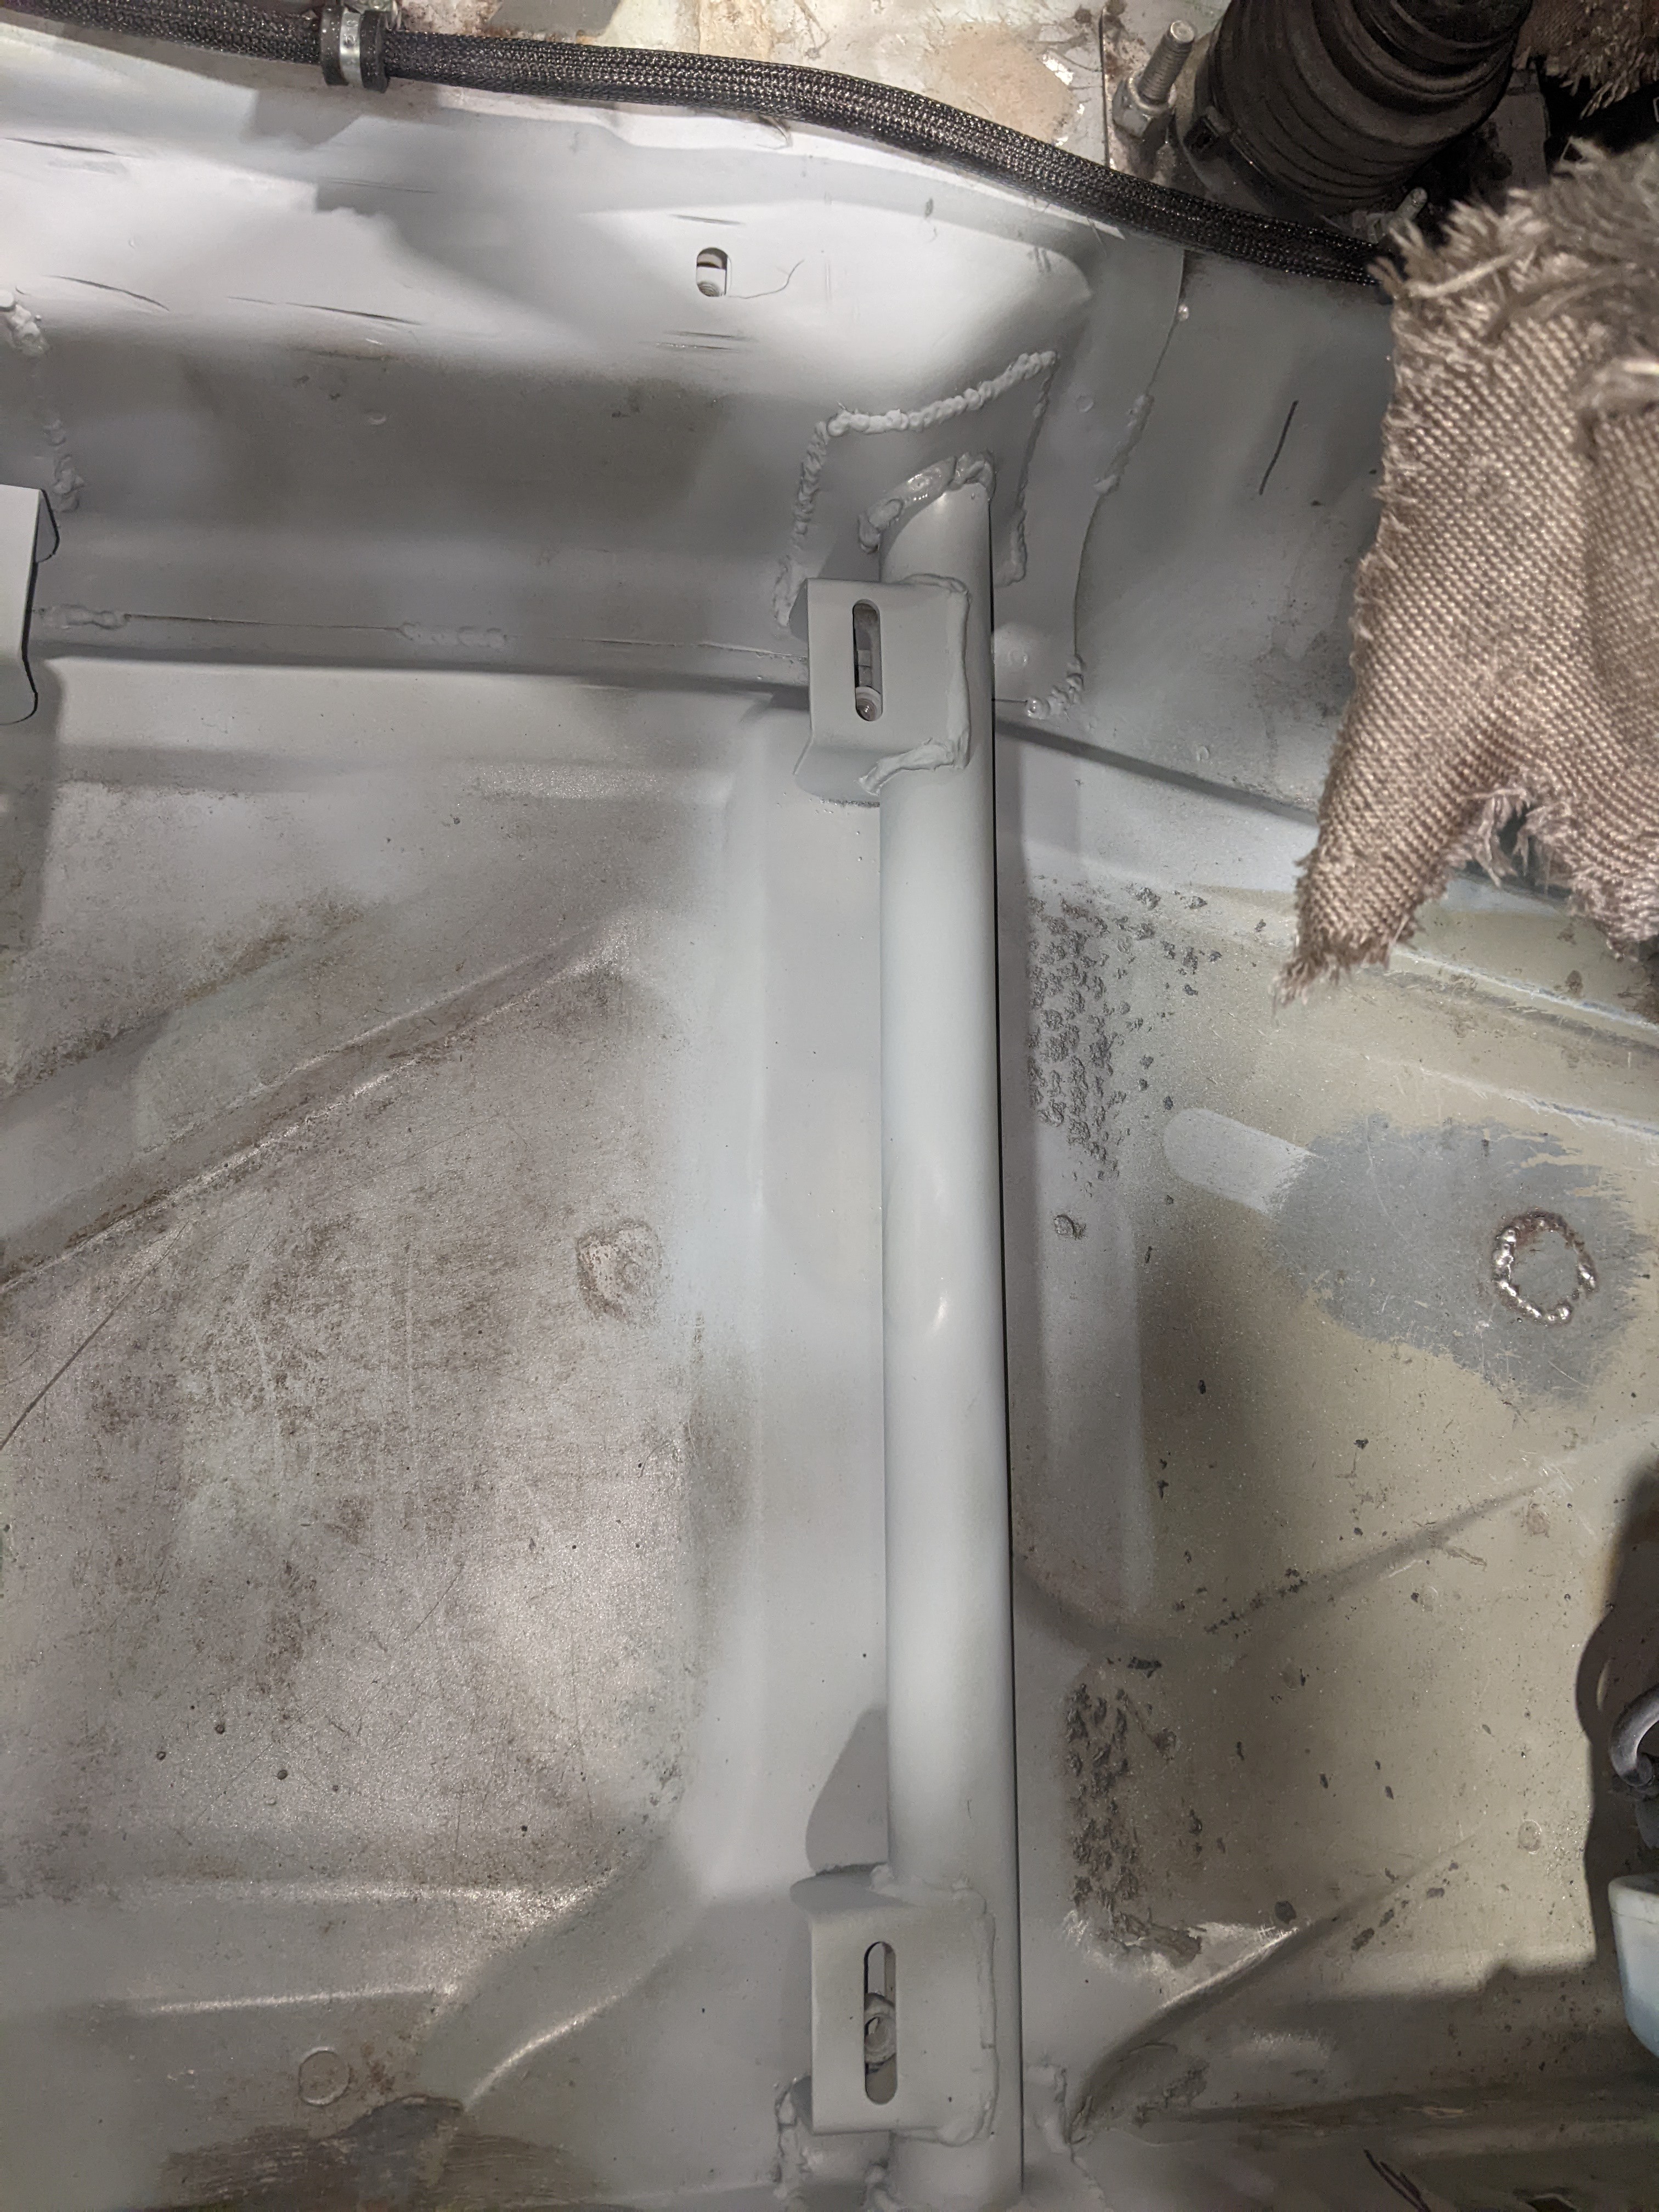
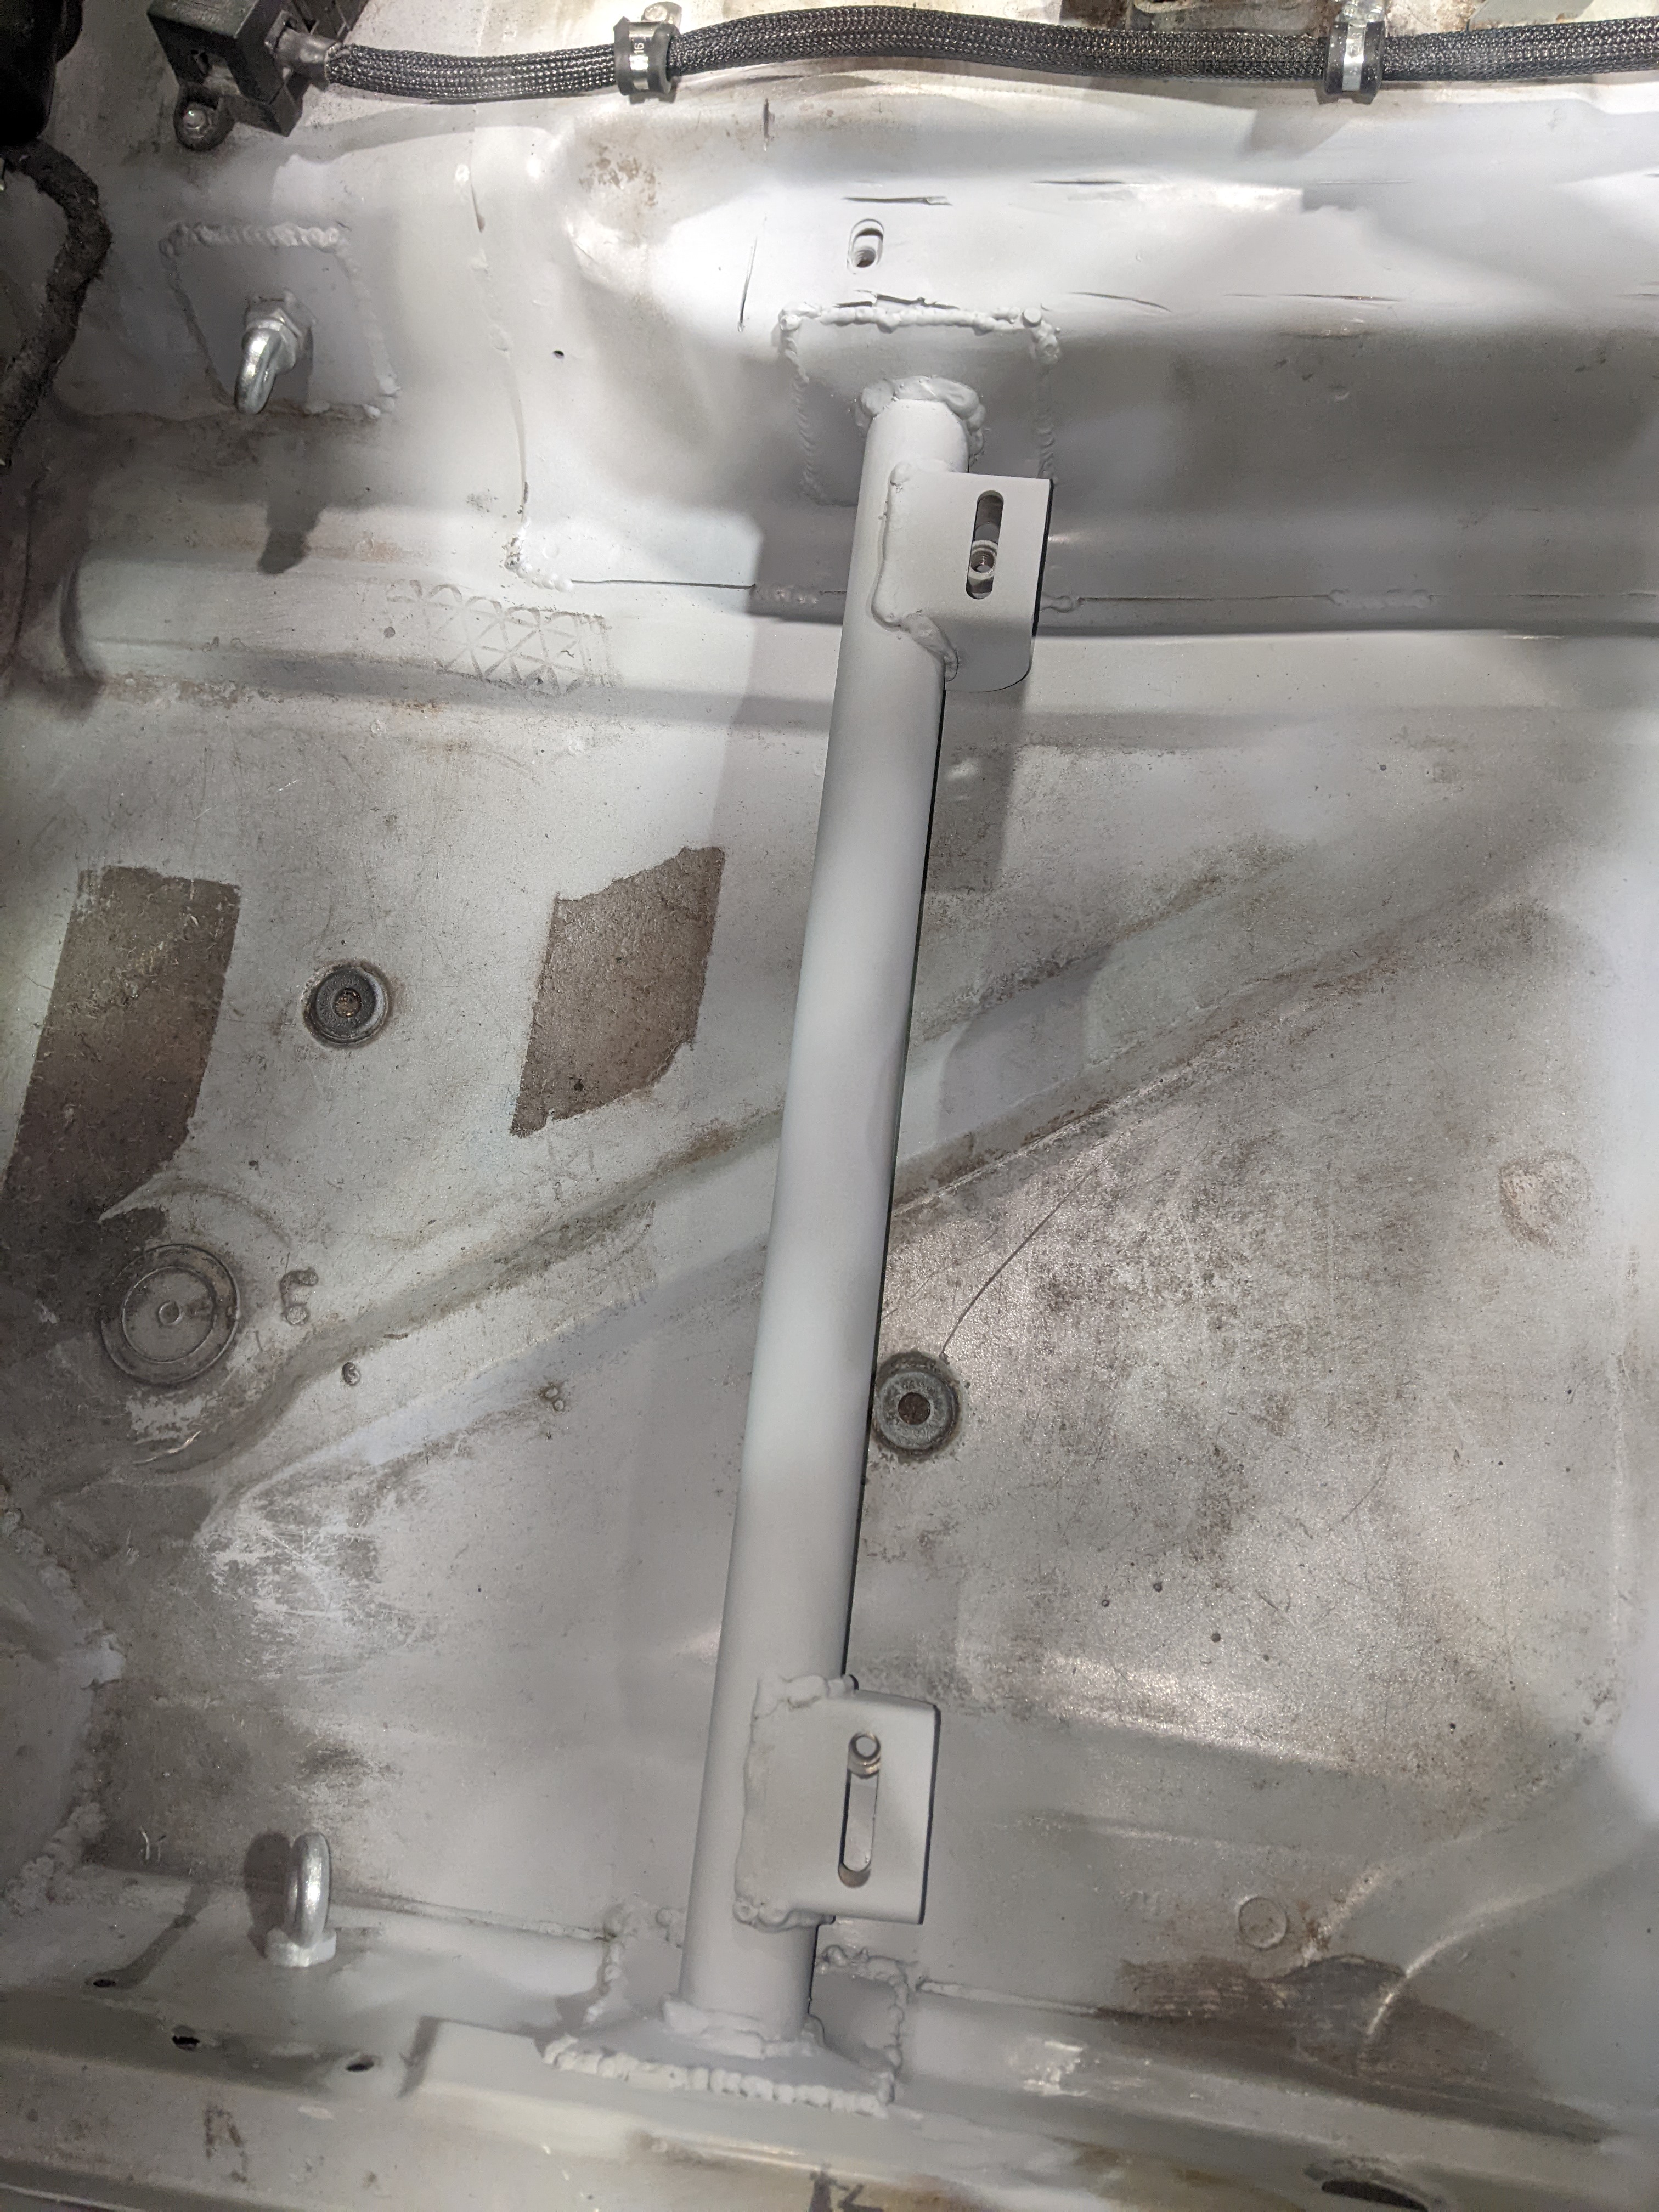
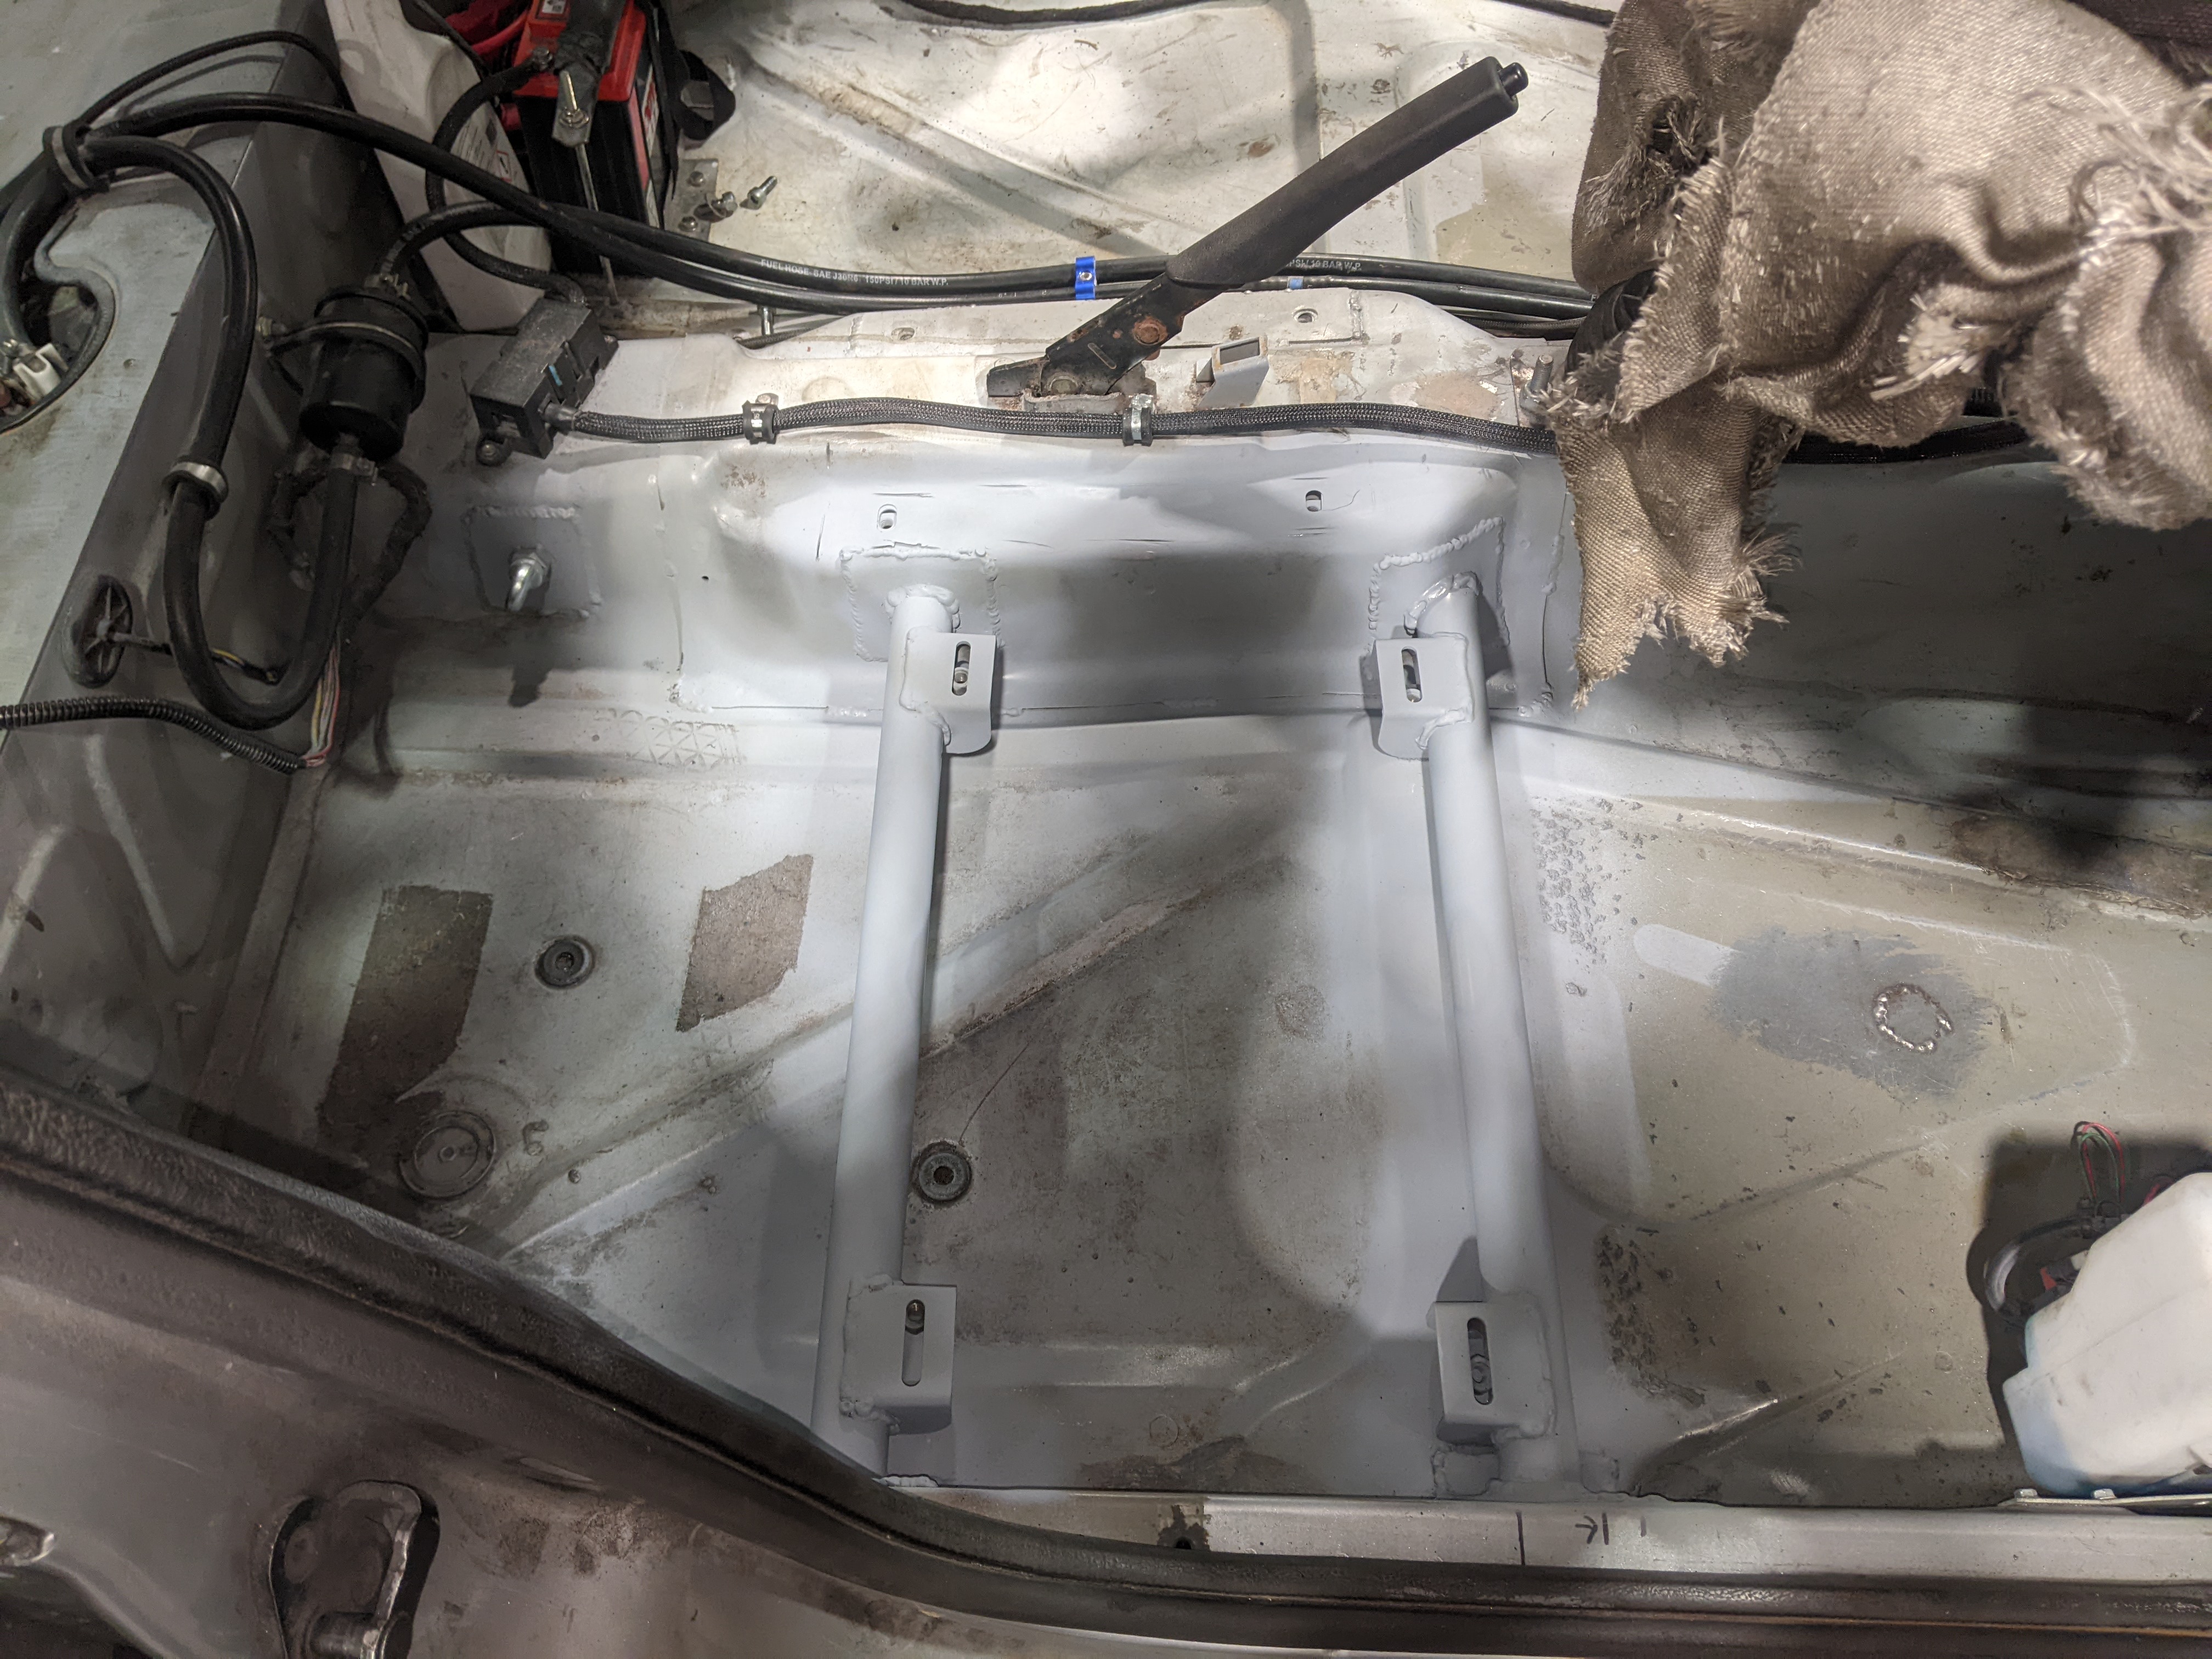
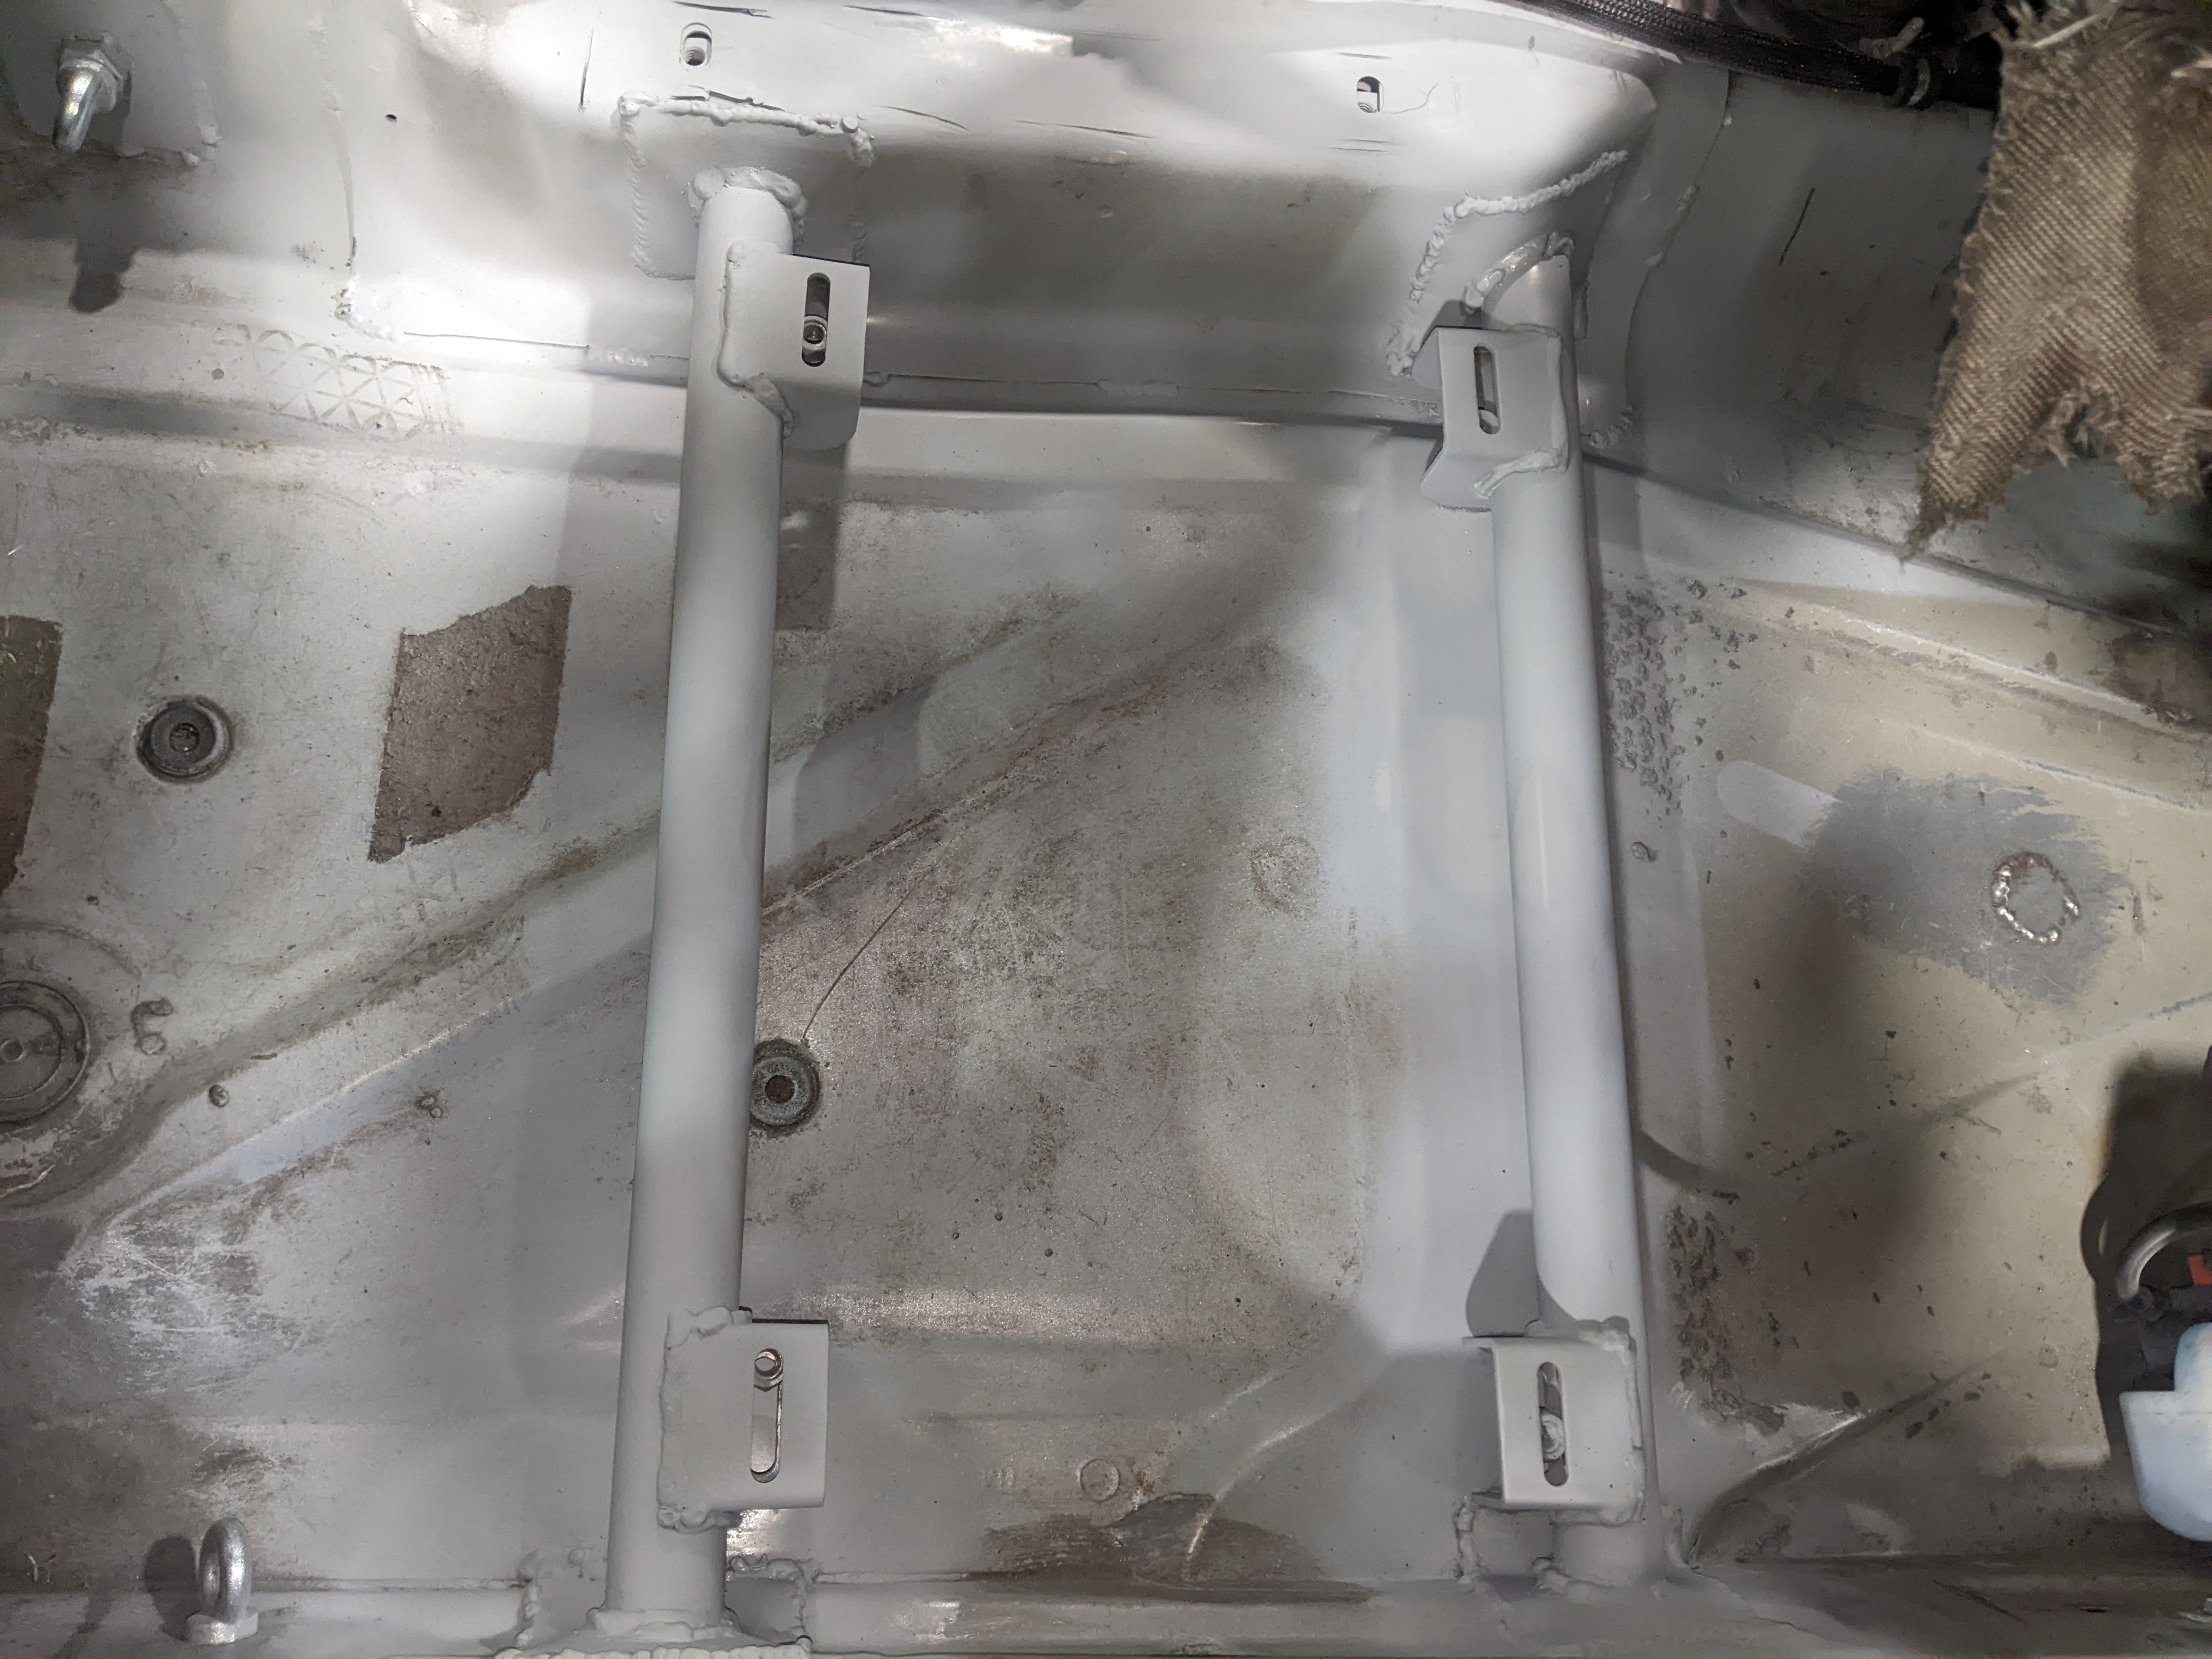
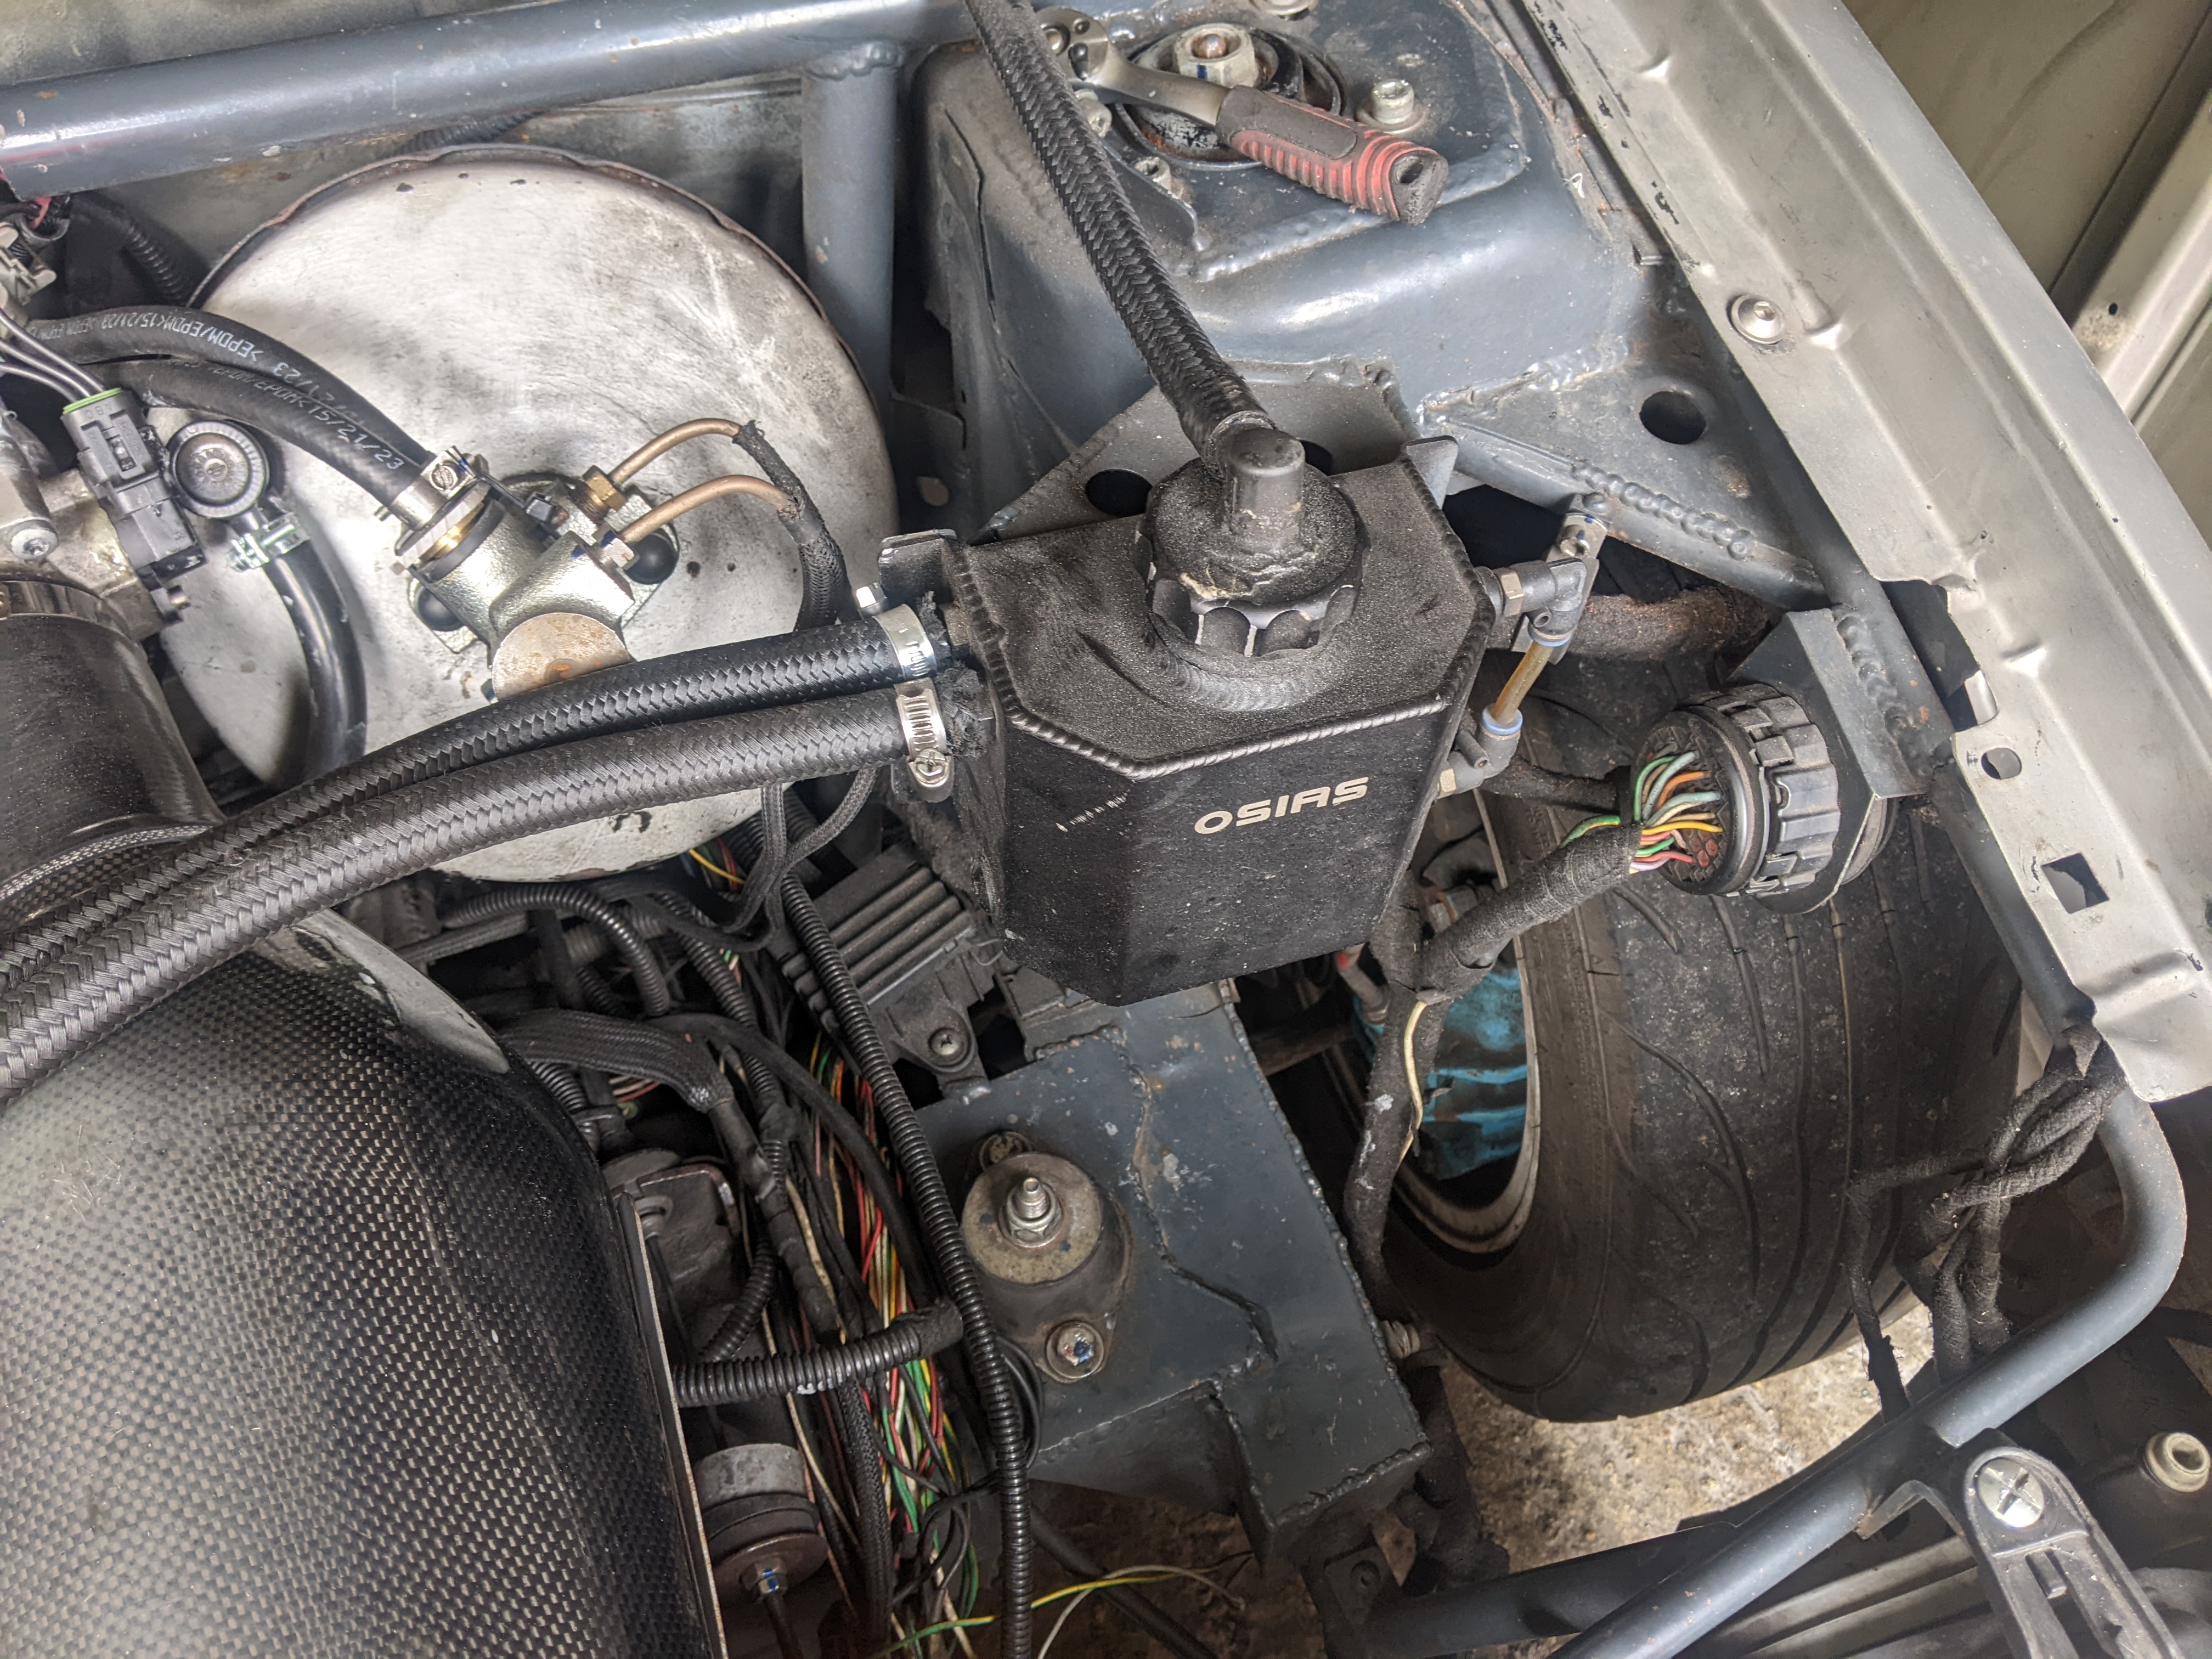
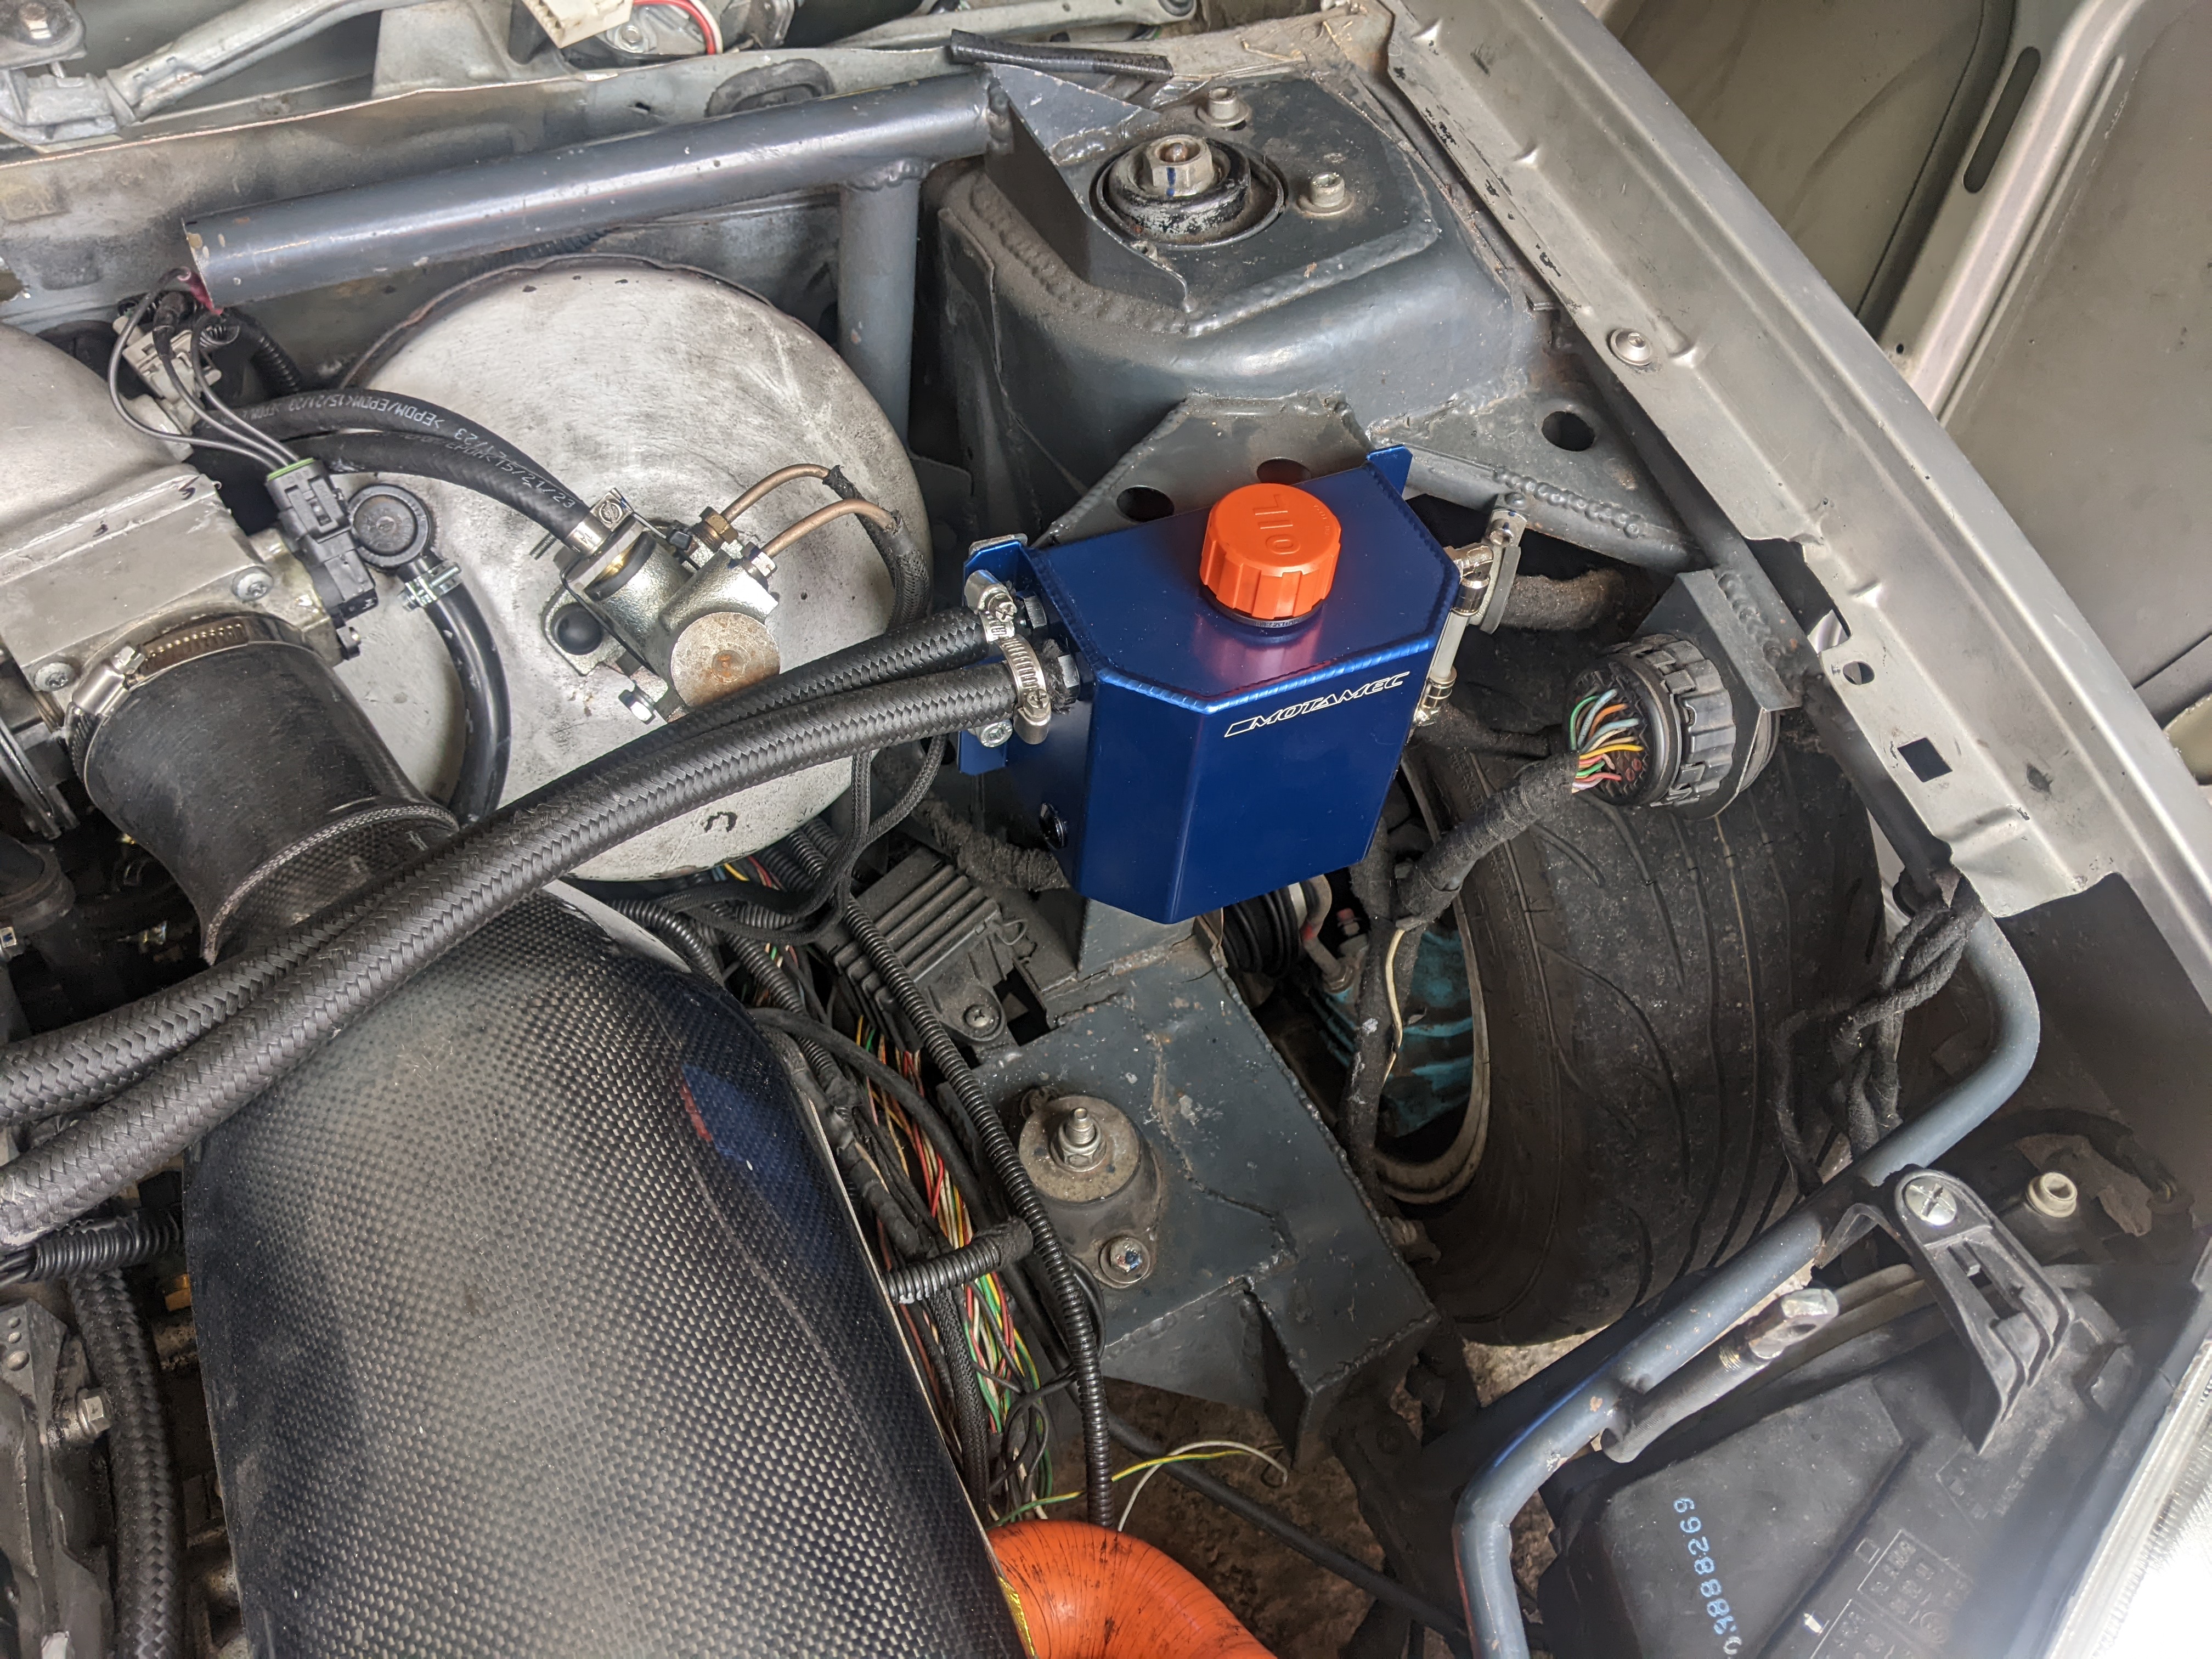
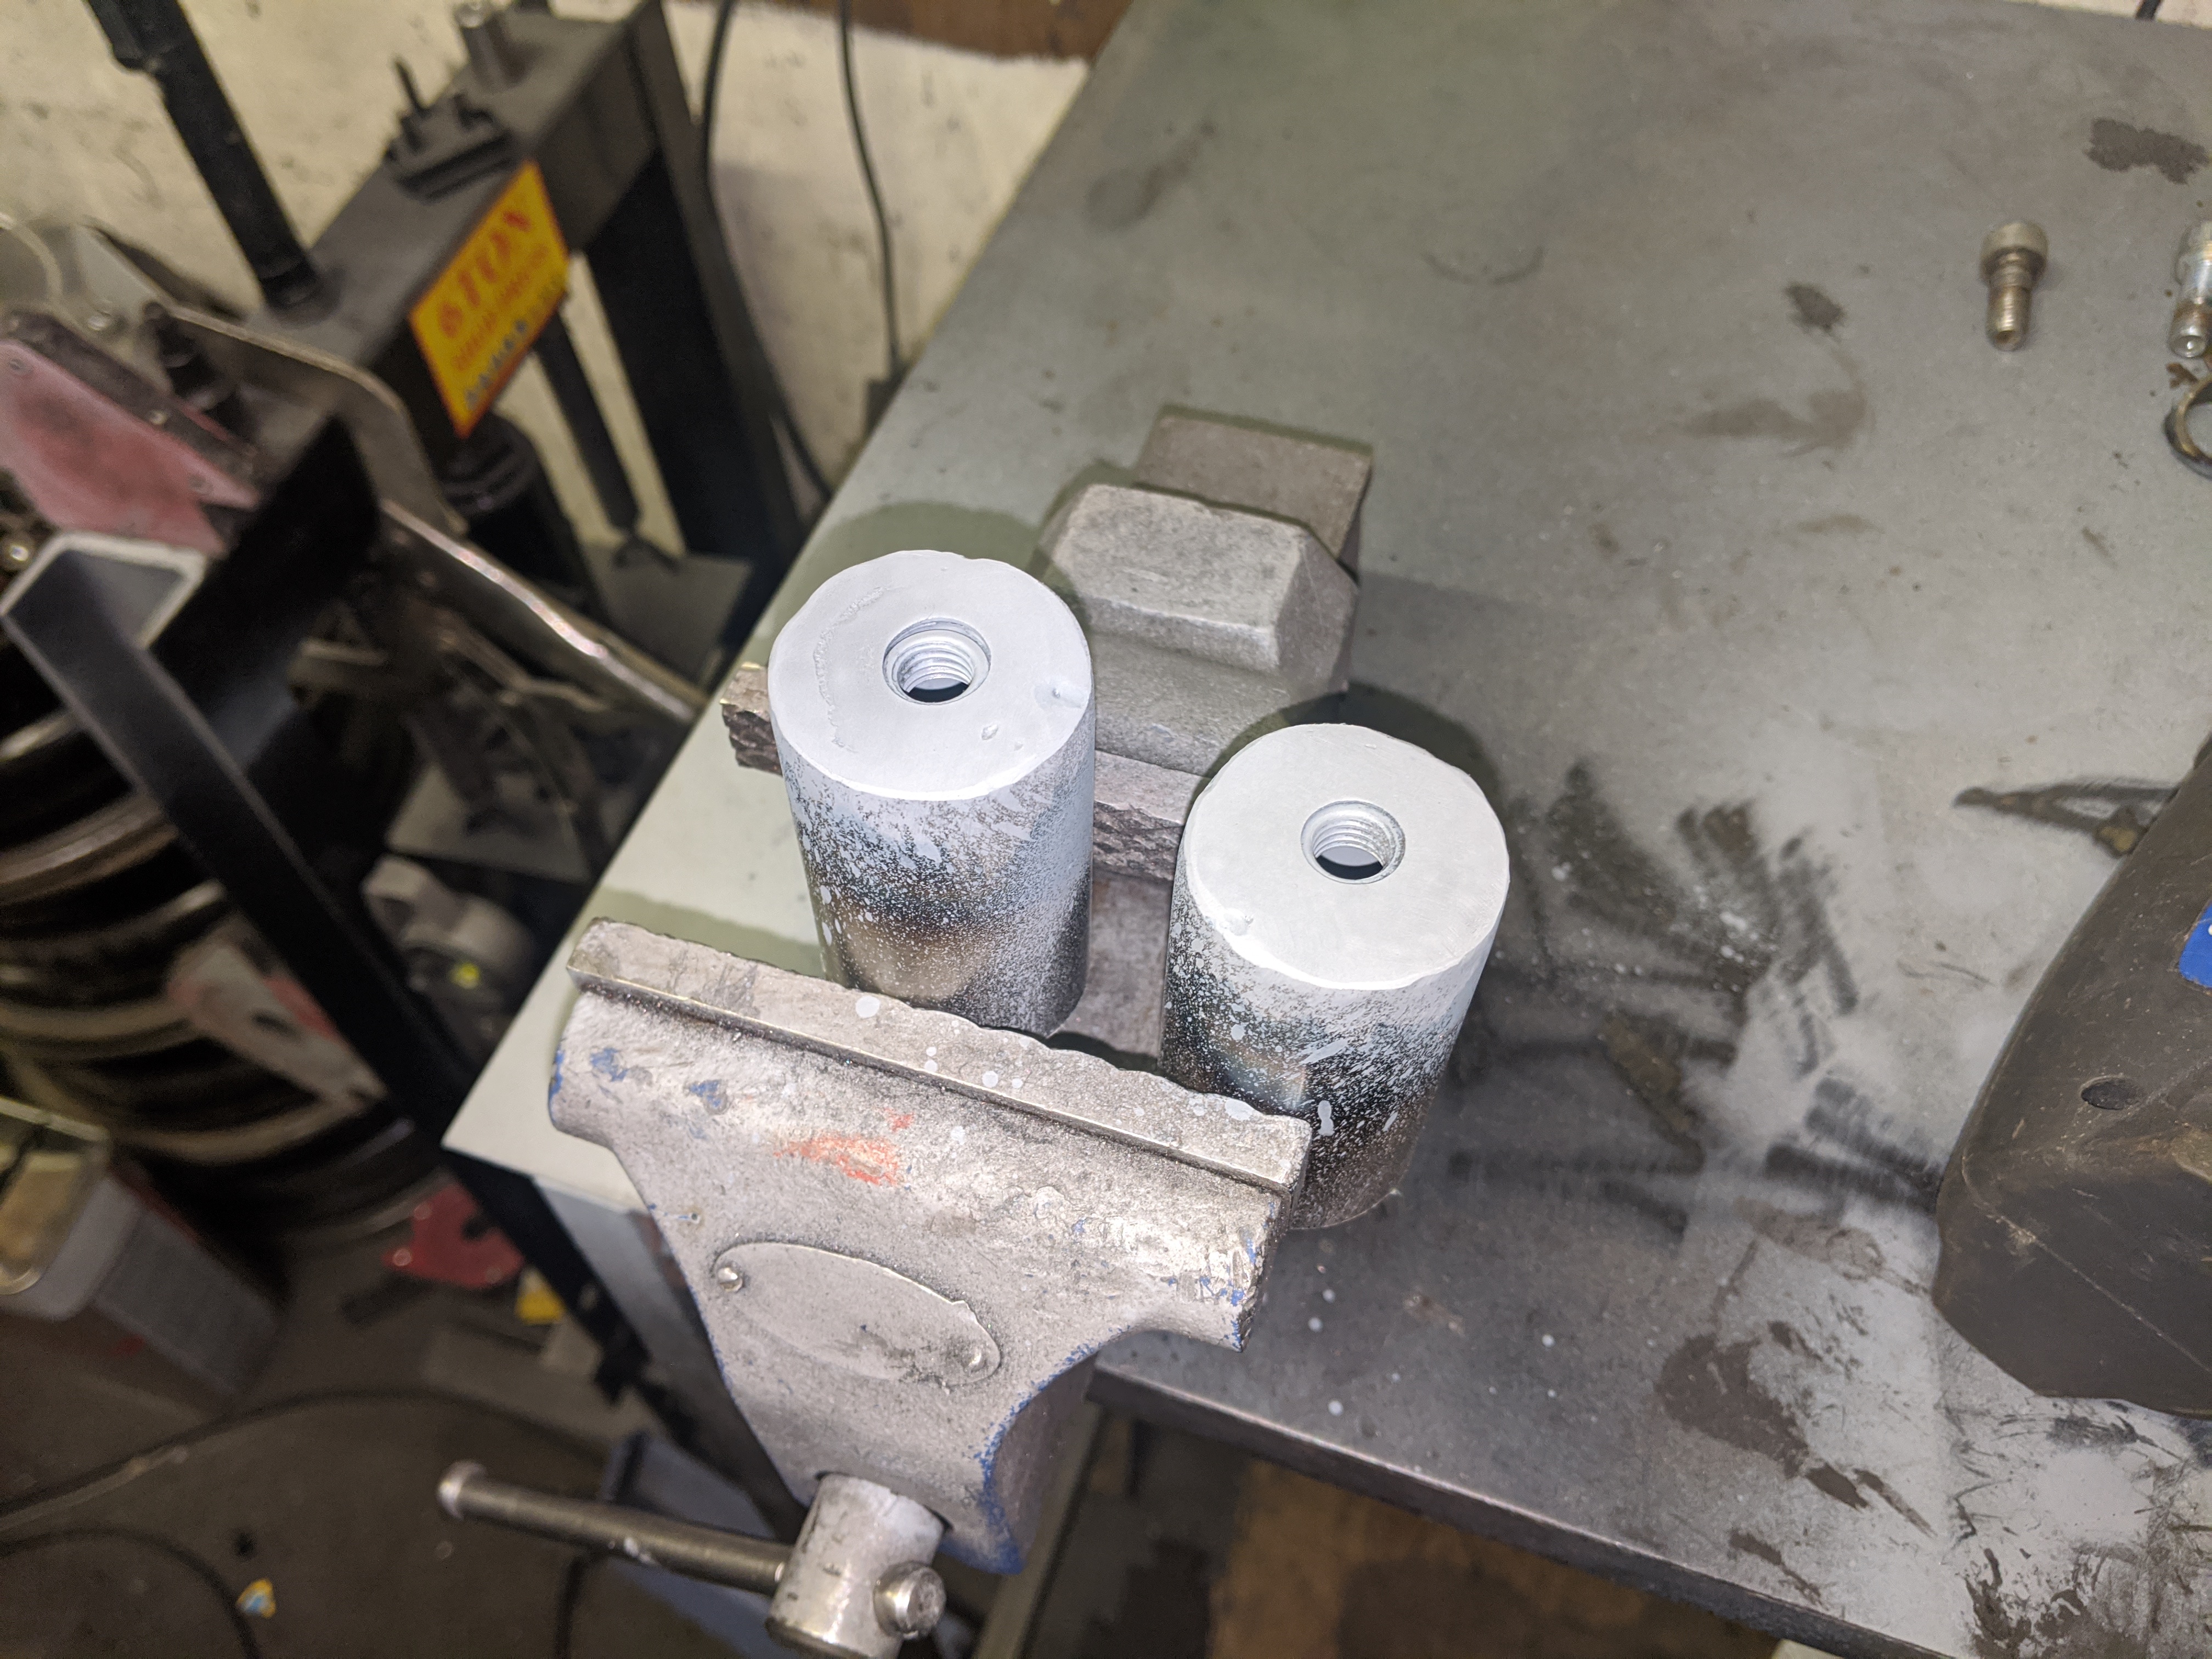
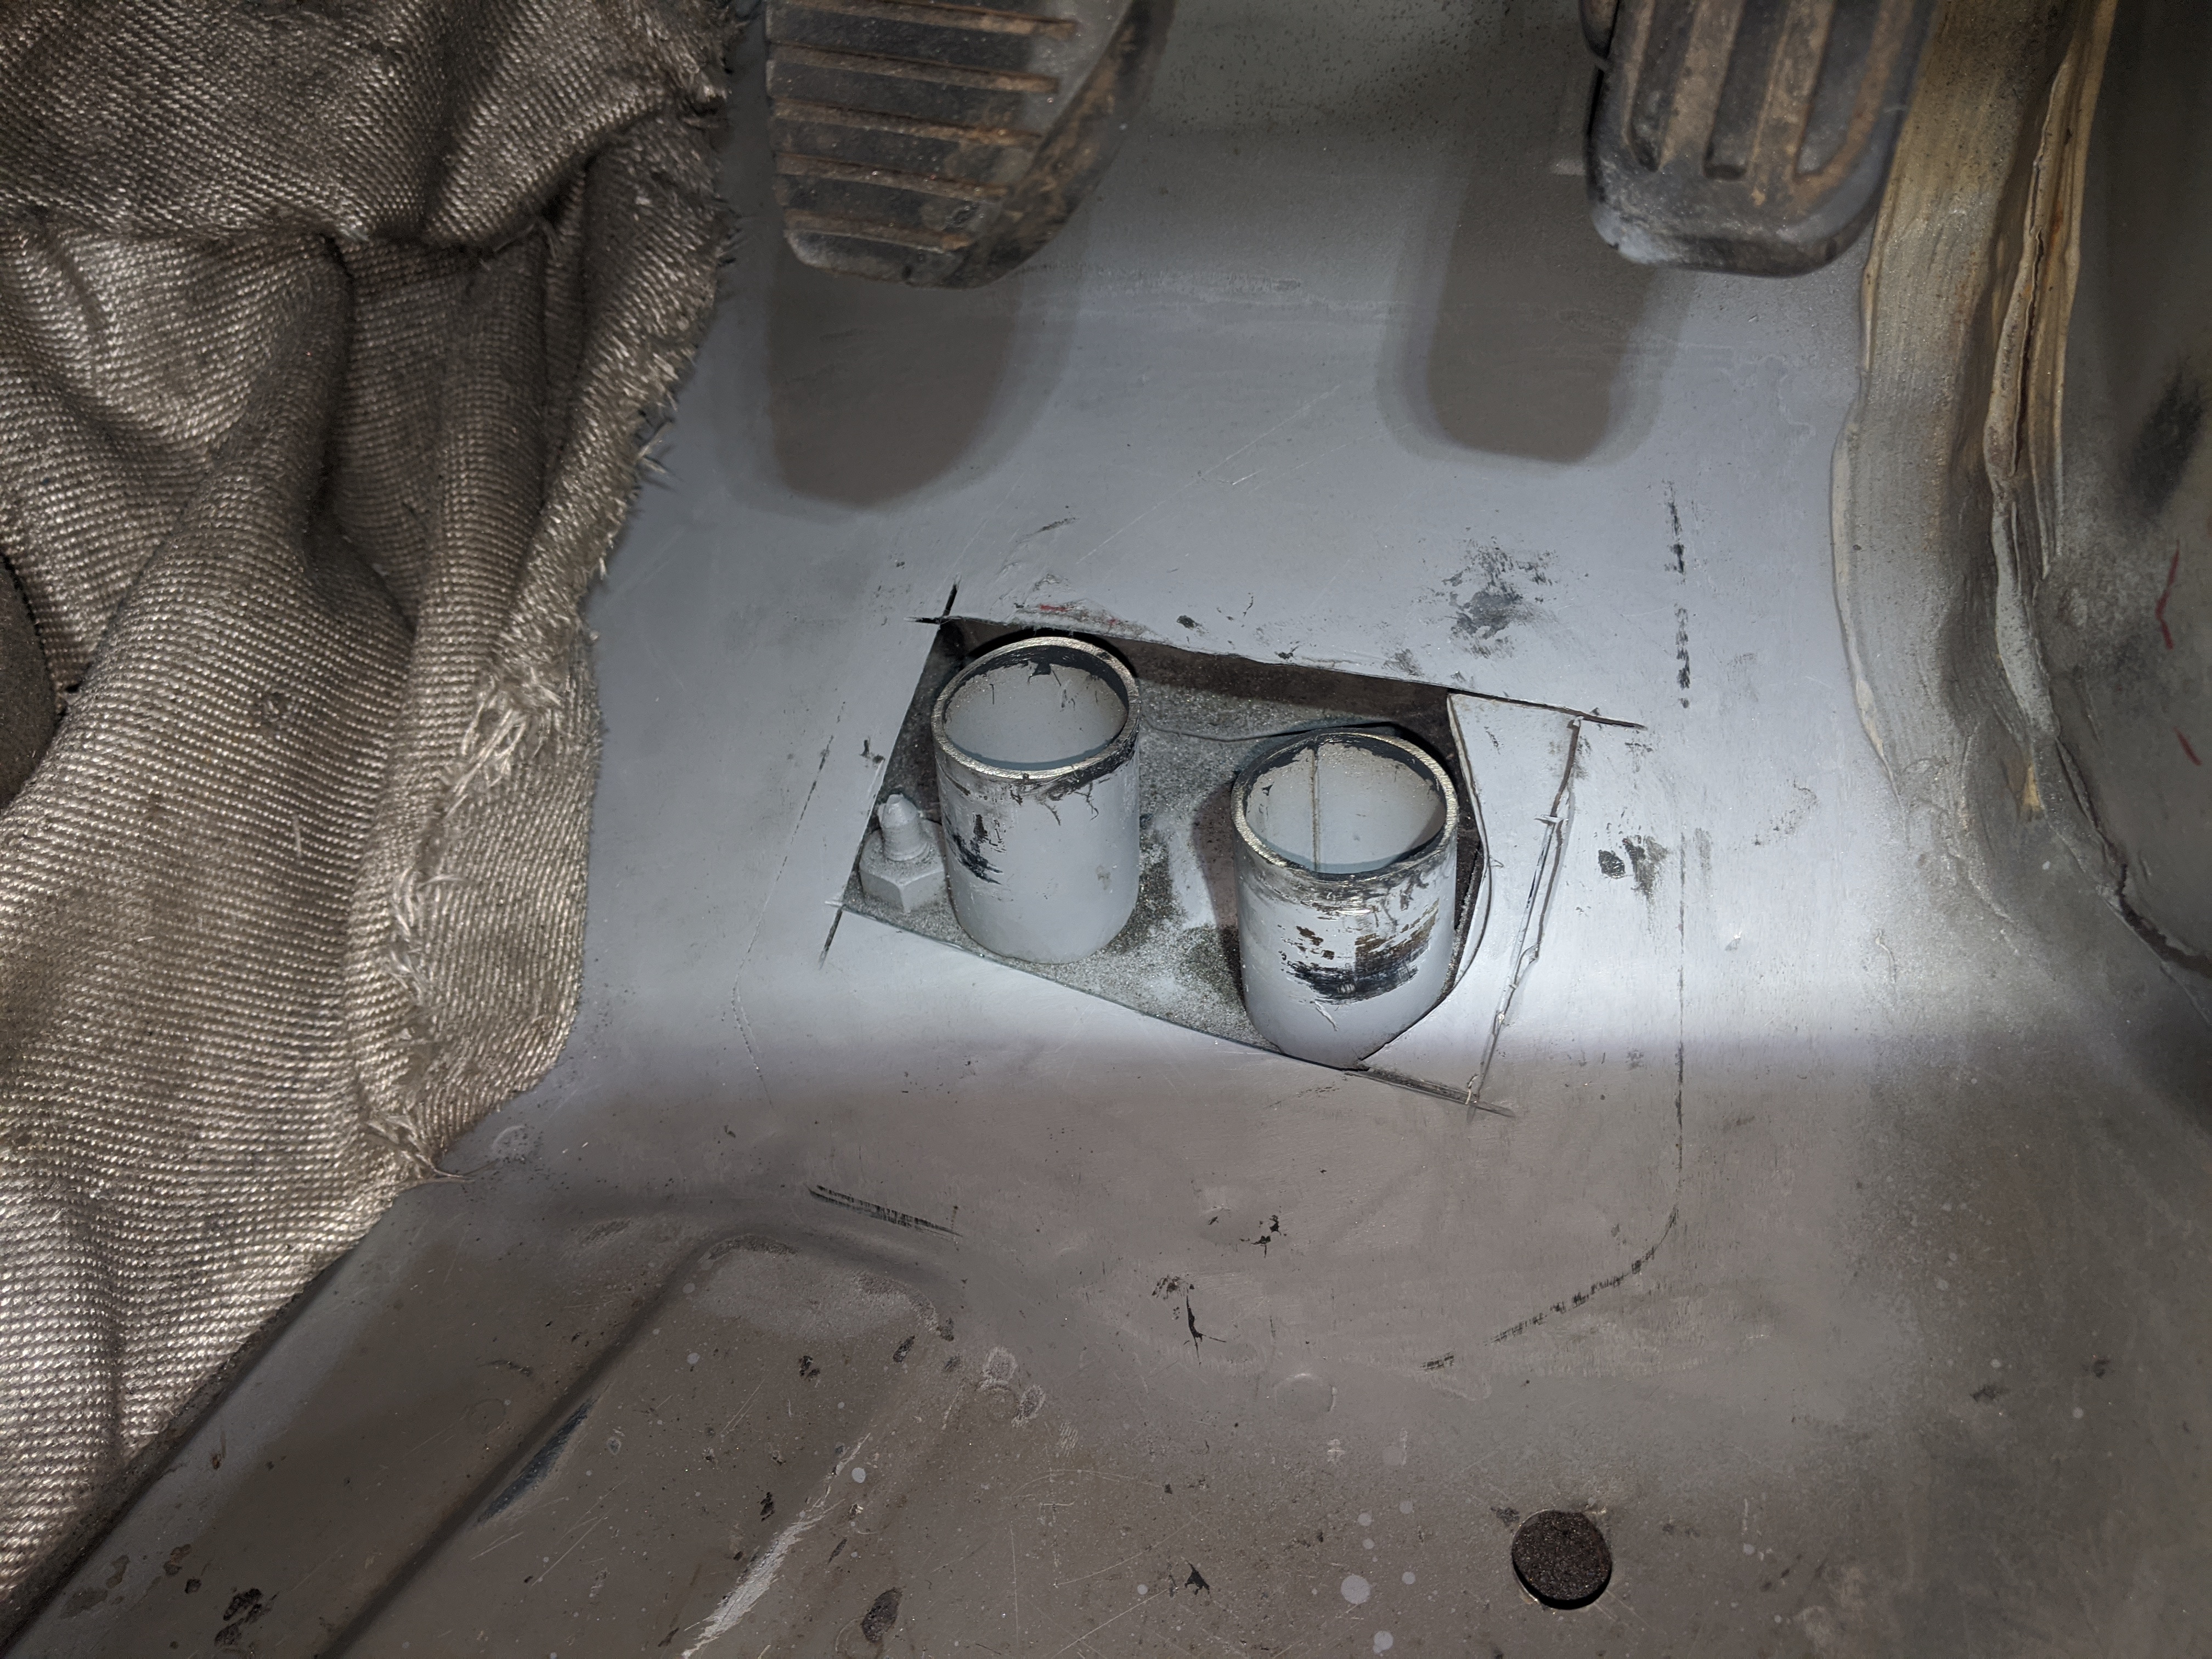
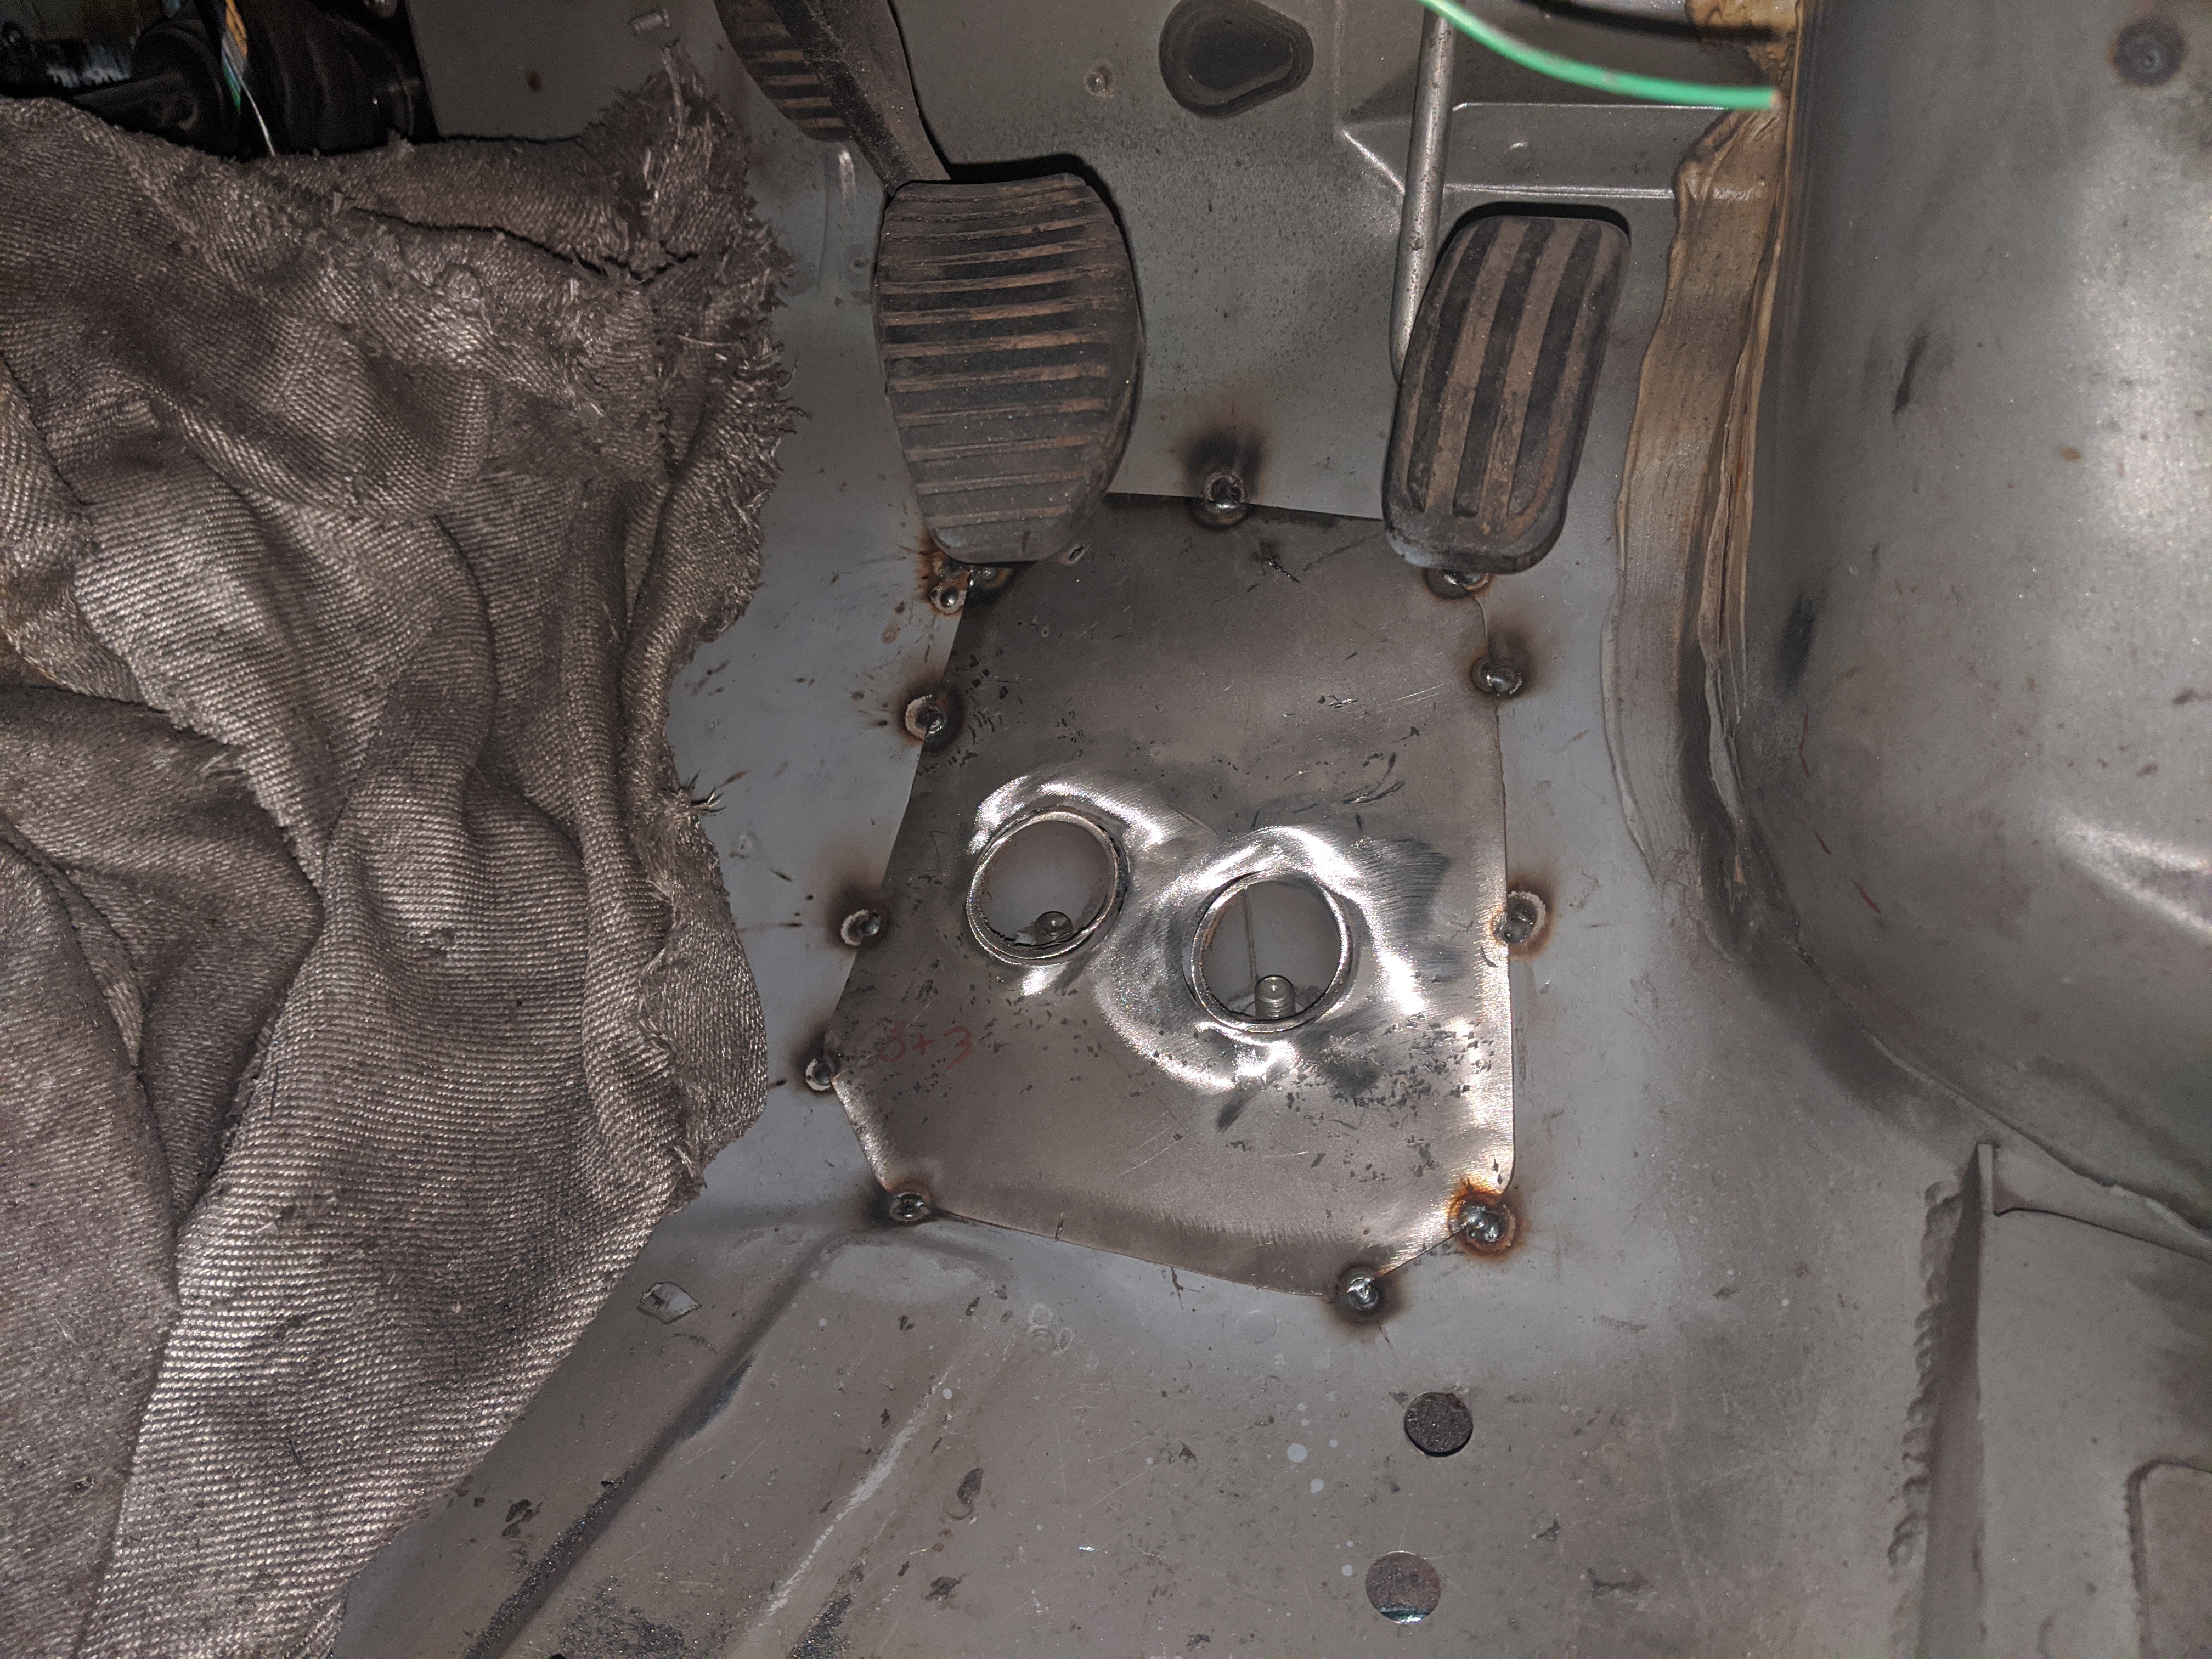
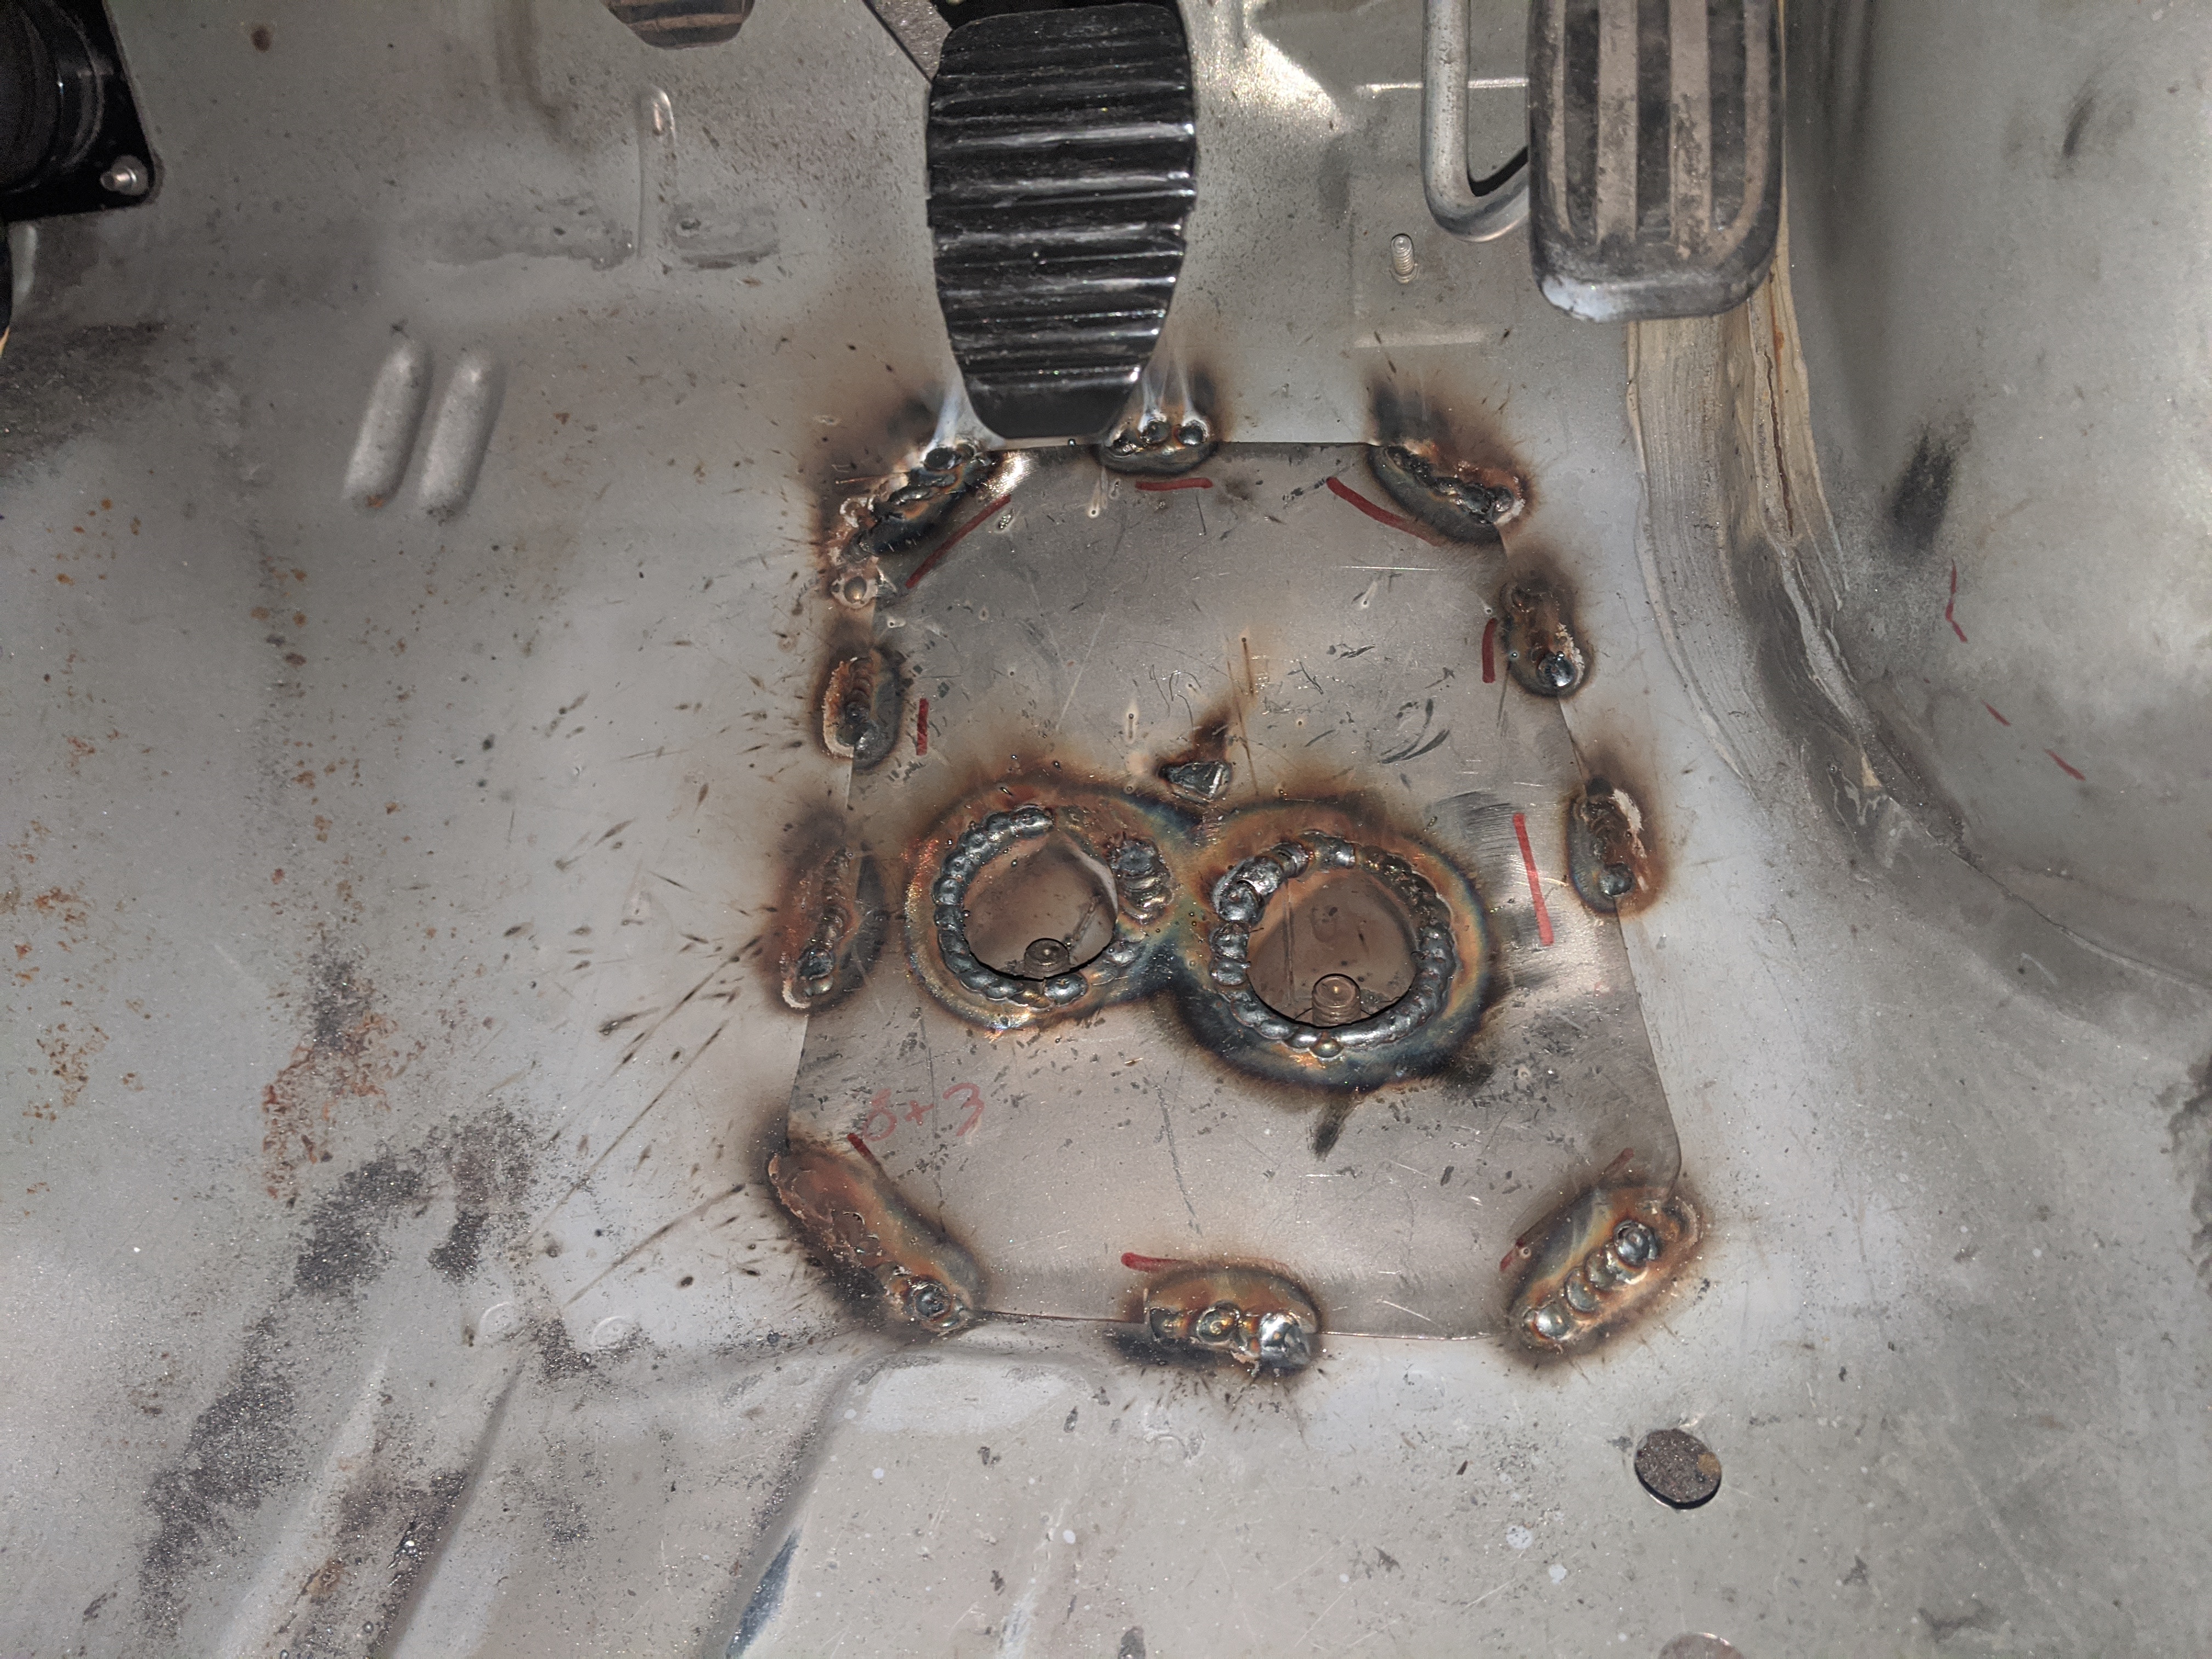
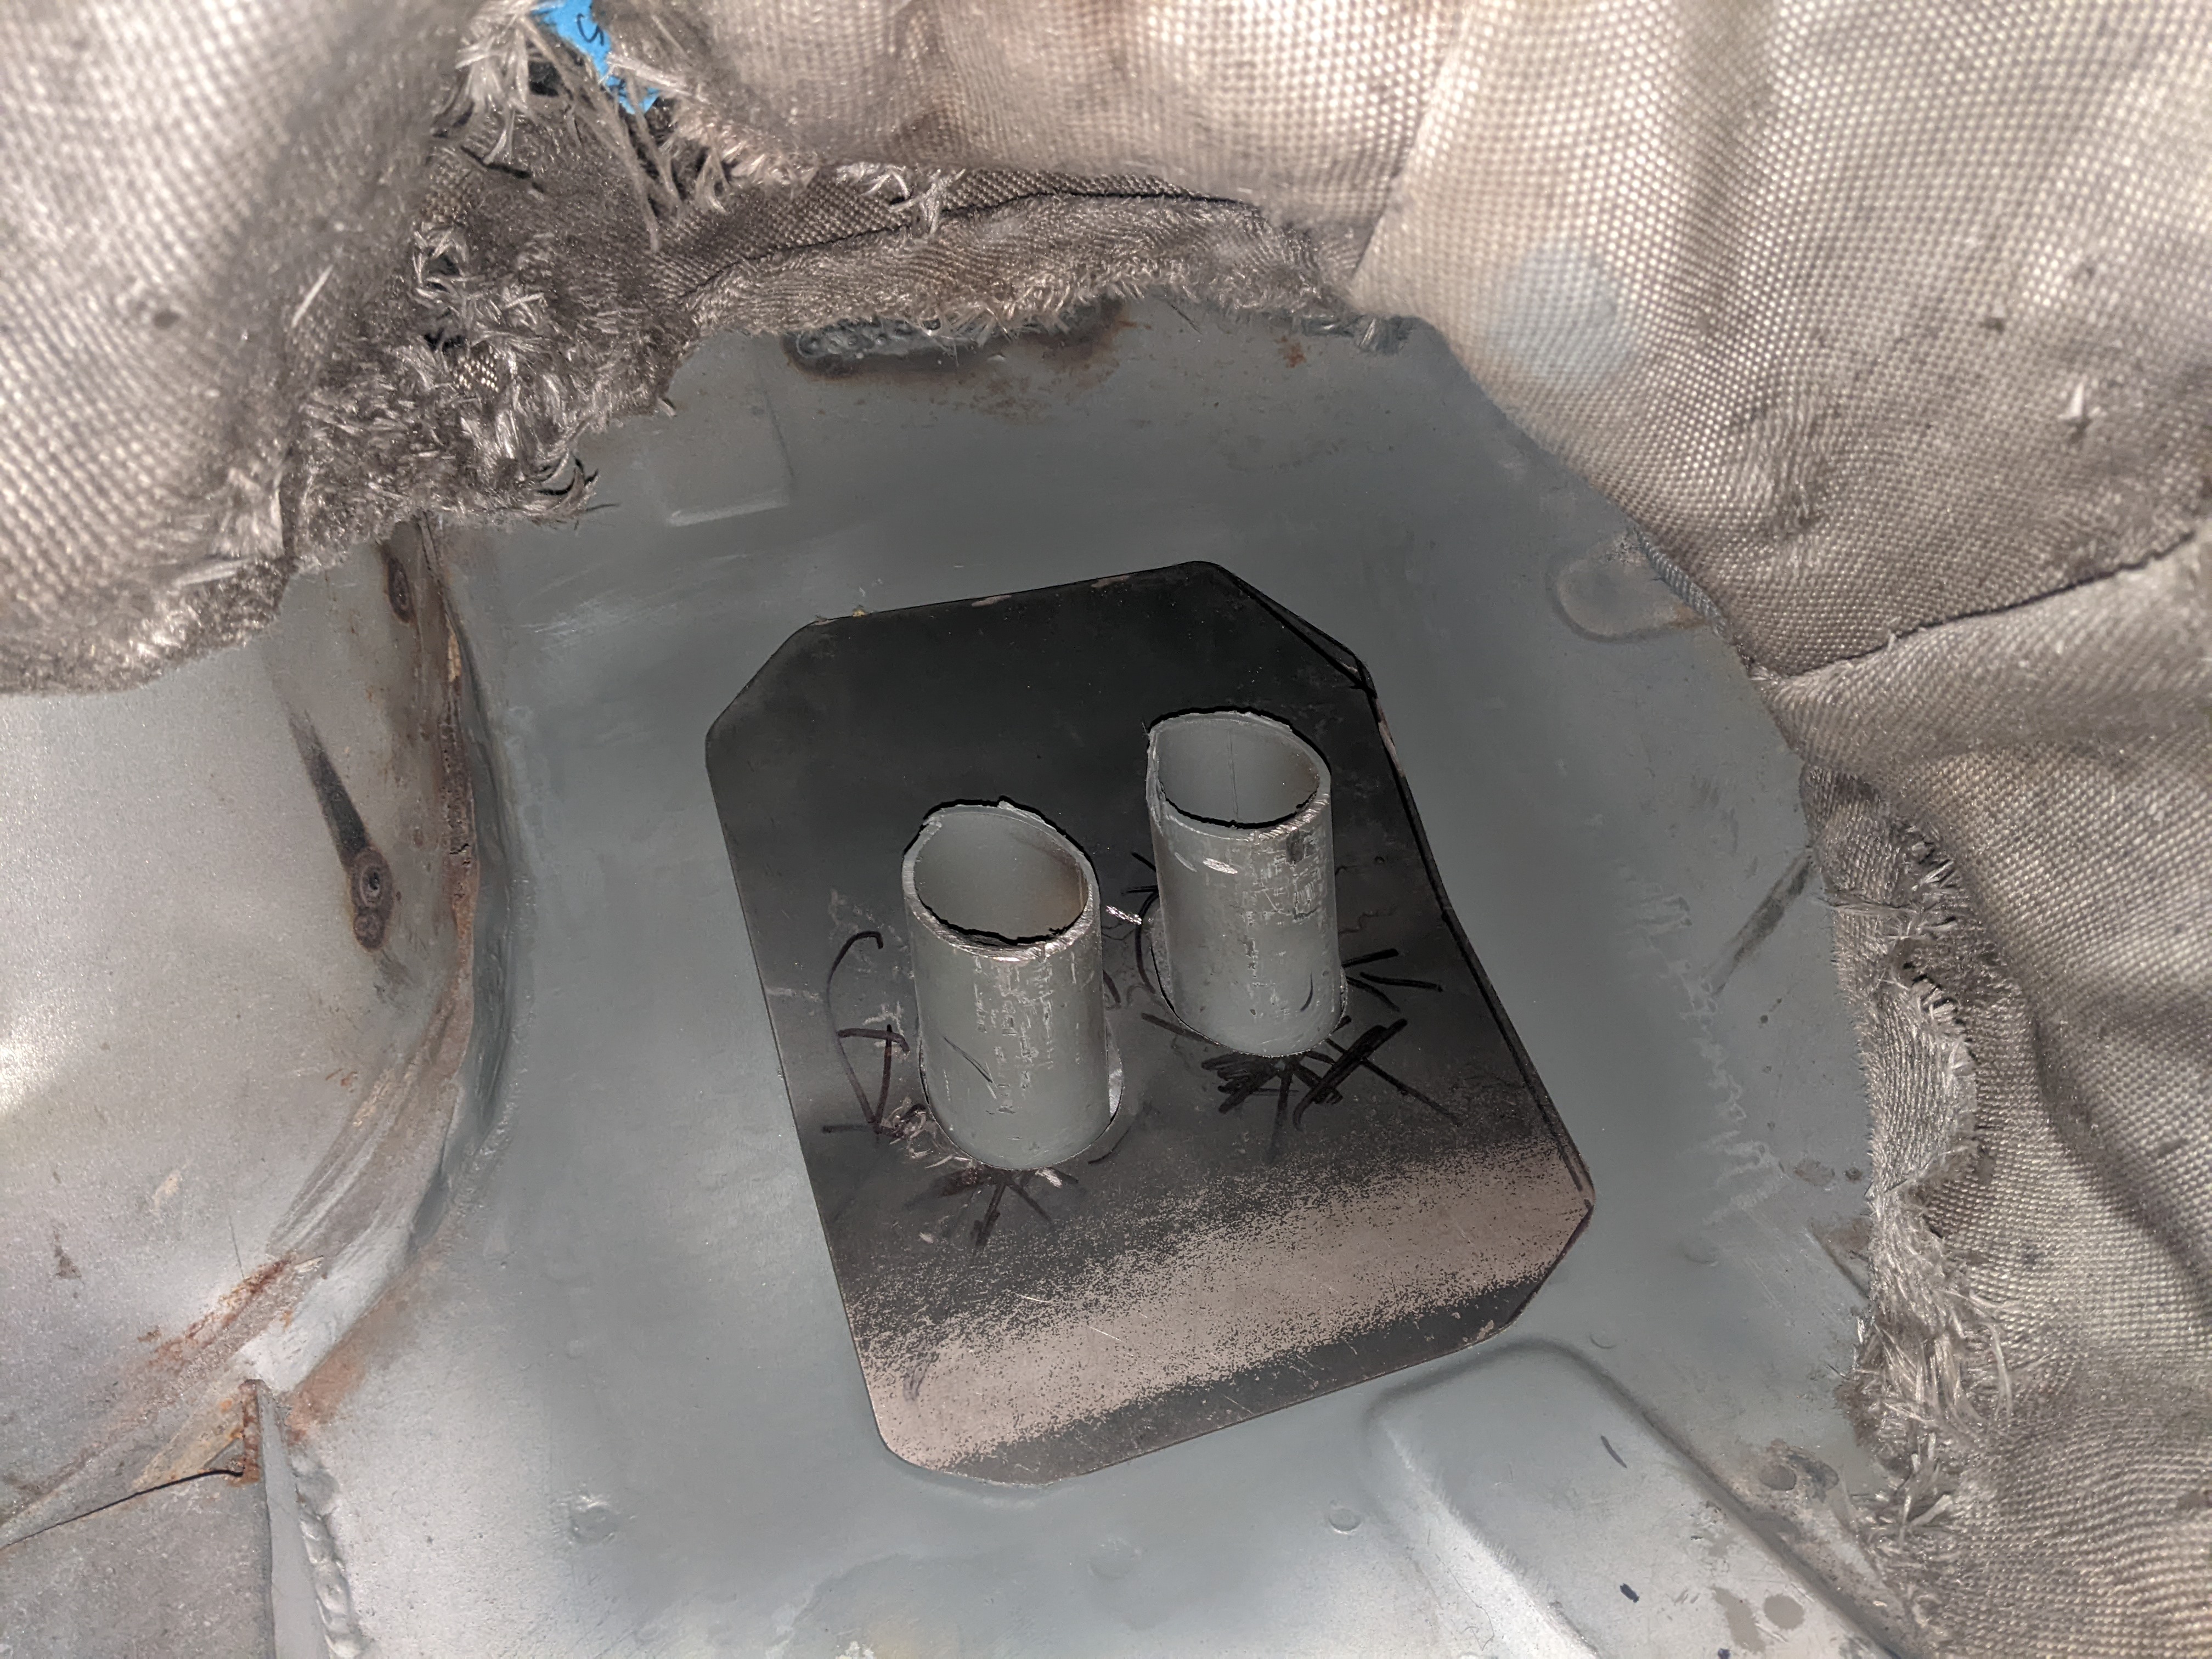
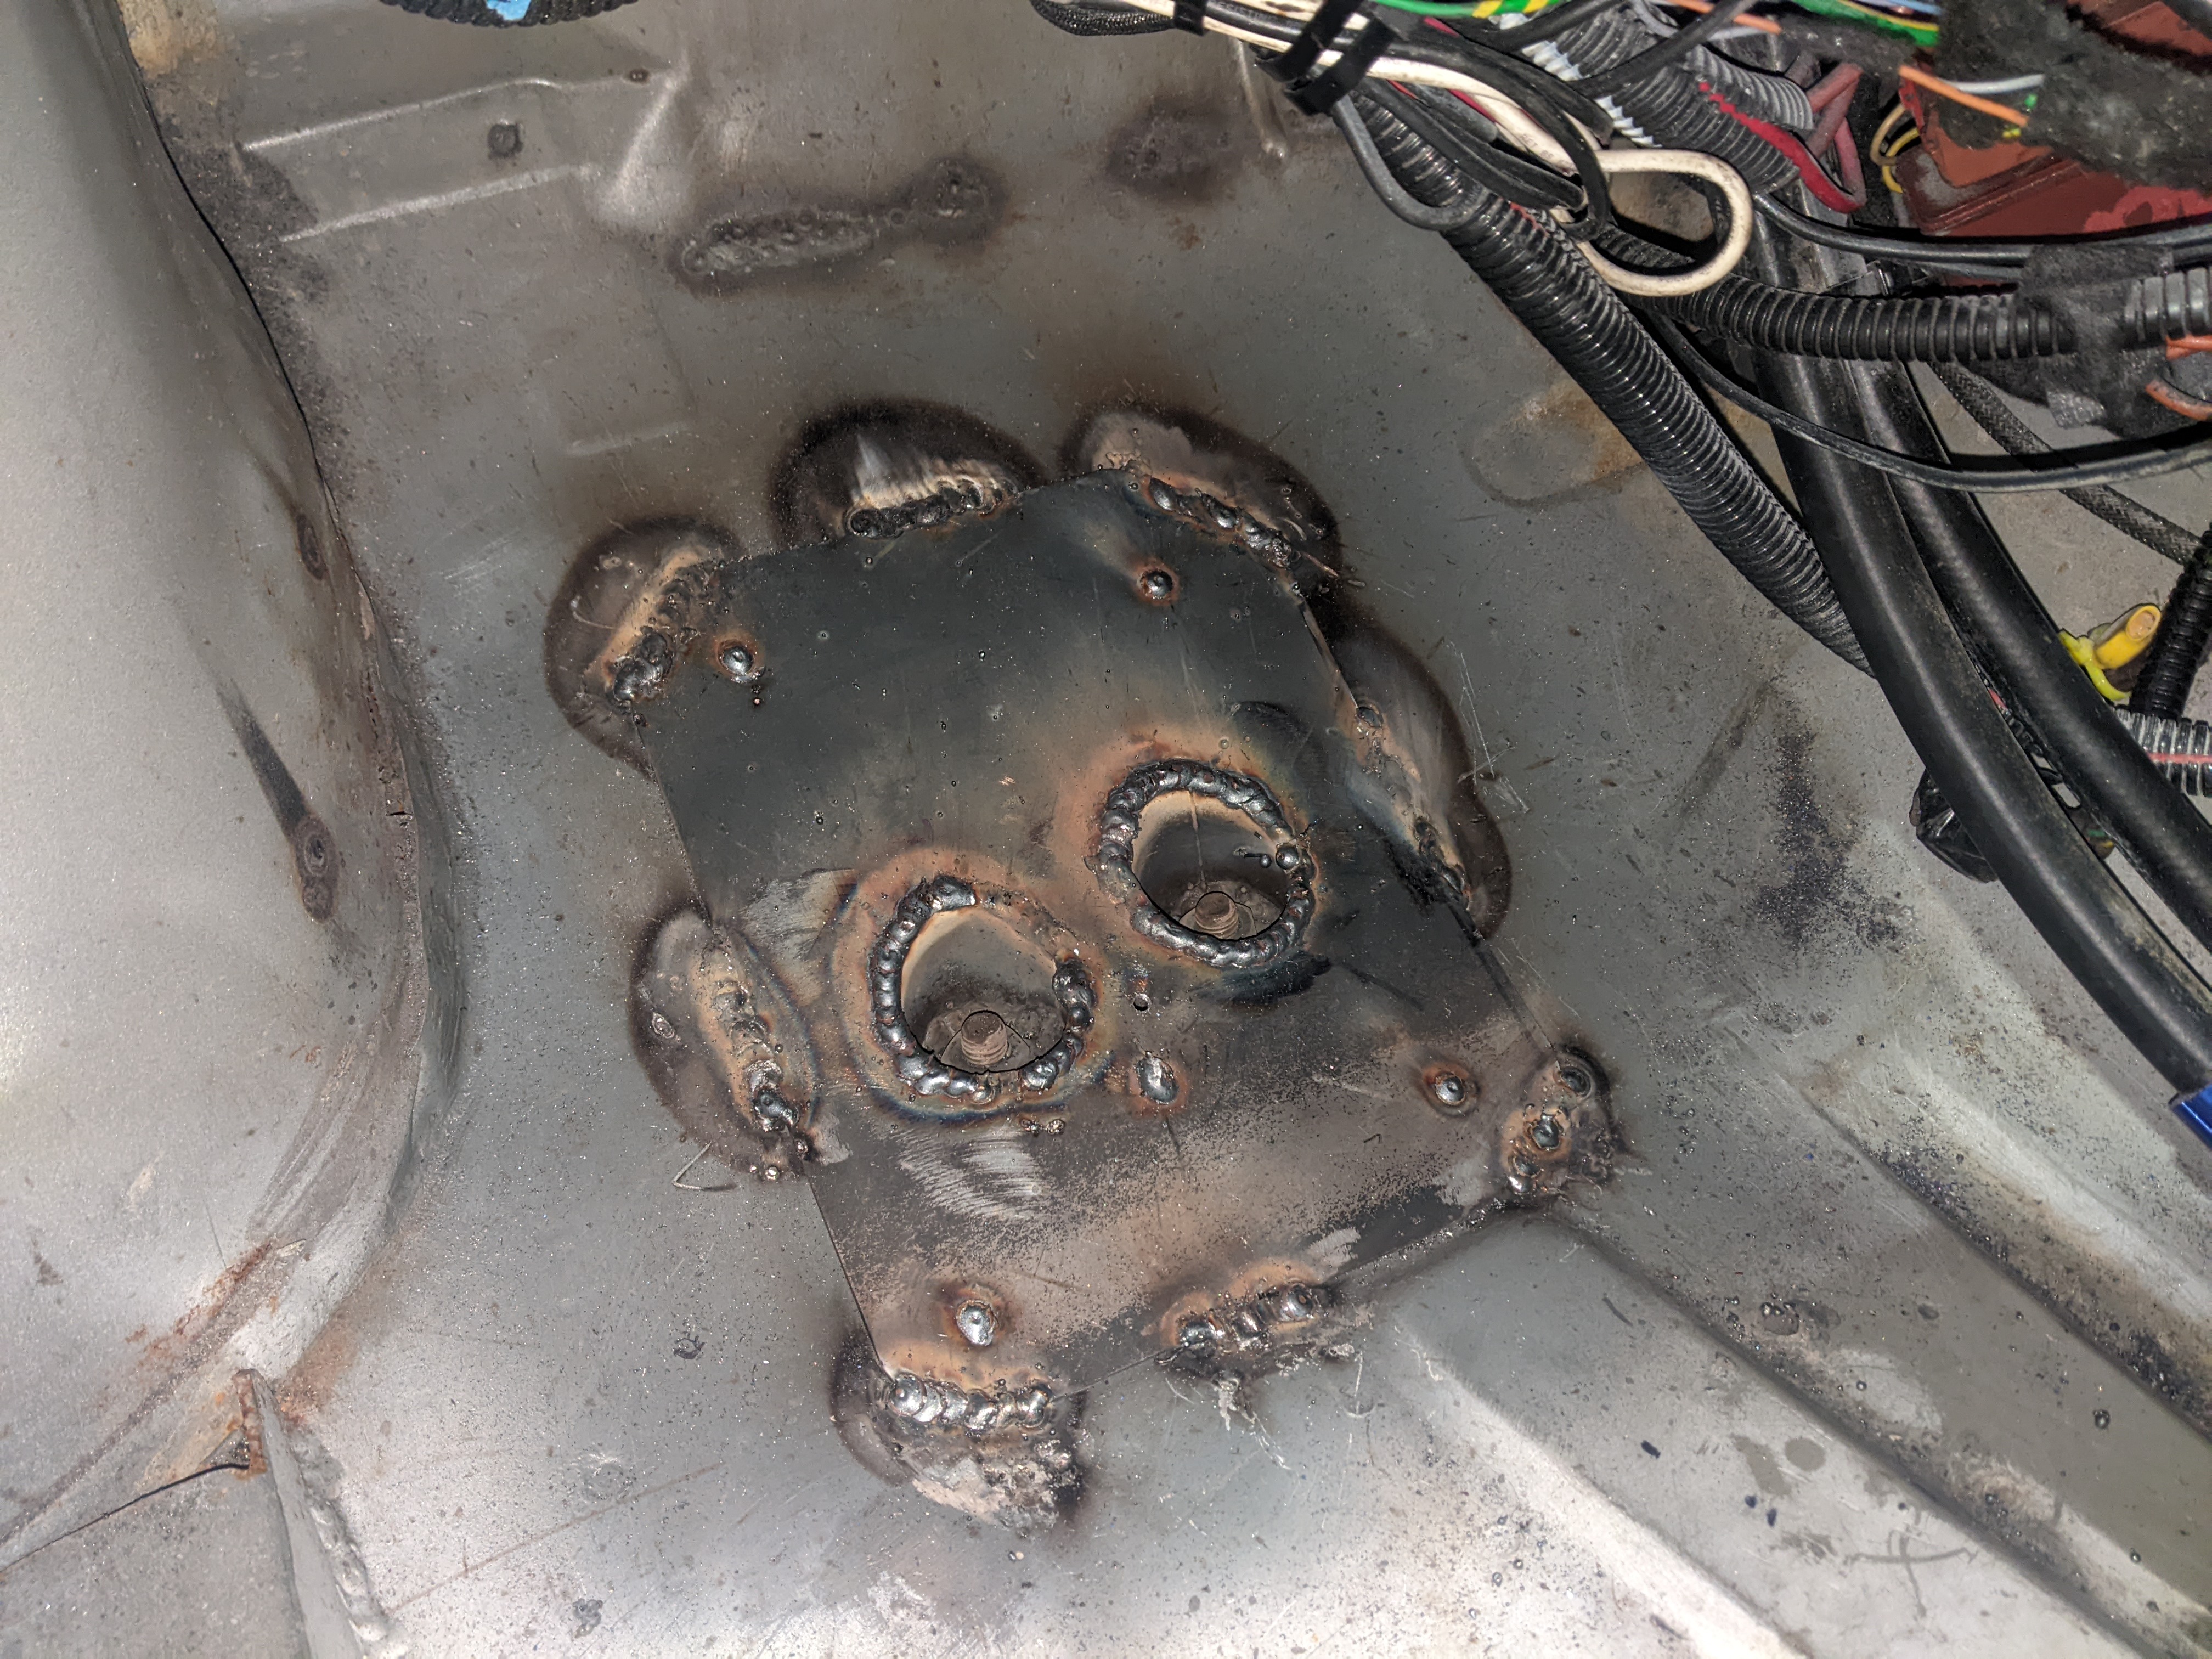
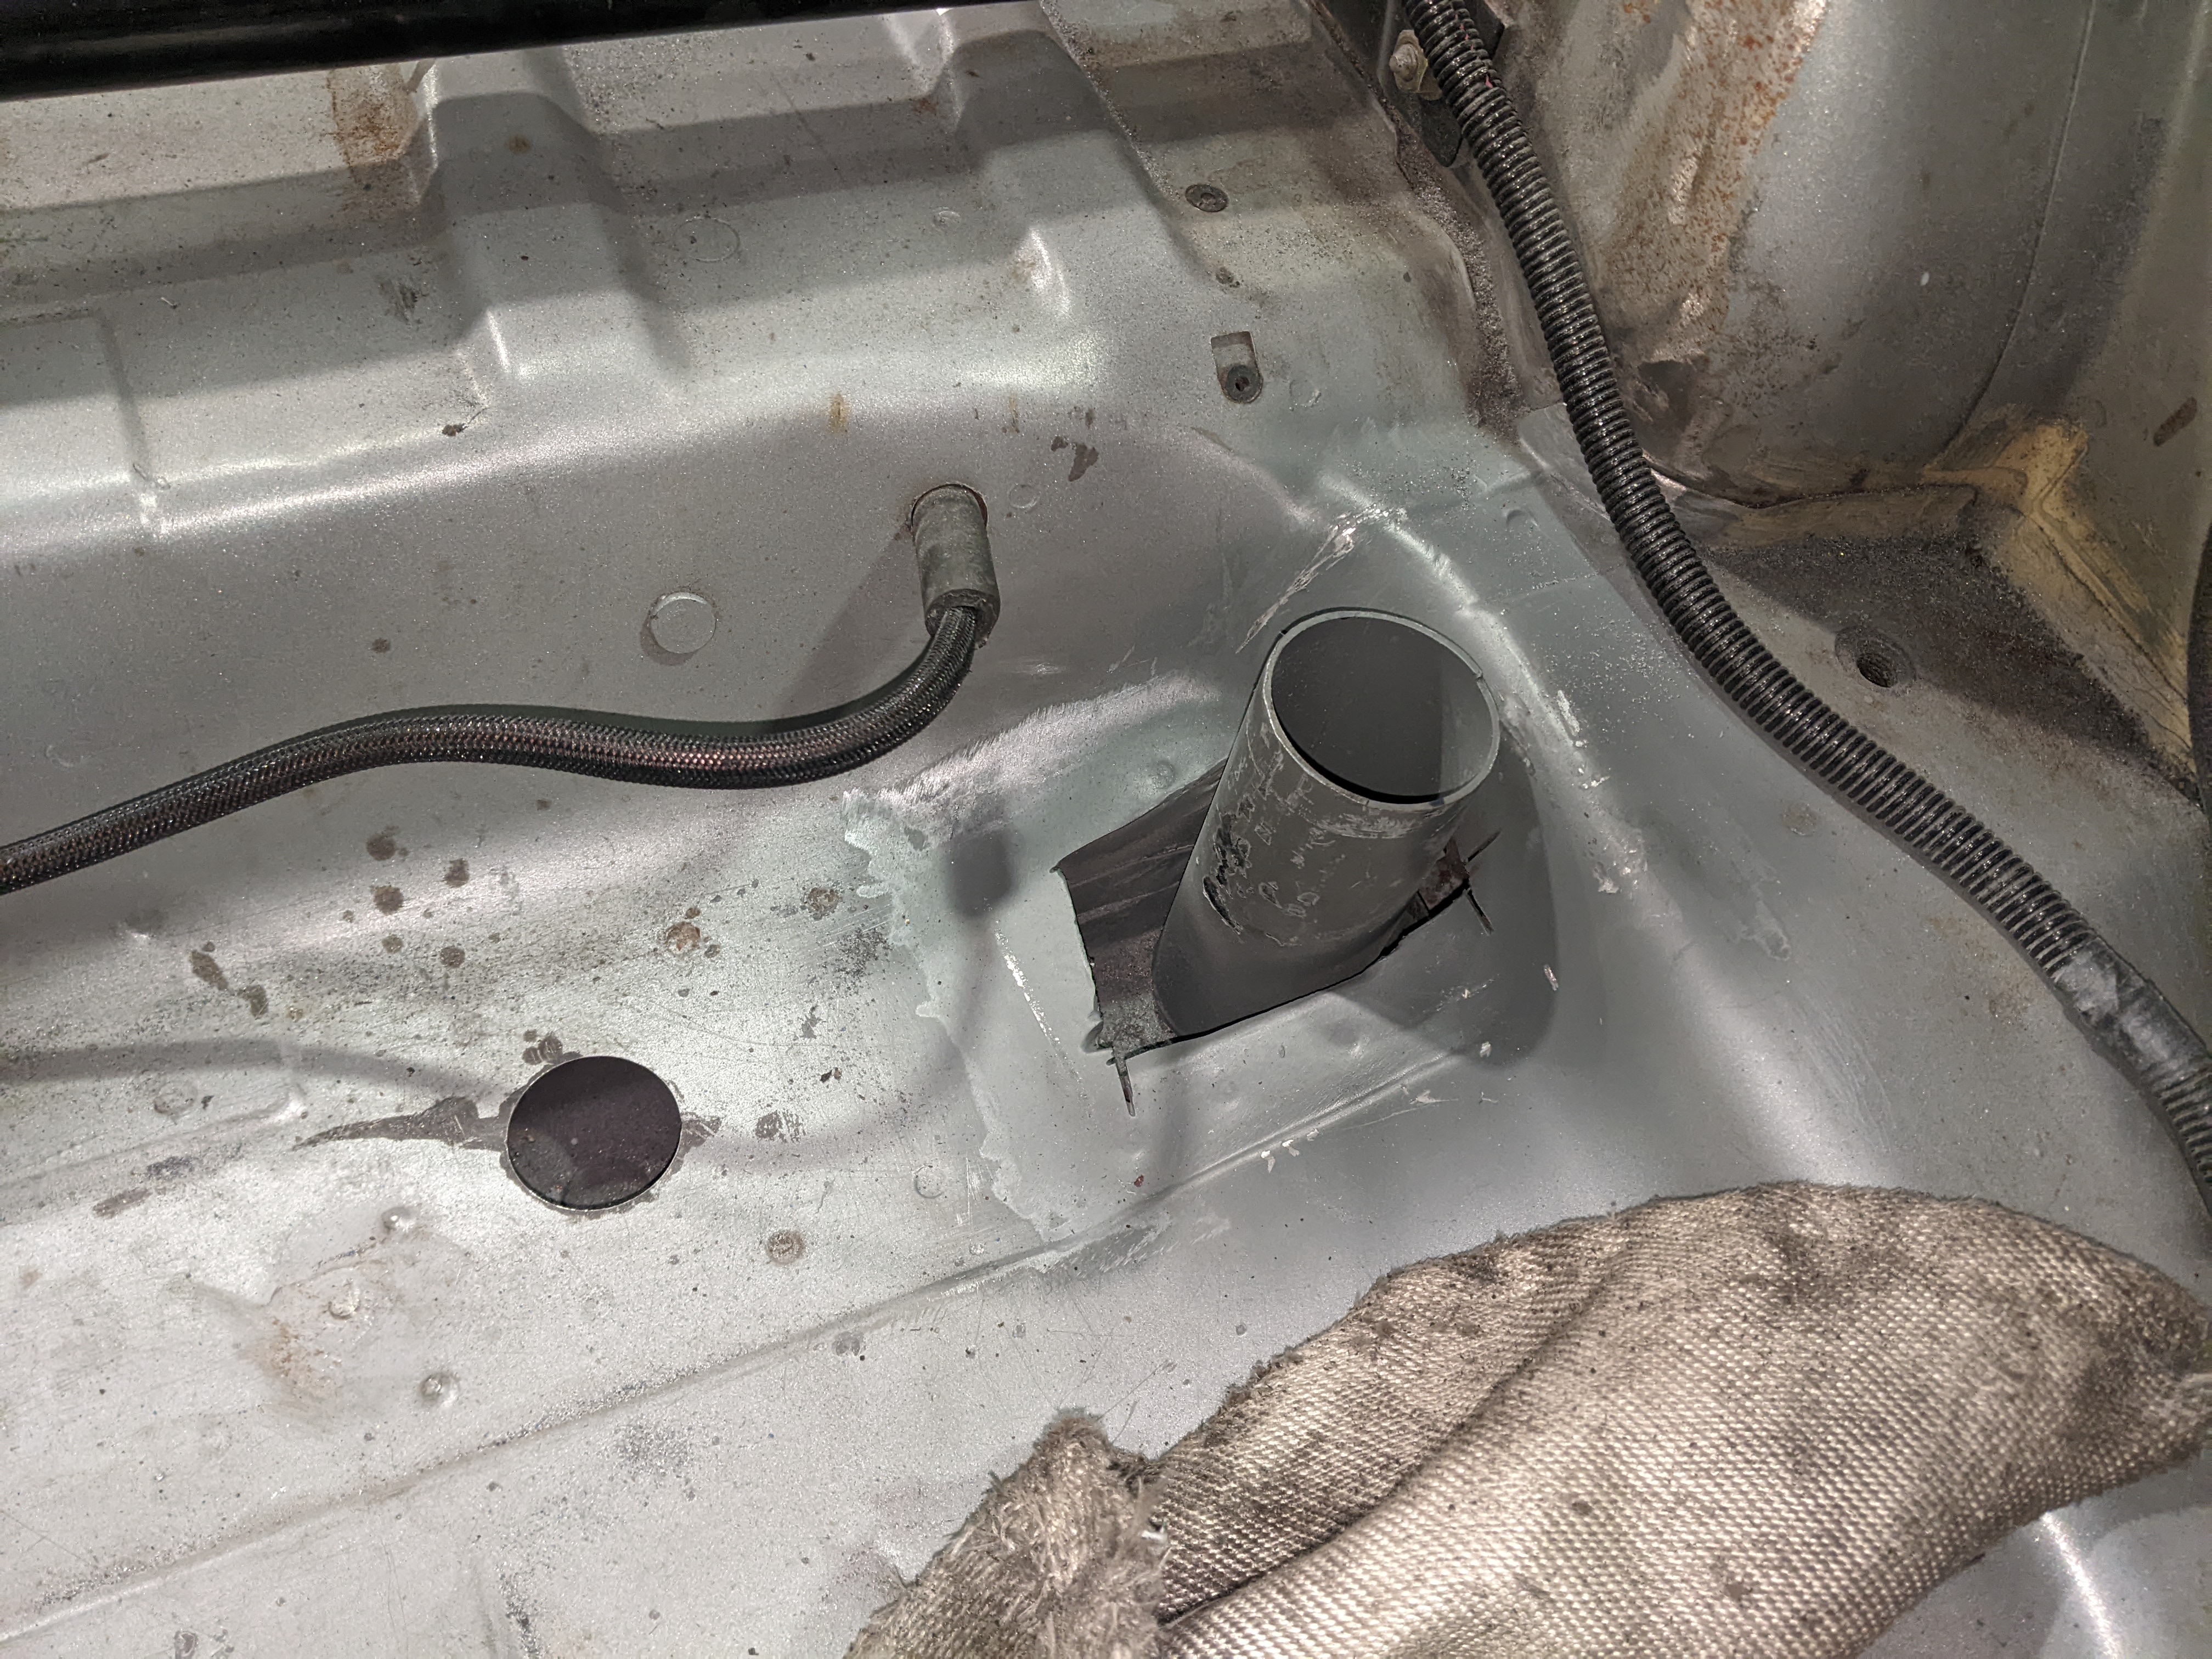
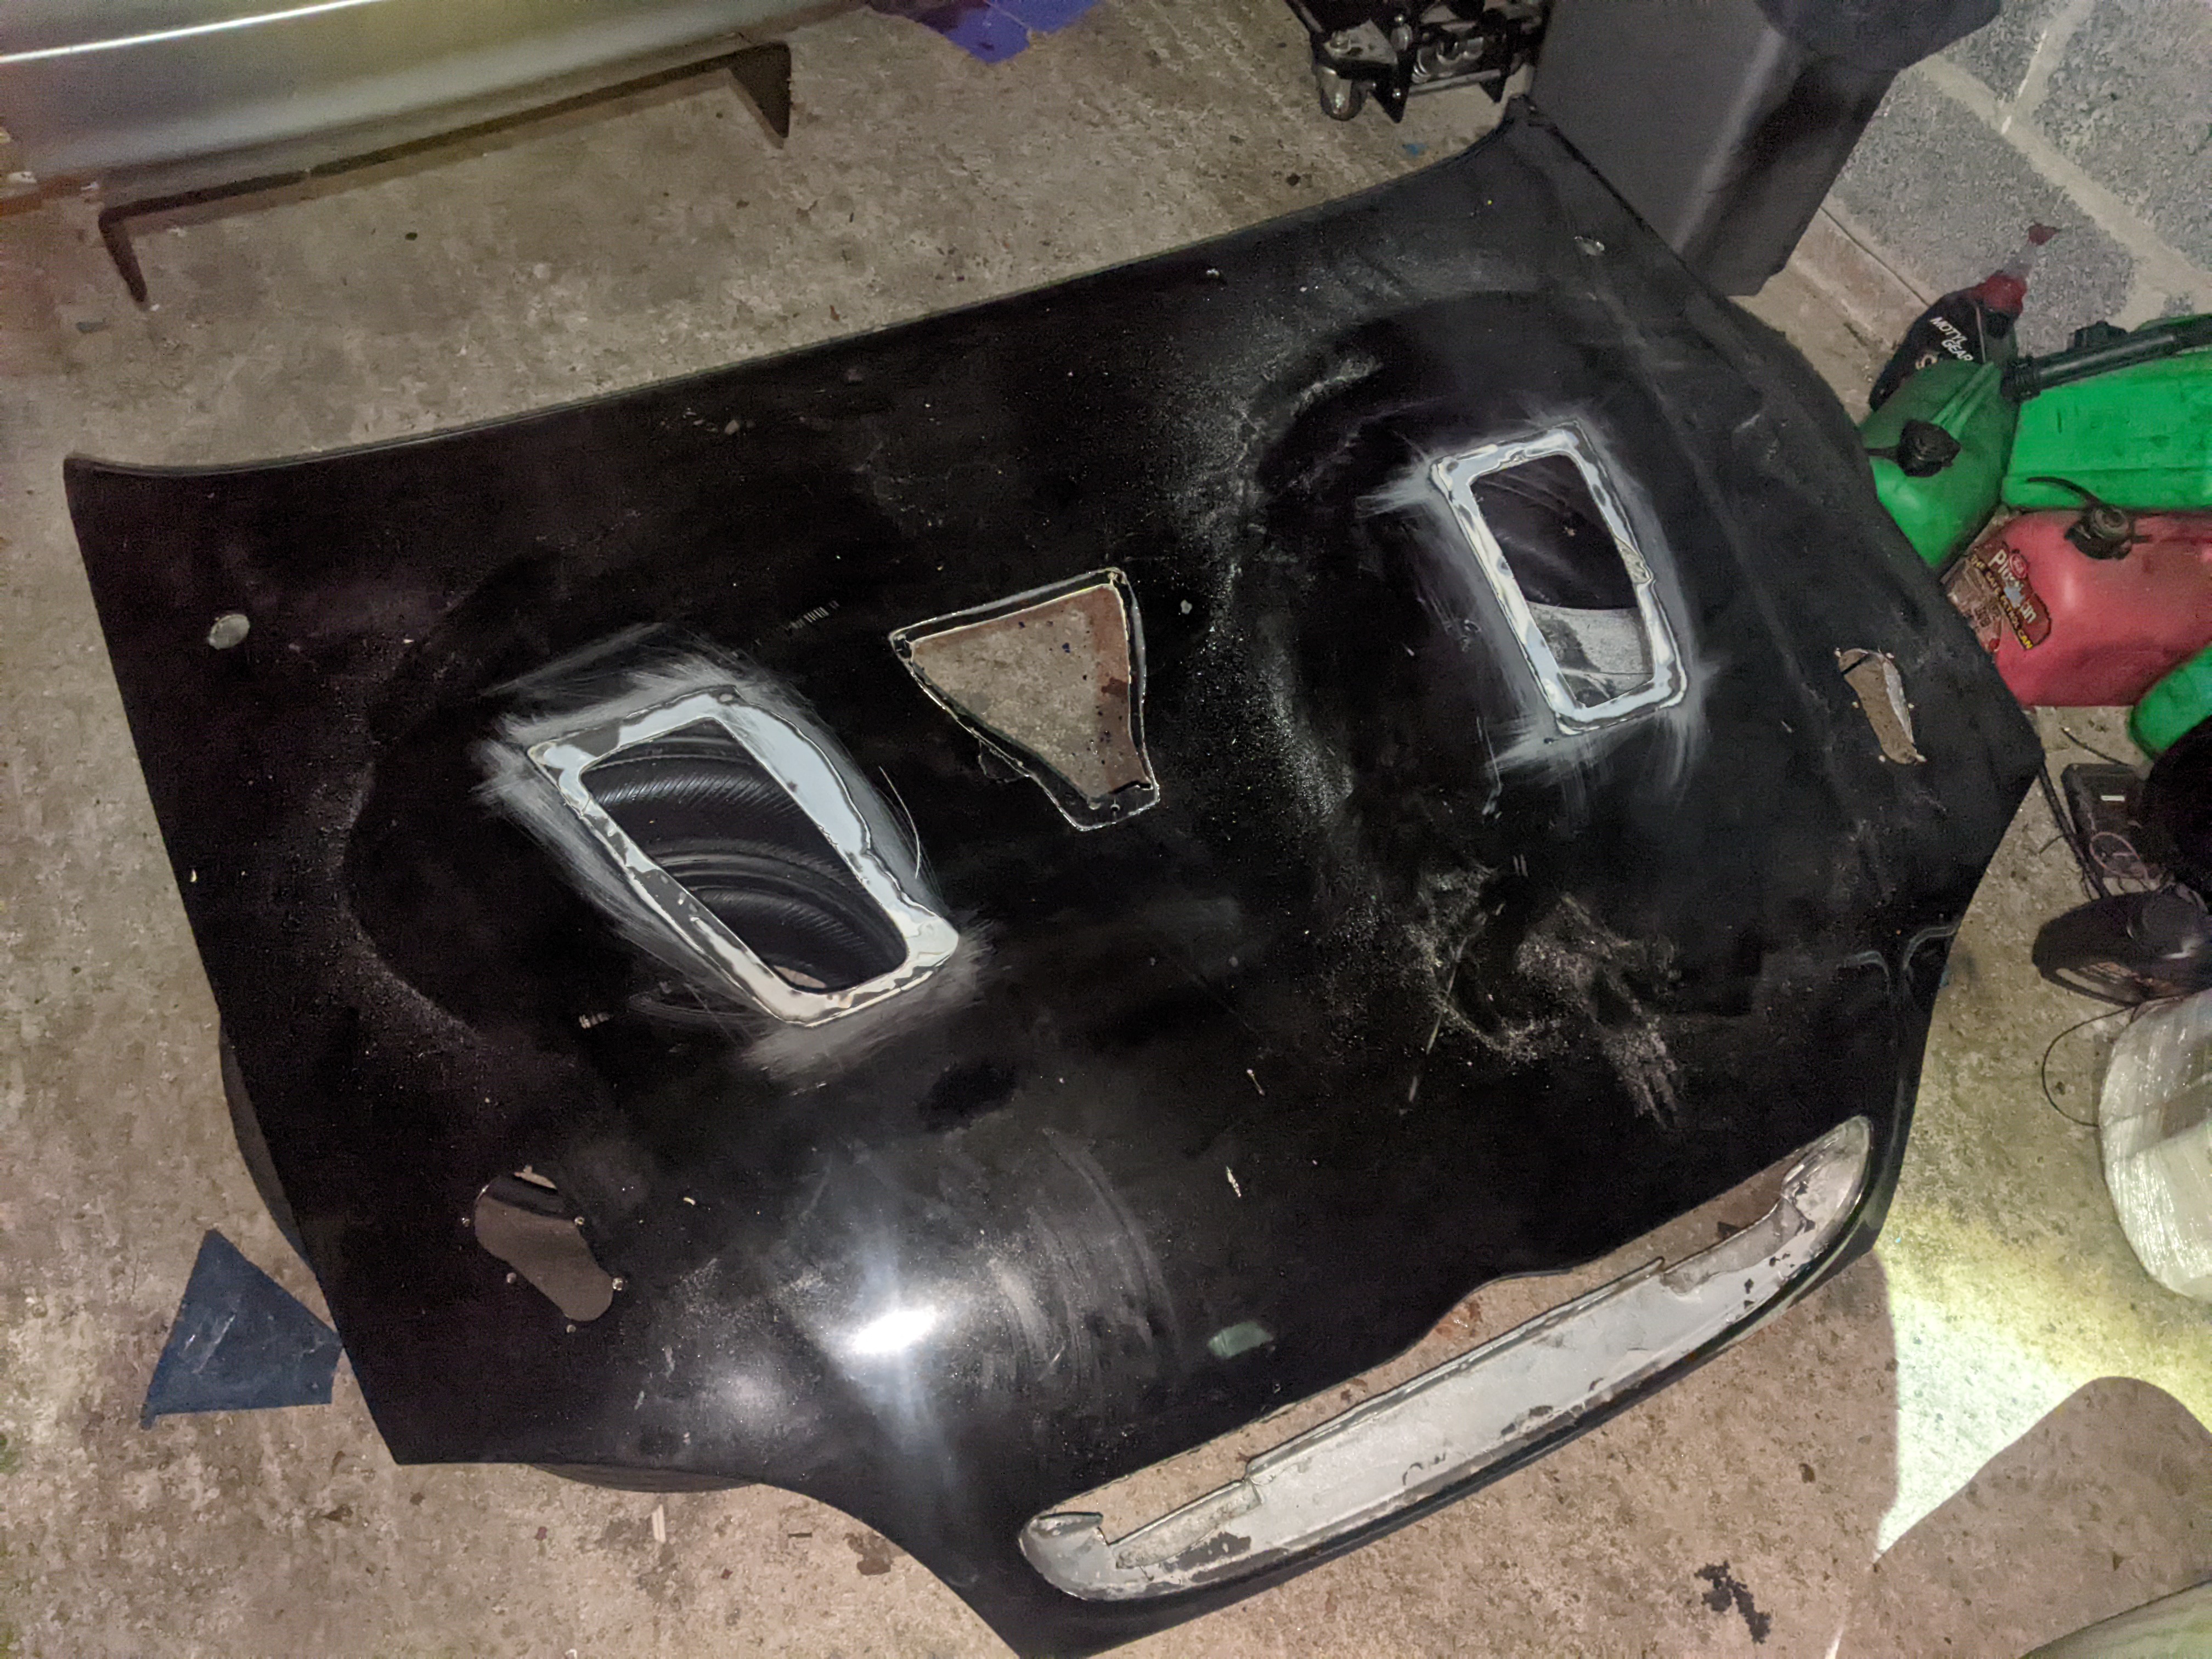
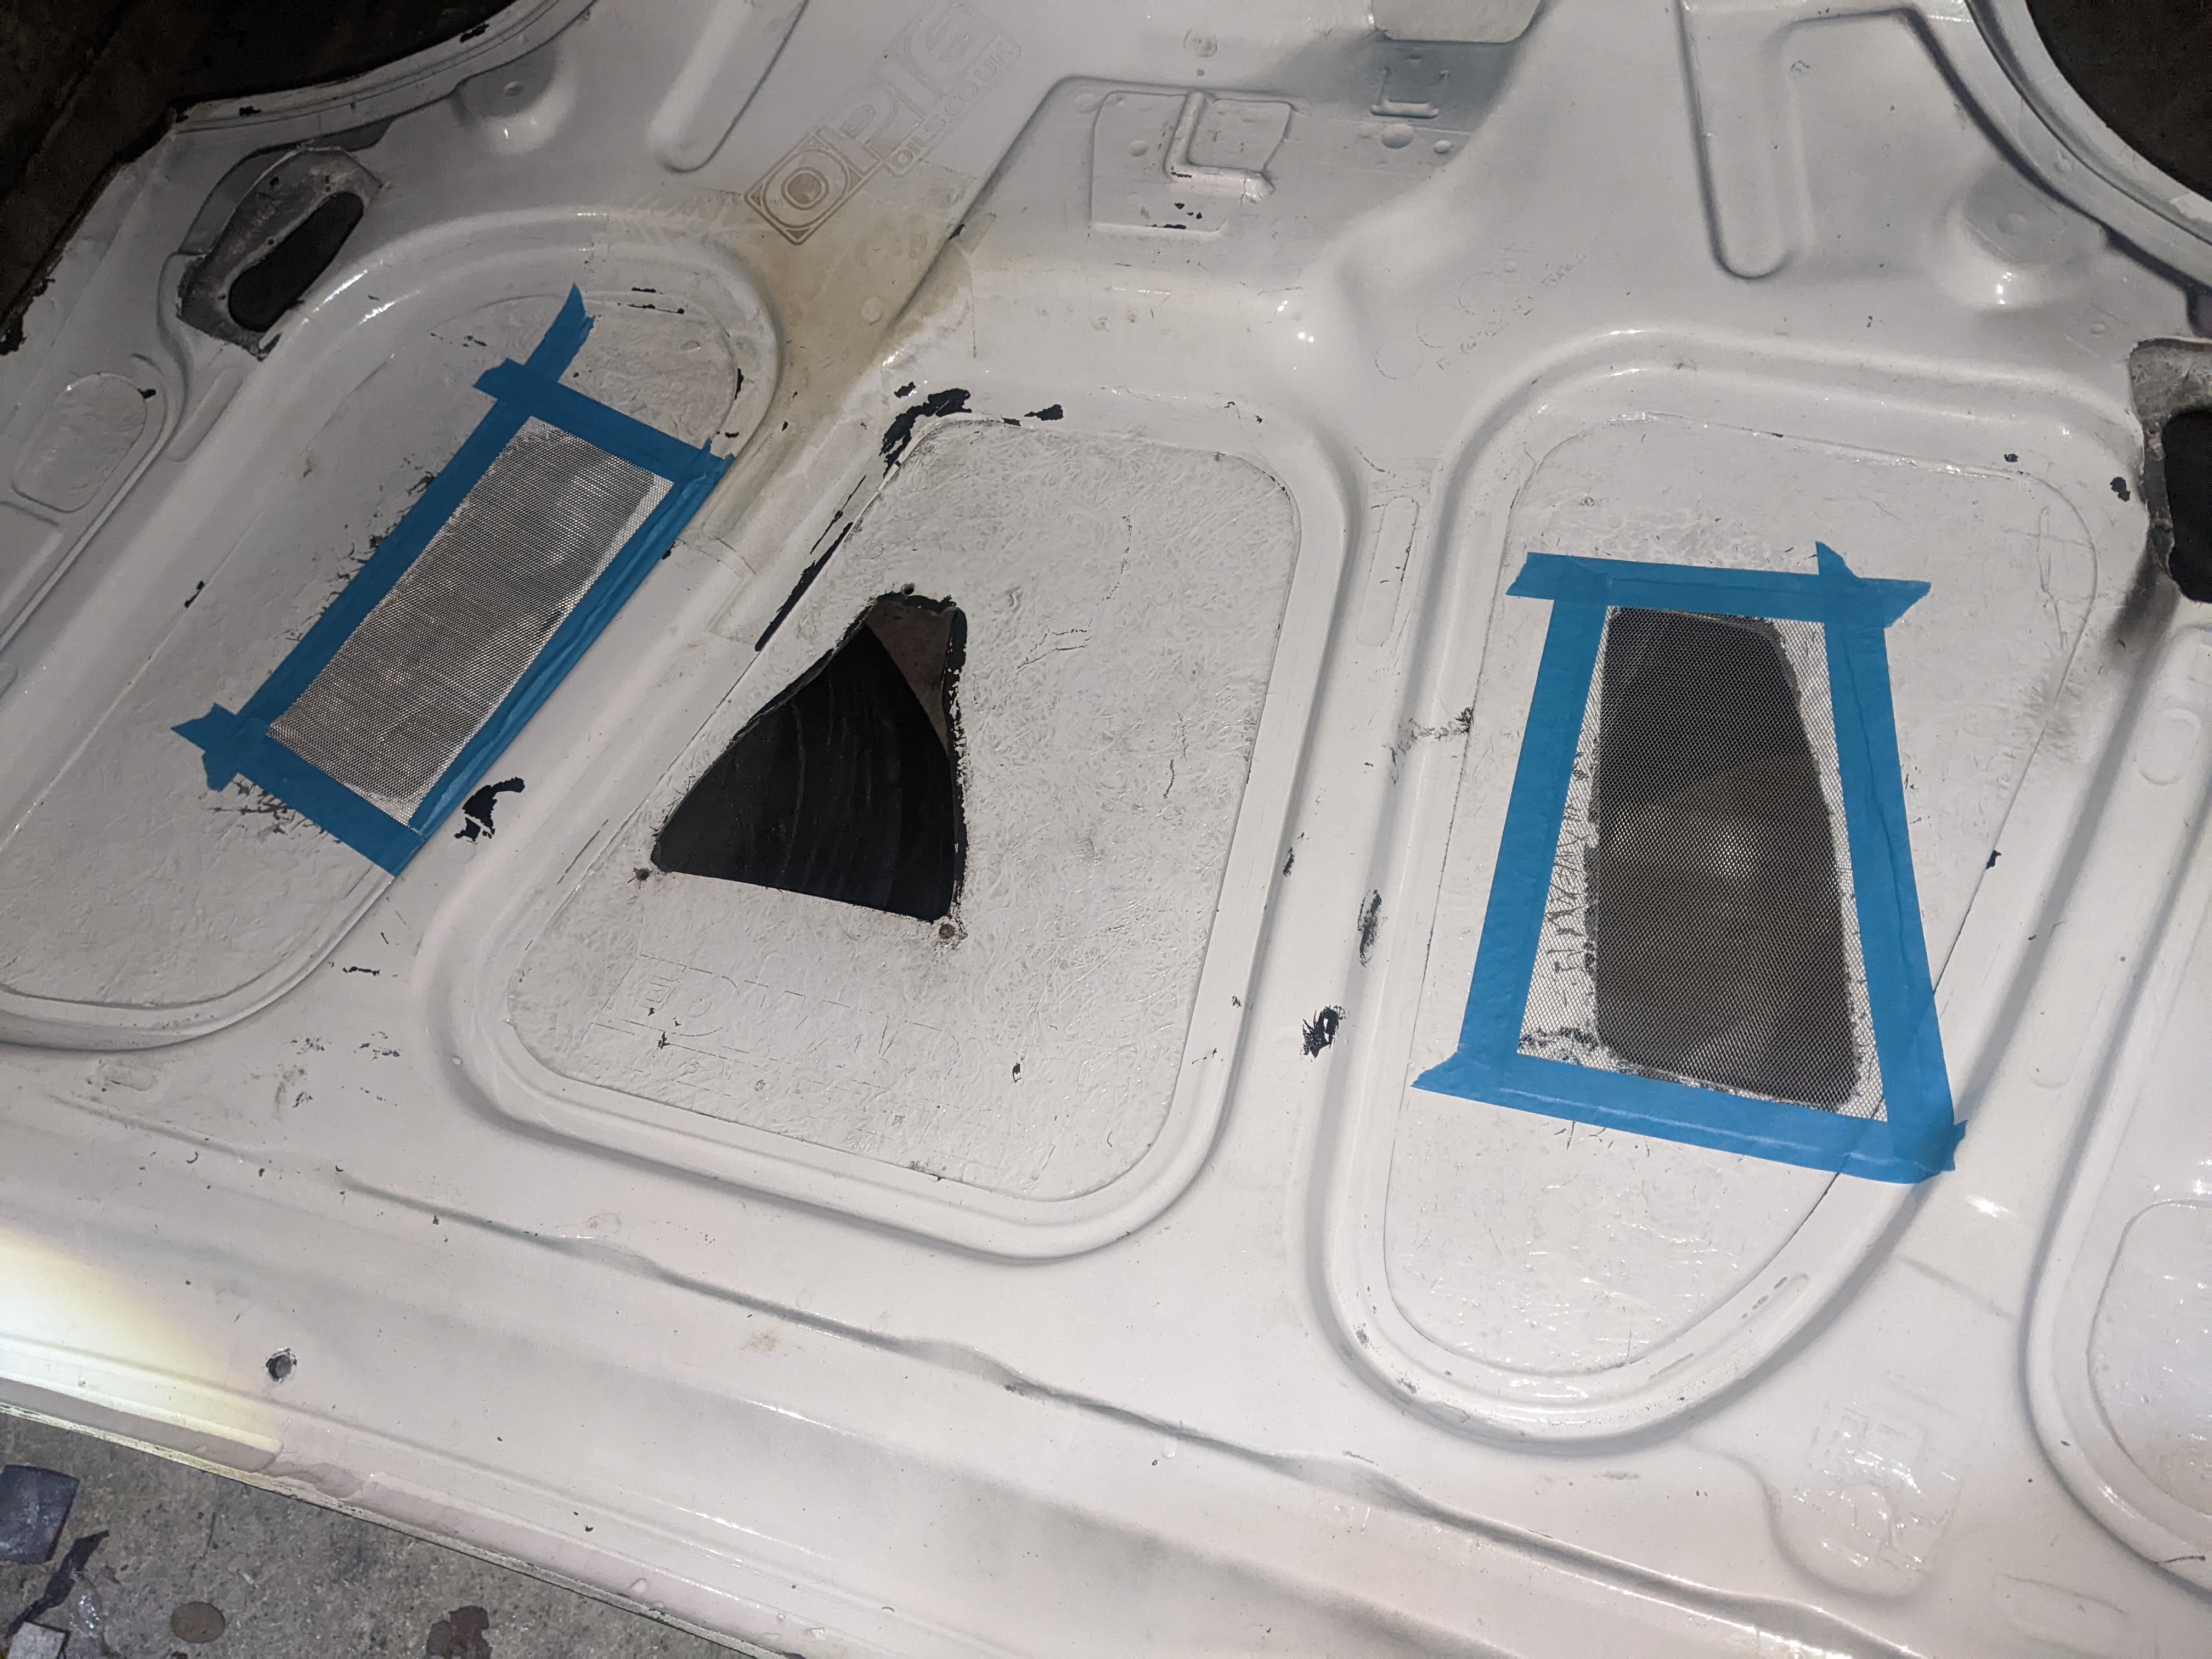
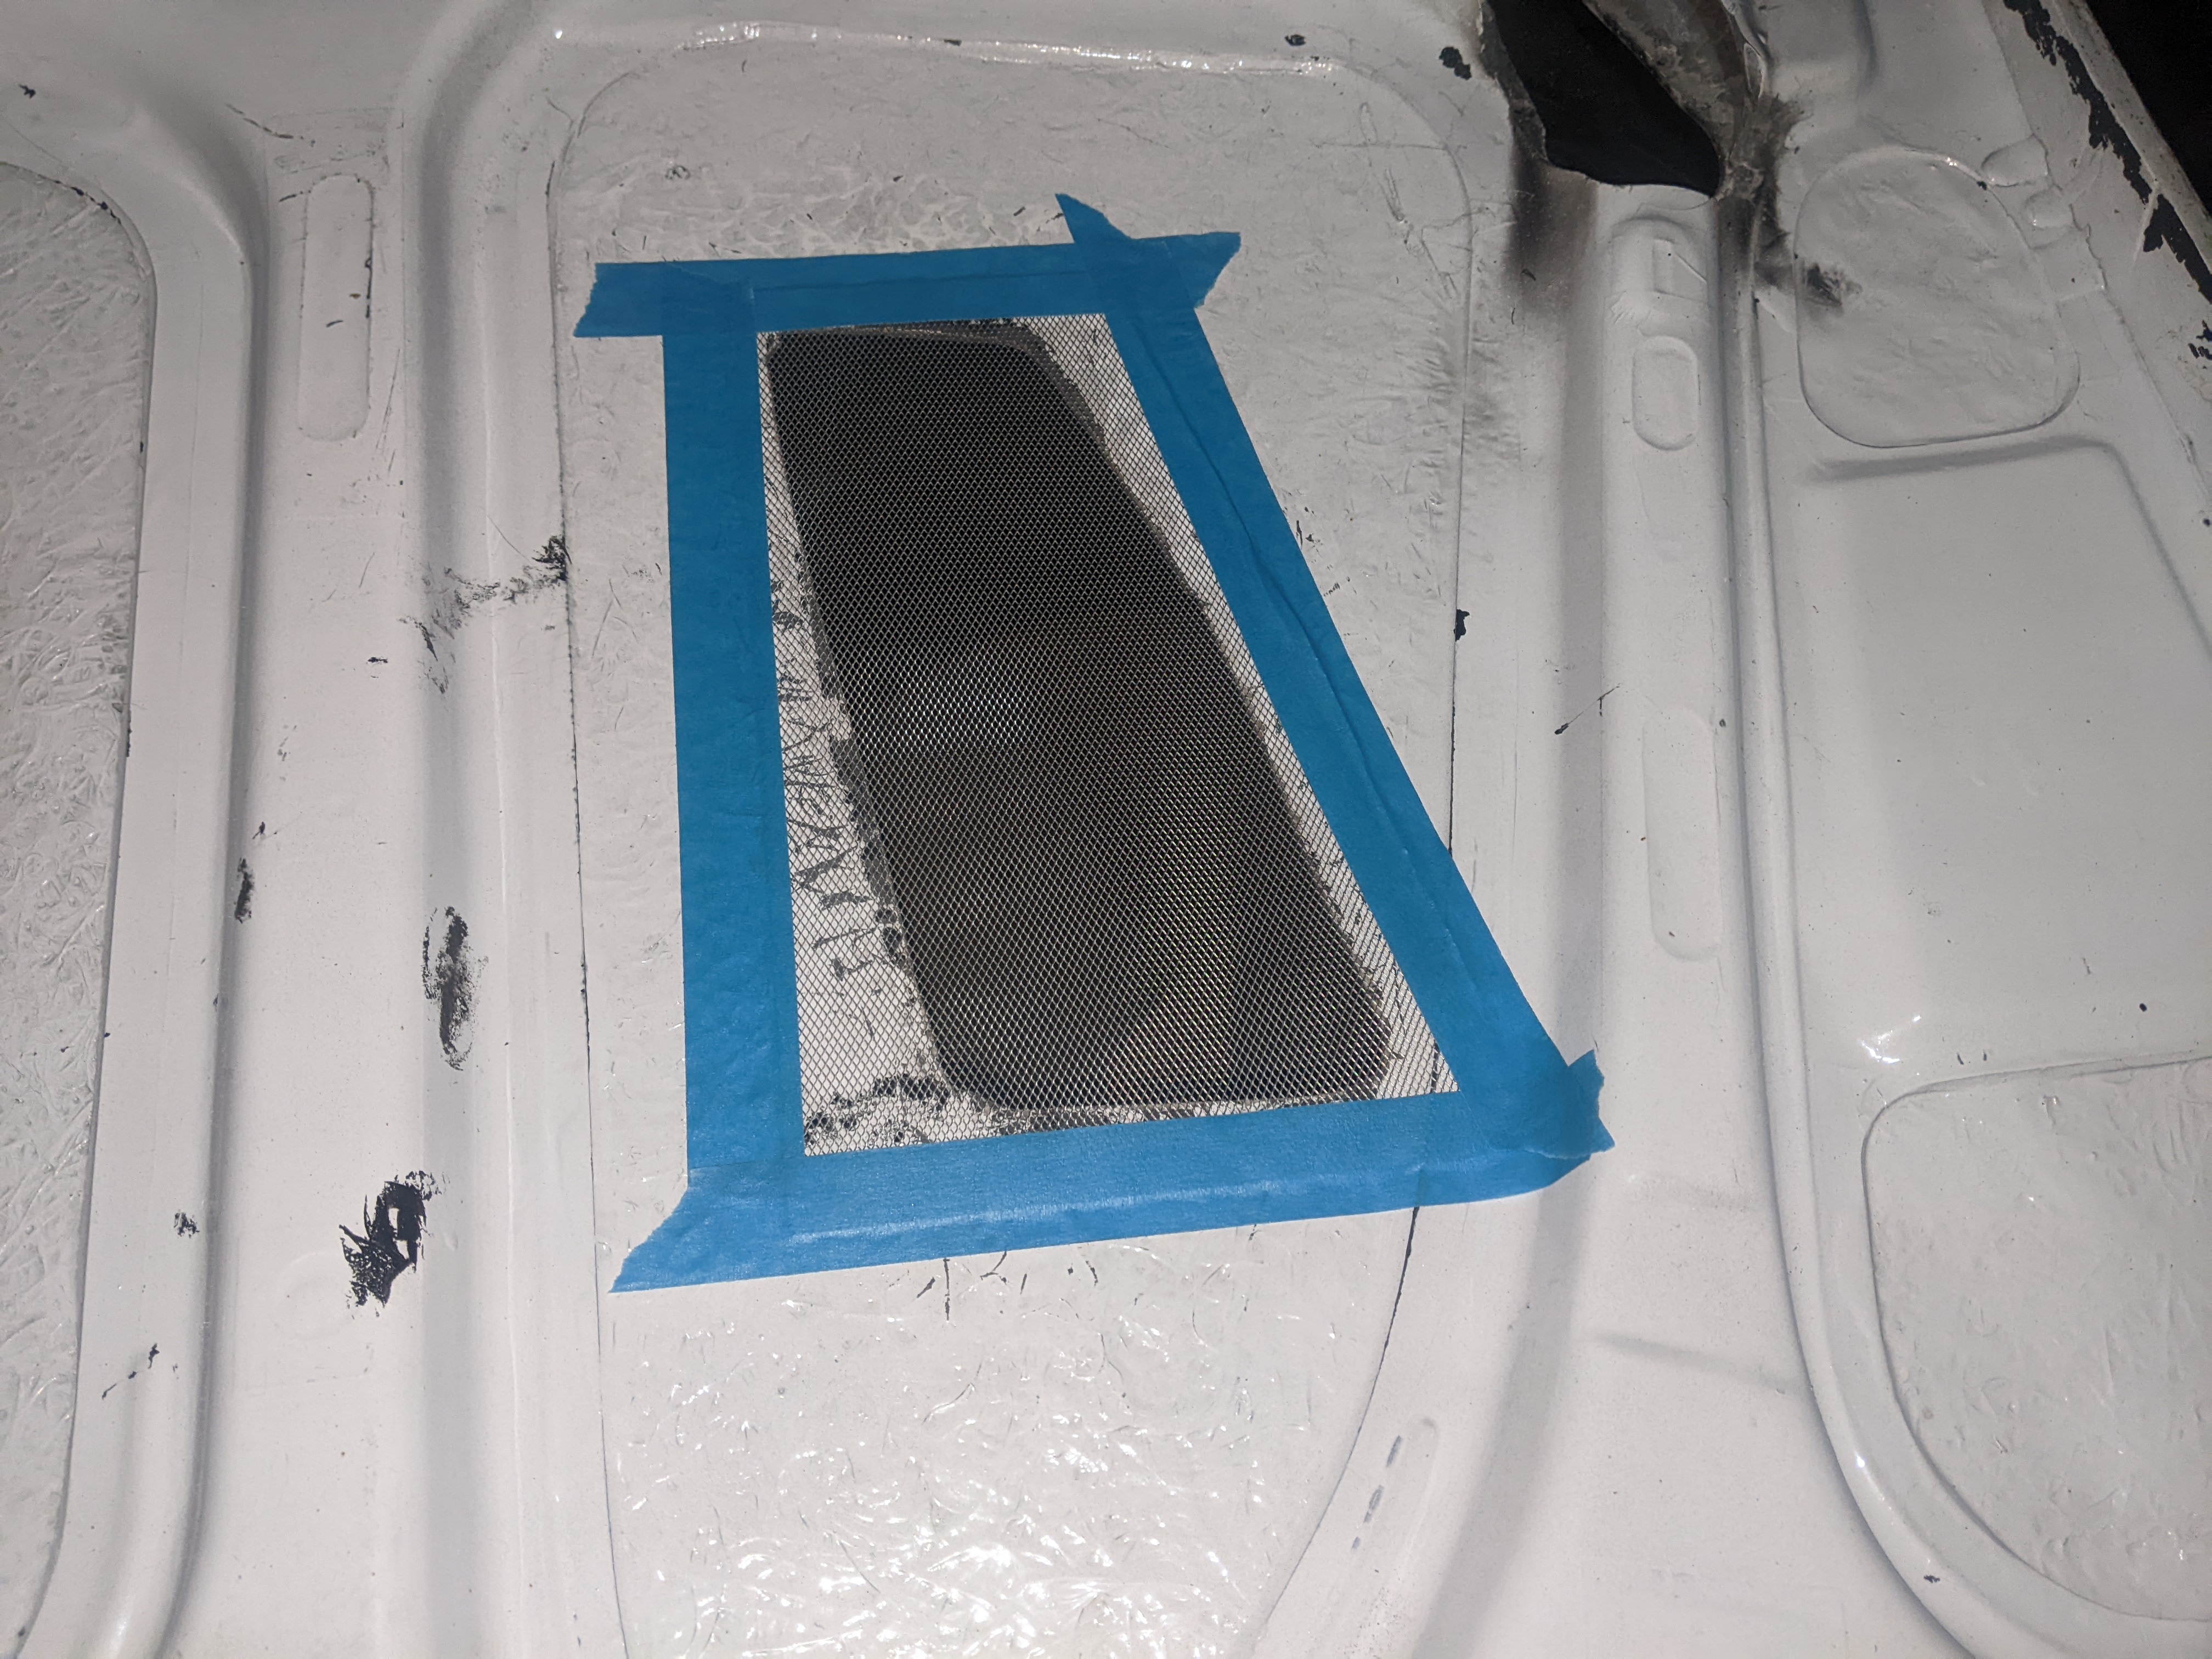
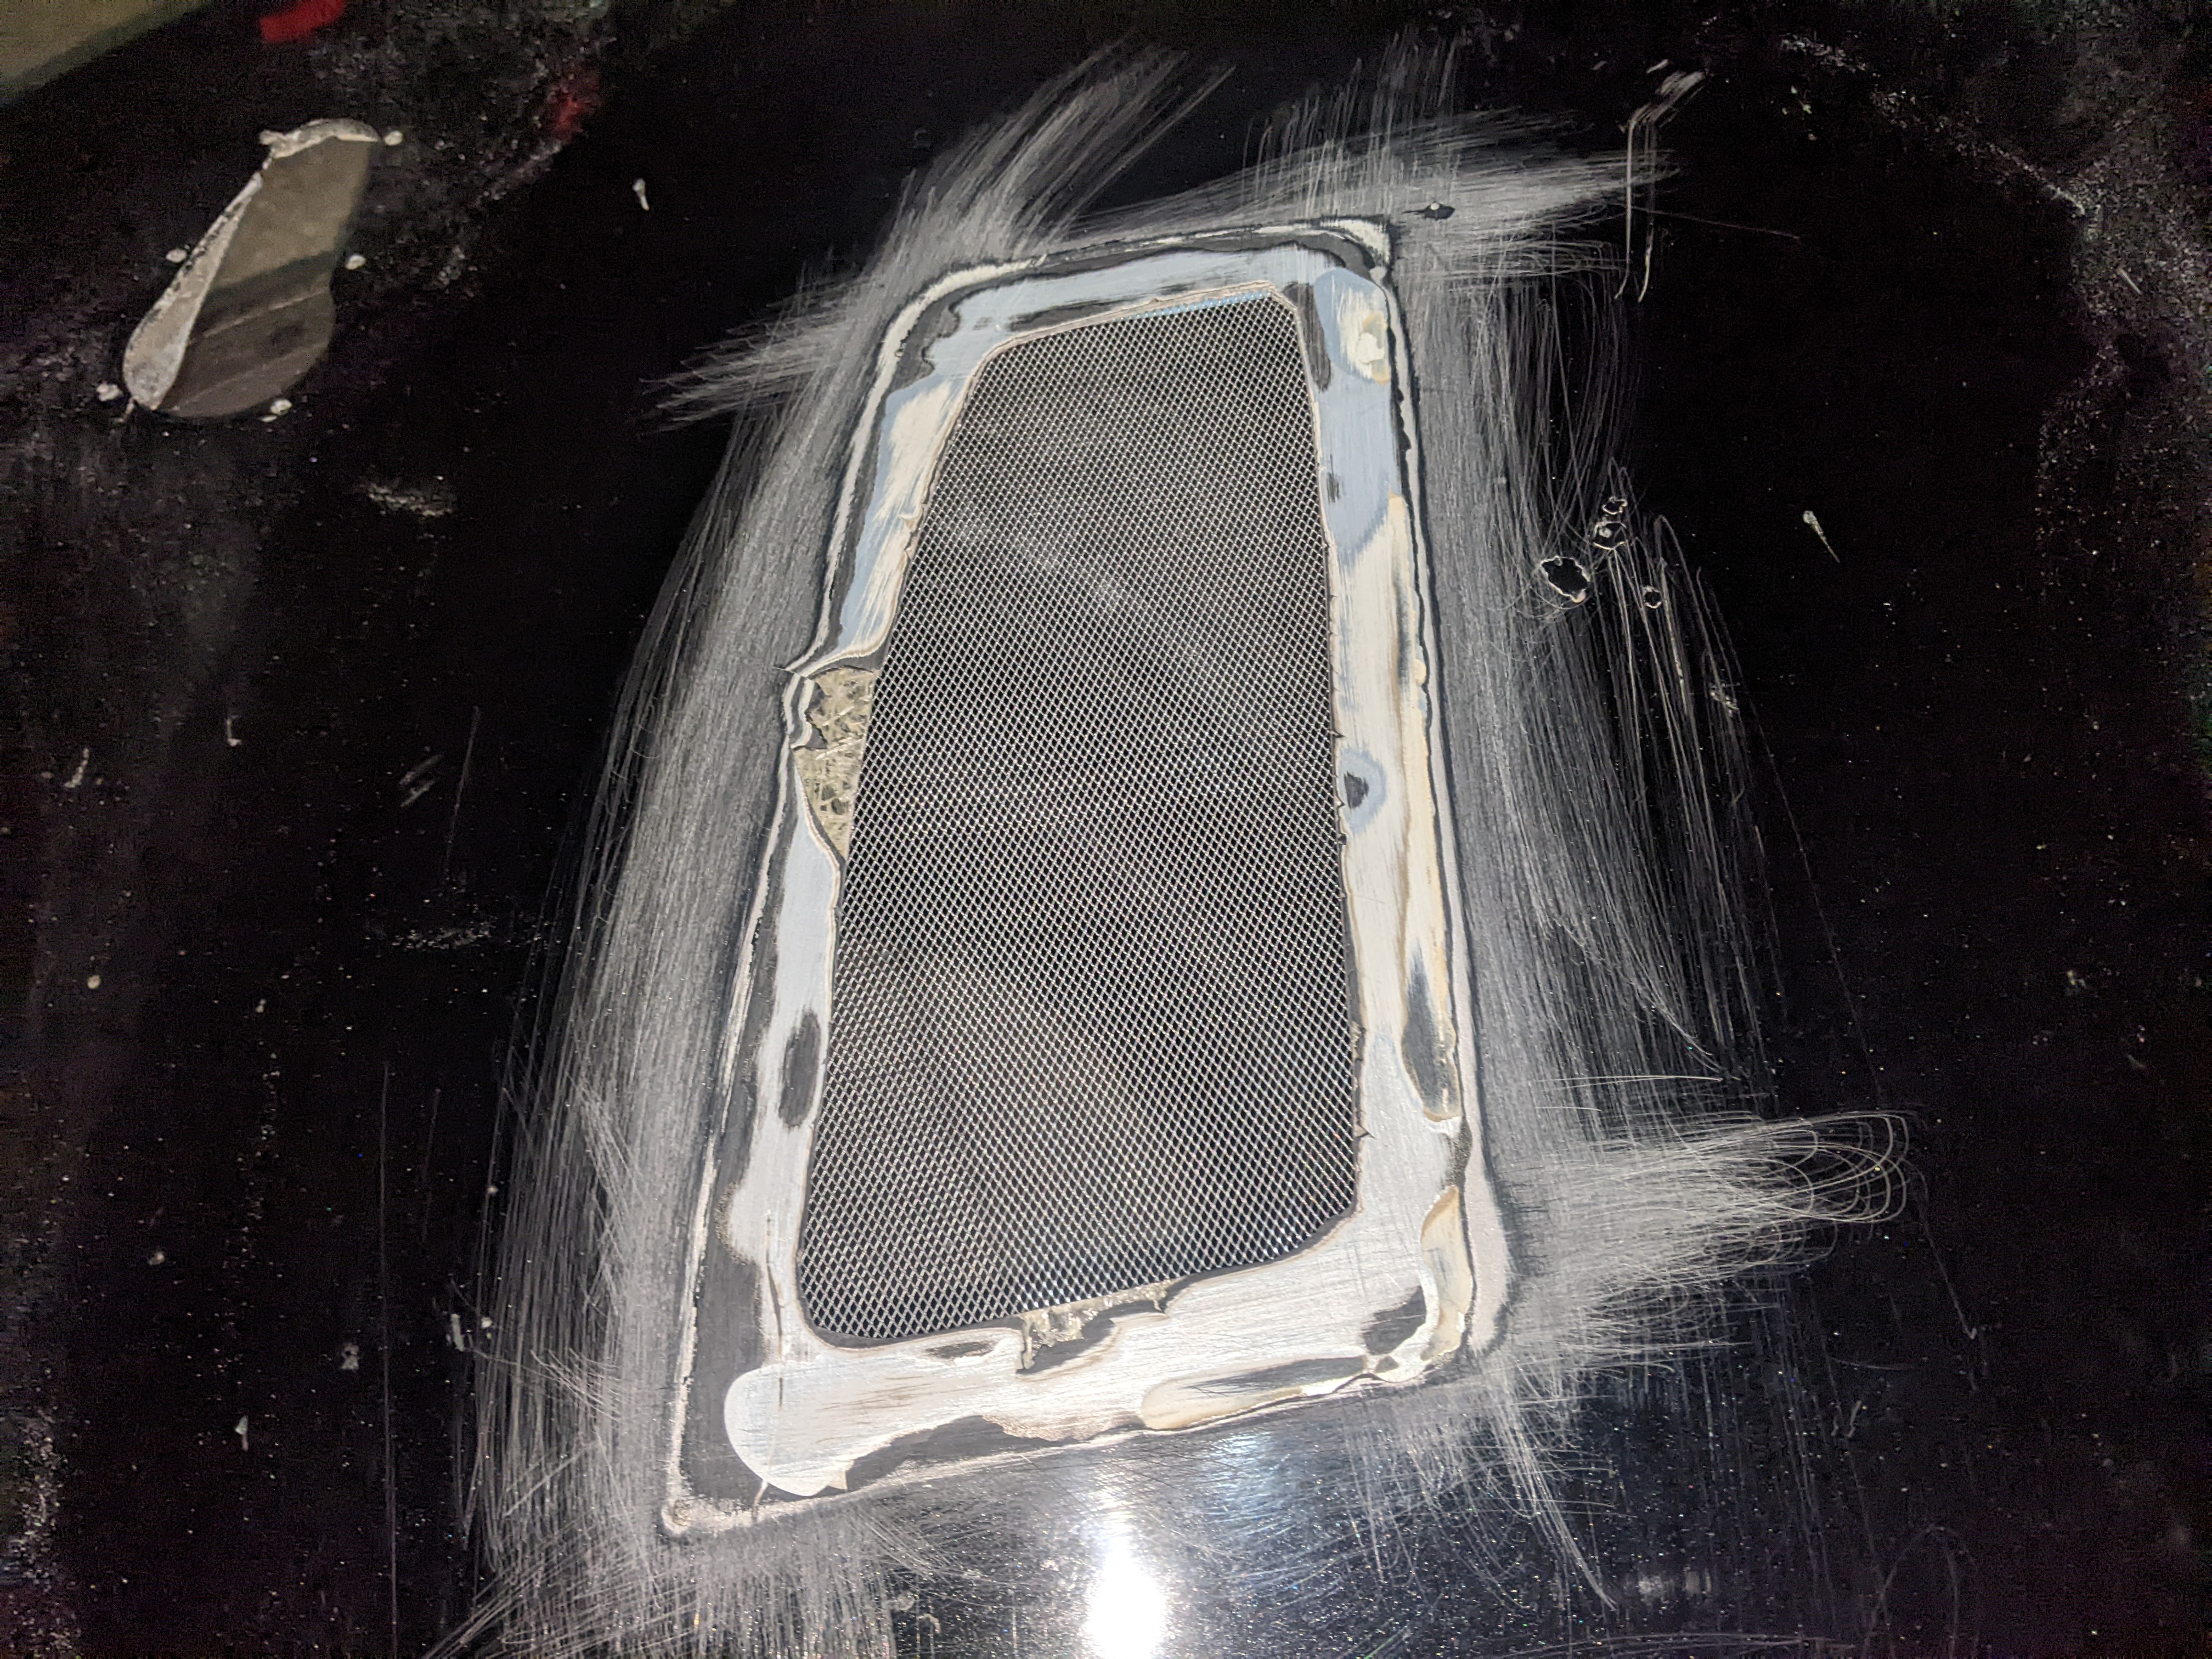
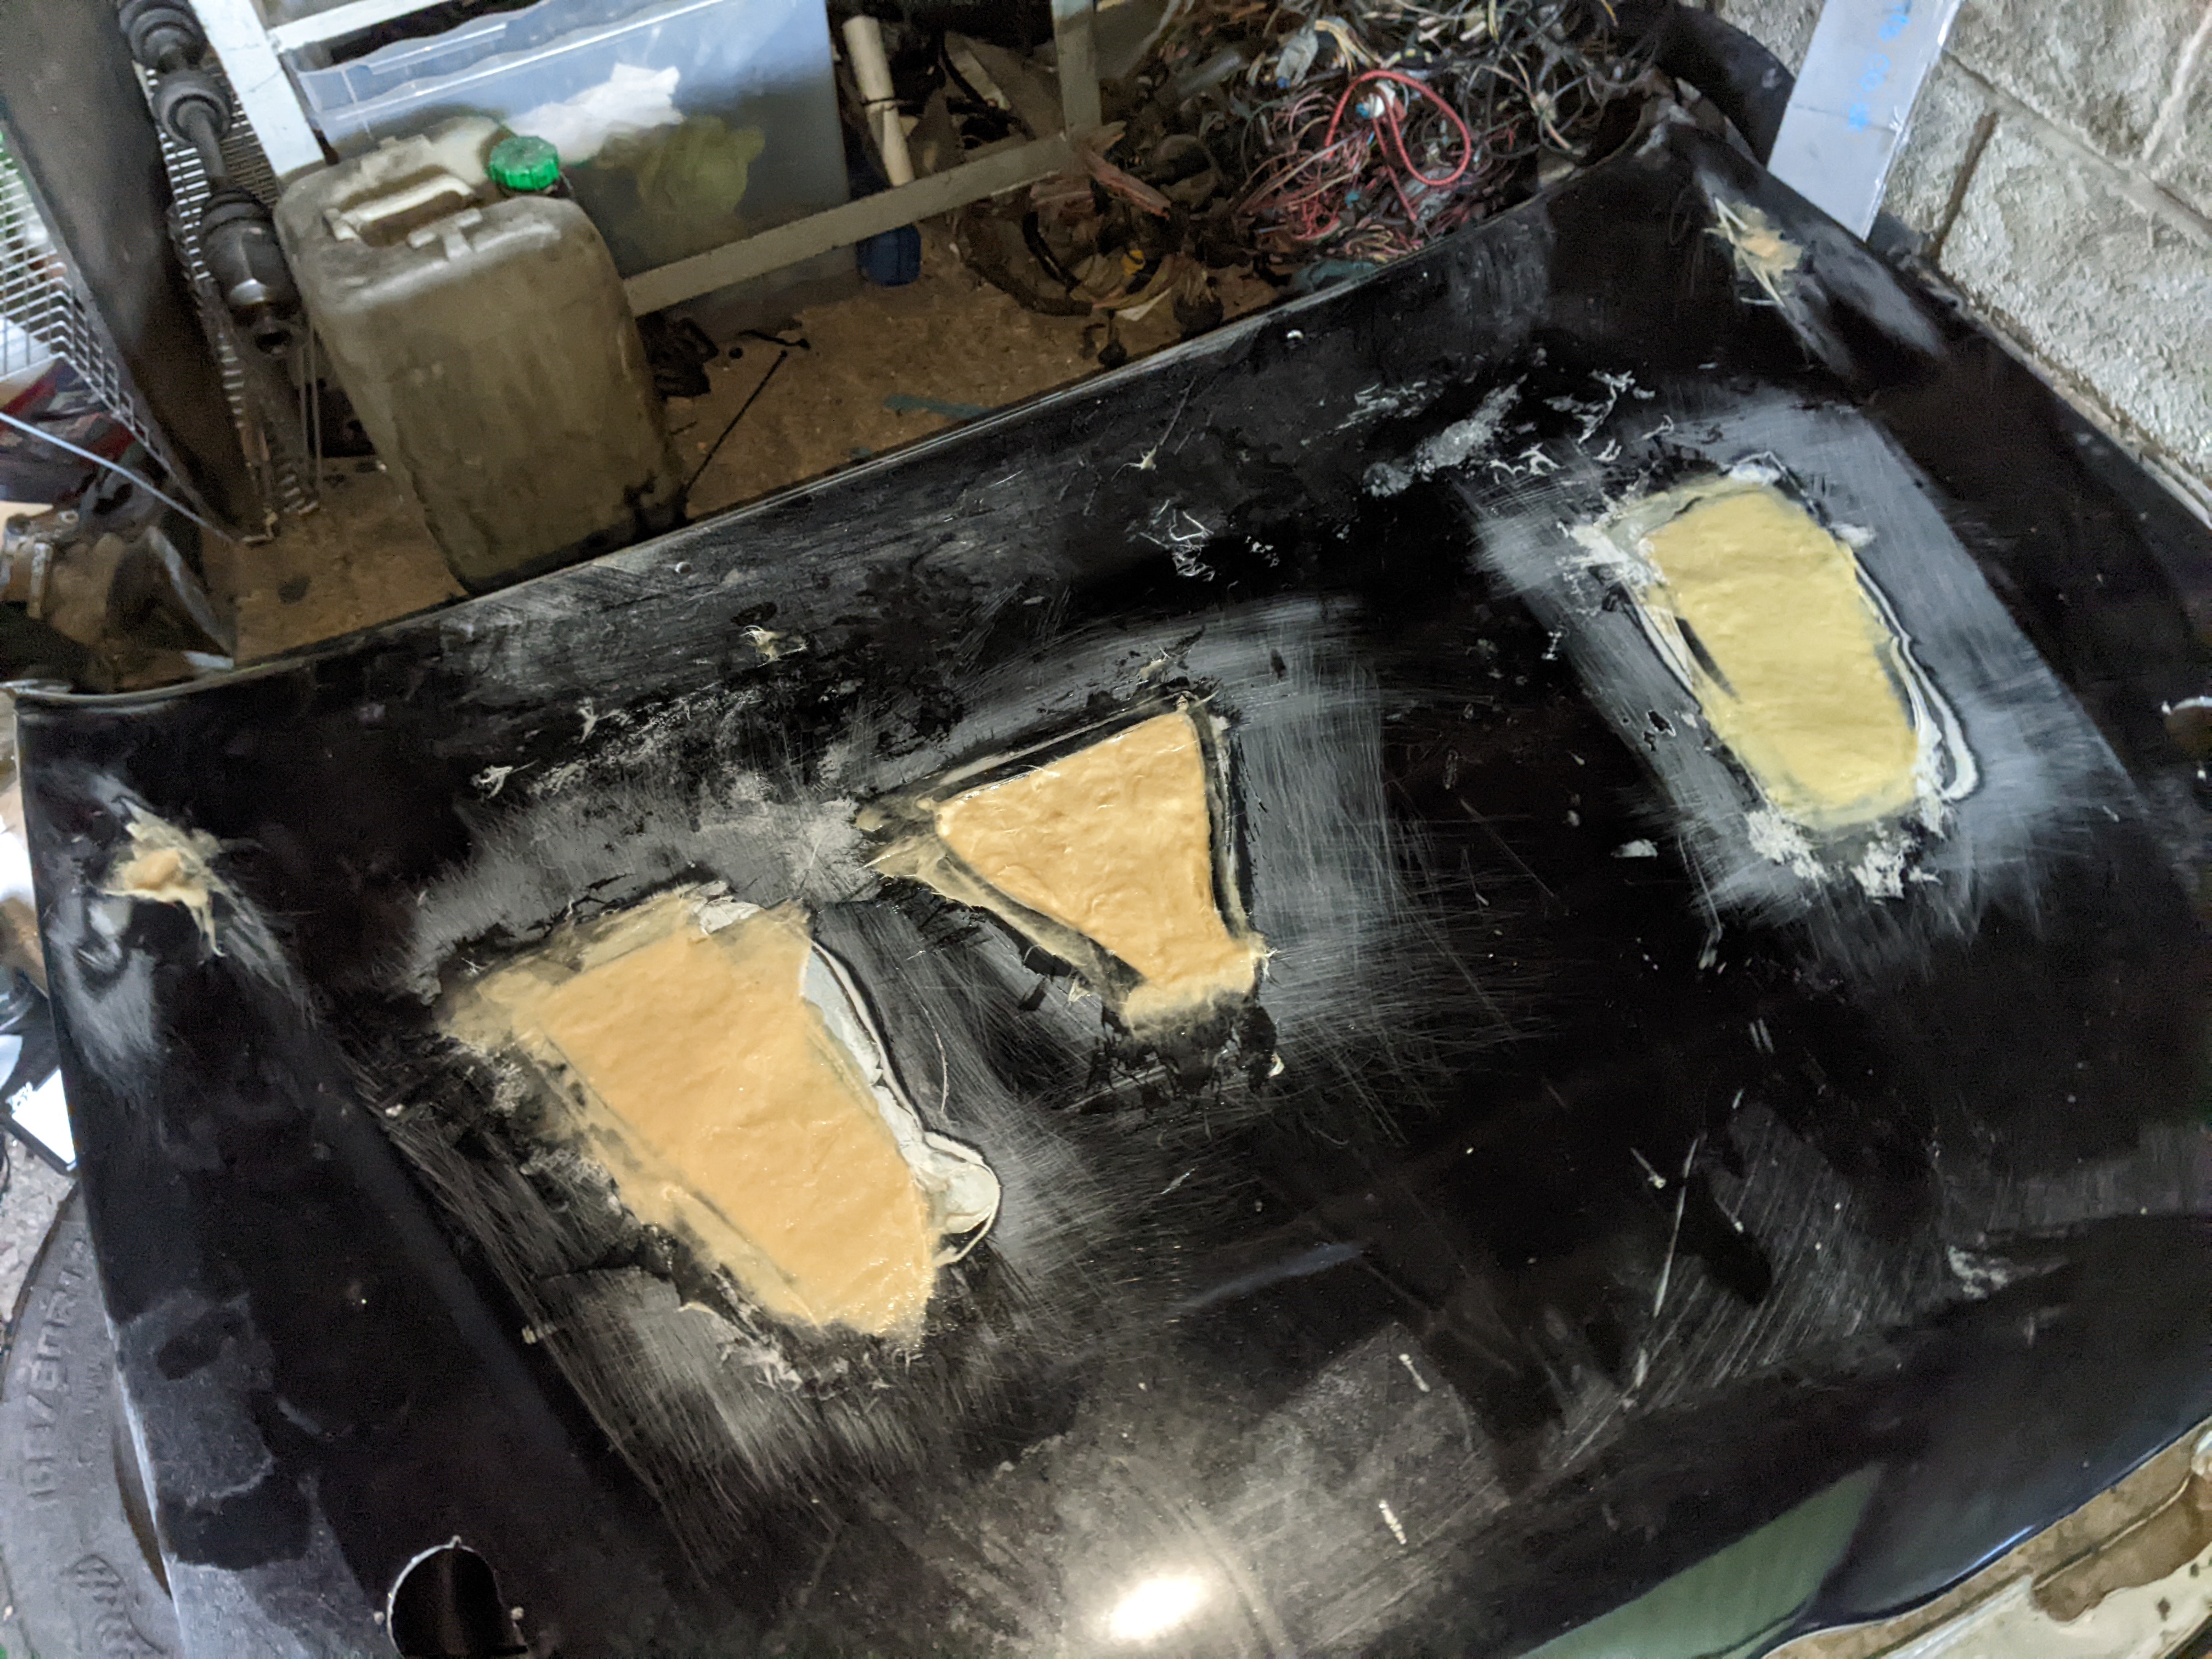
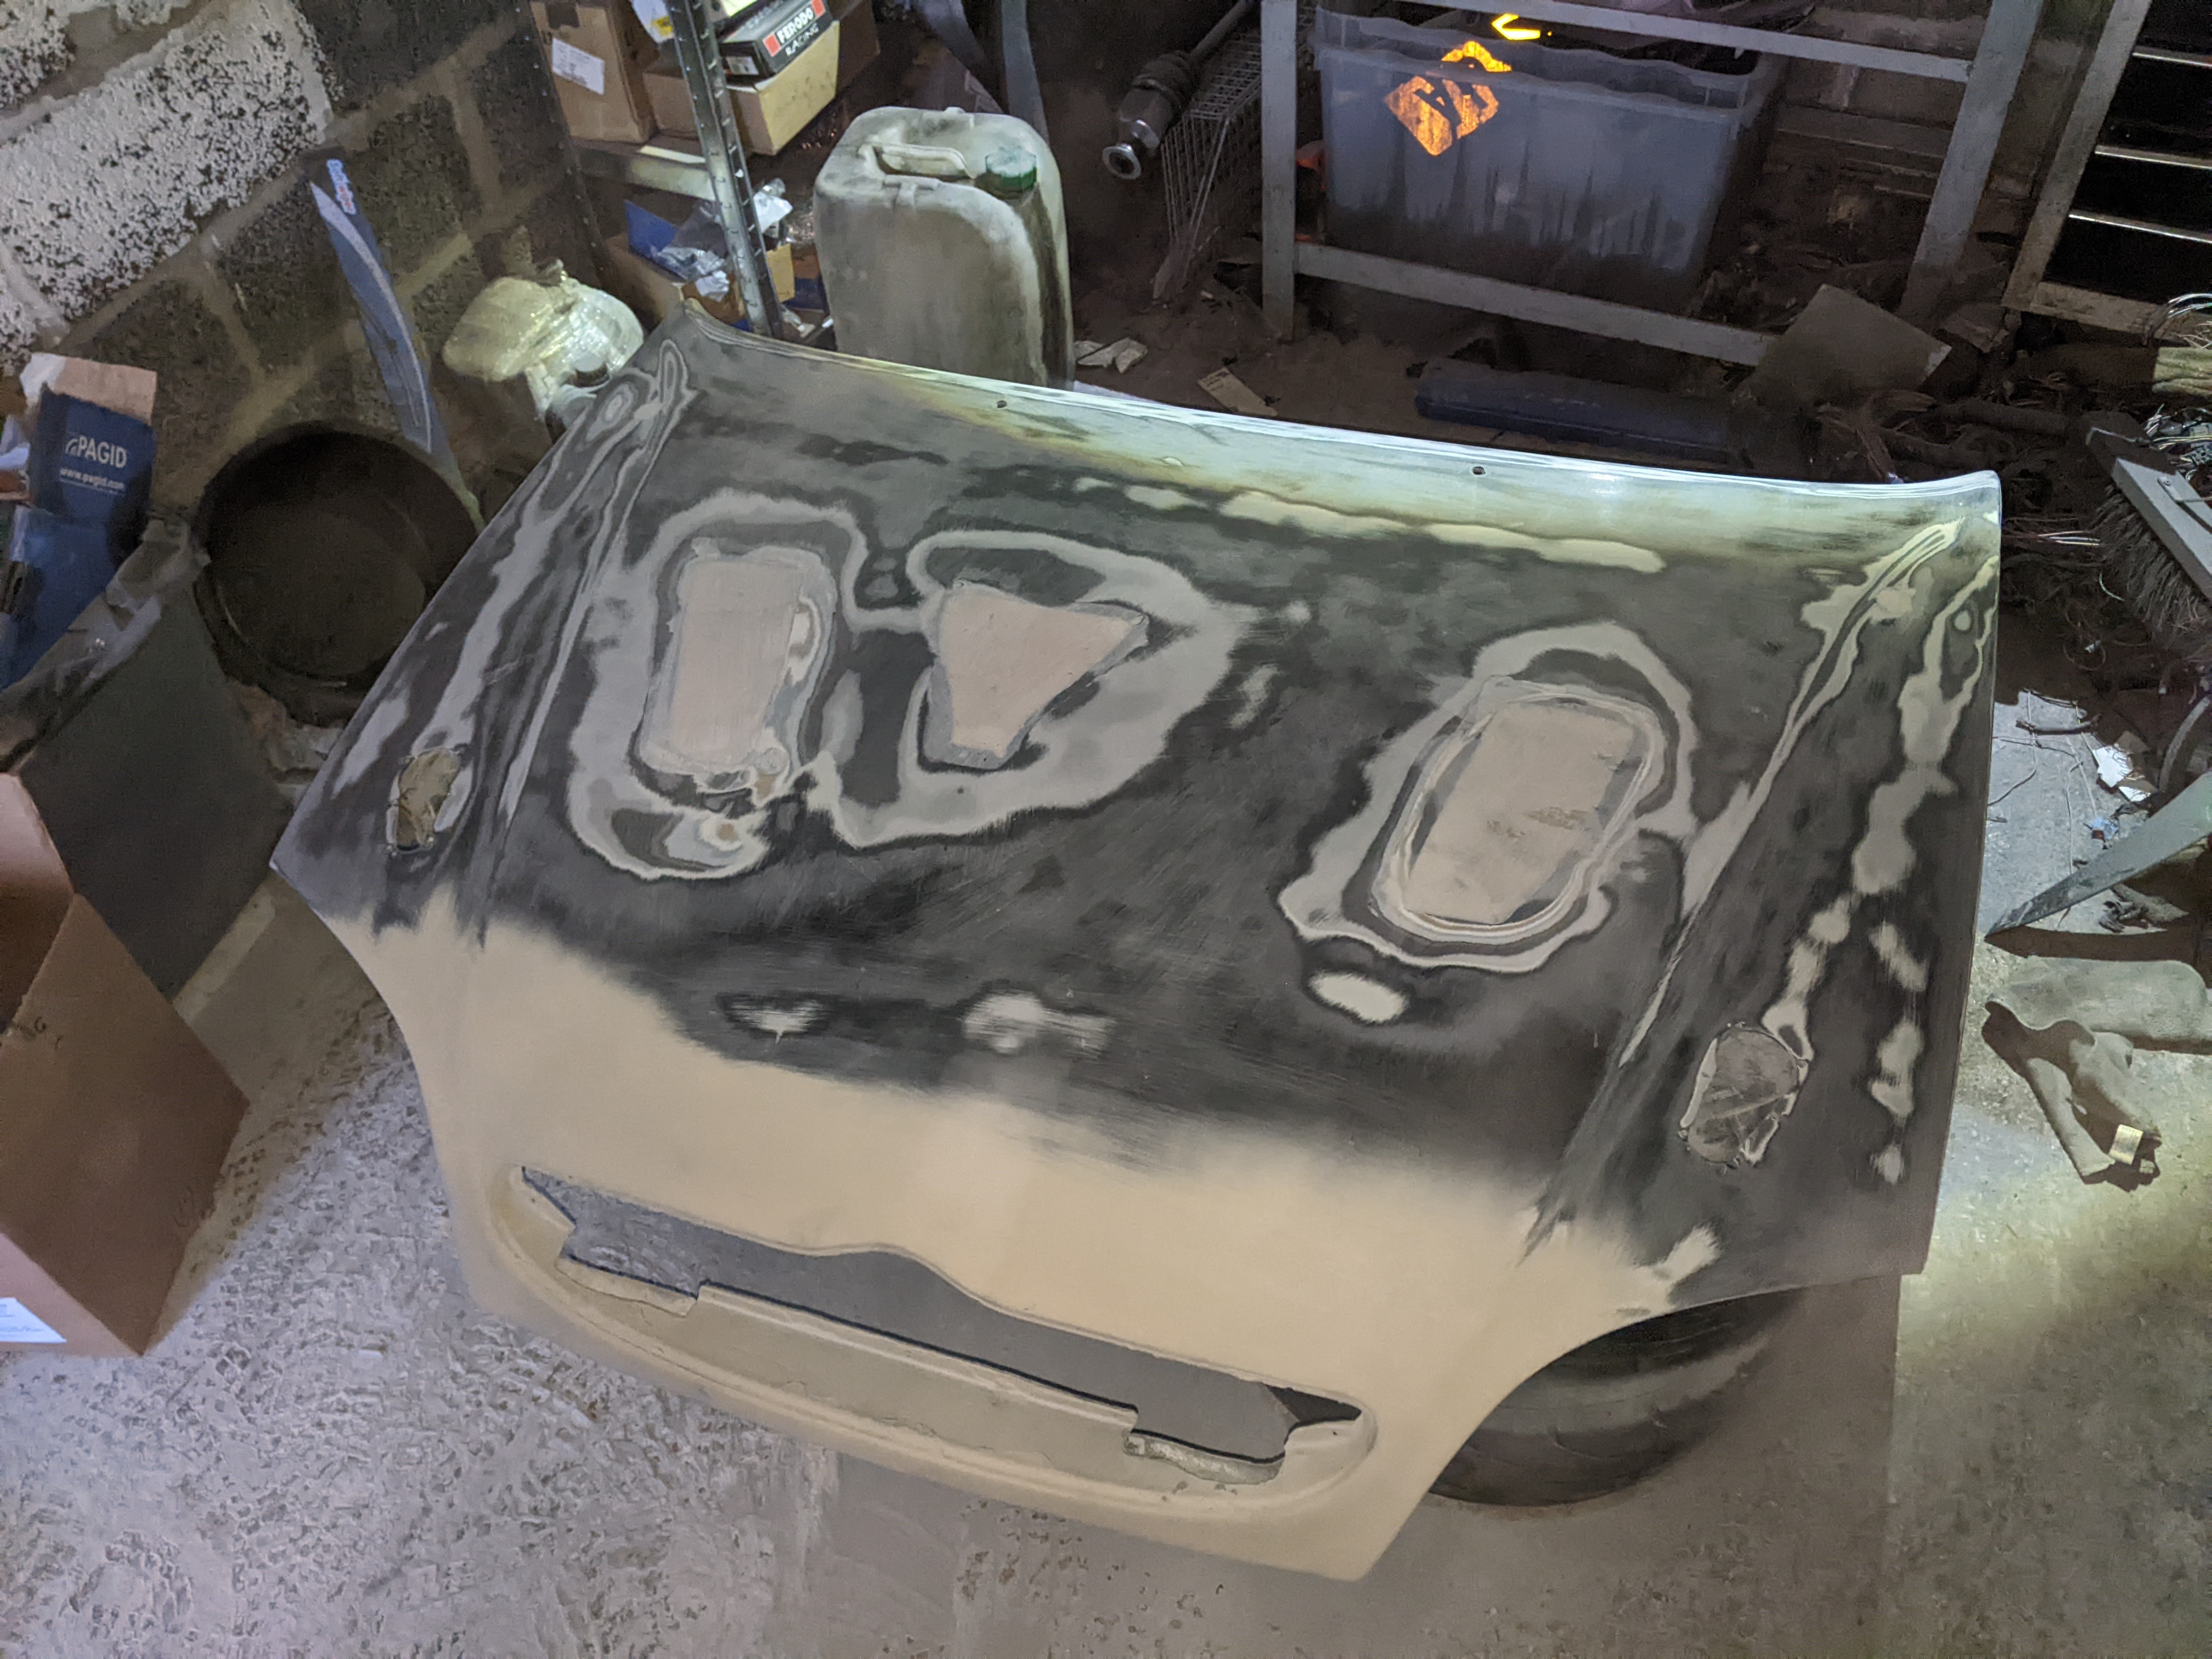
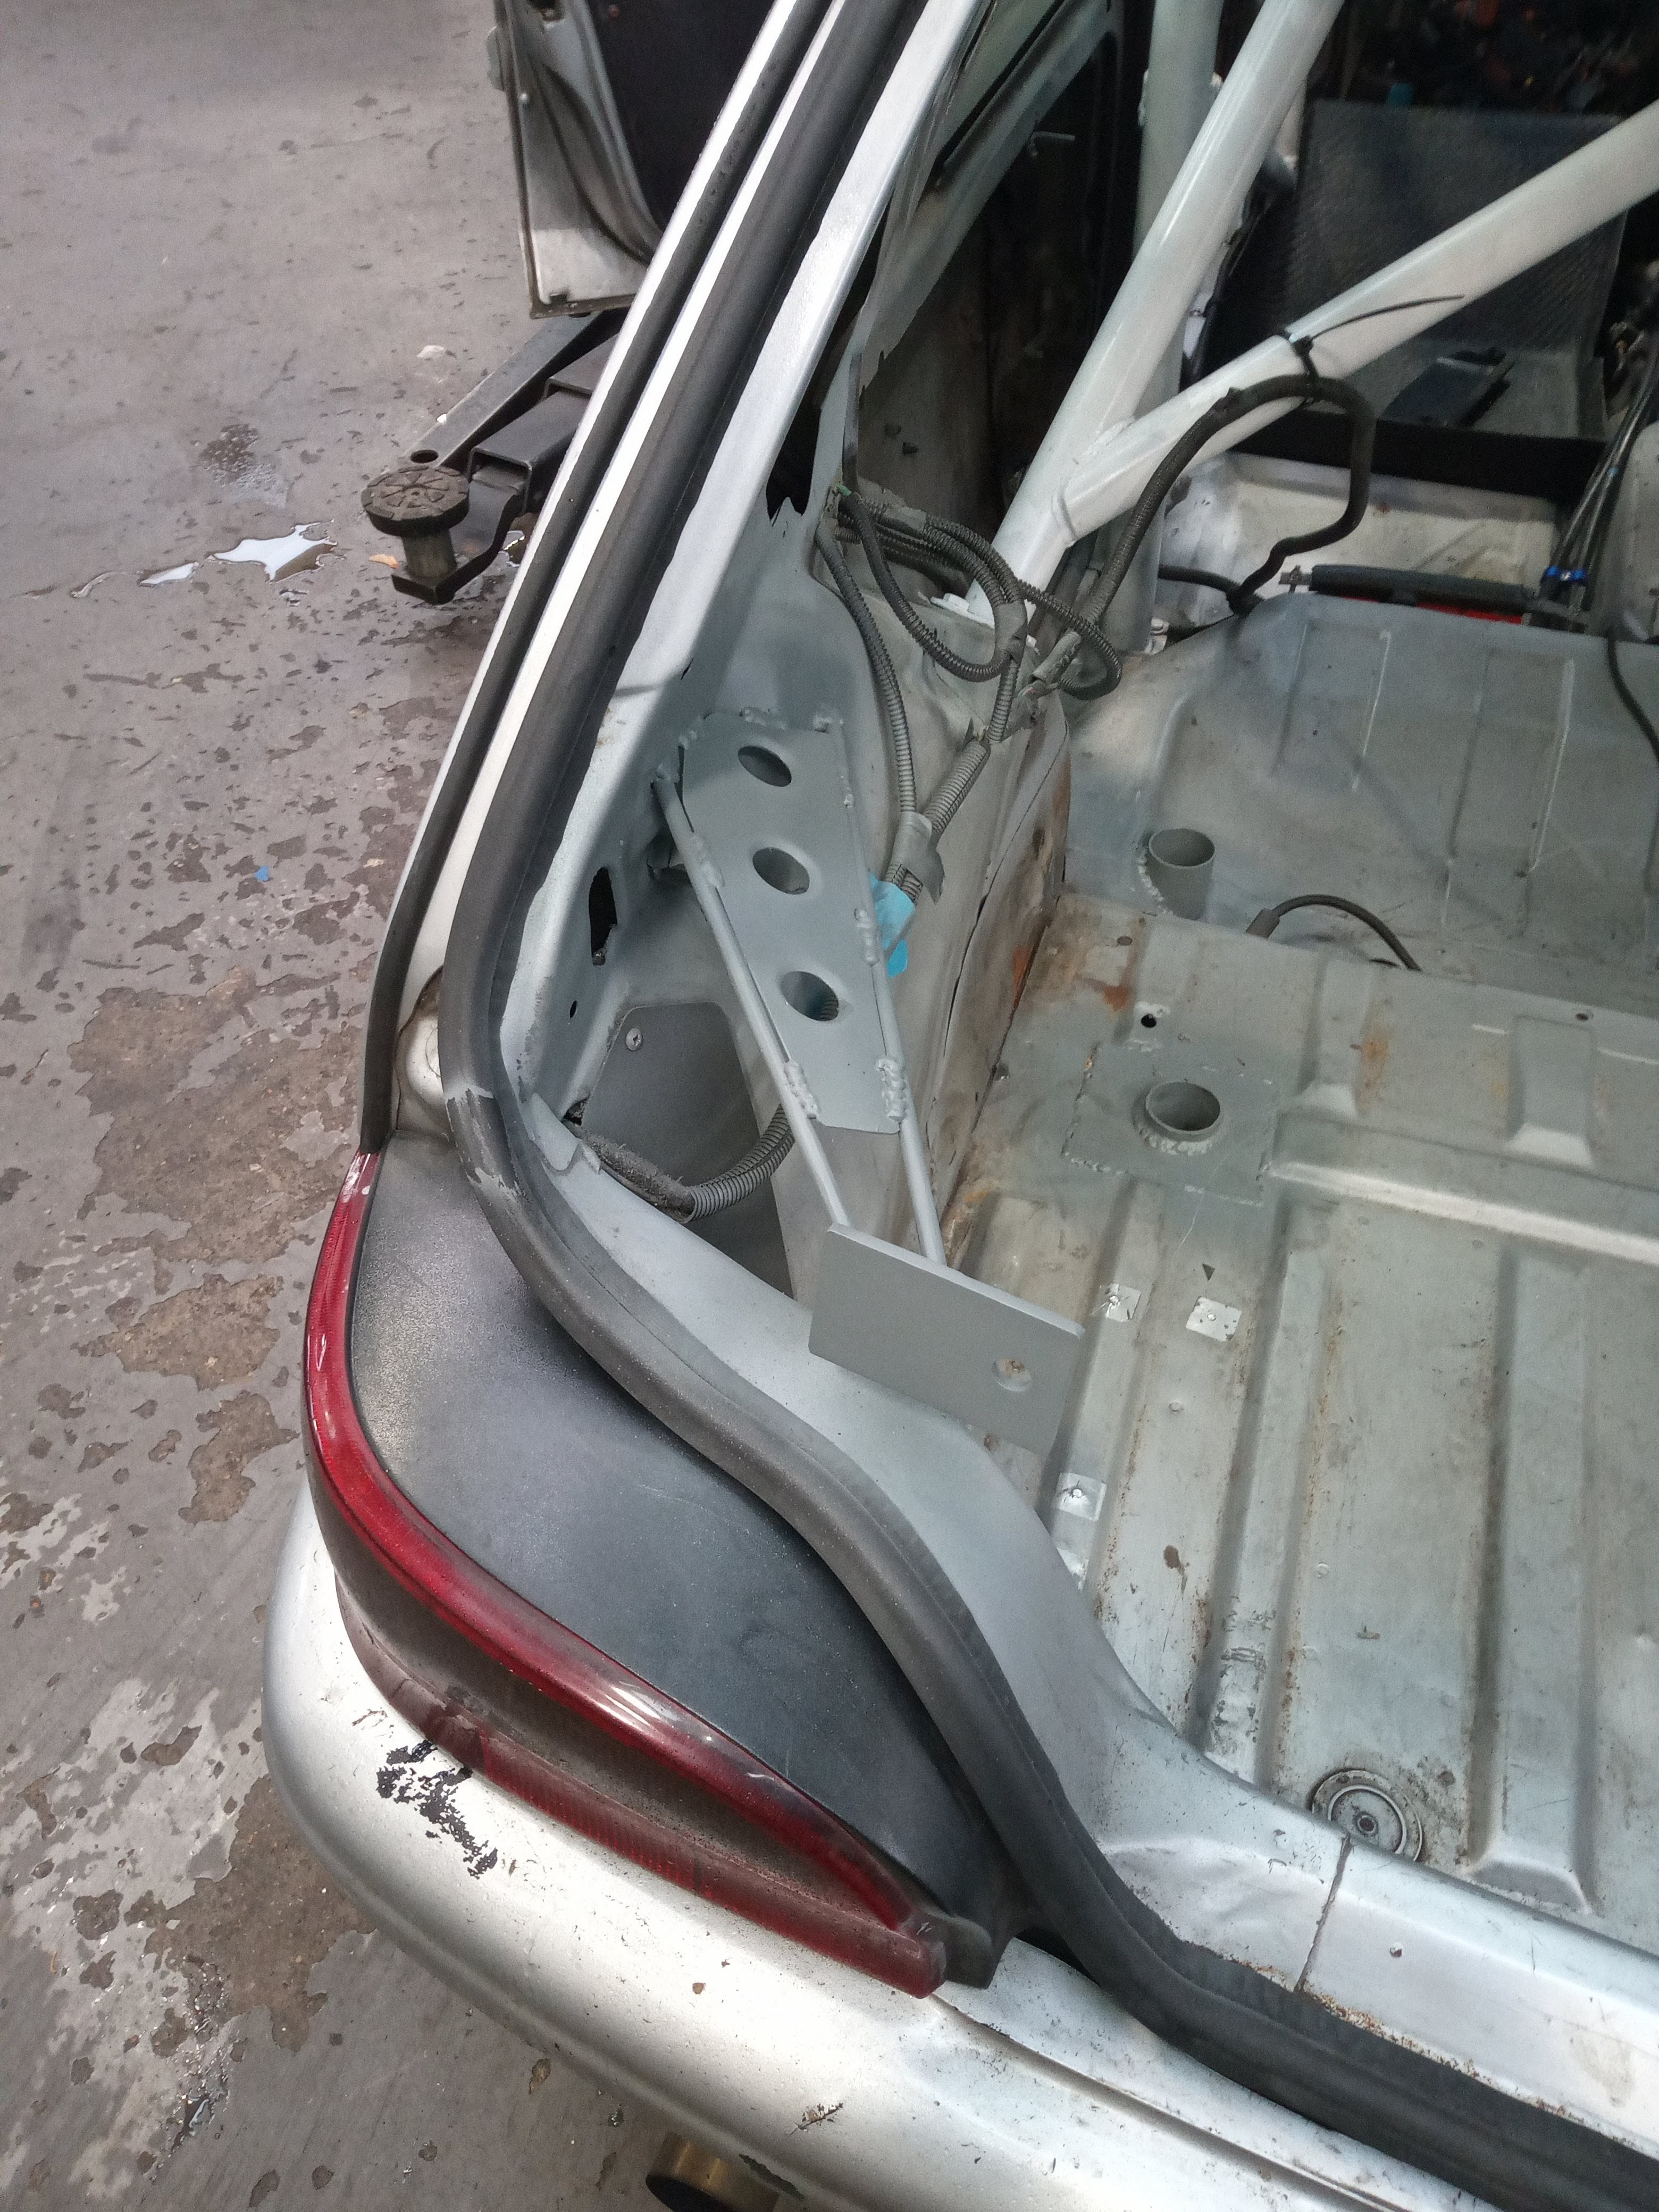
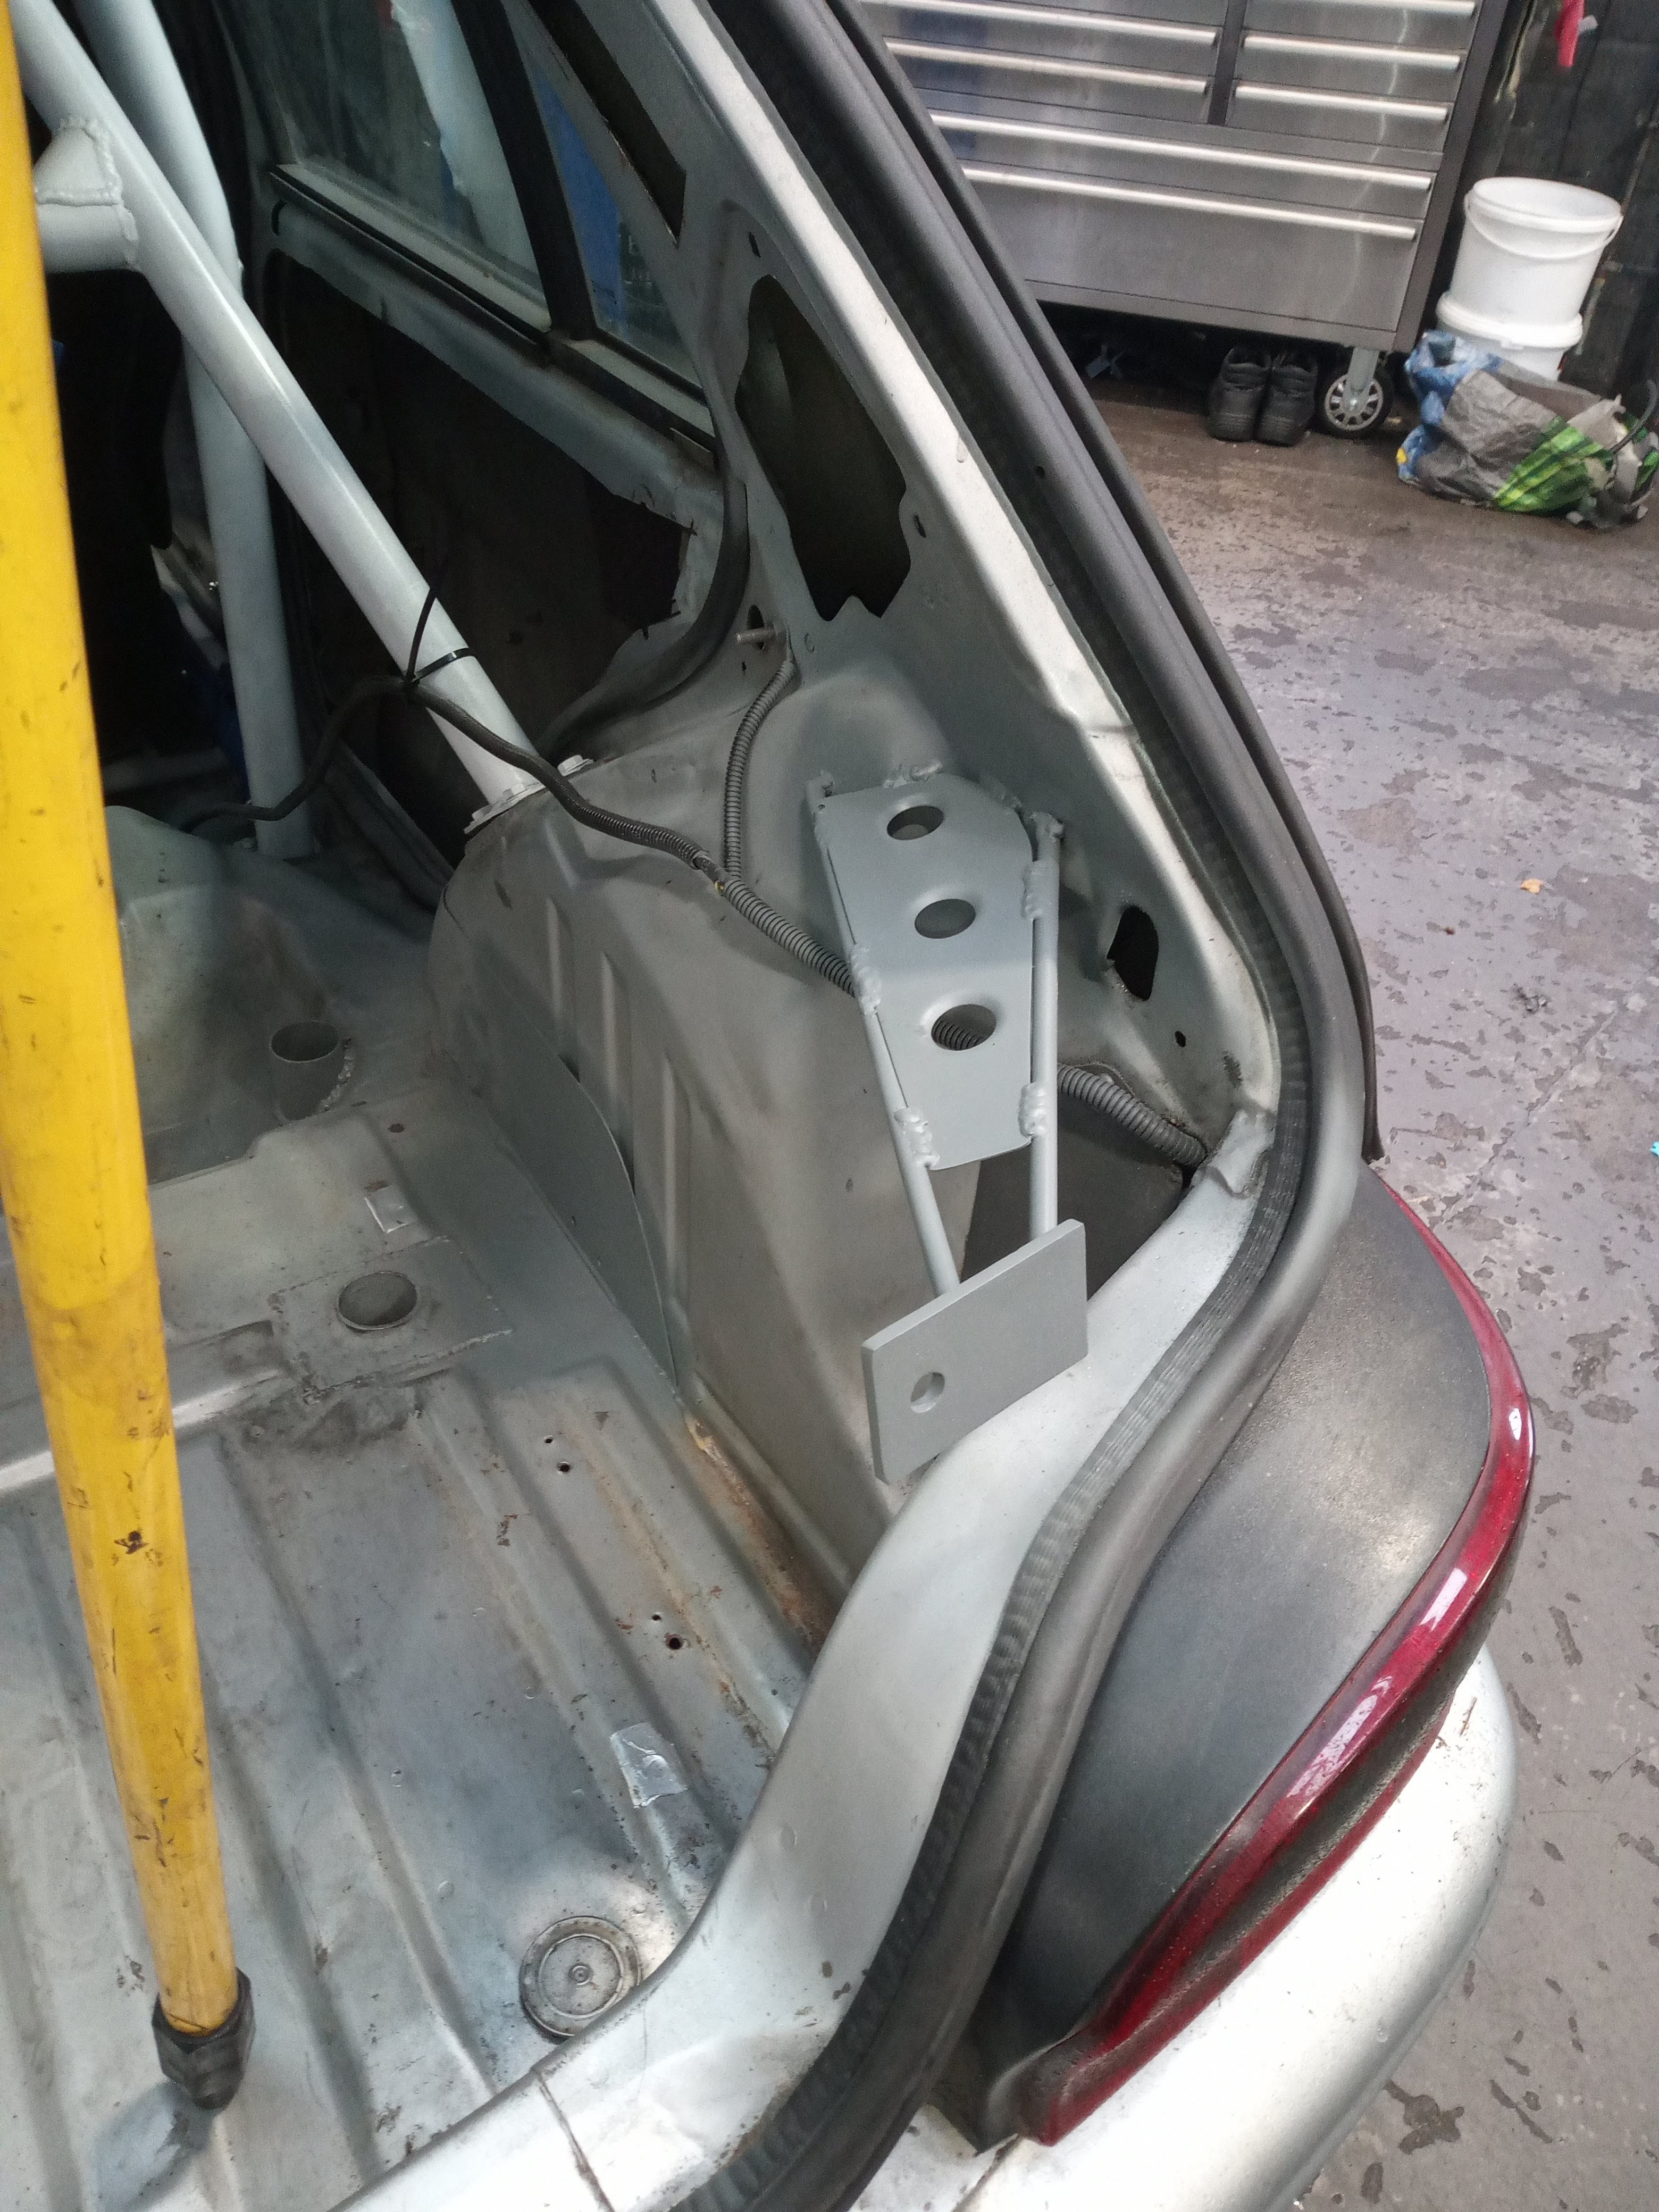
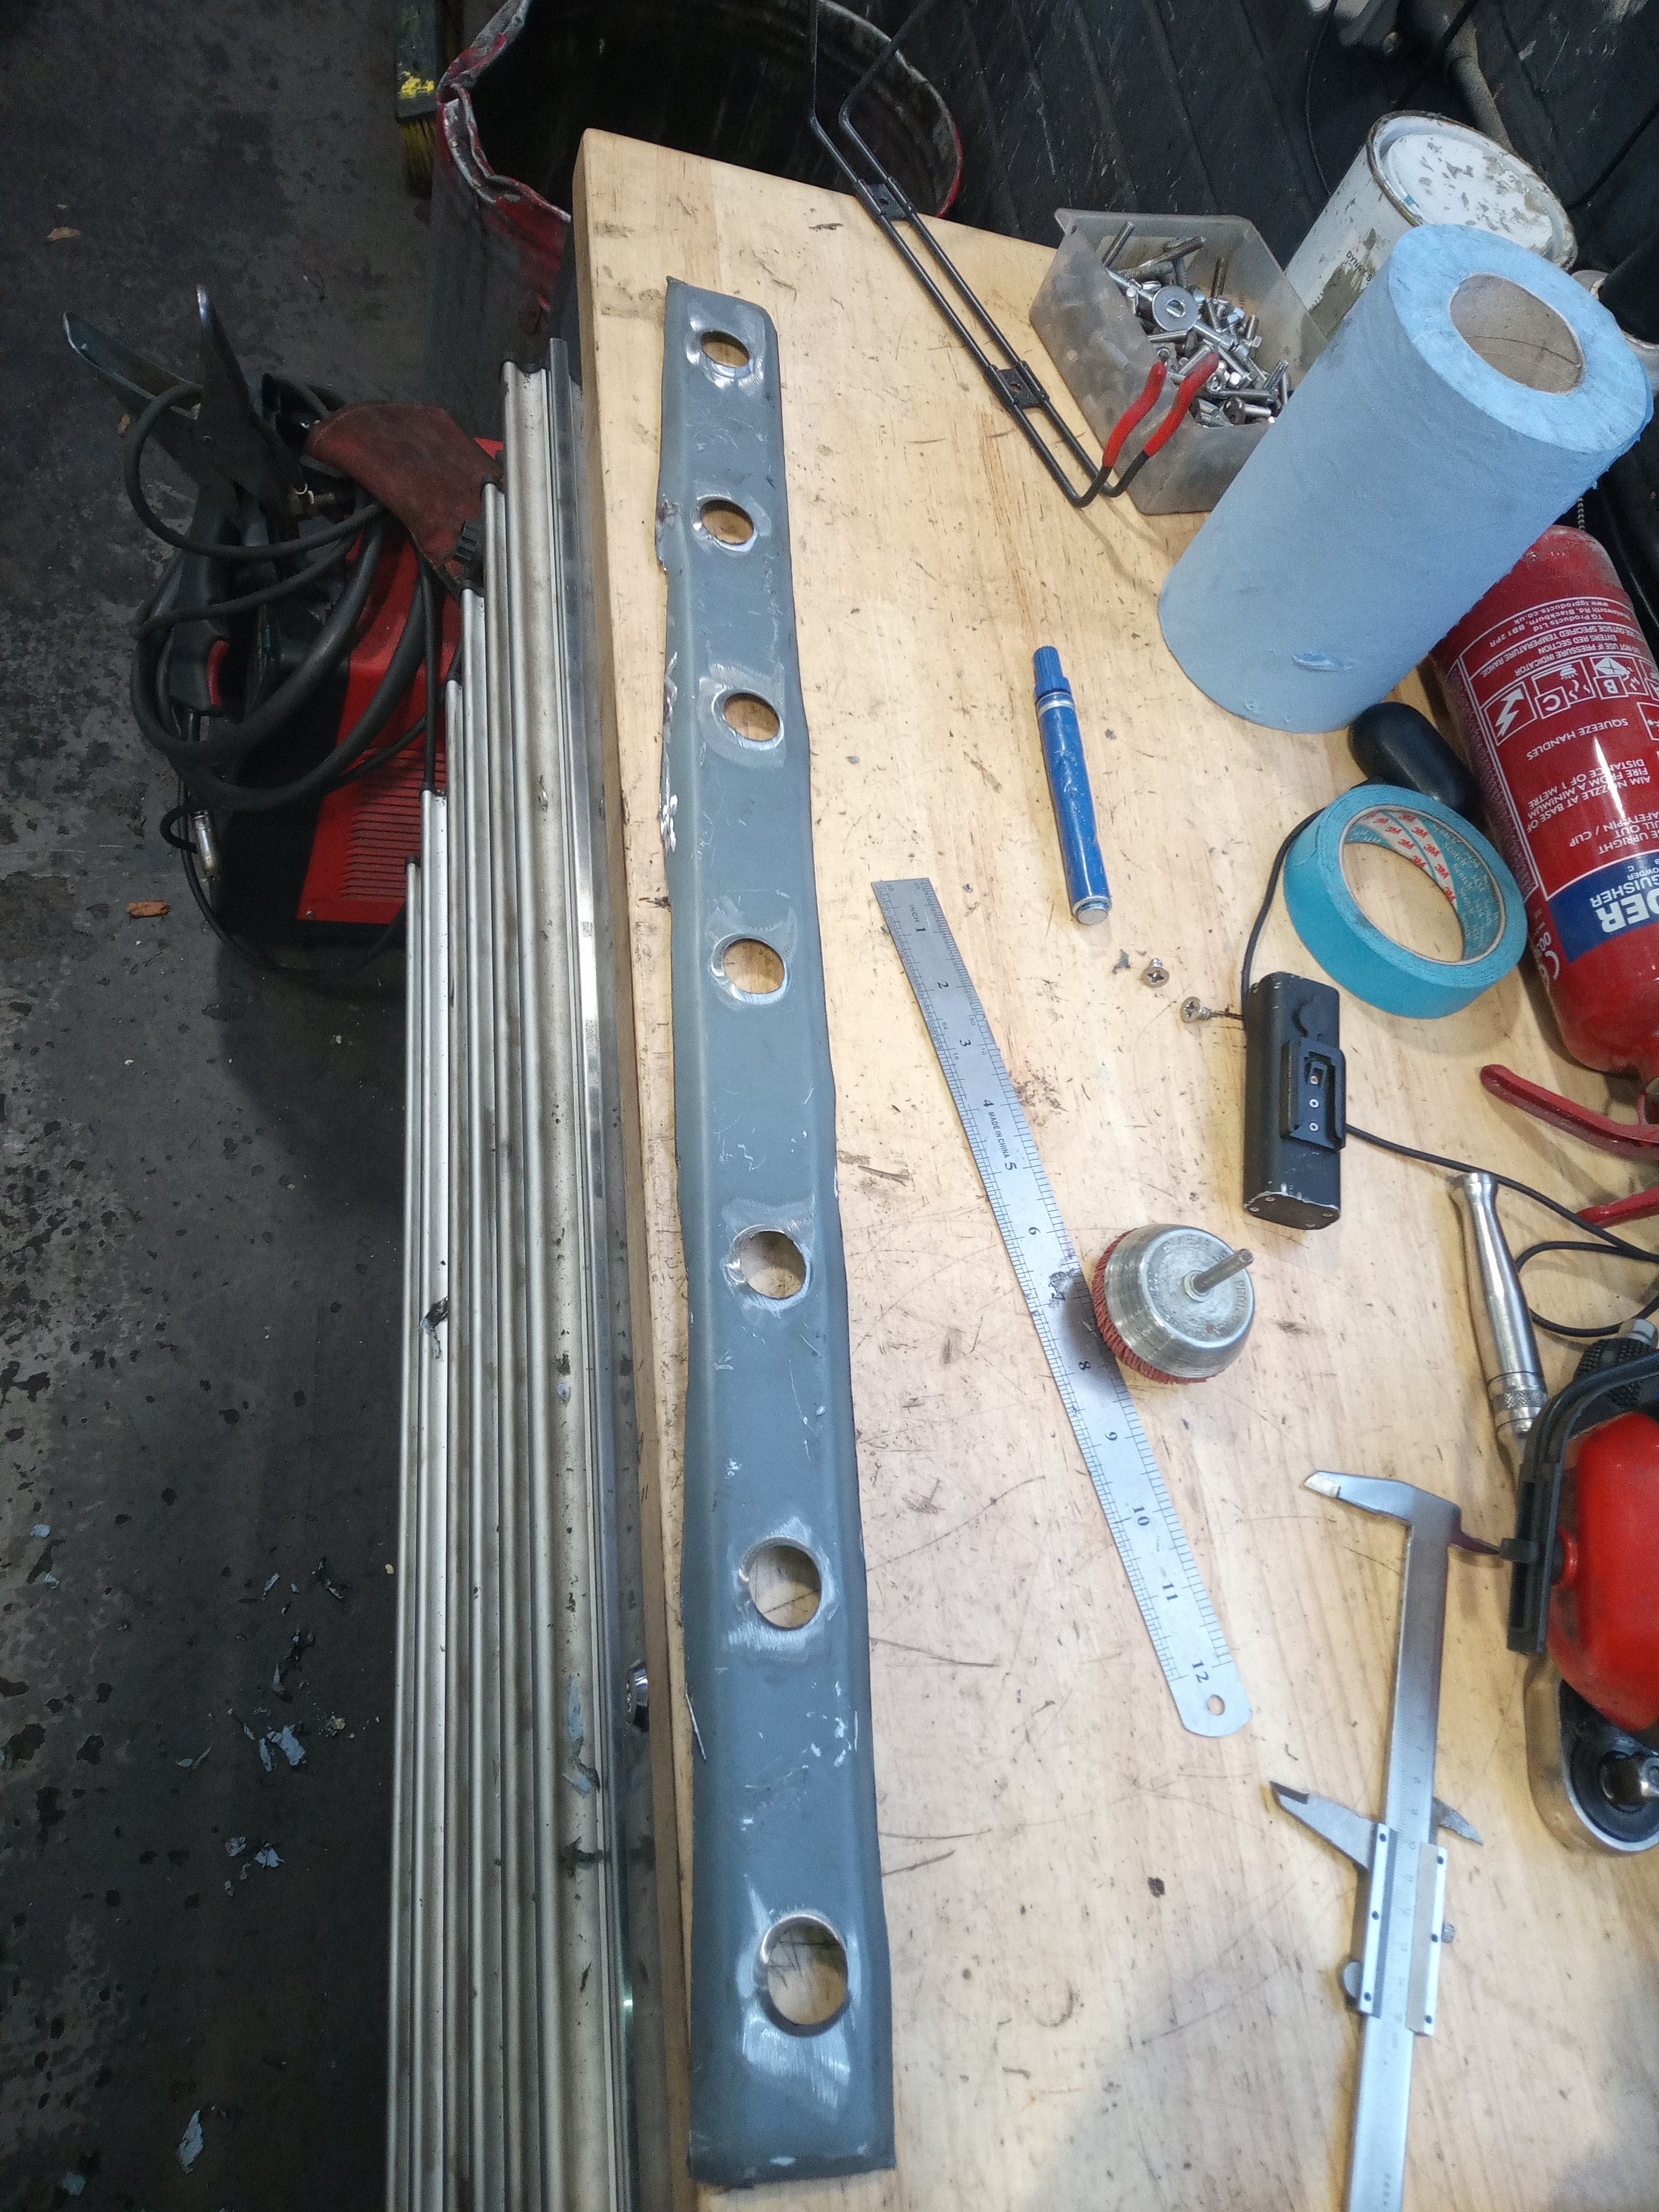
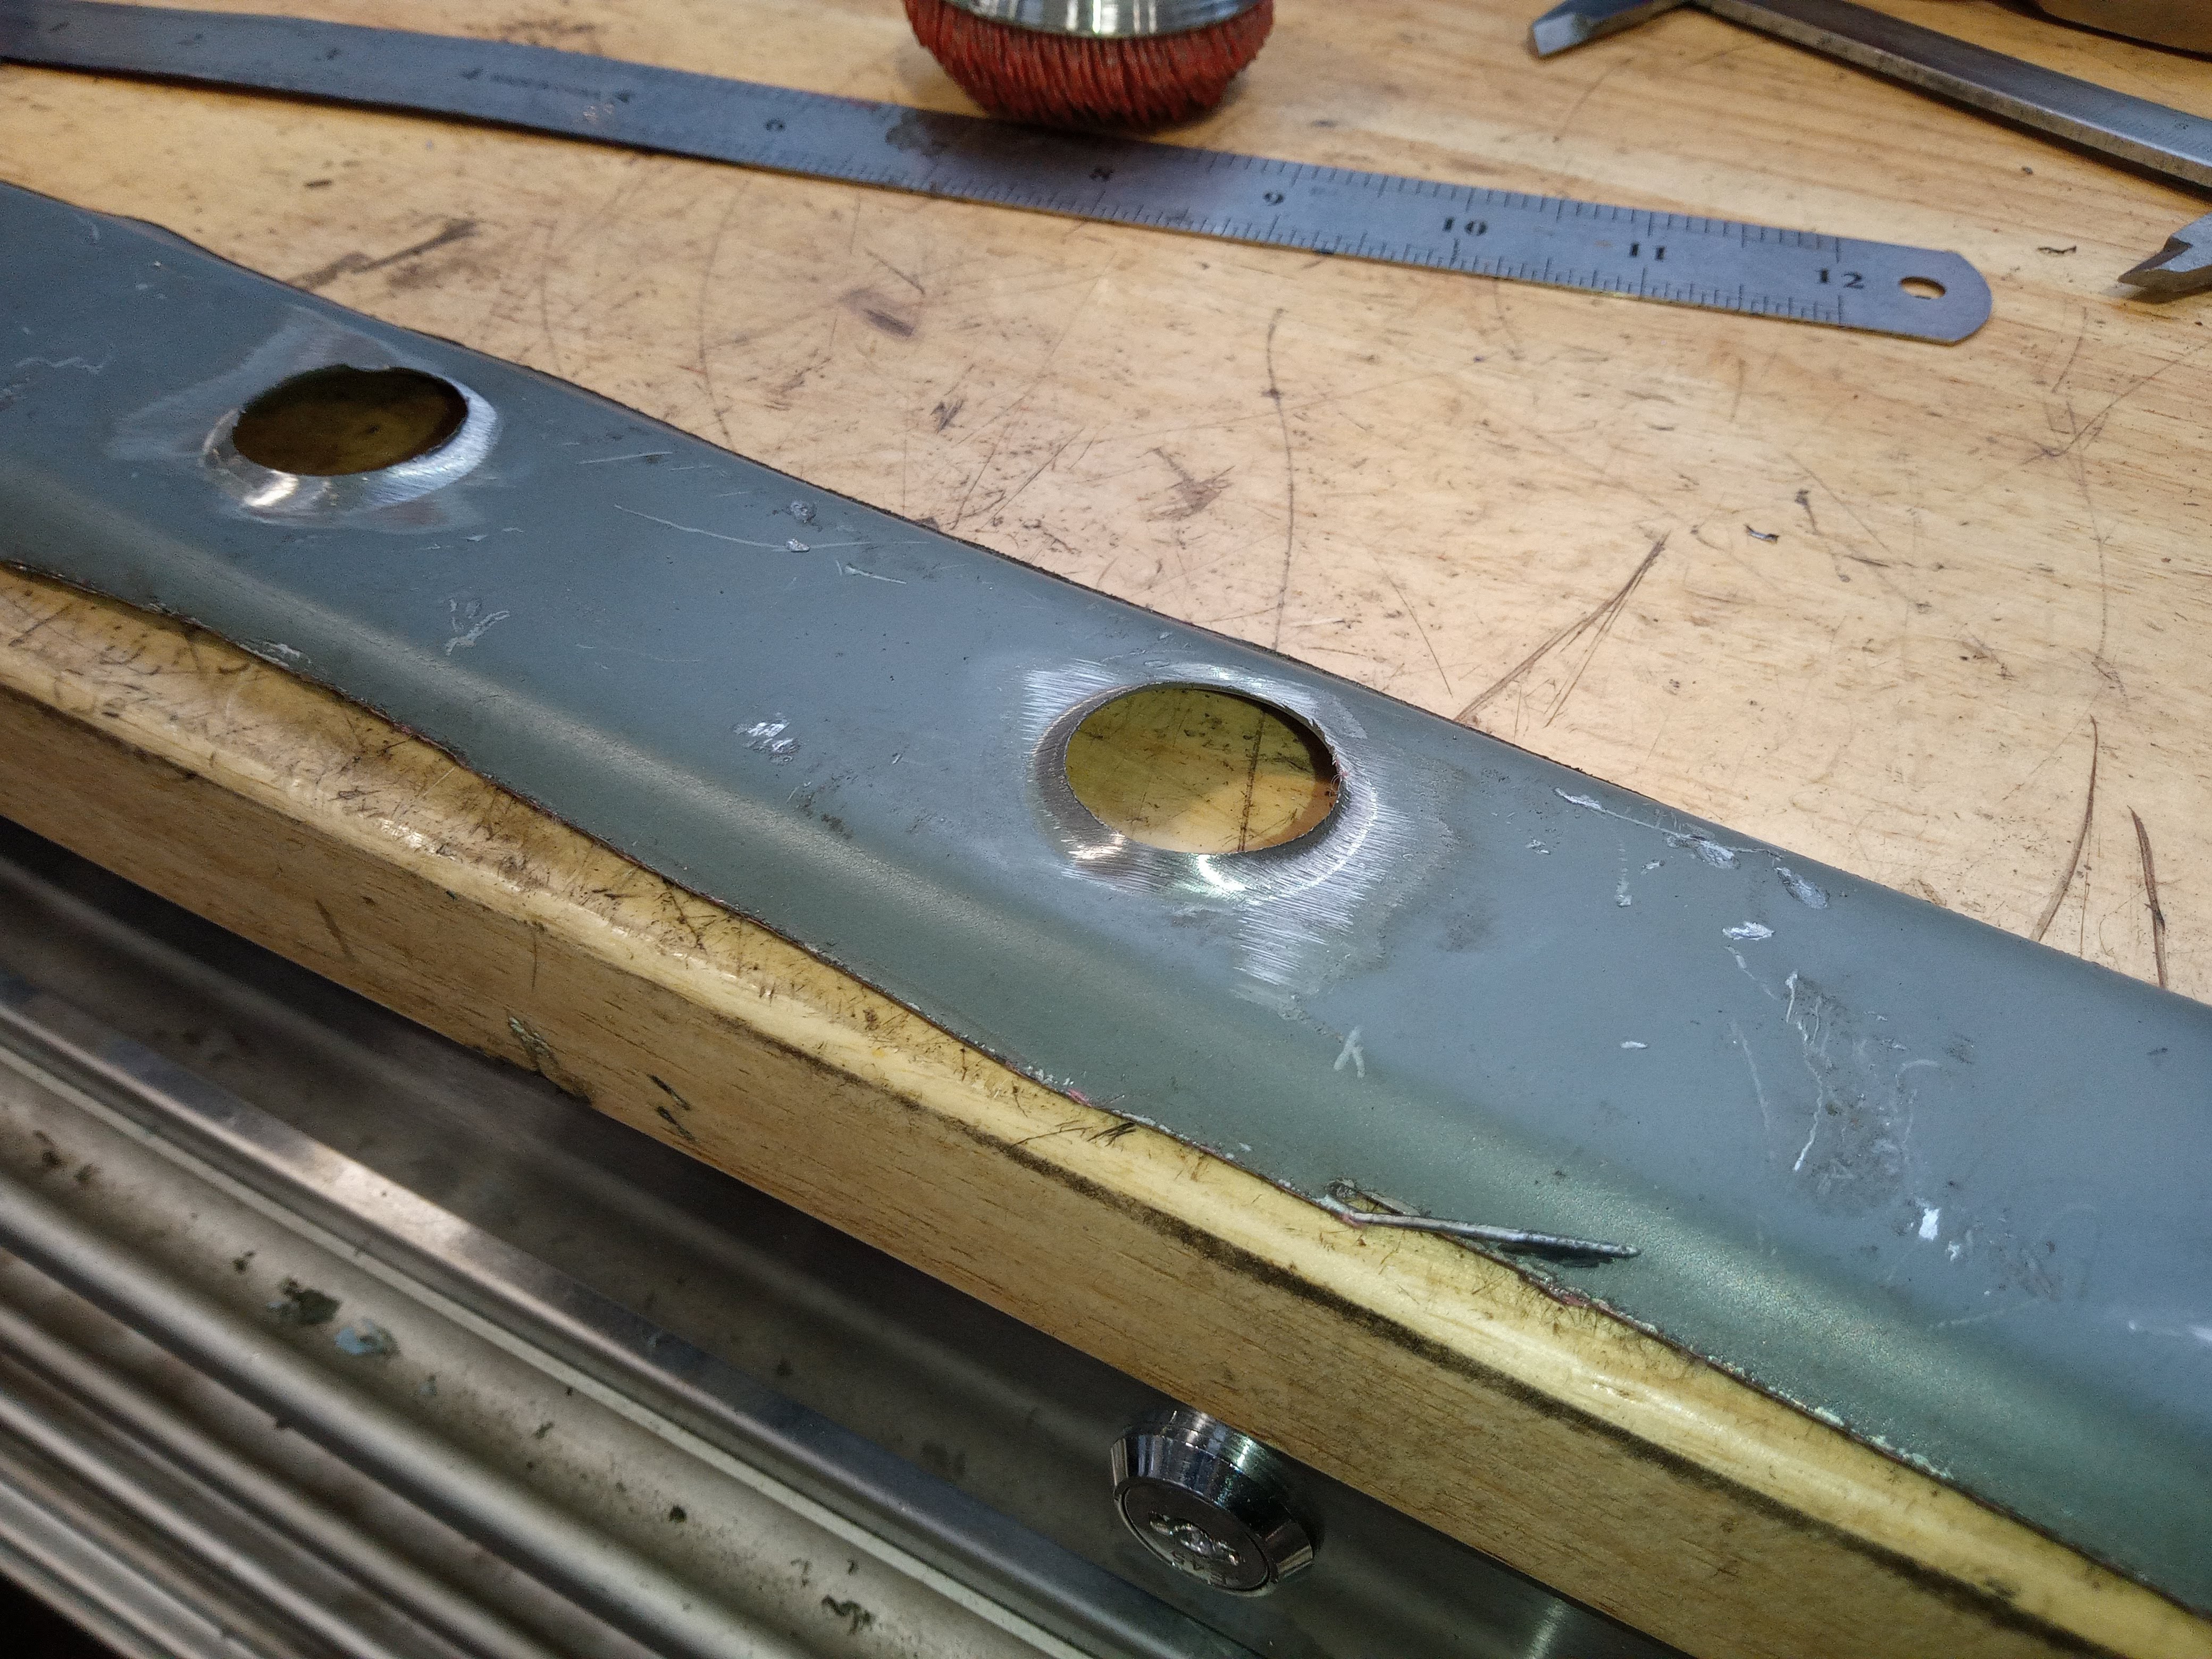
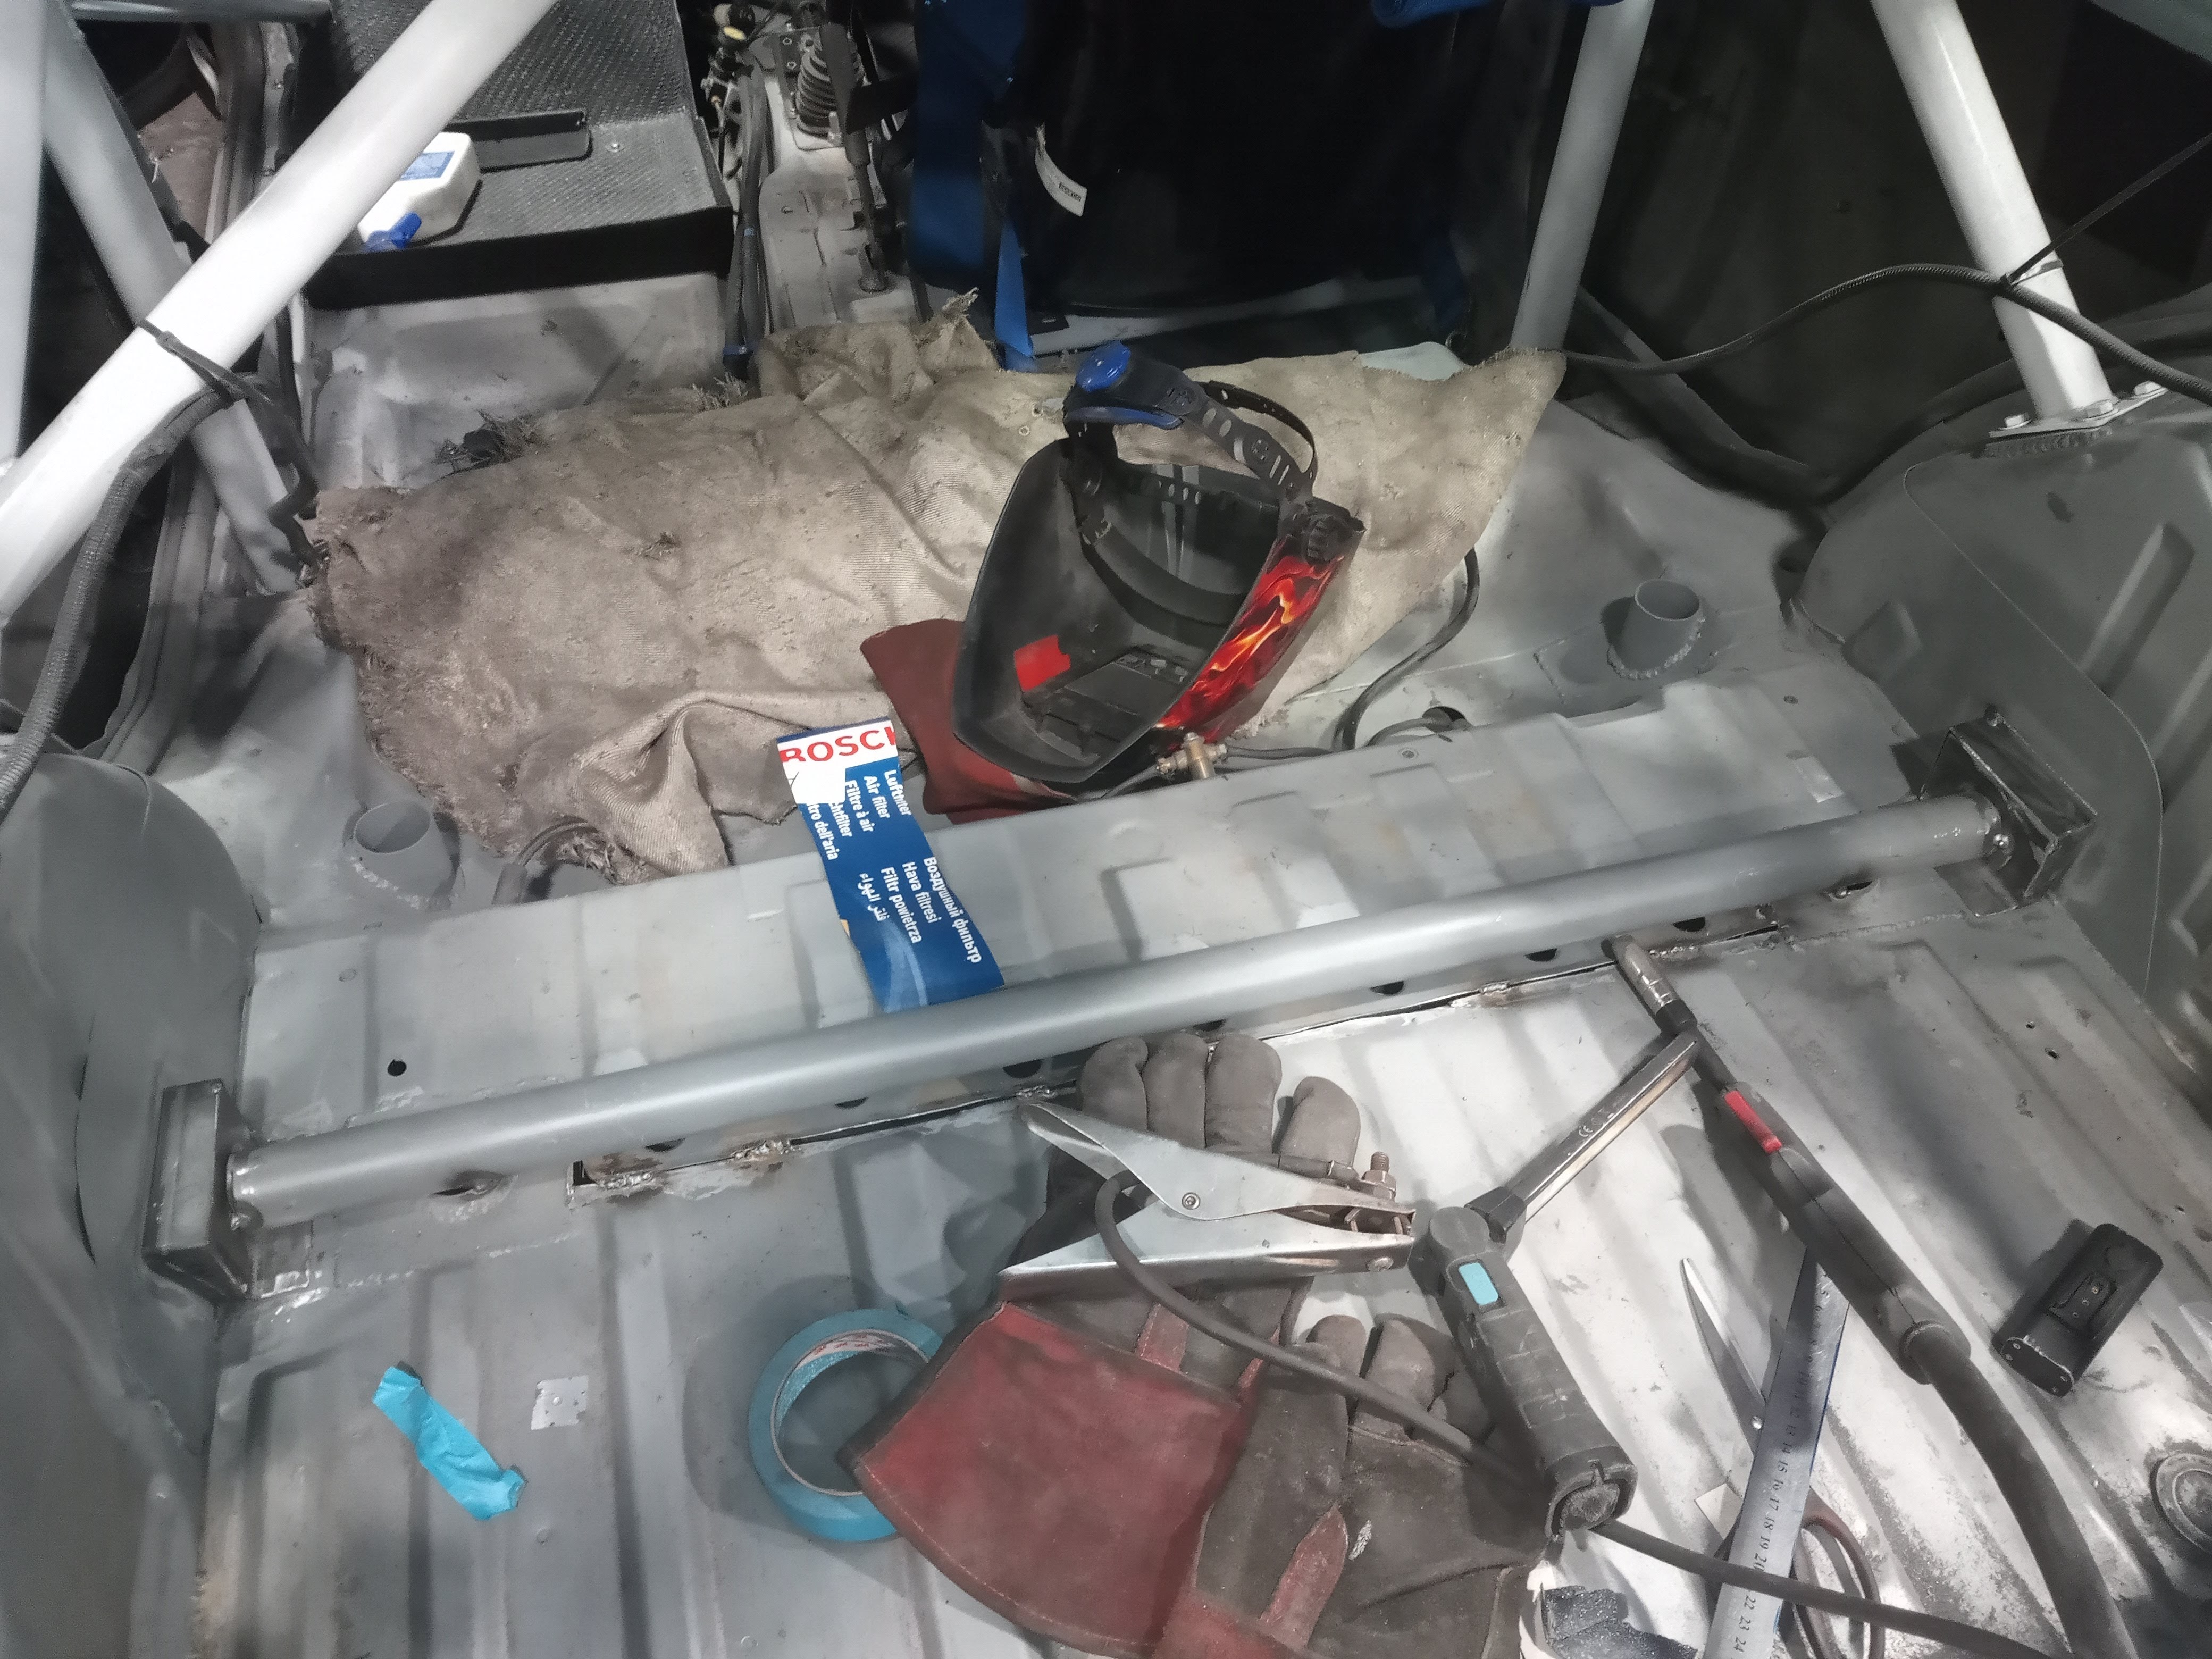
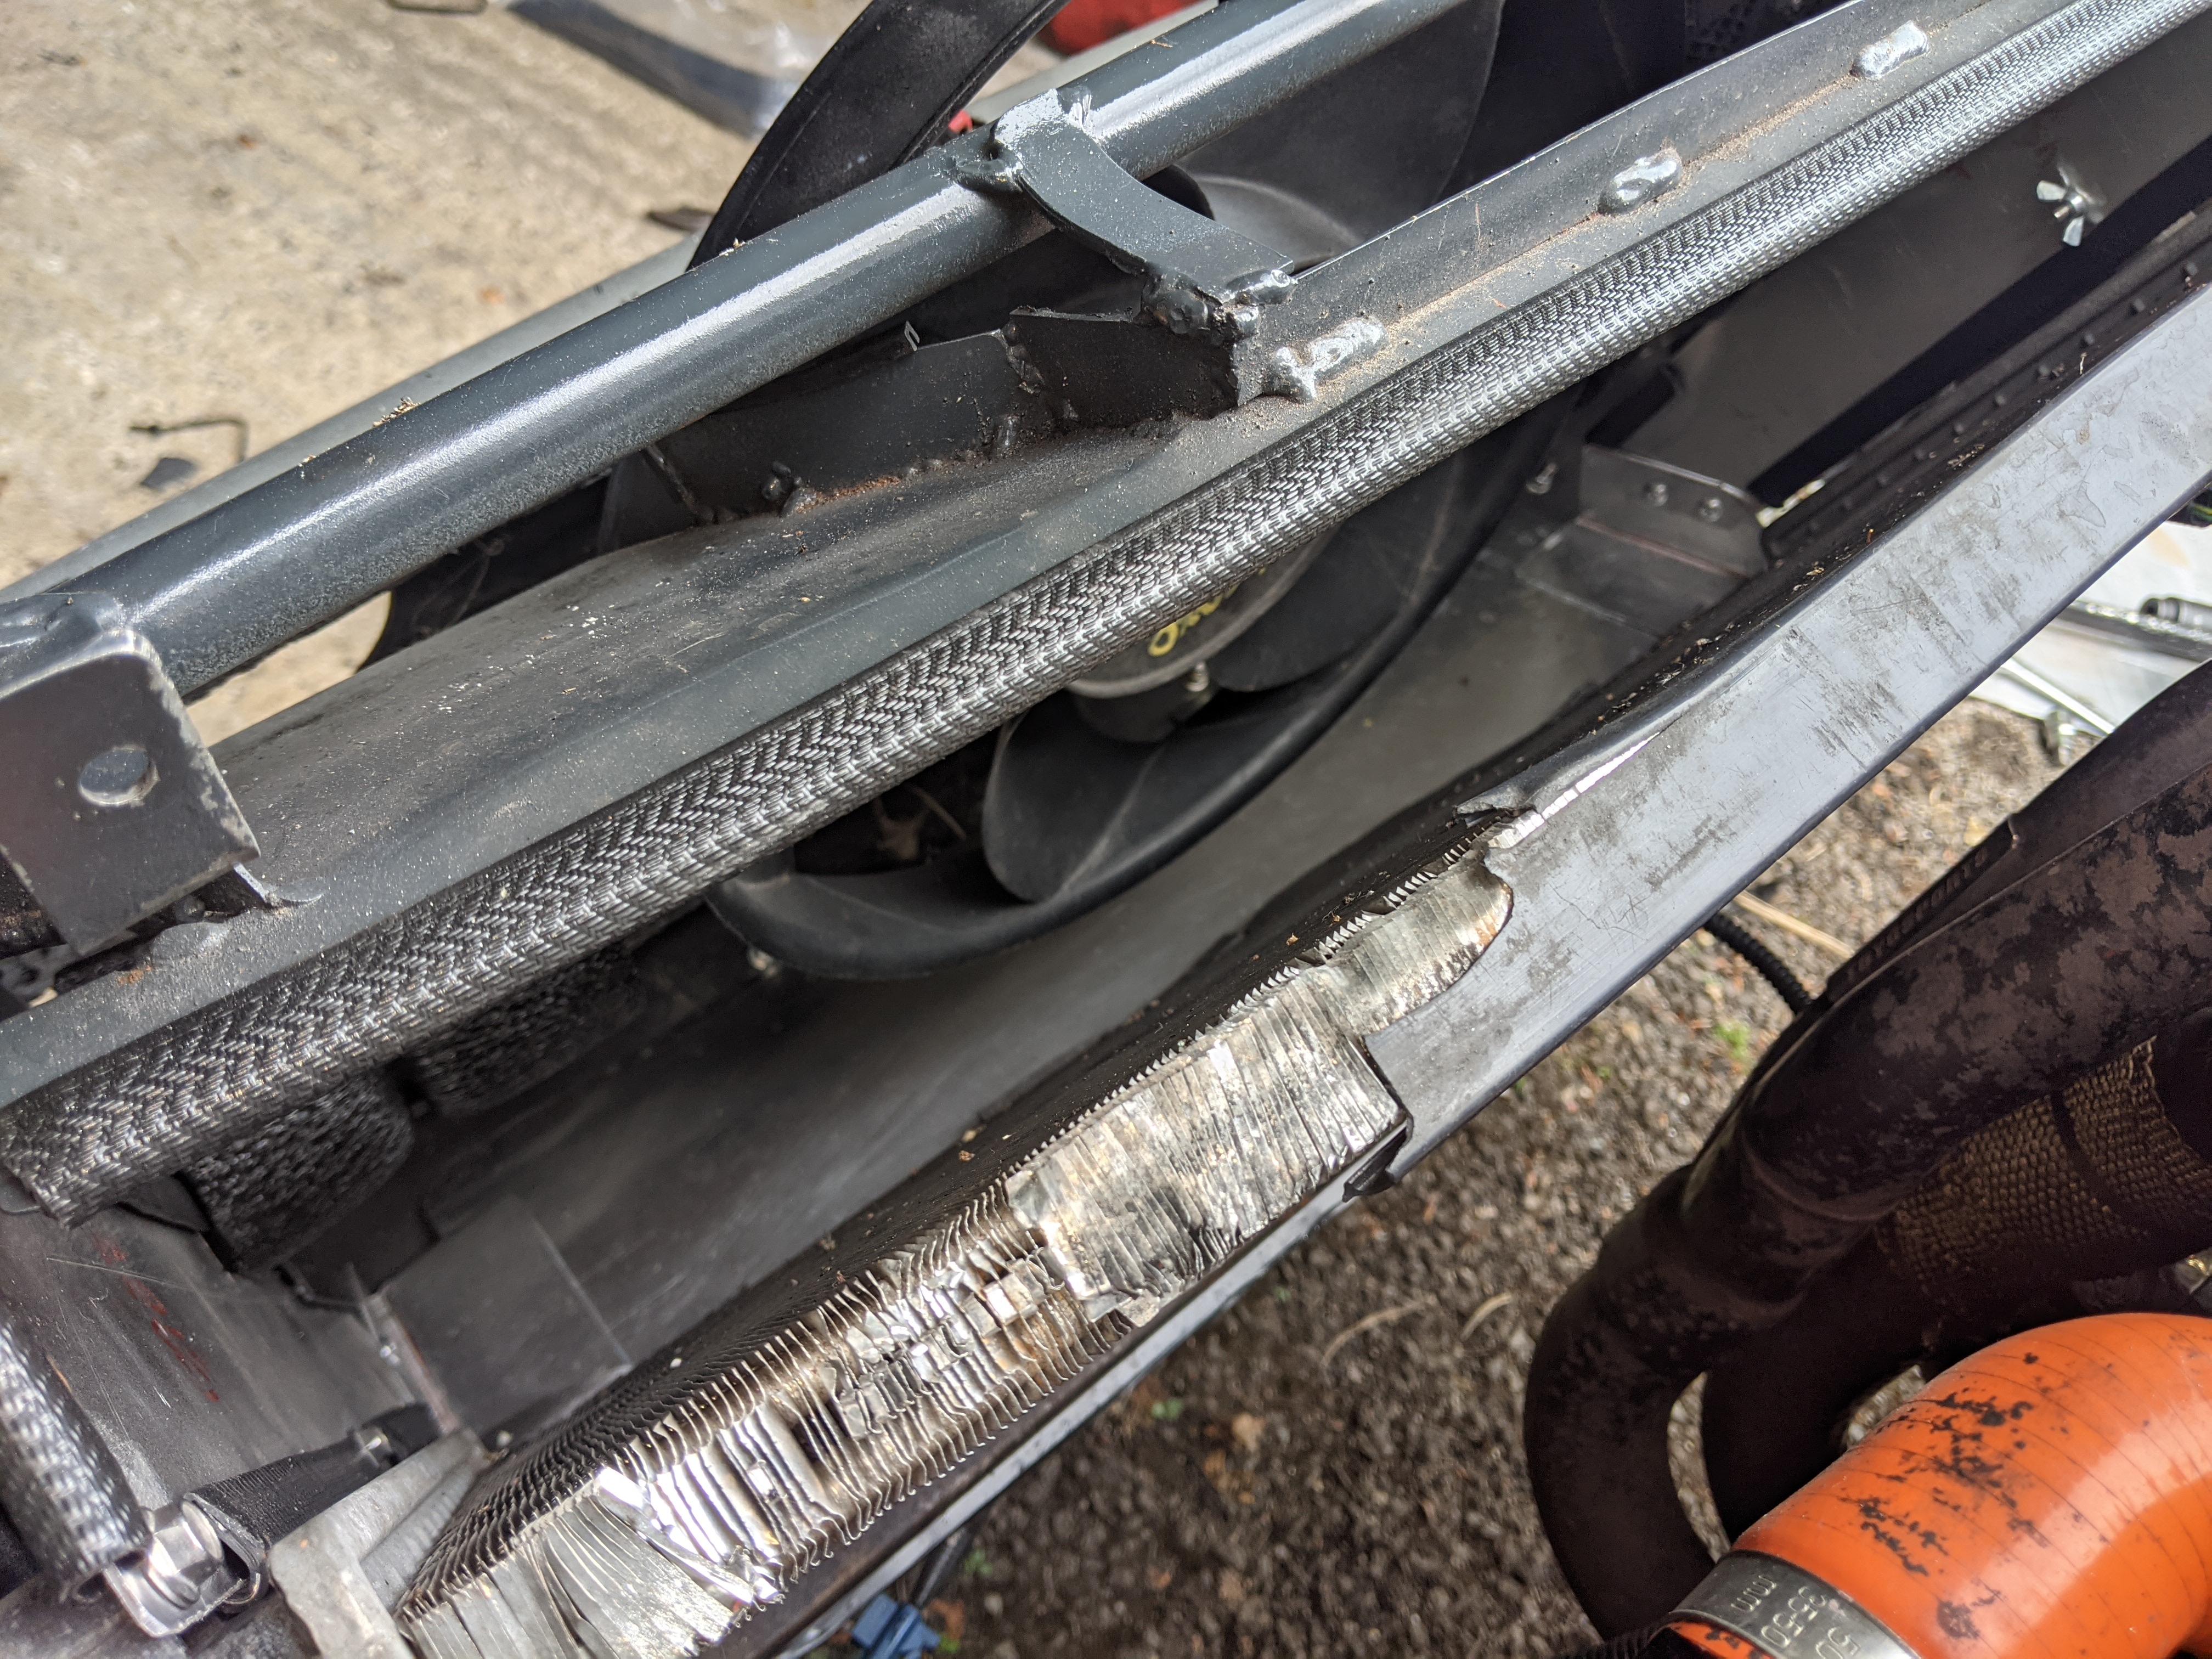
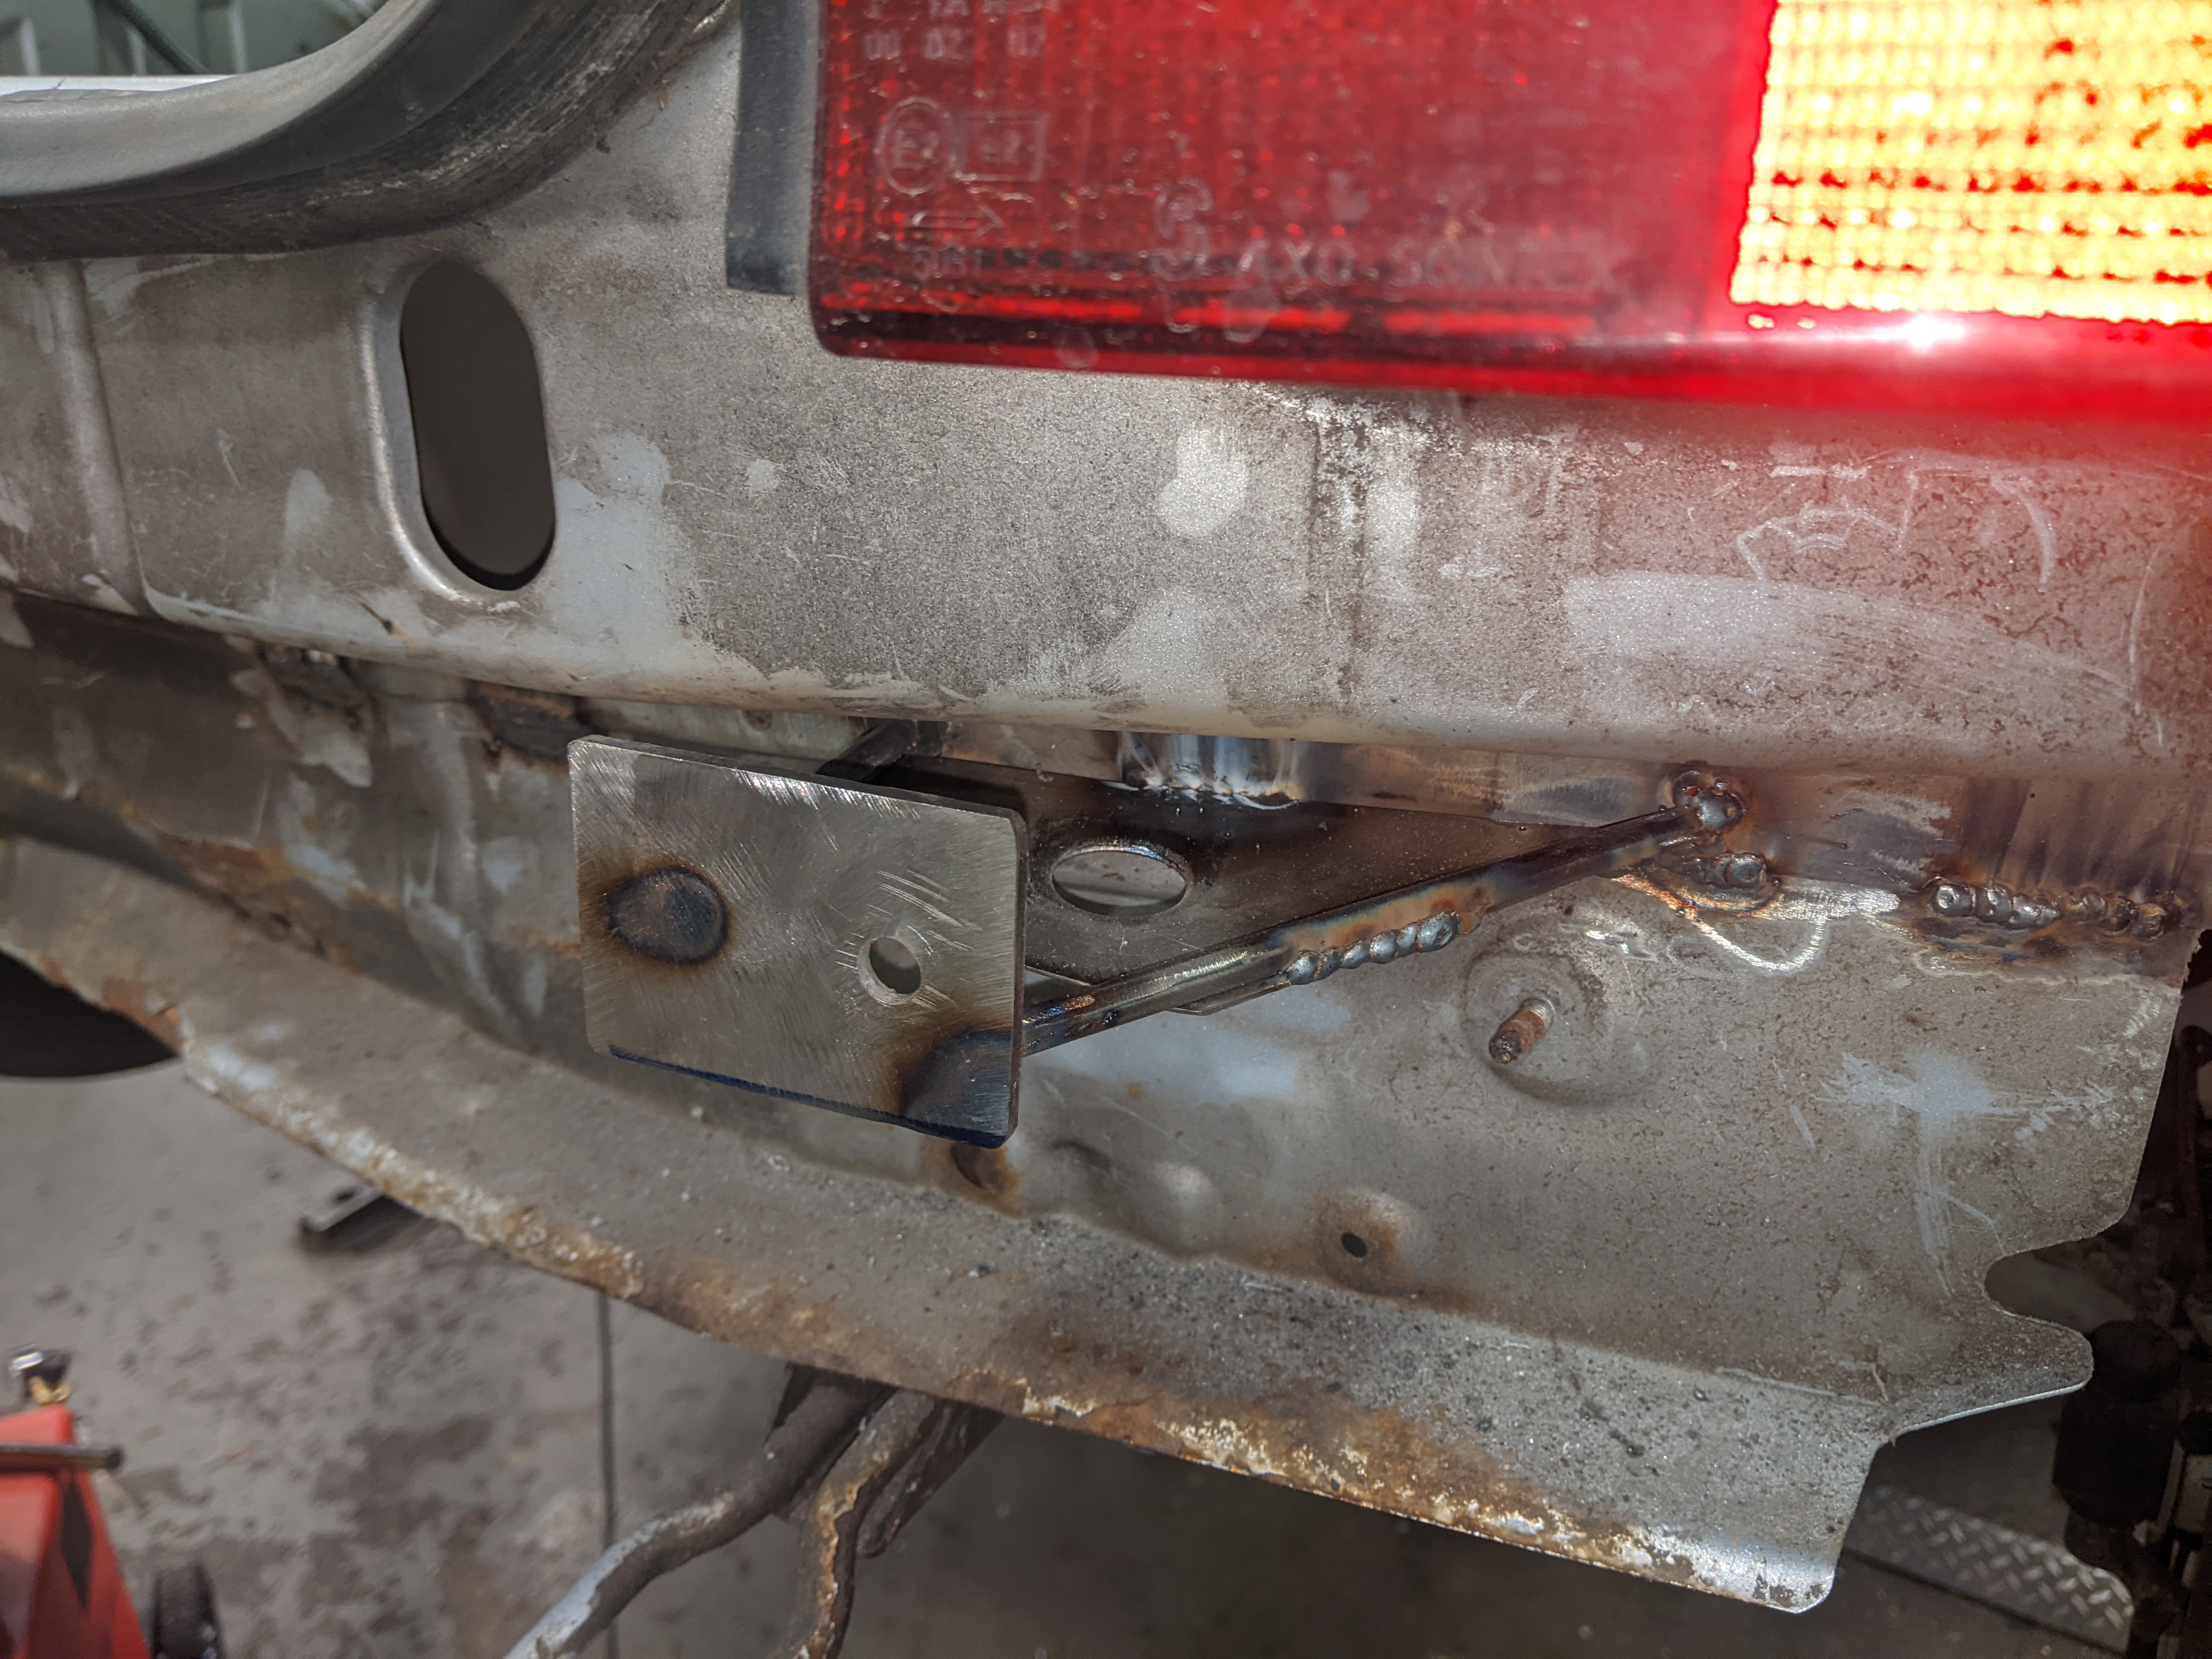
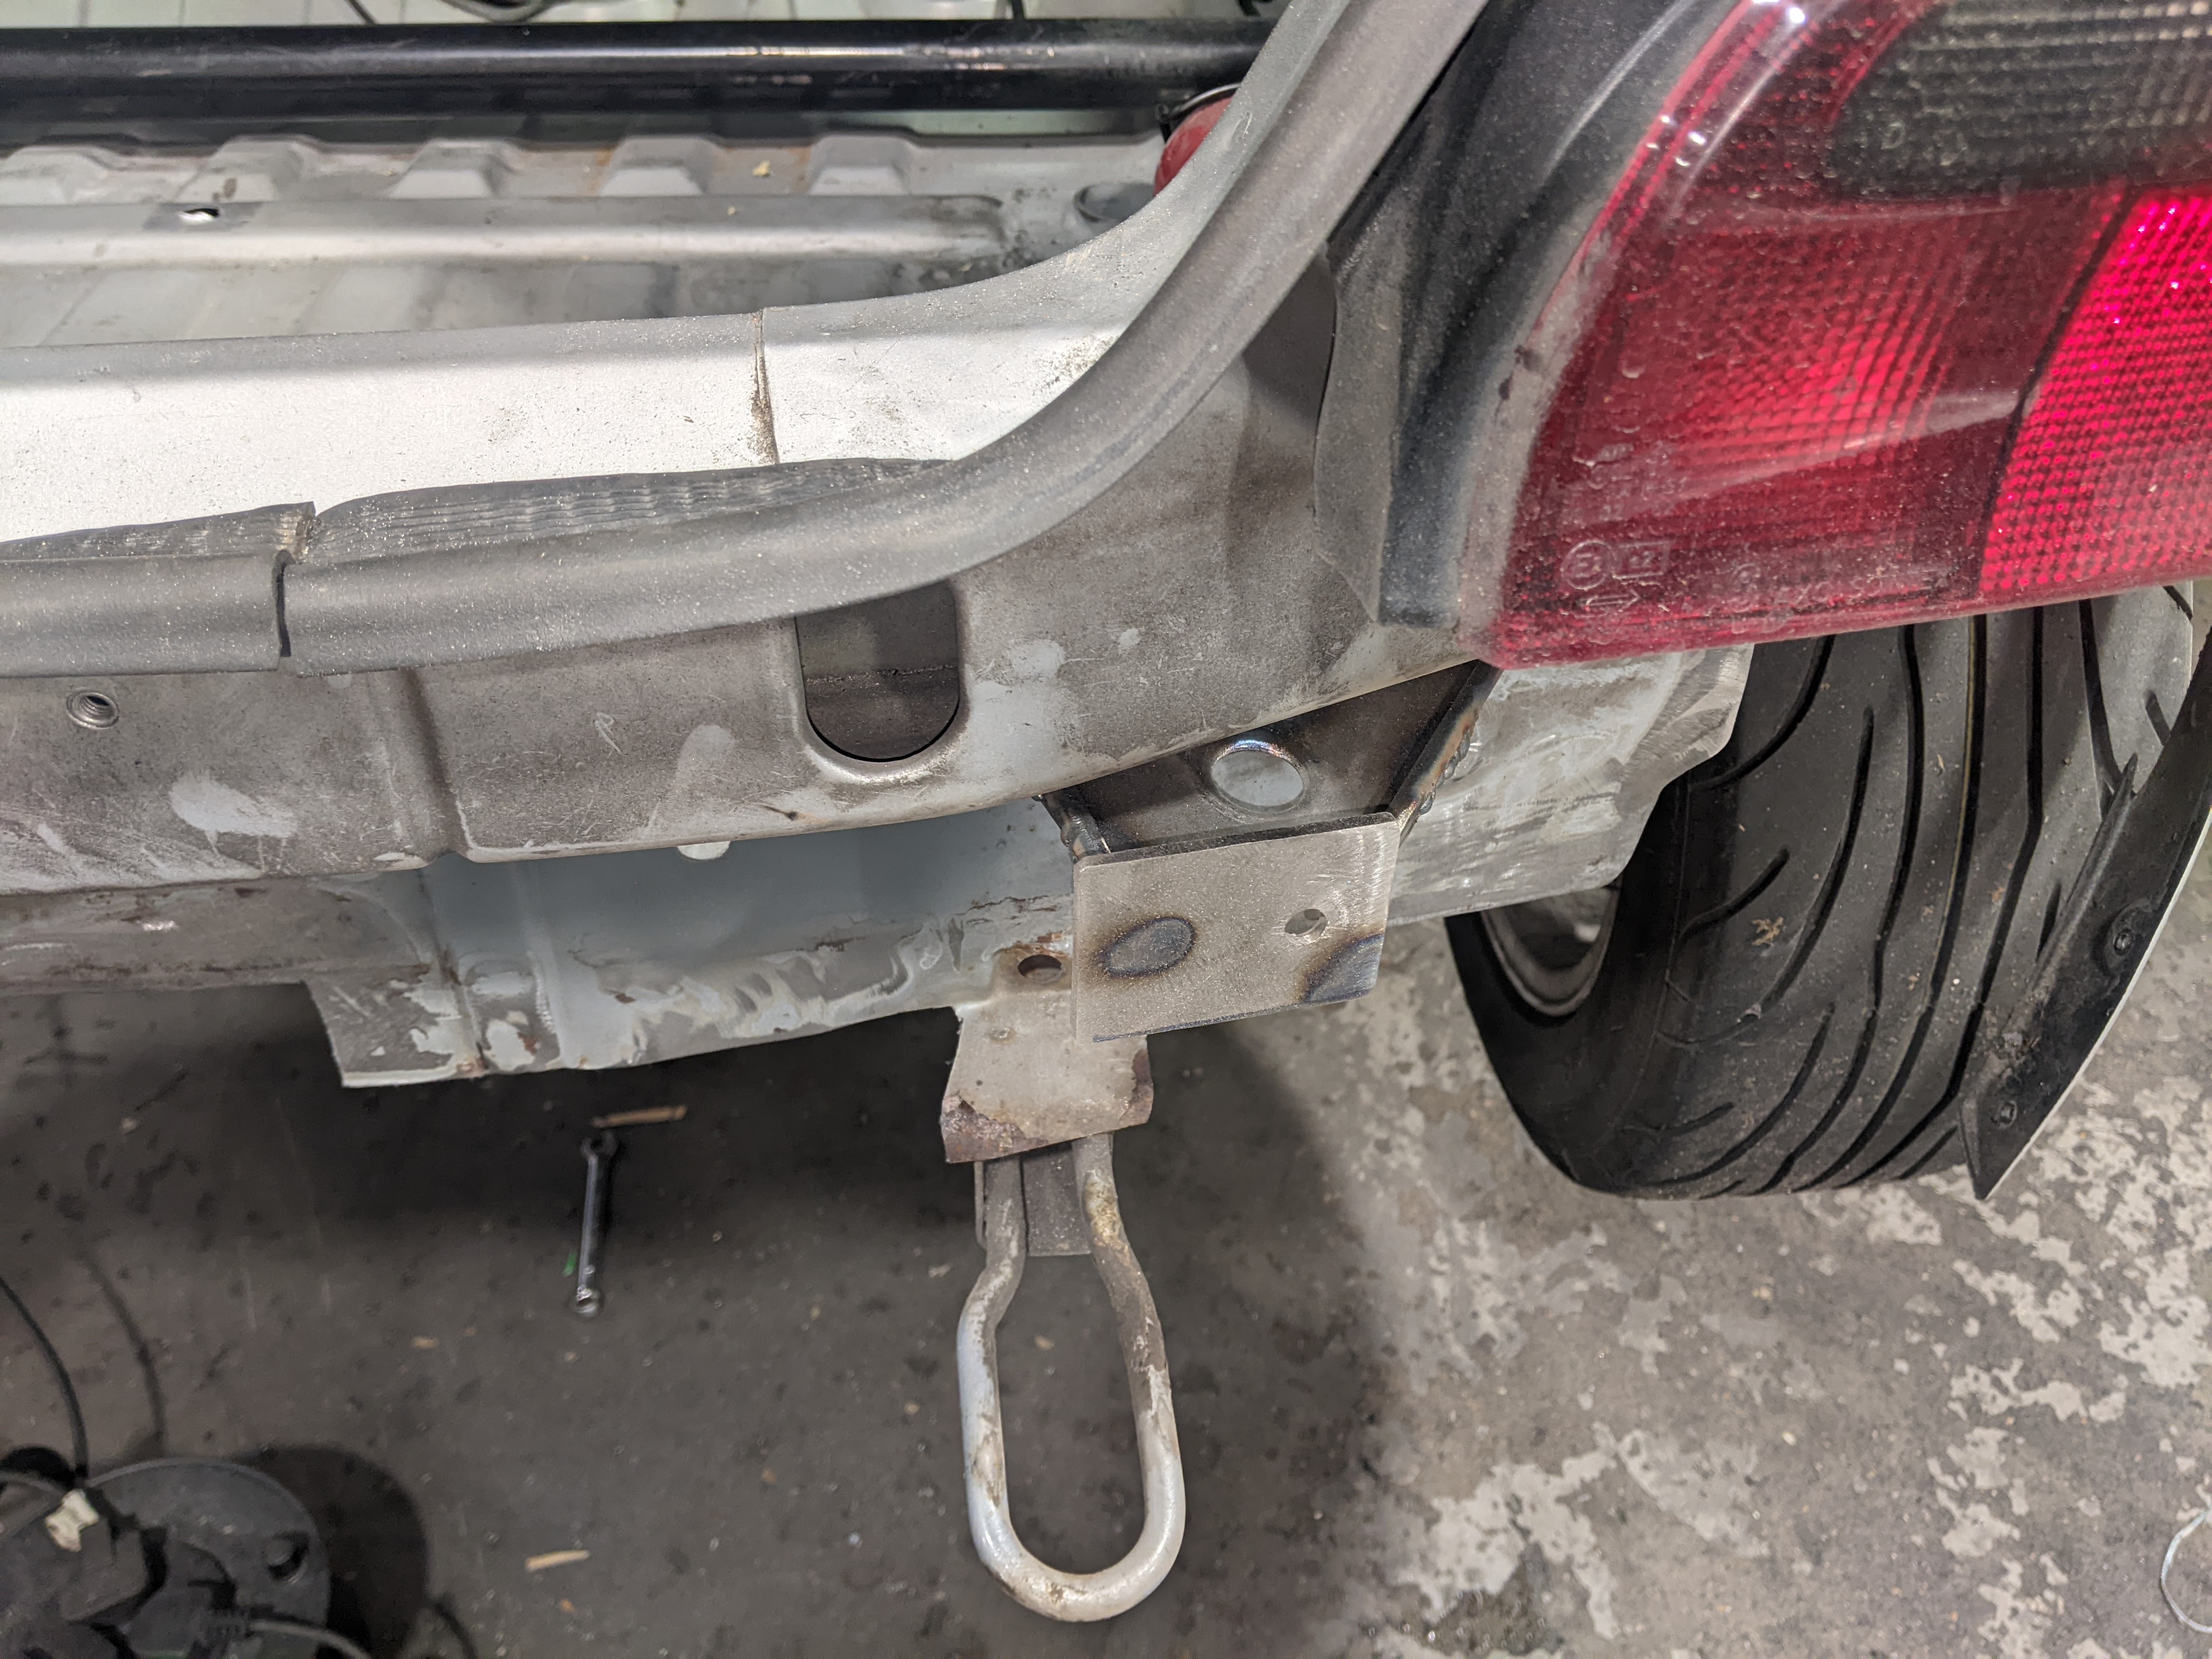
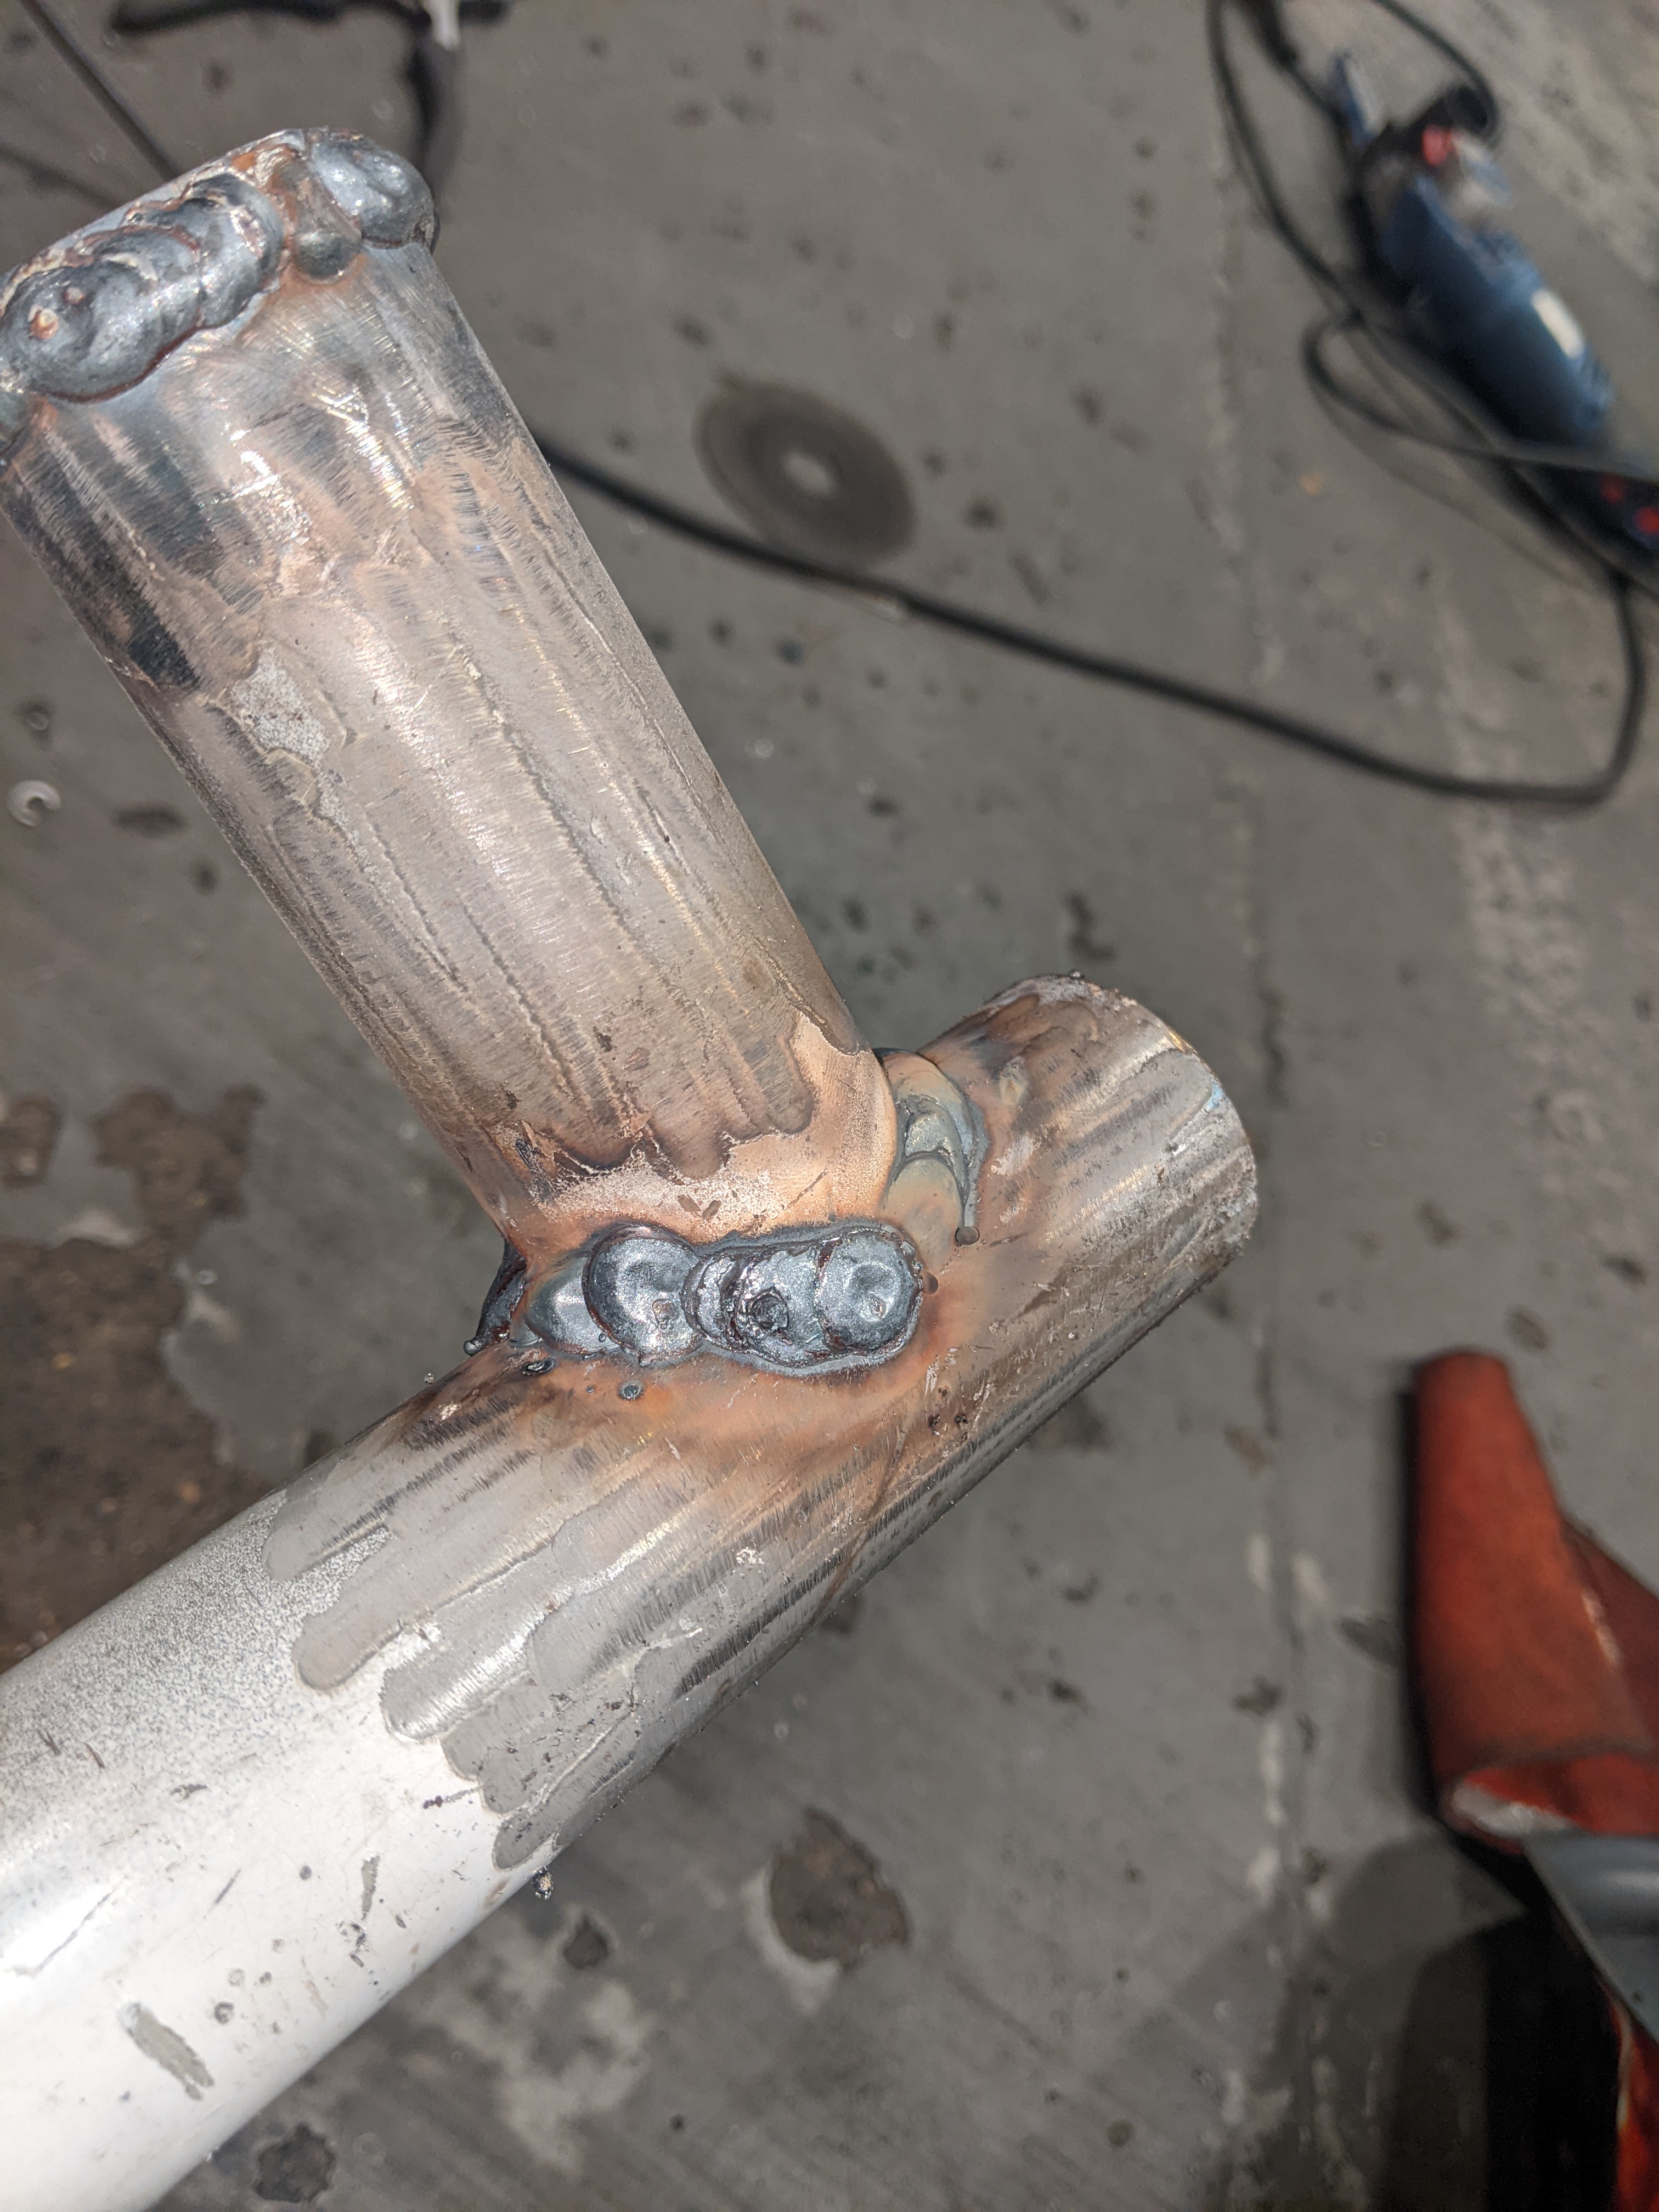
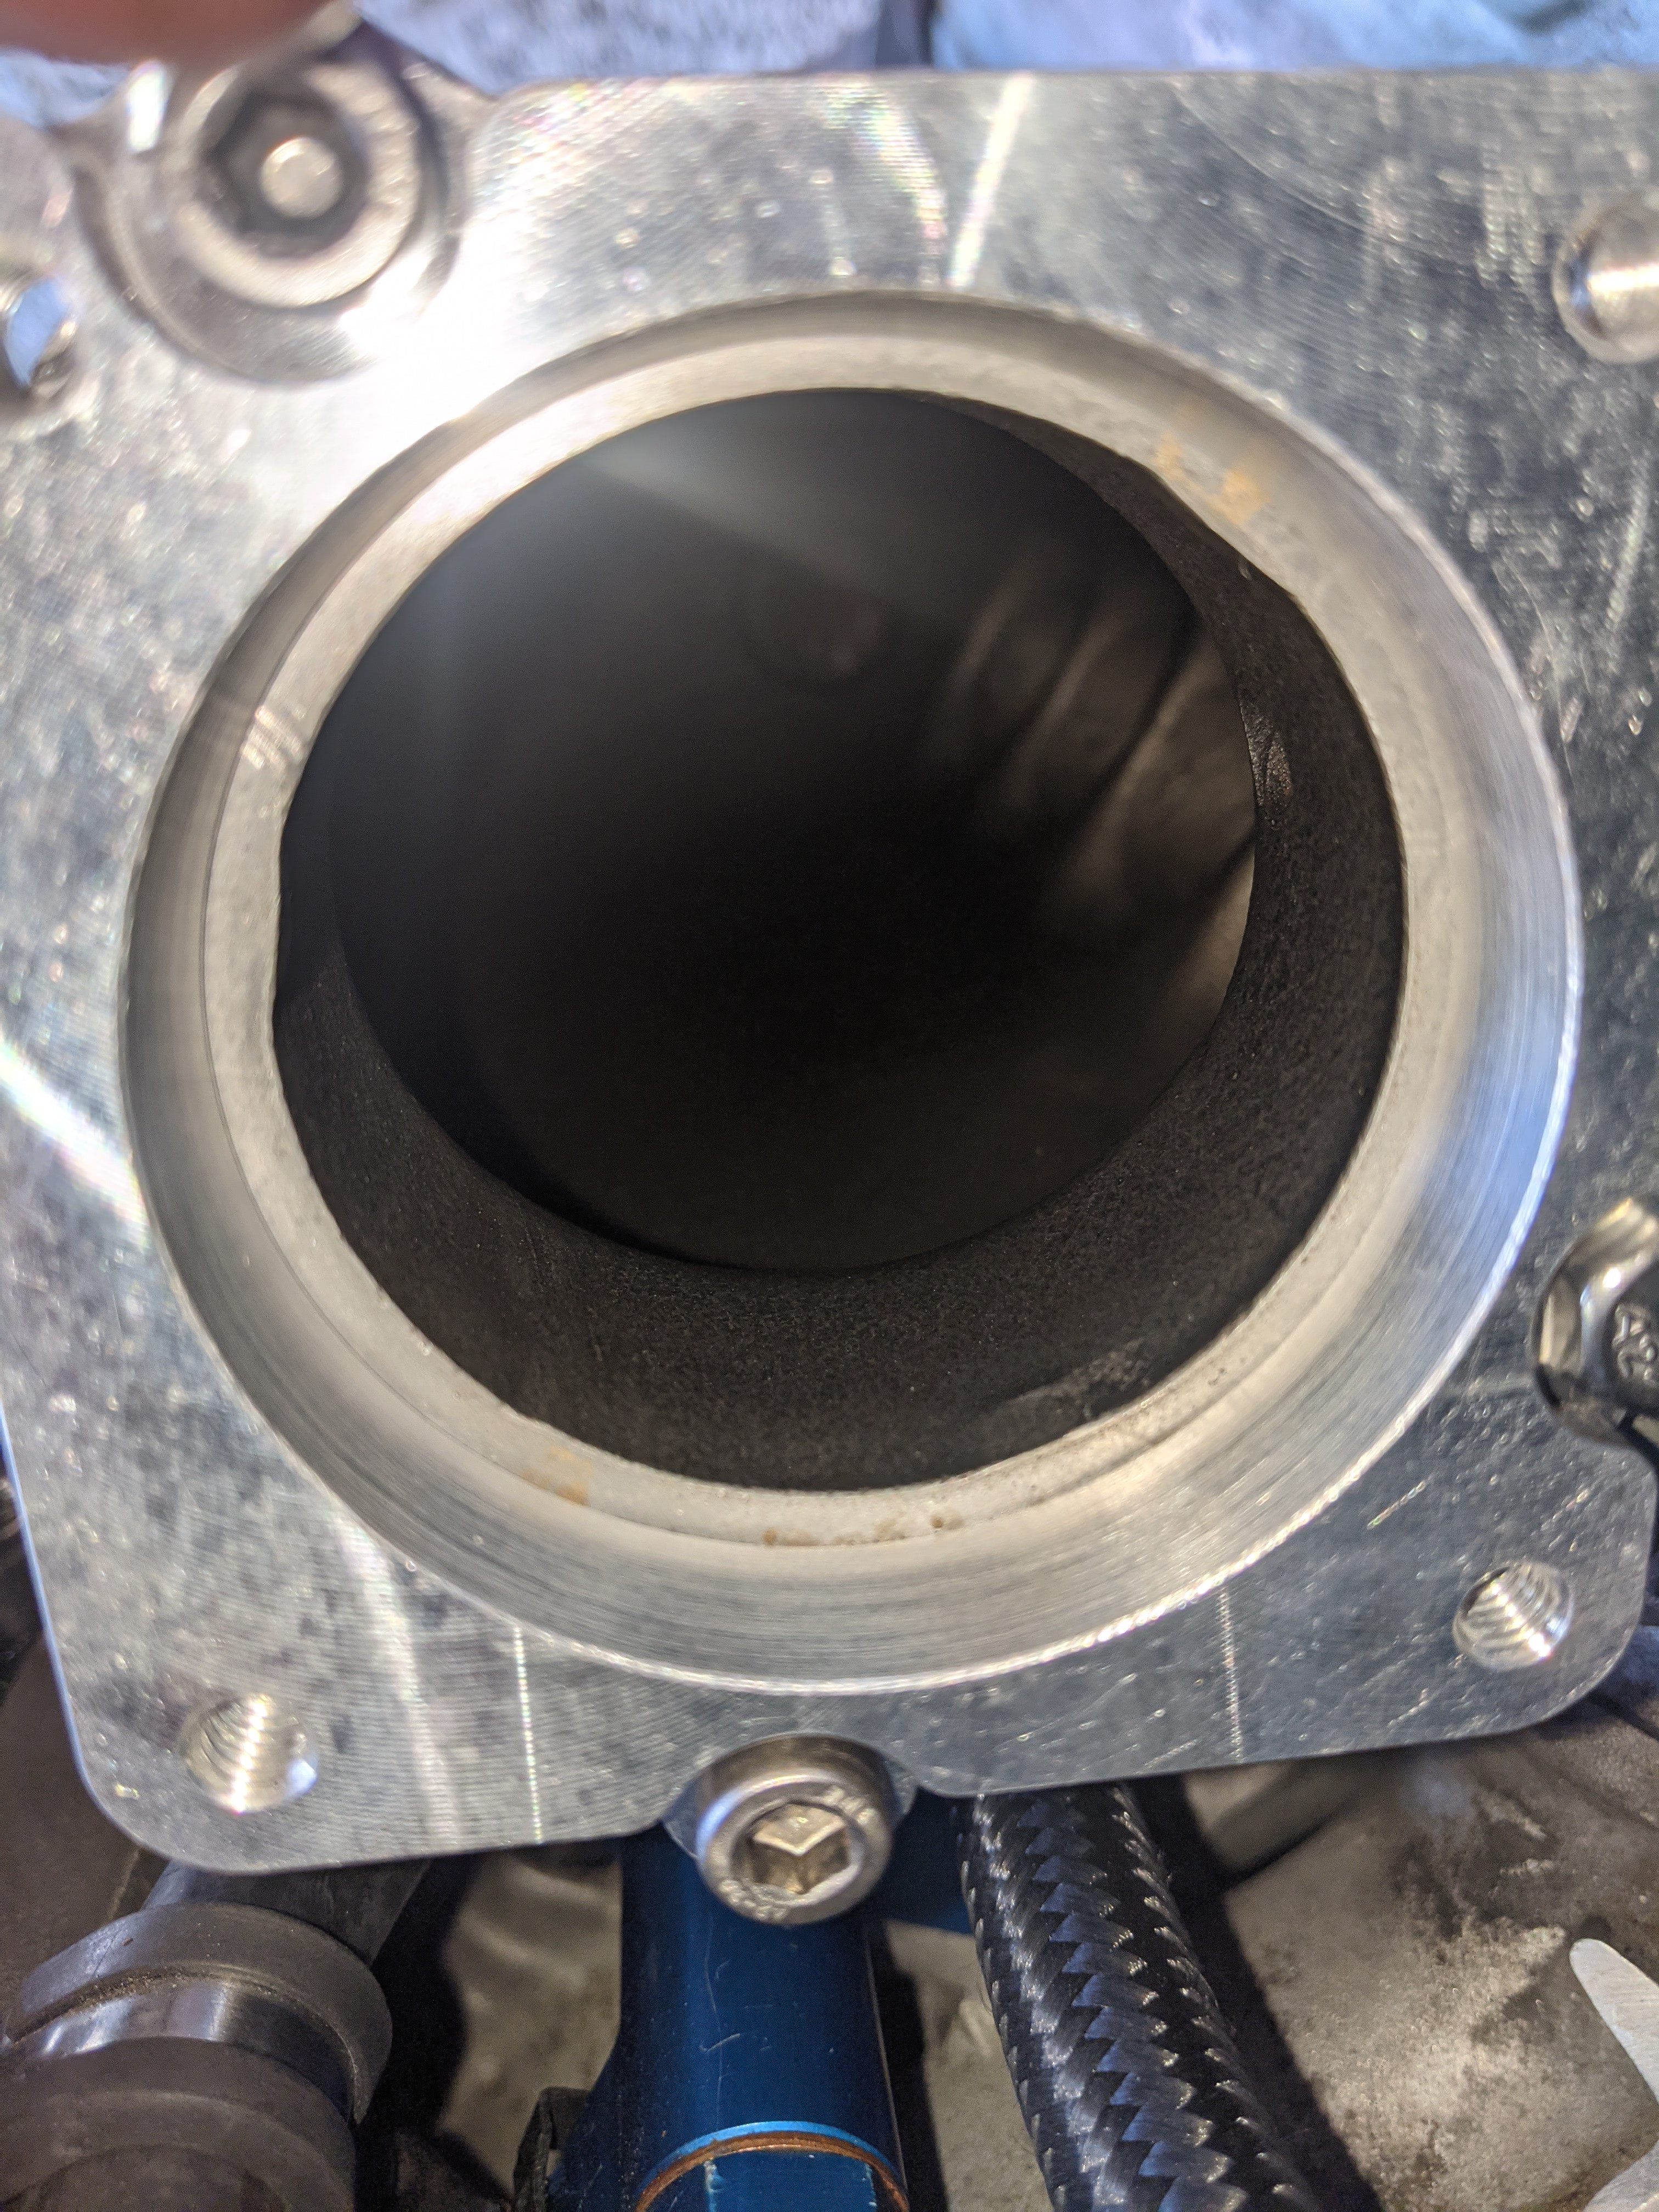
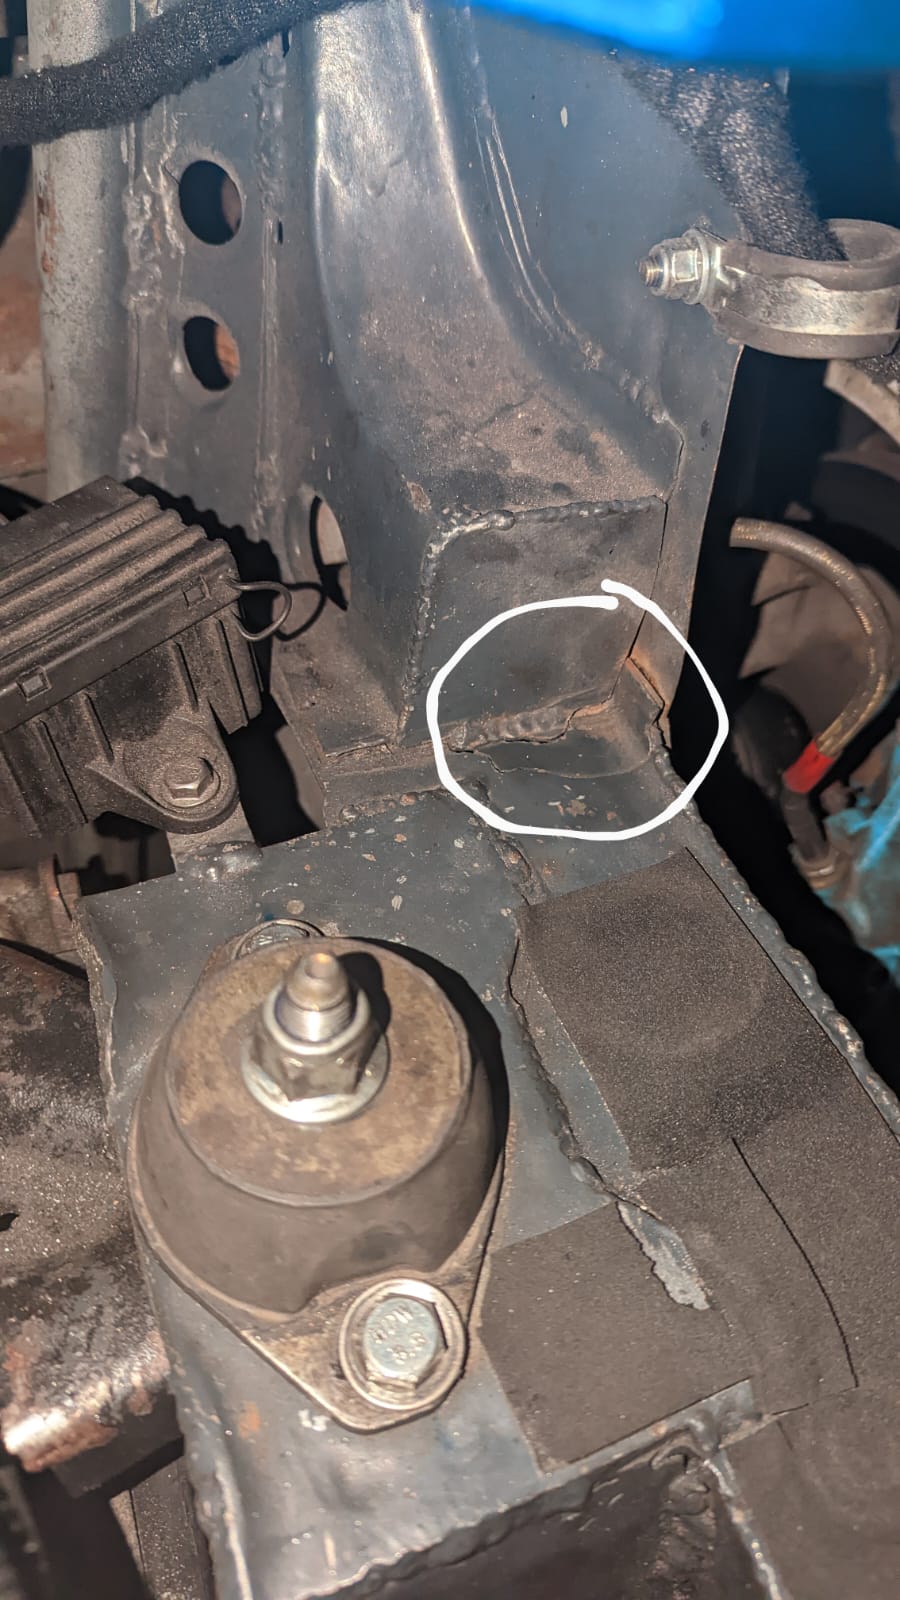
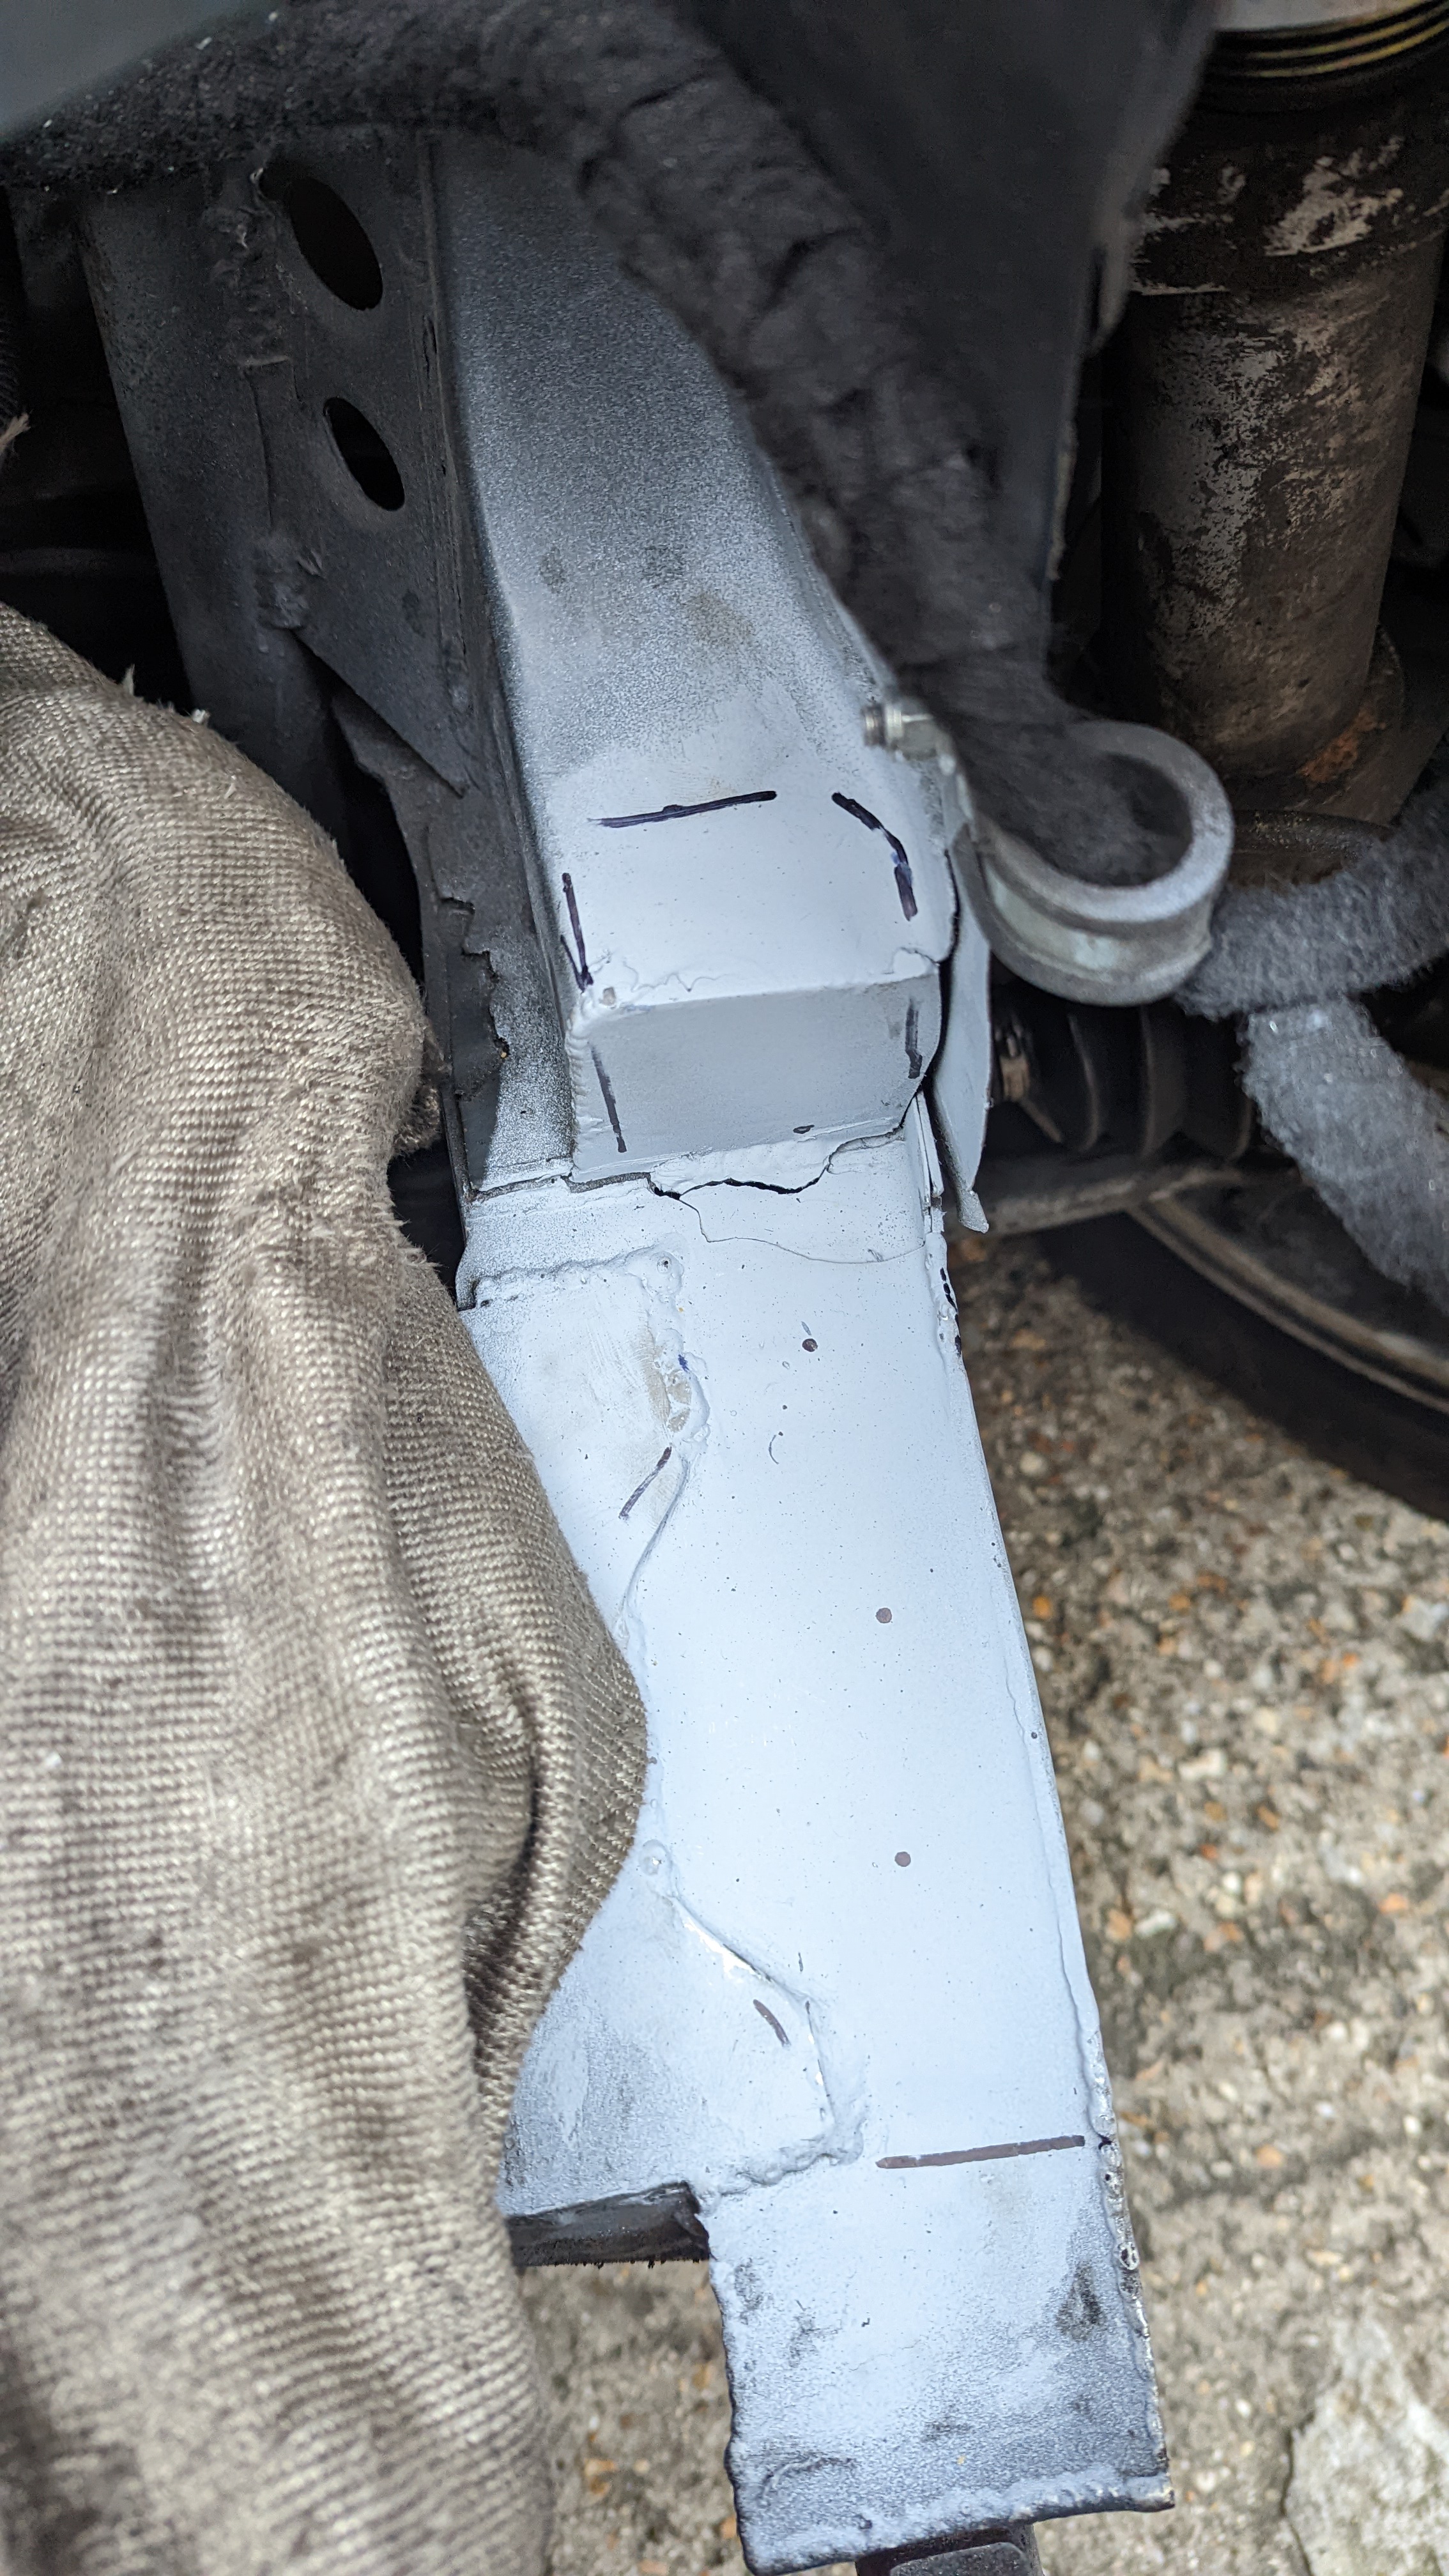
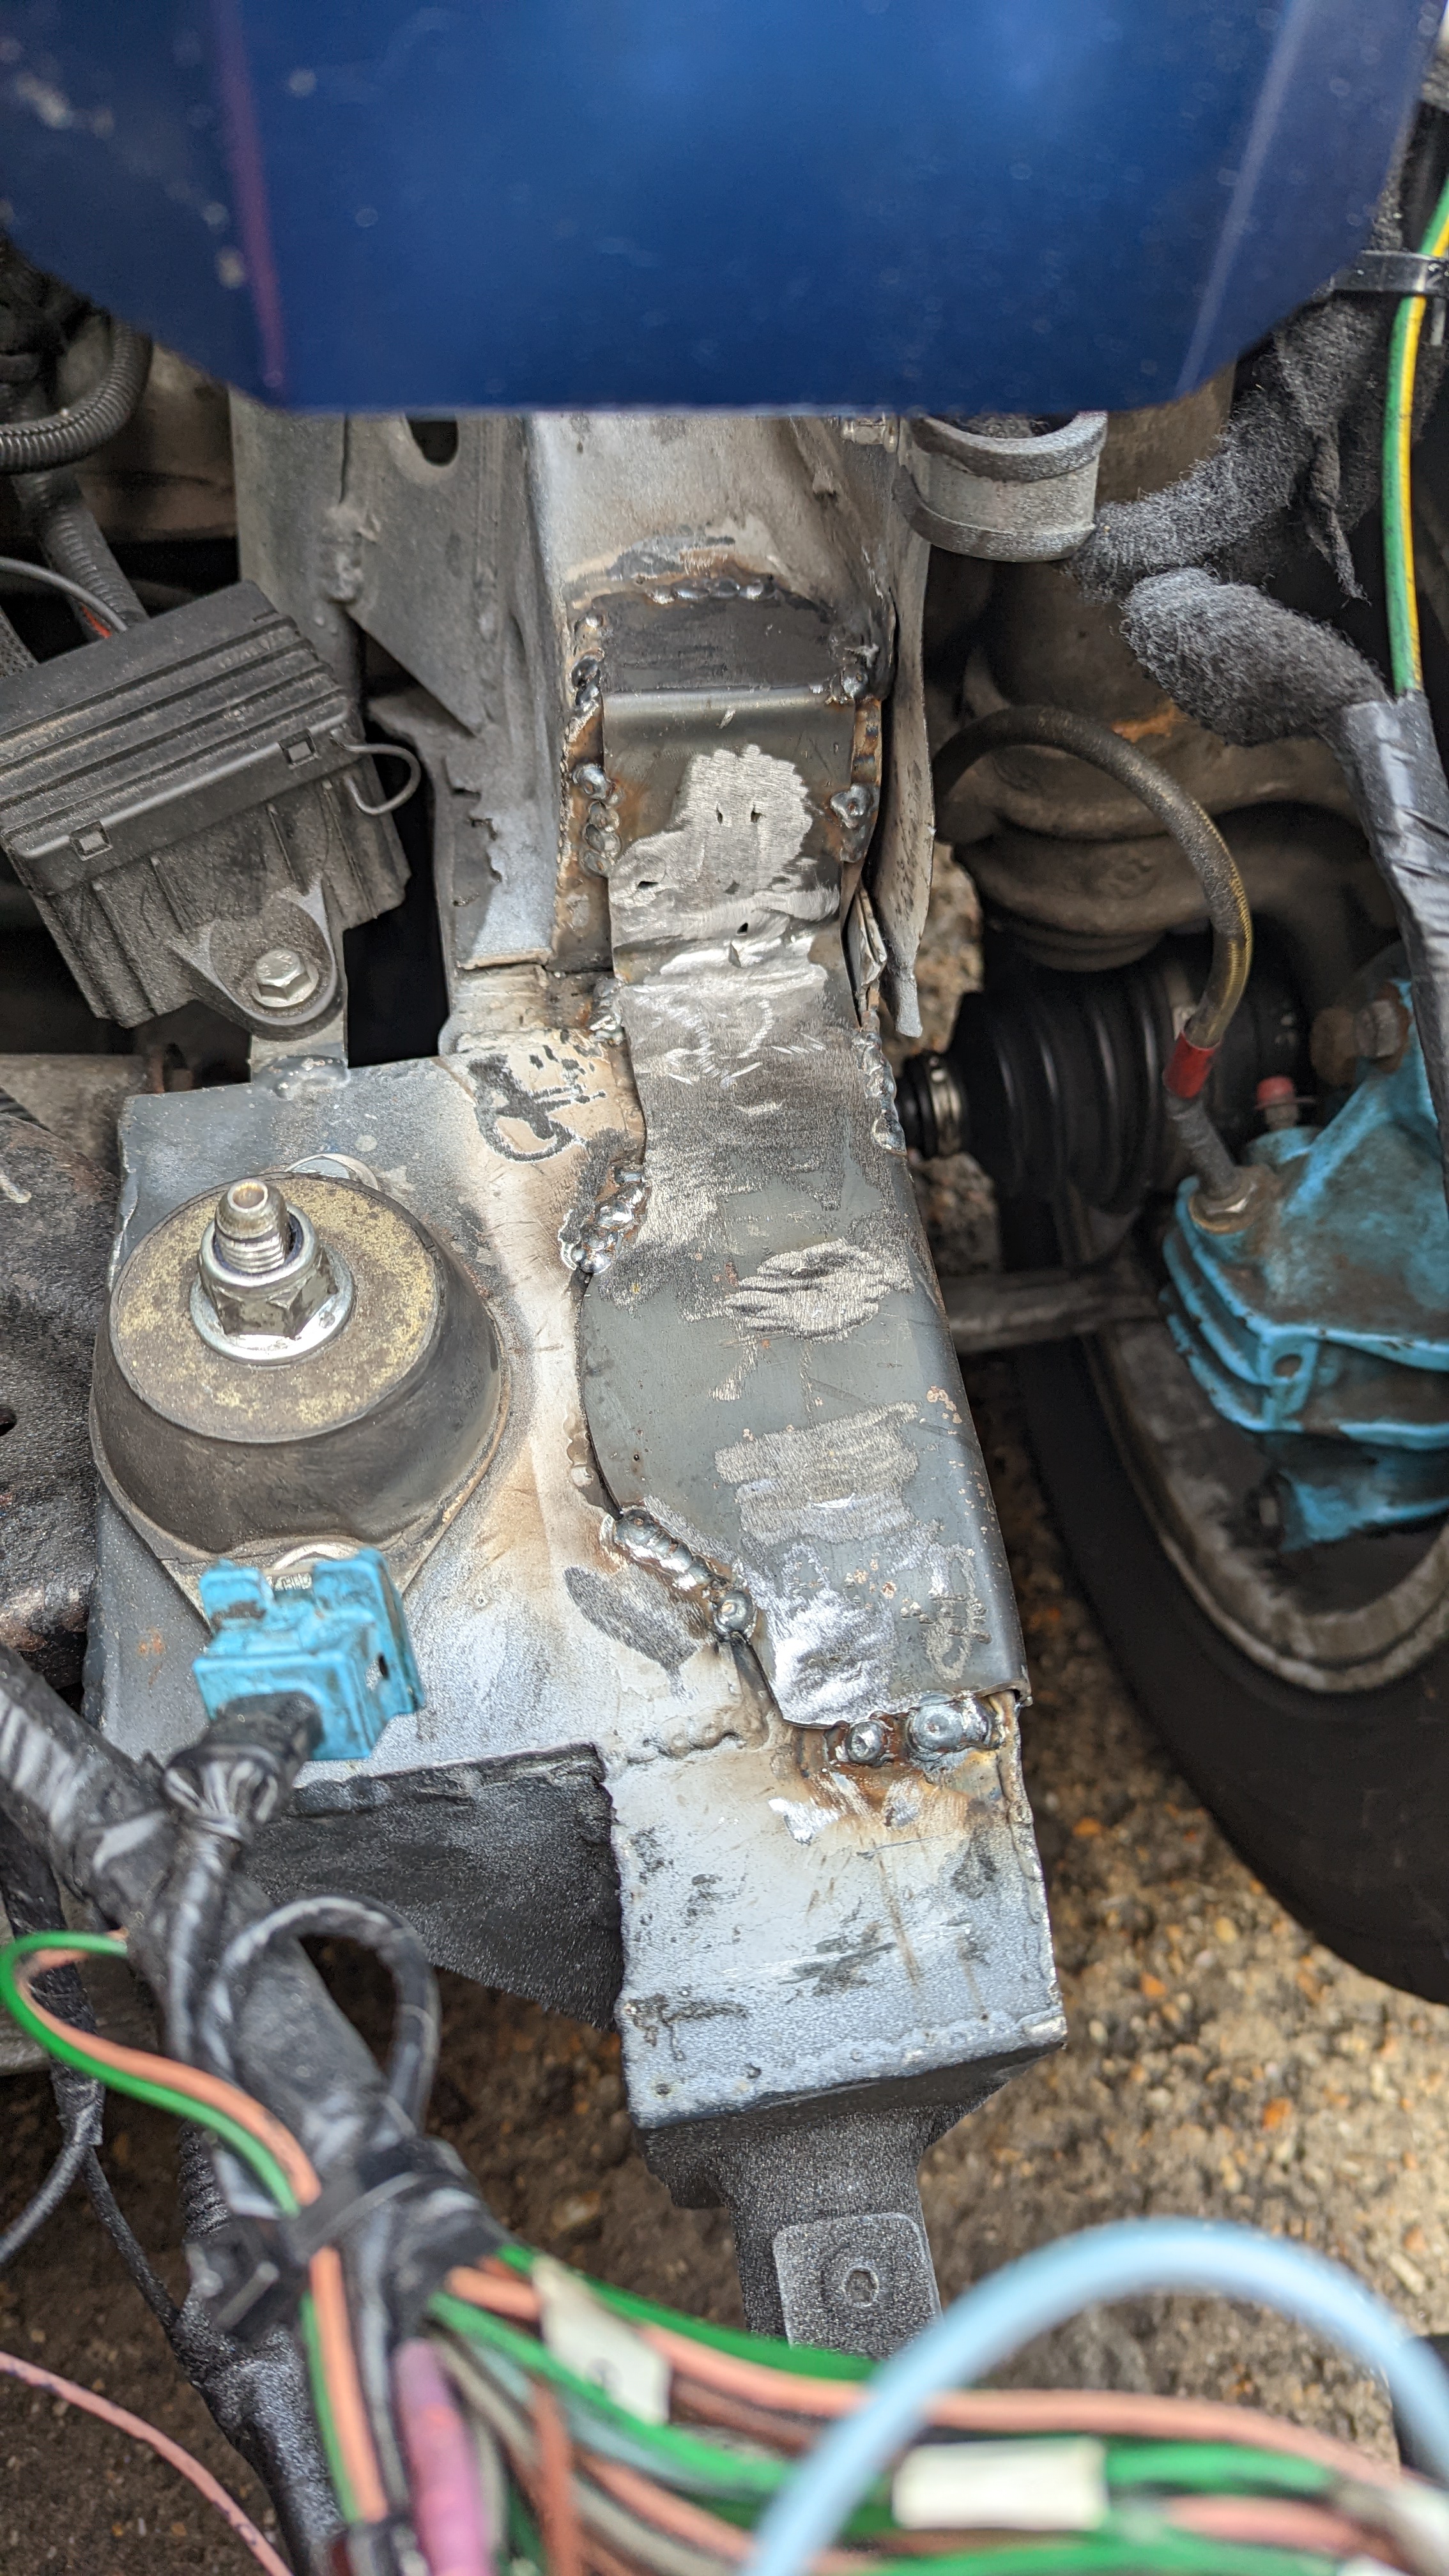
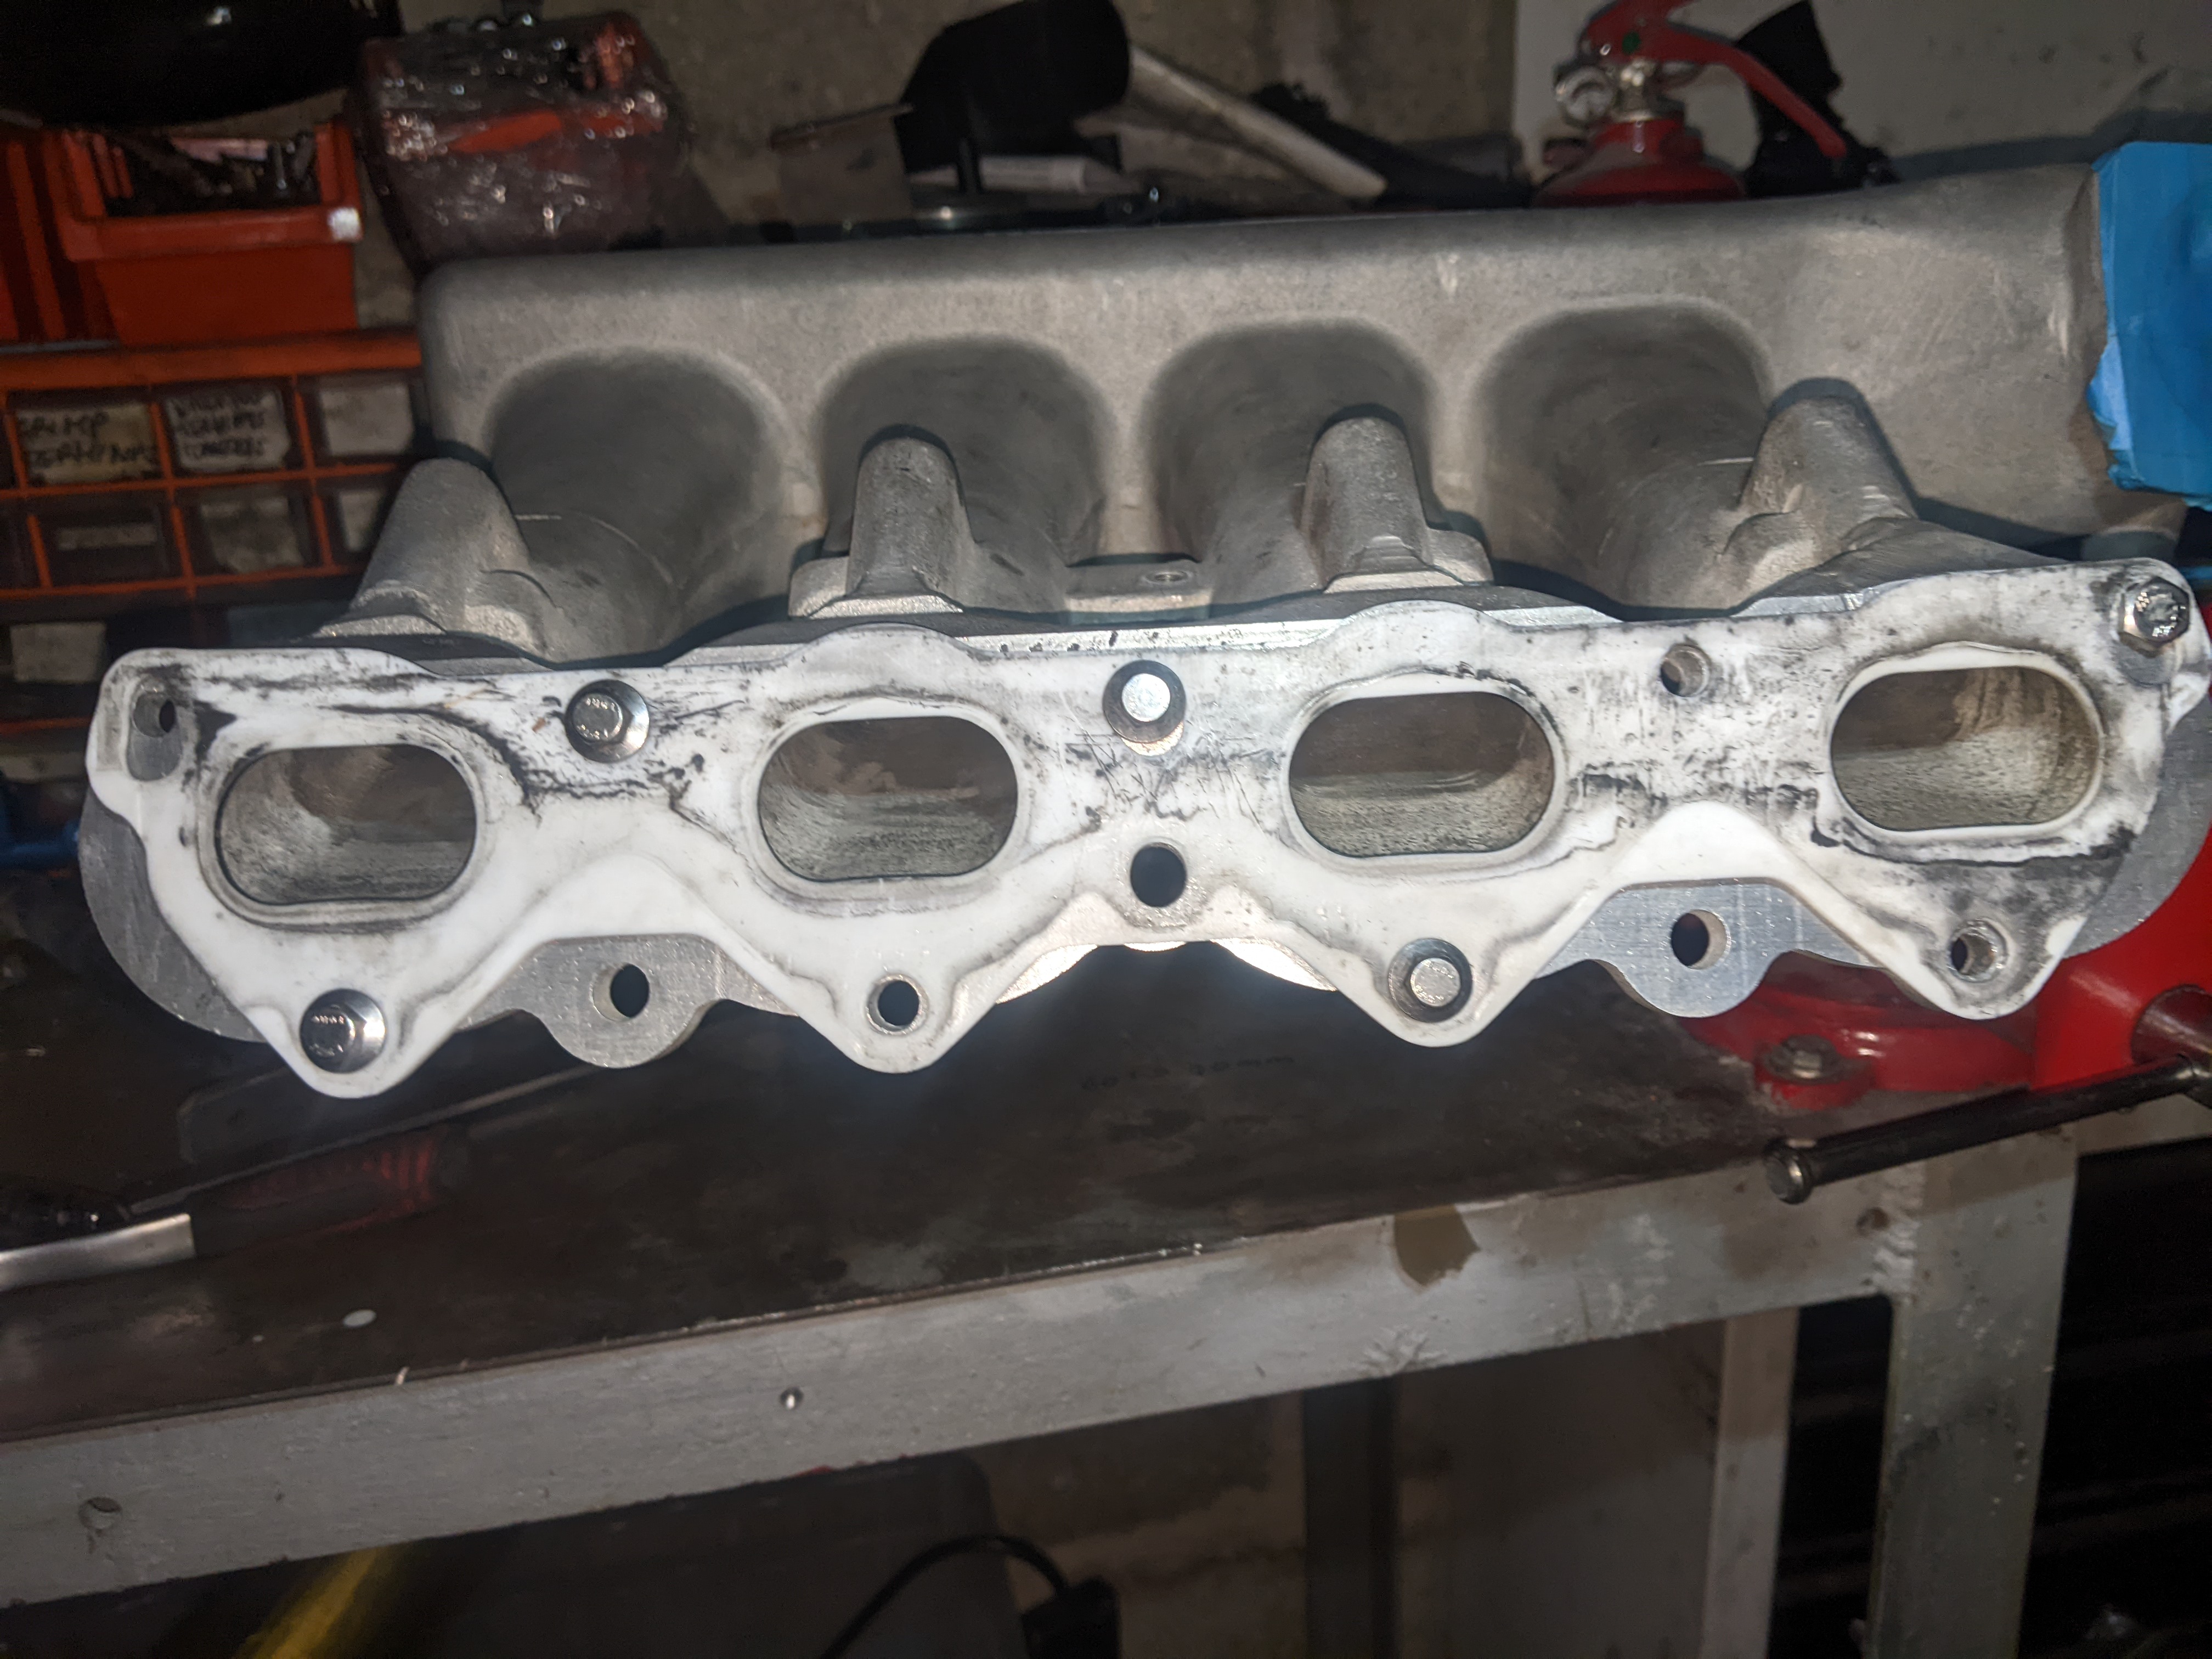
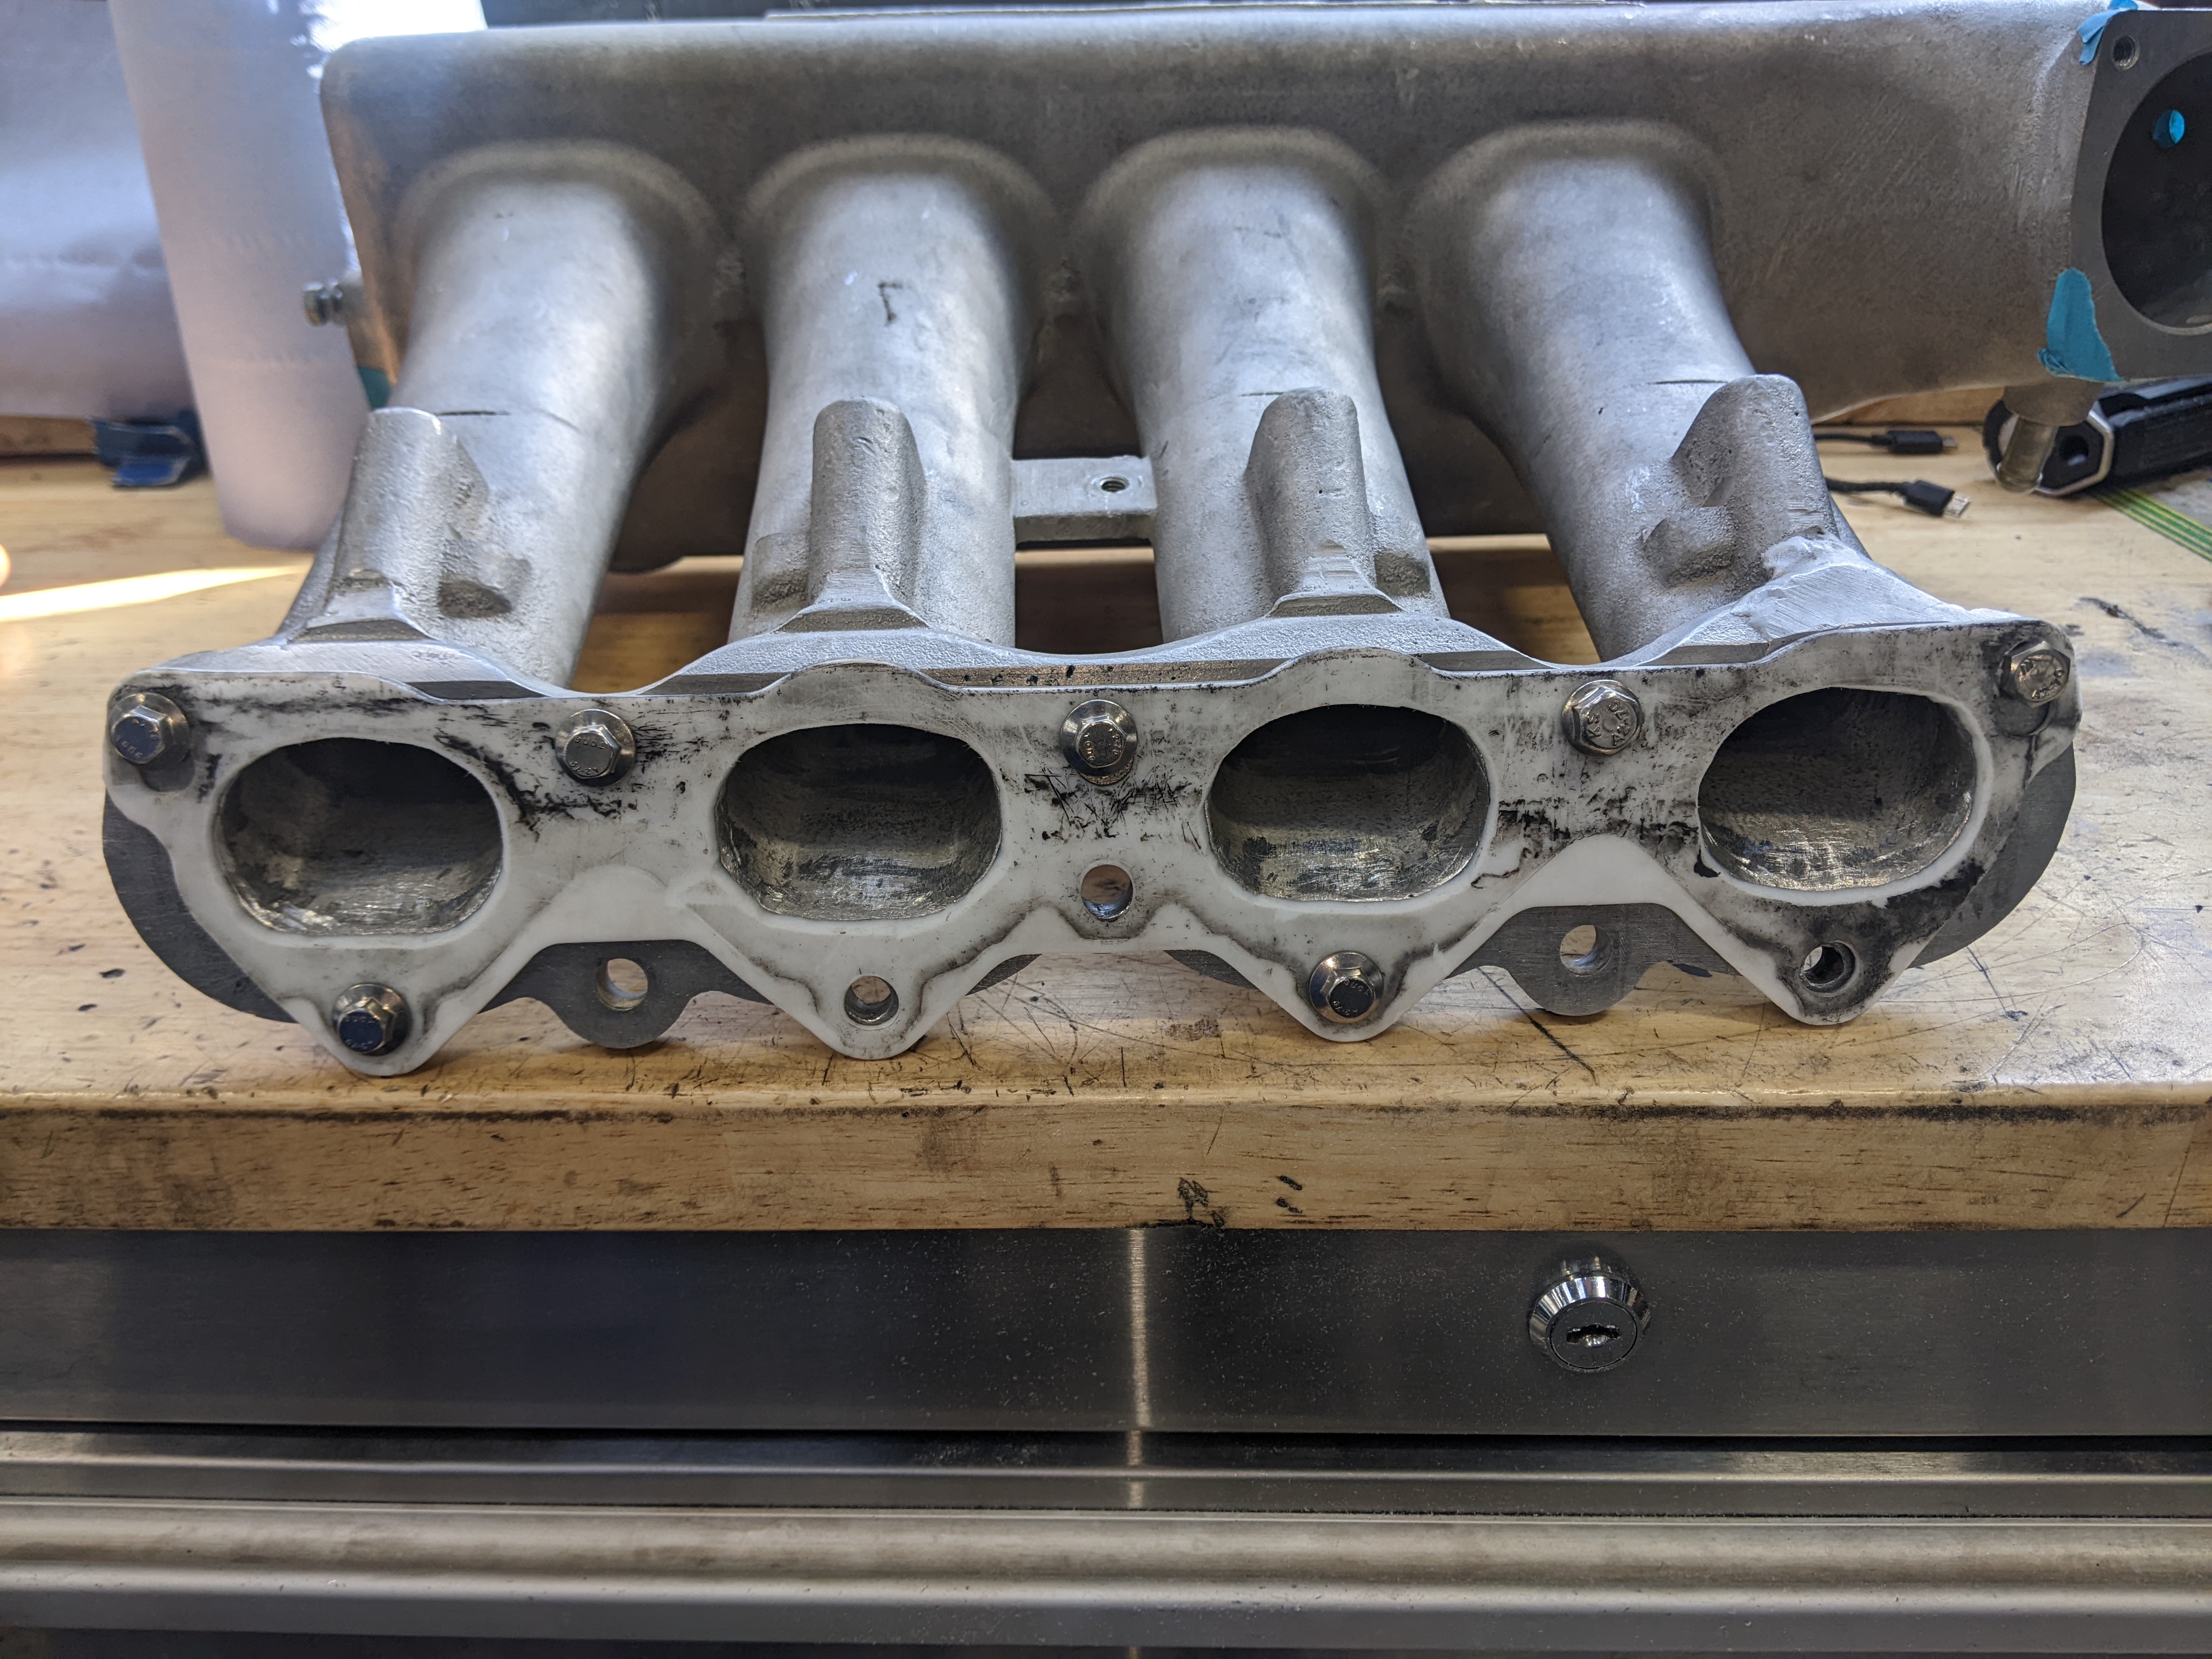
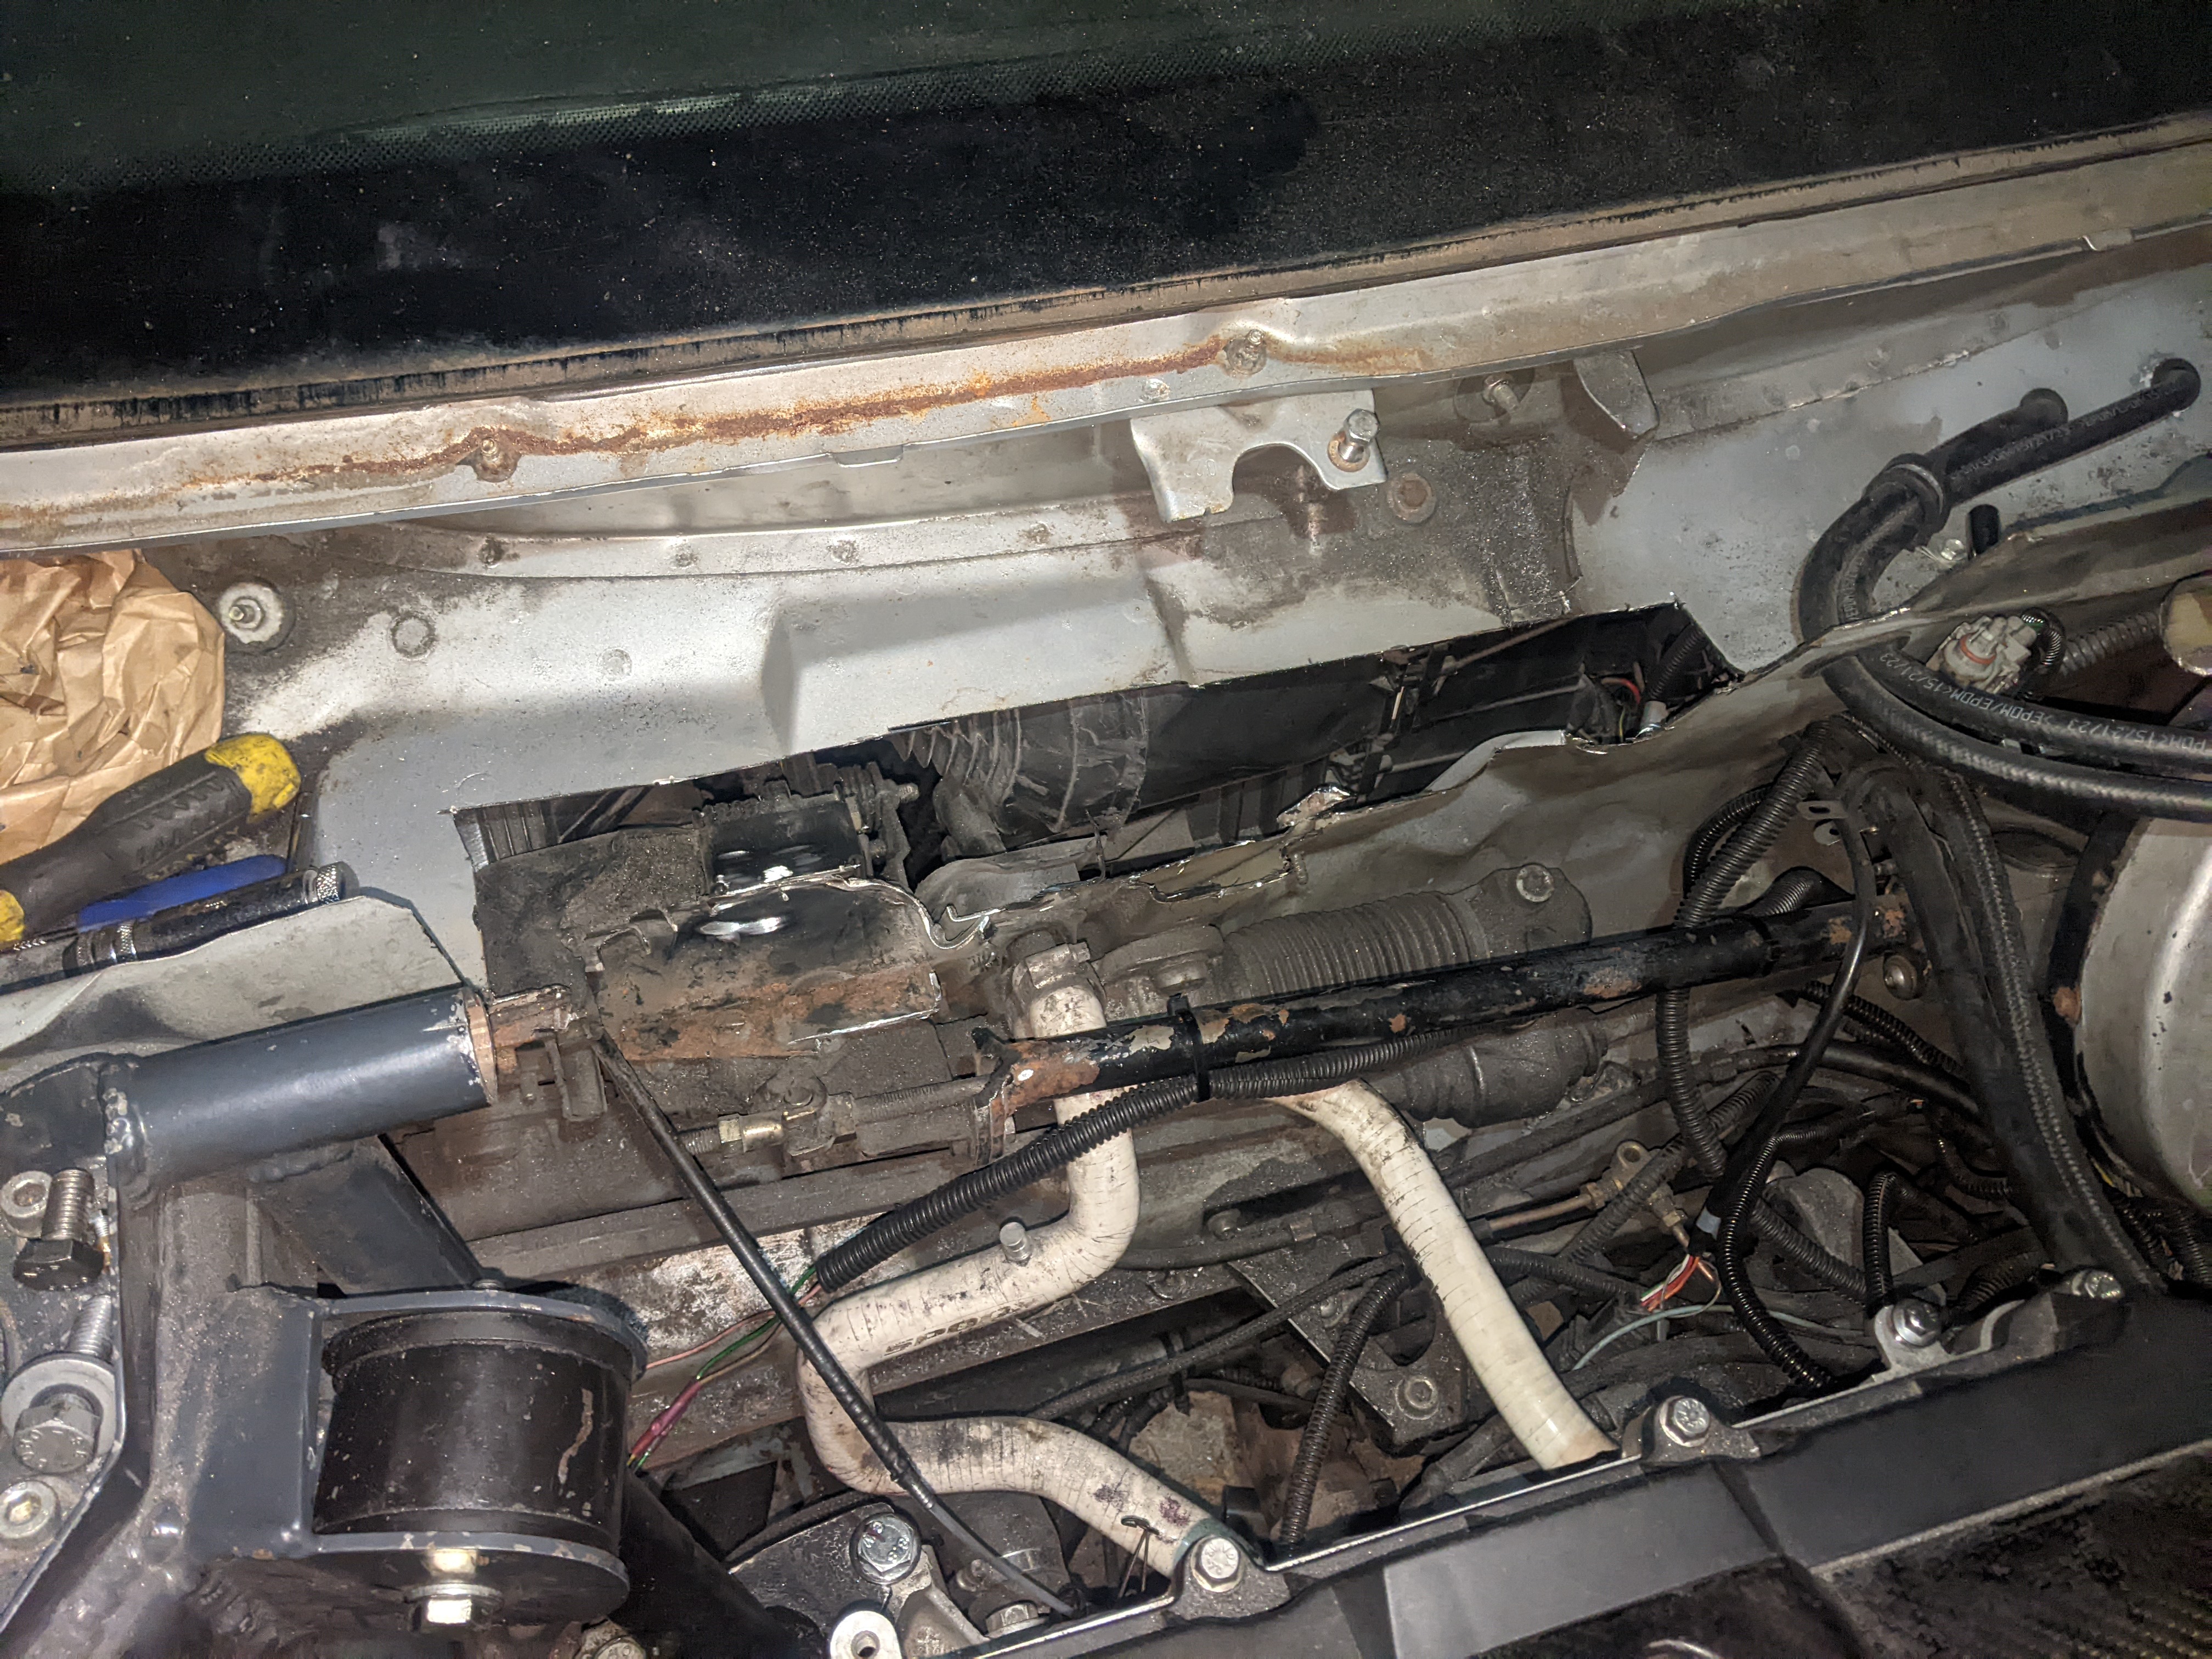
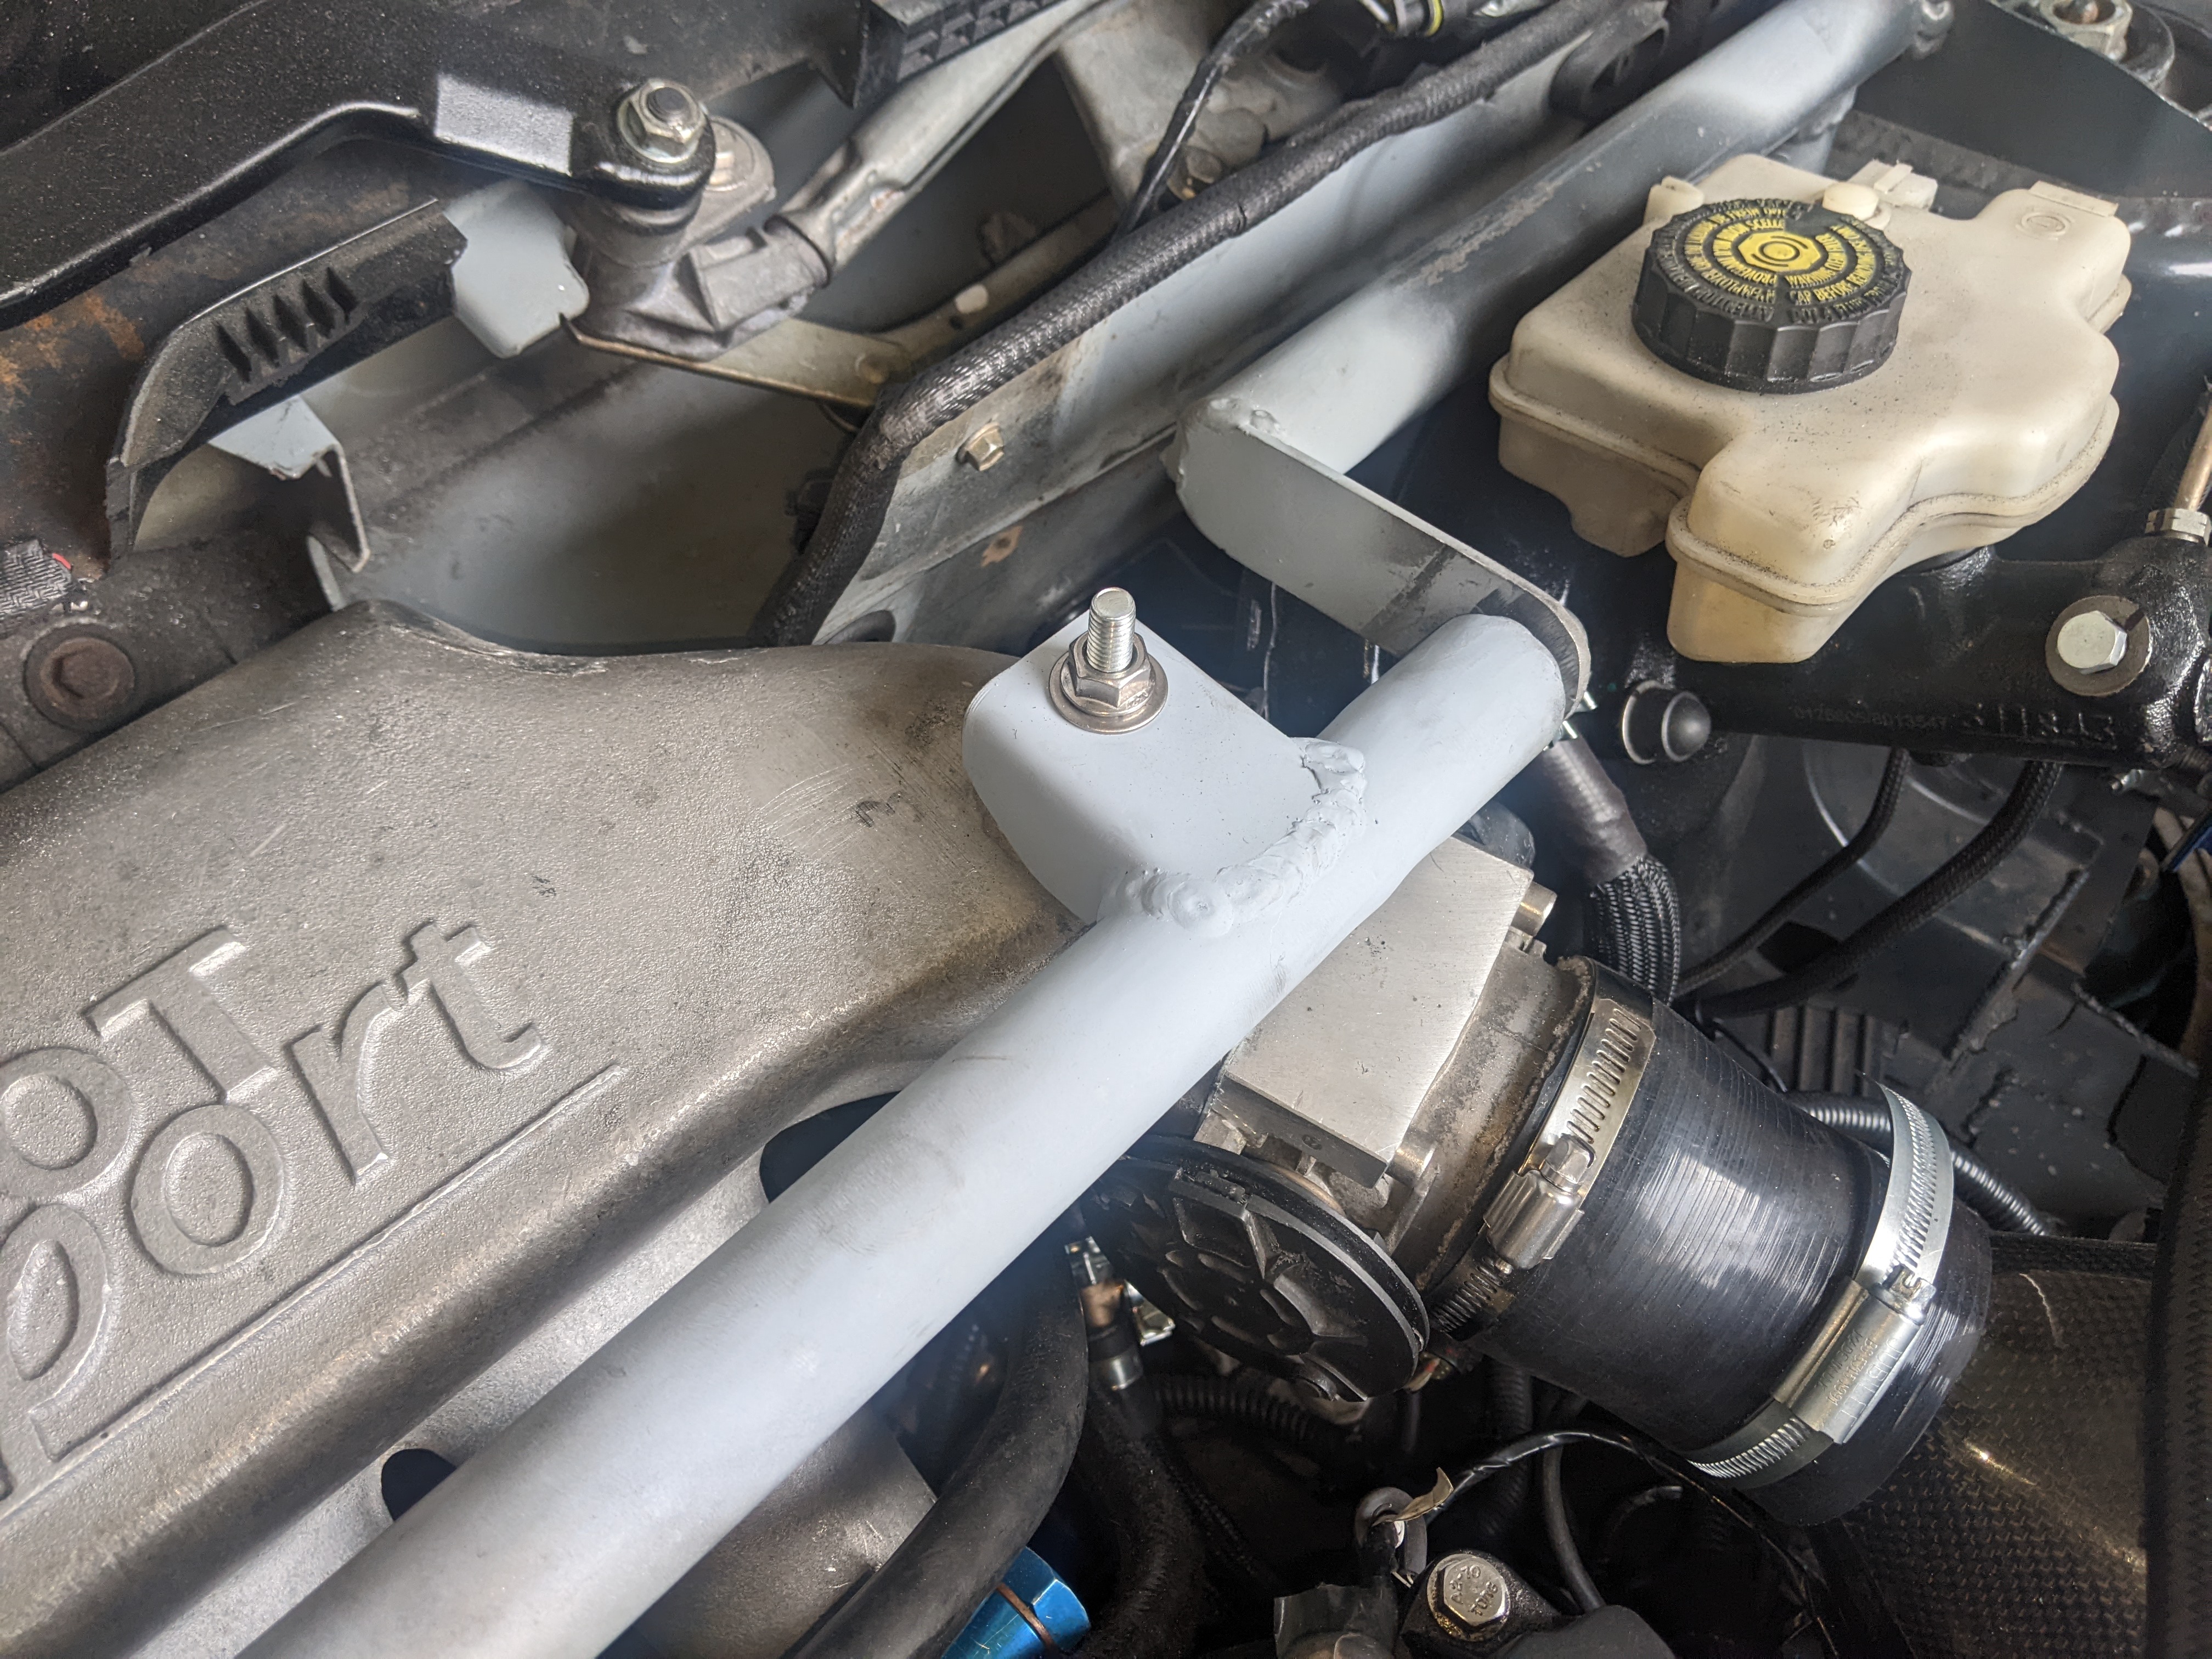
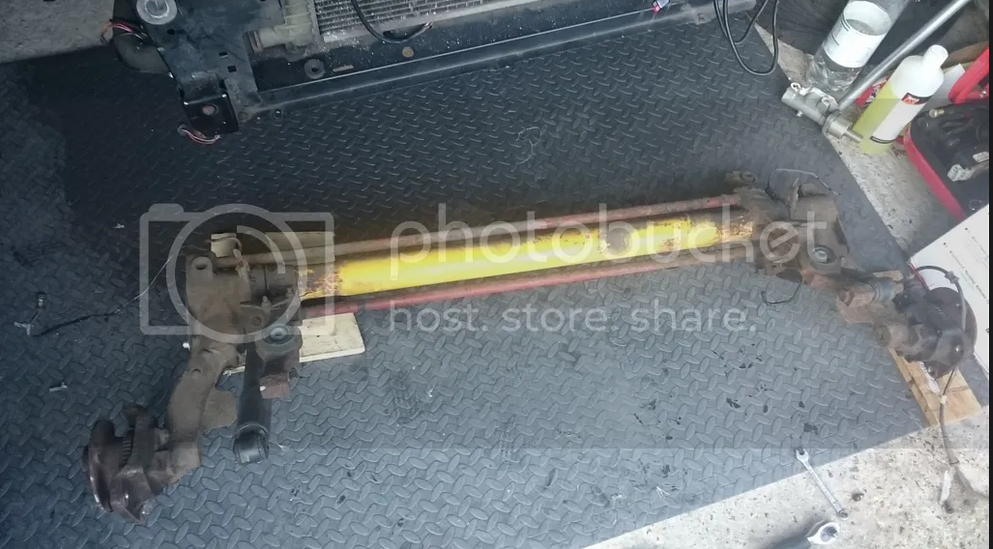
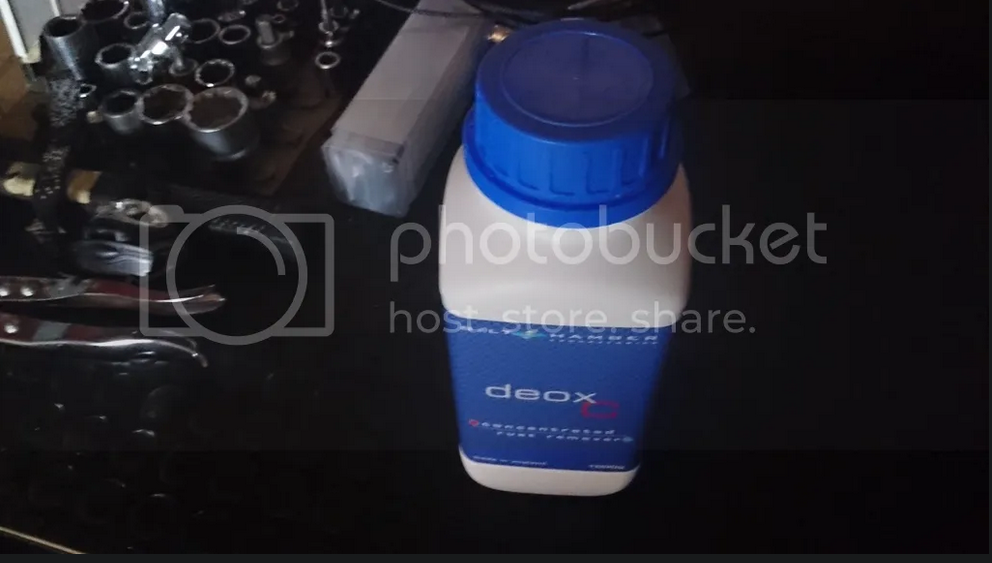
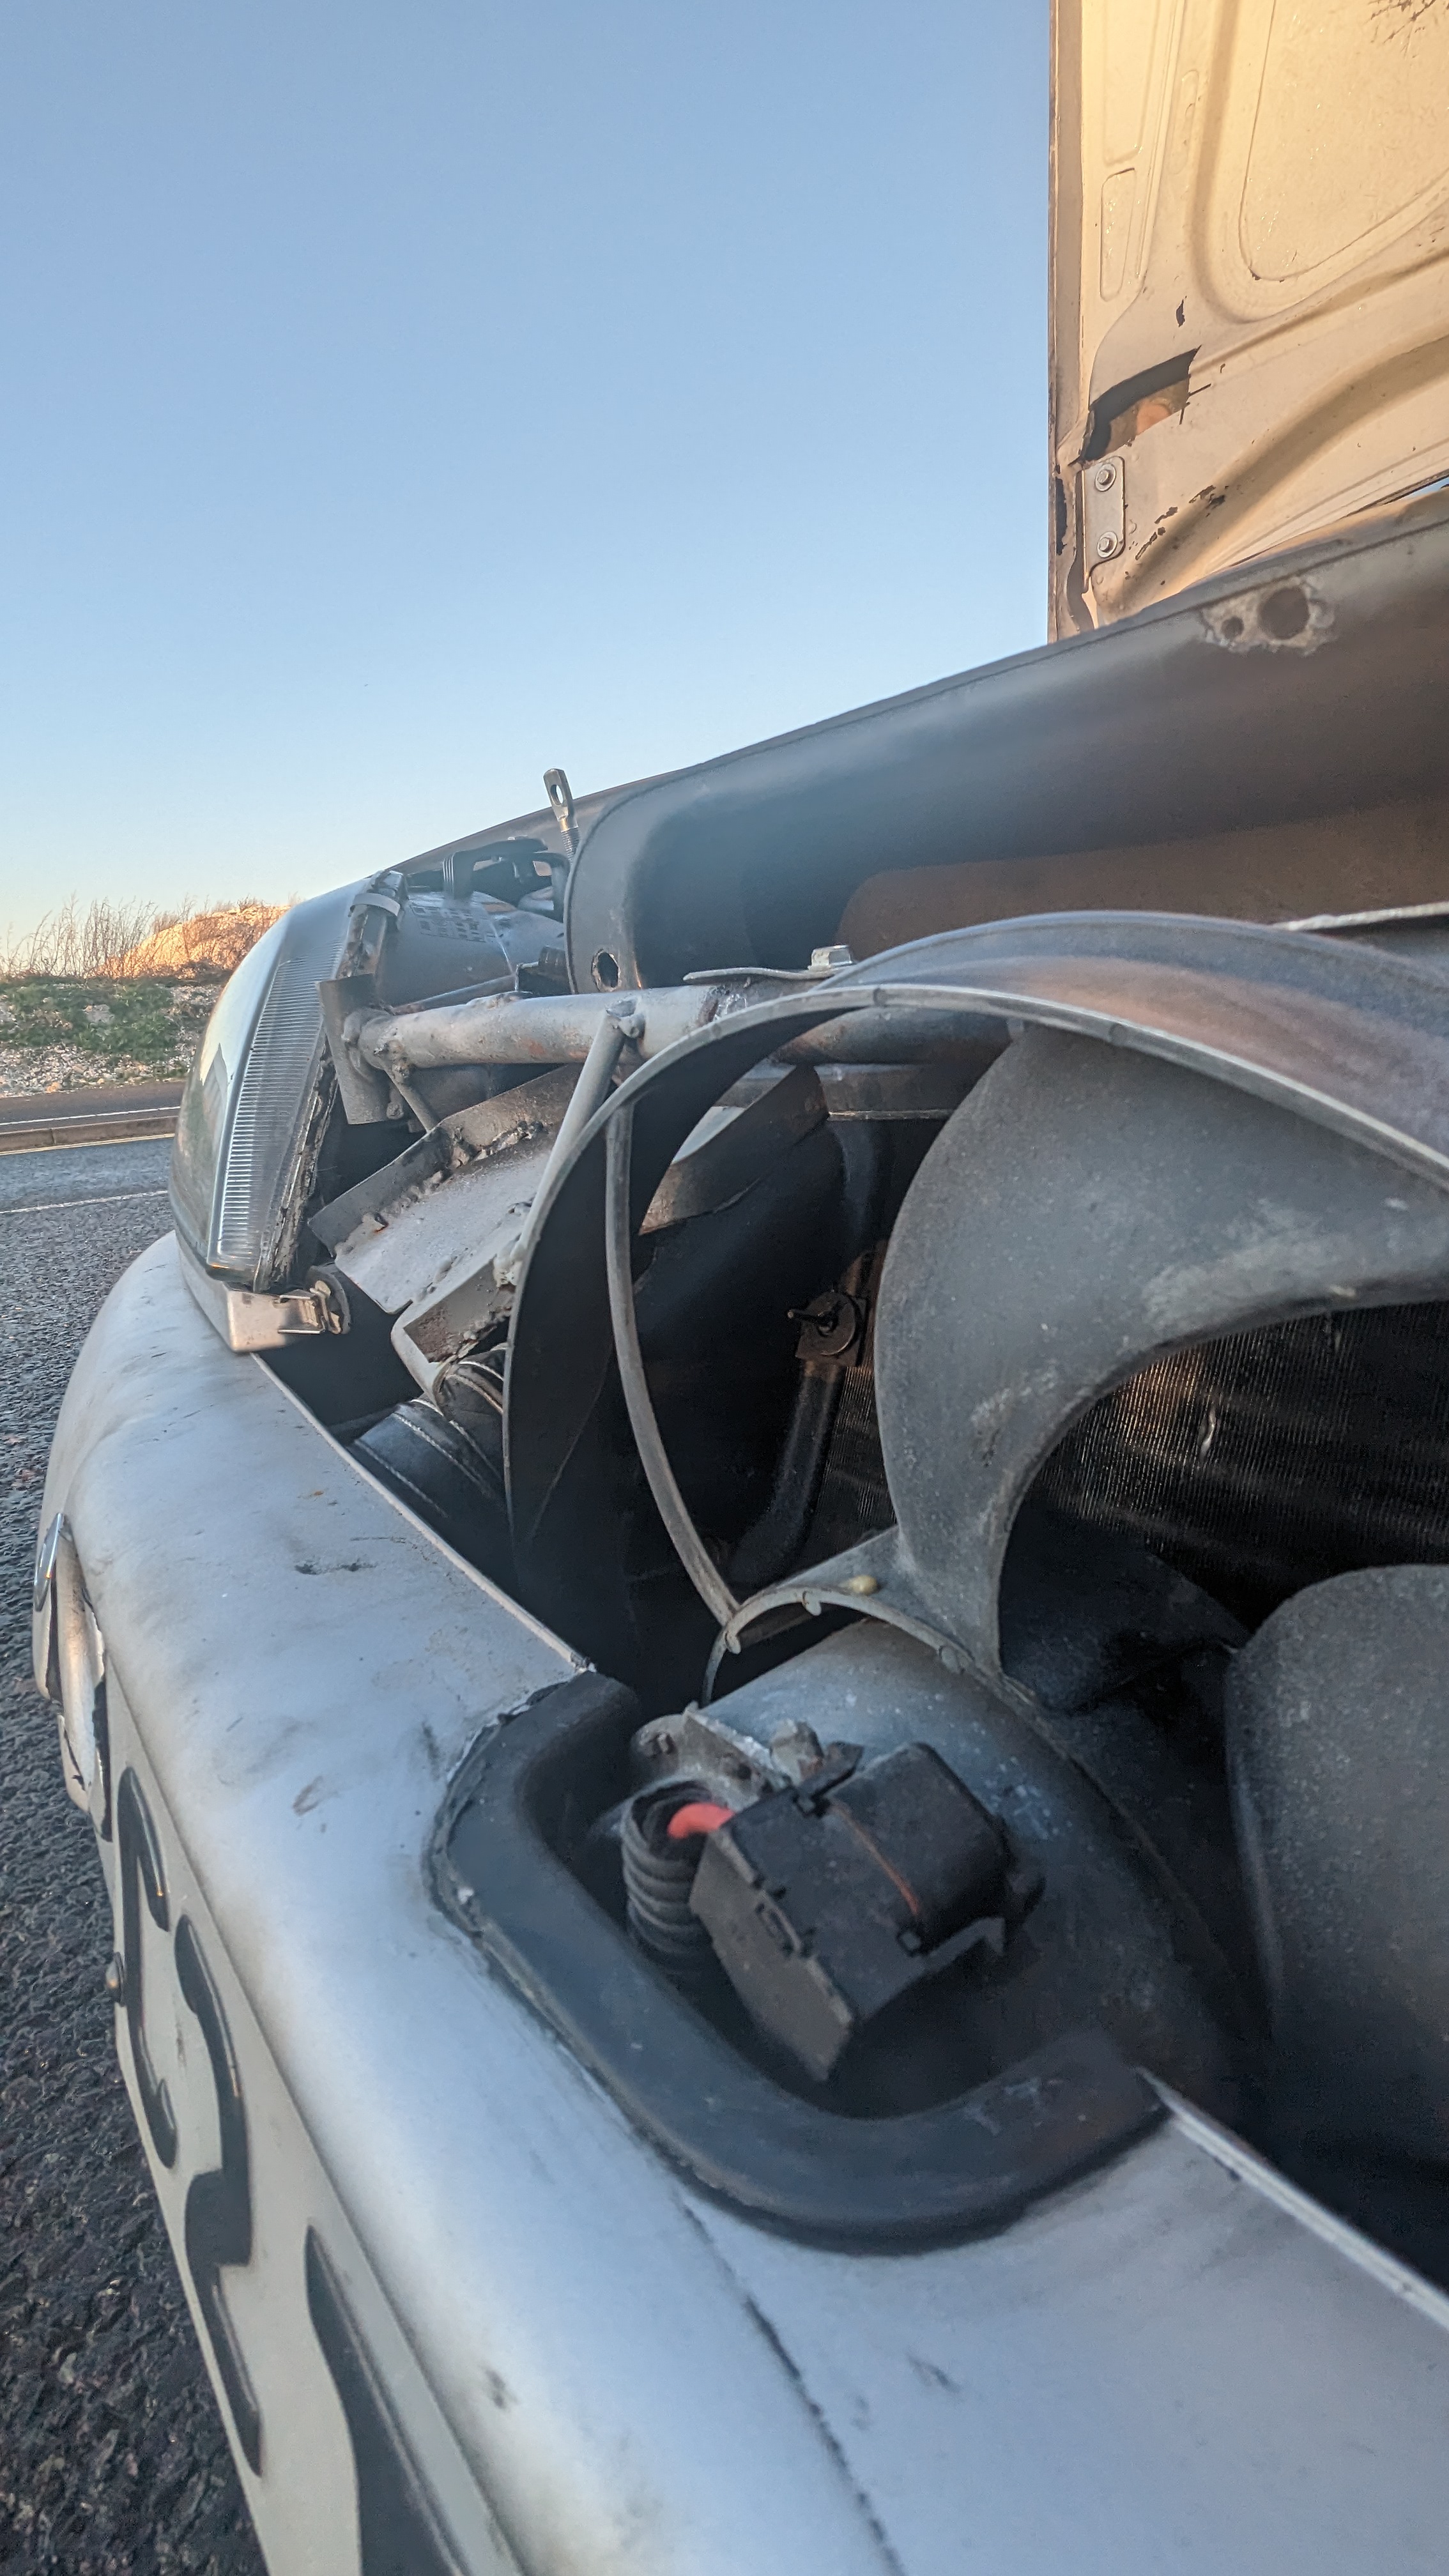
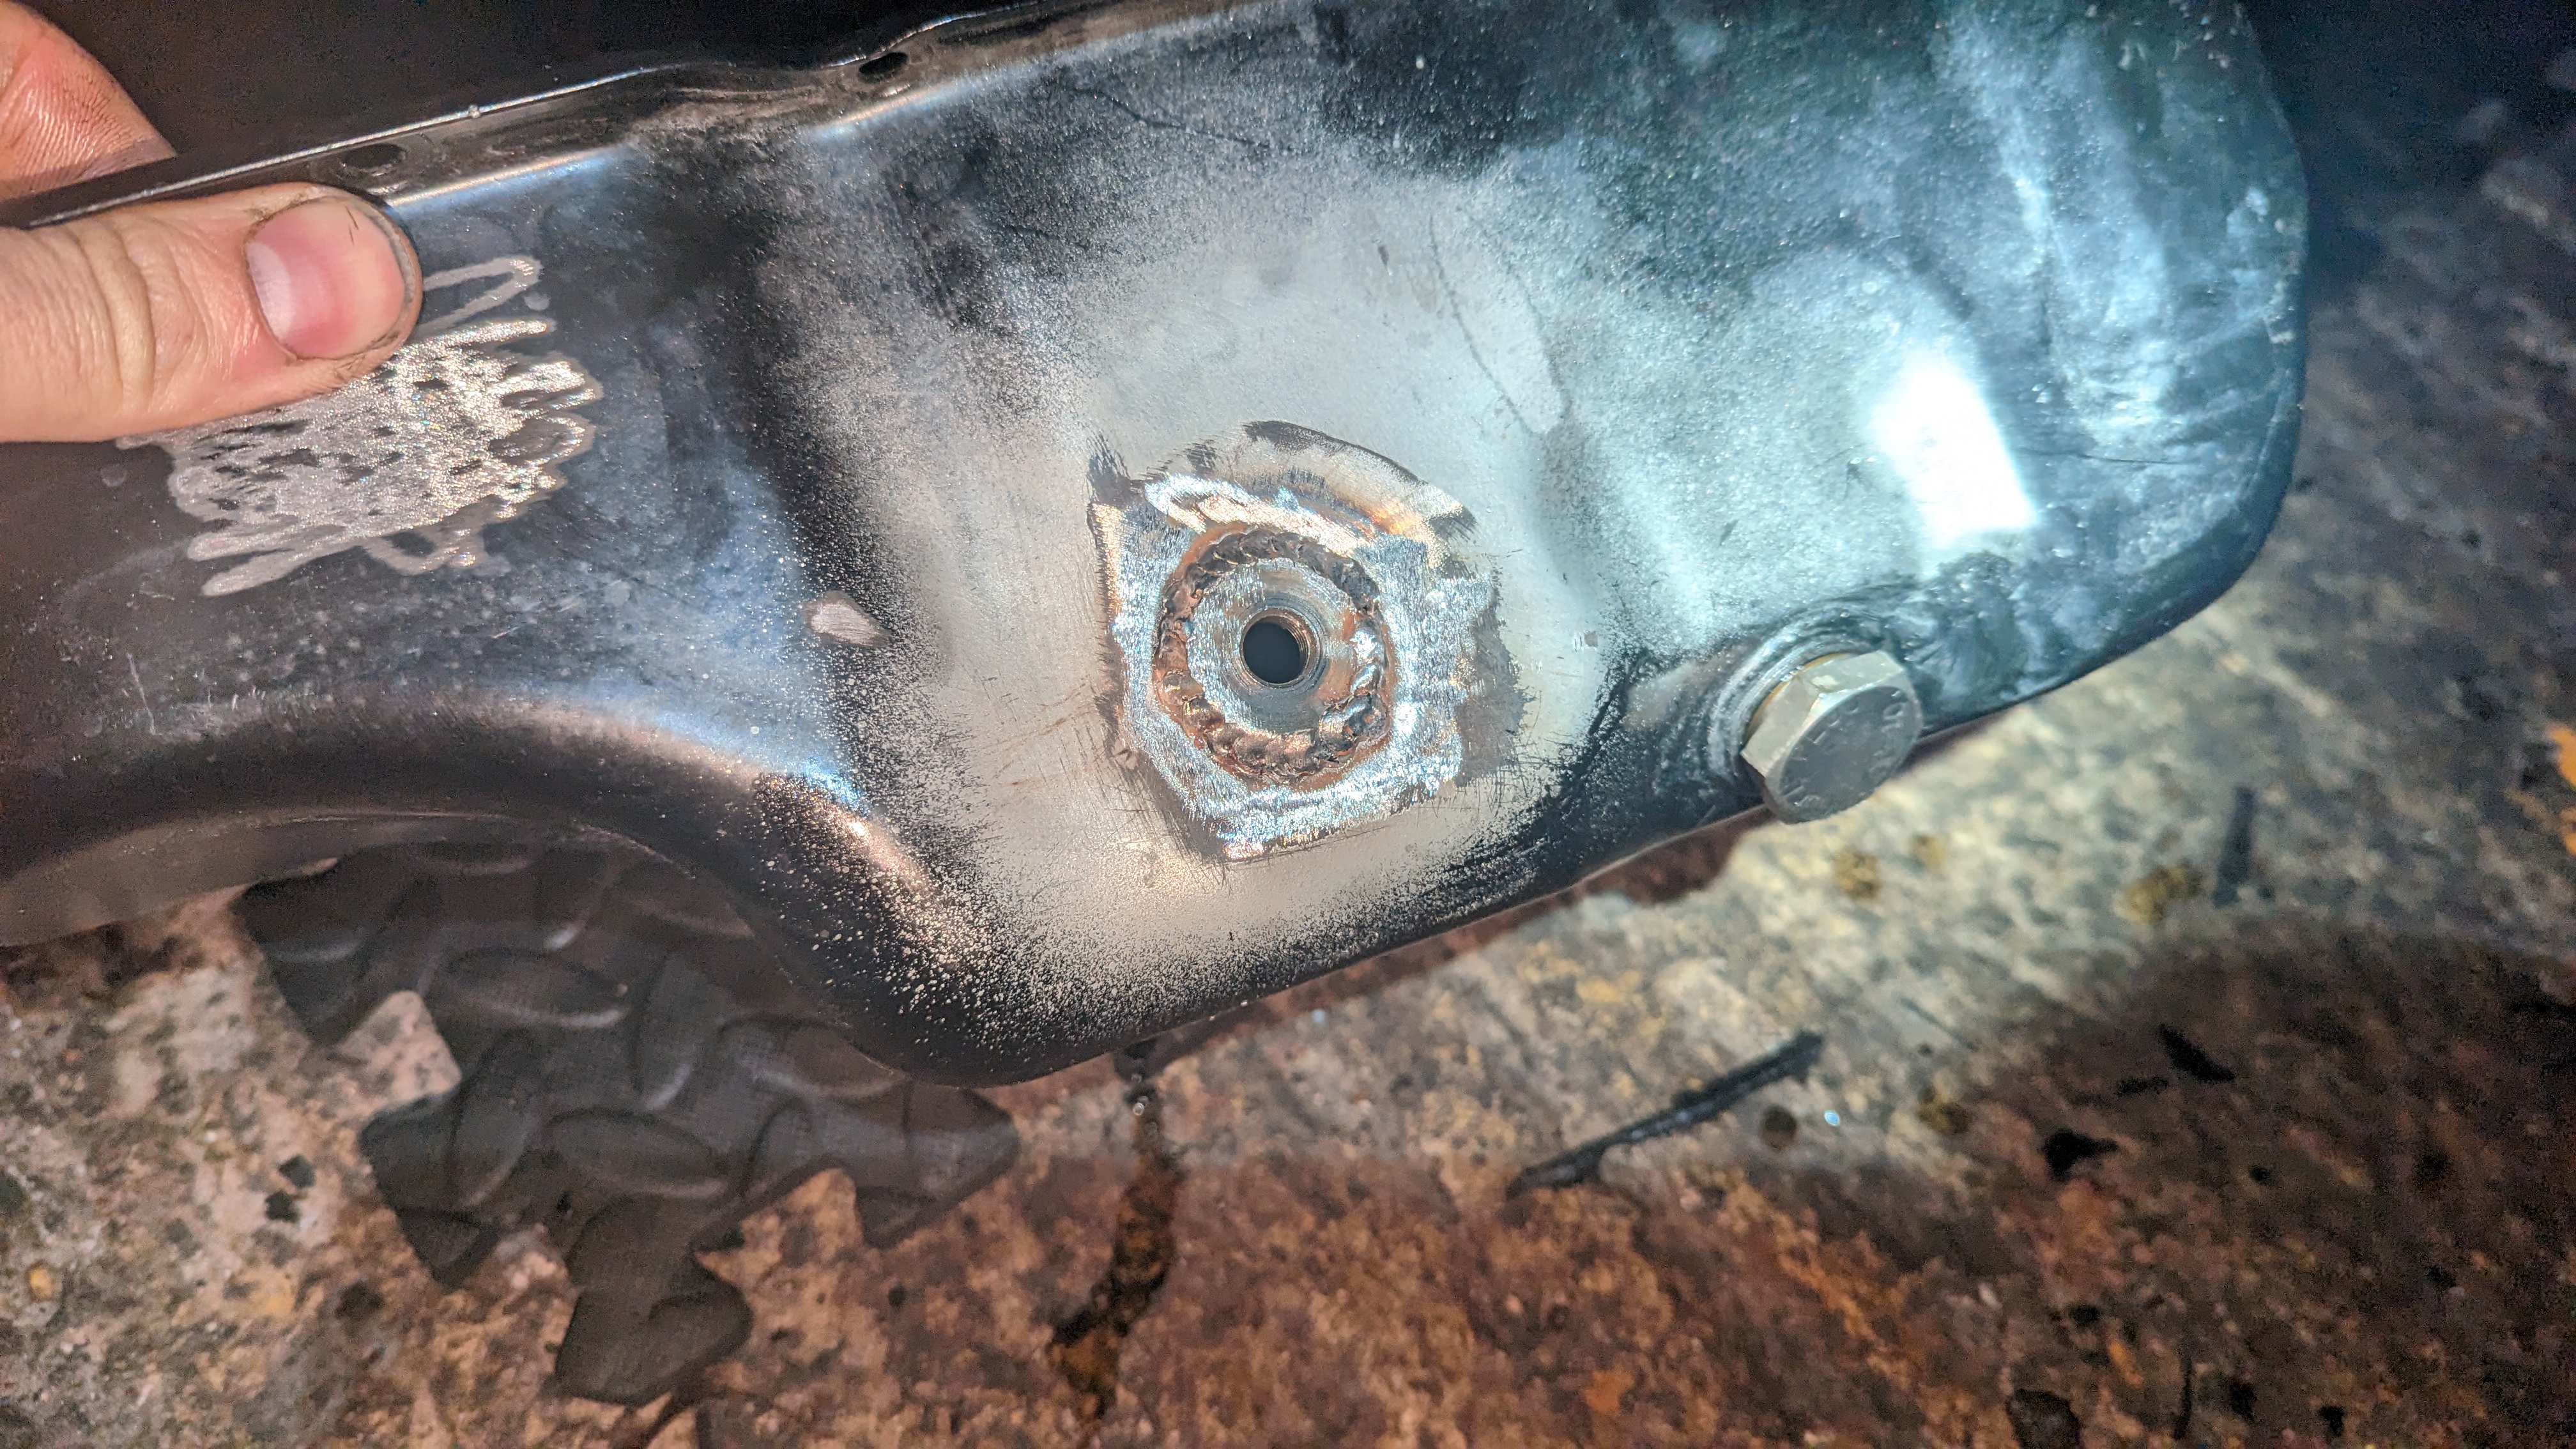
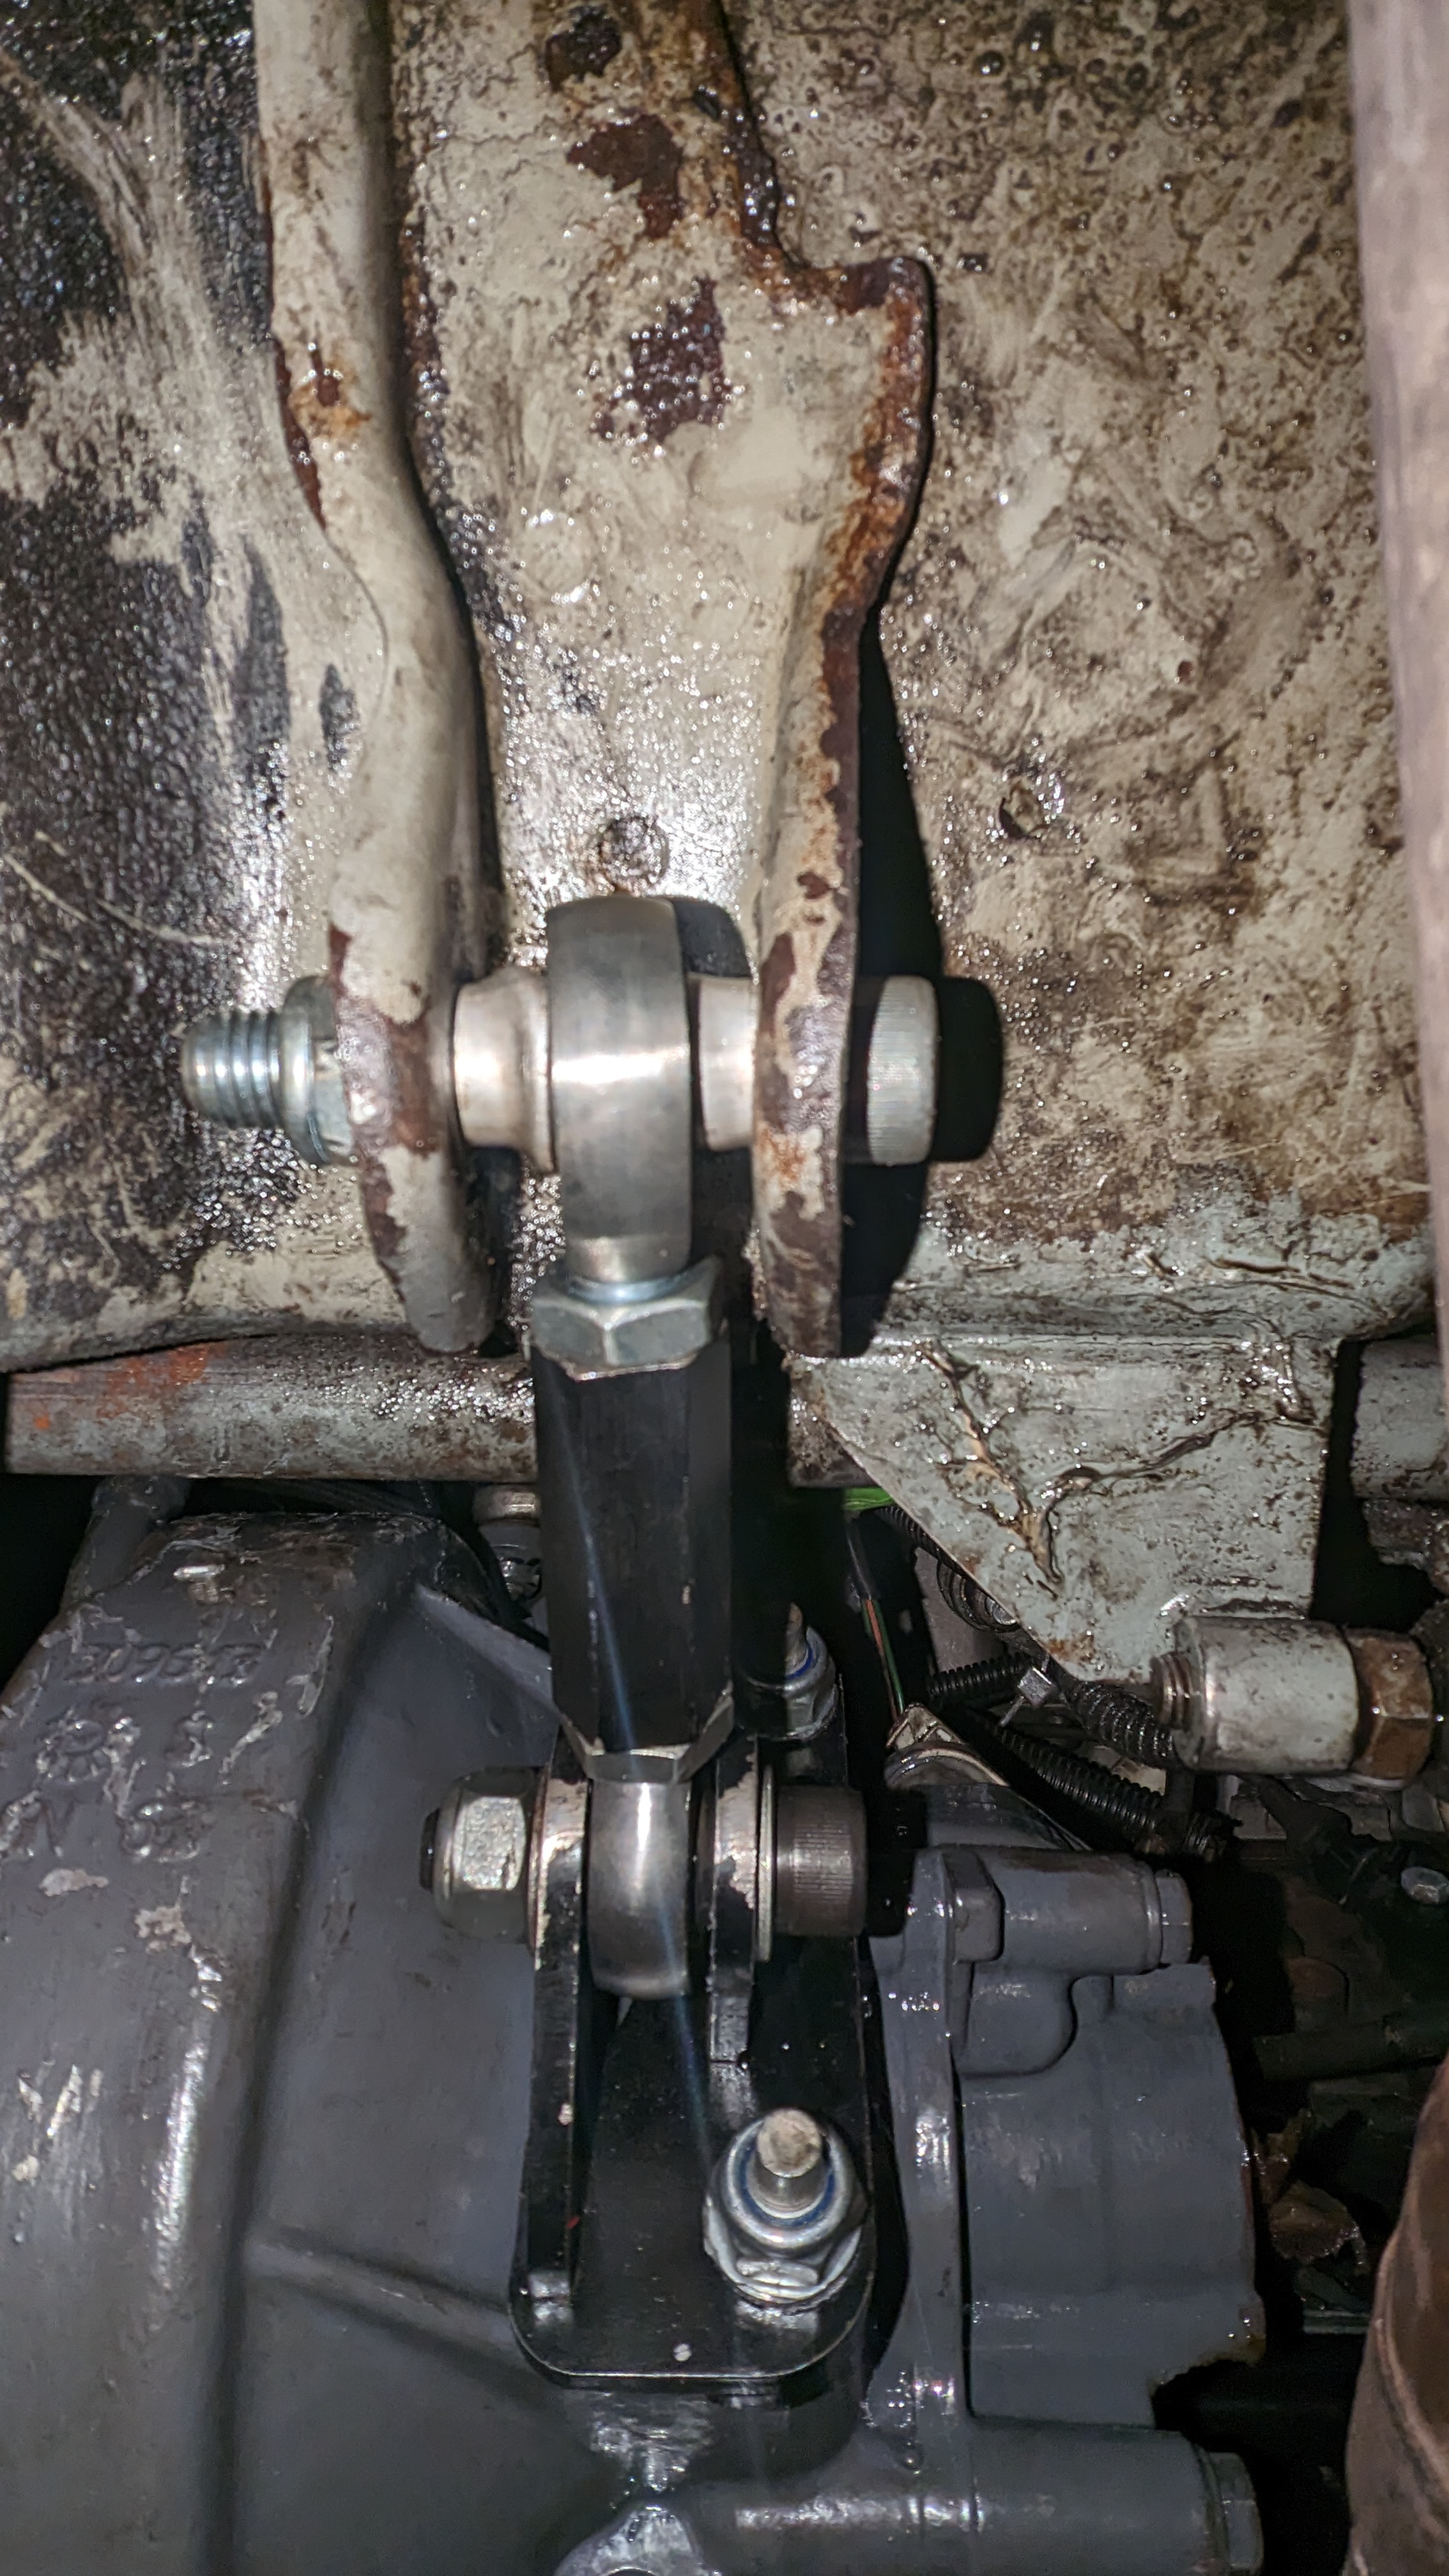
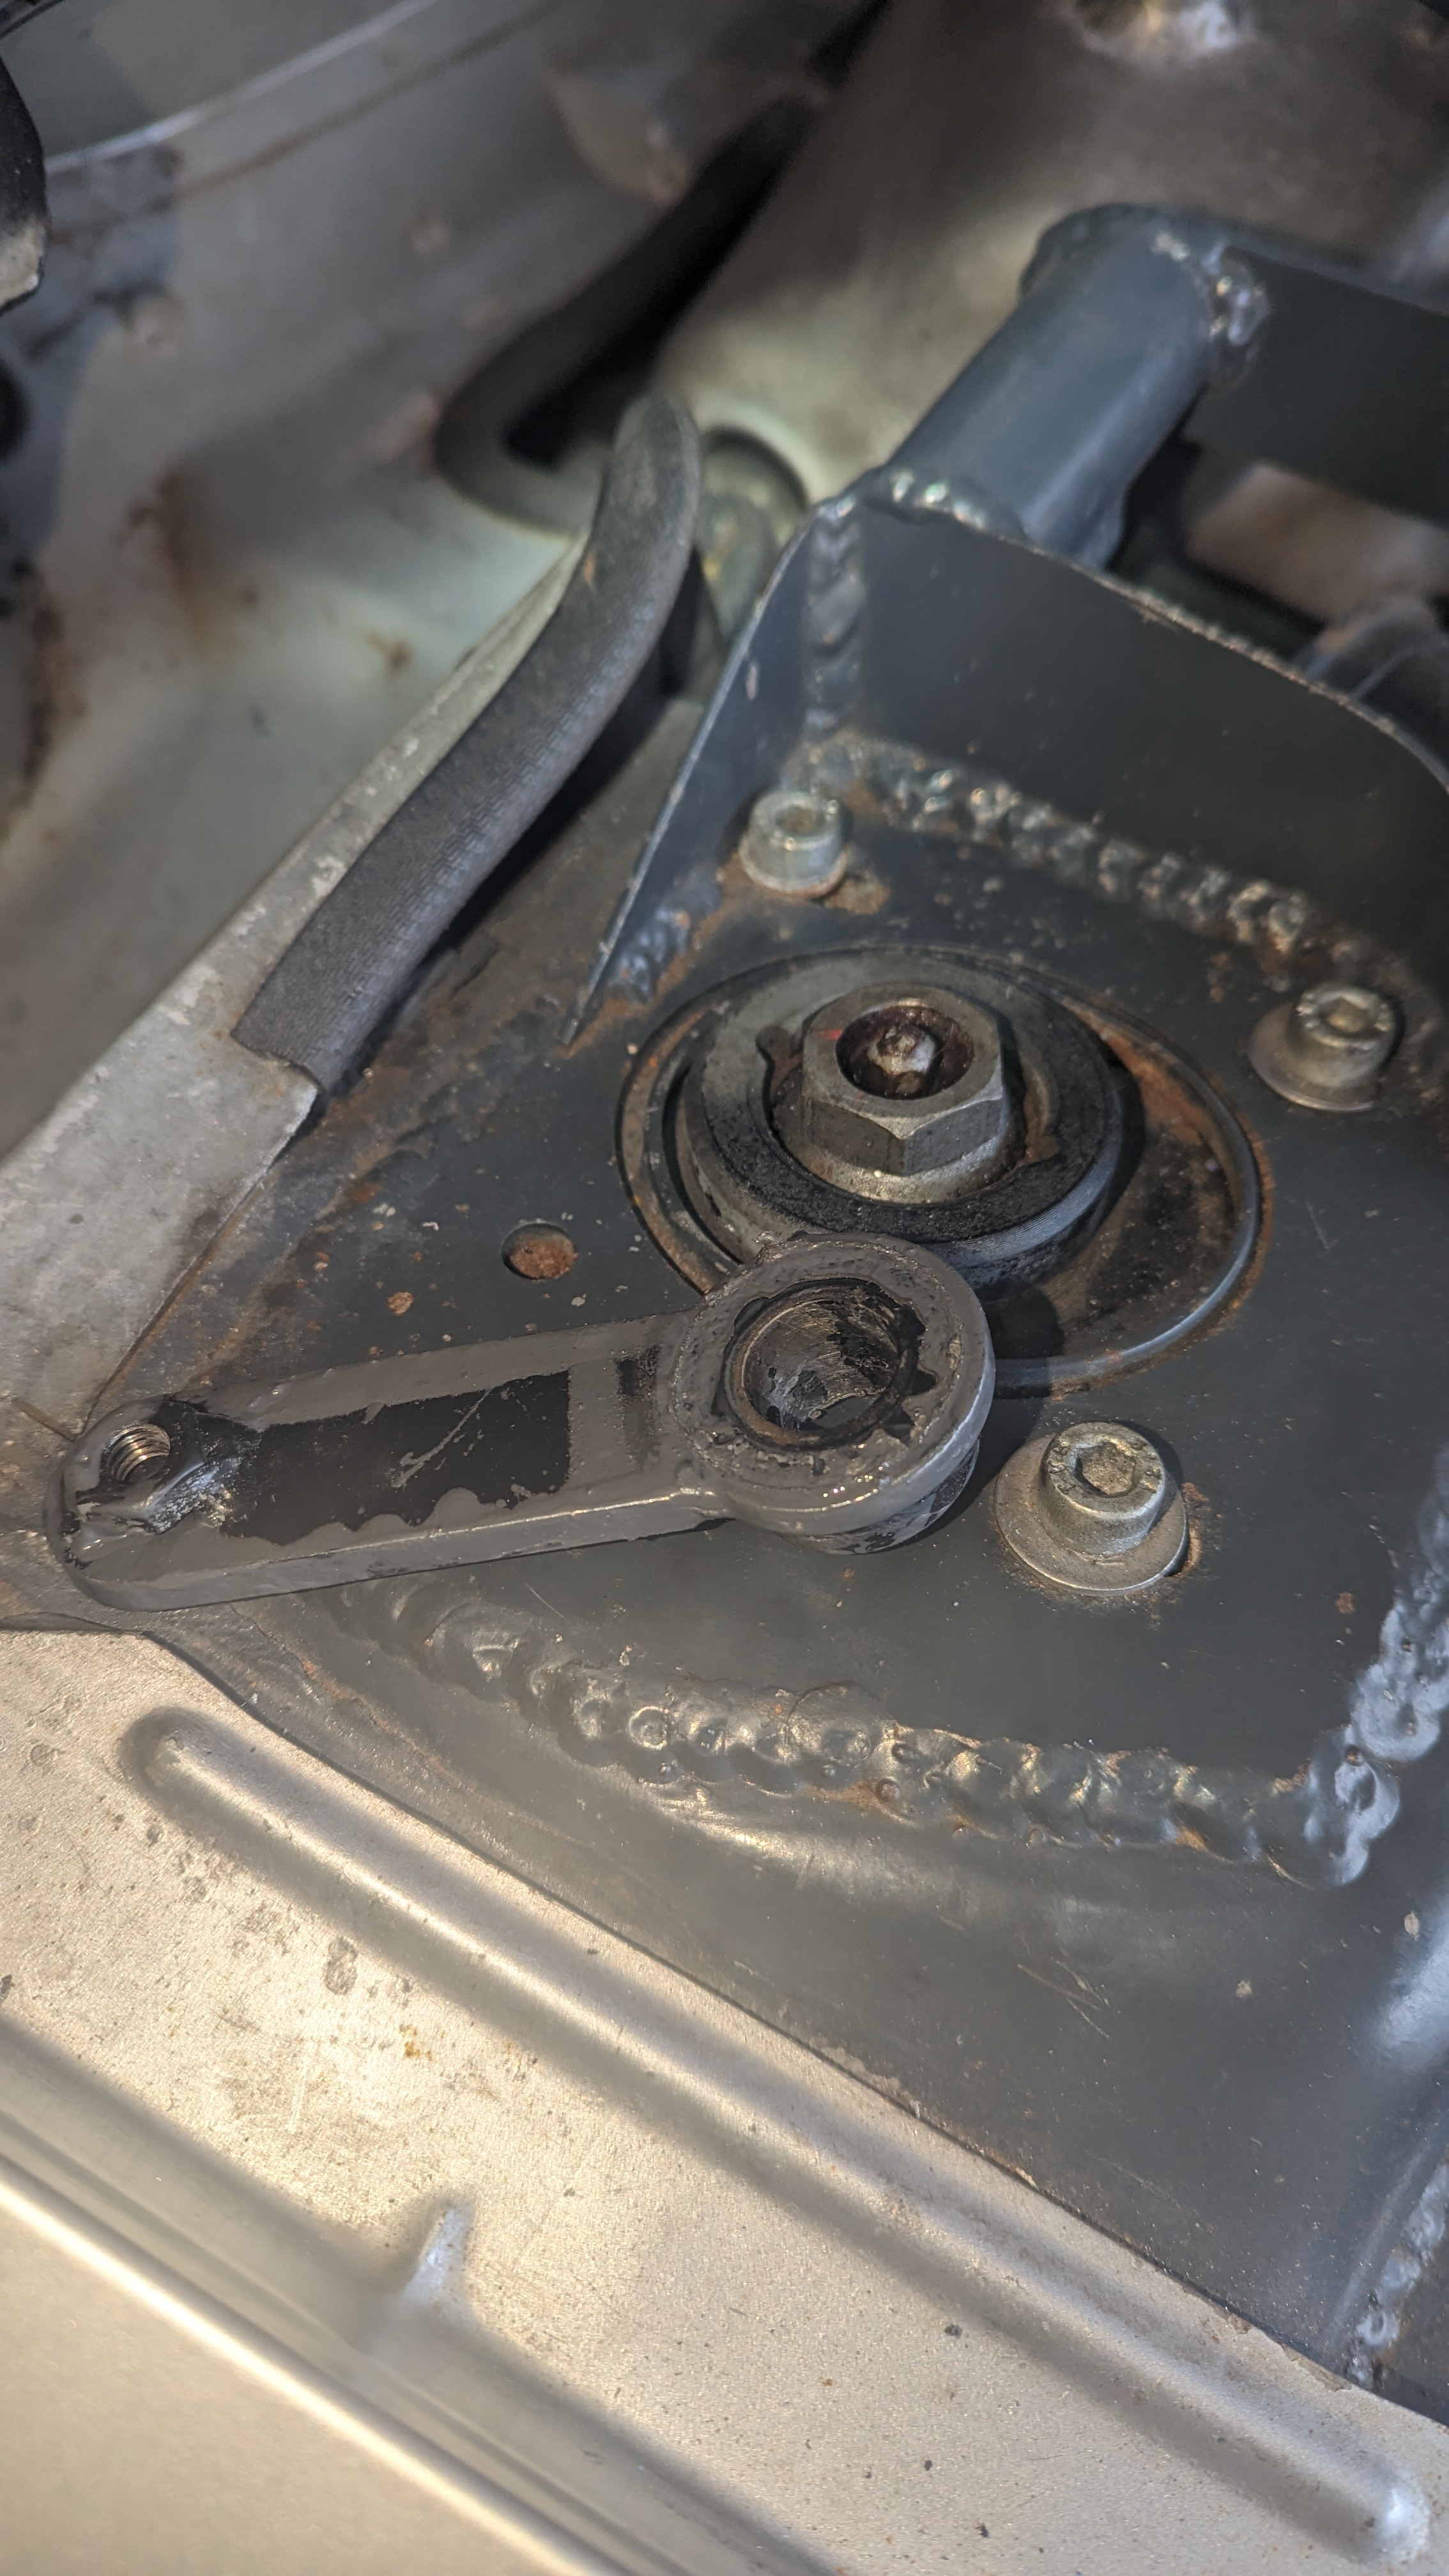
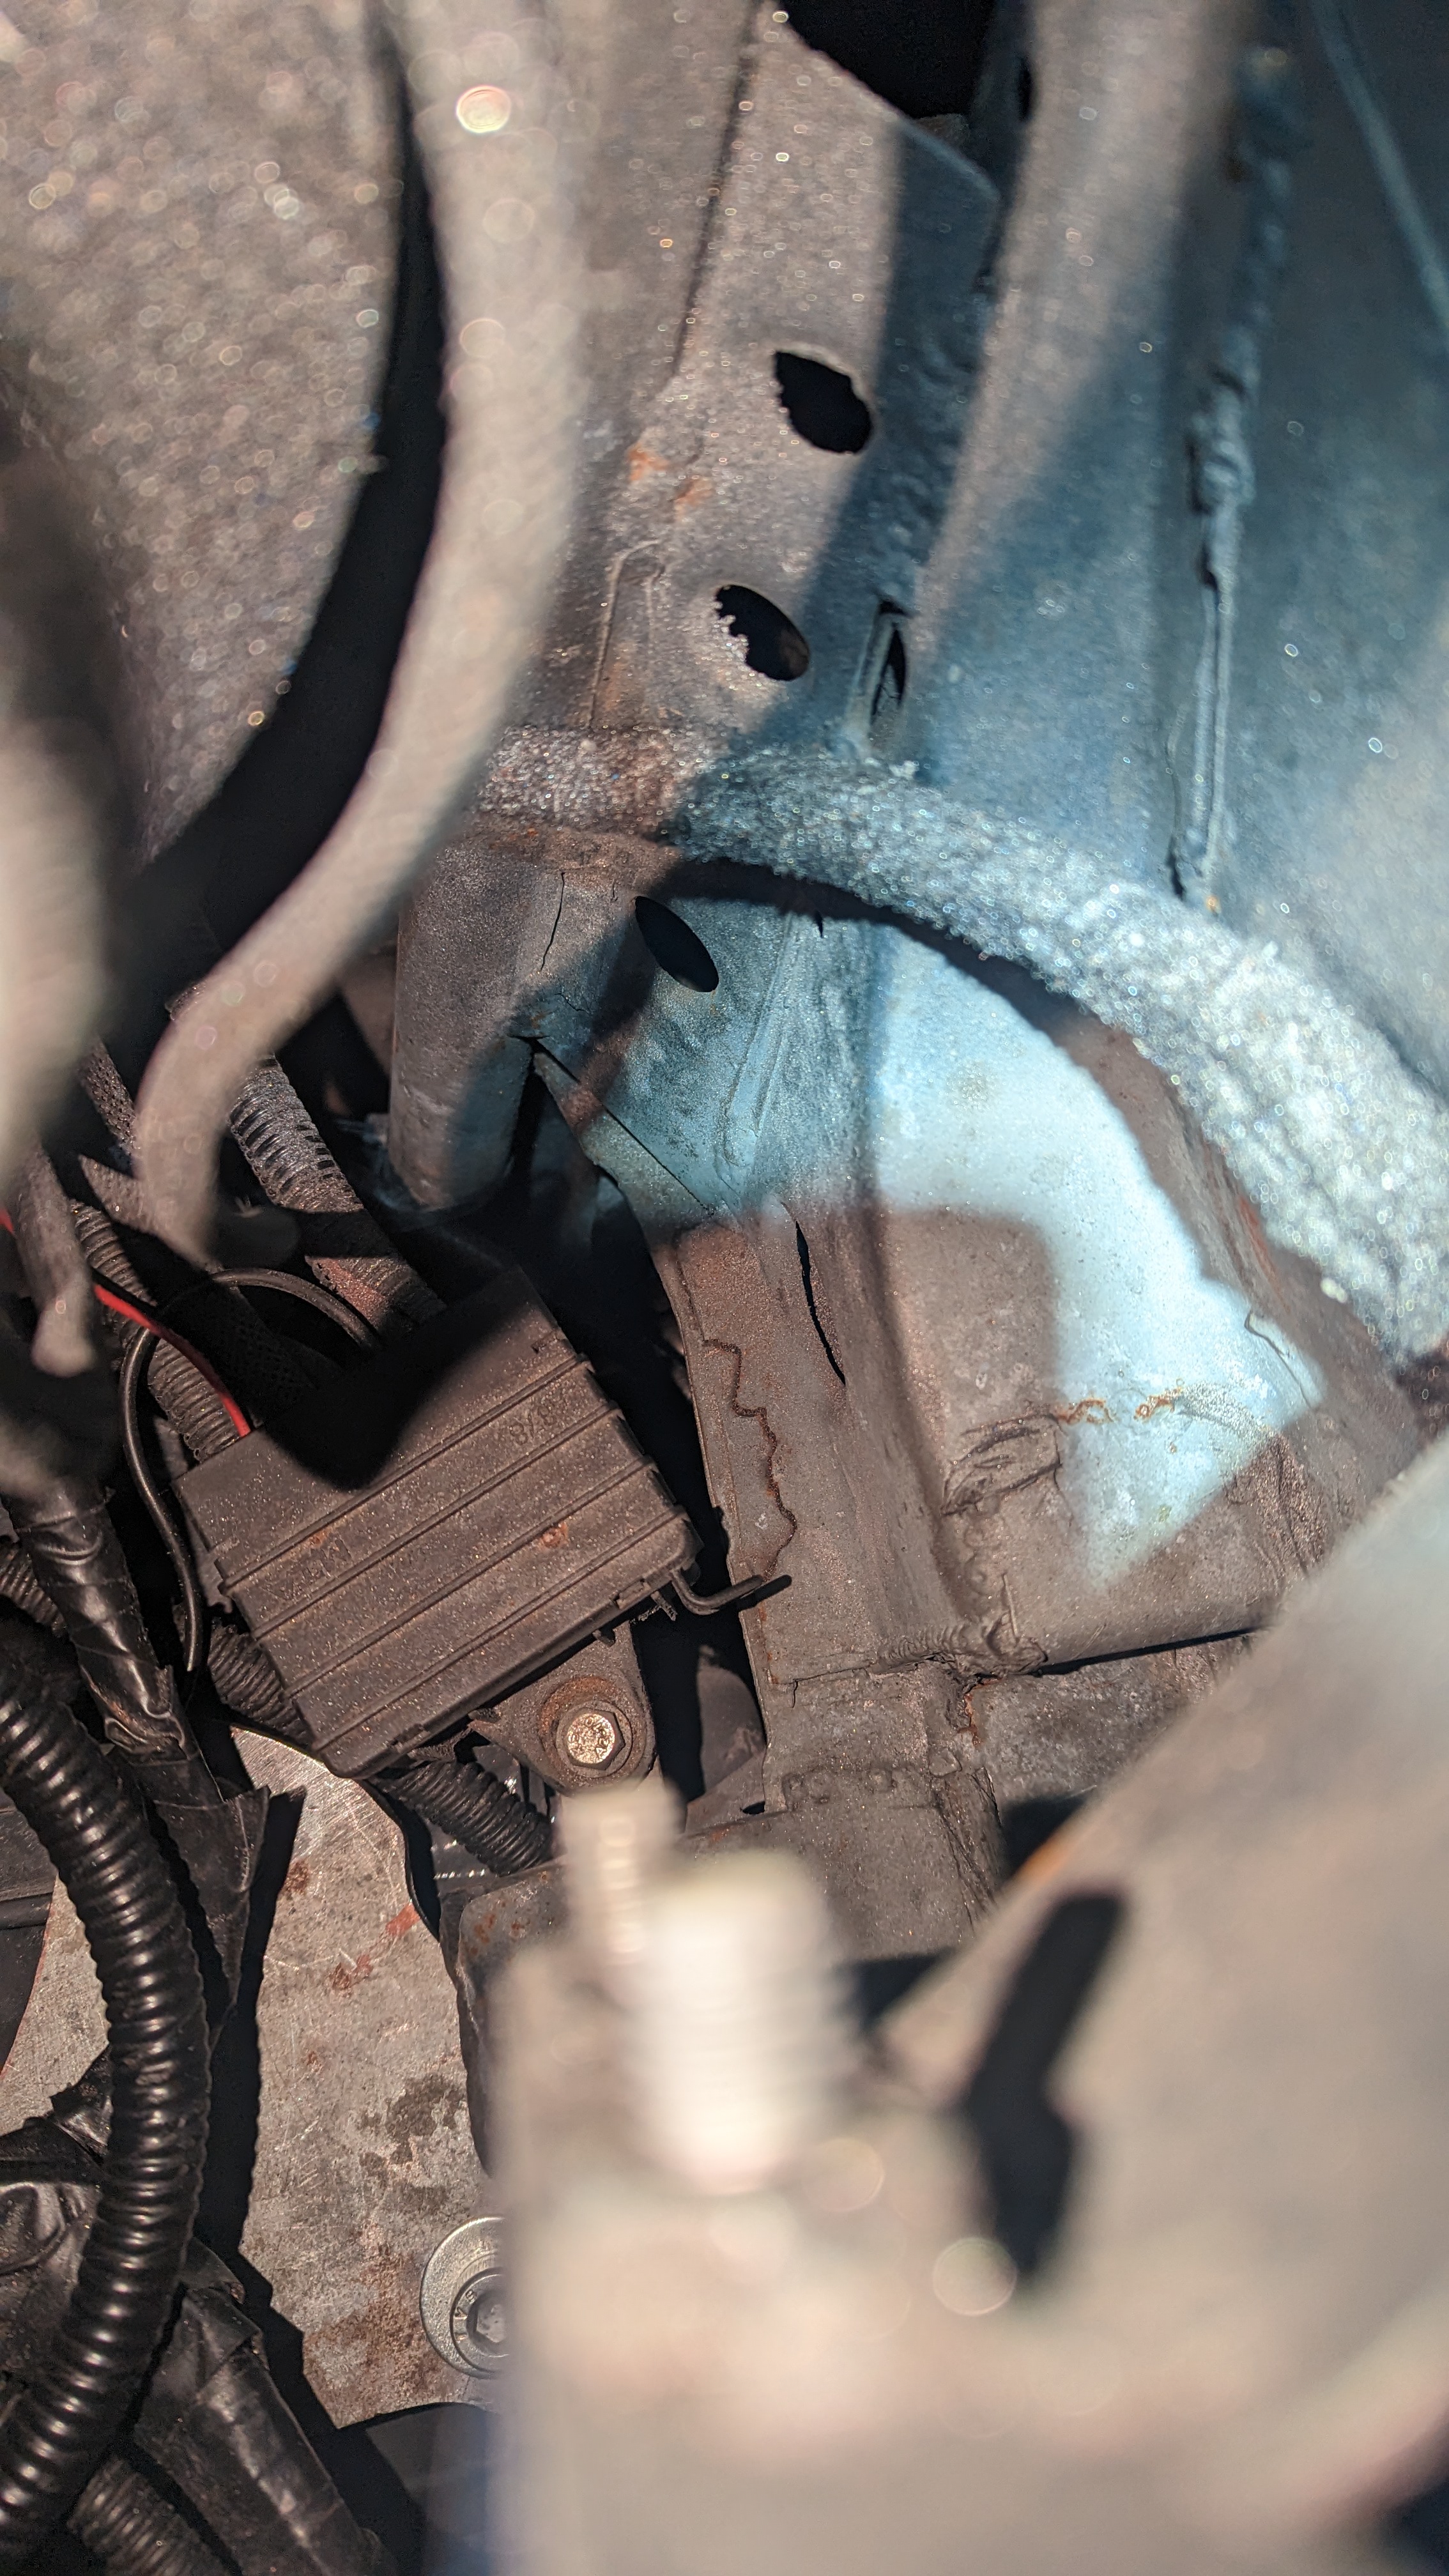
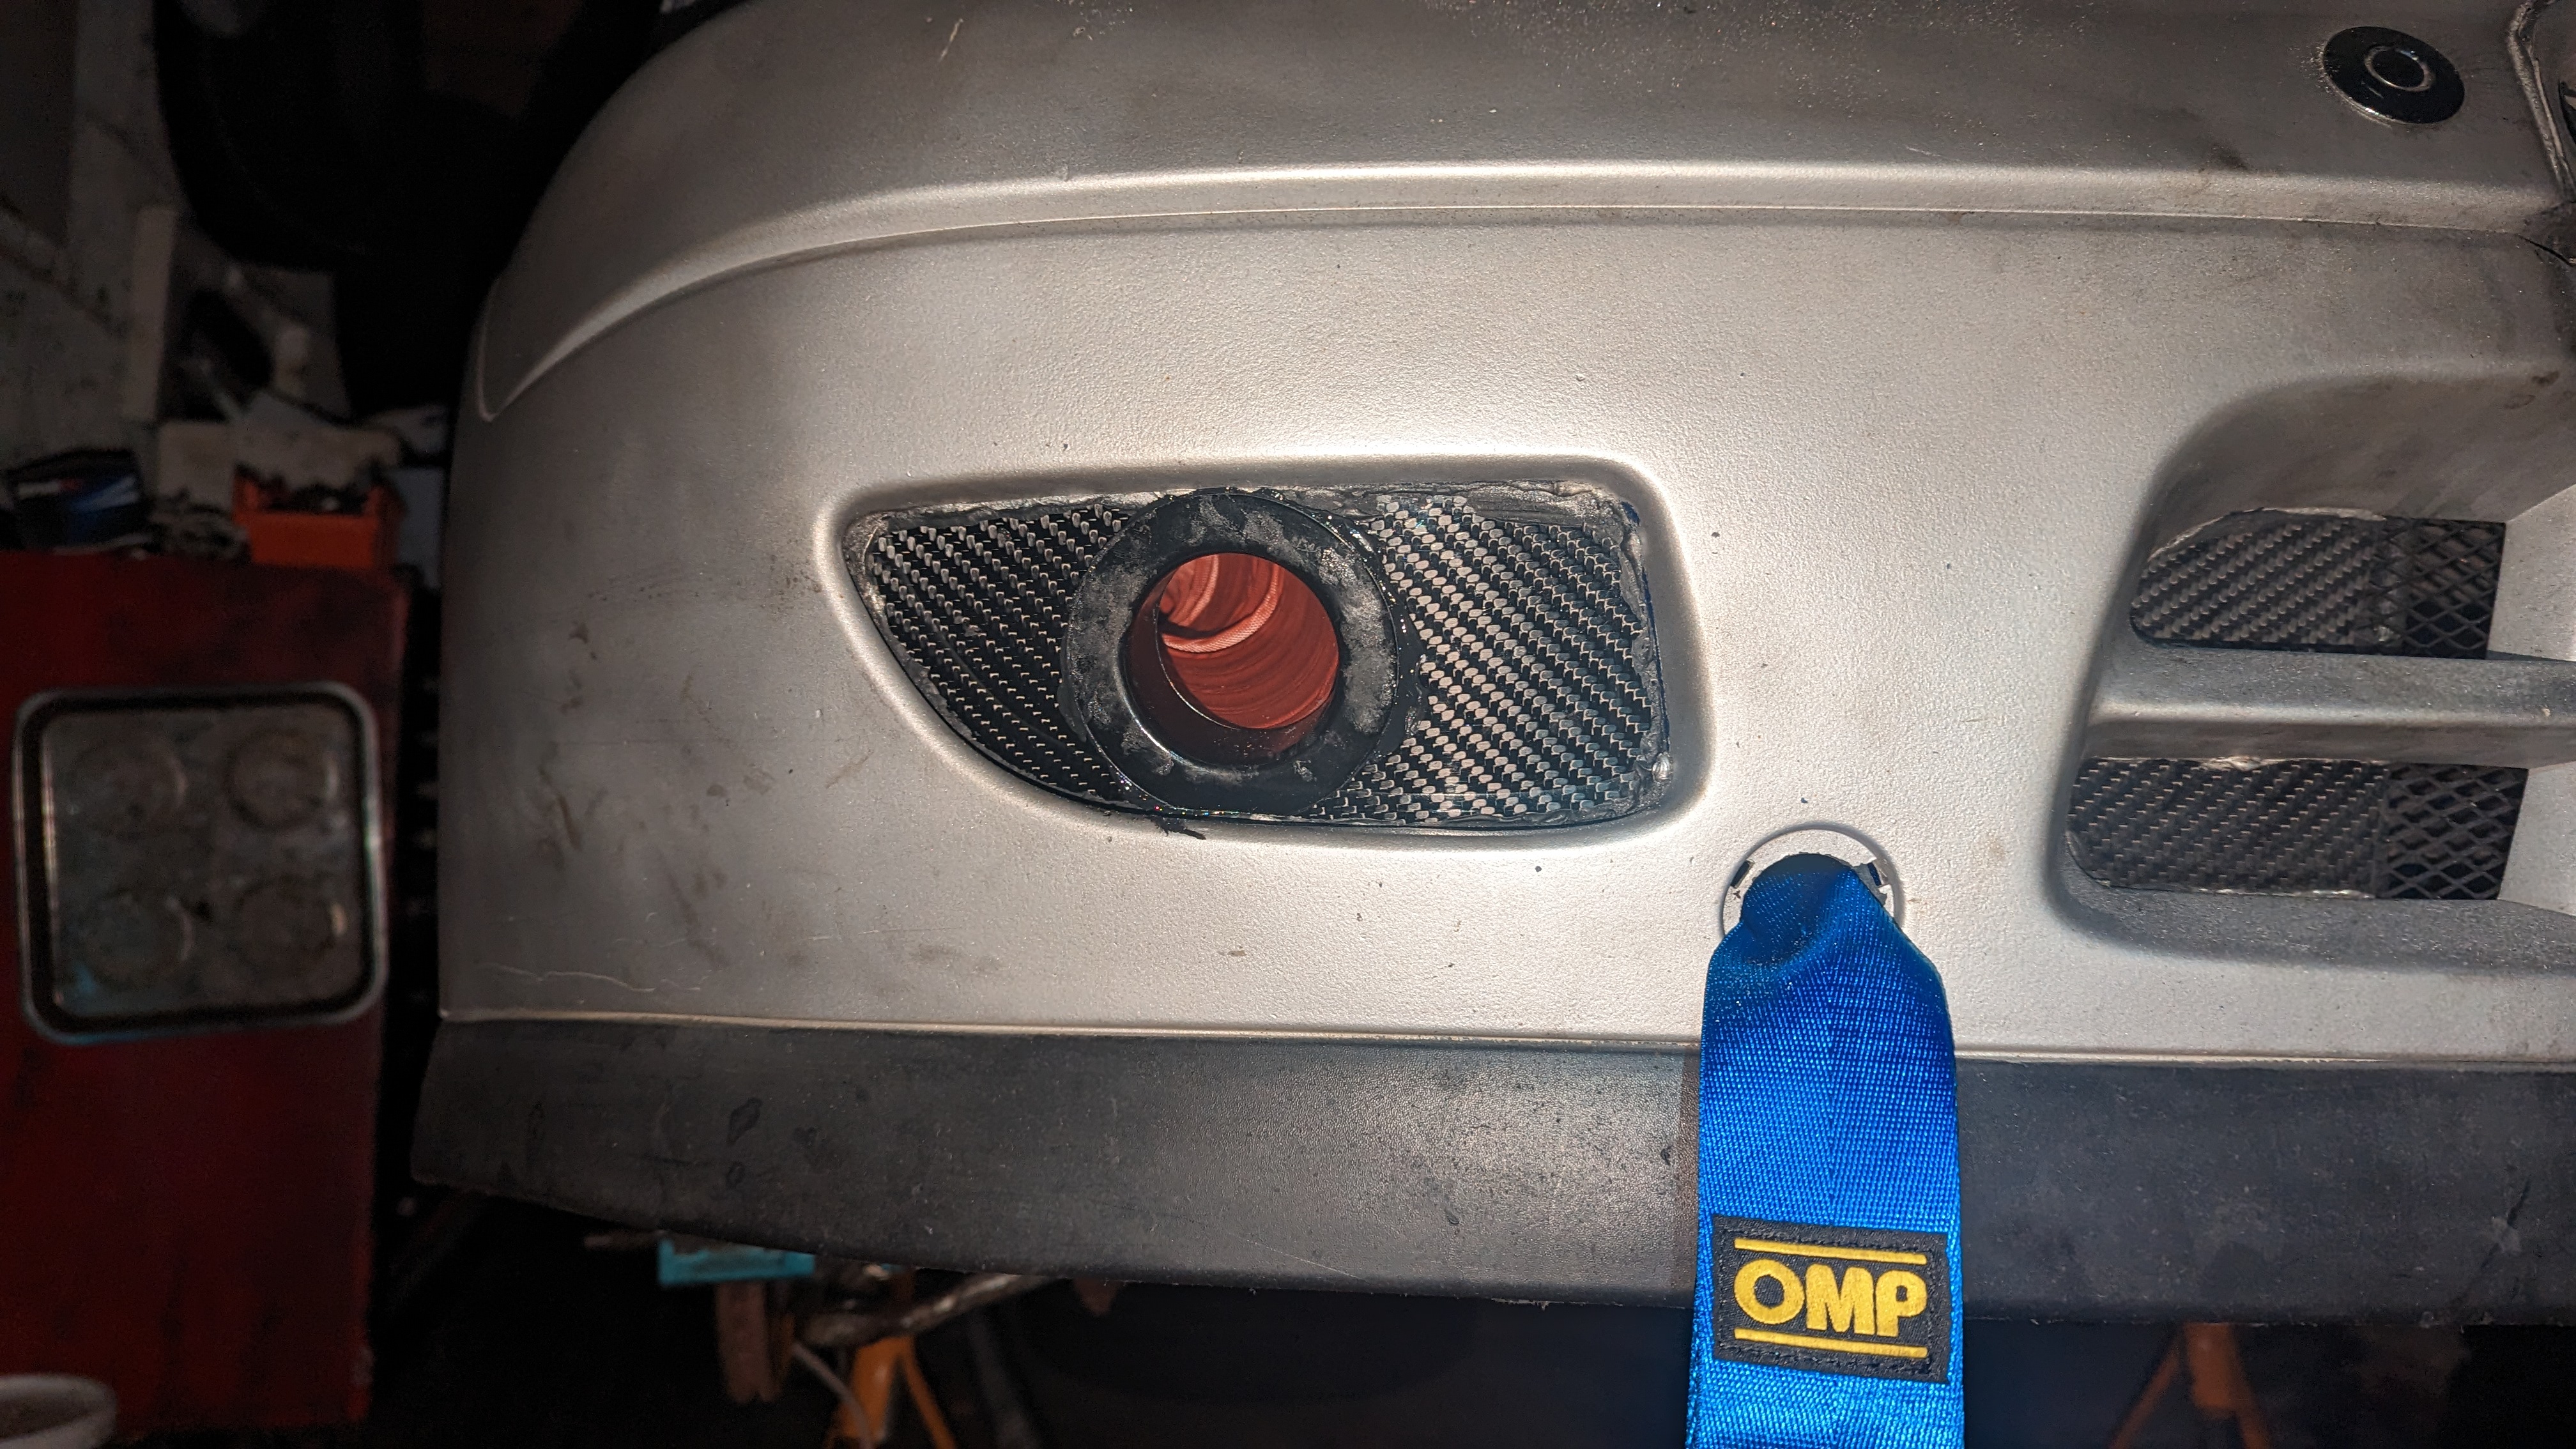
    Before putting the new engine in I wanted to do some fab on the engine bay while treating the rust and doing some streghtening too:


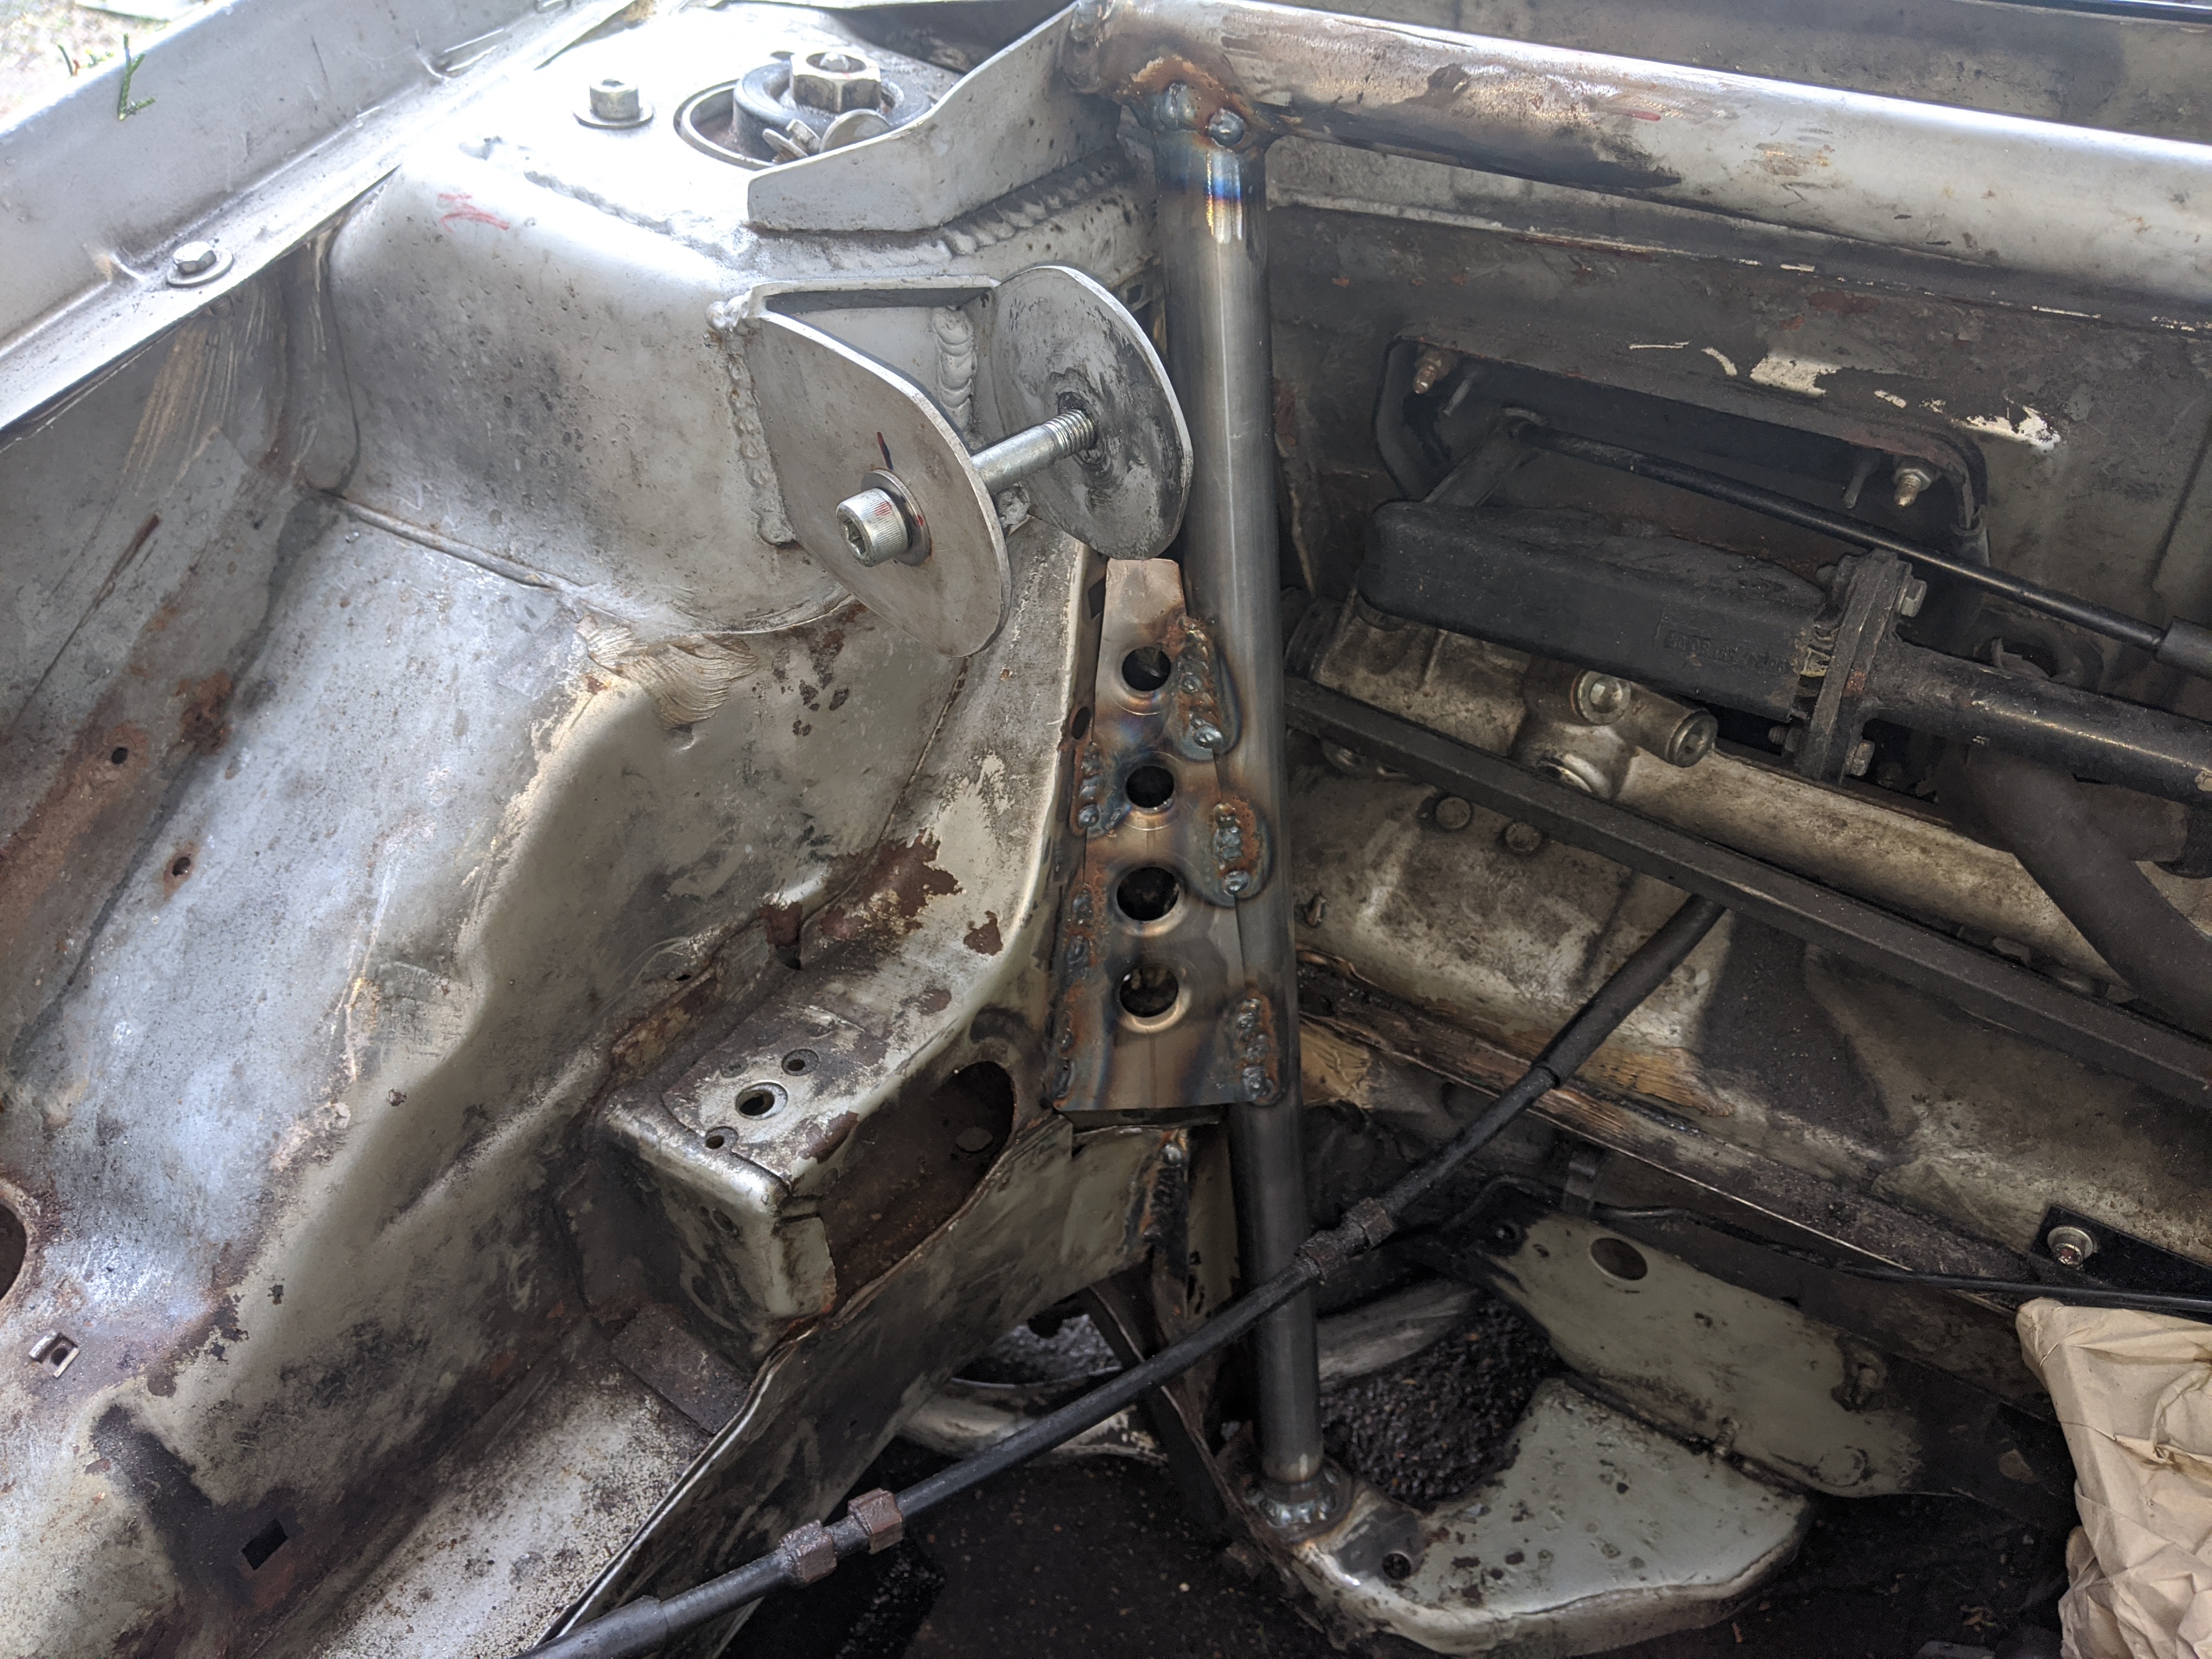
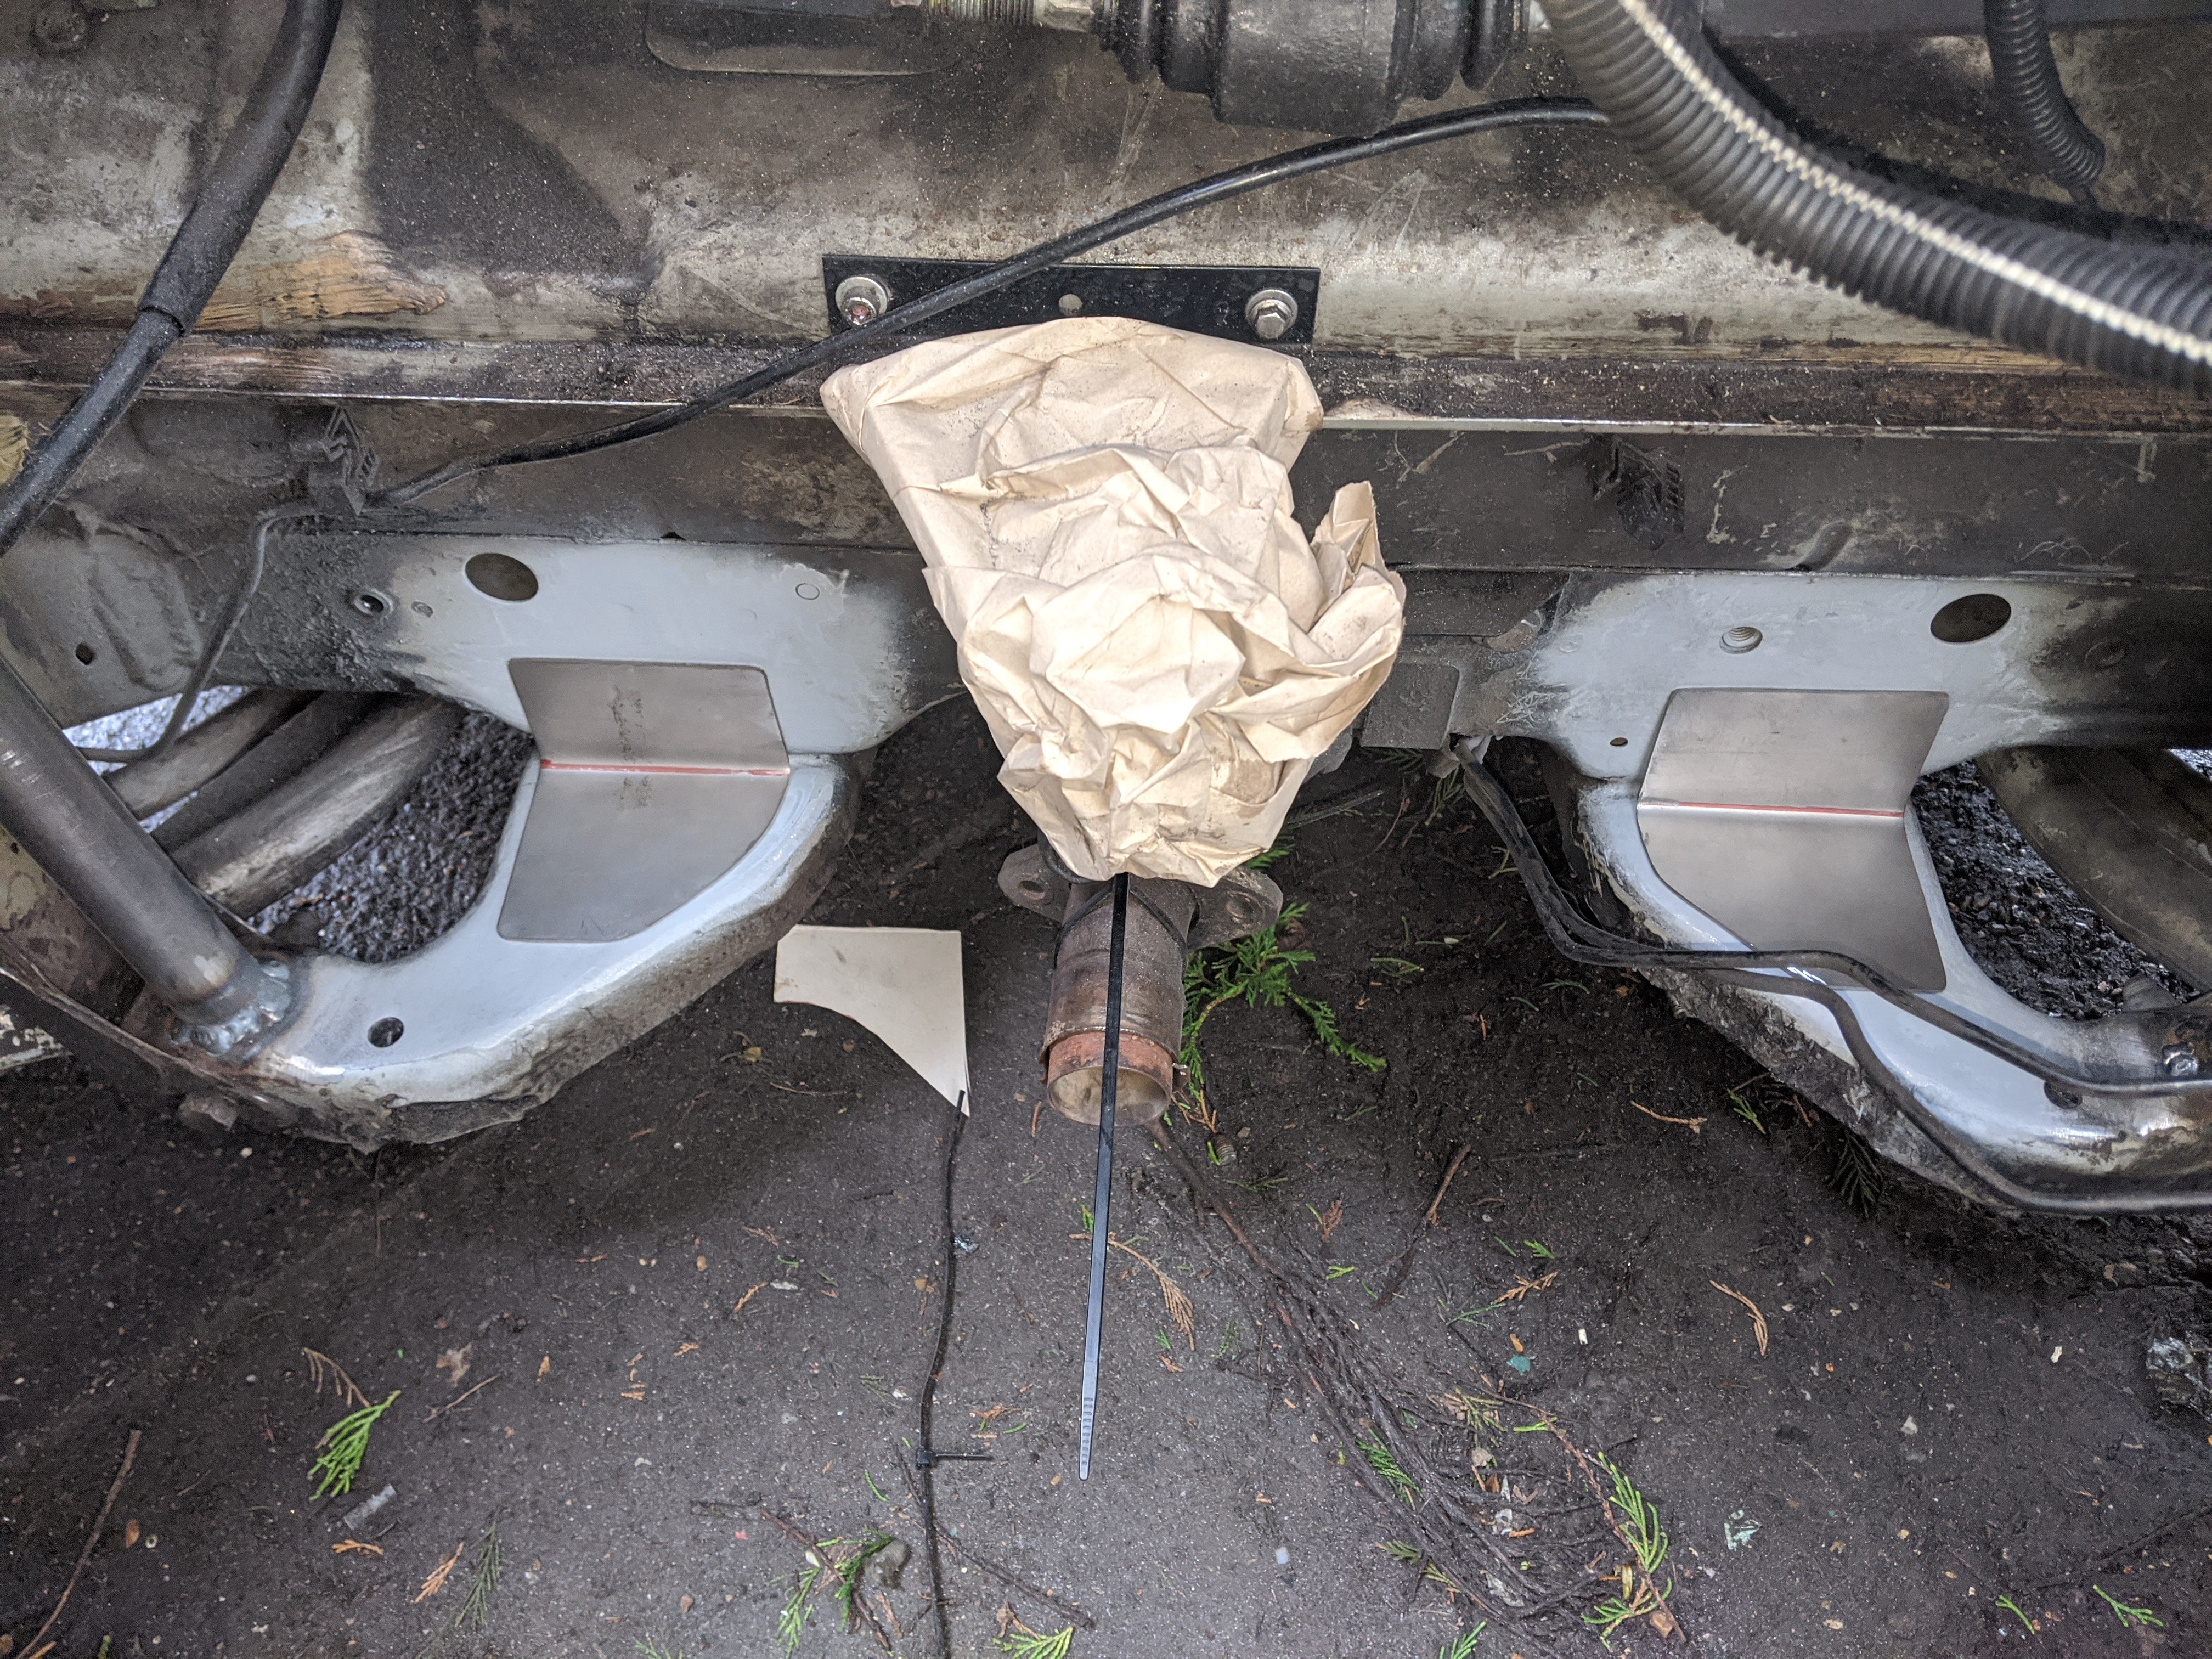
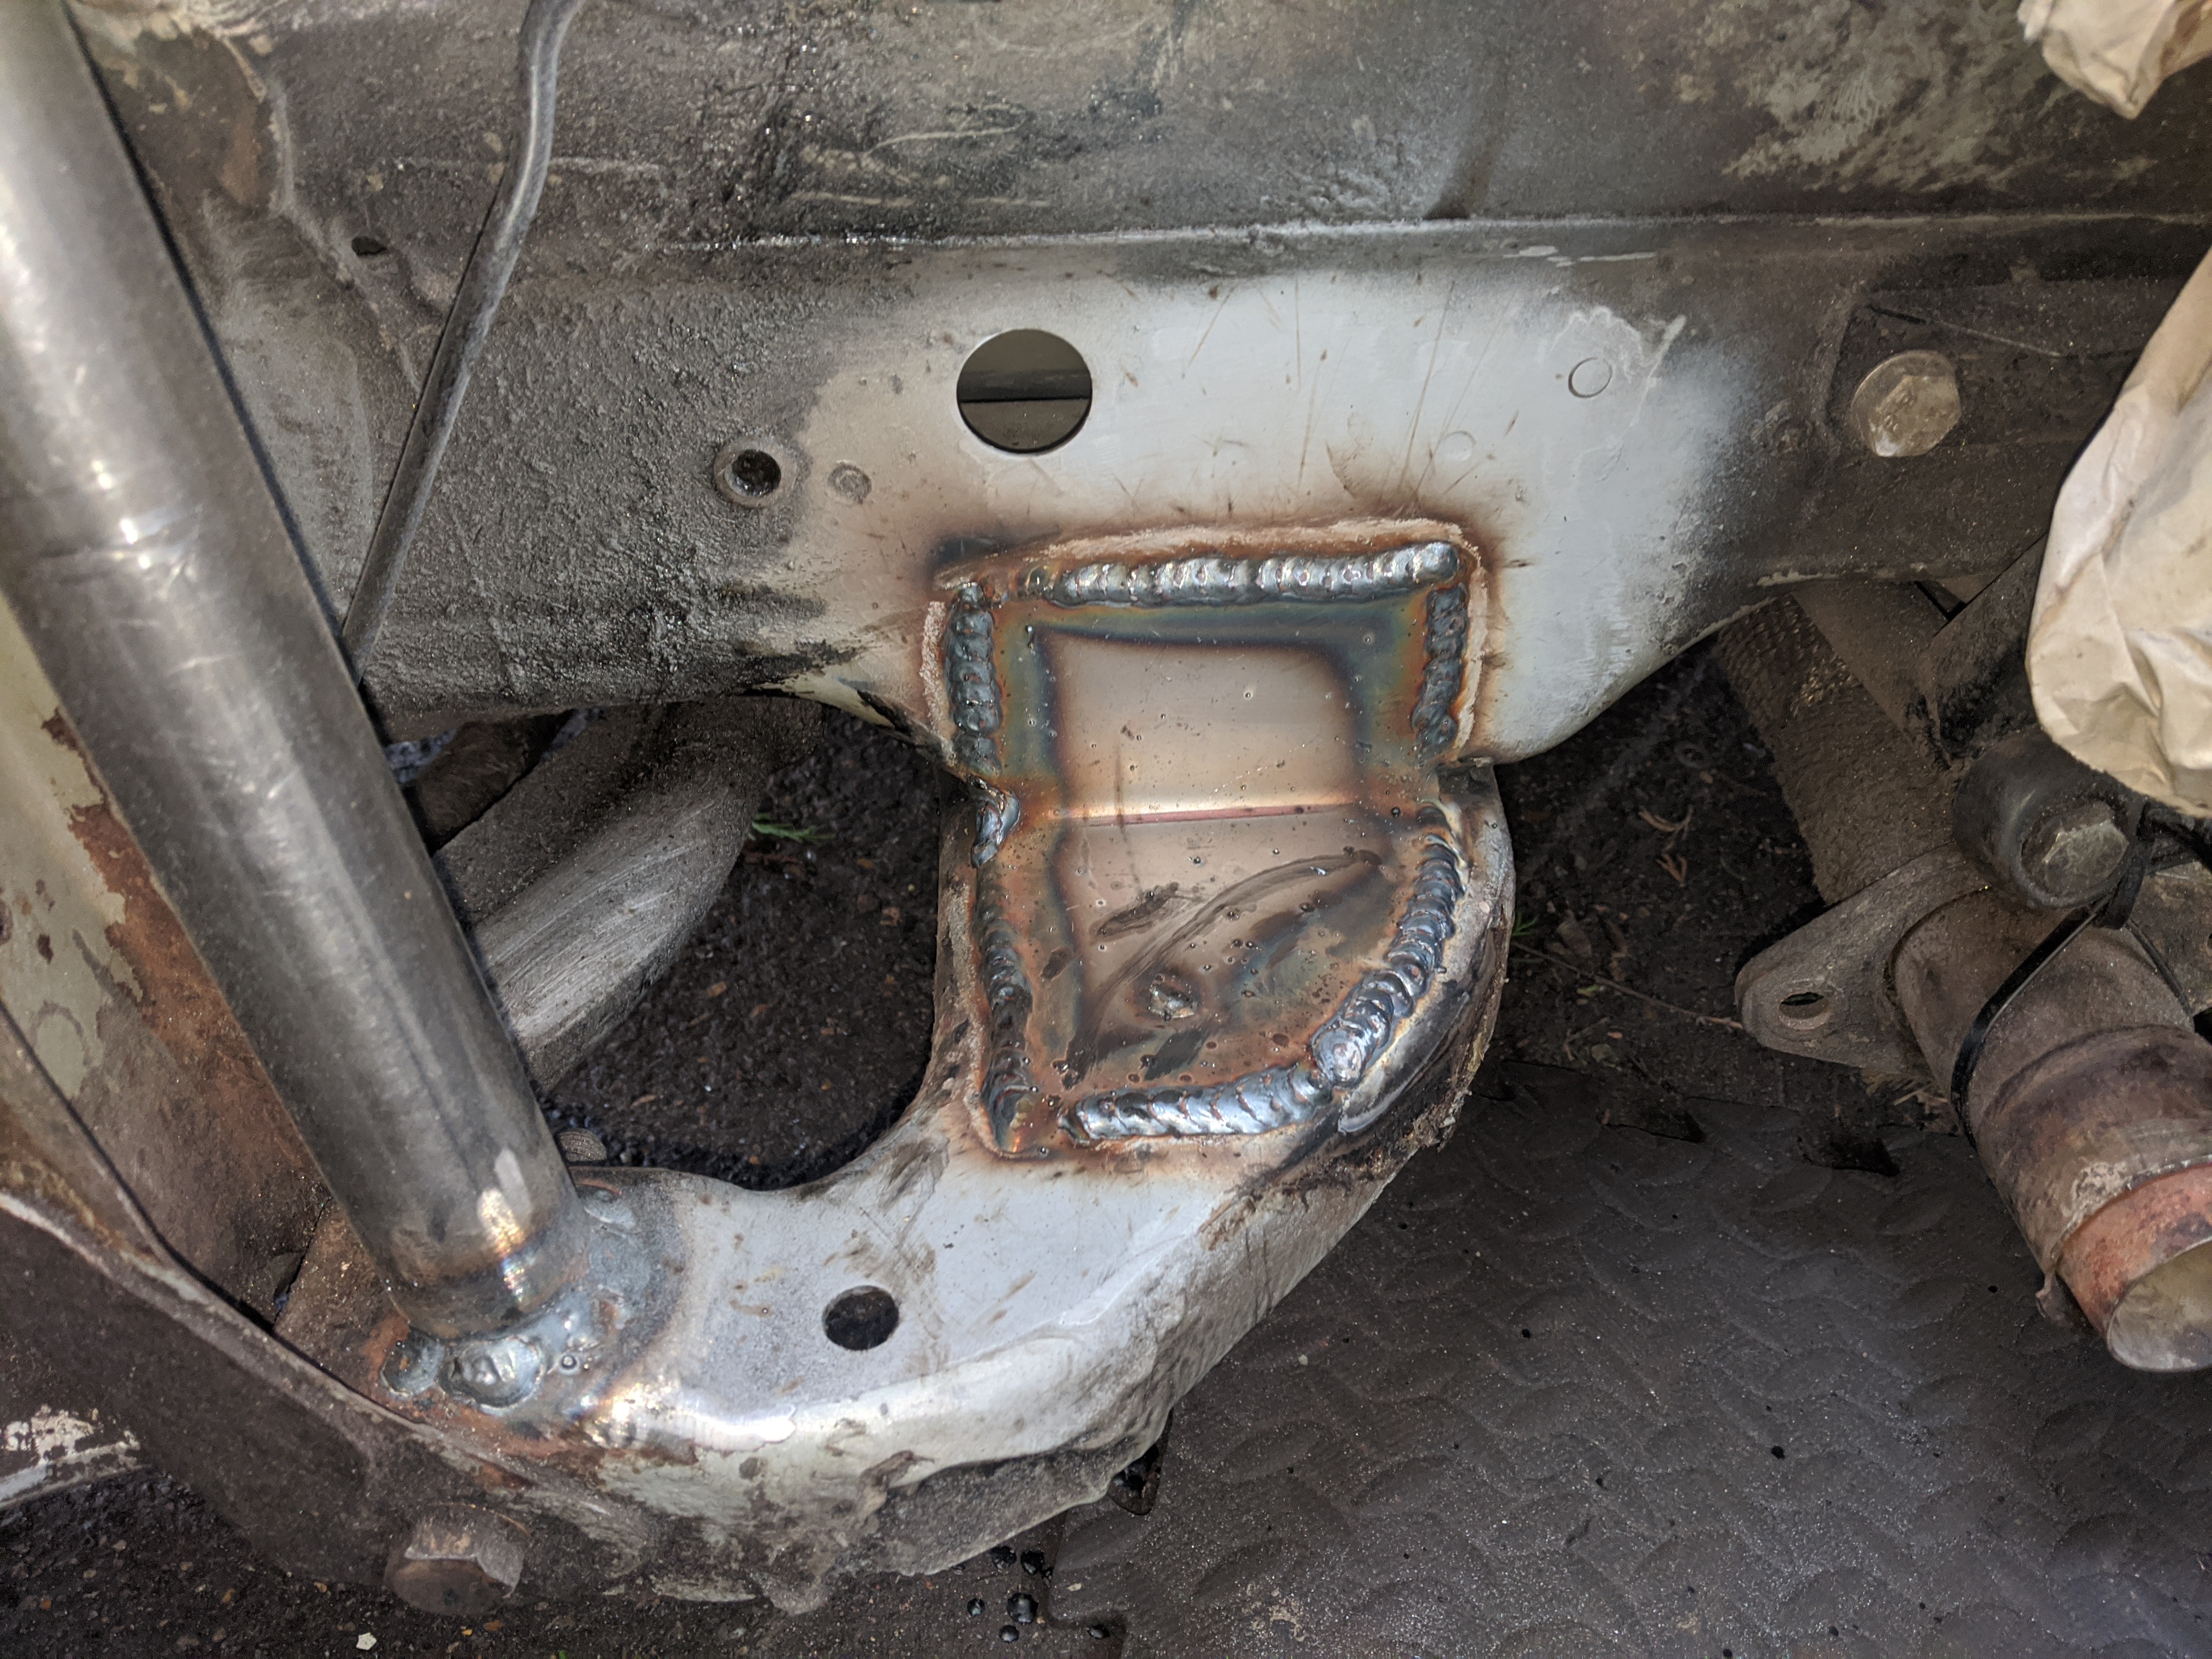
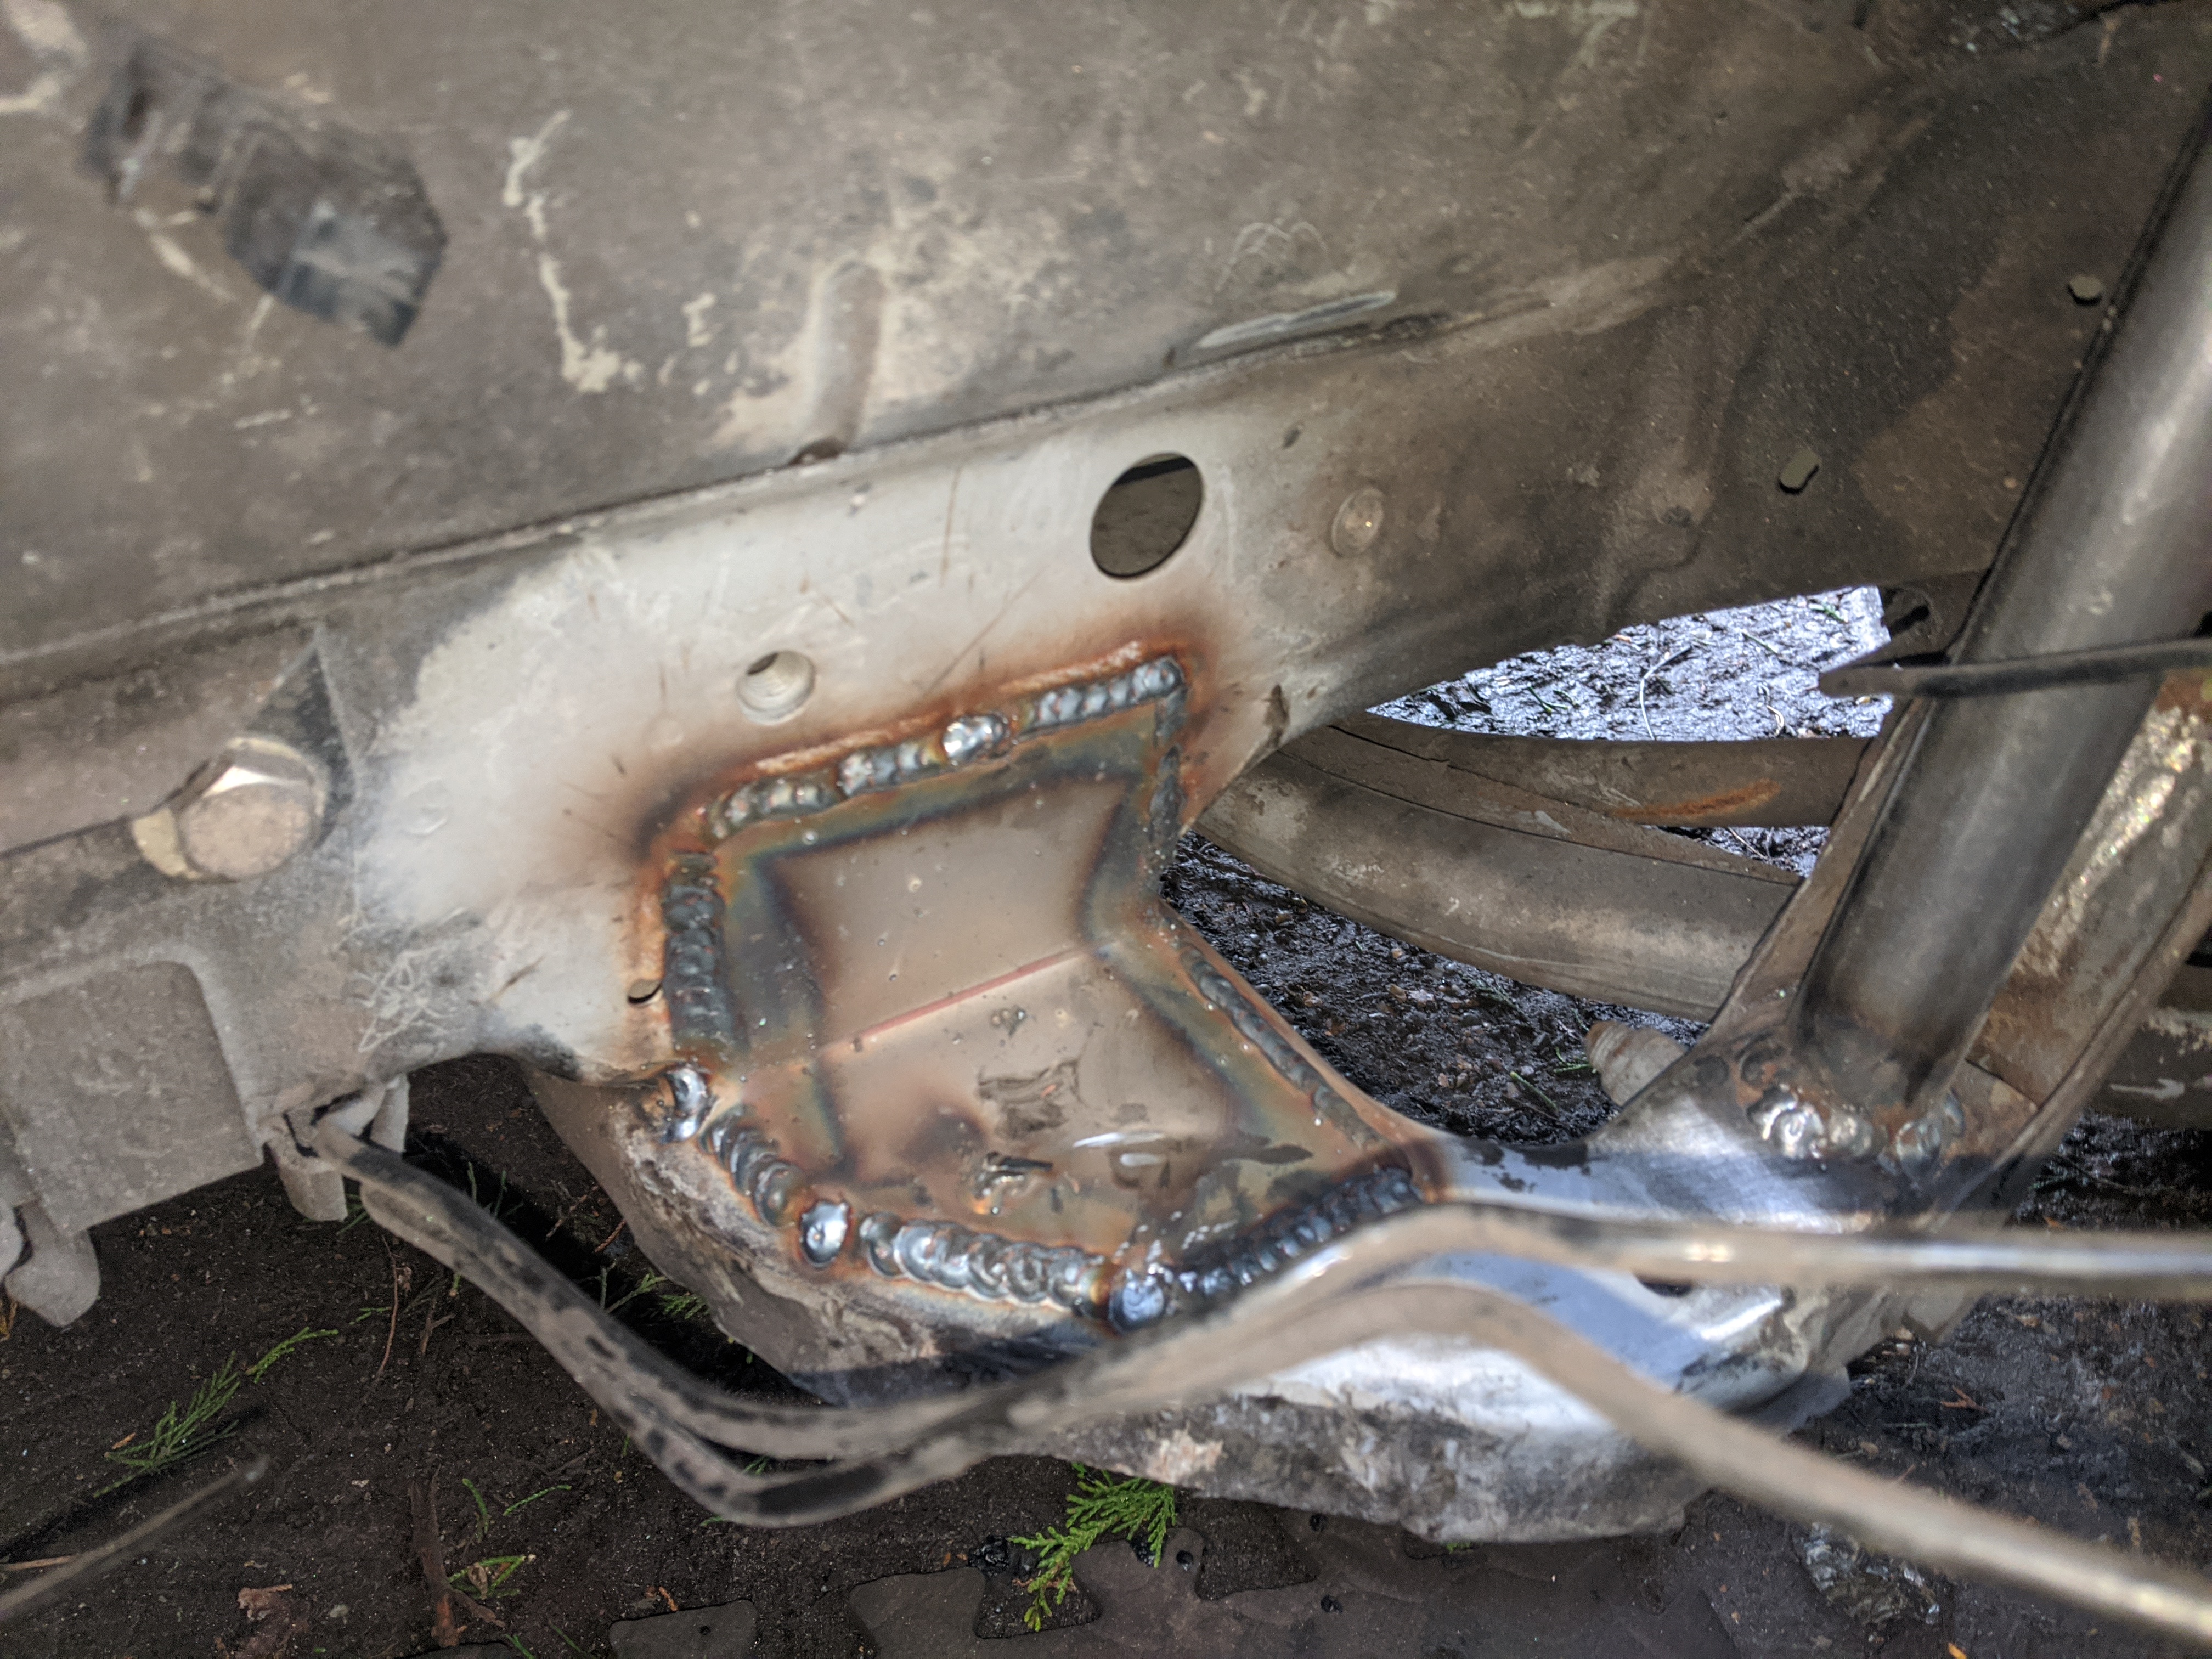
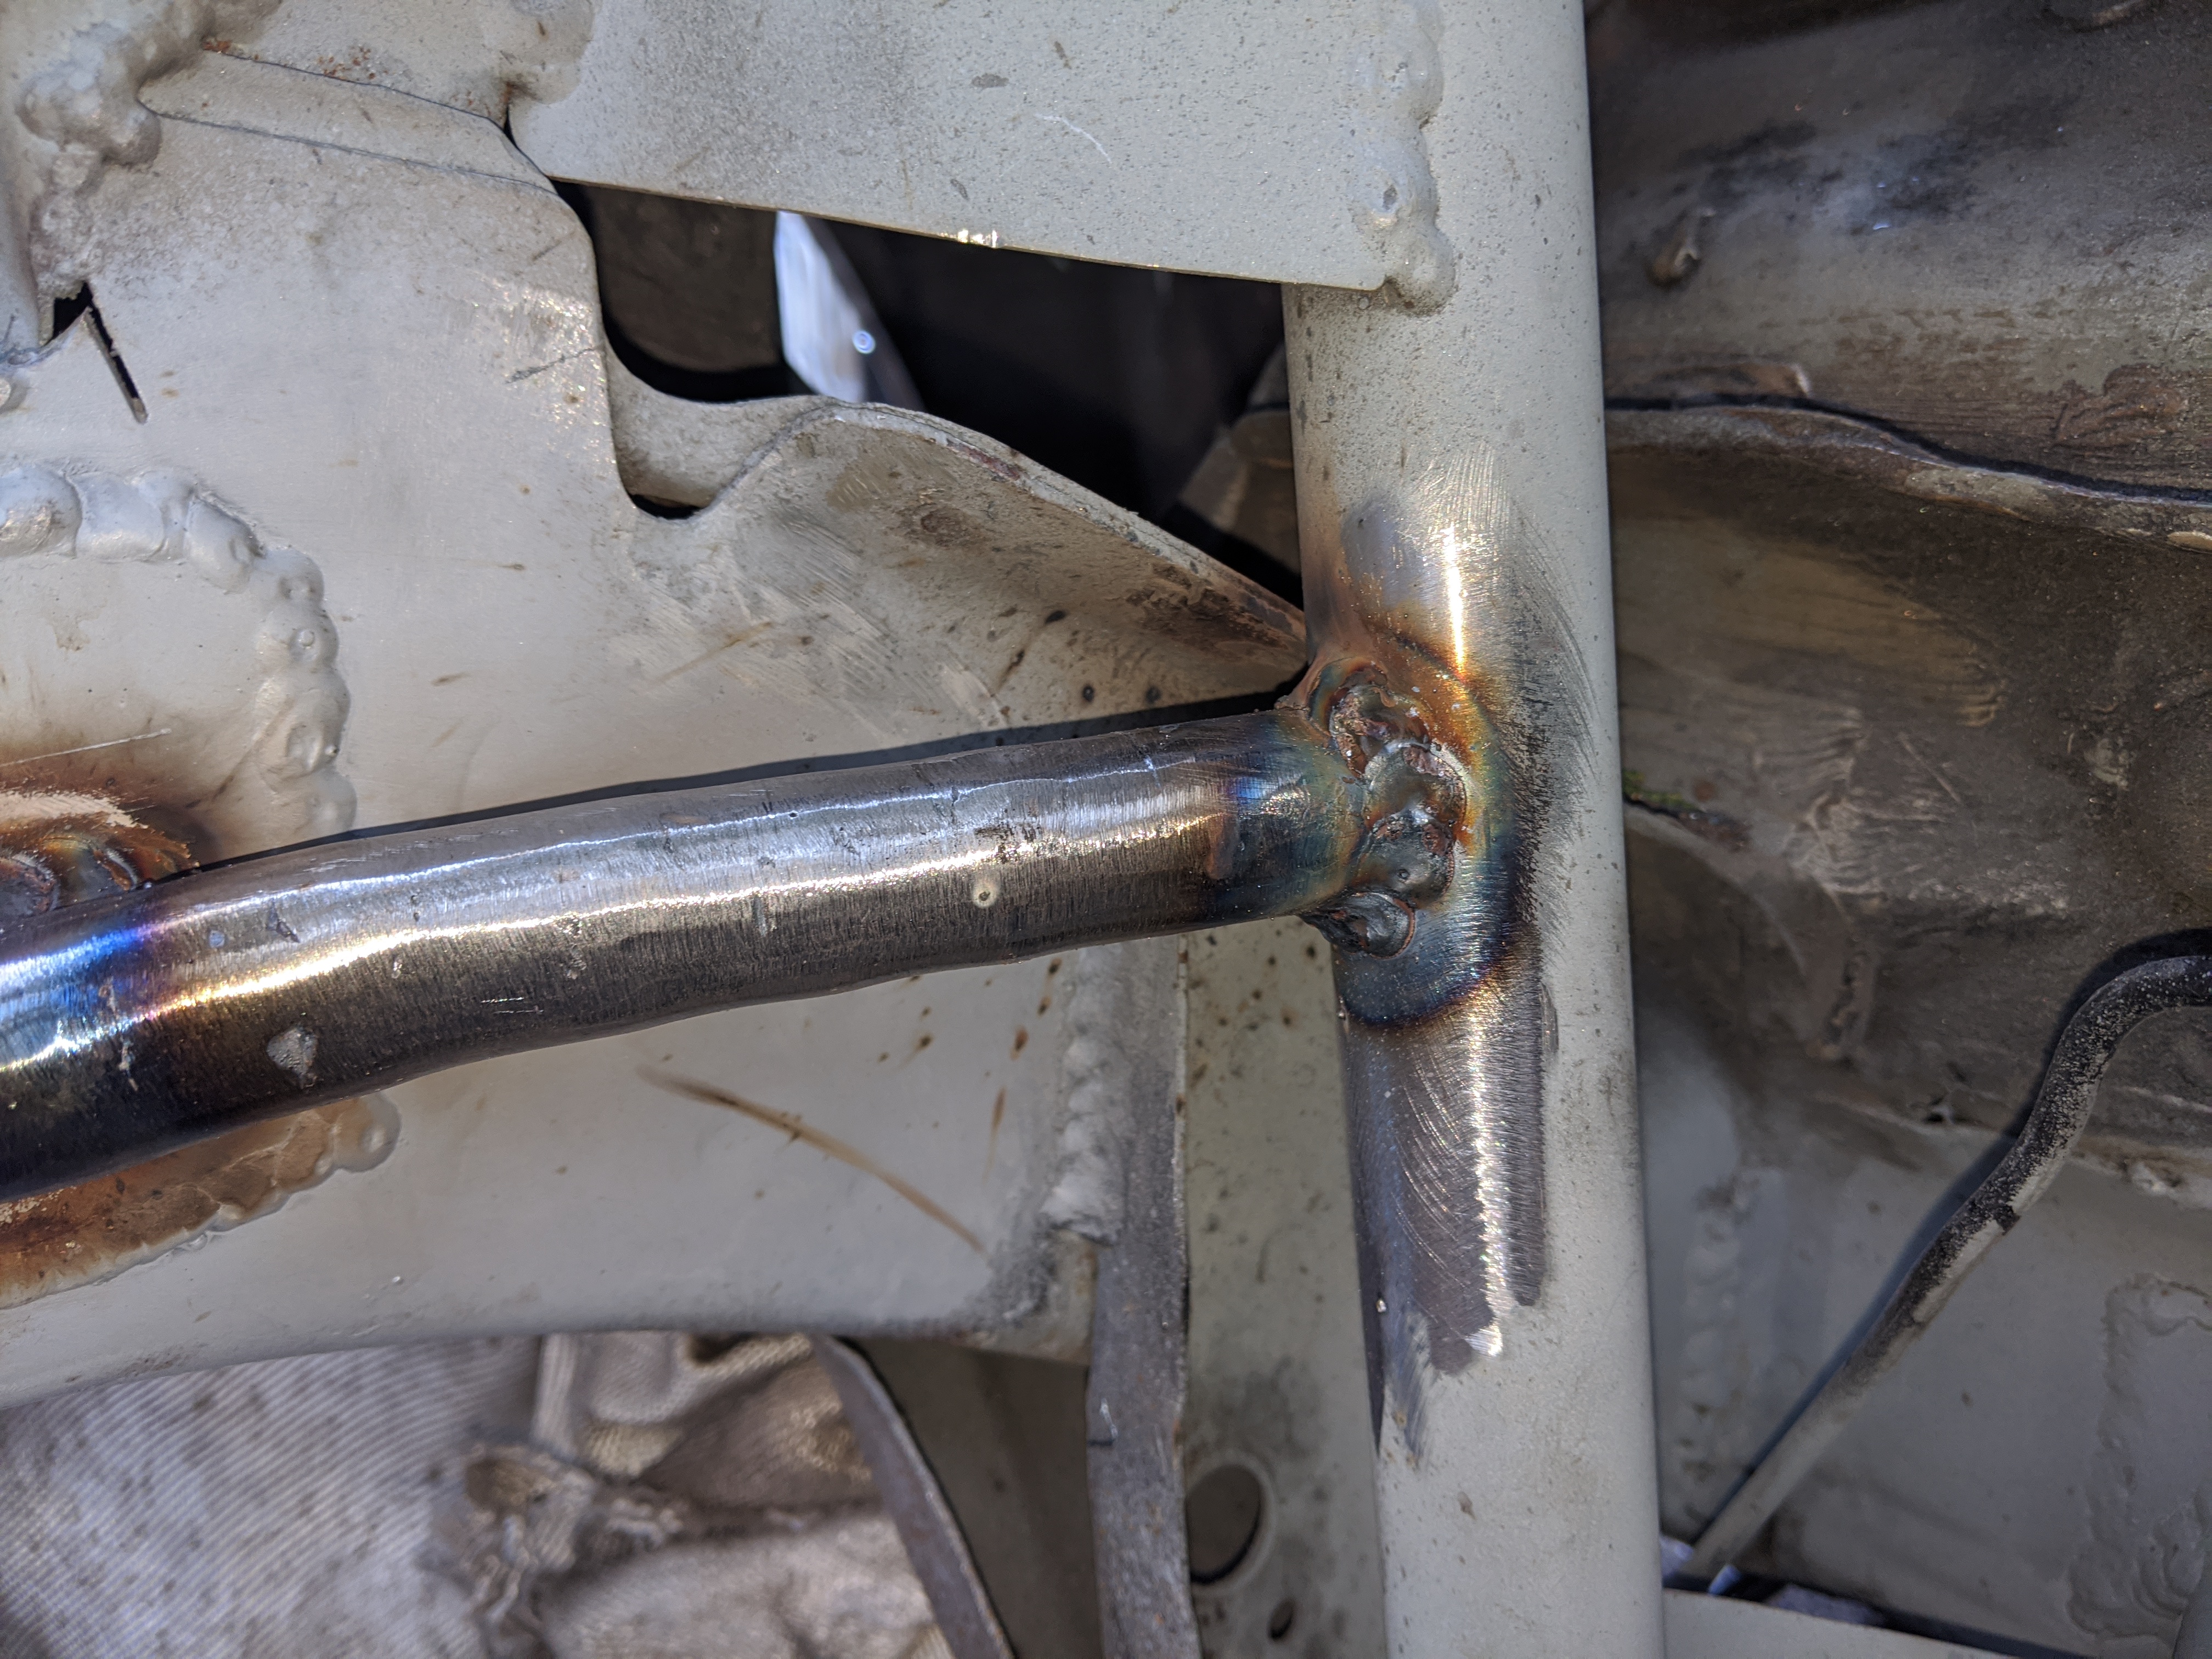
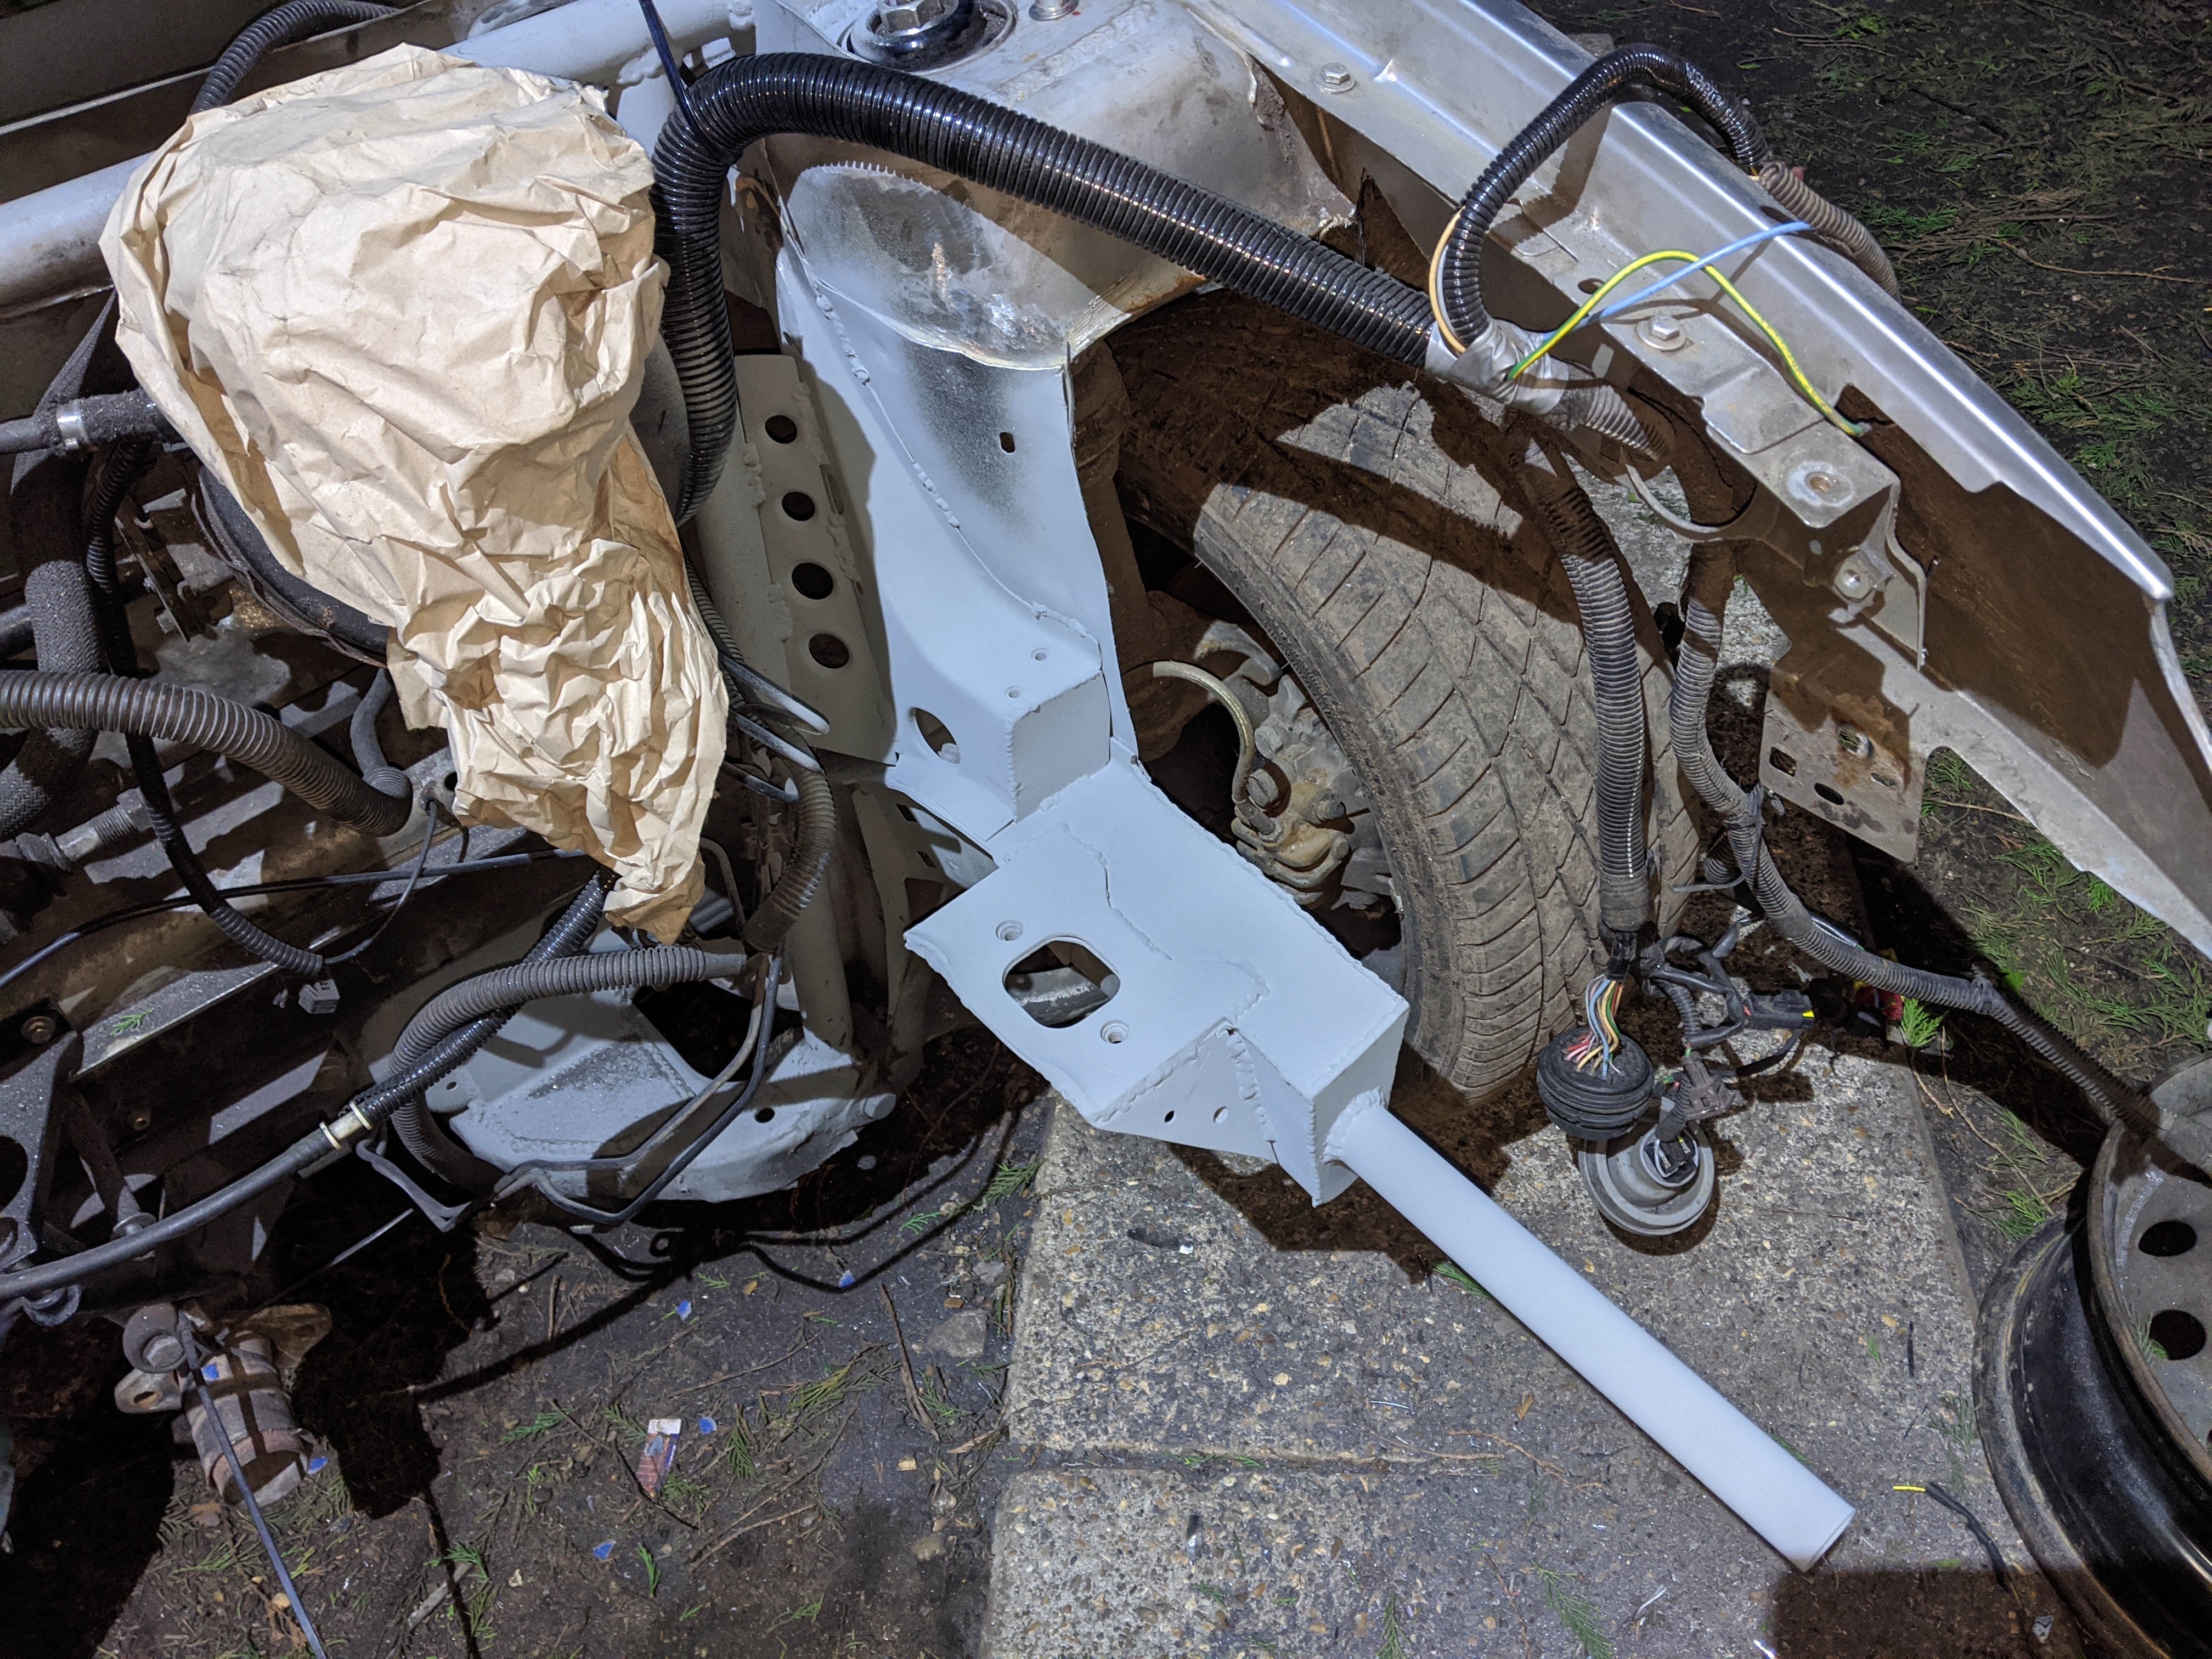
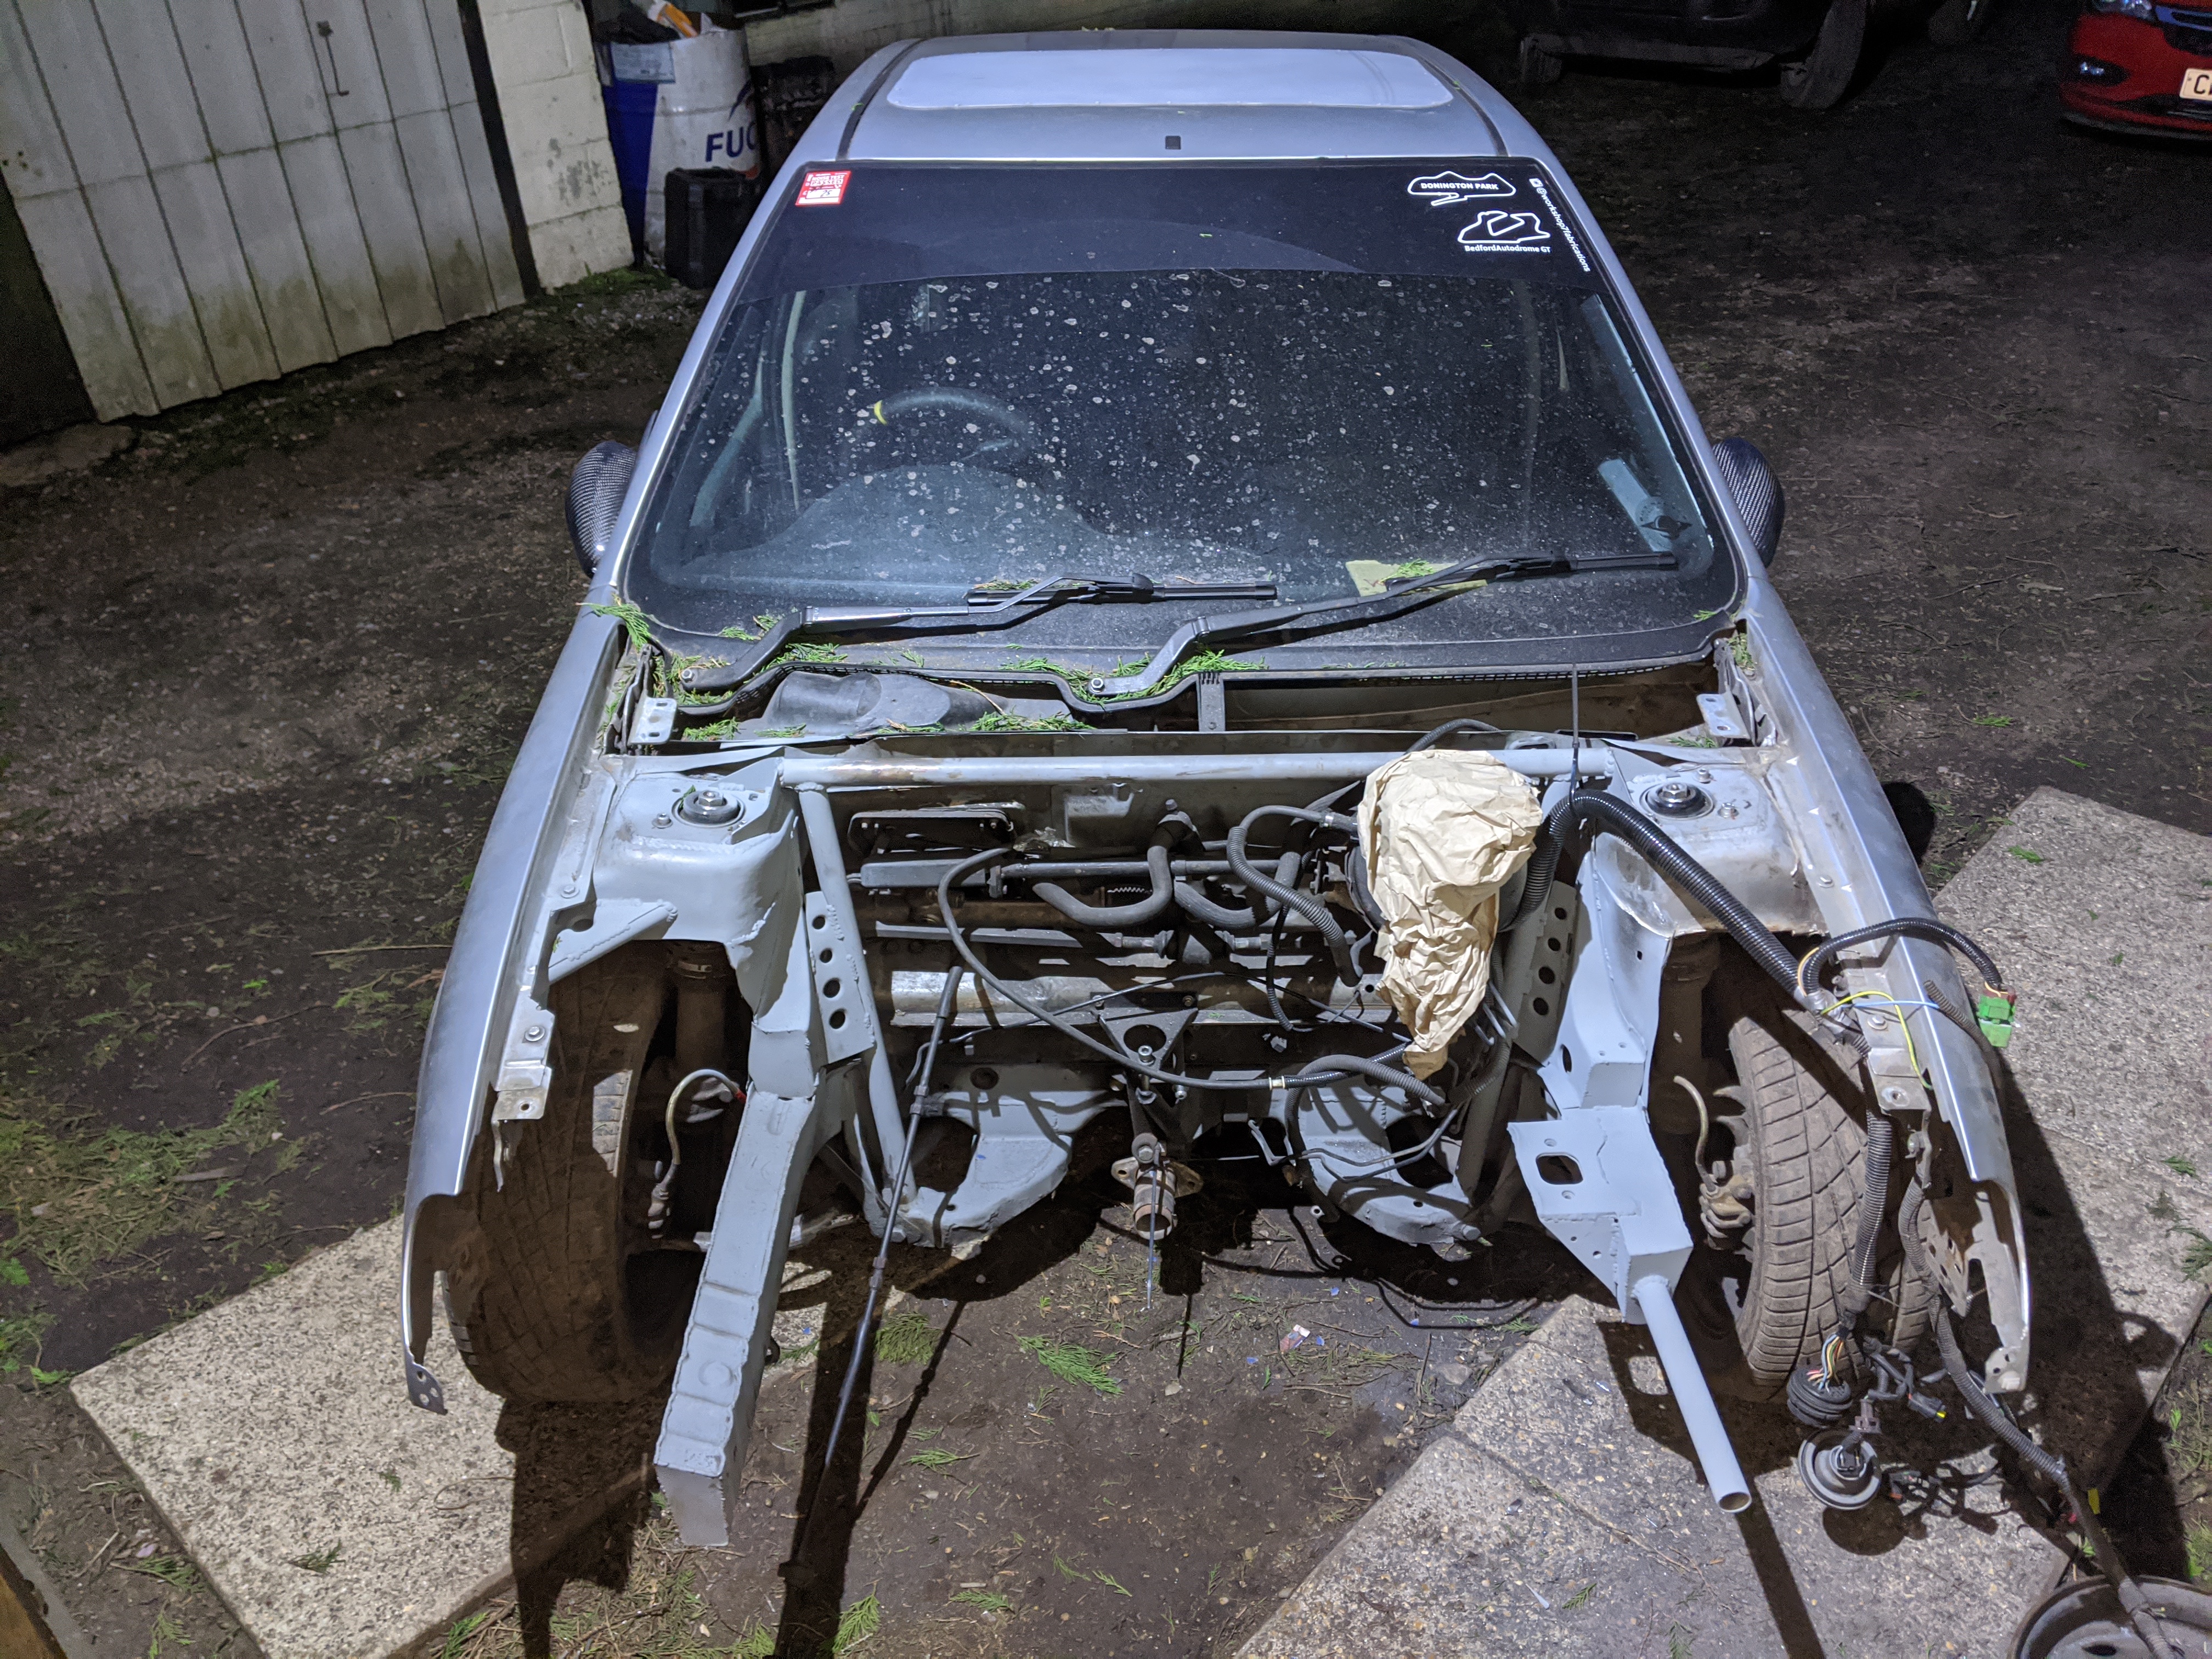
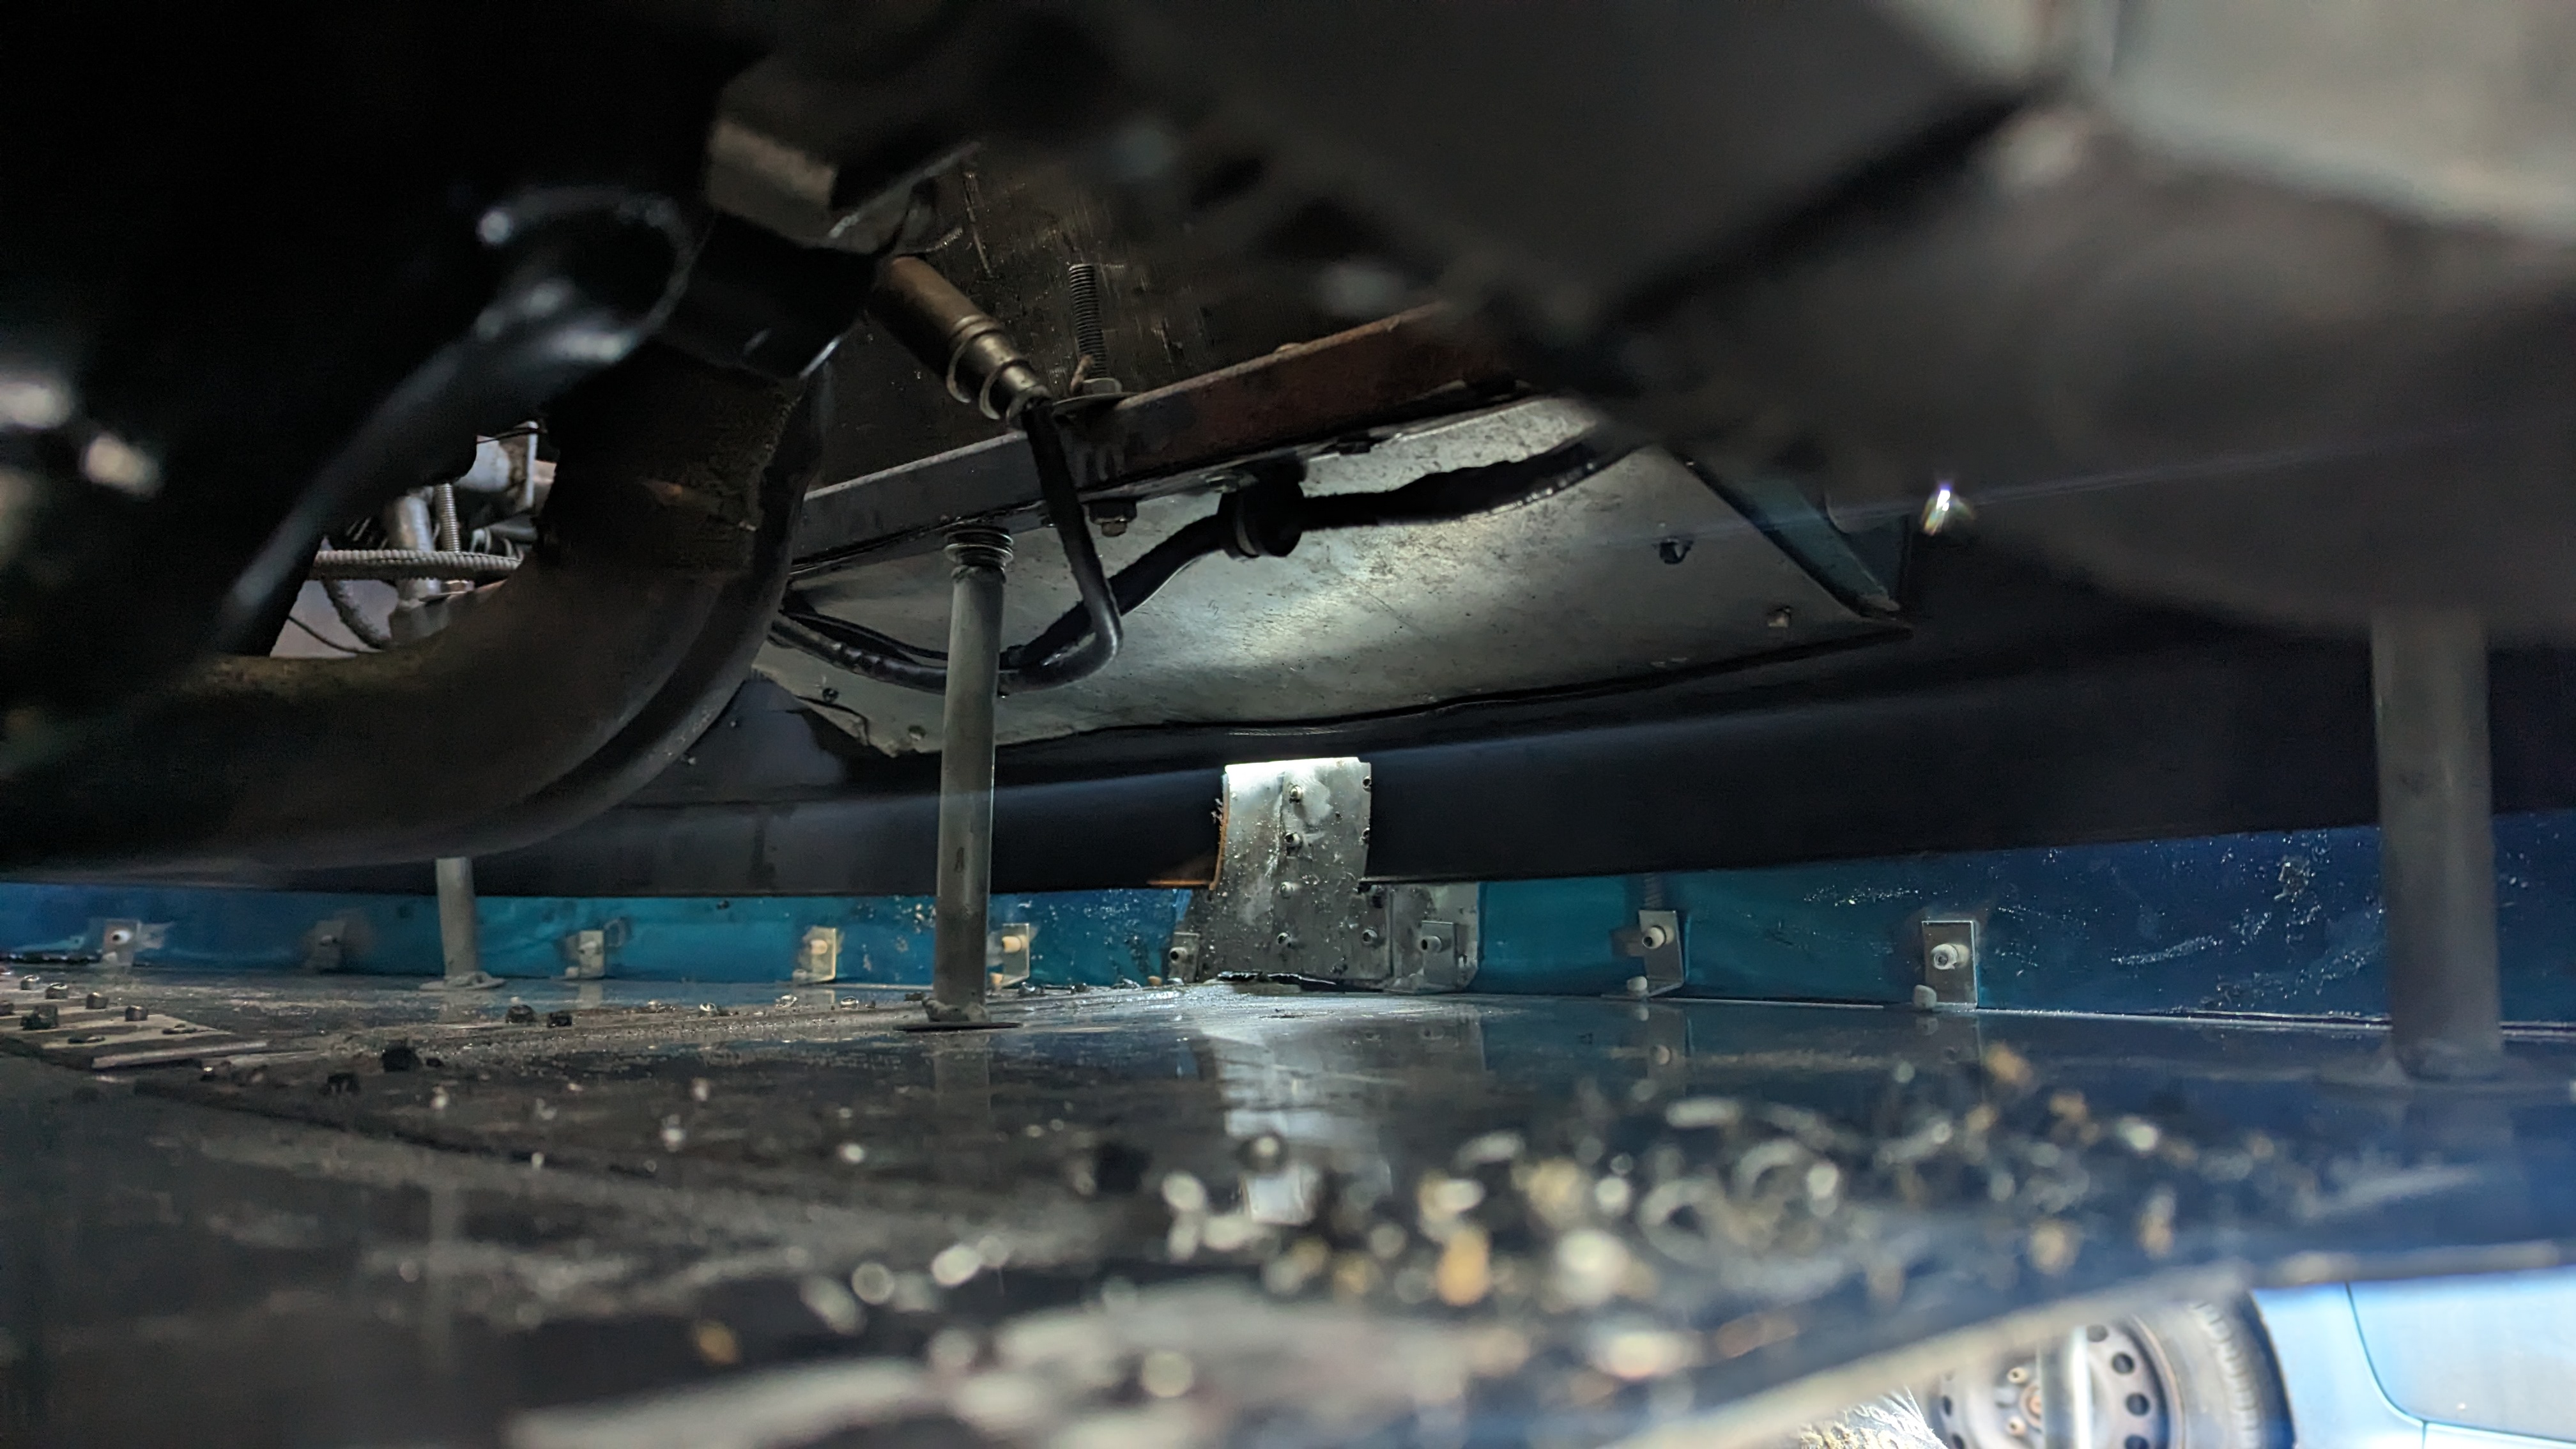
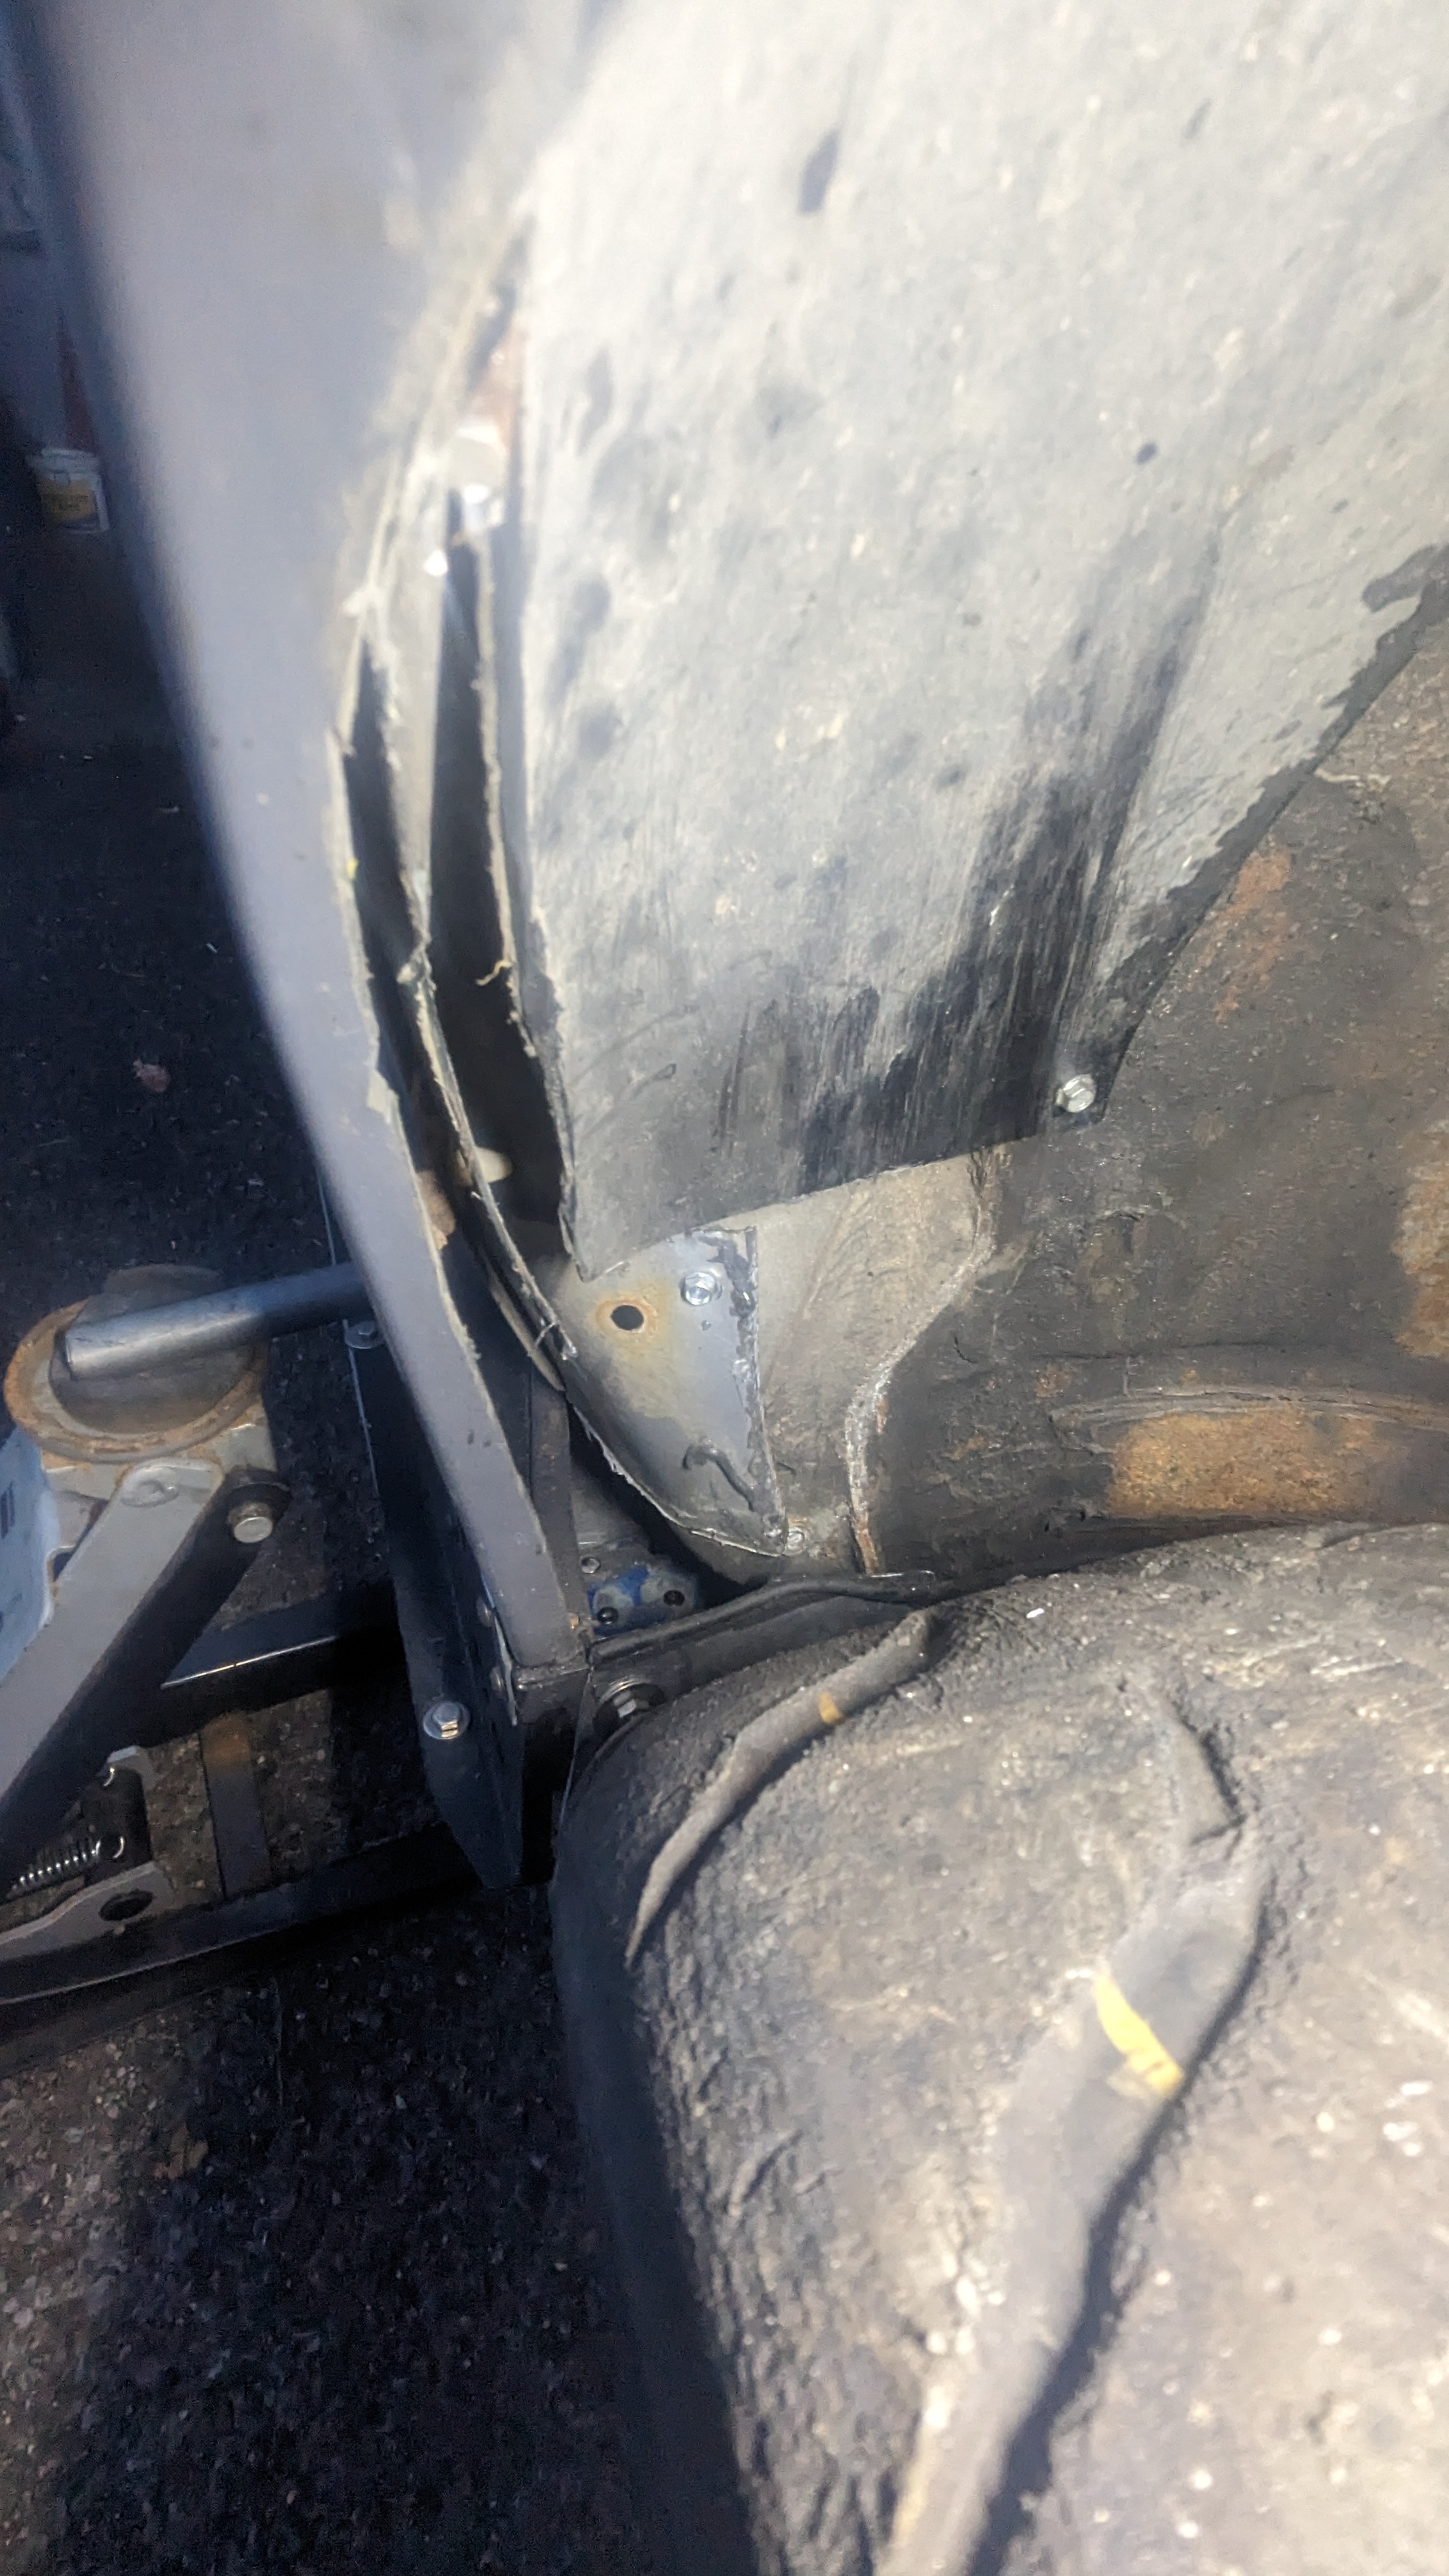
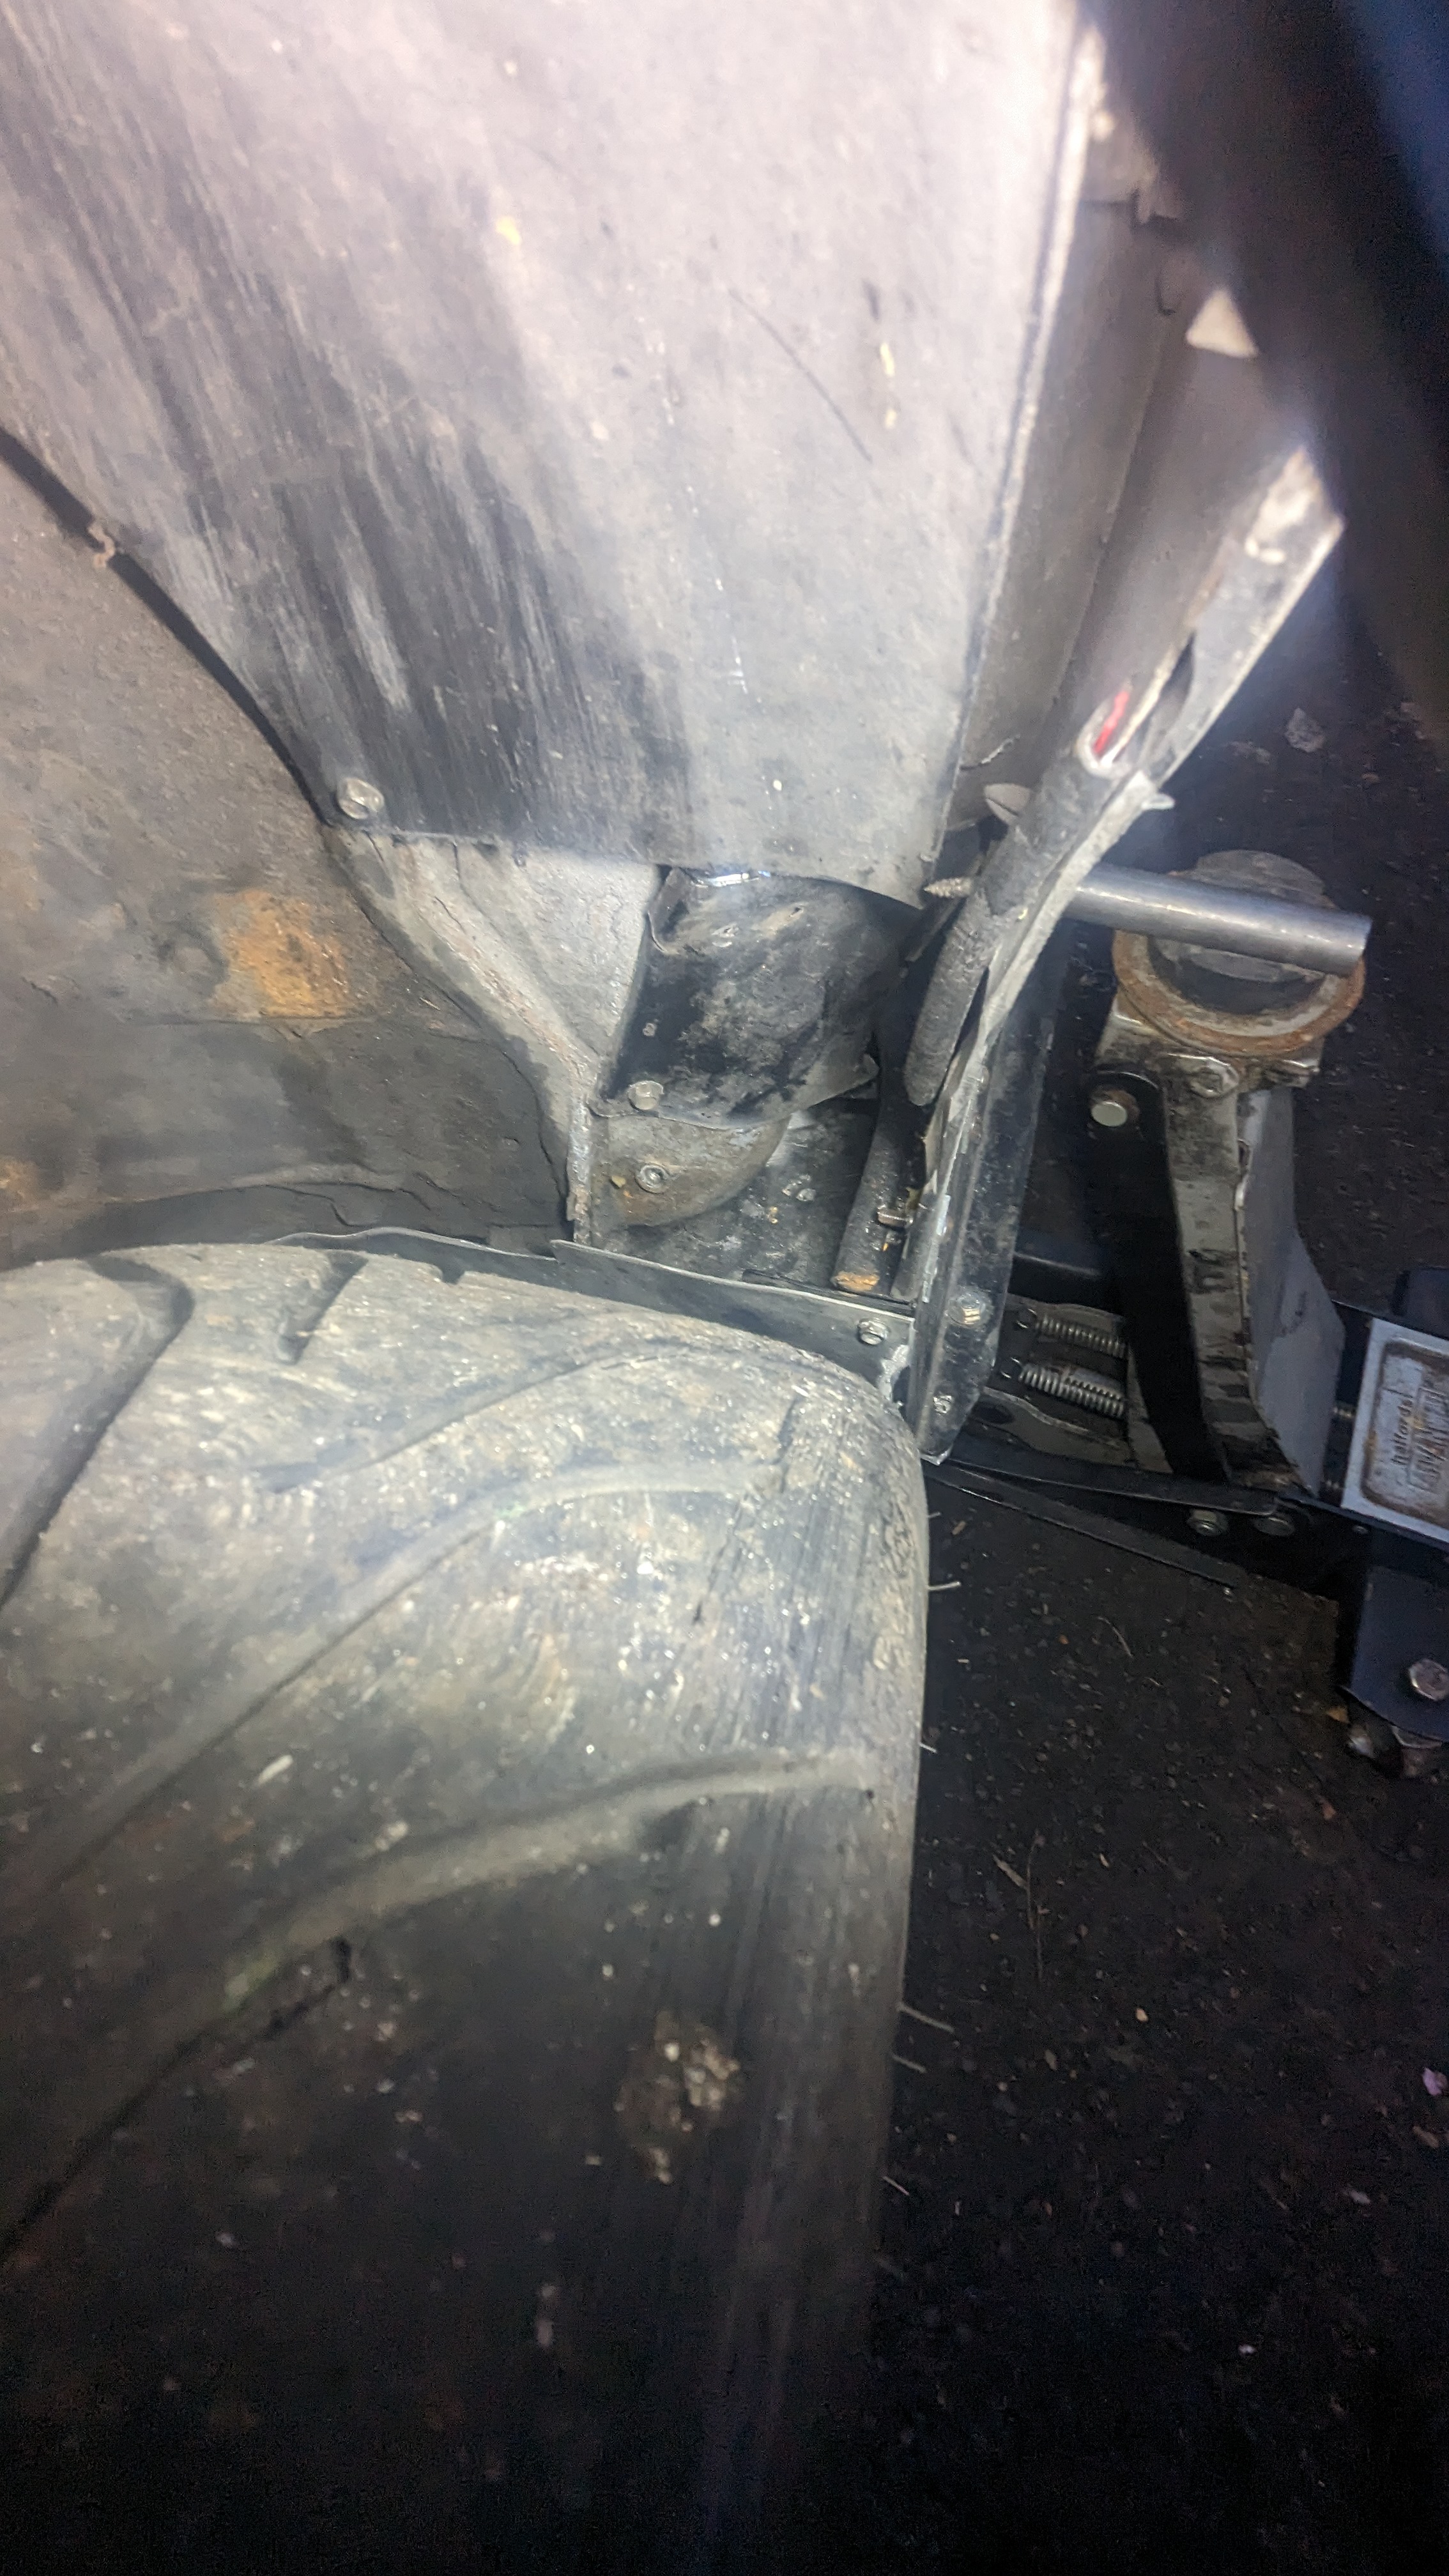
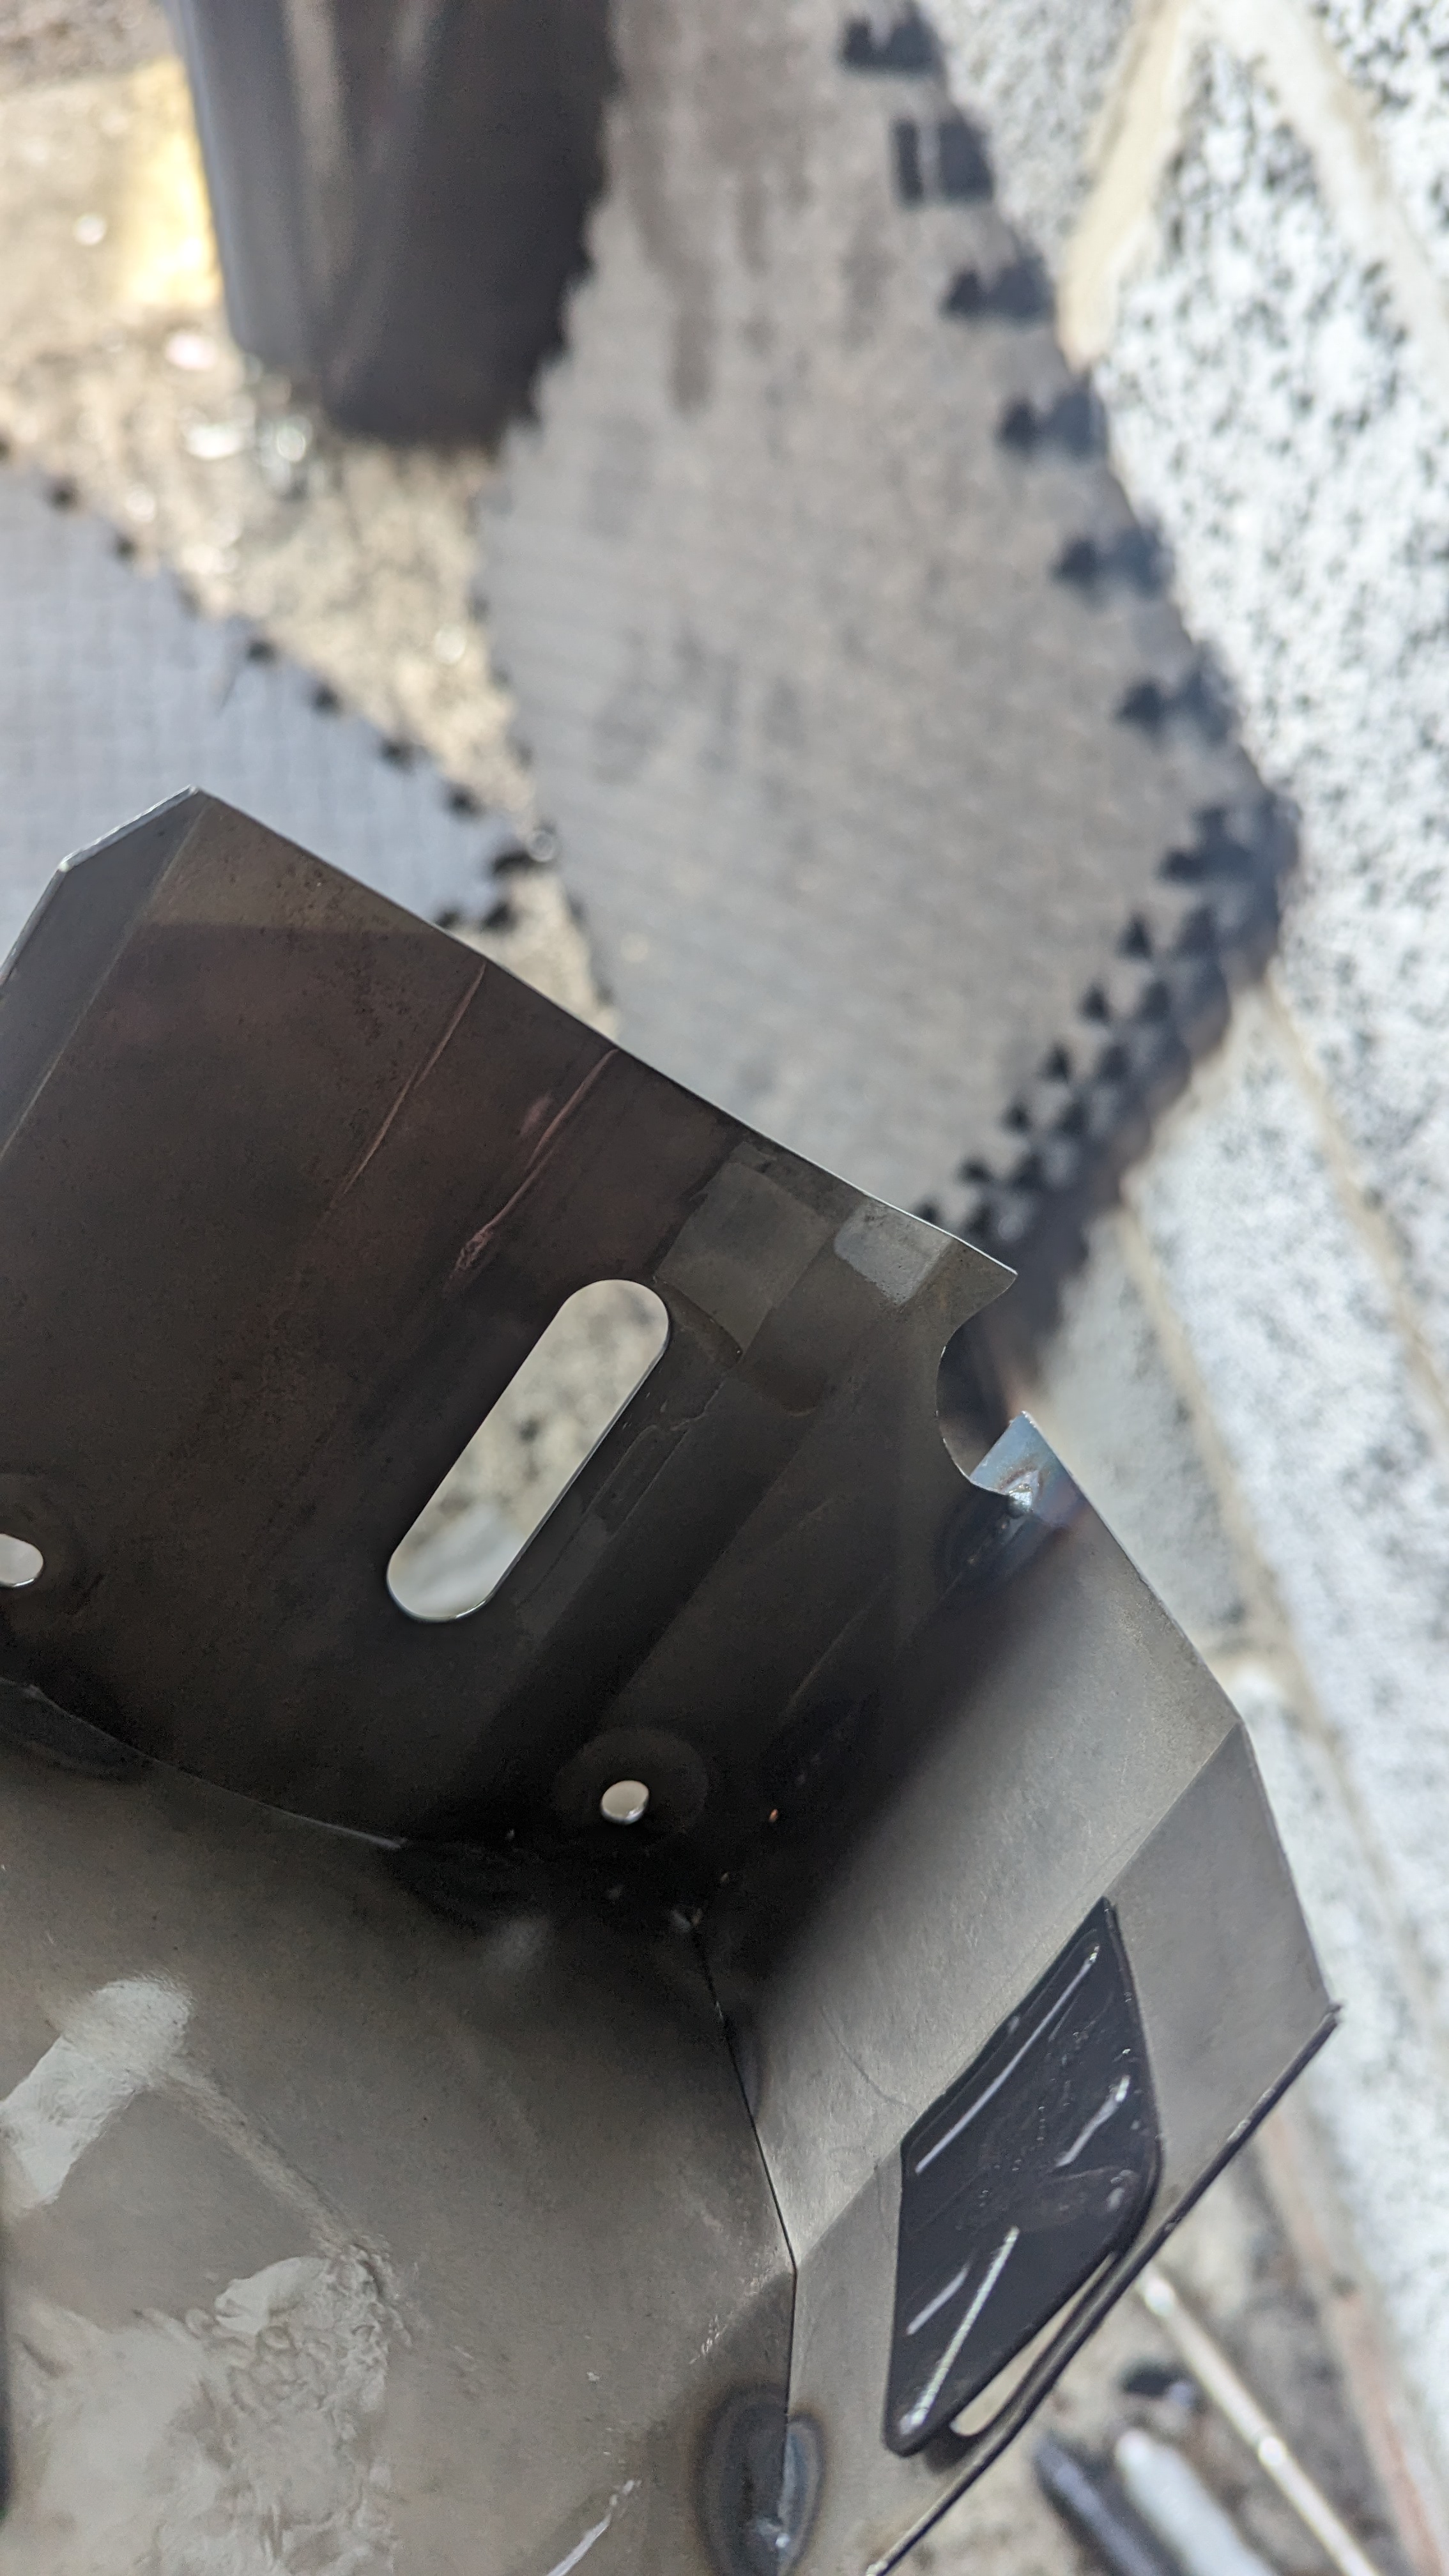
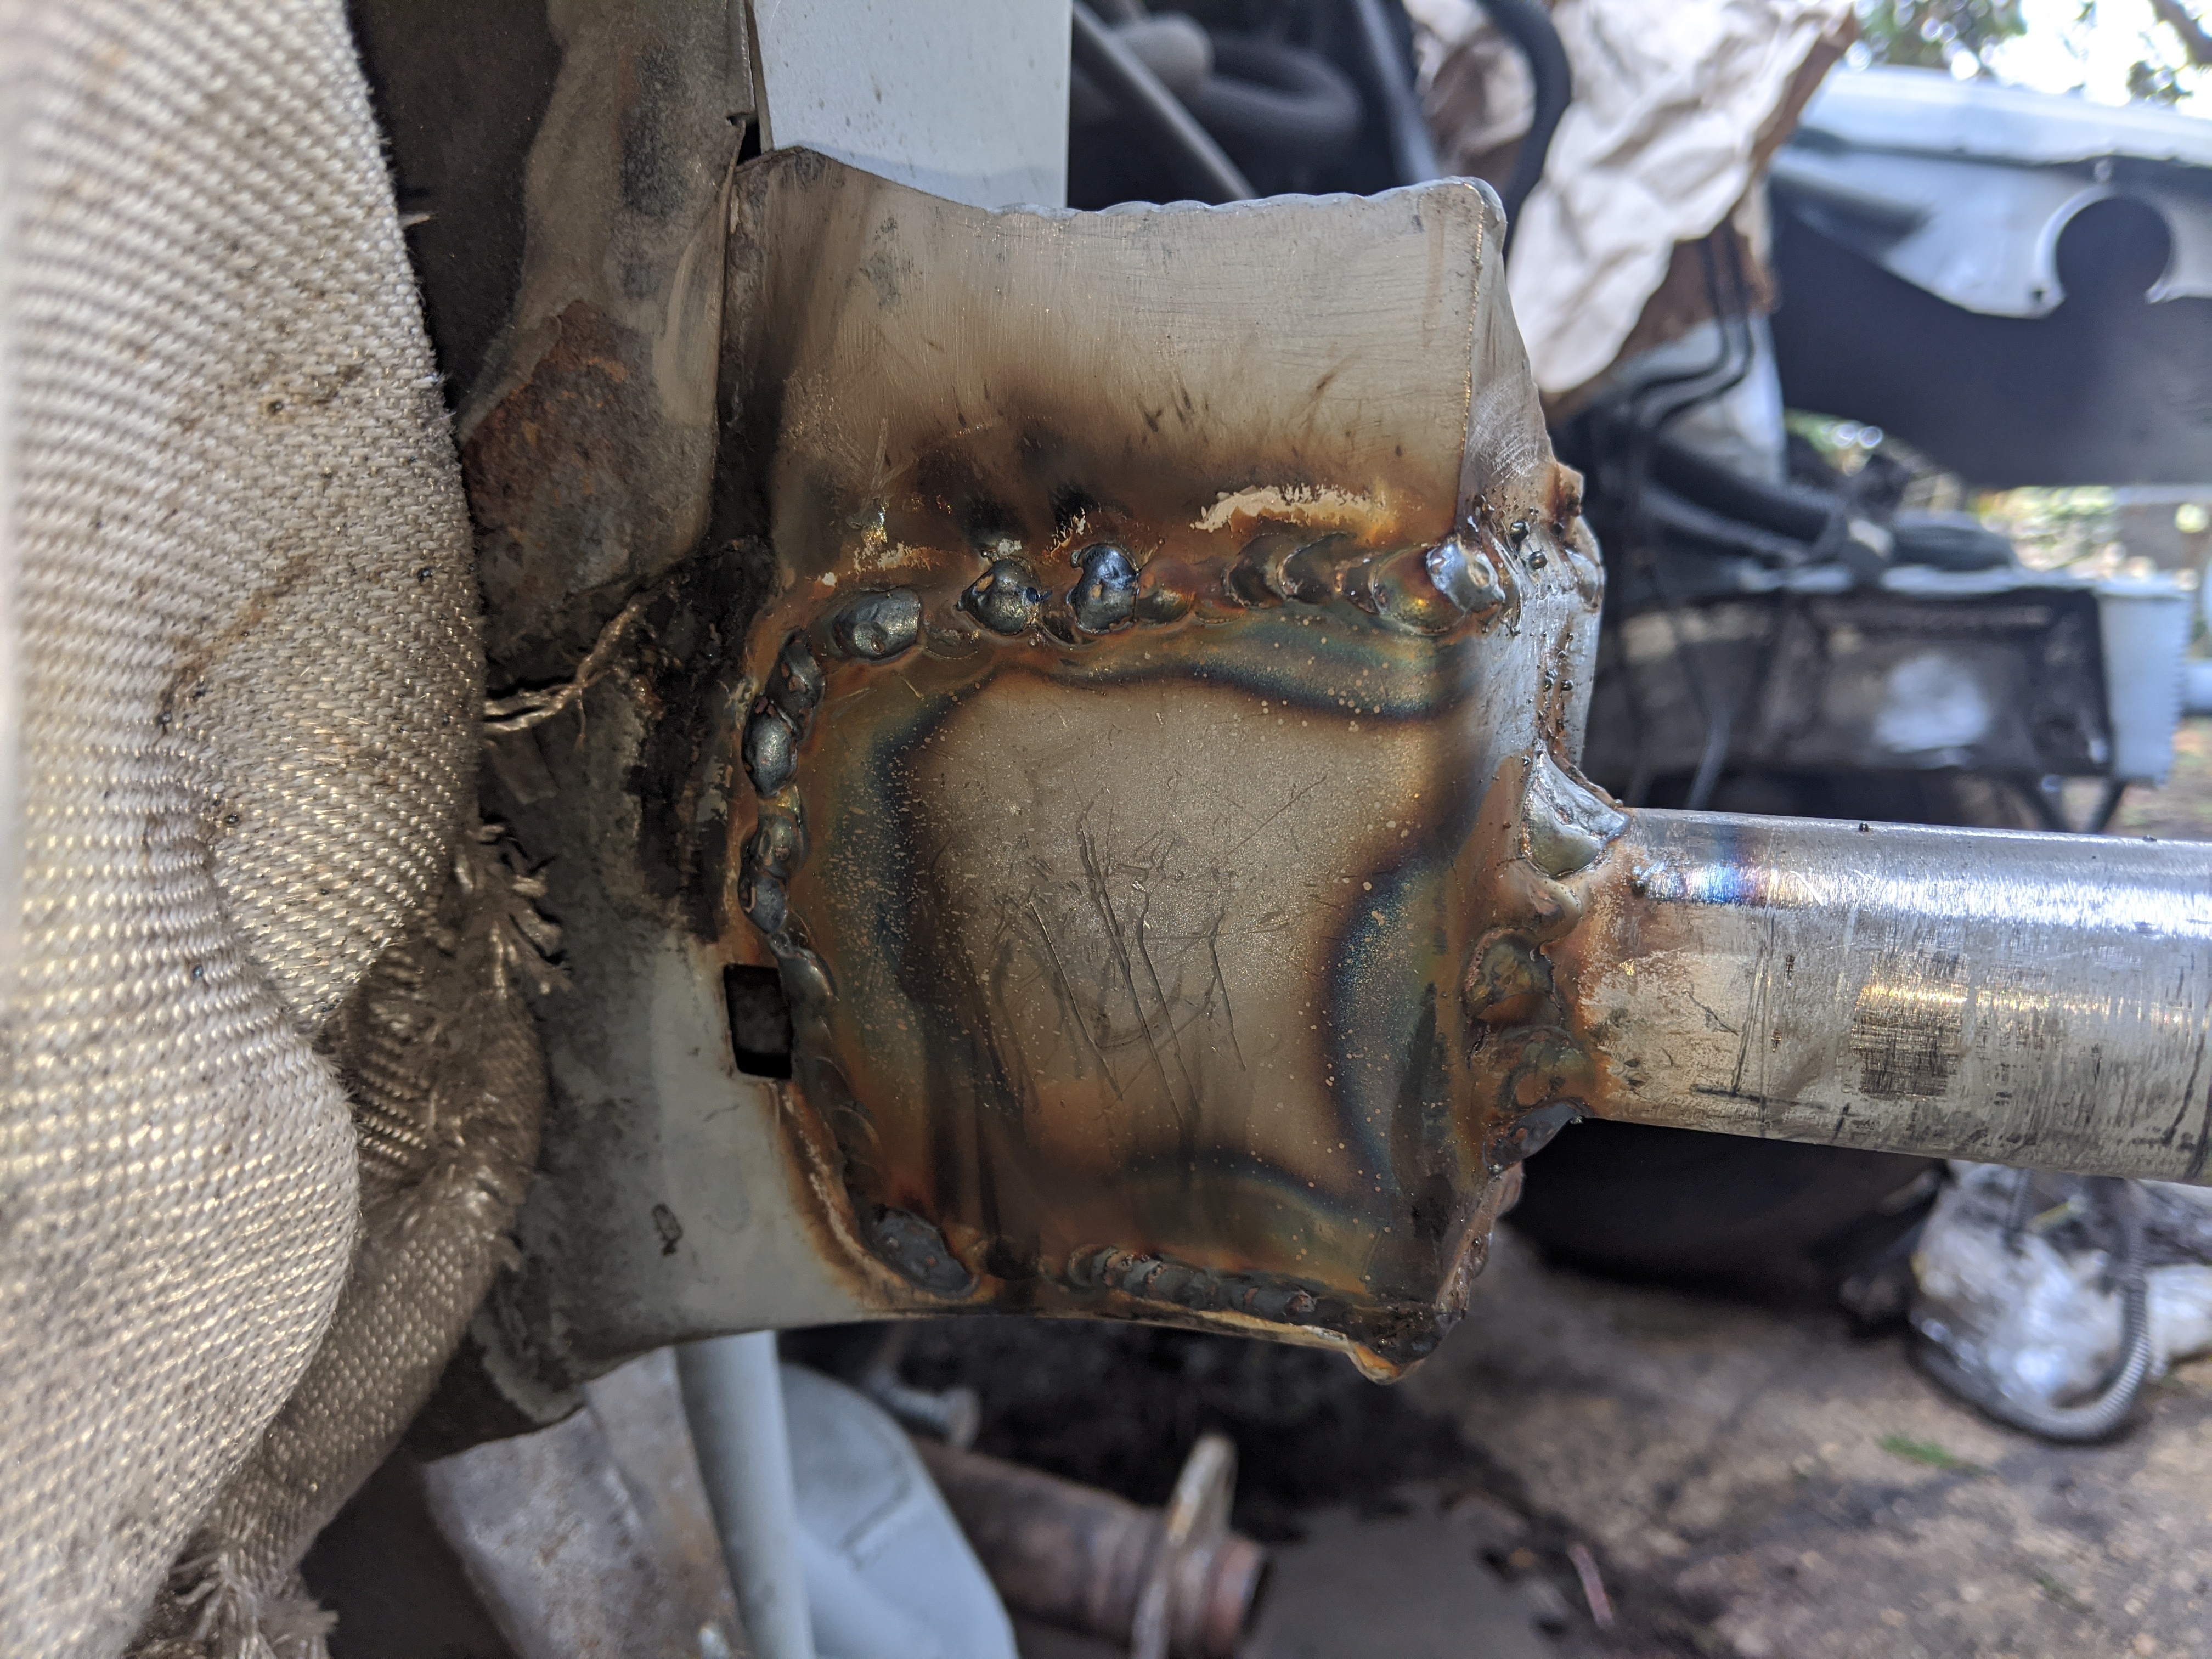
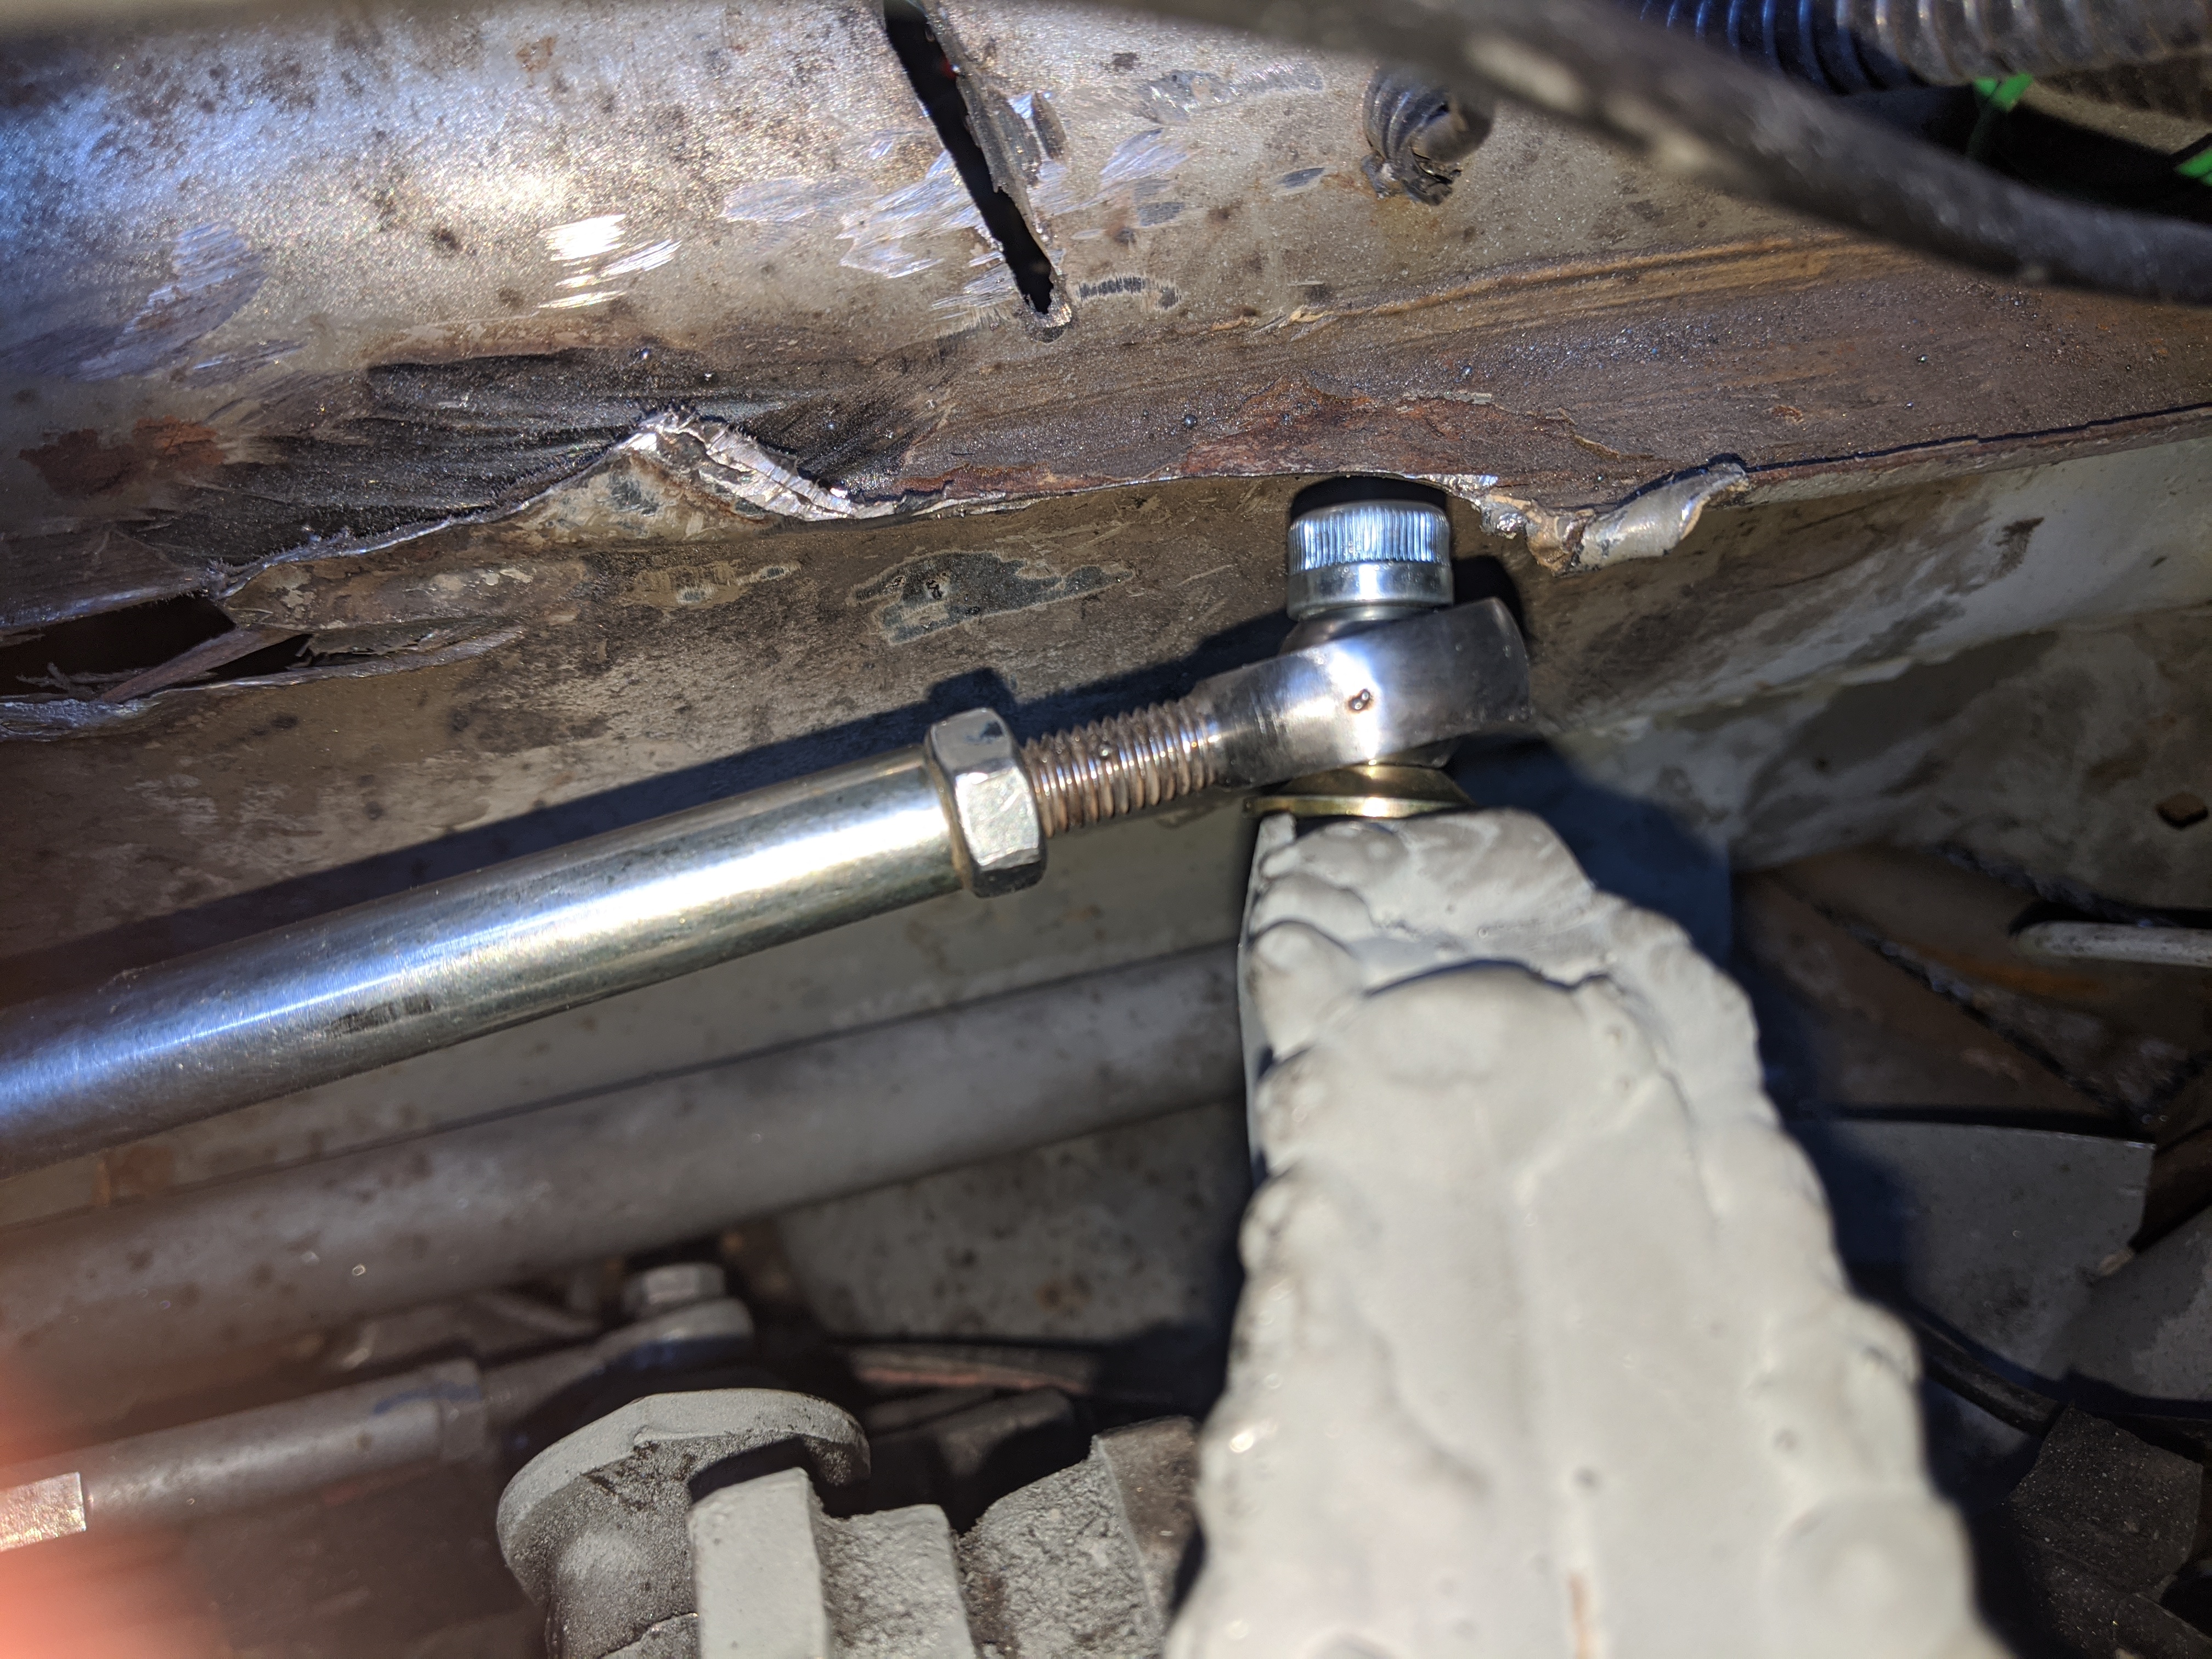
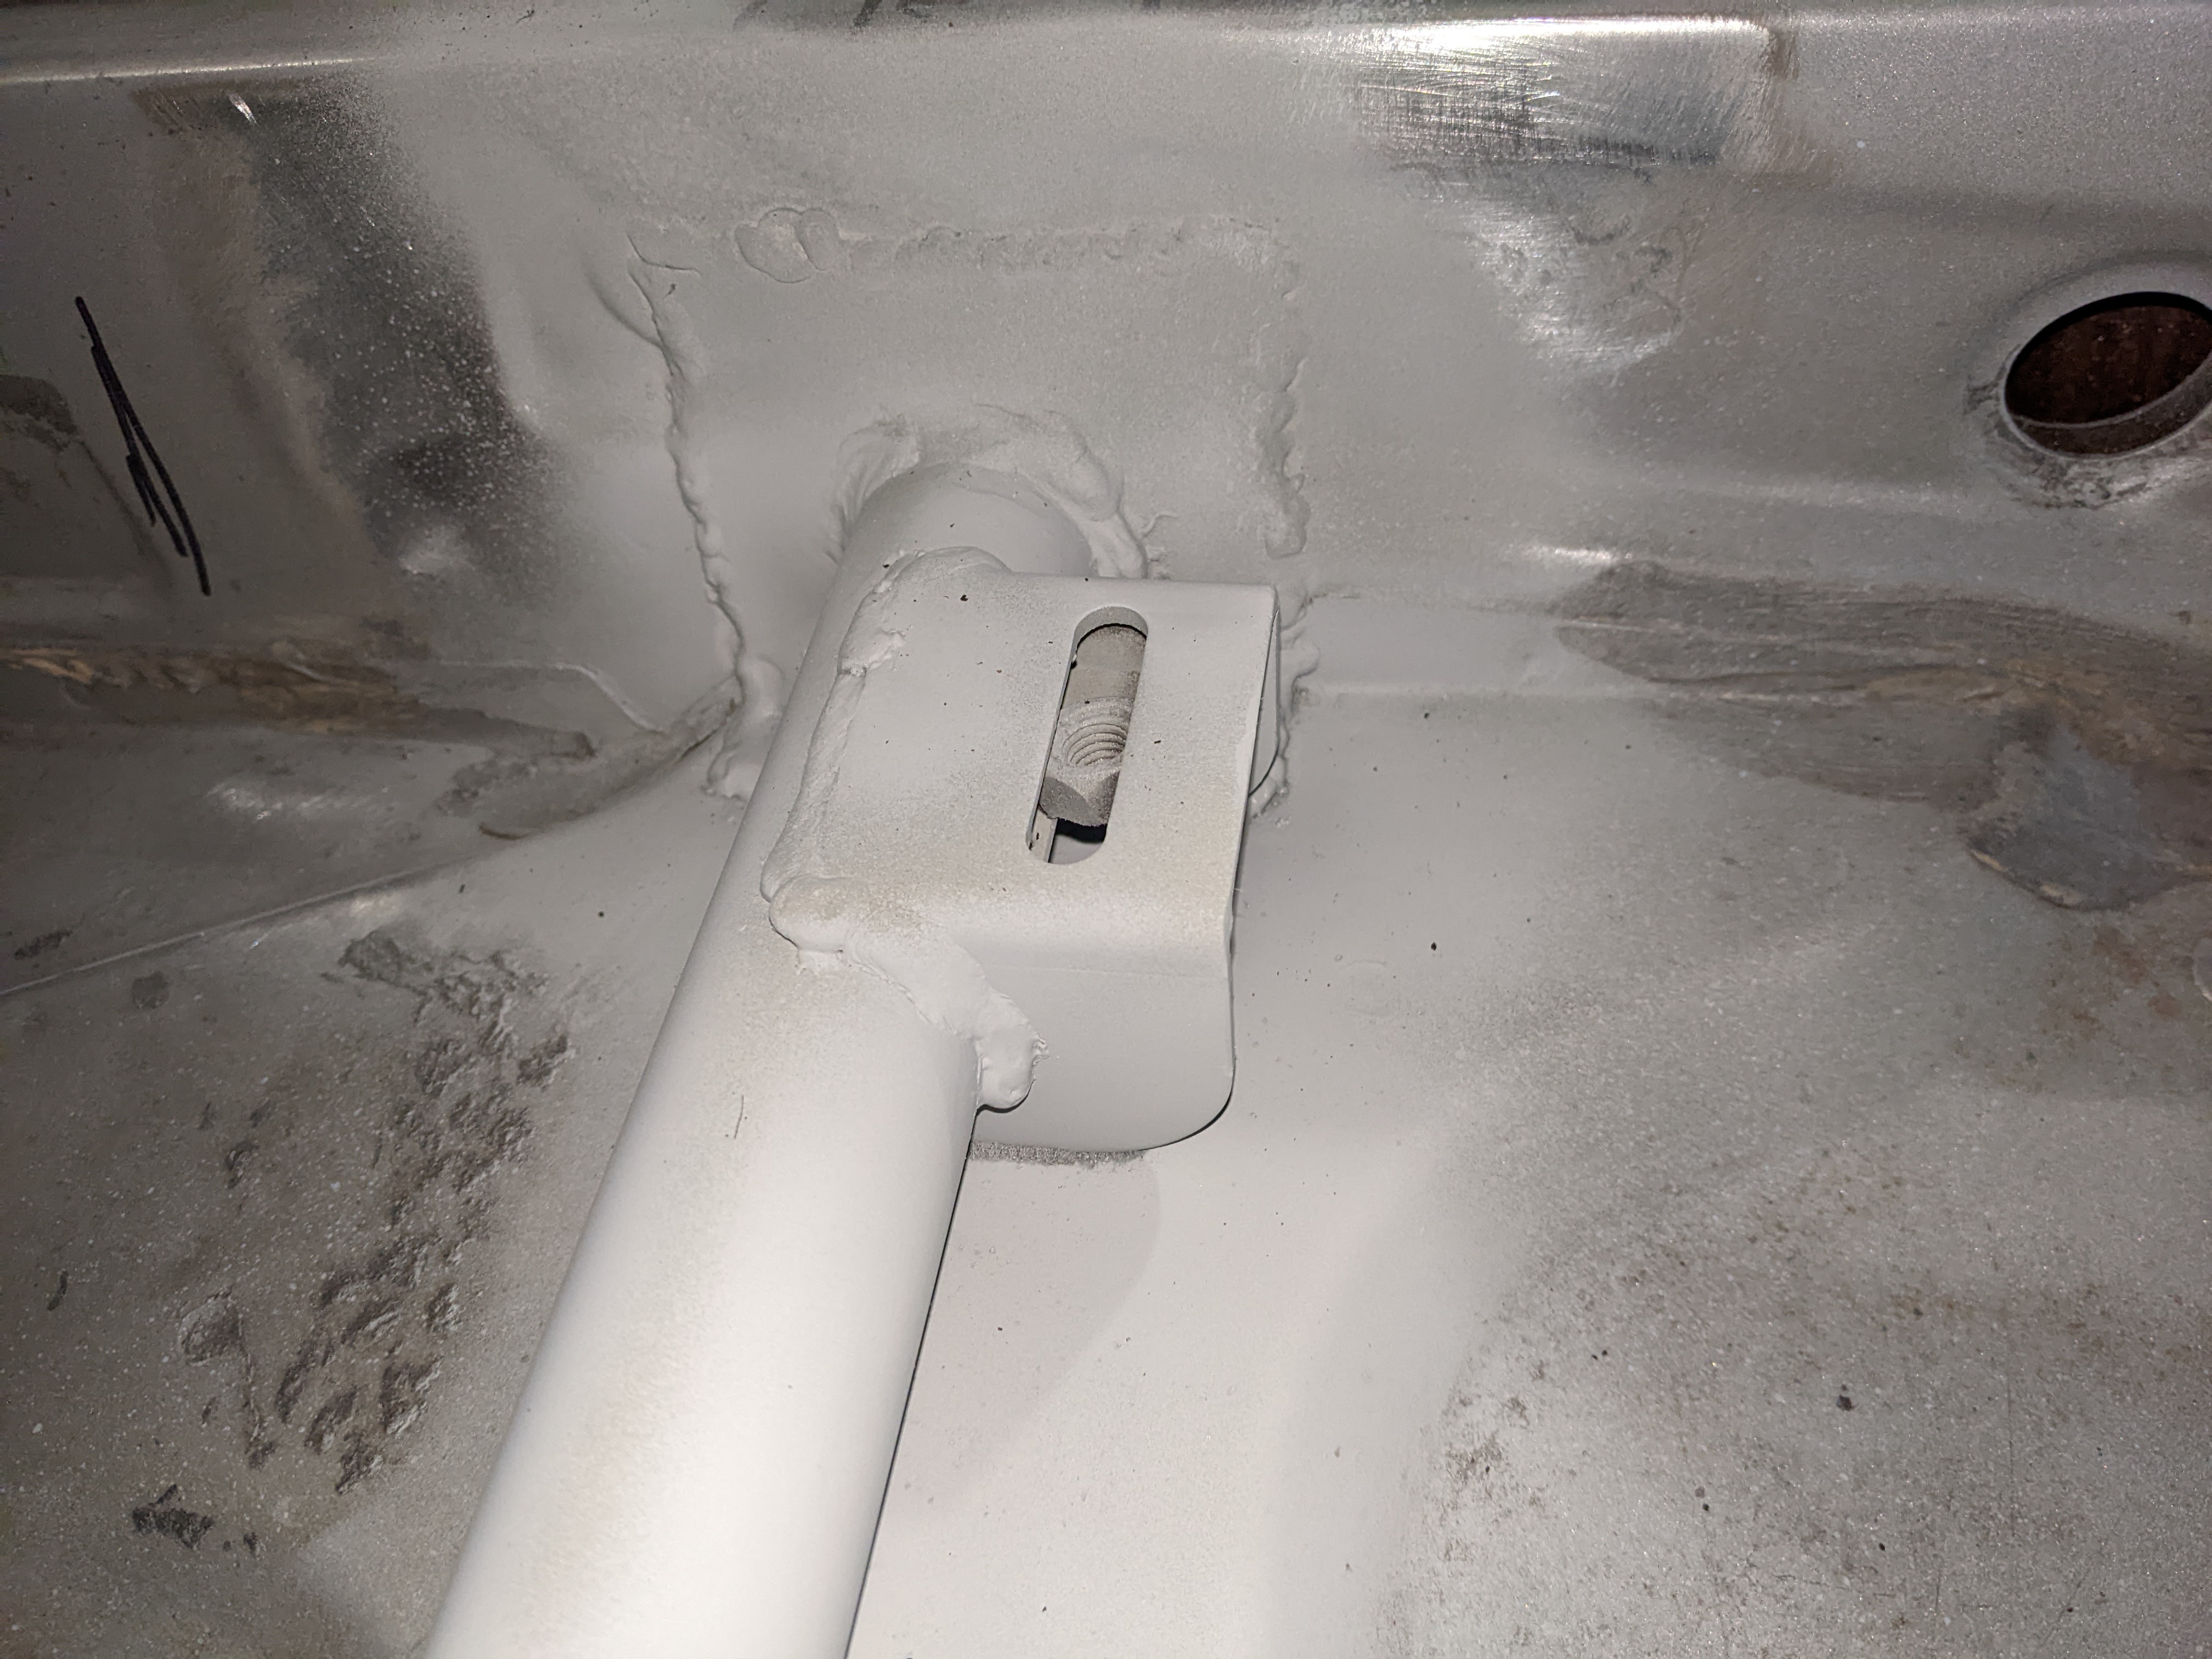
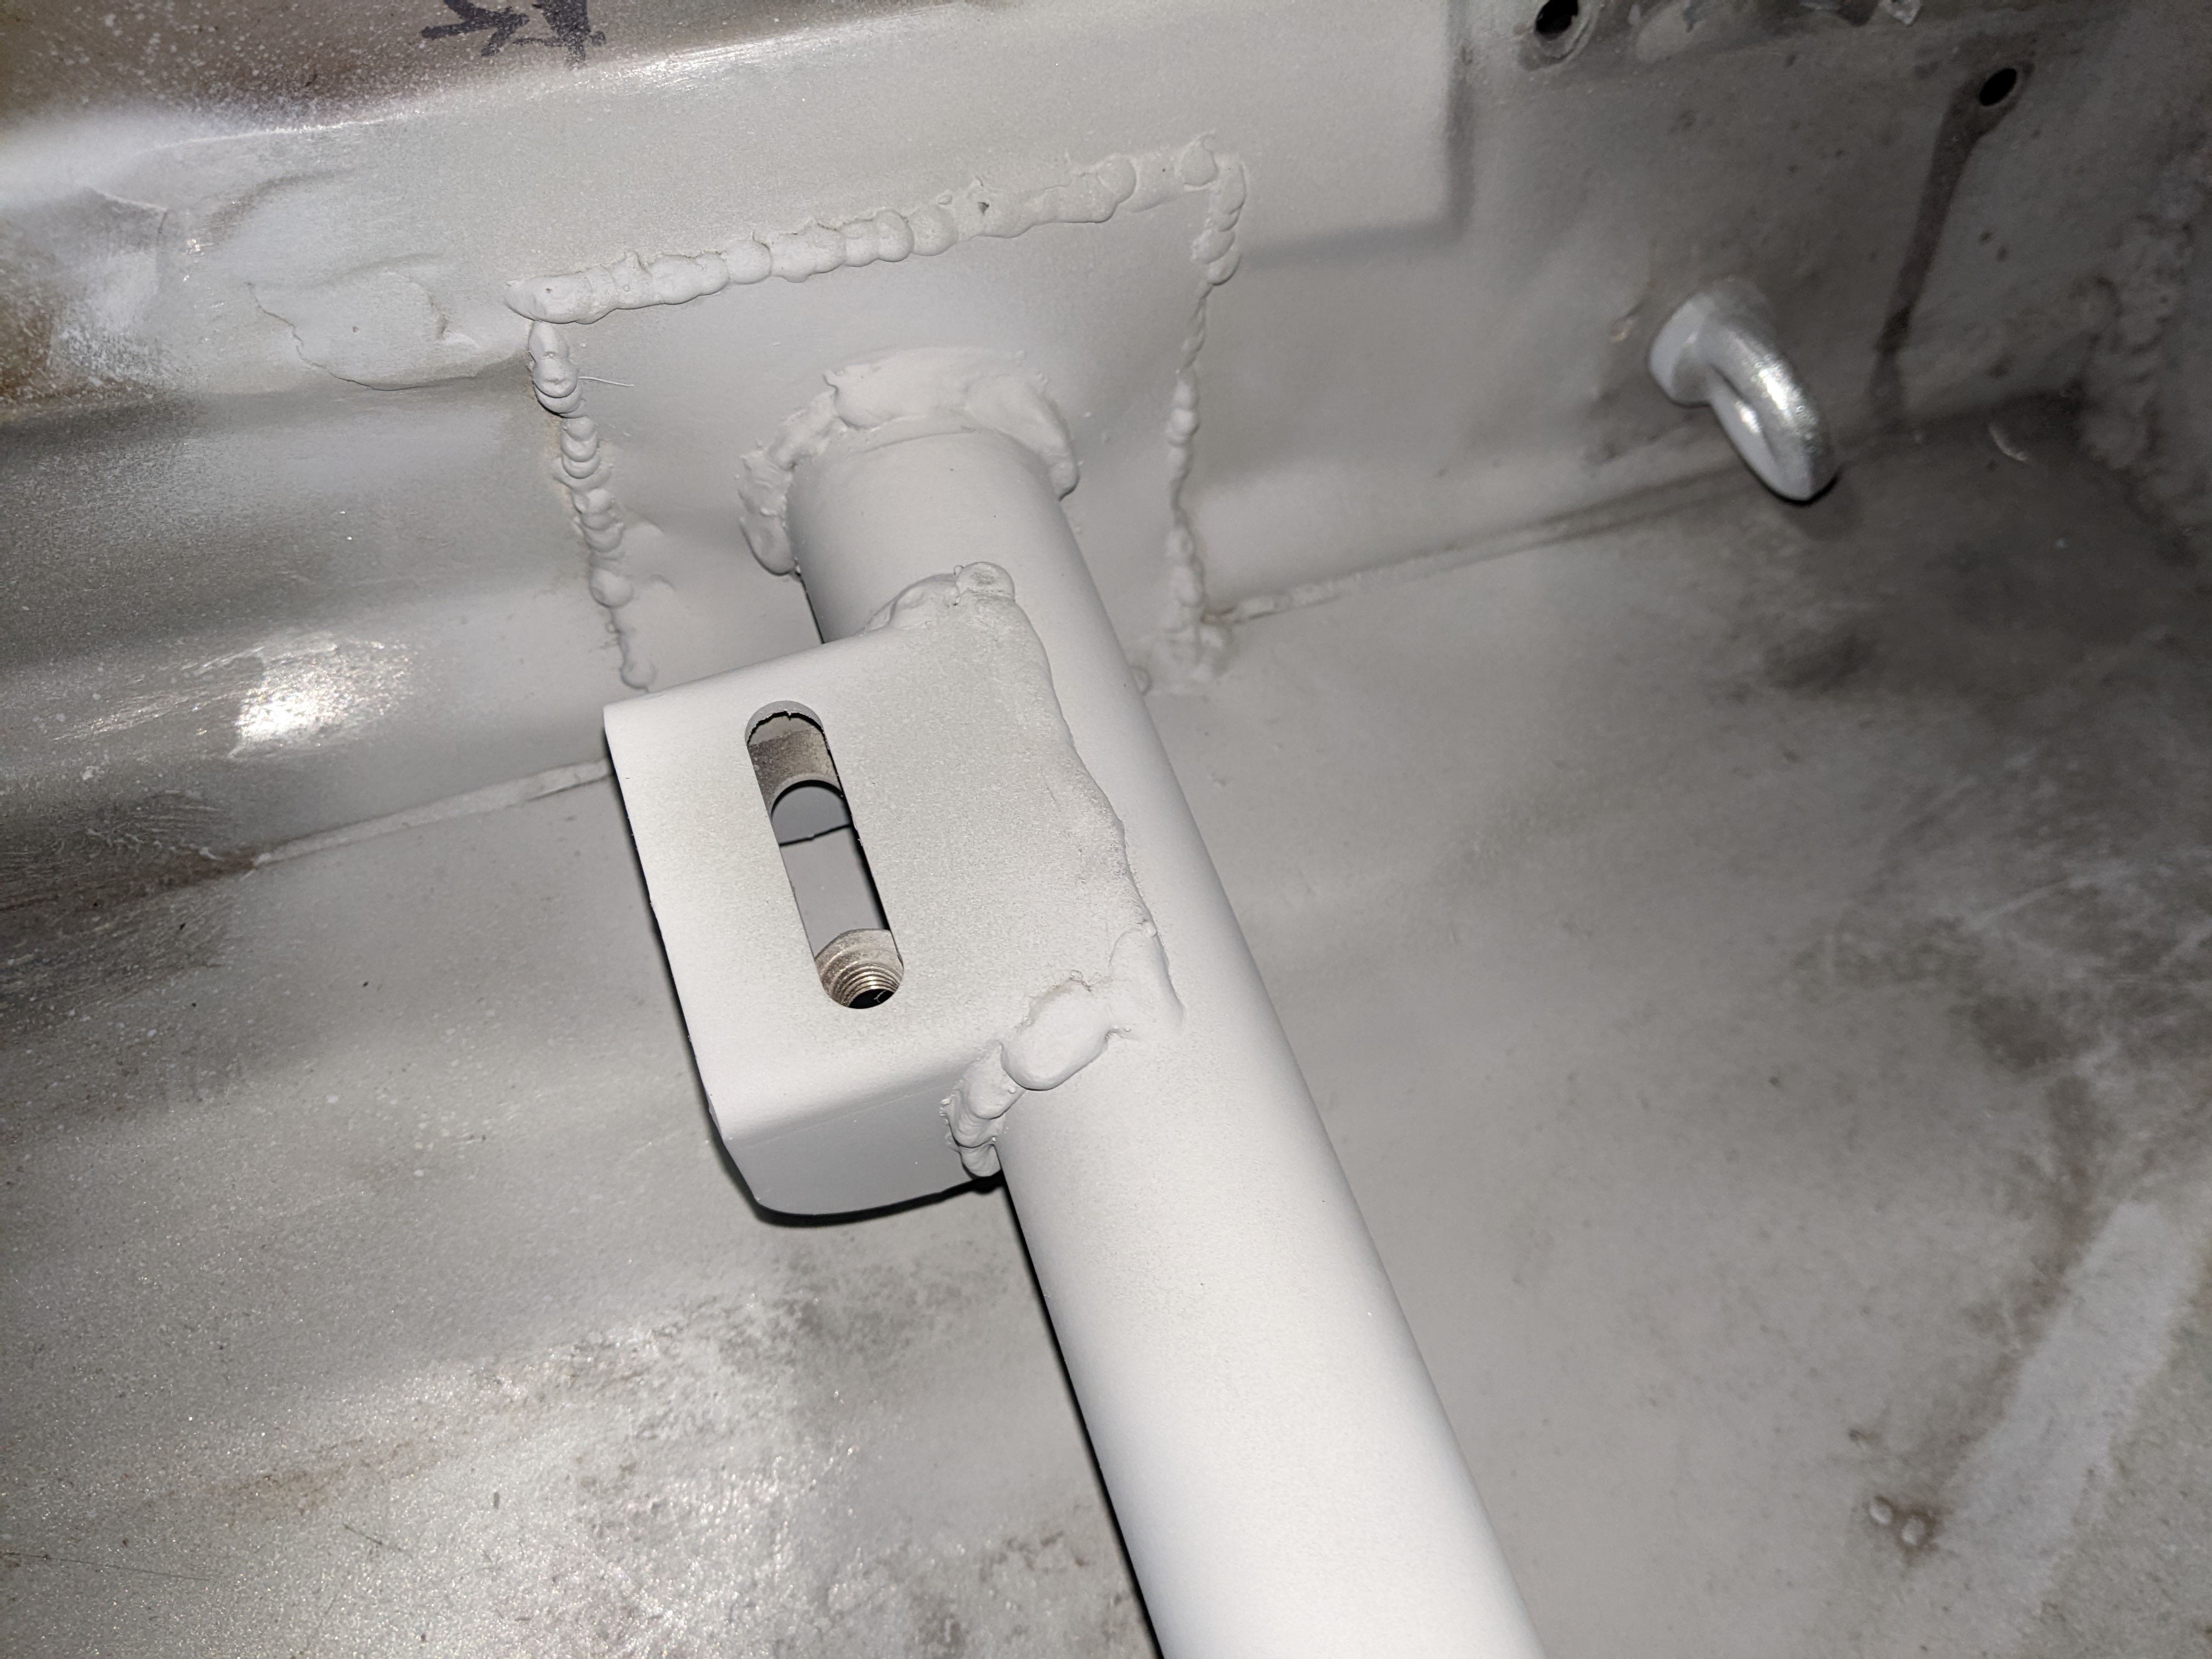
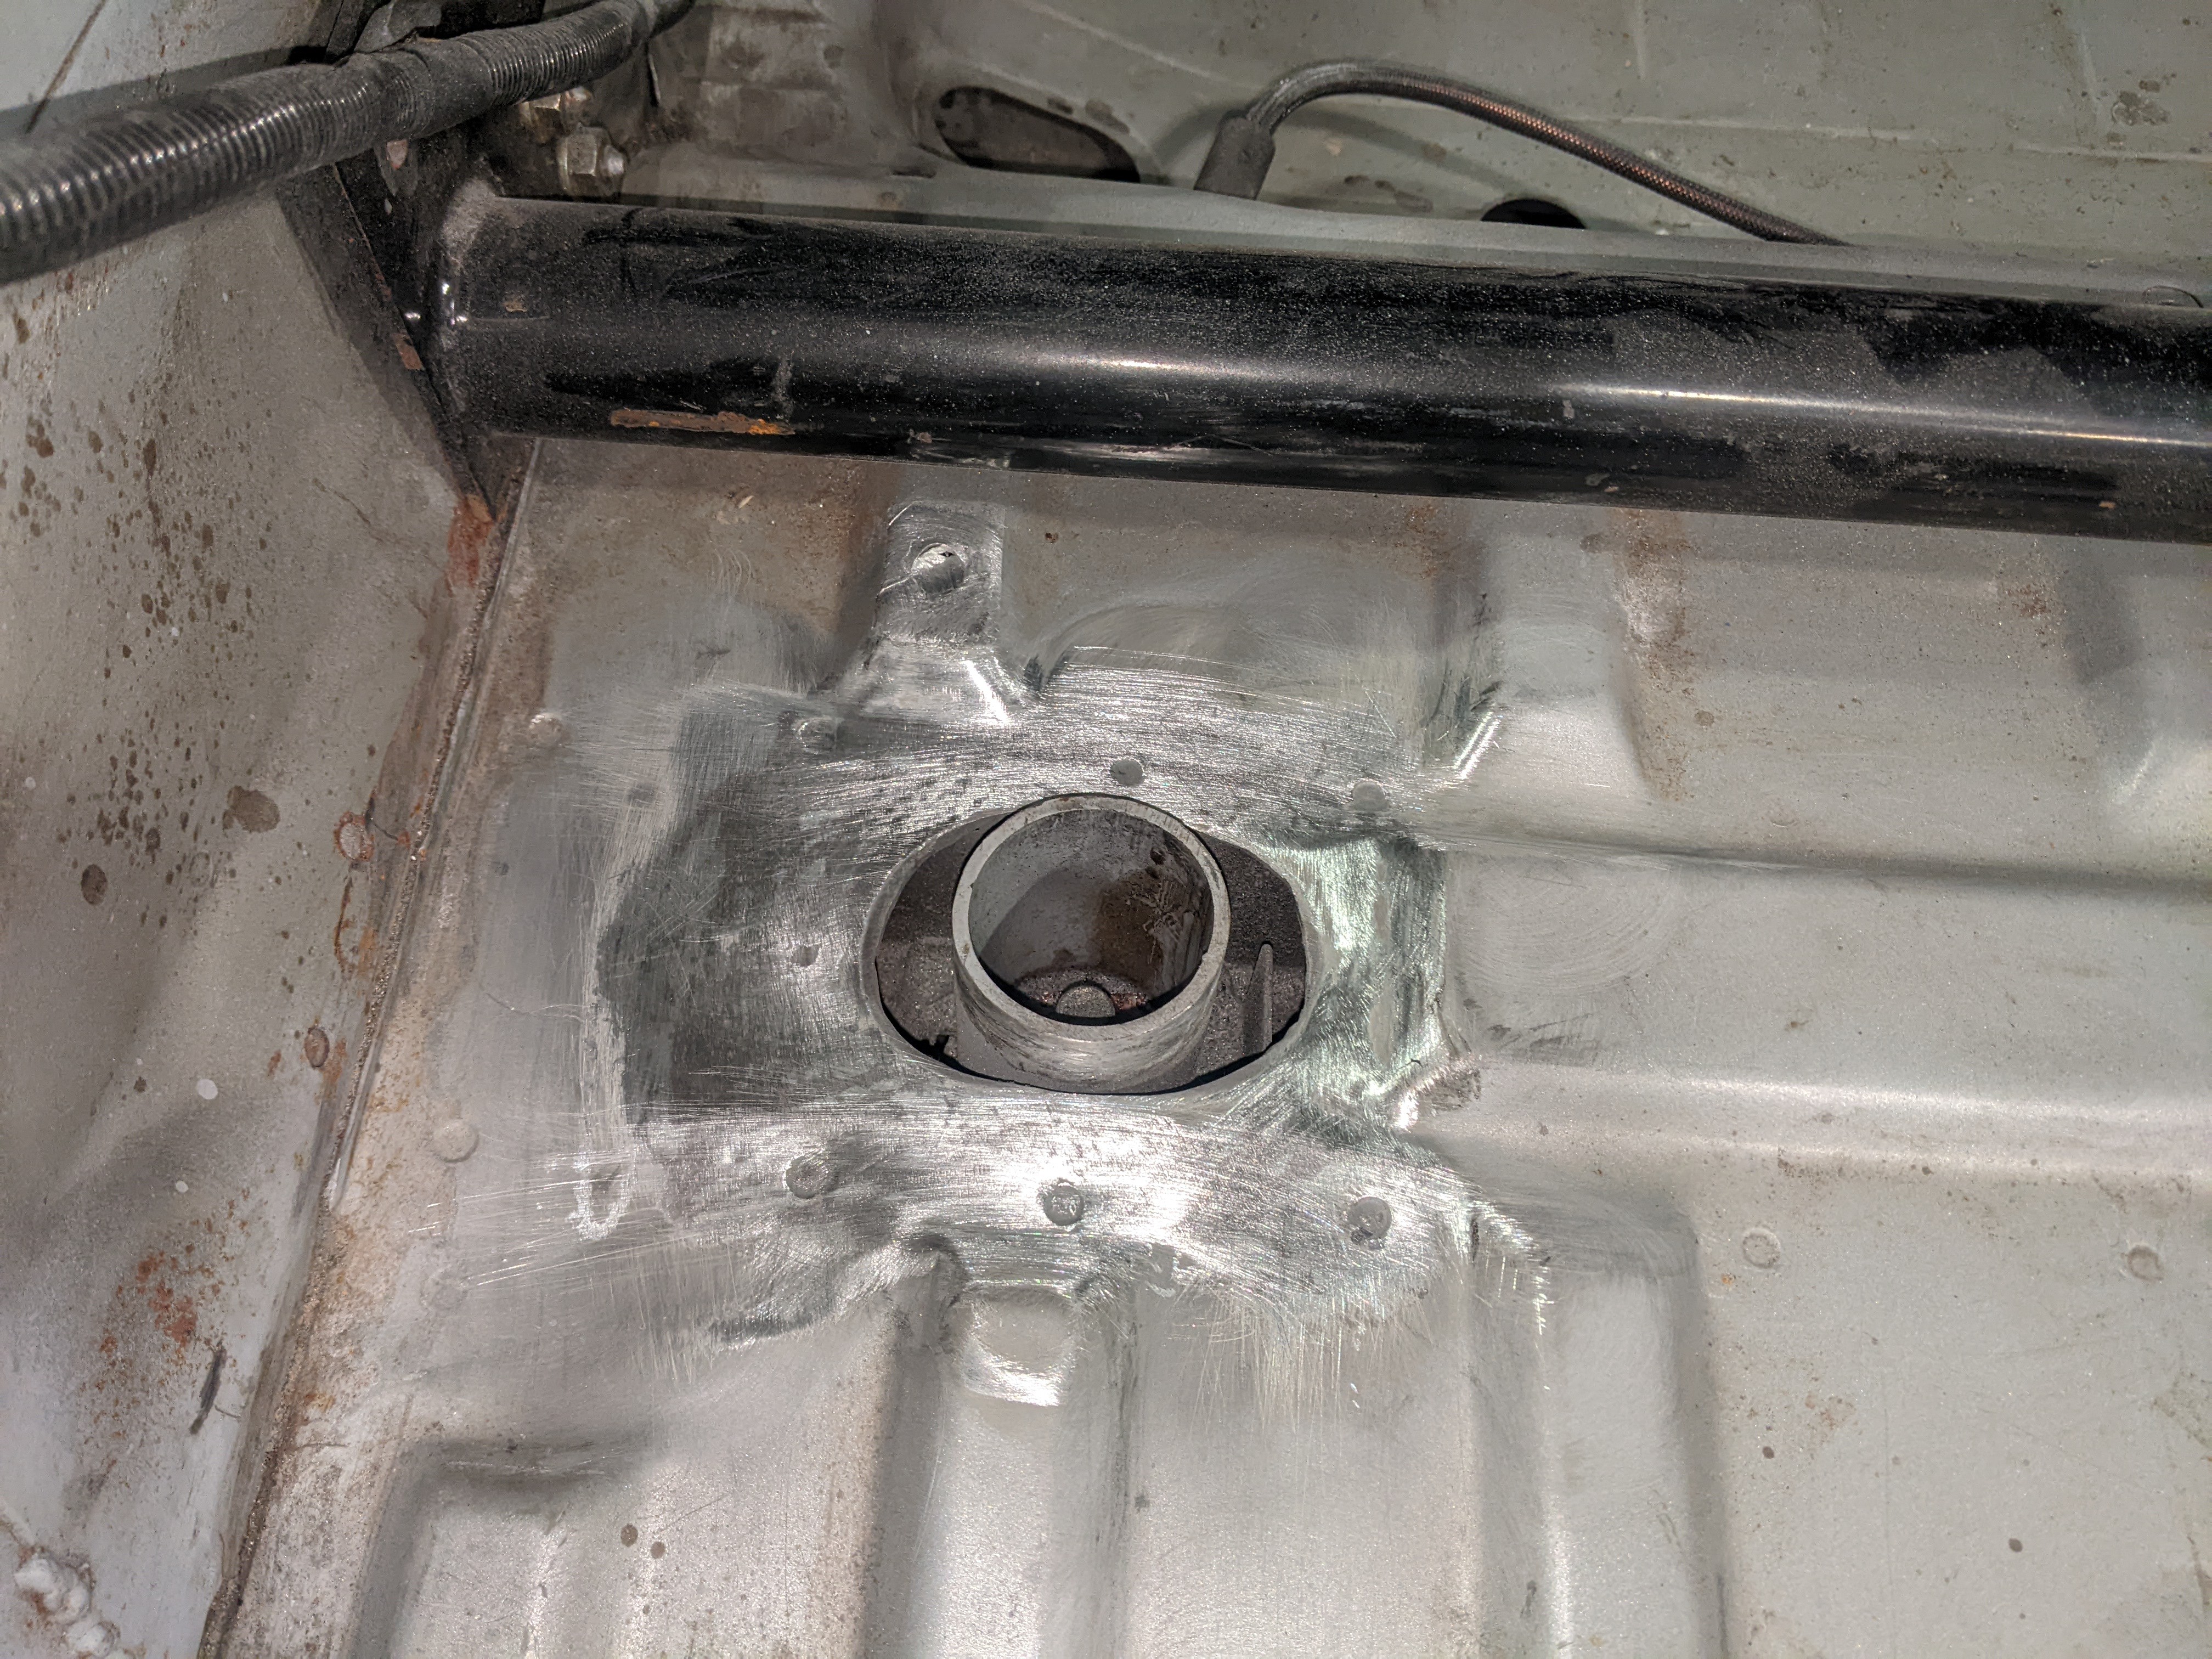
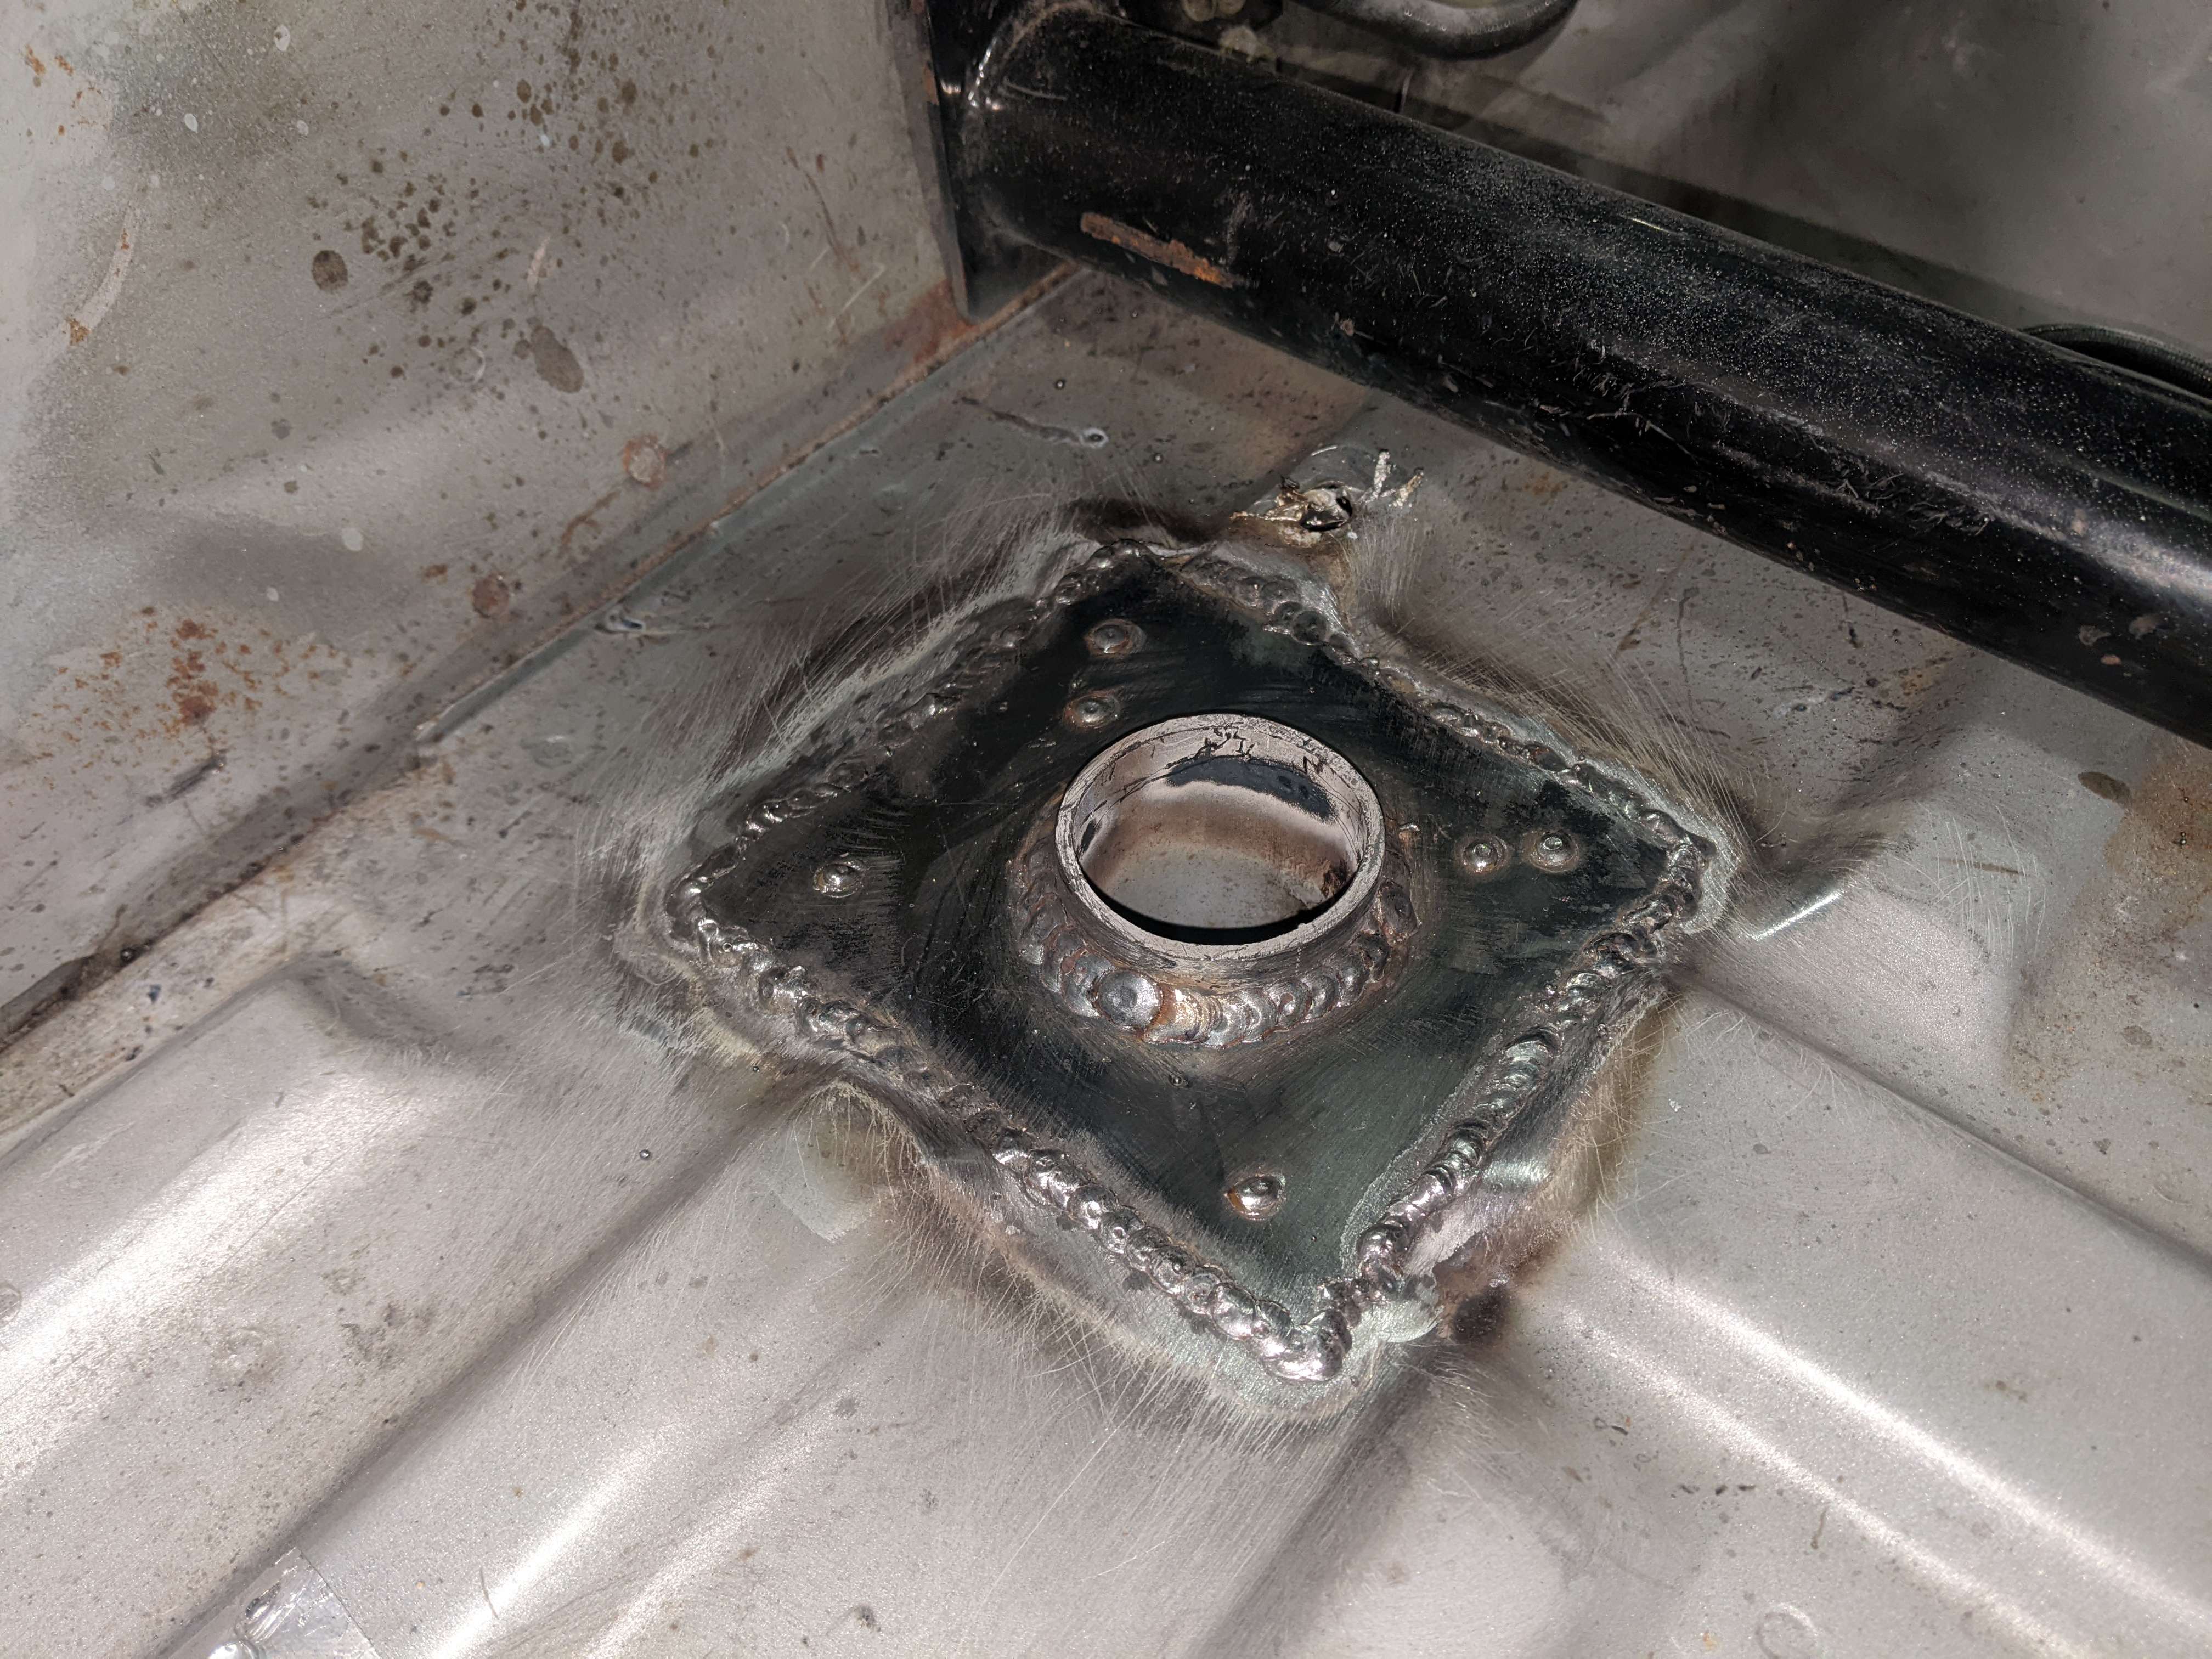
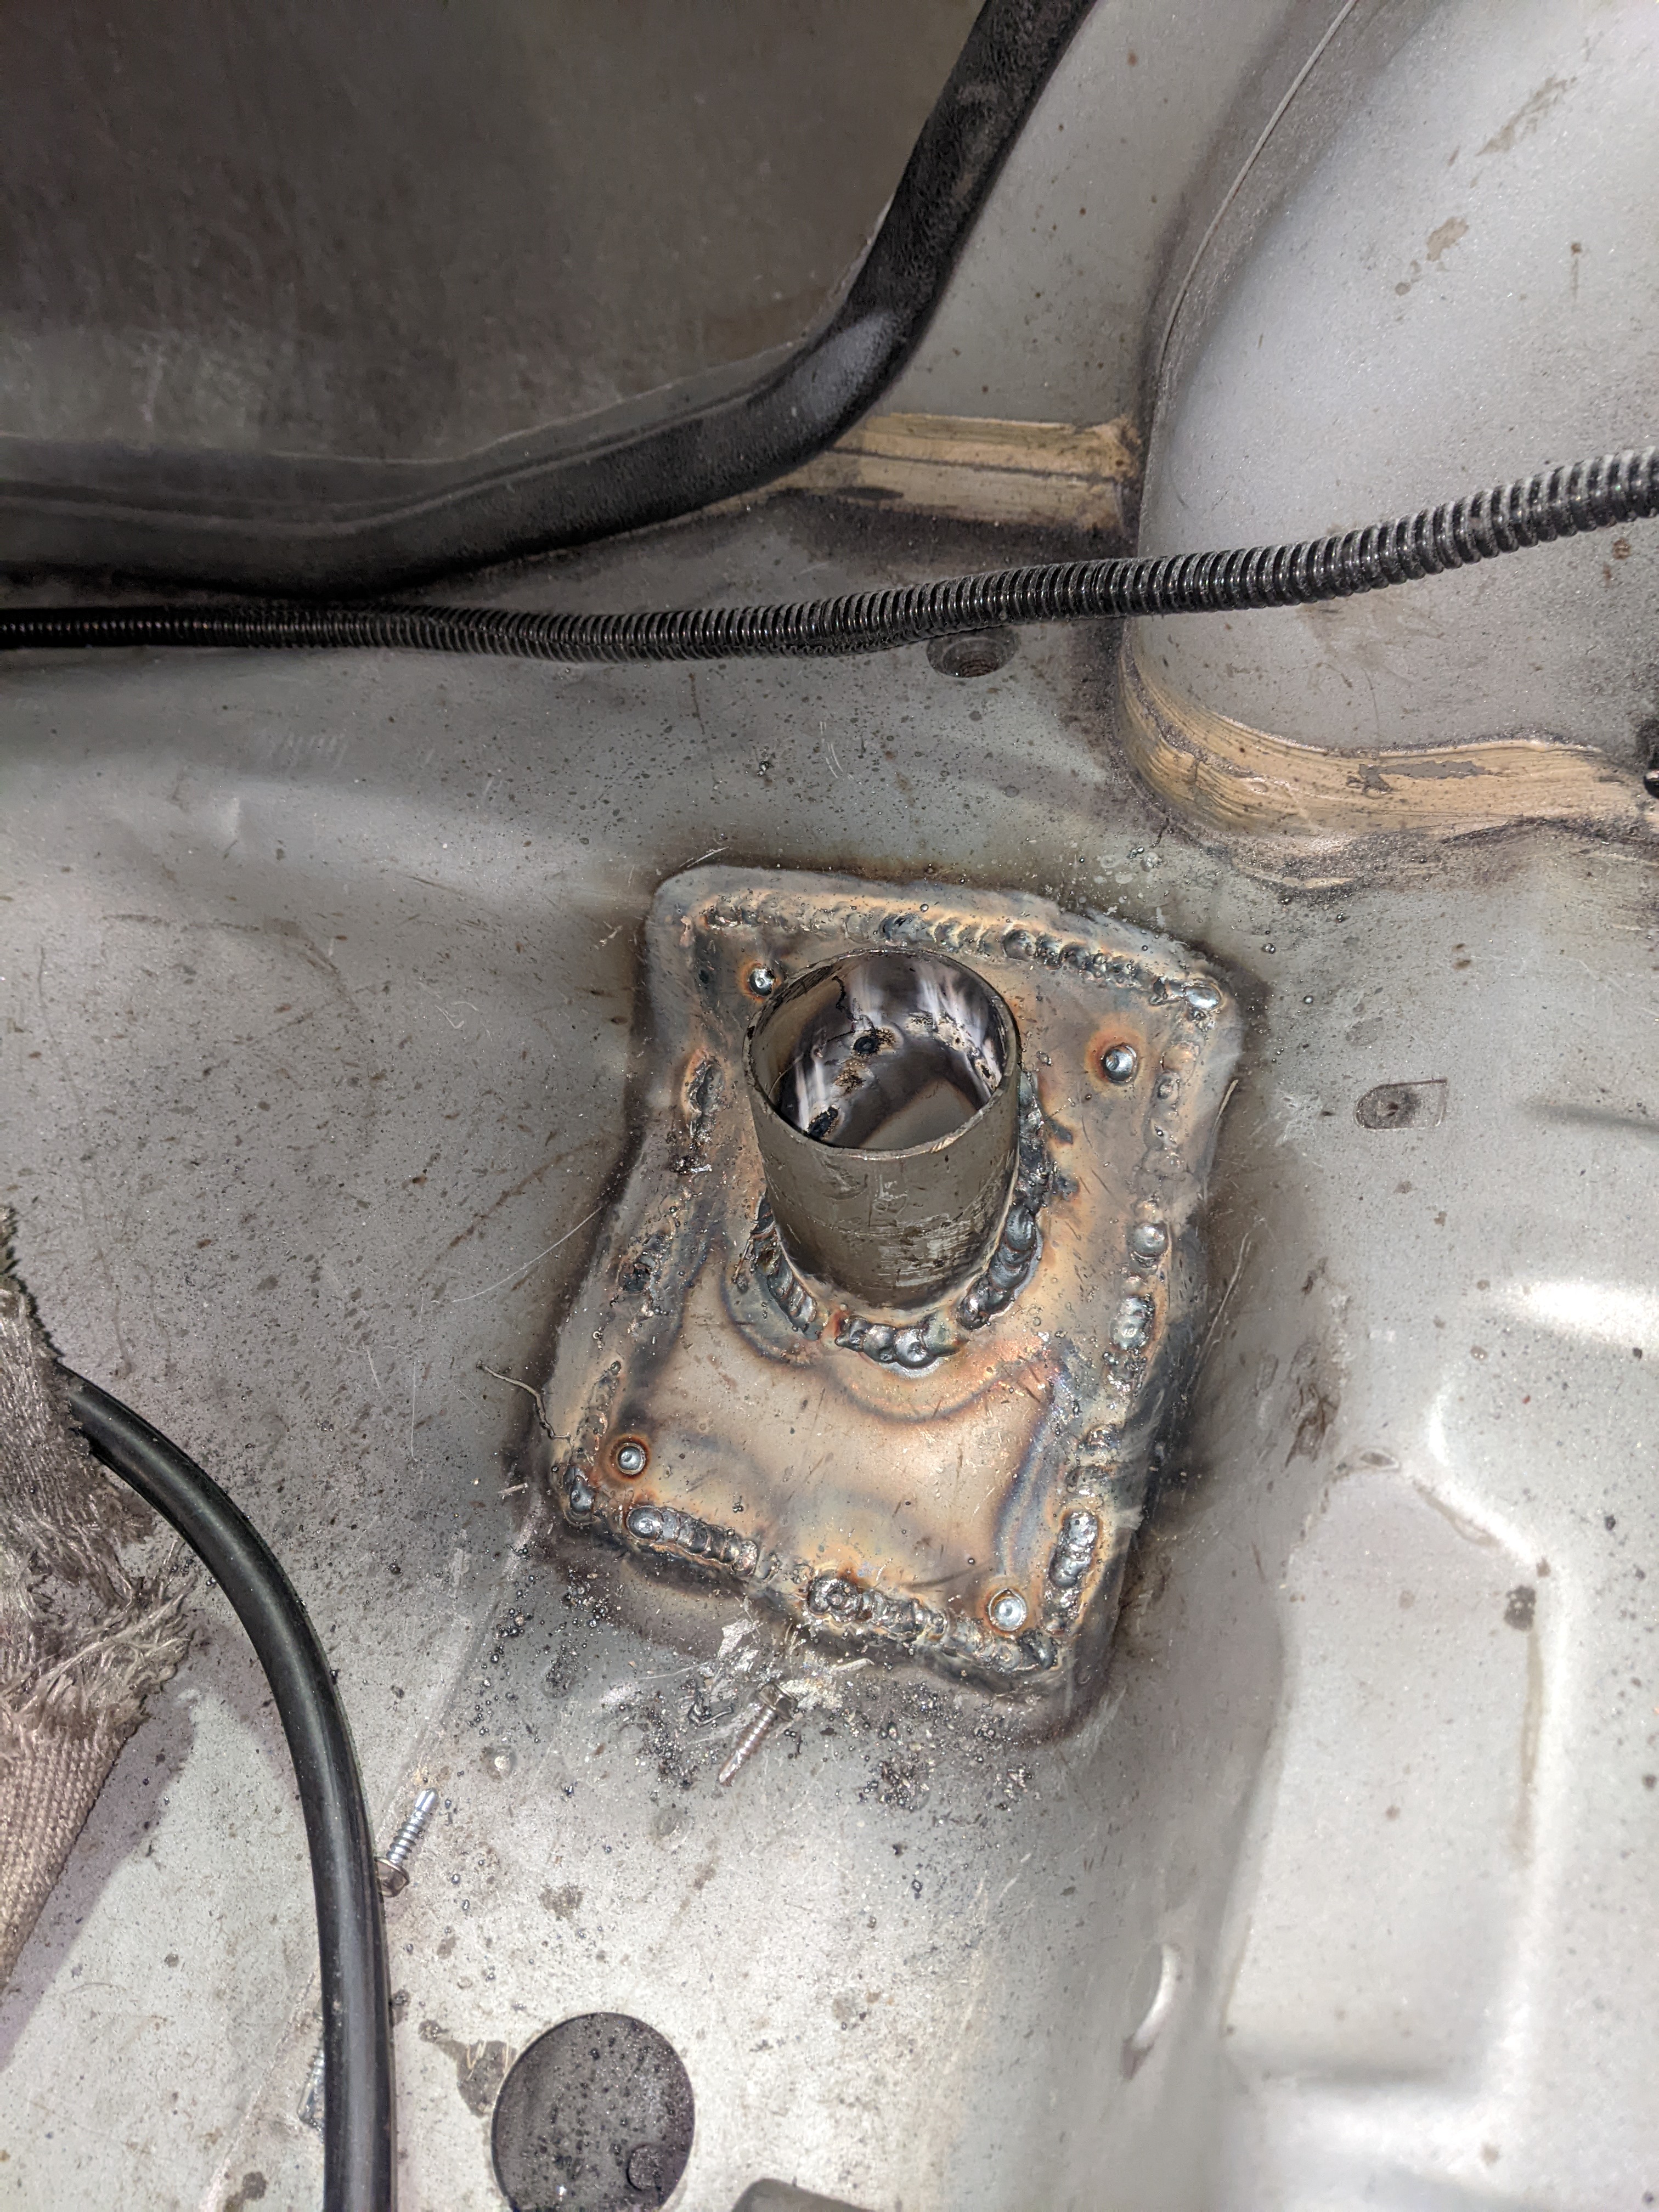
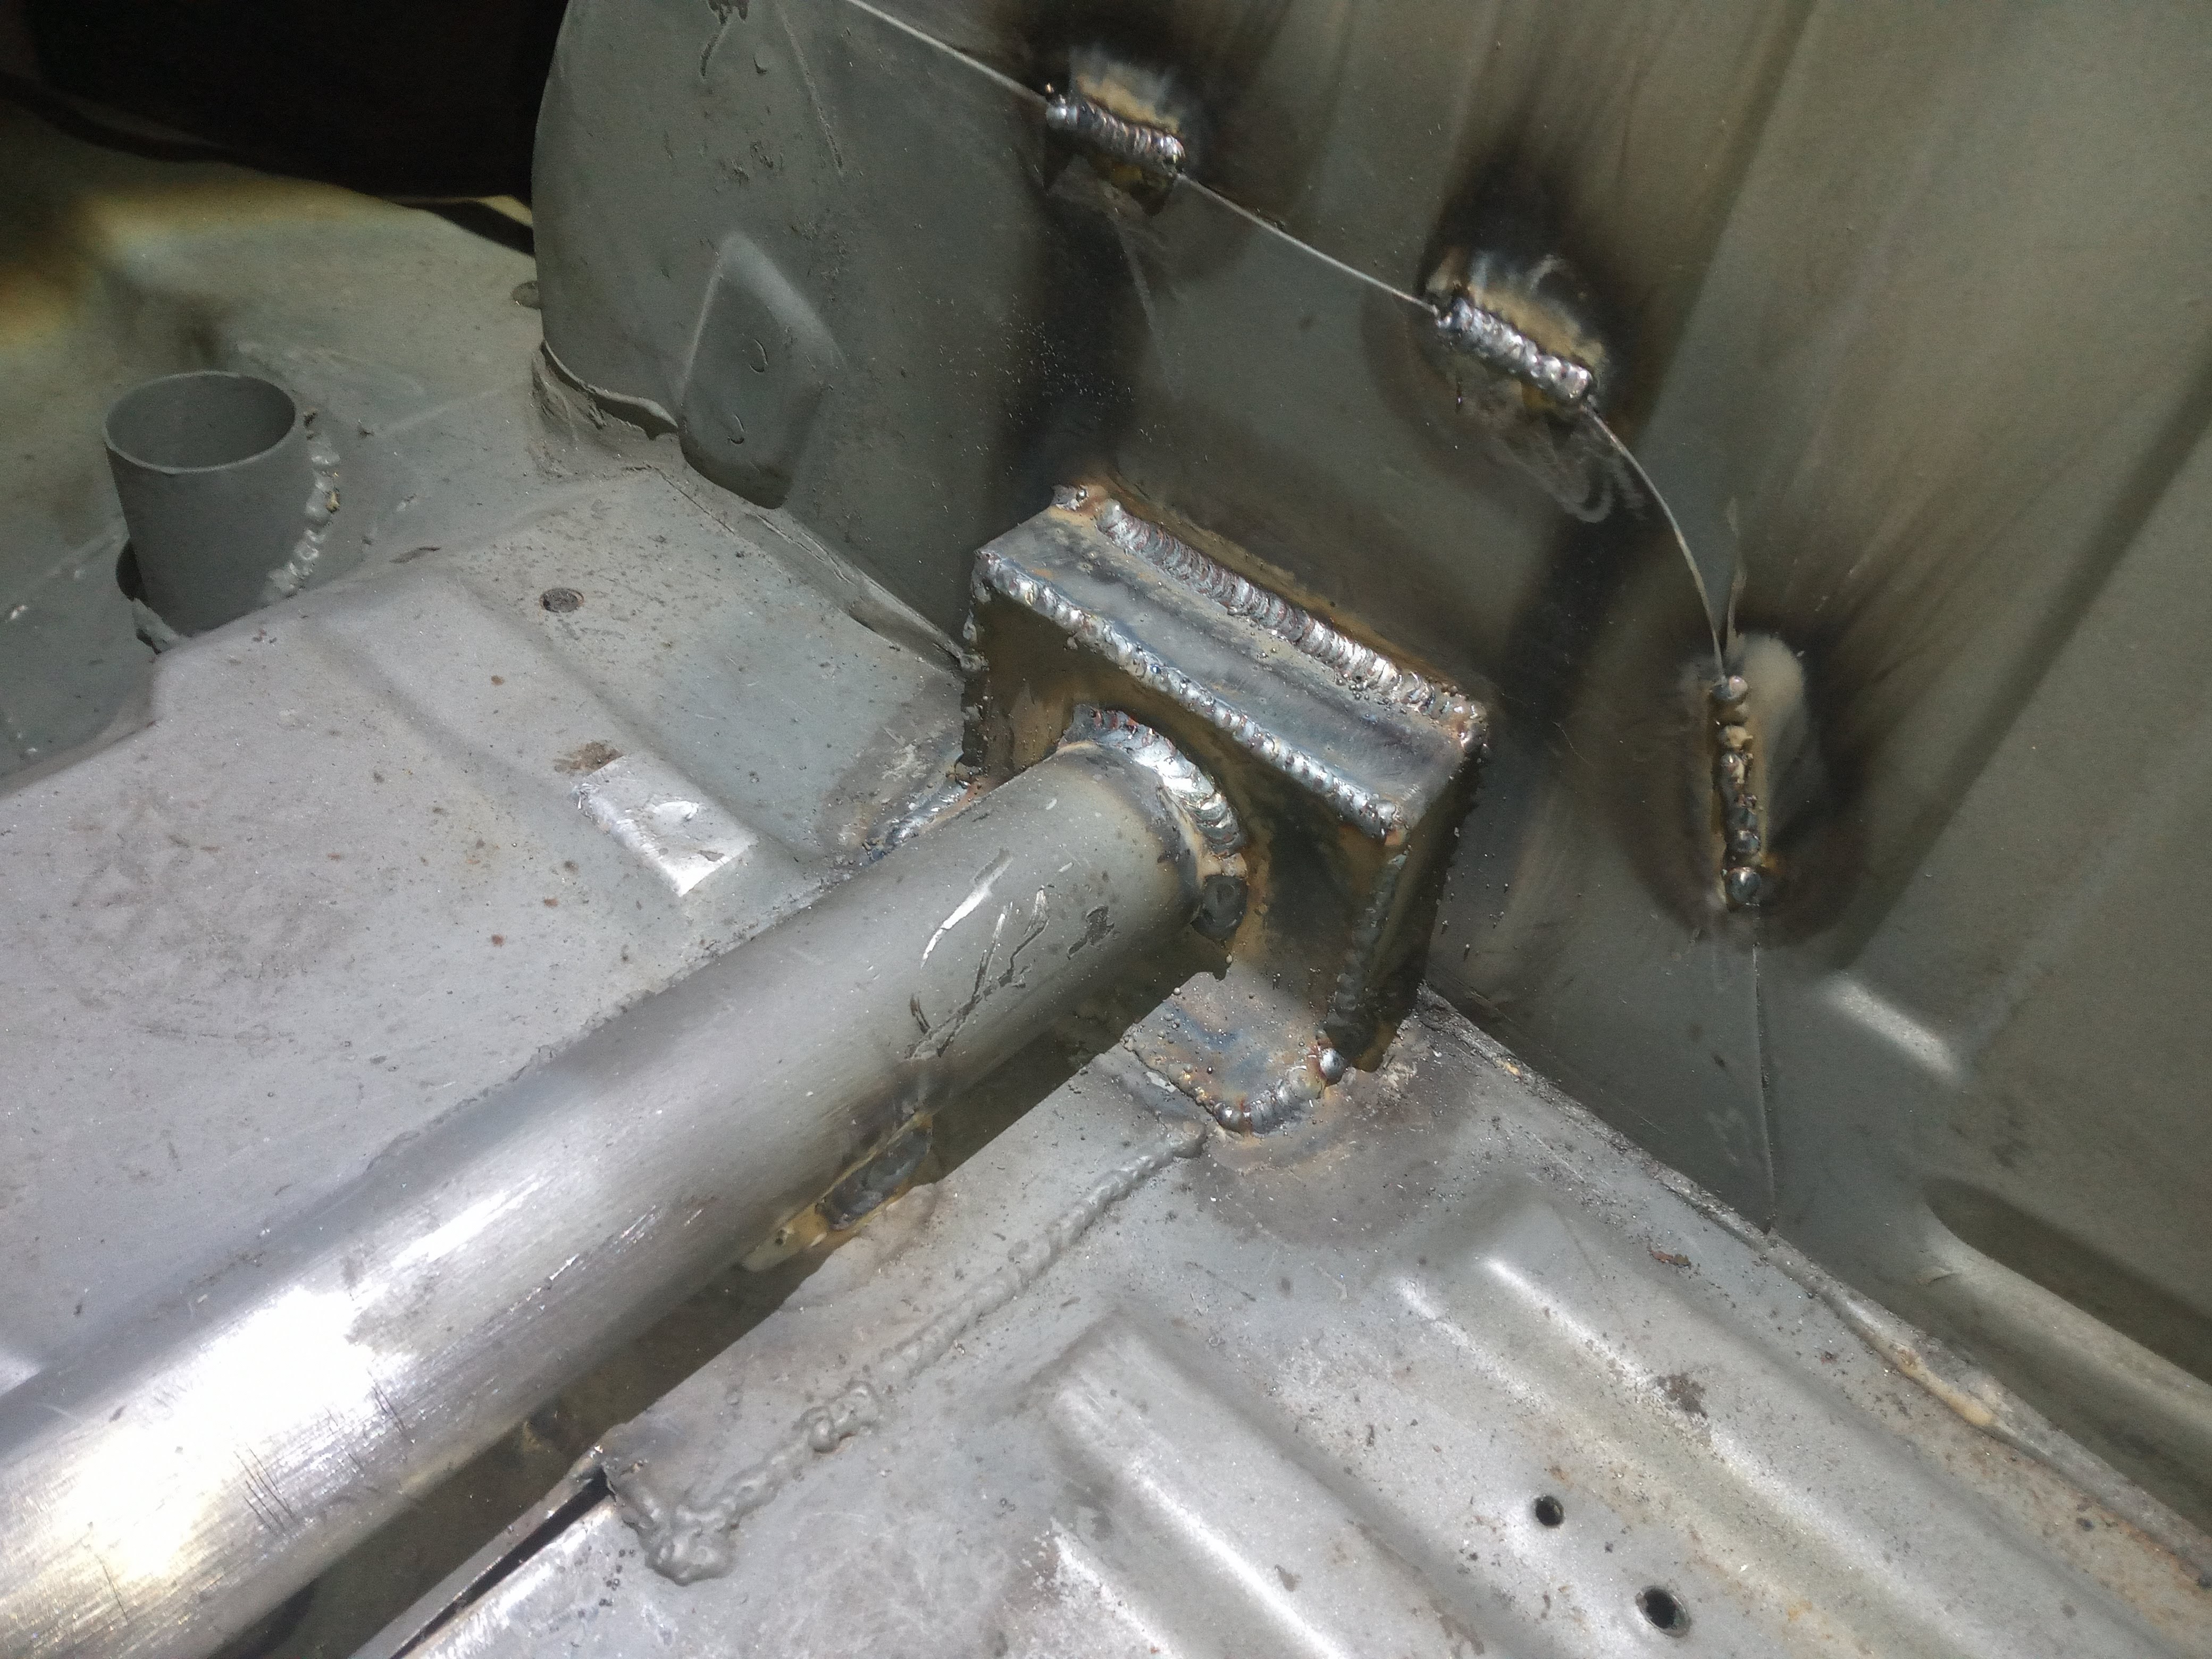
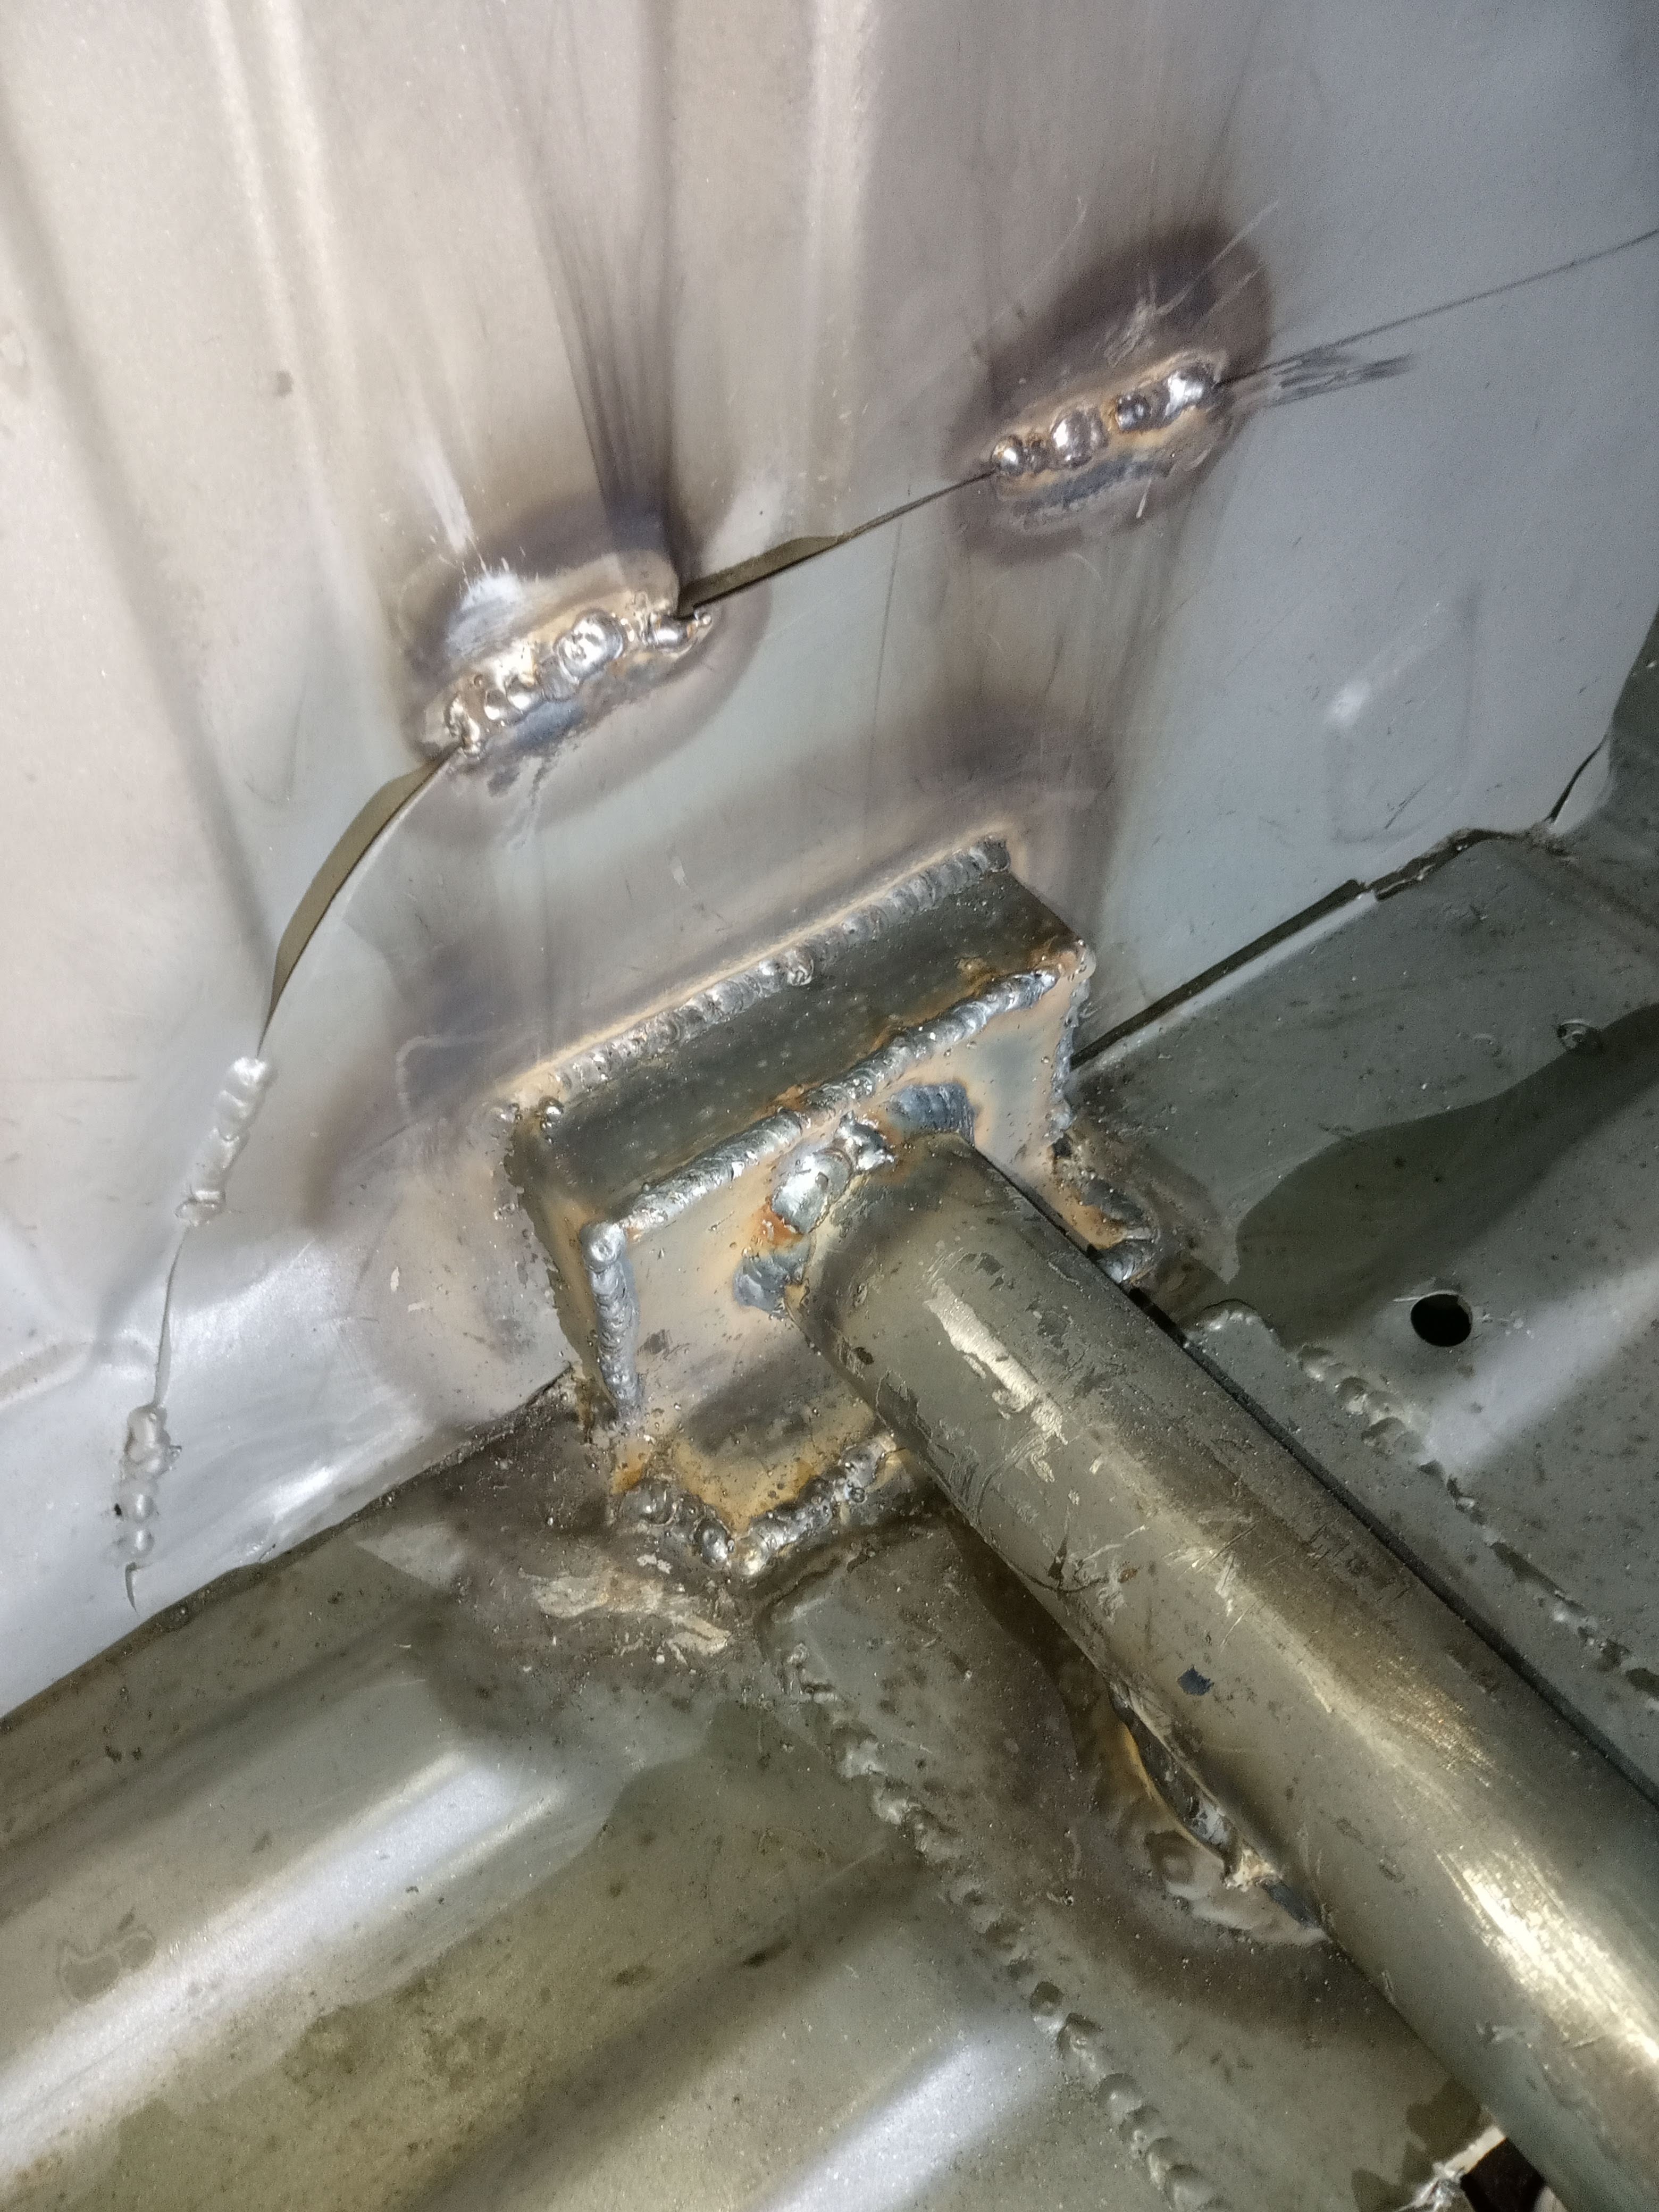
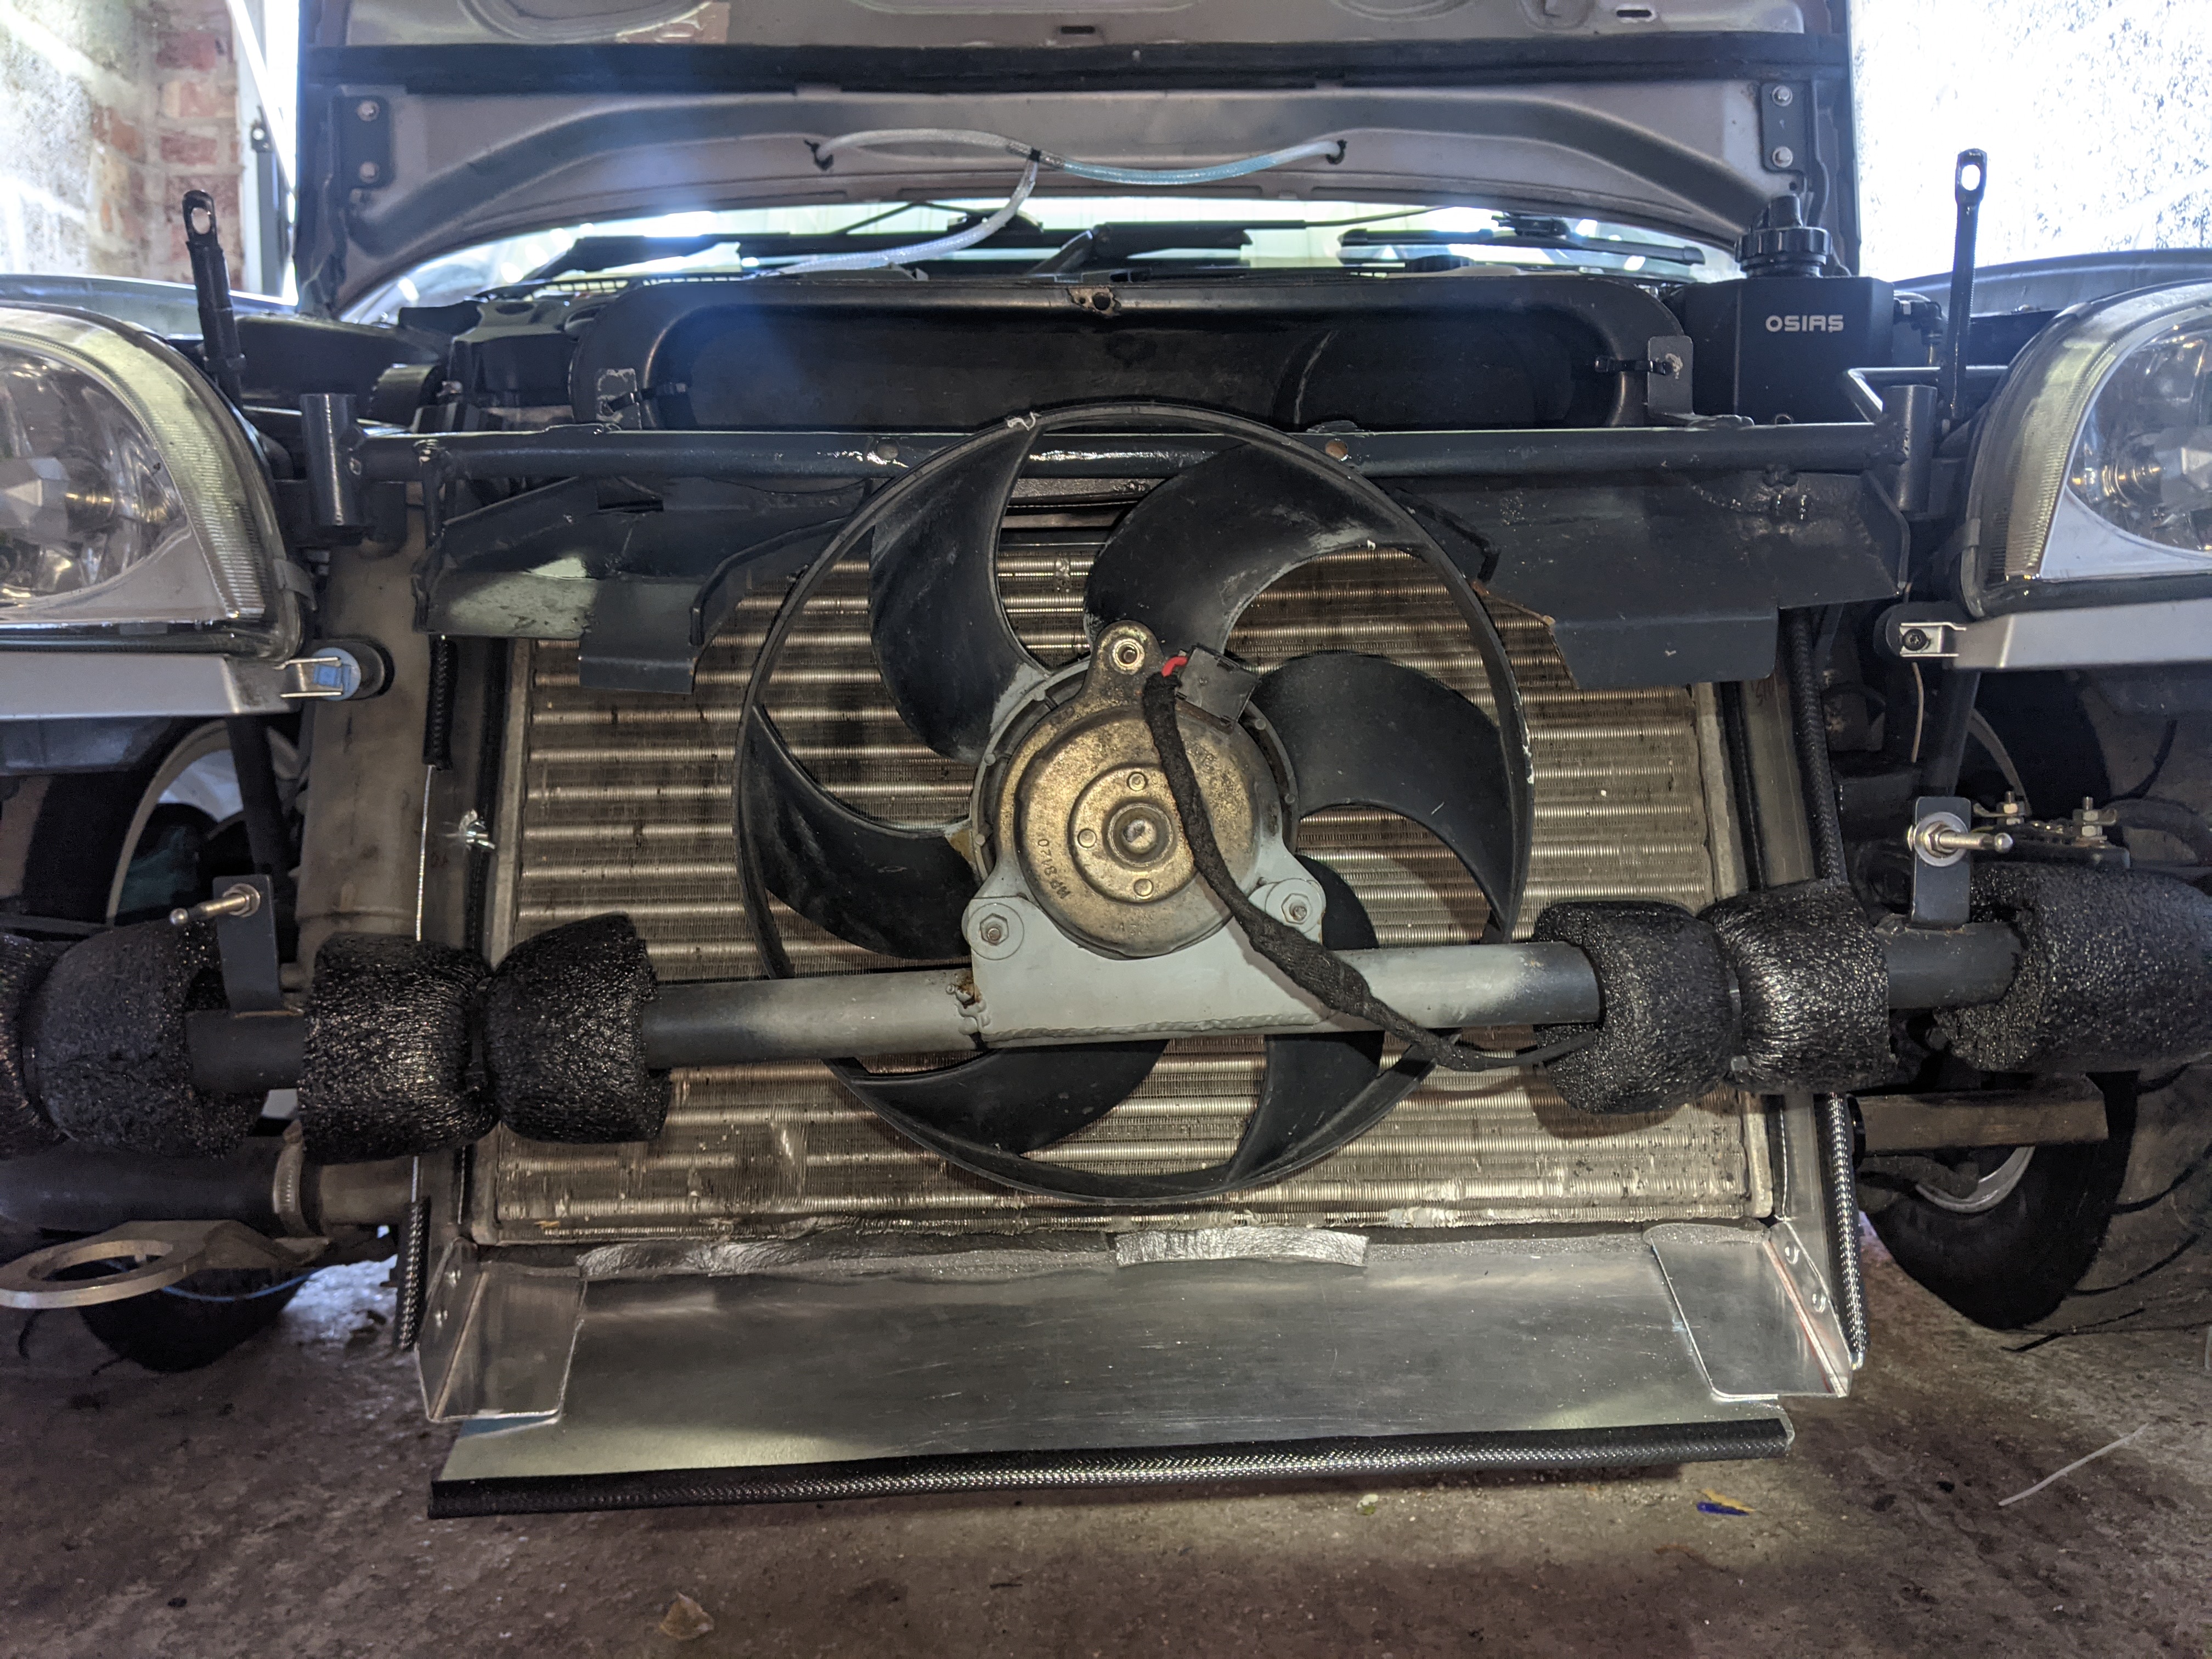
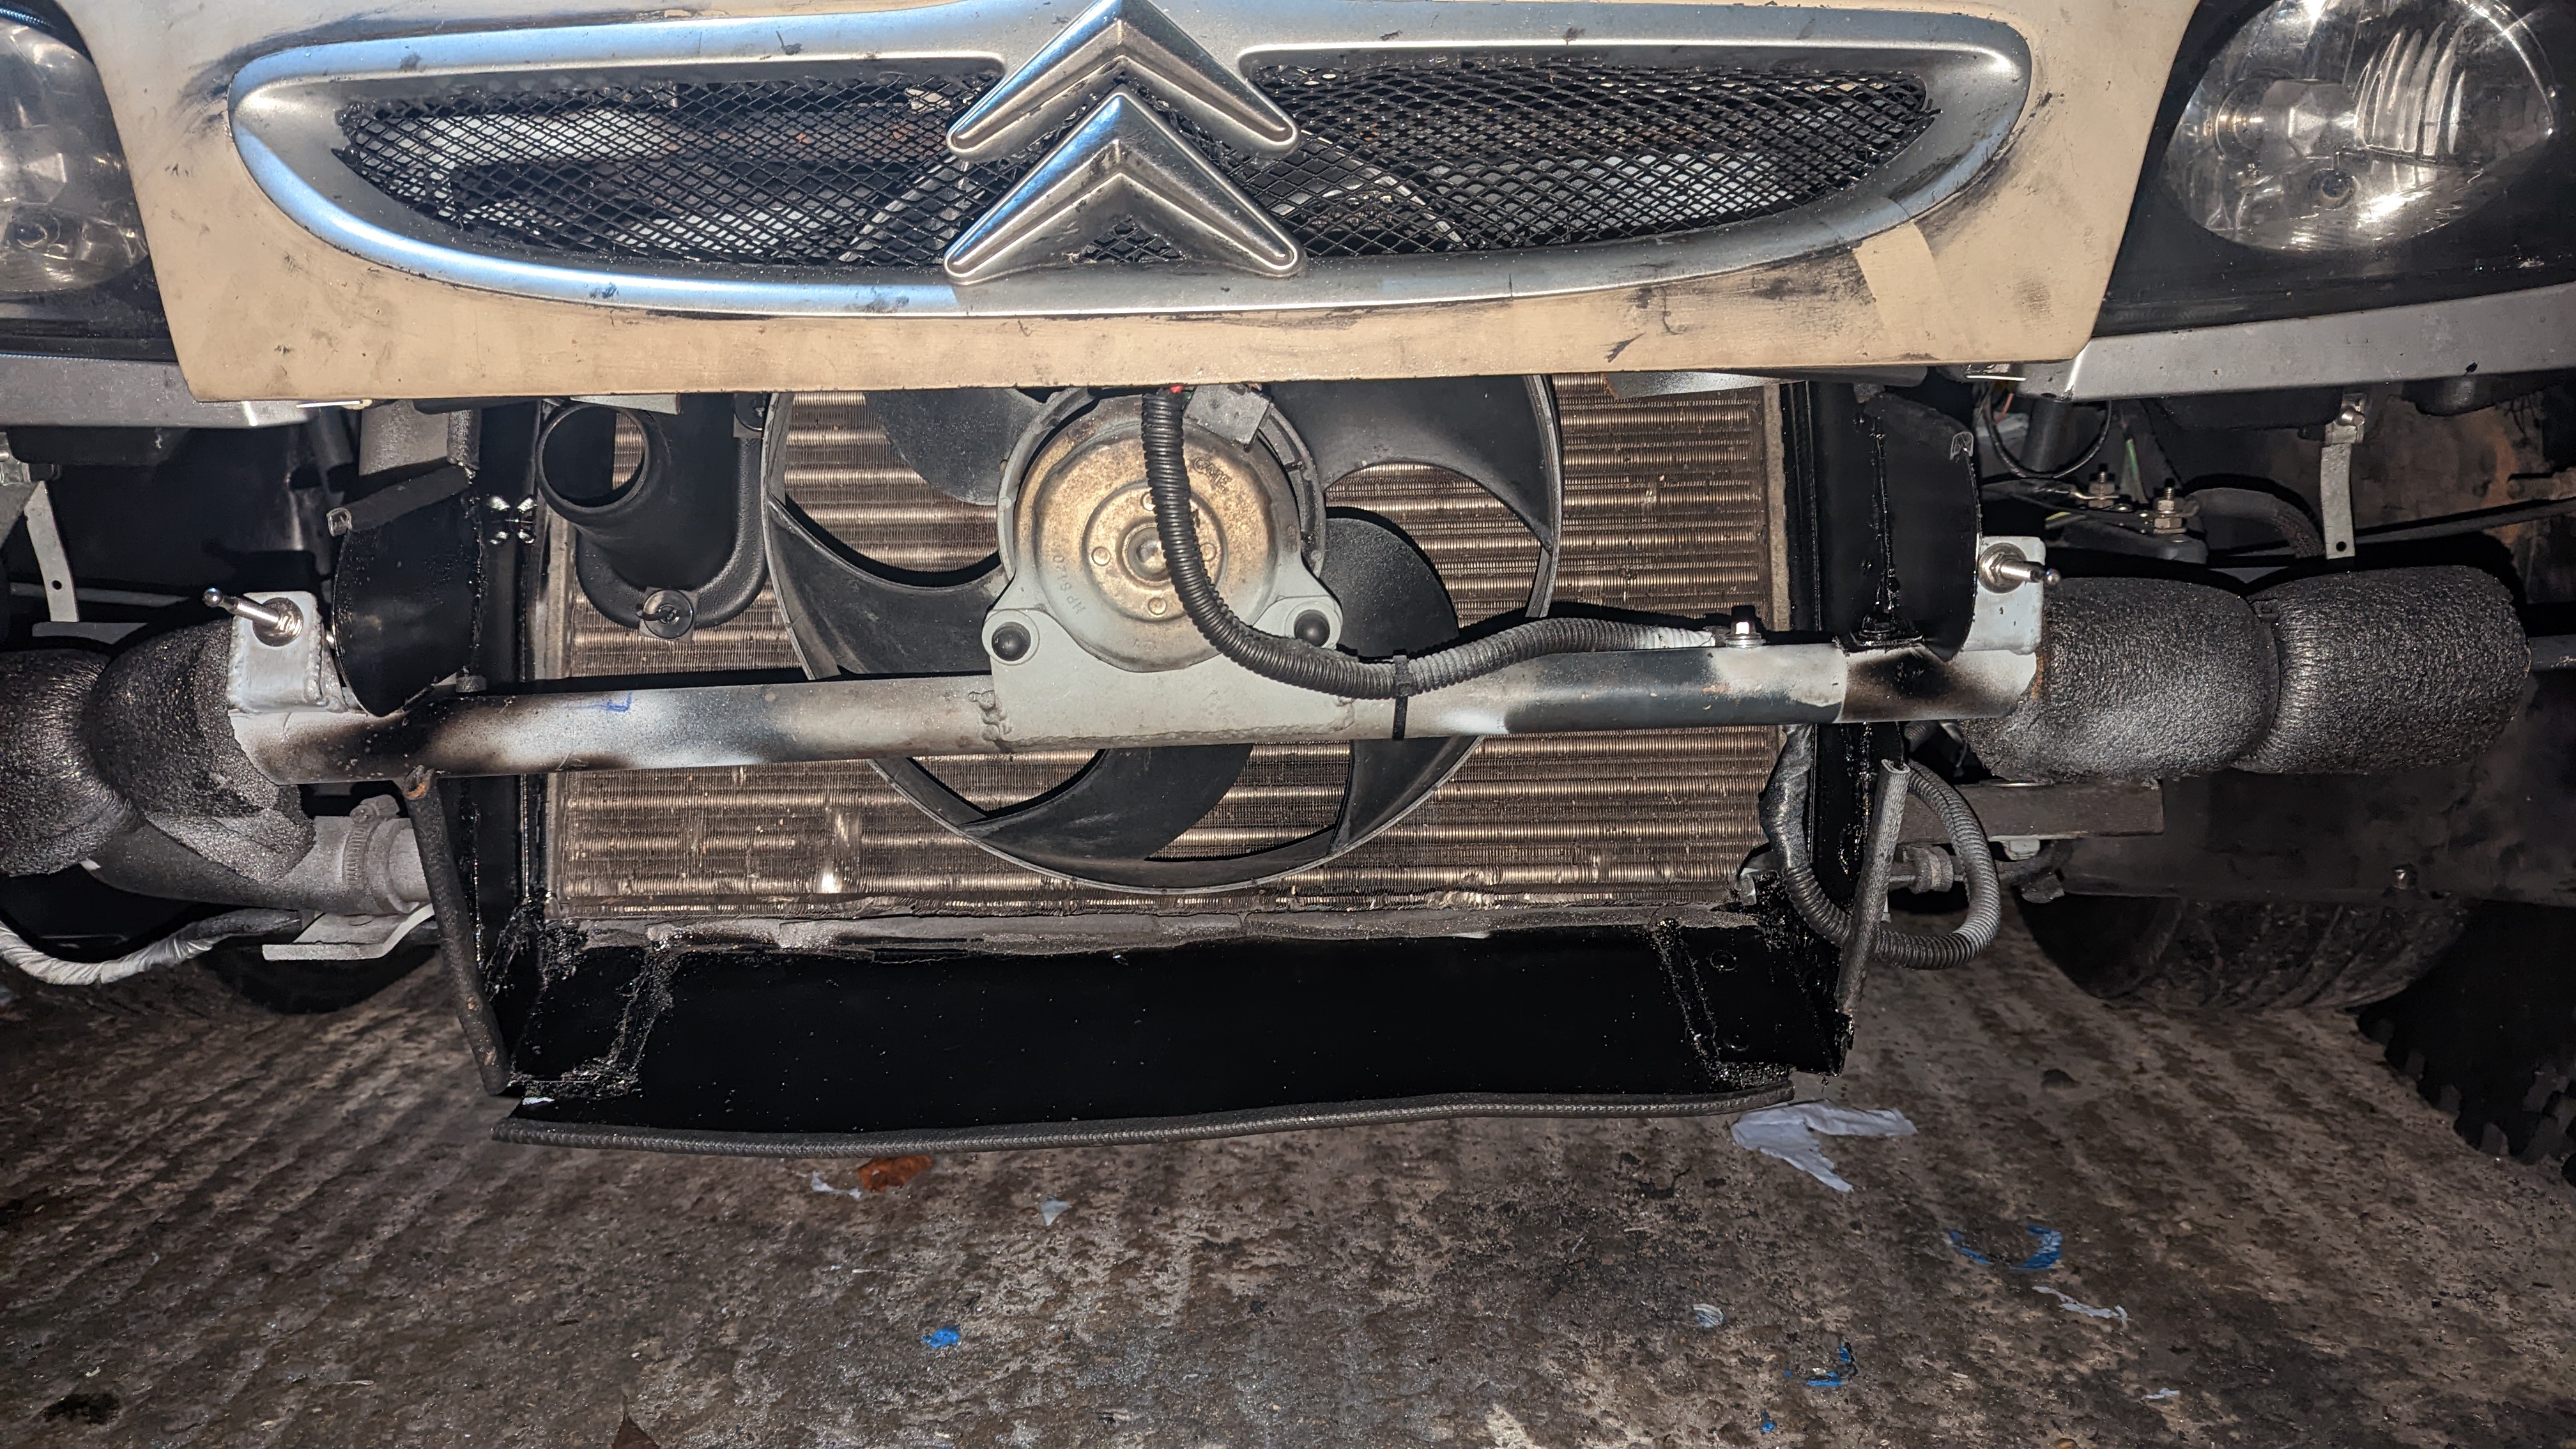
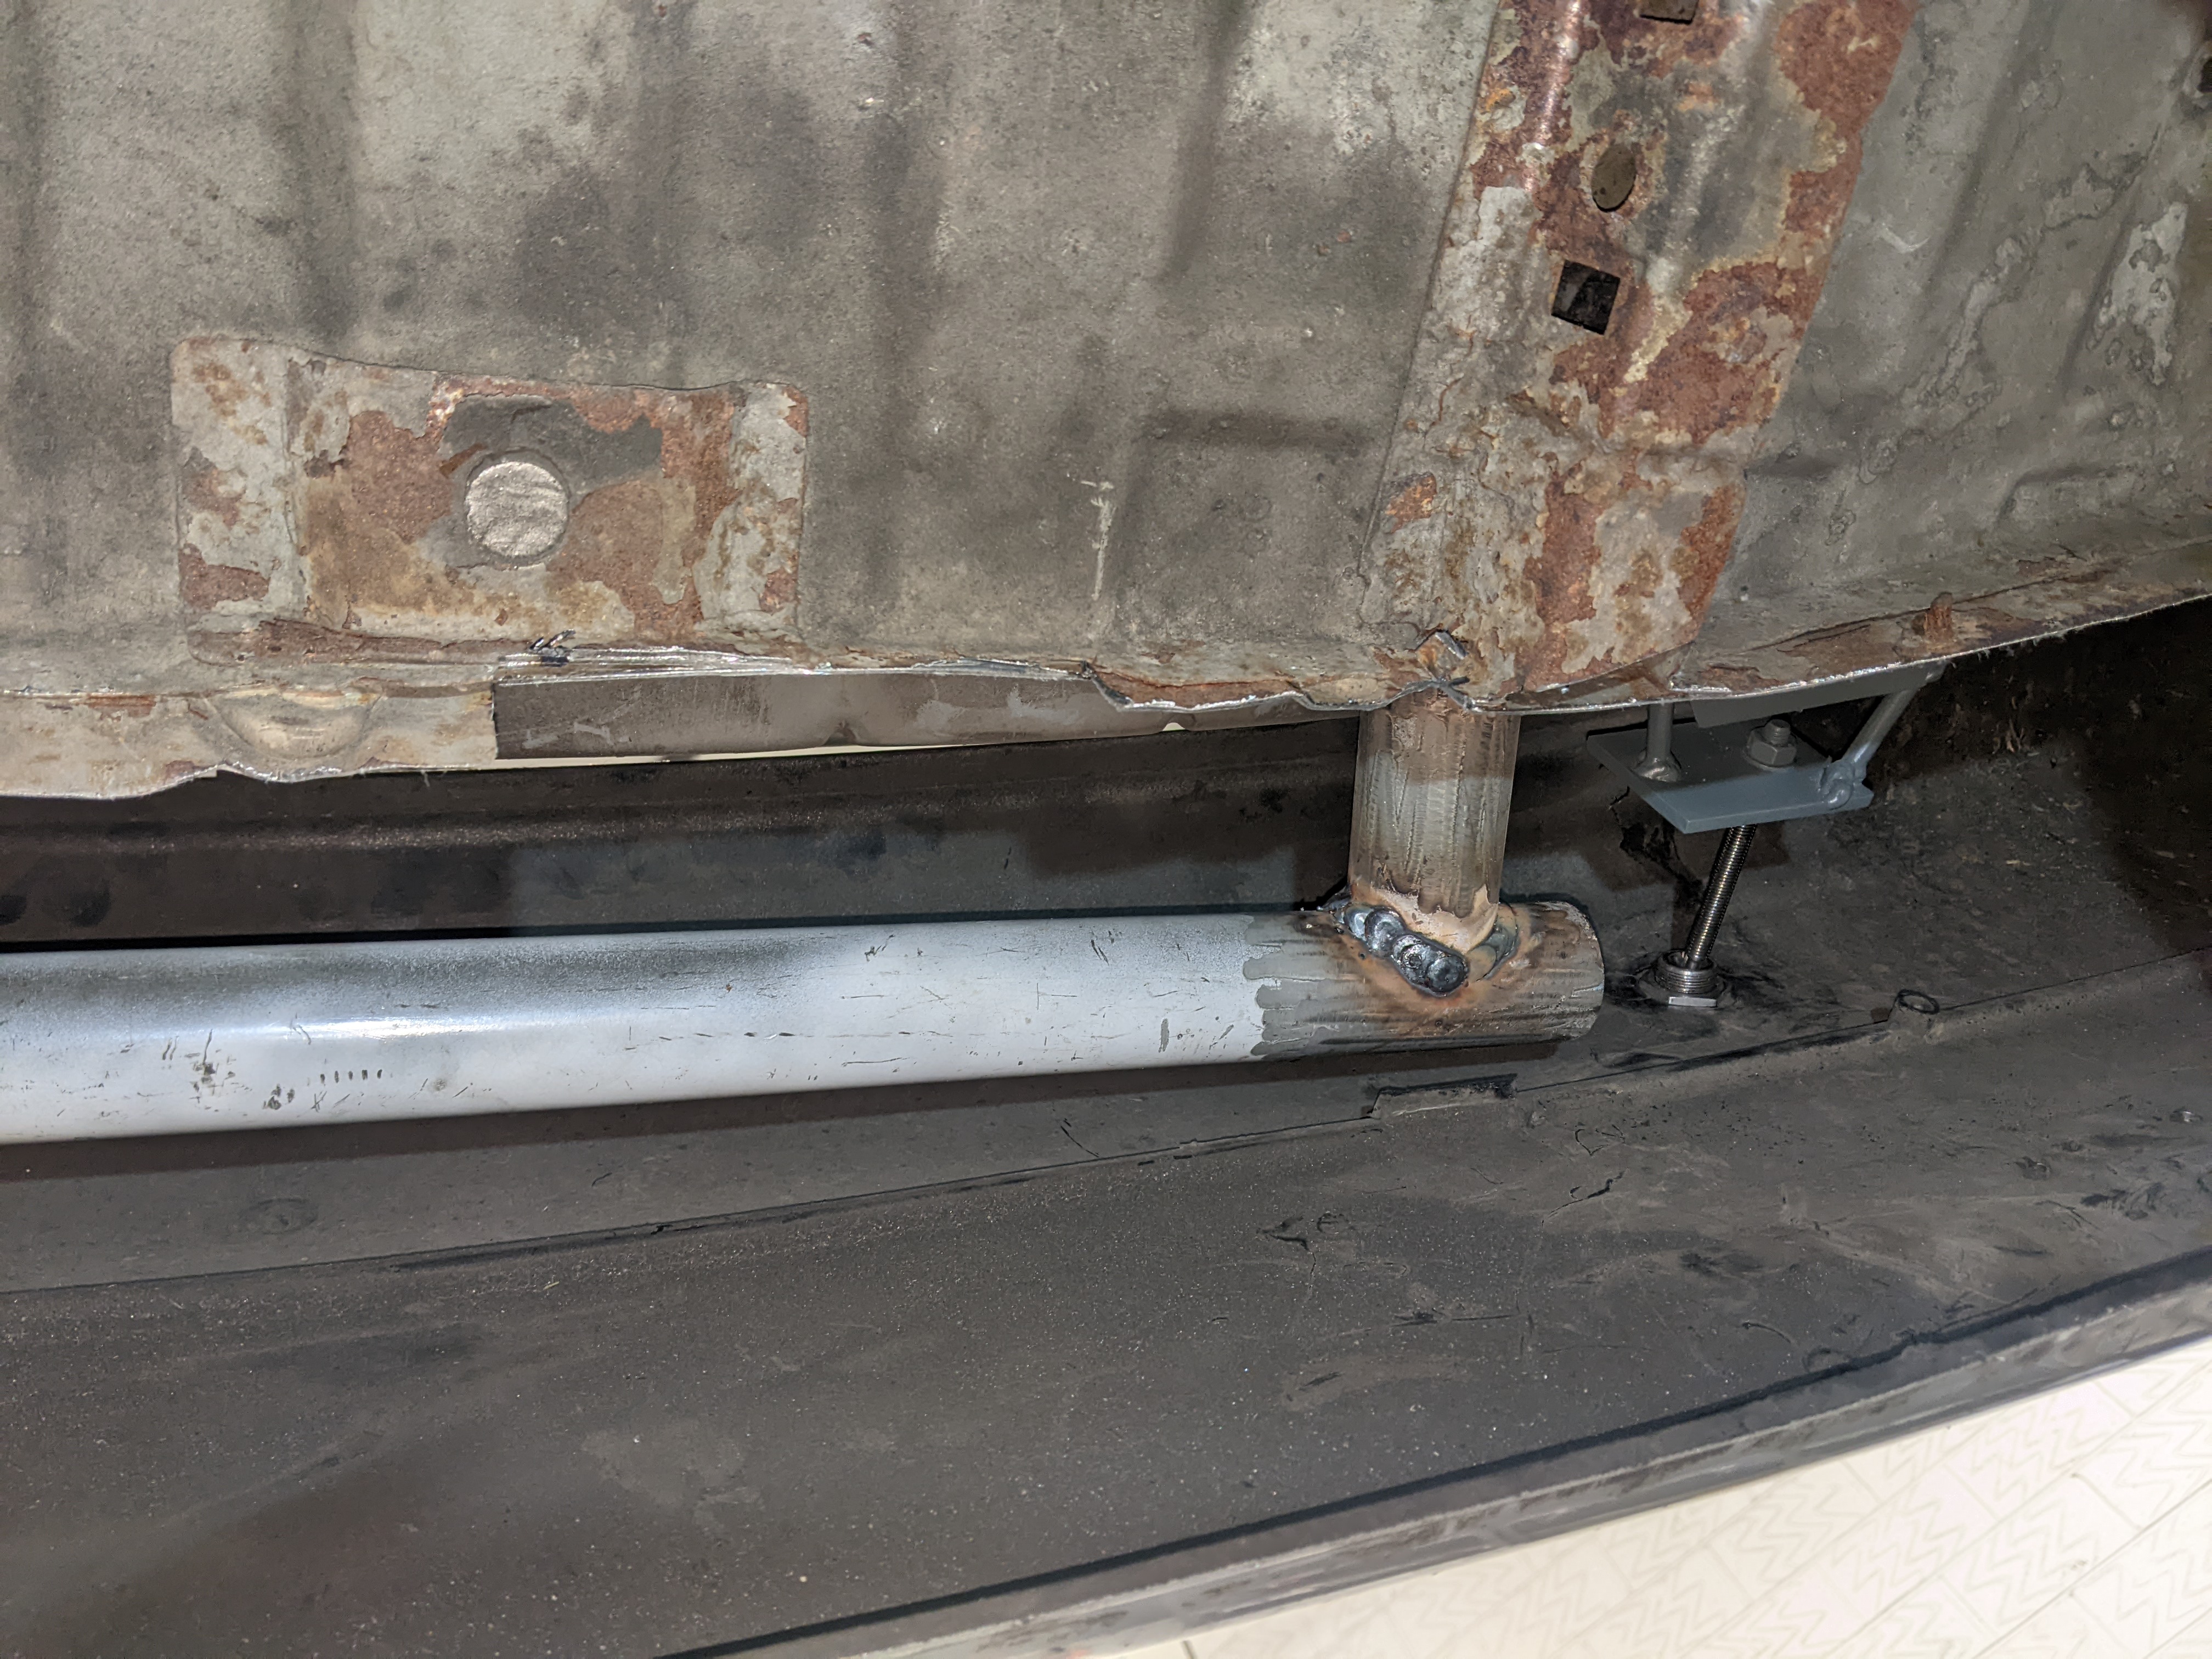
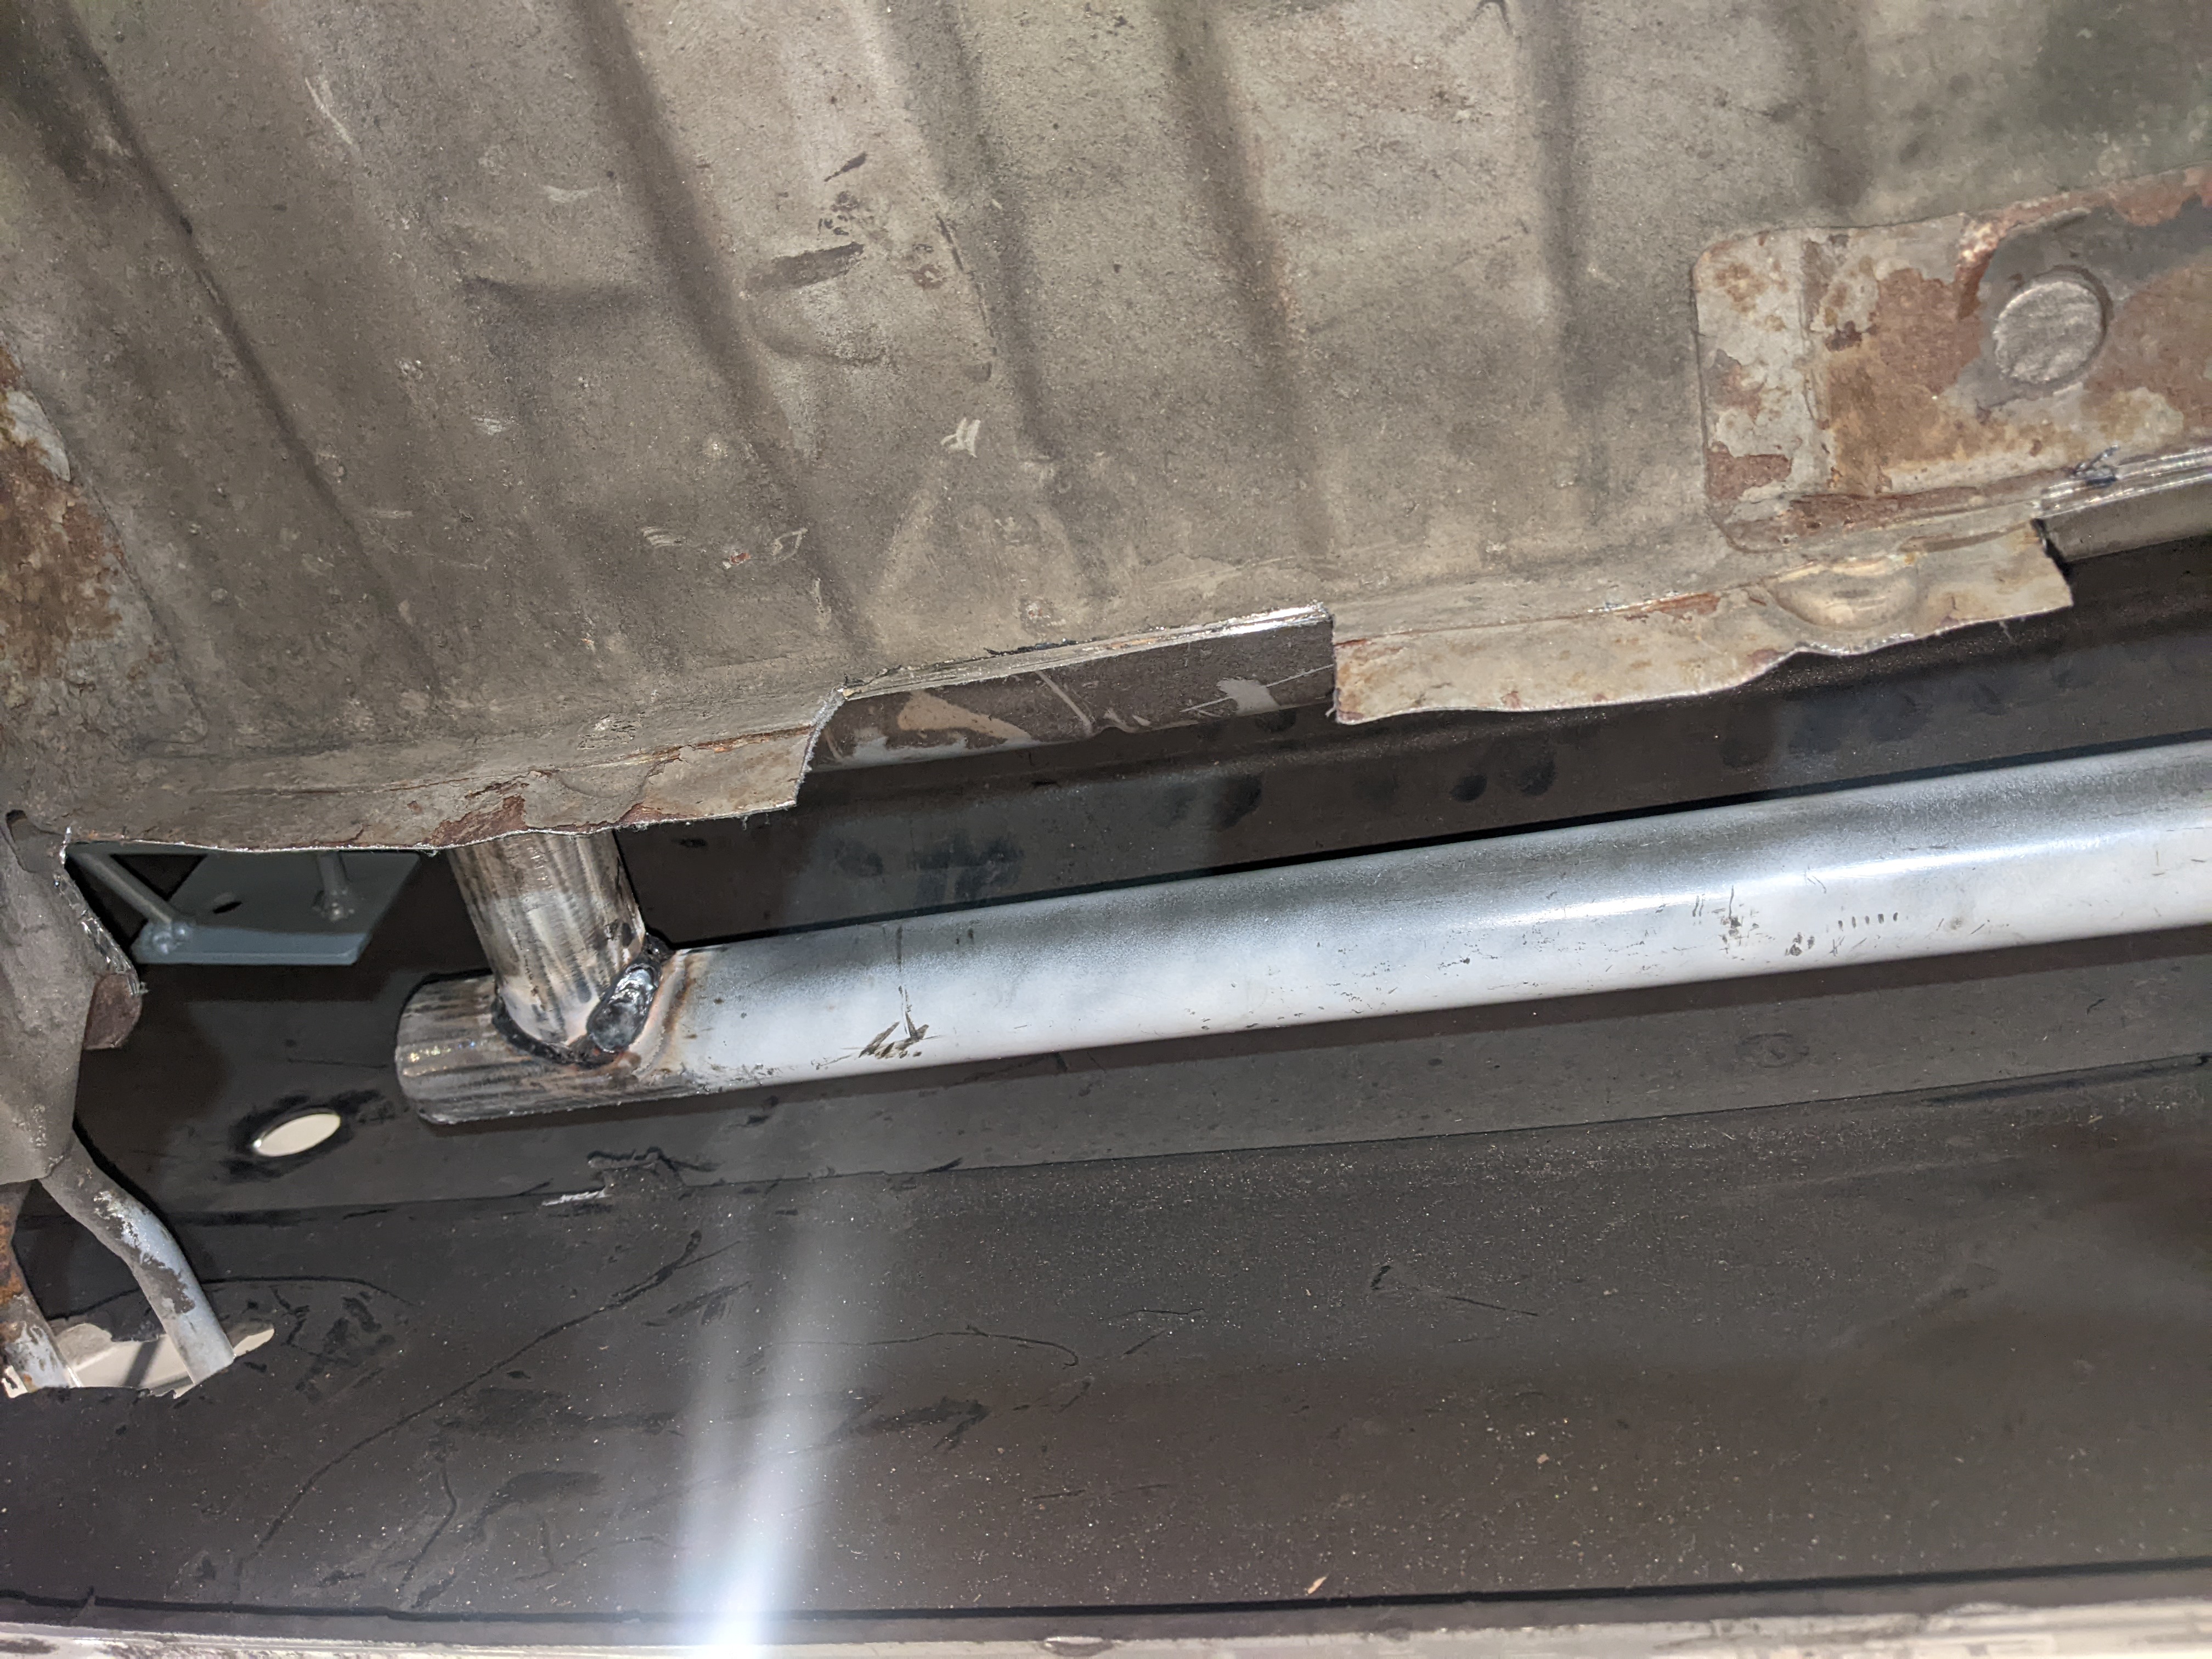
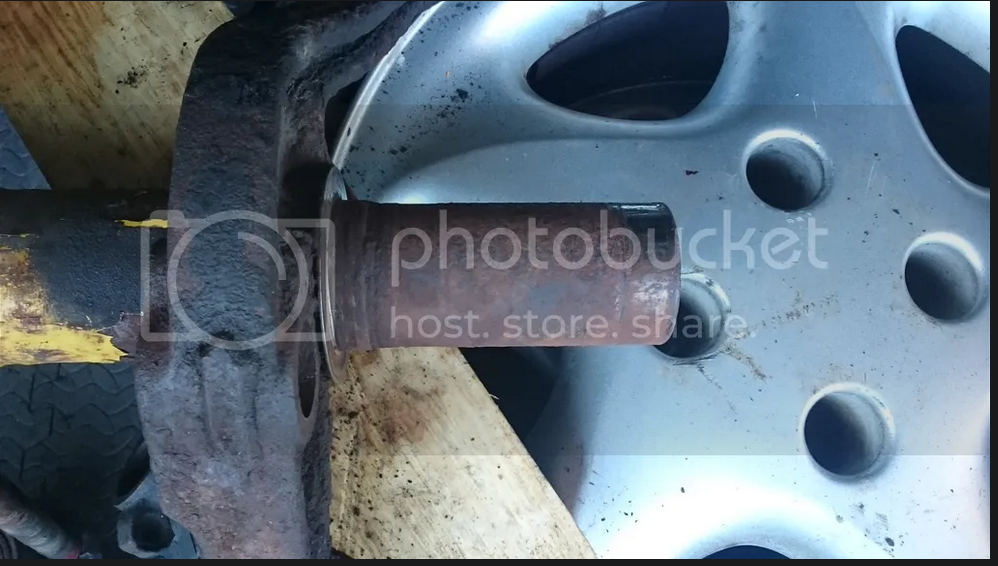
    some pictures missing but didn't want a lower brace sticking out of the bottom of the front end so decided to weld on above the chassis leg to do the same job:


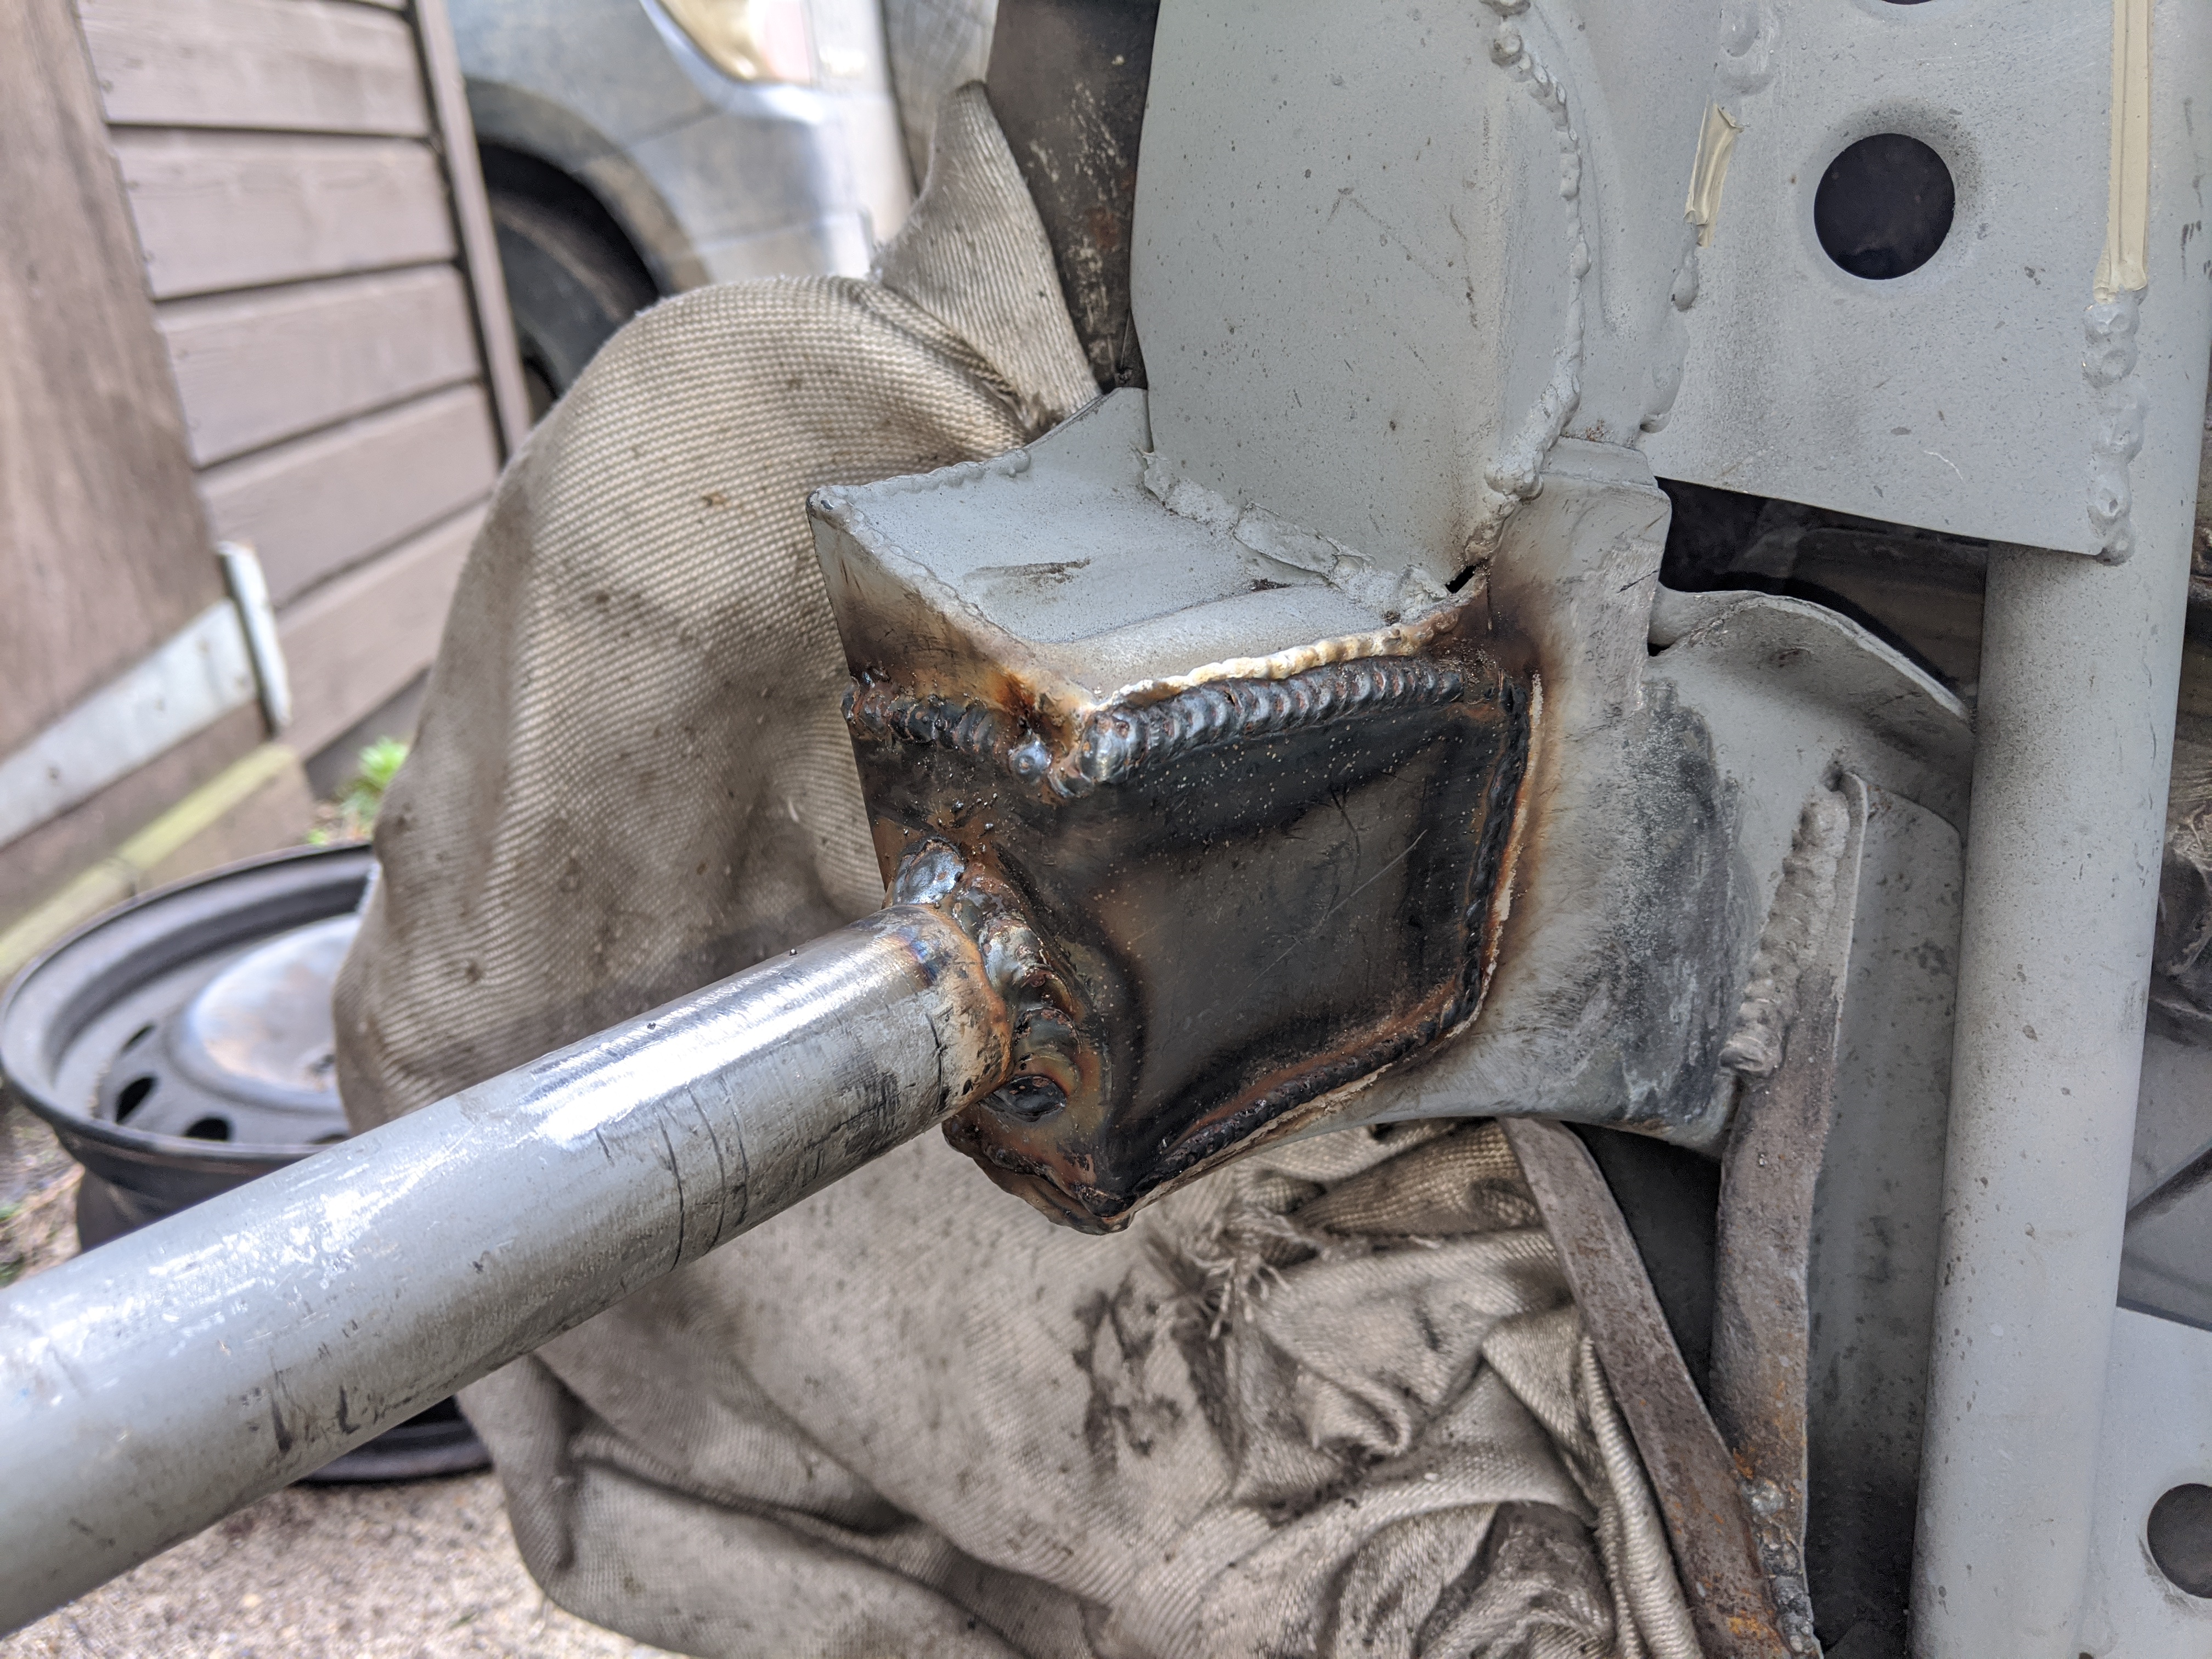
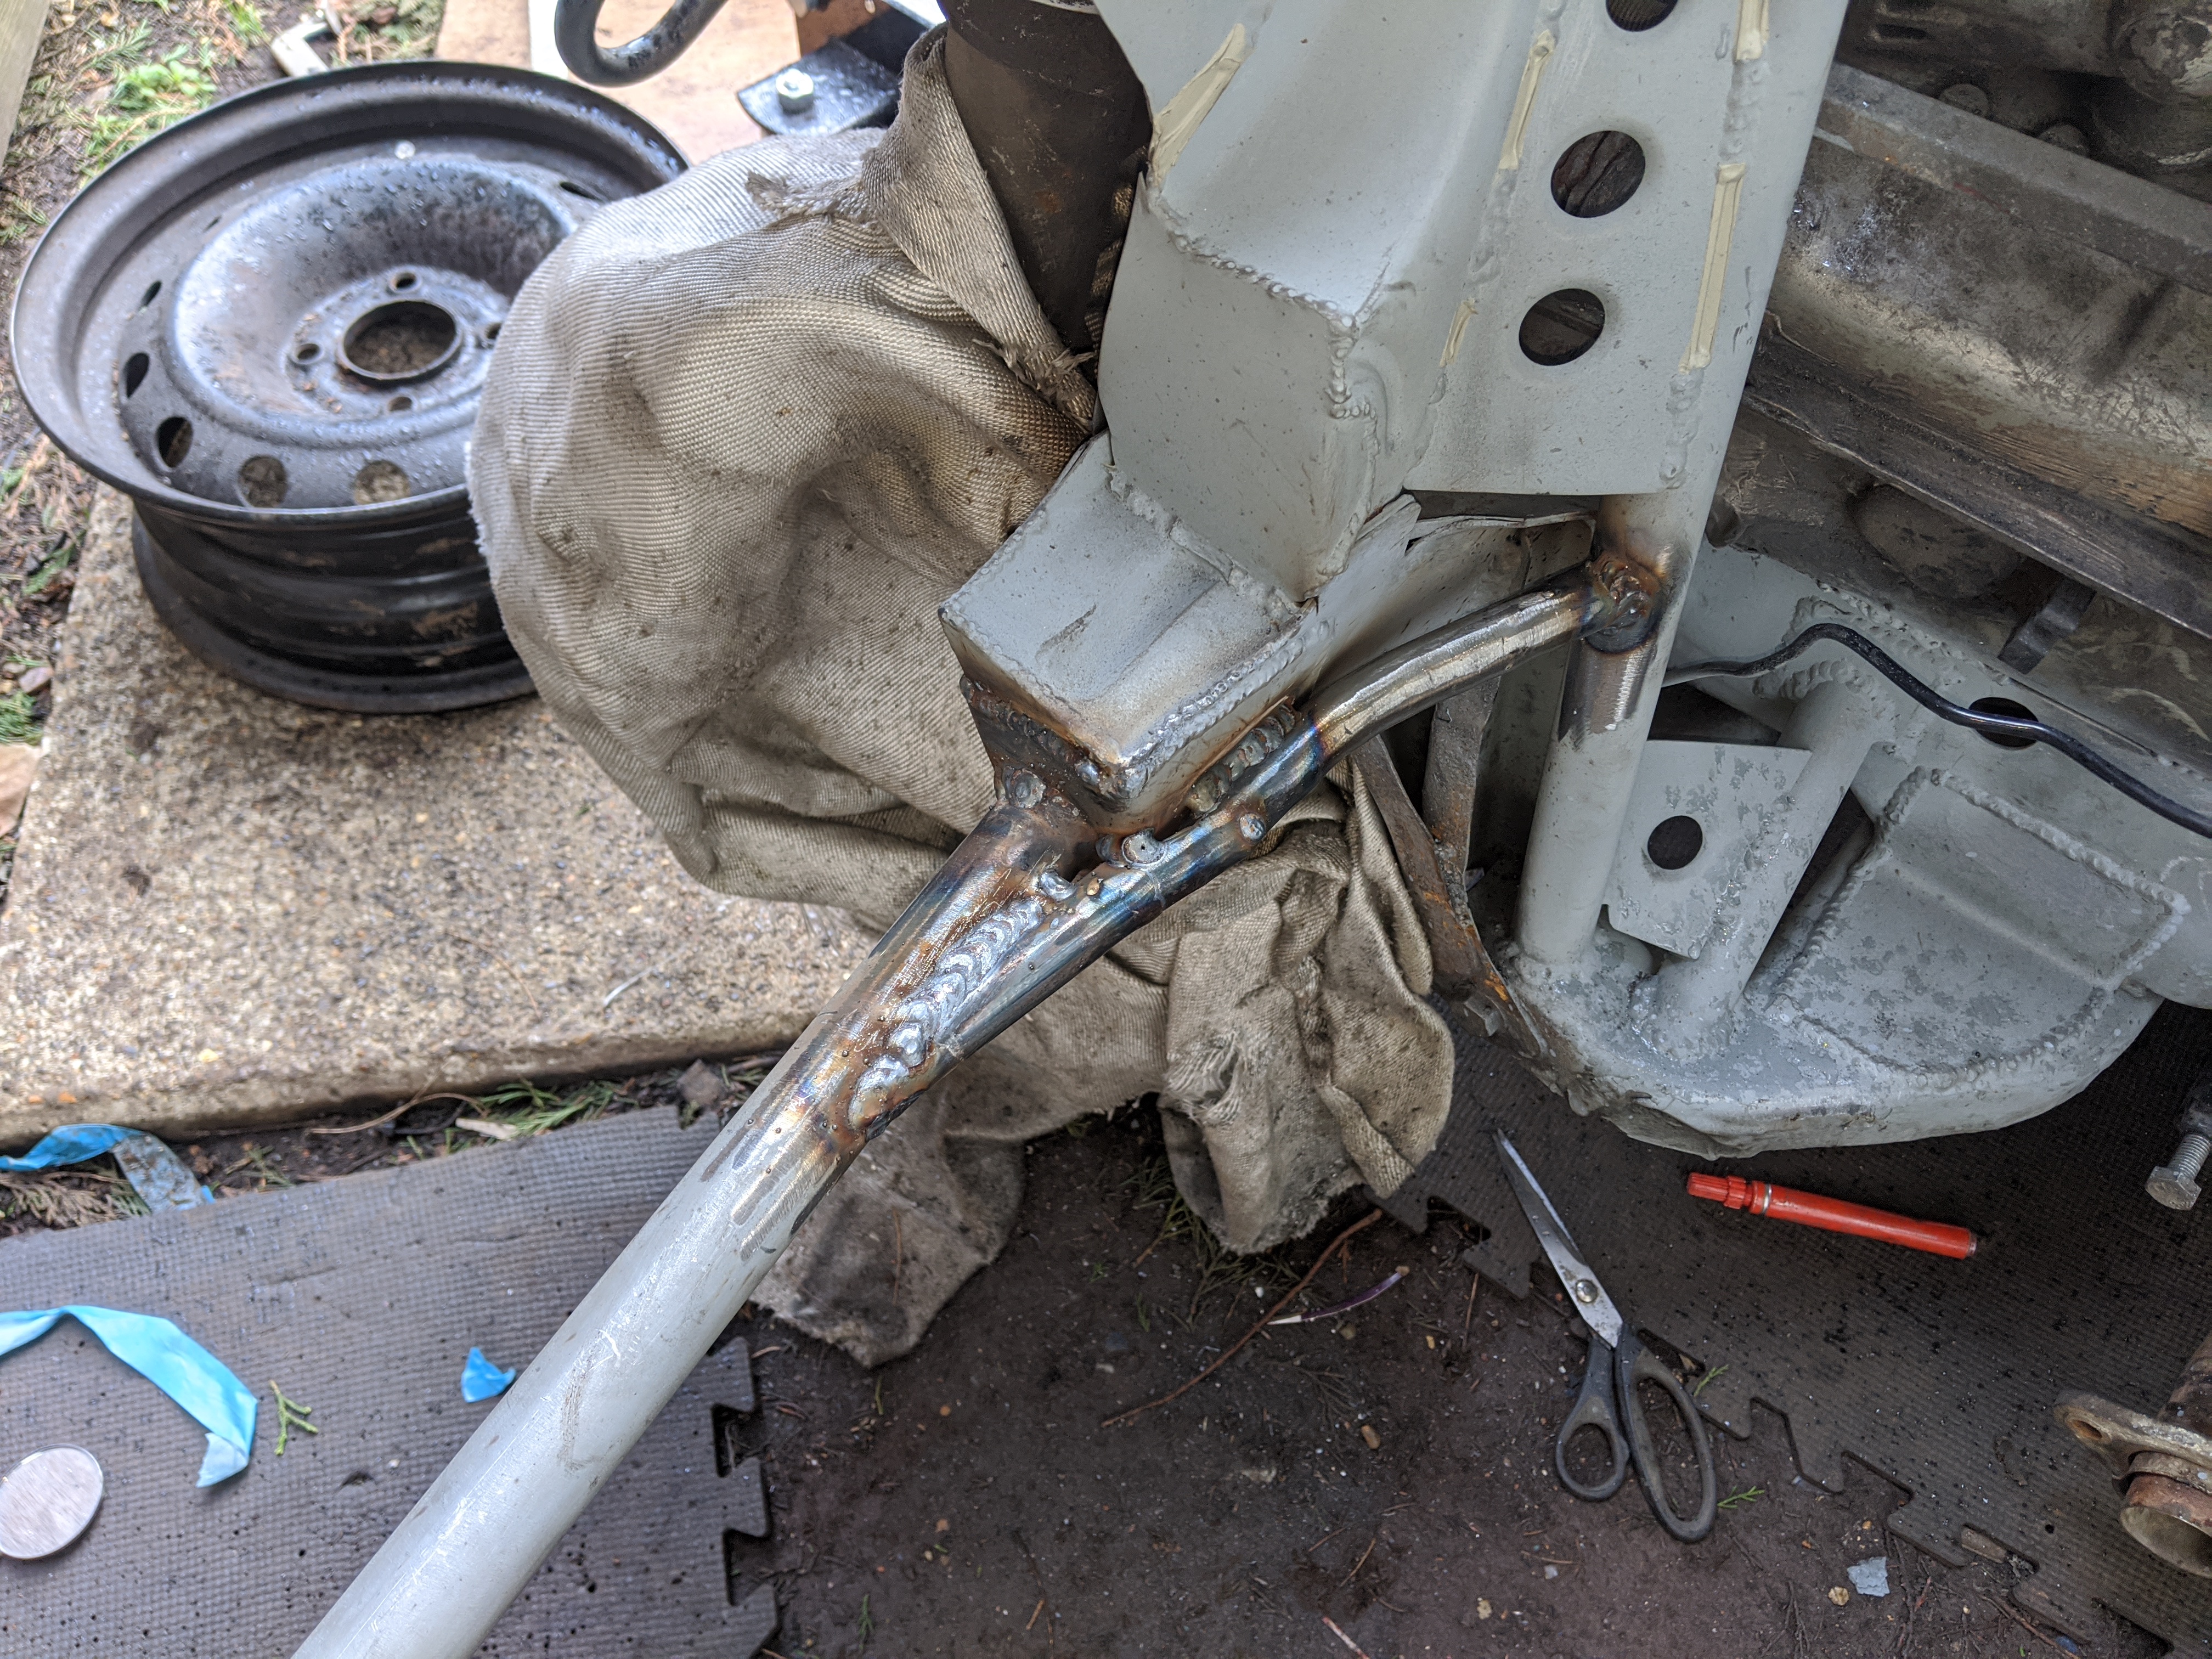
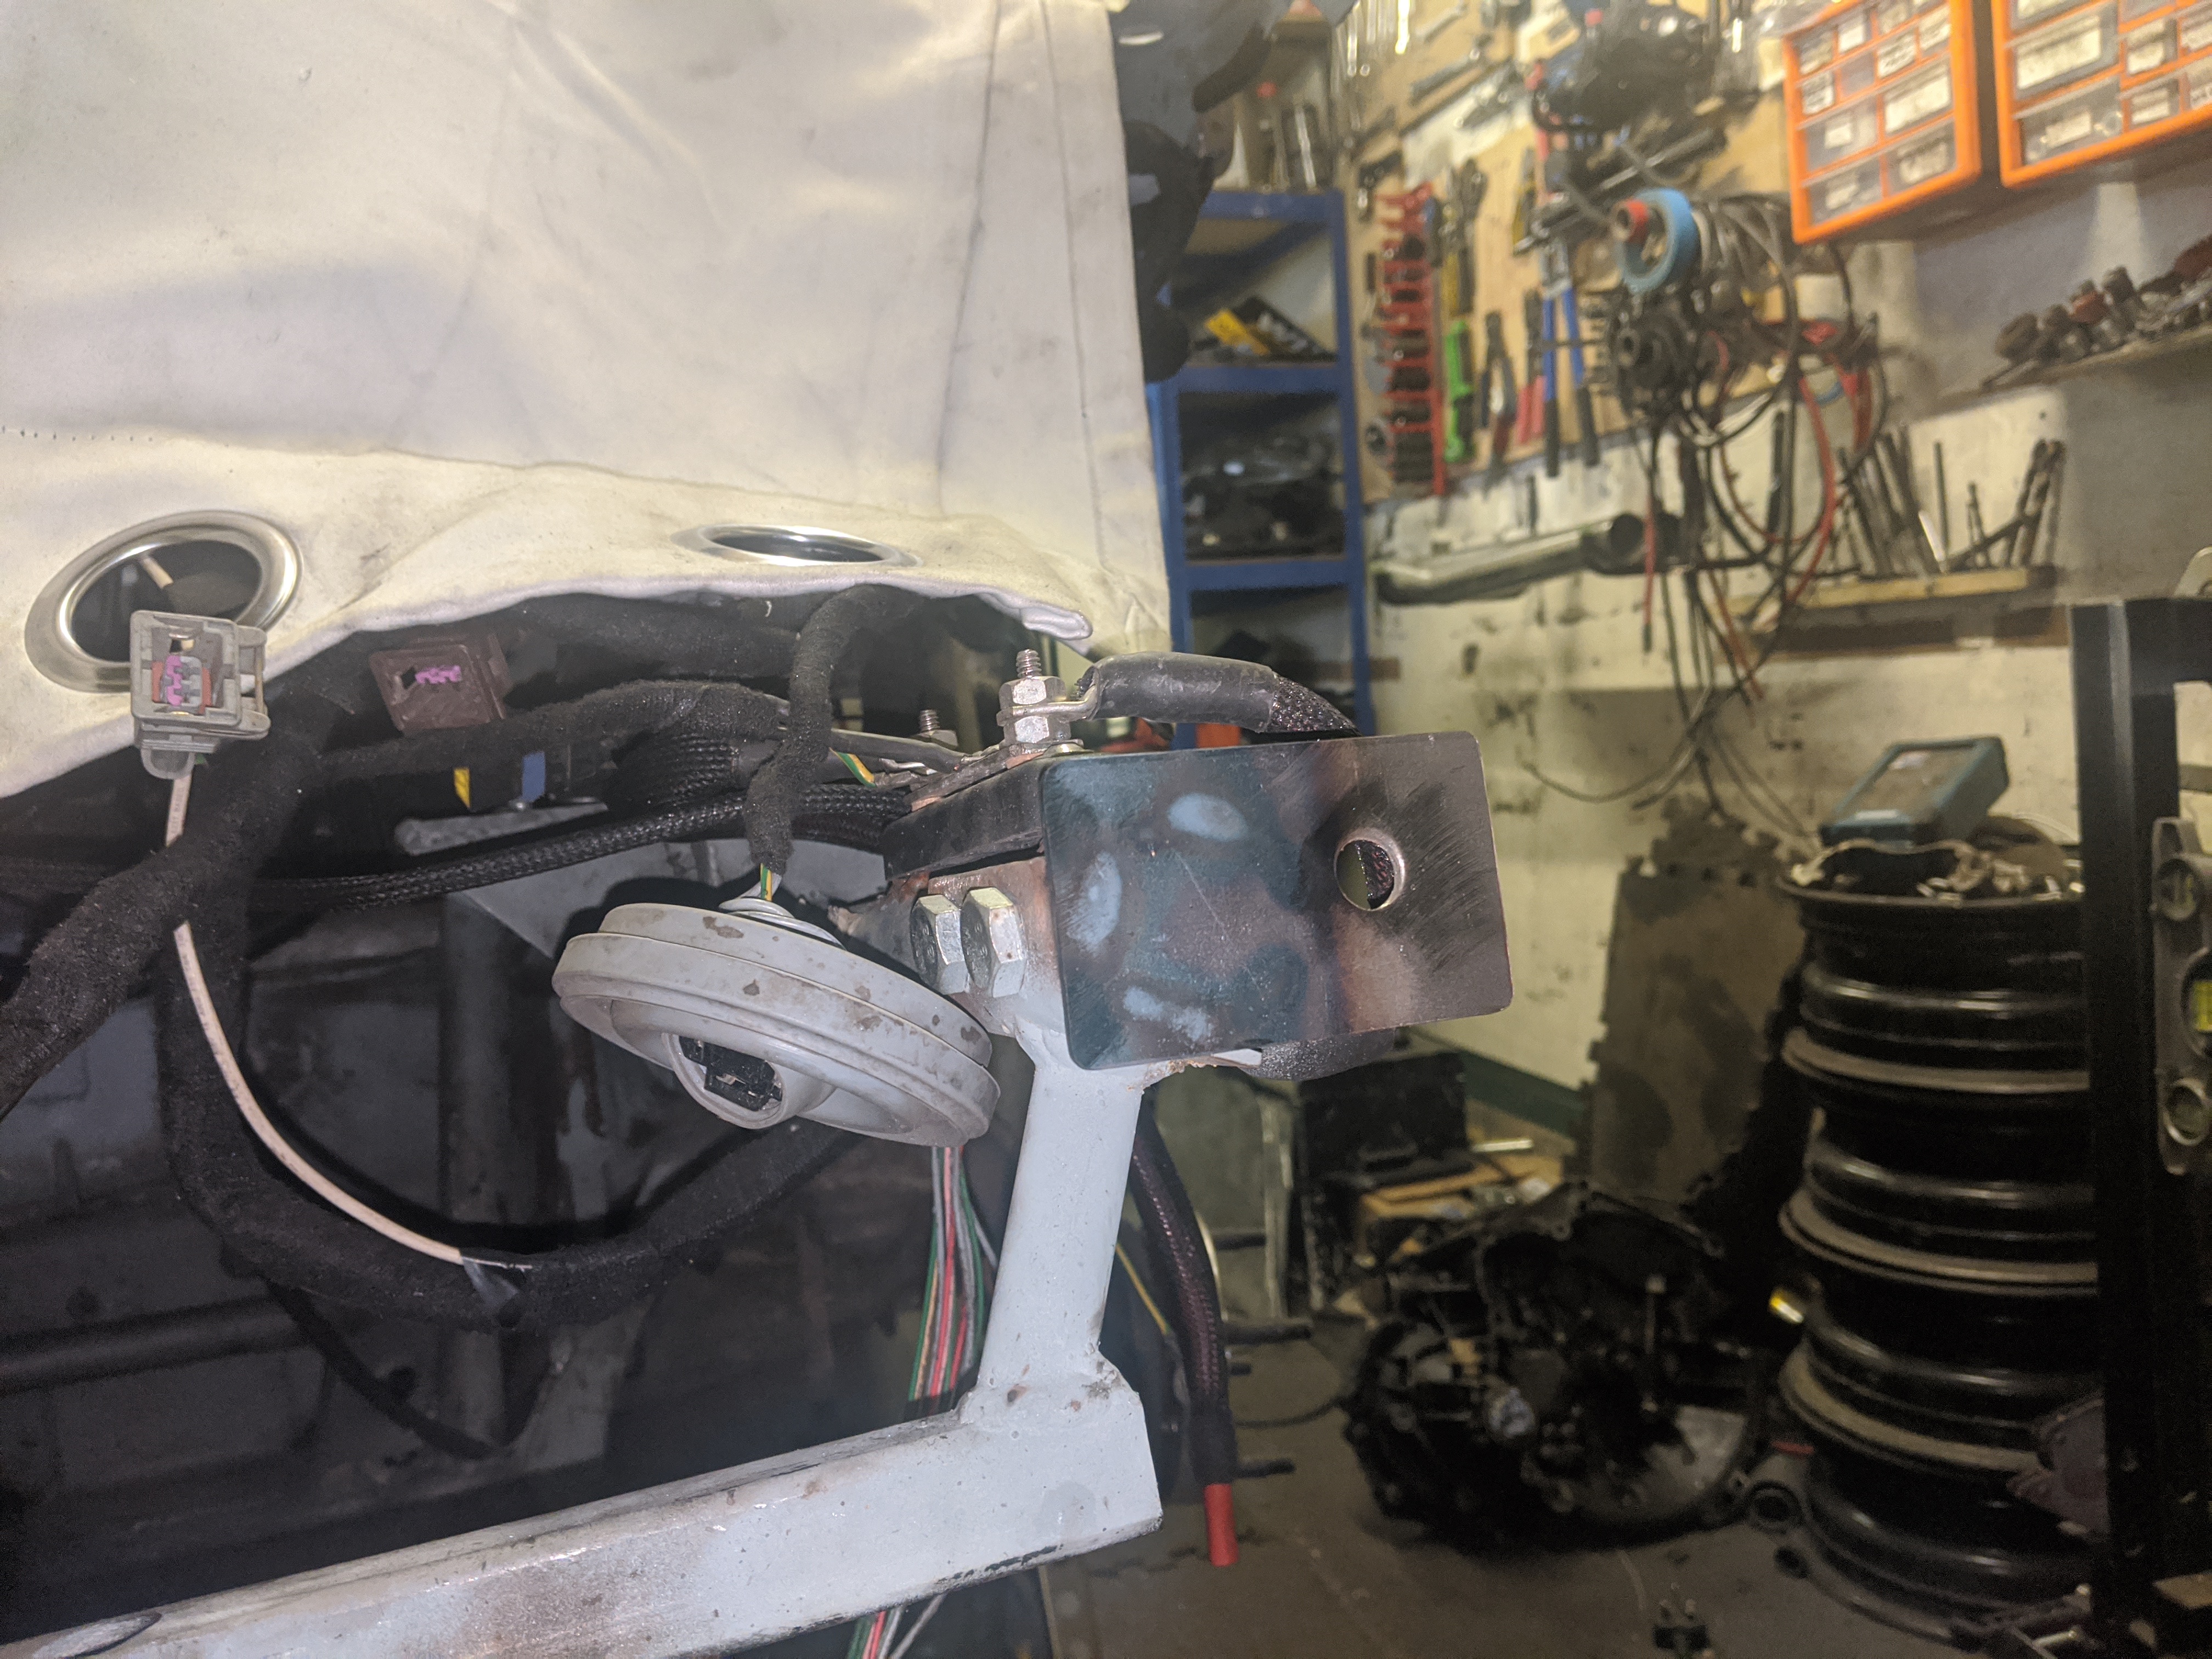
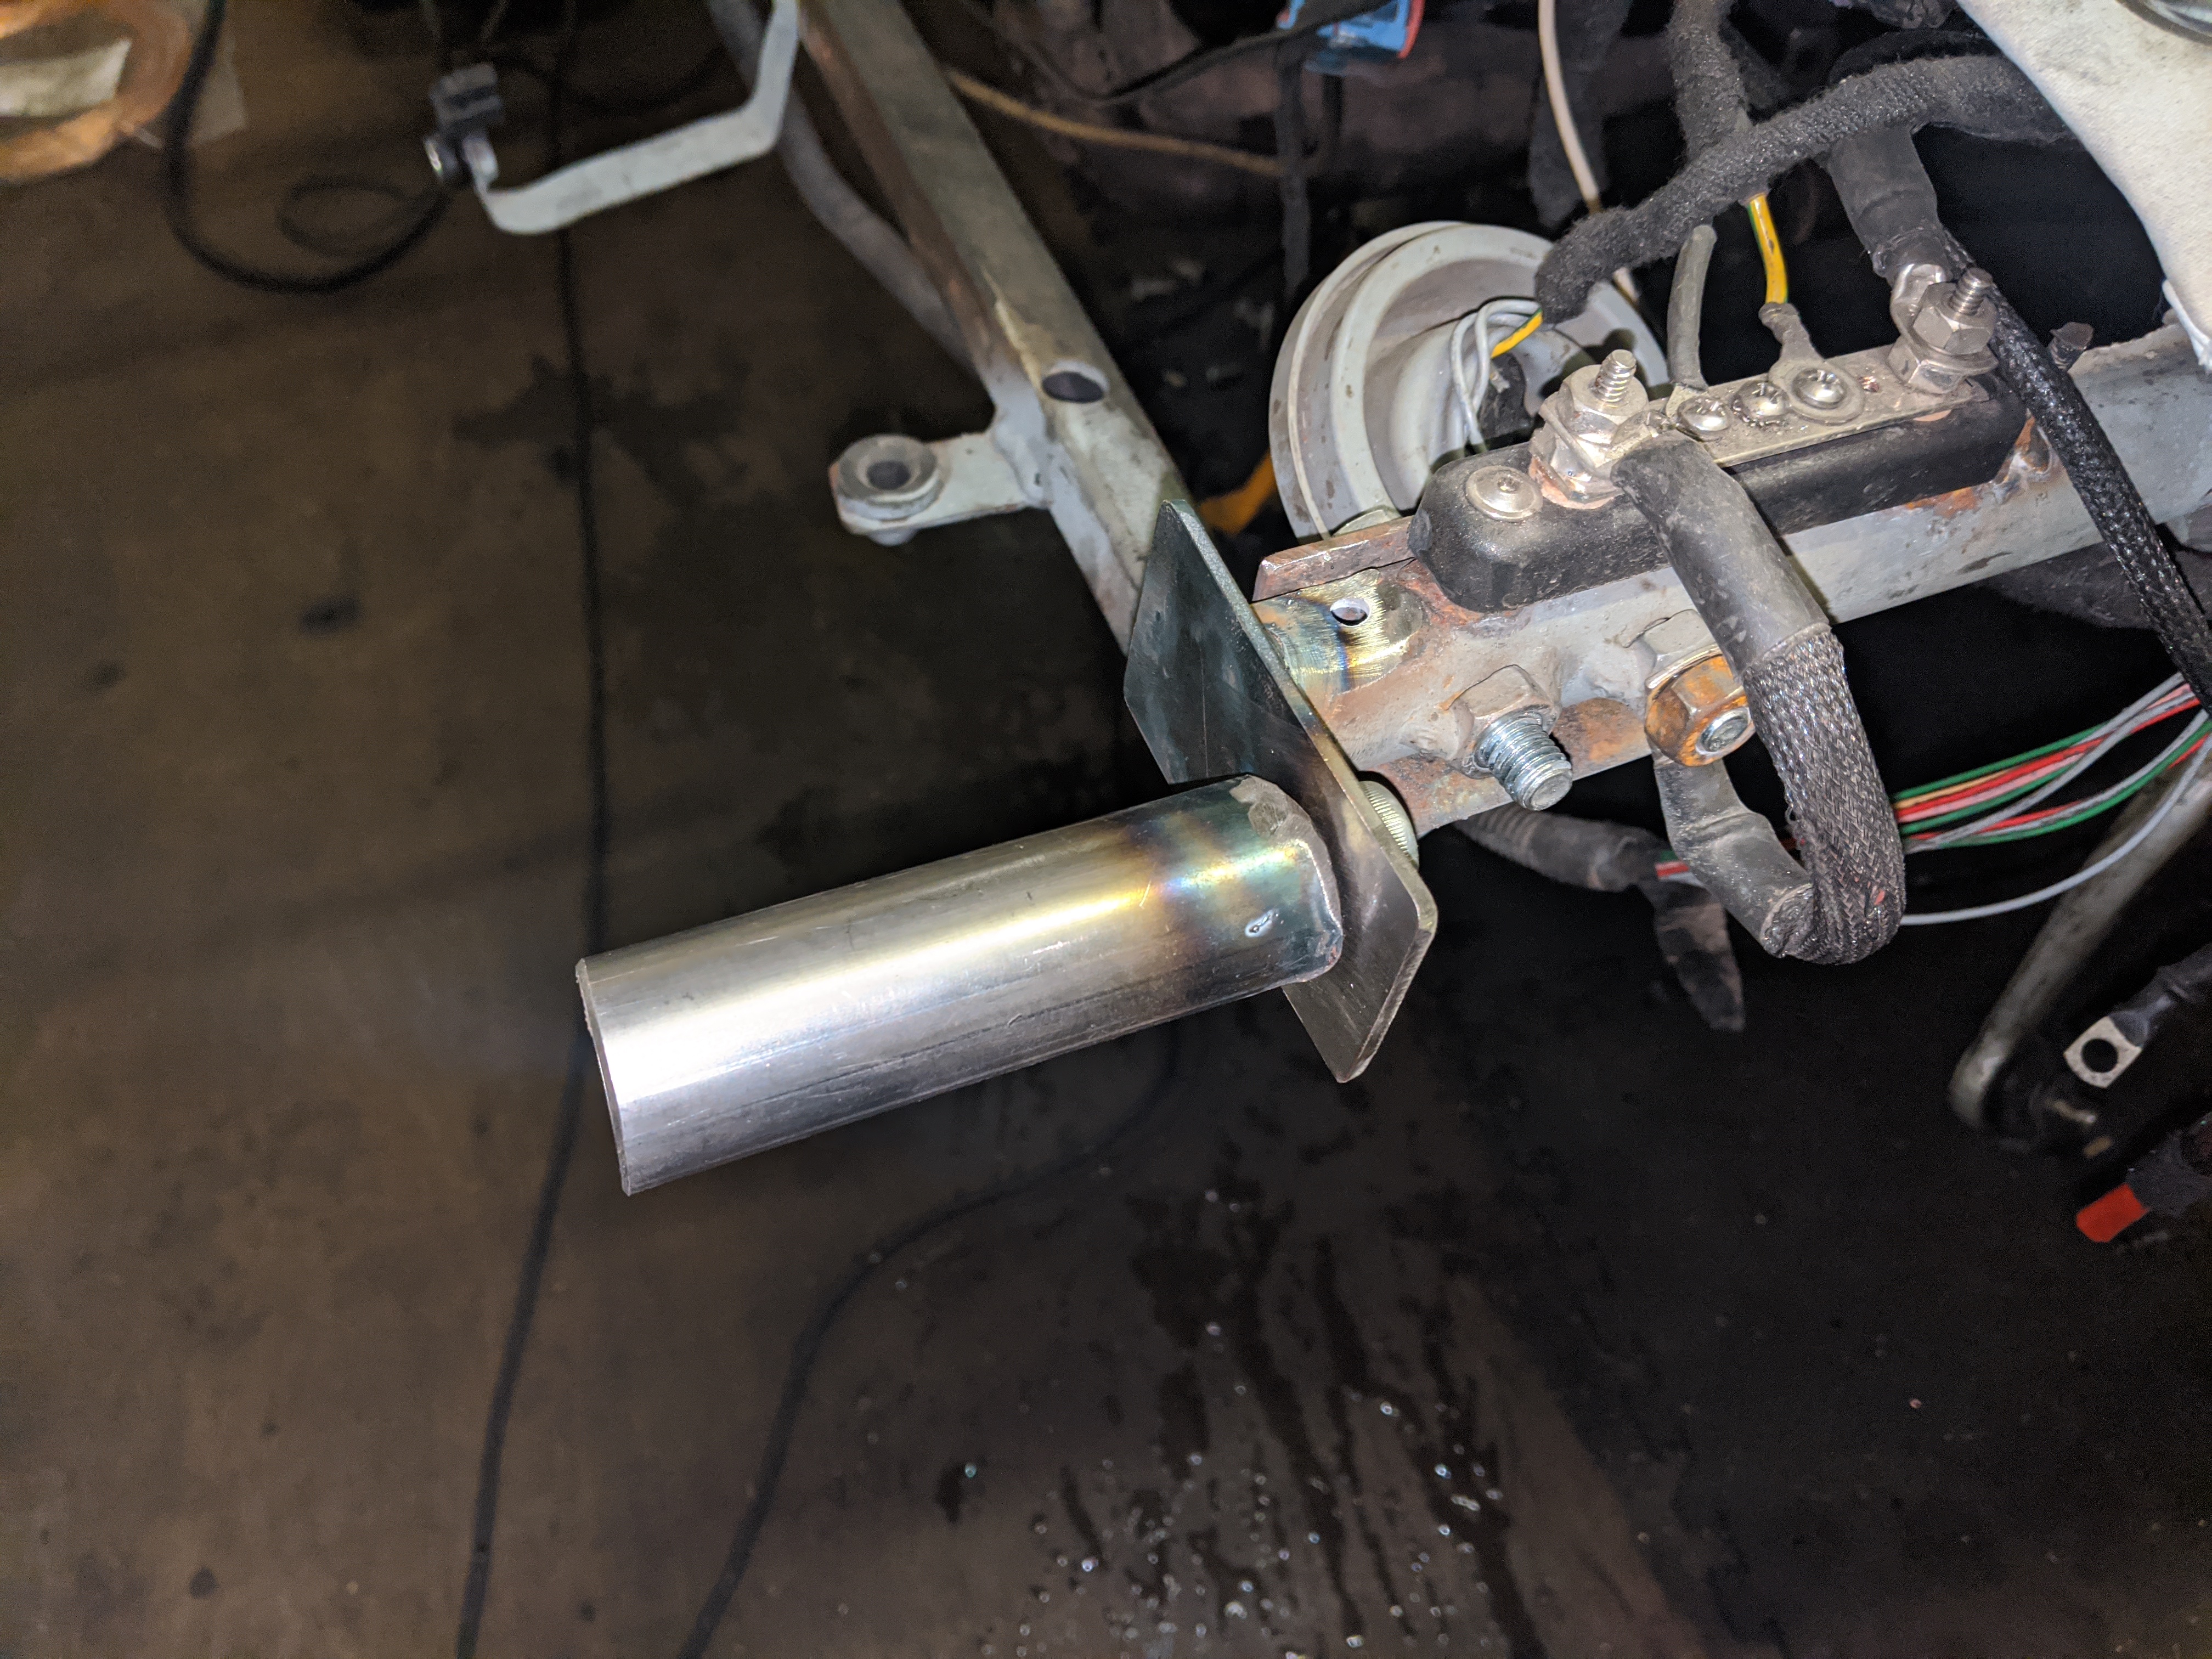
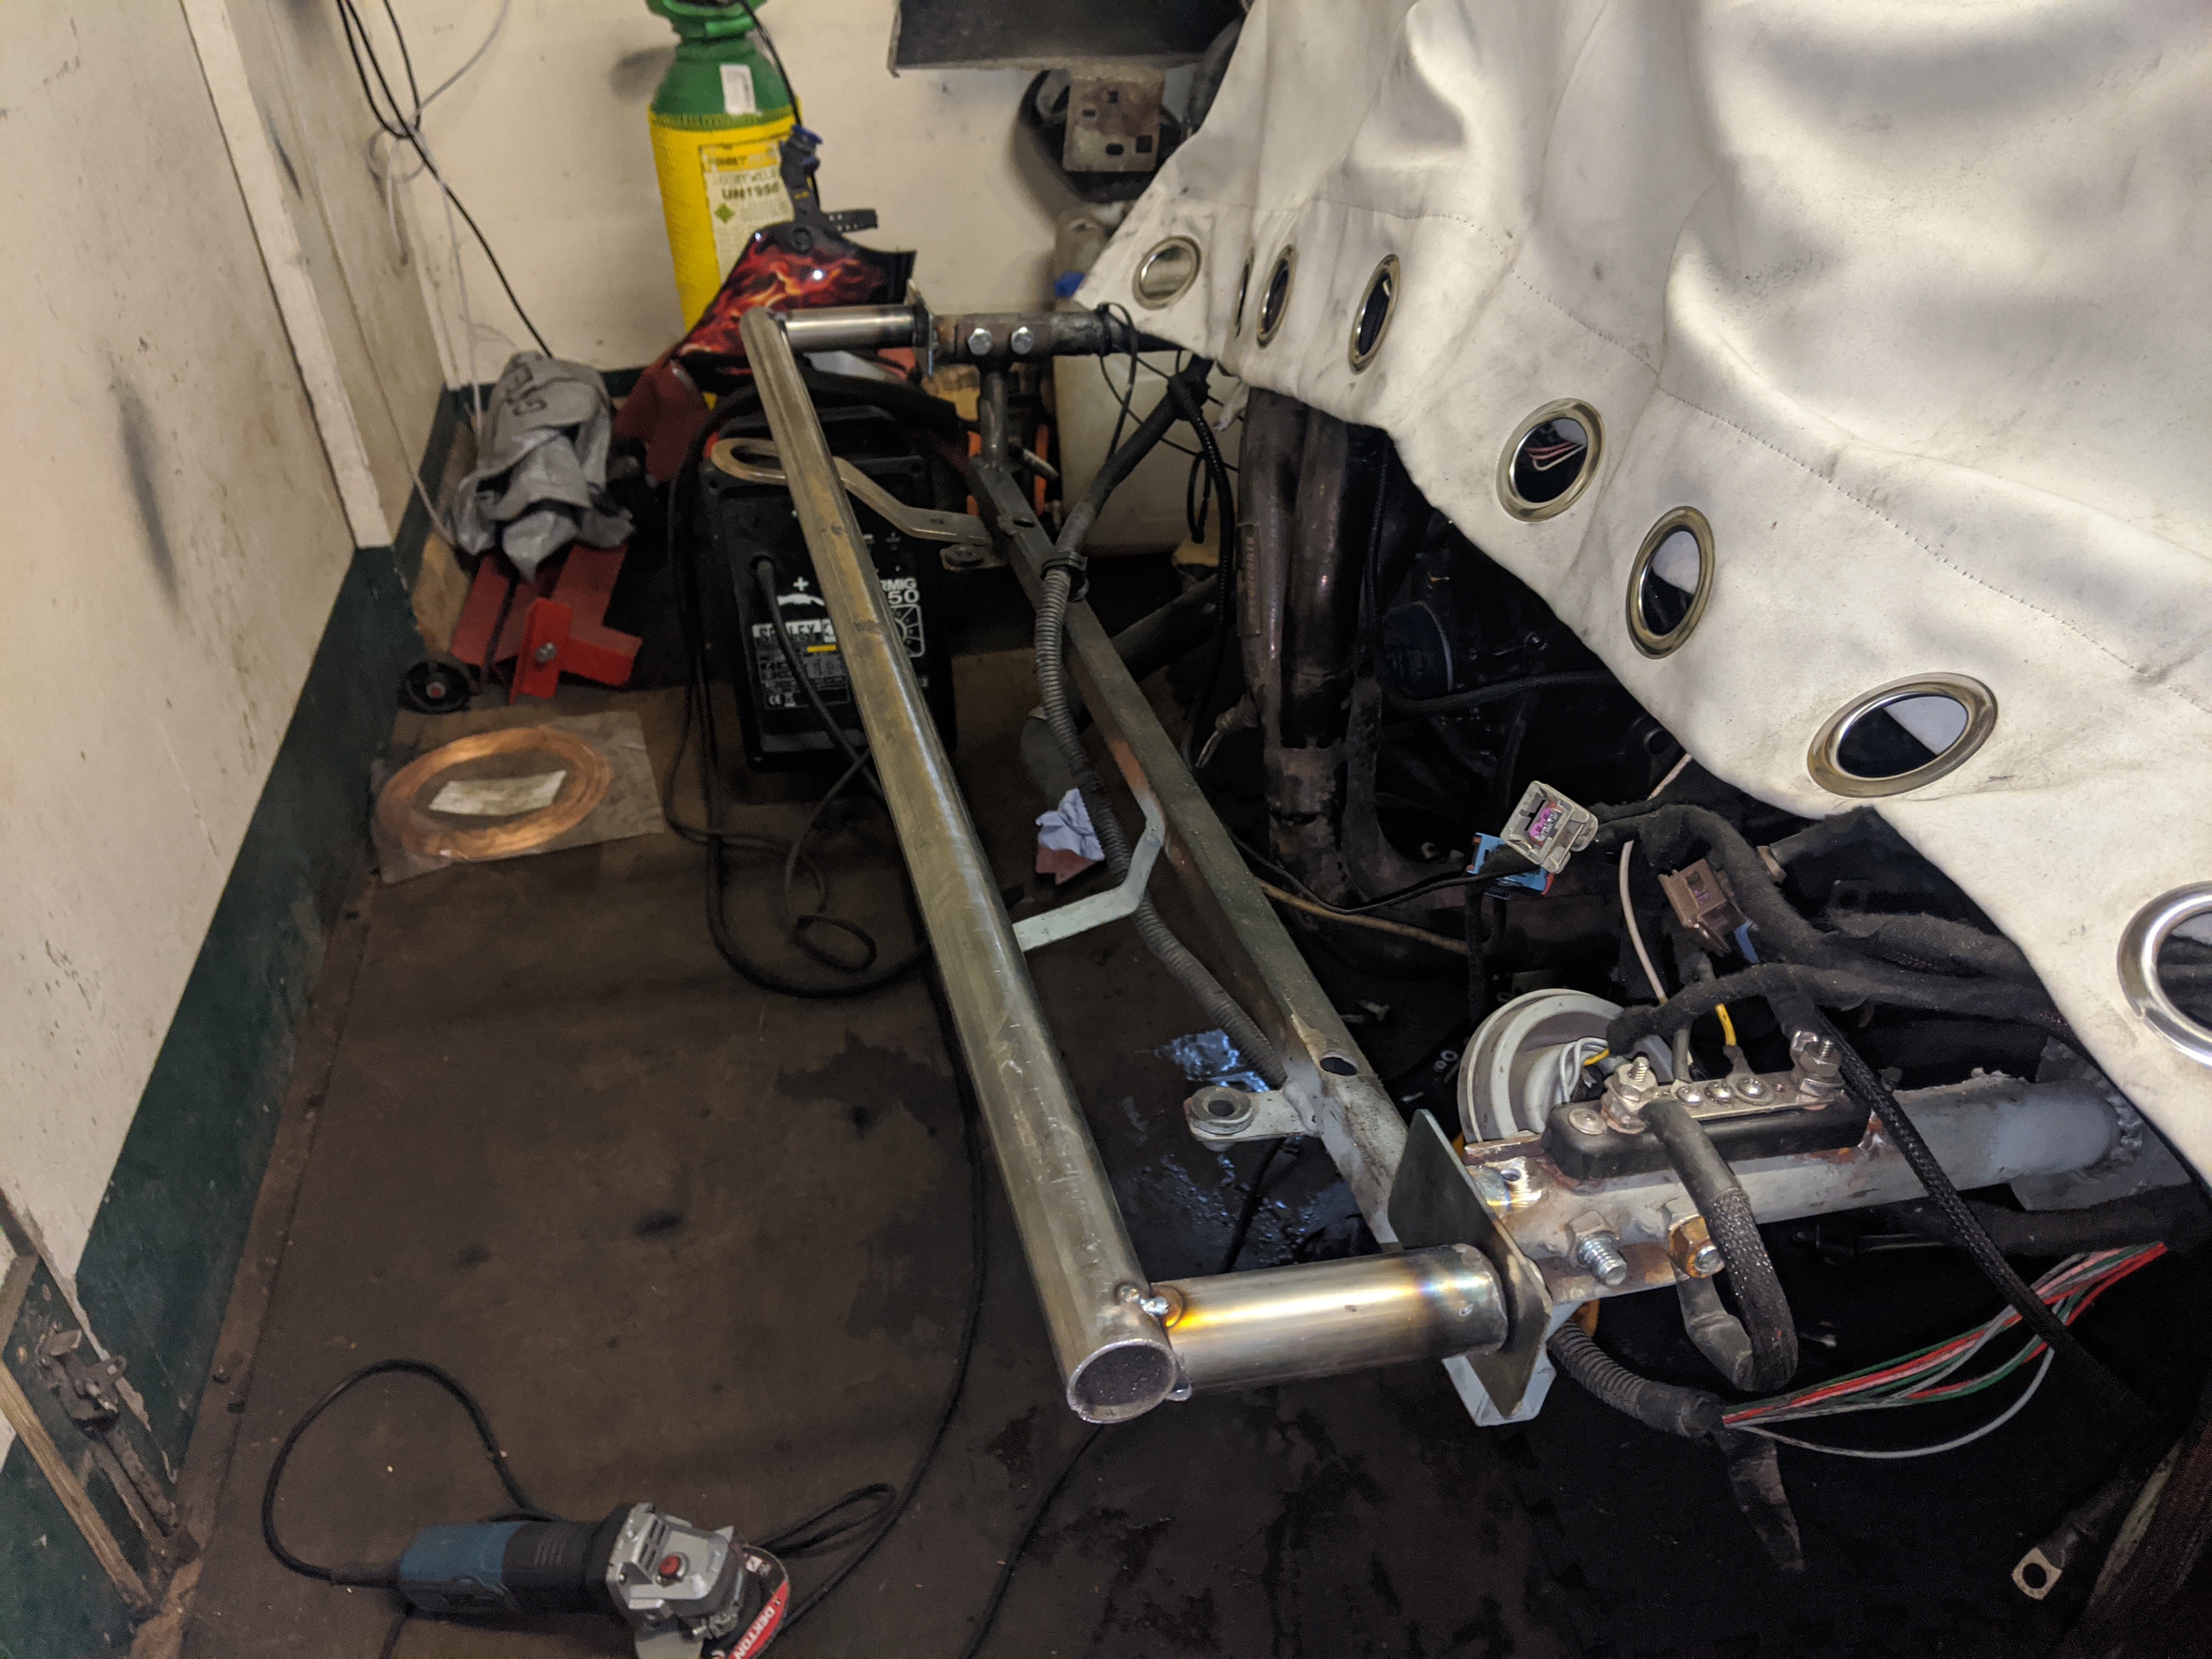
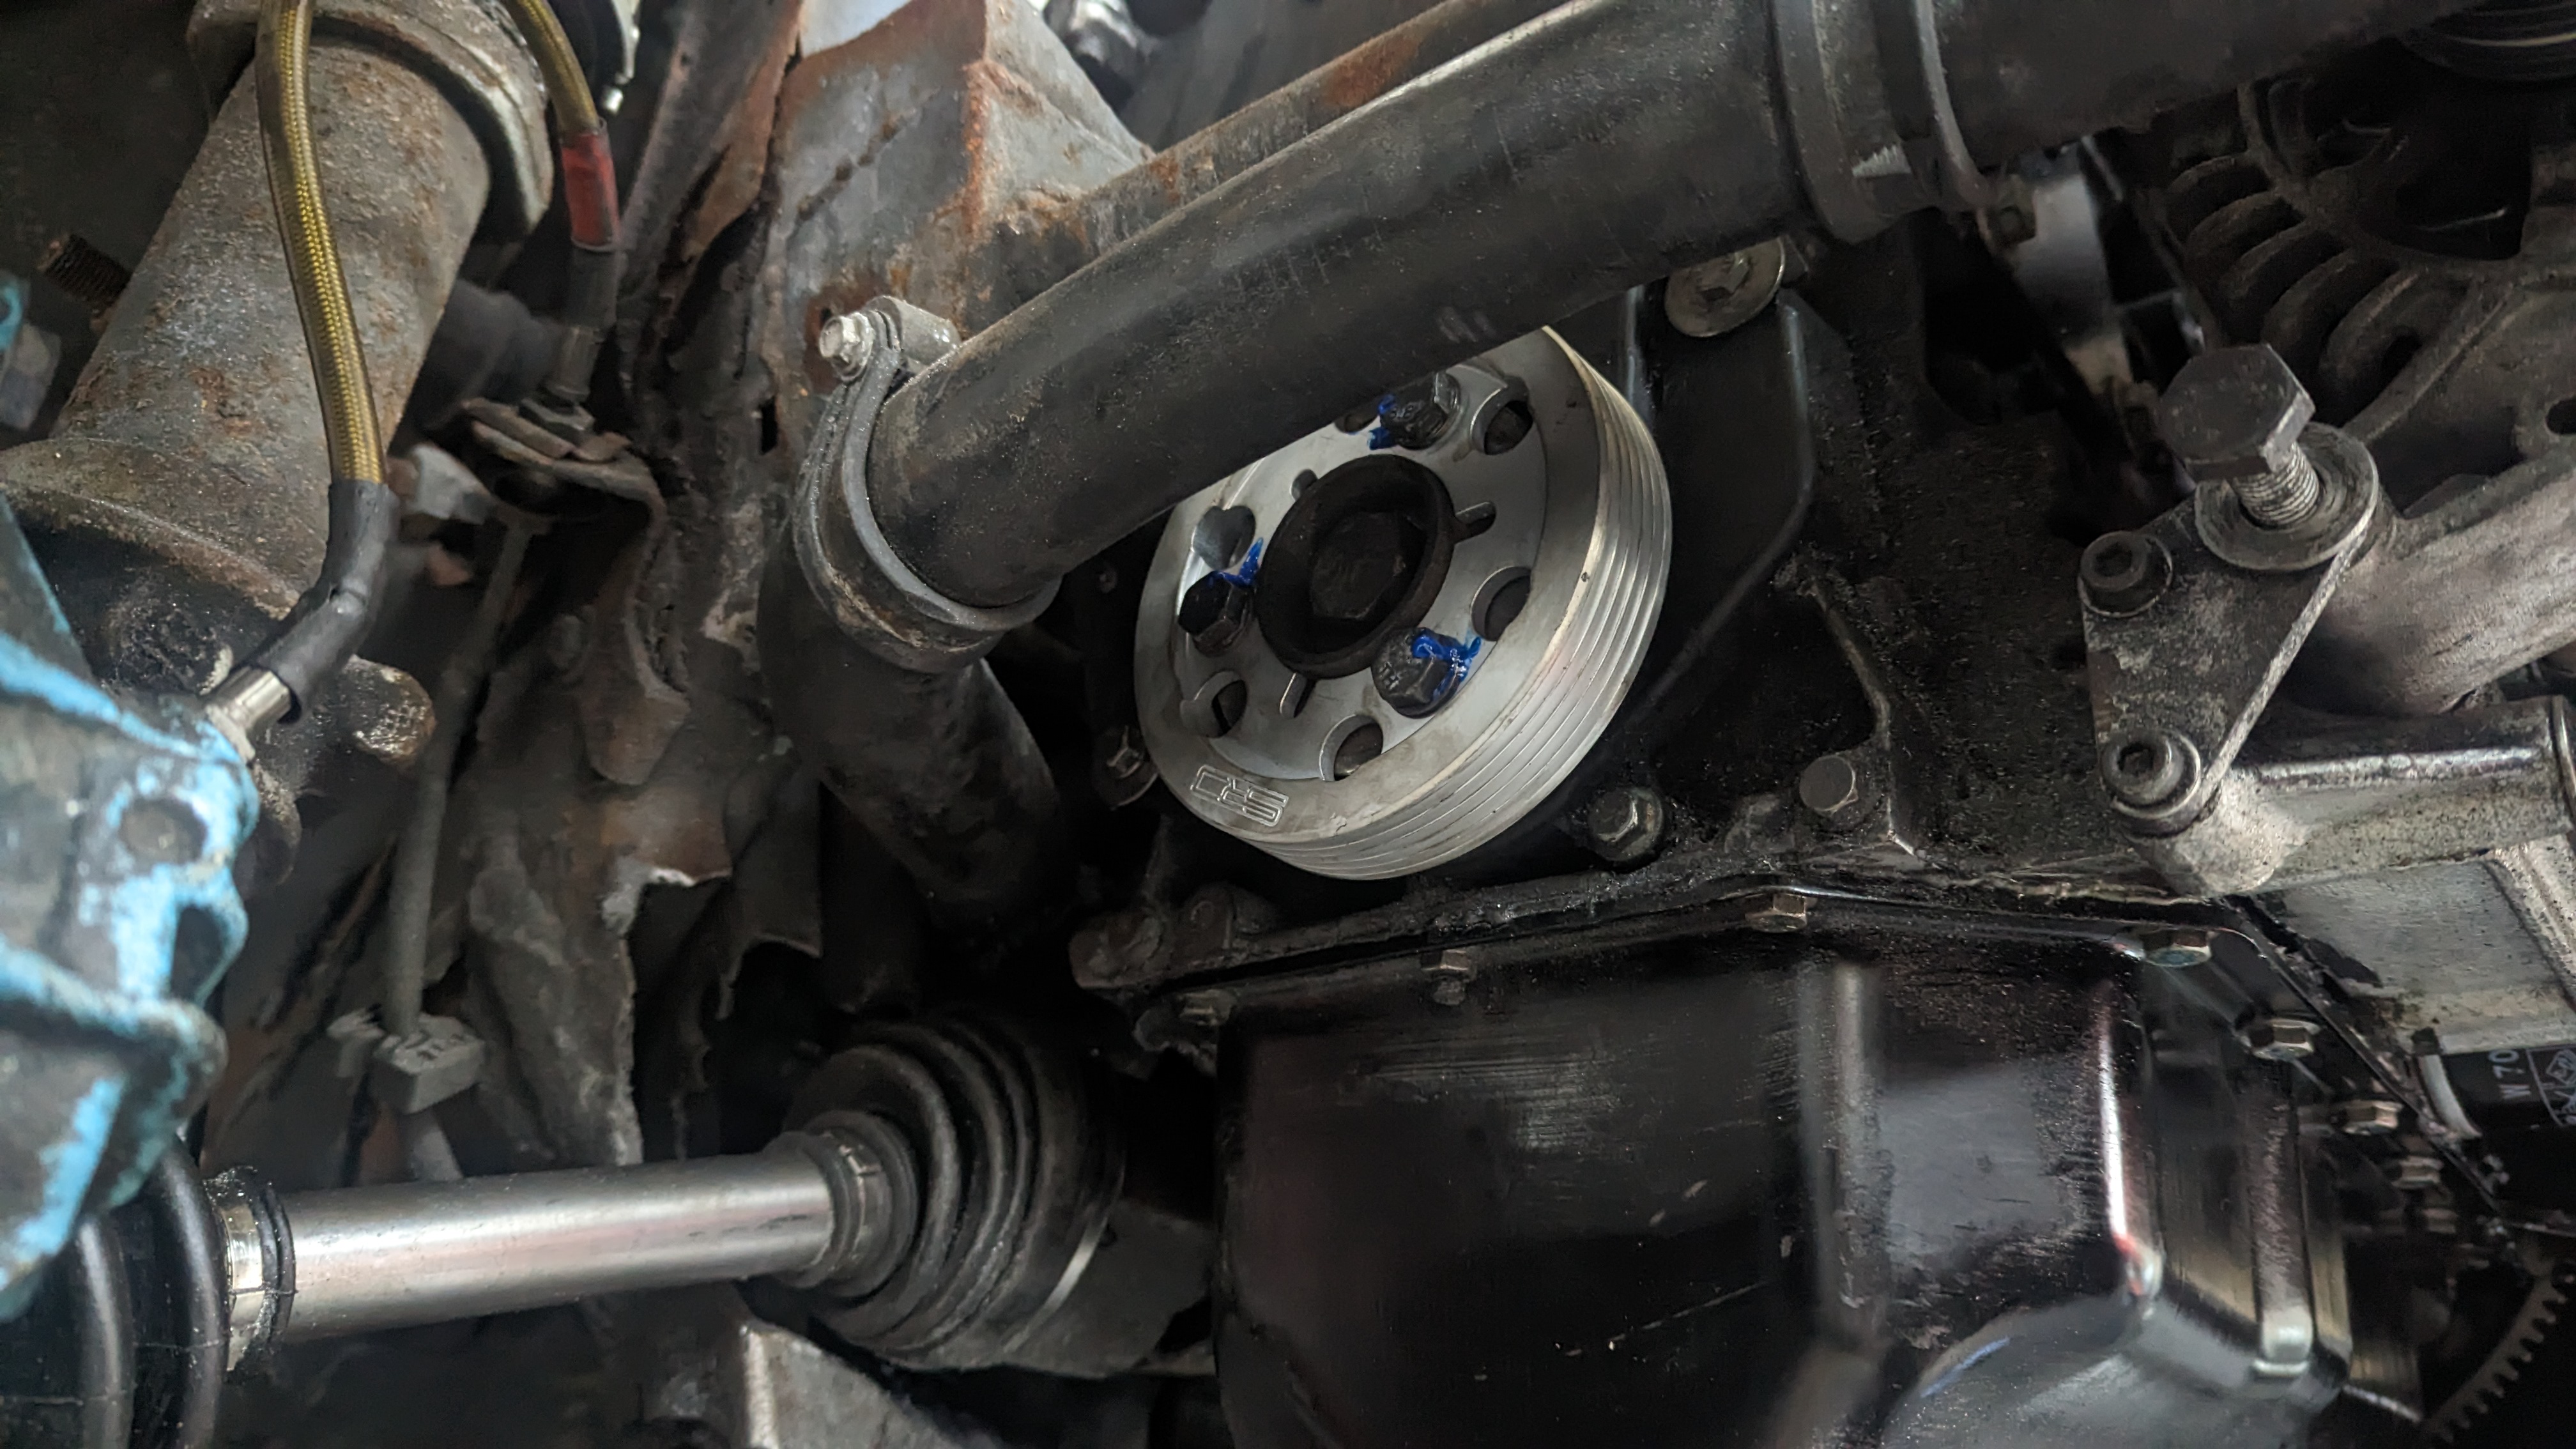
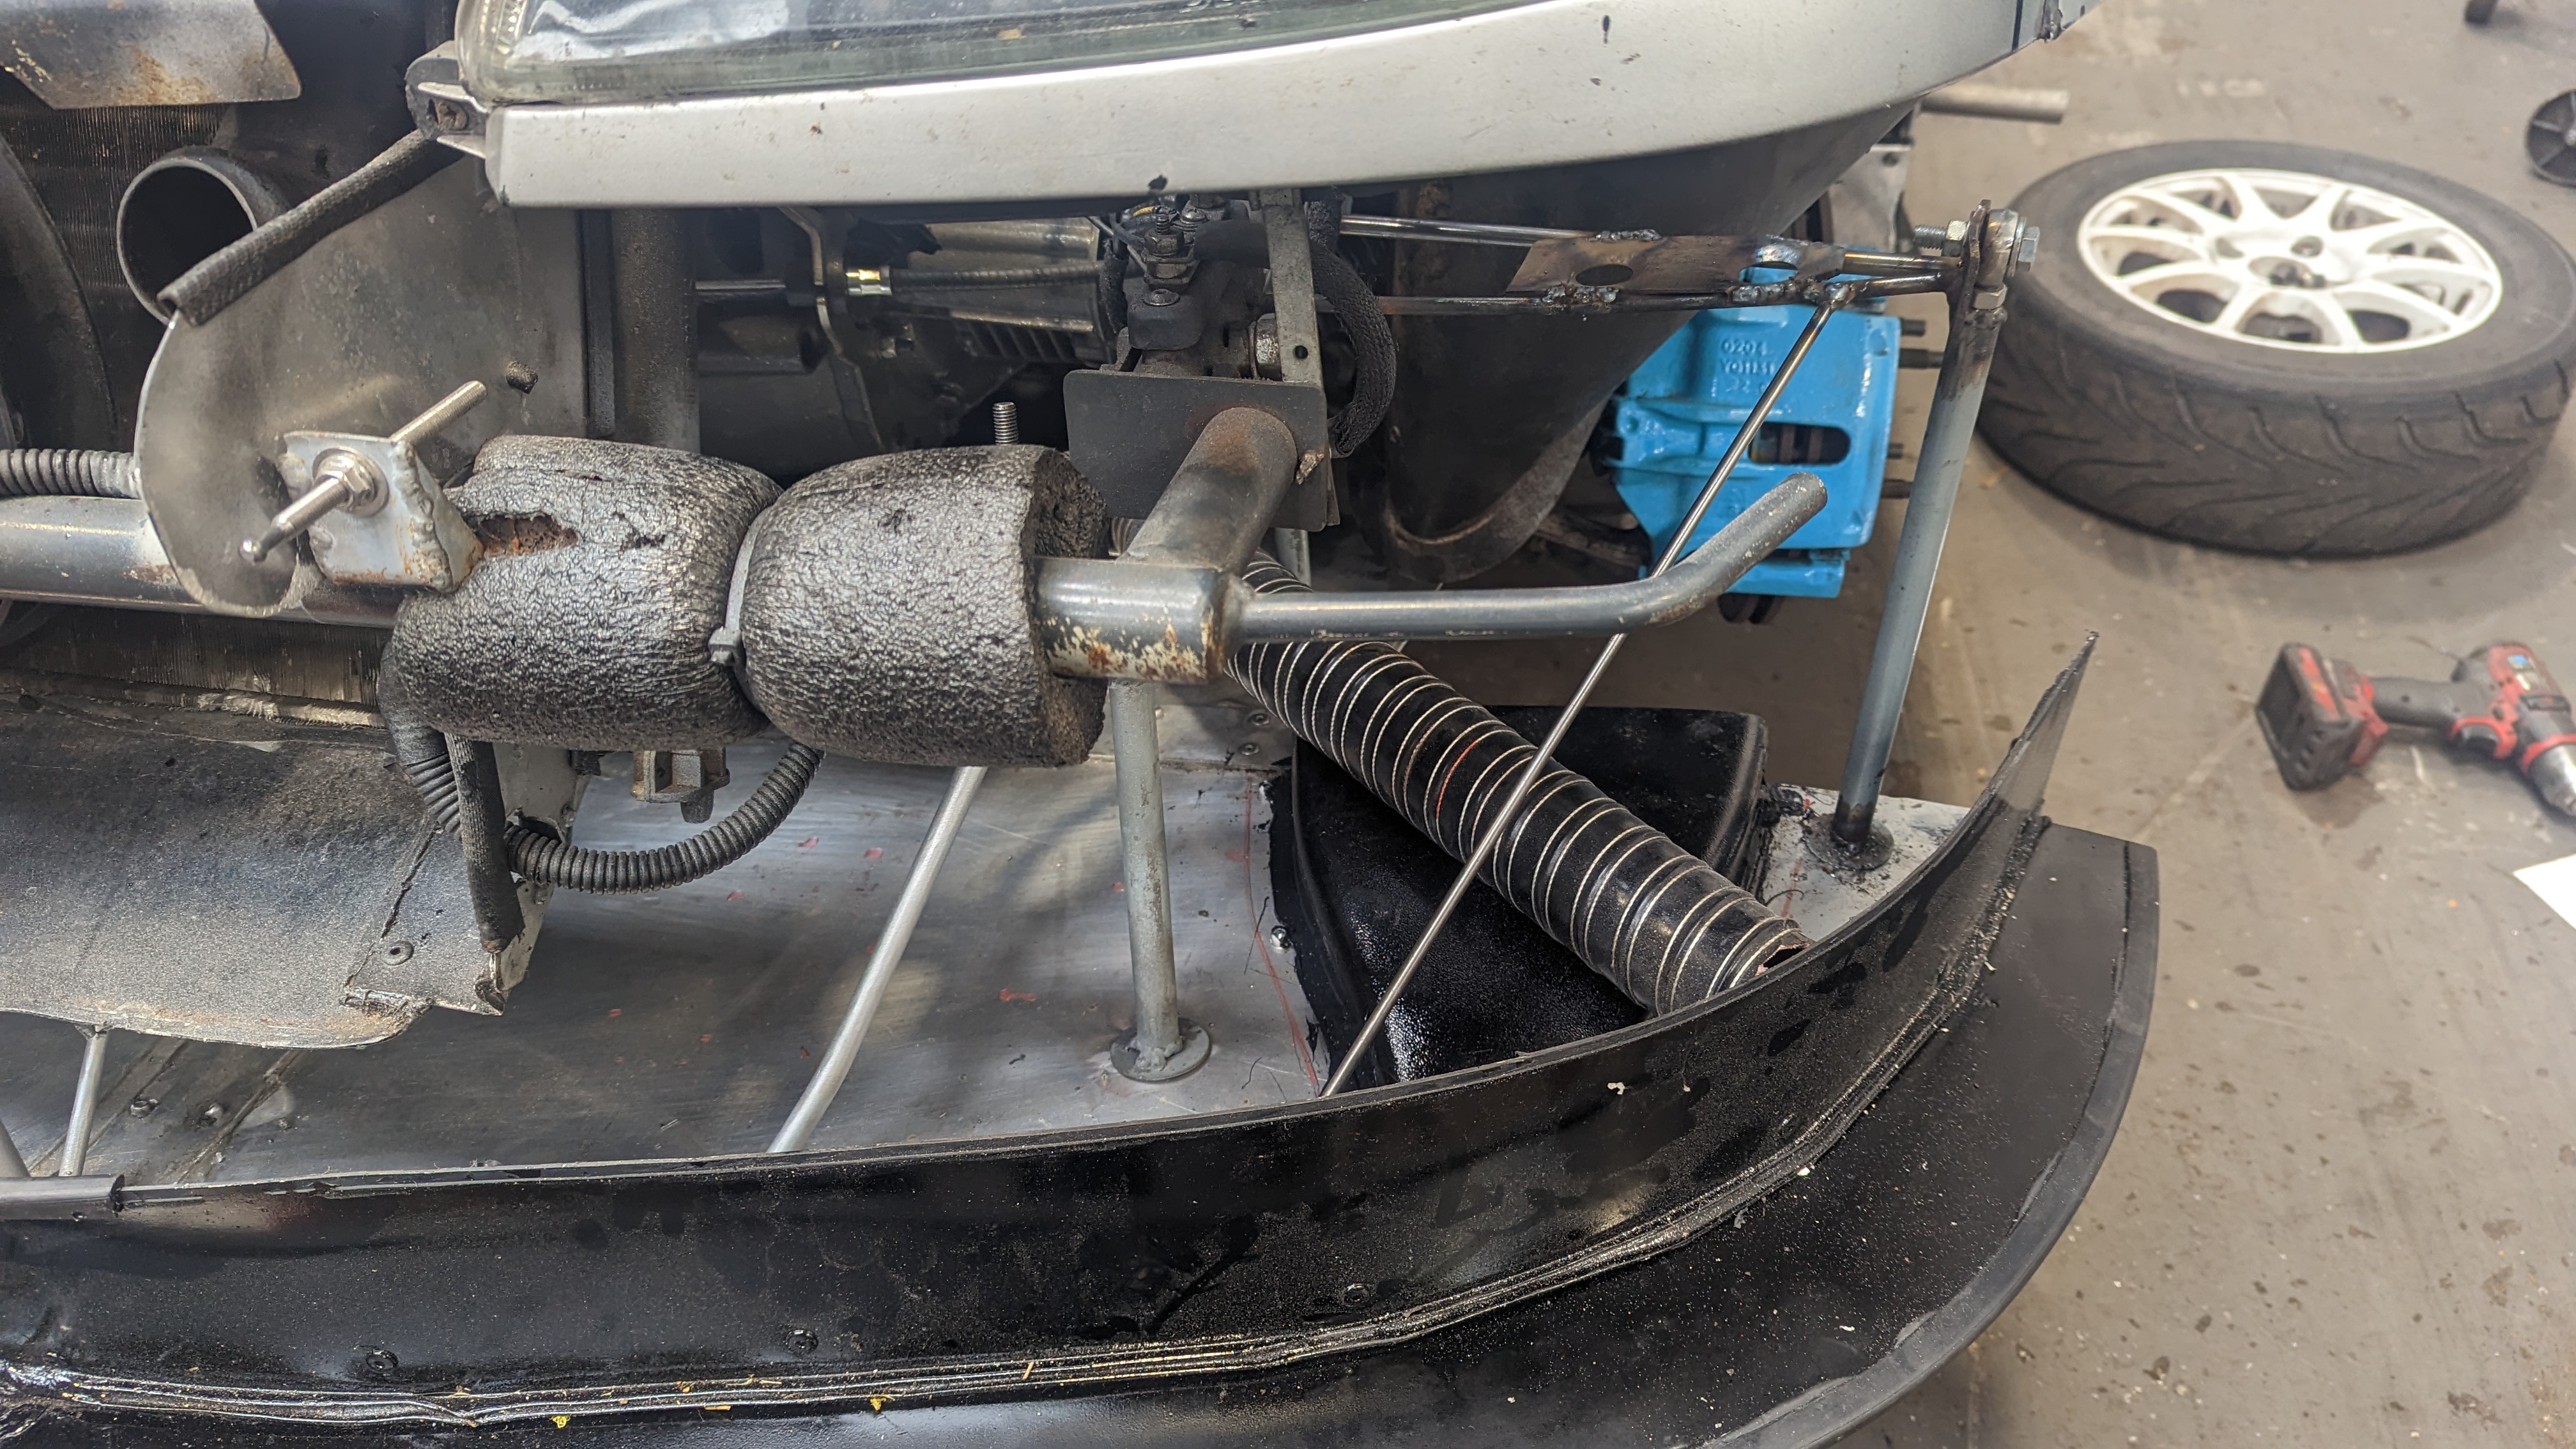
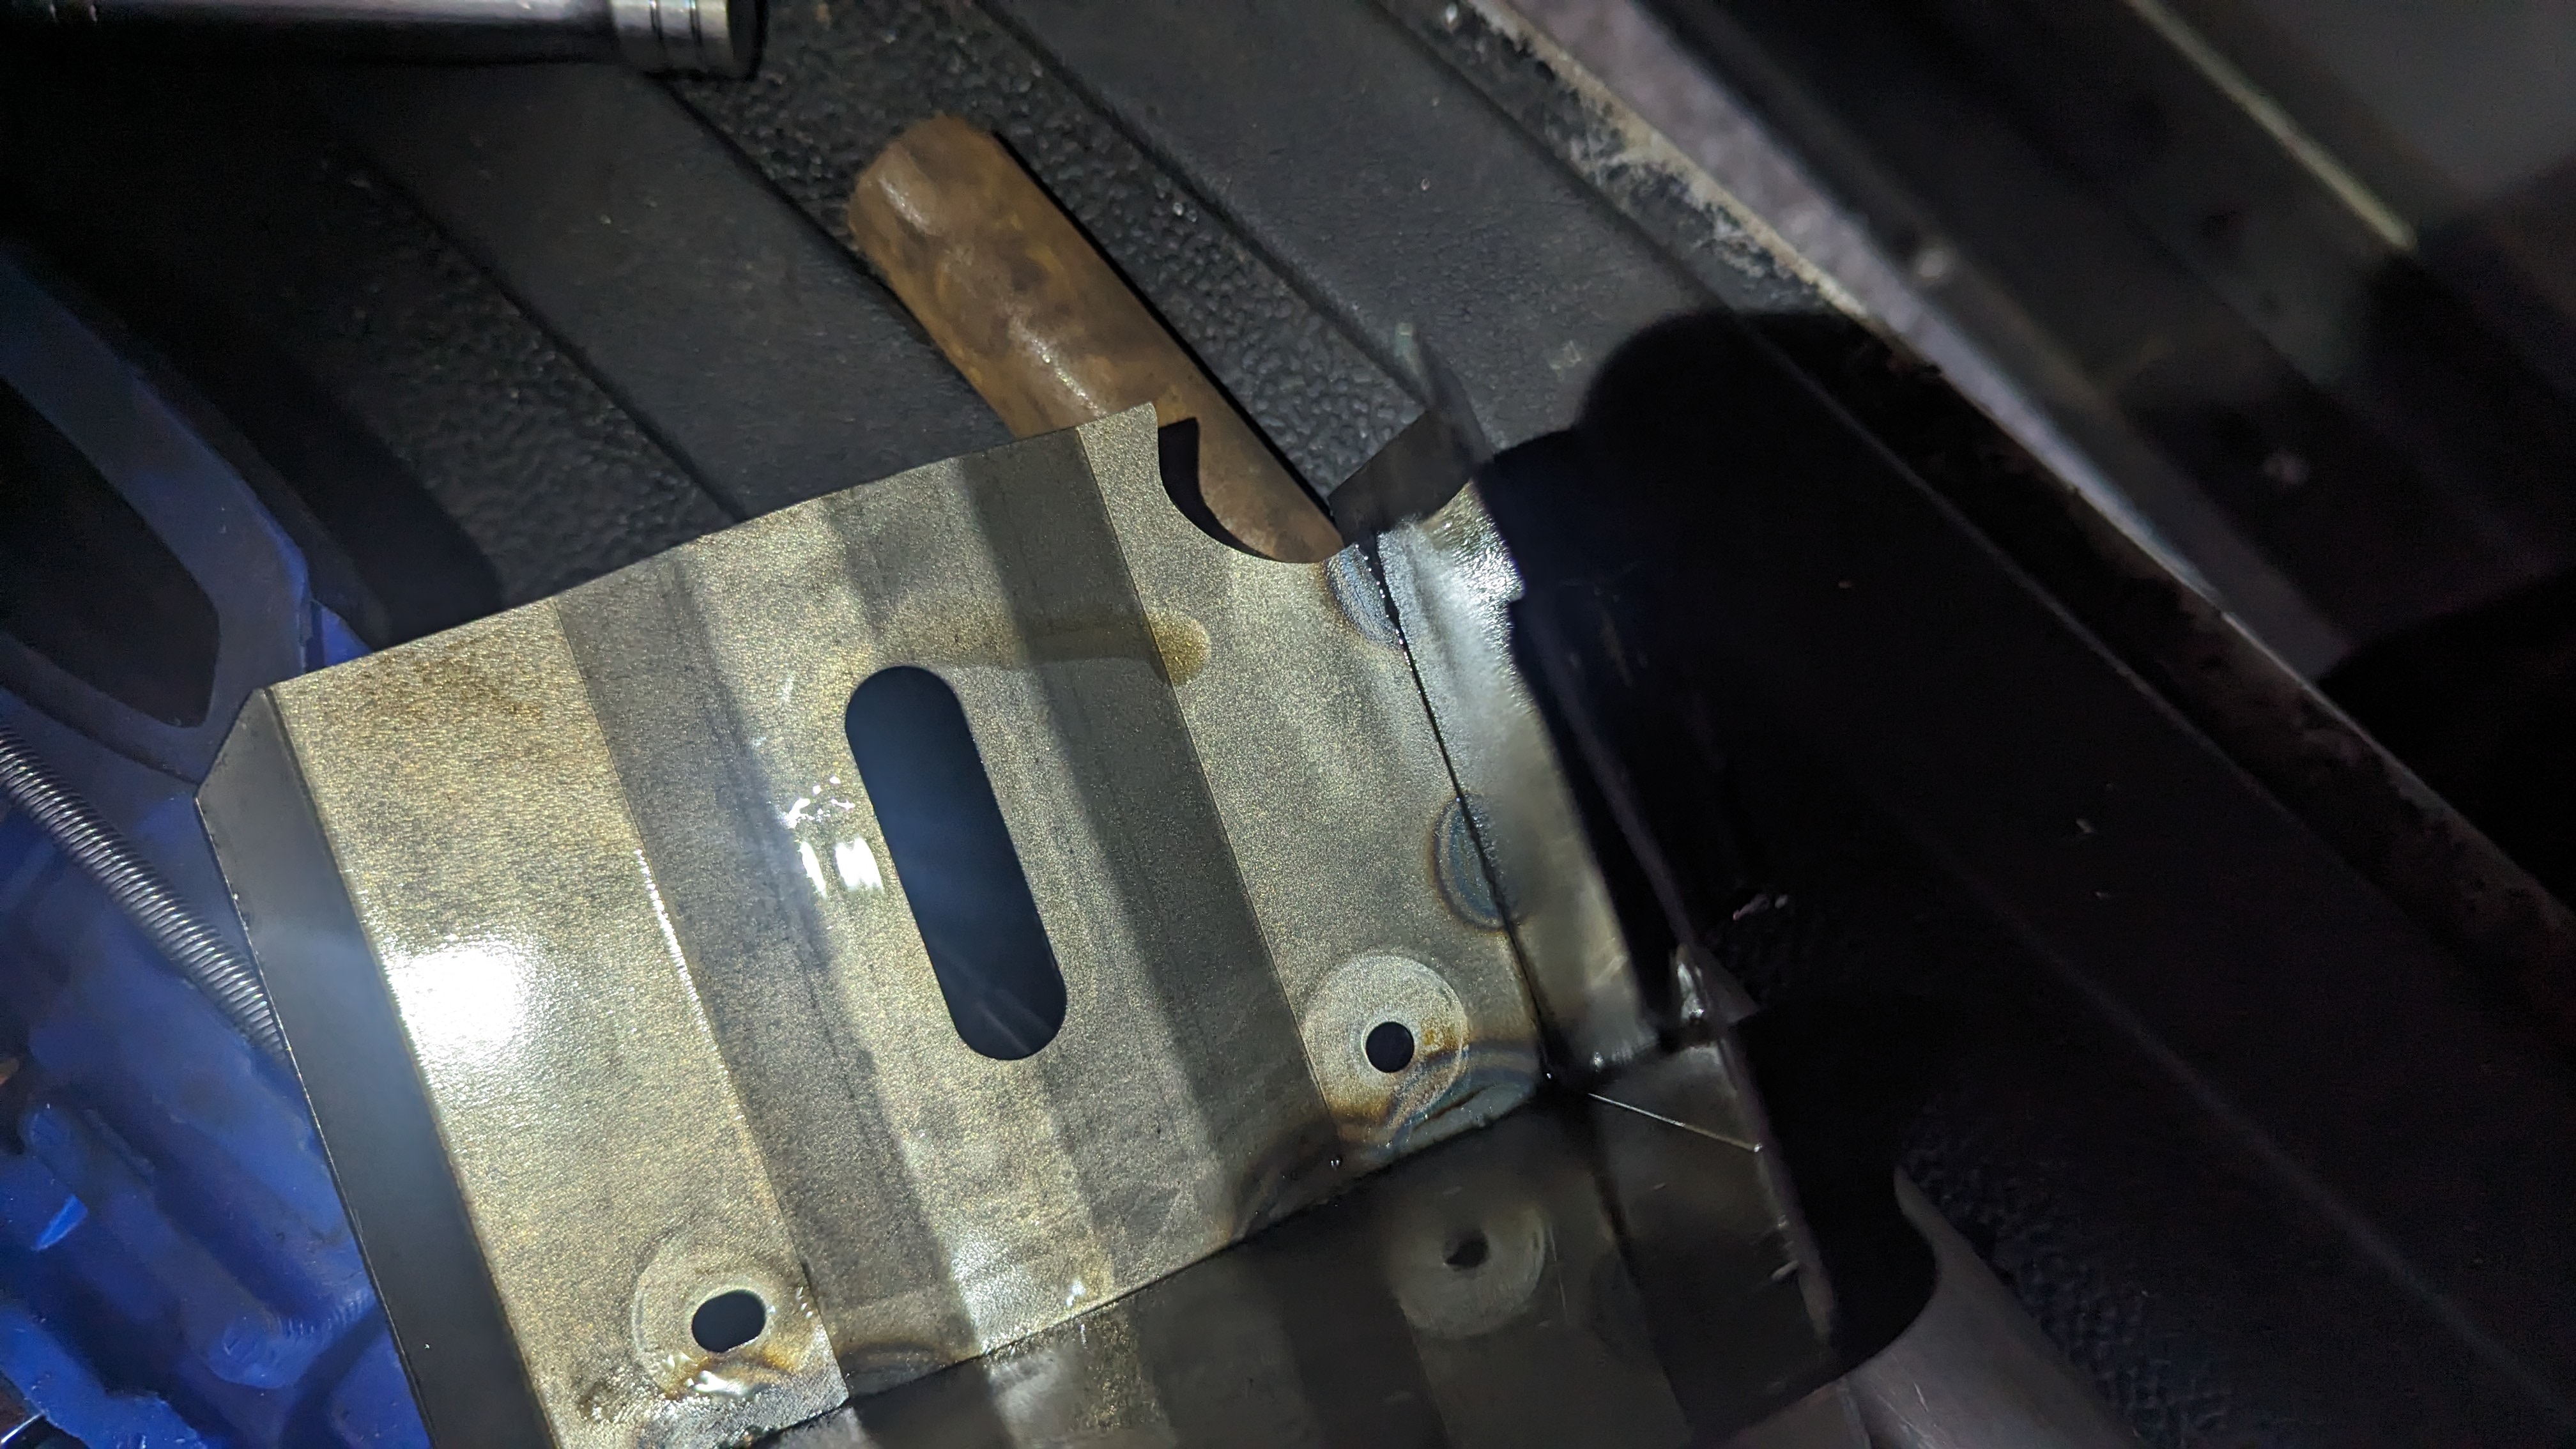
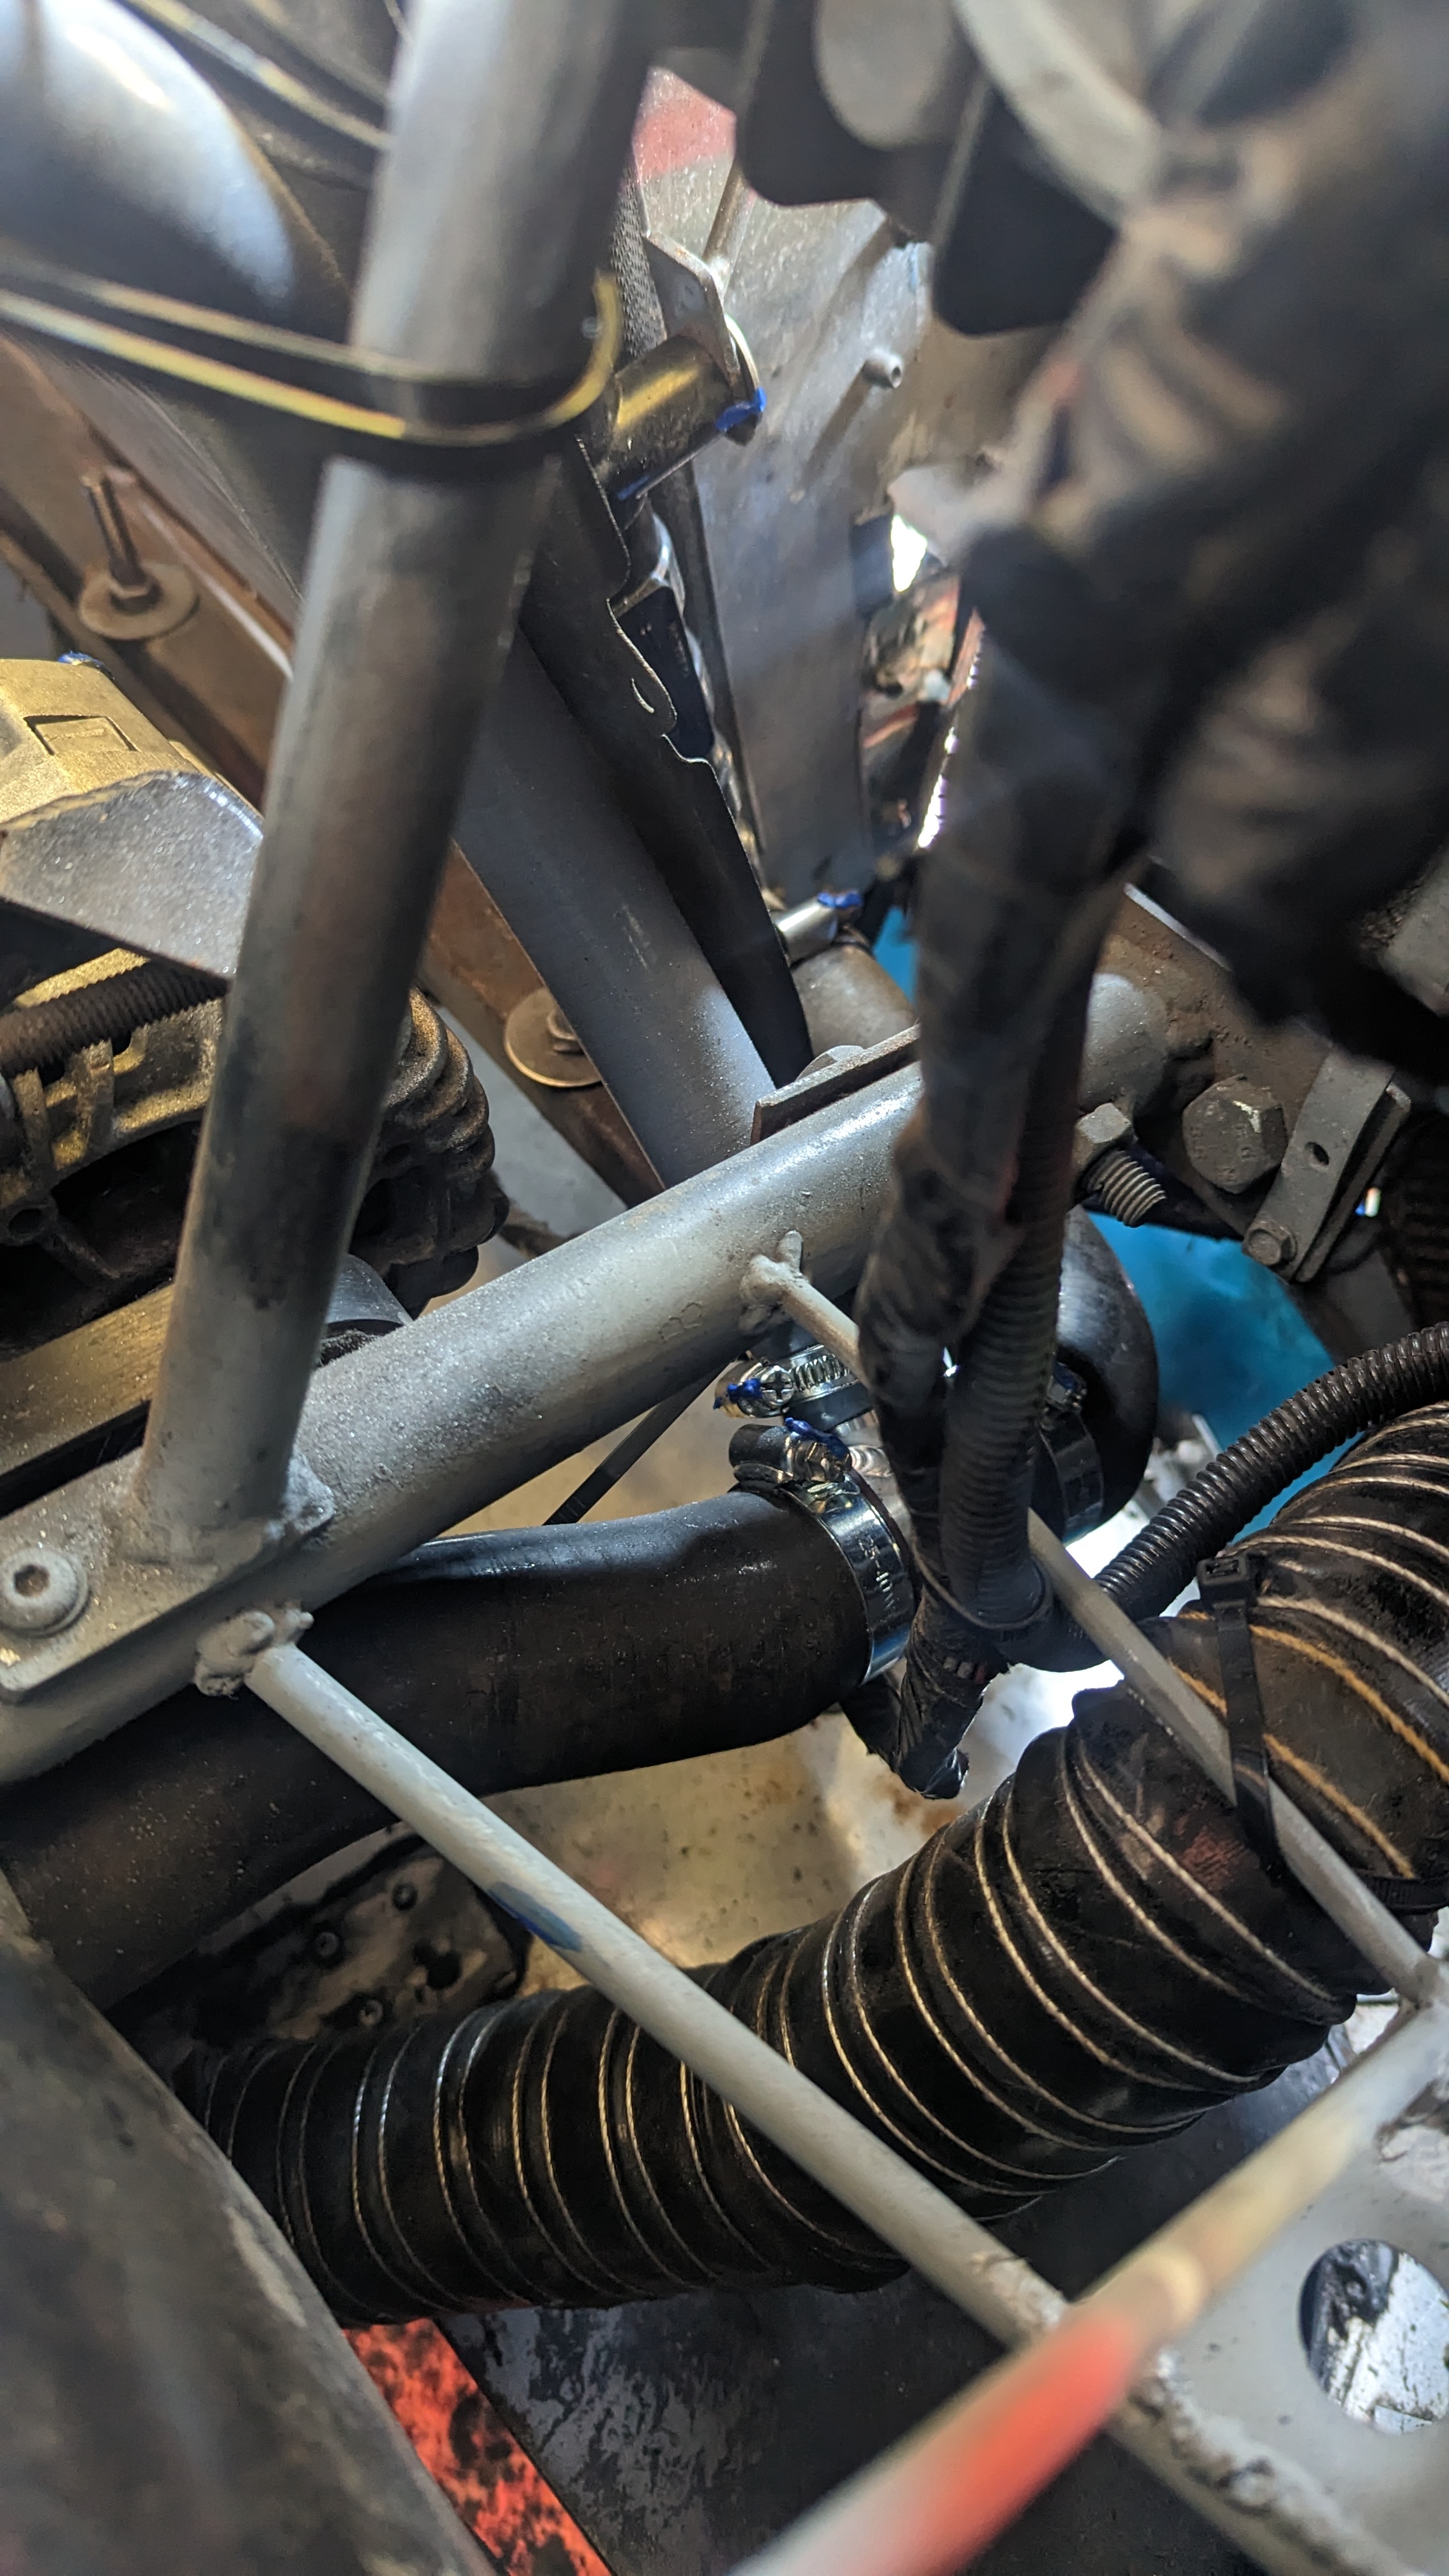
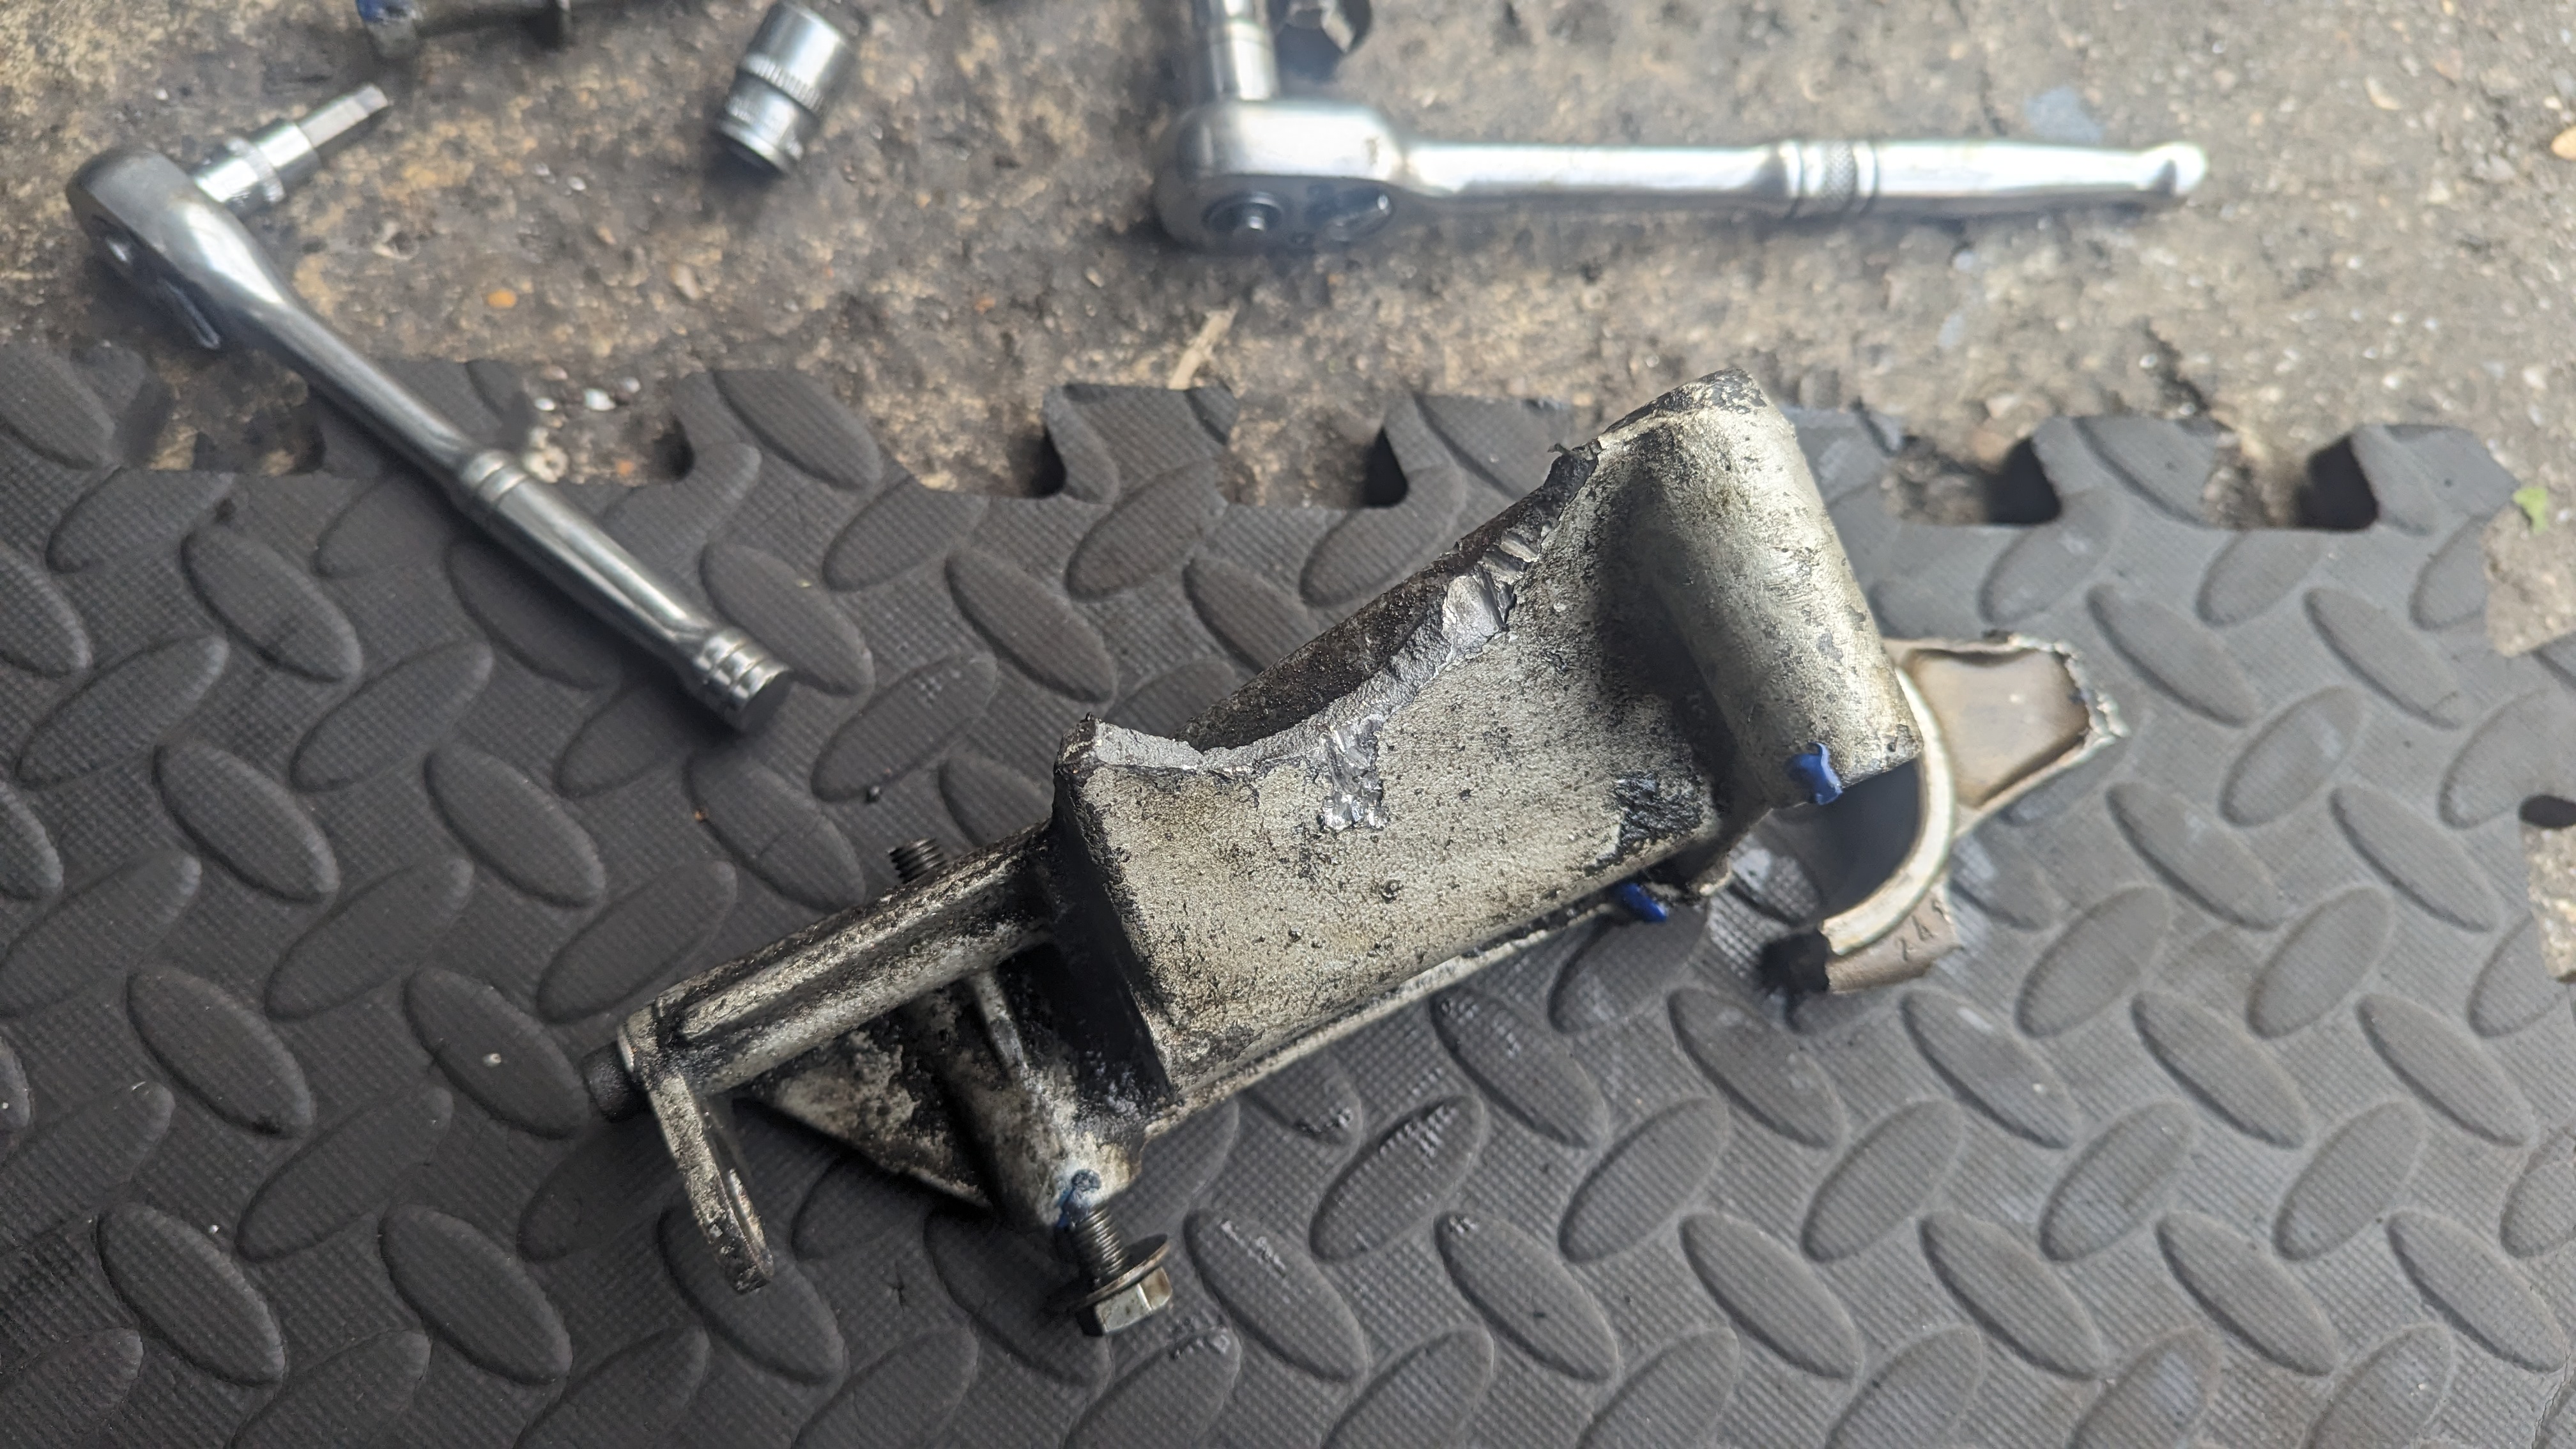
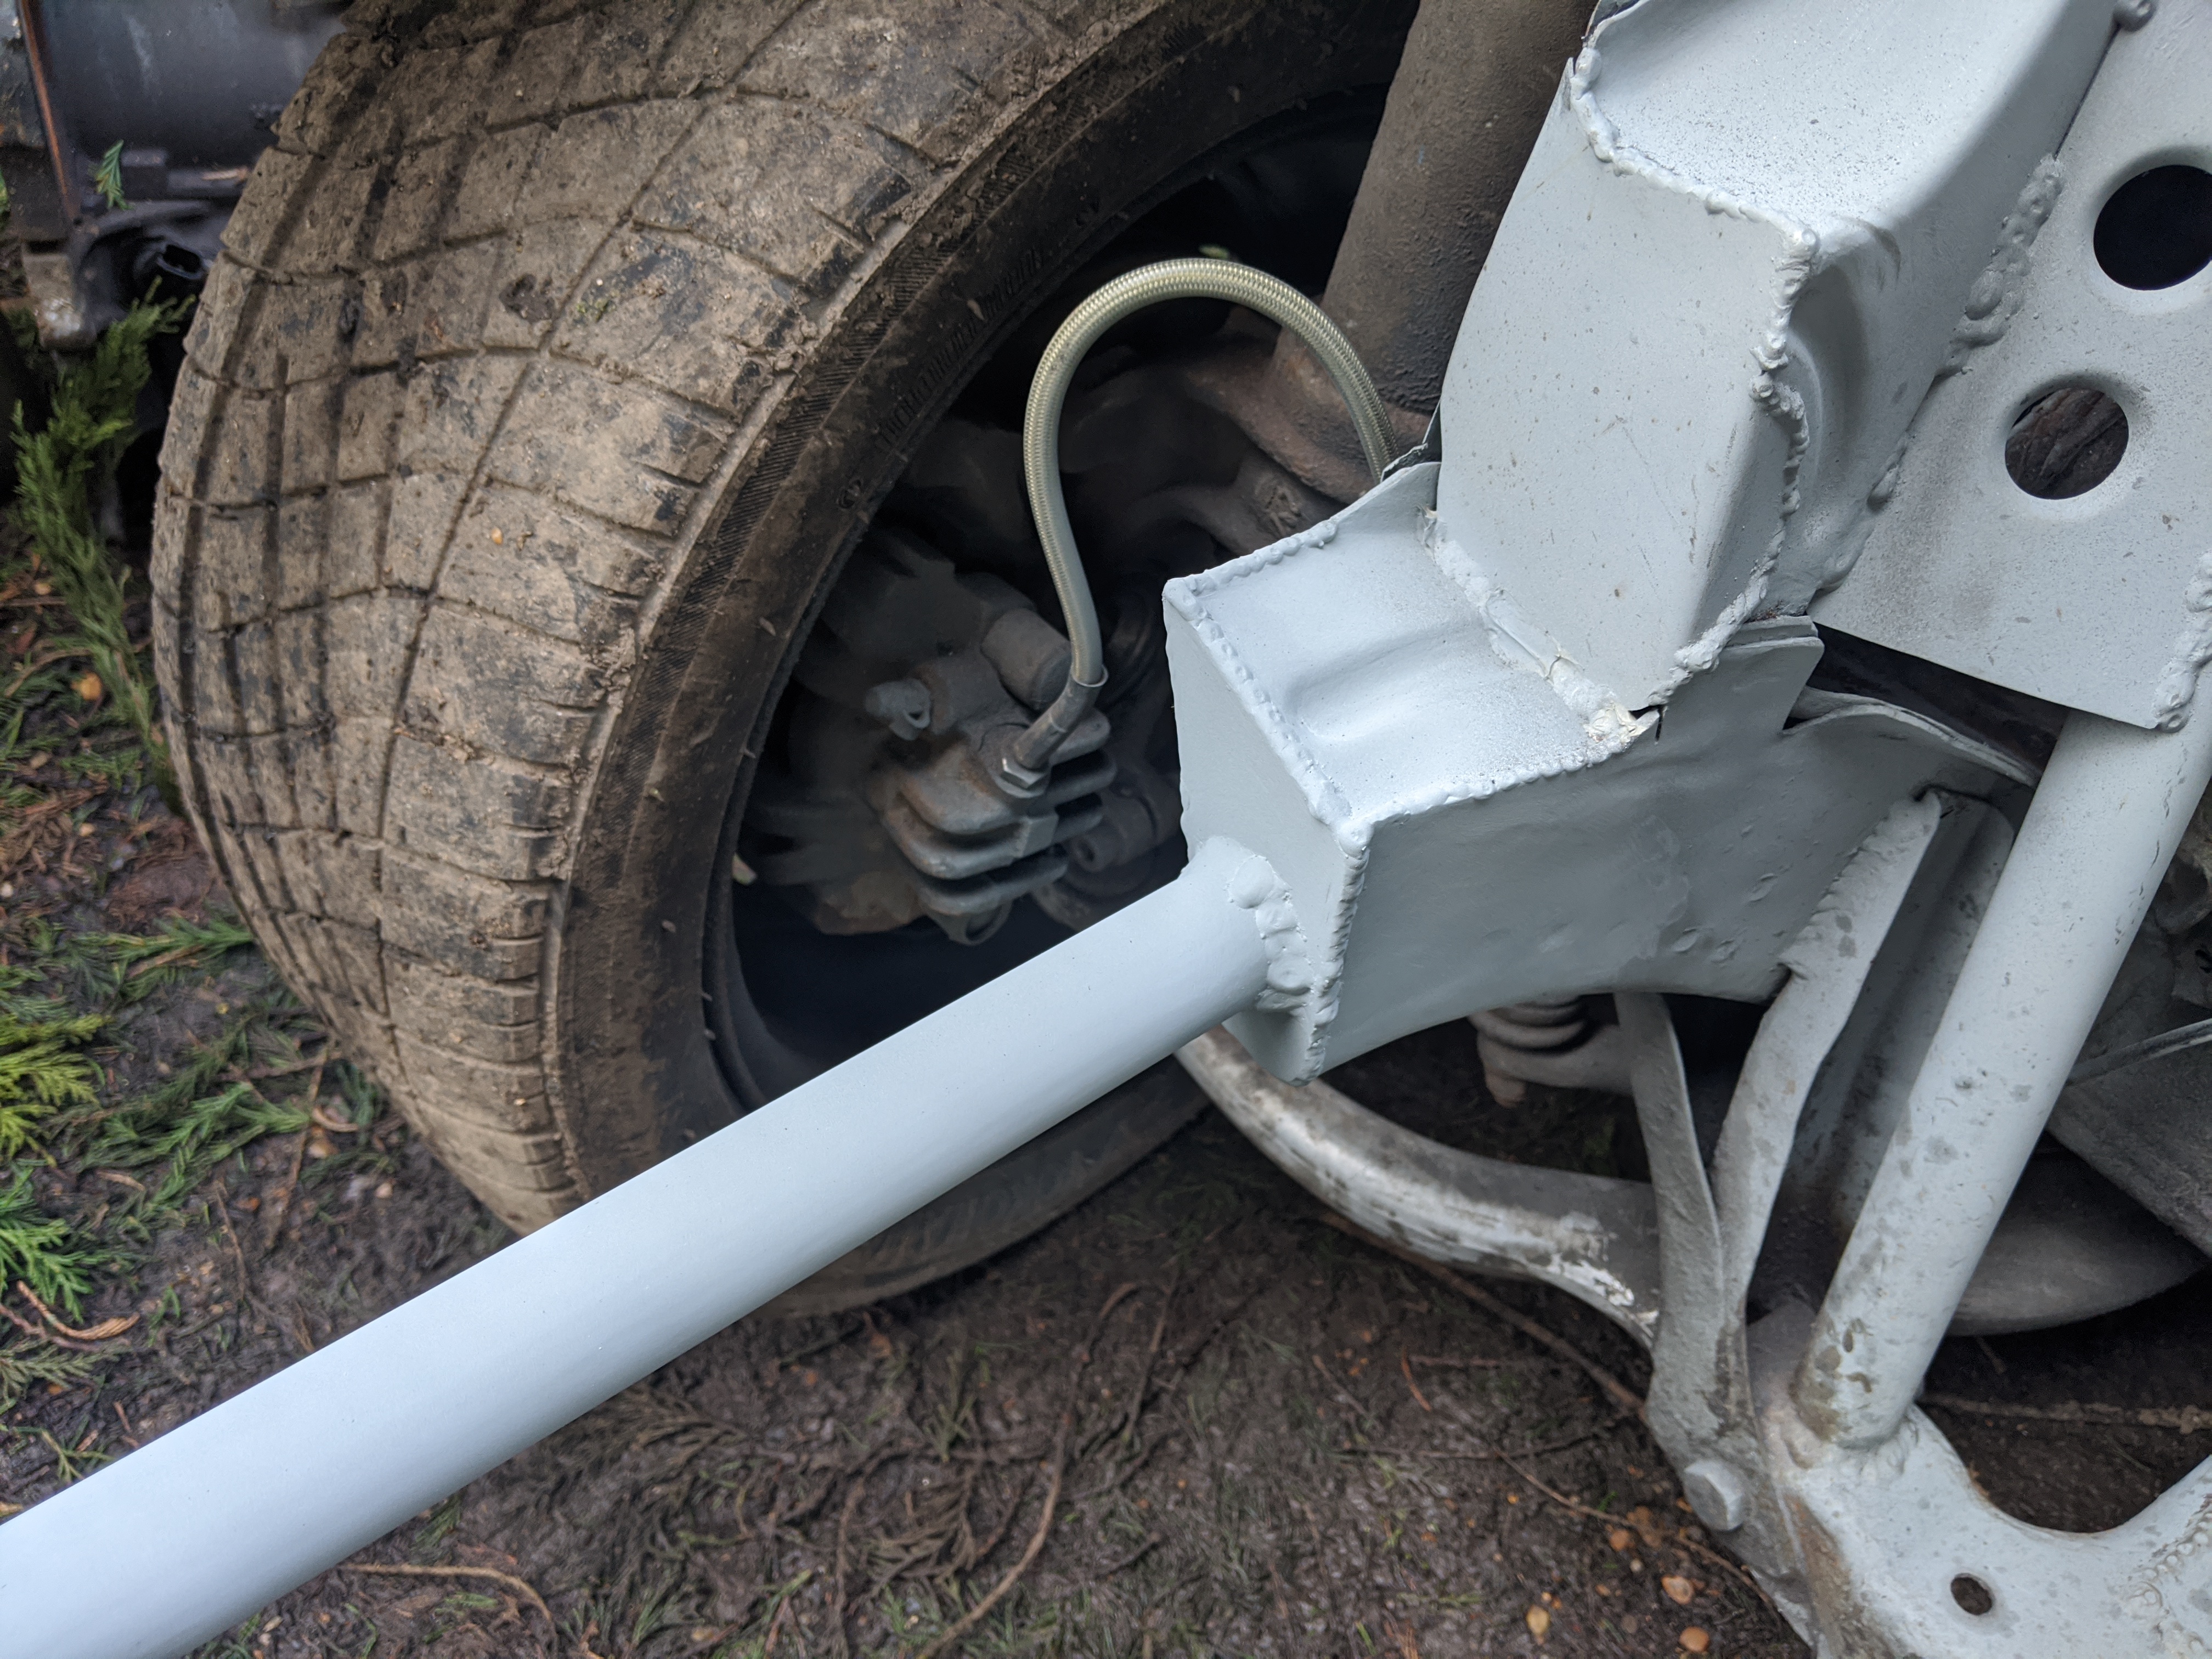
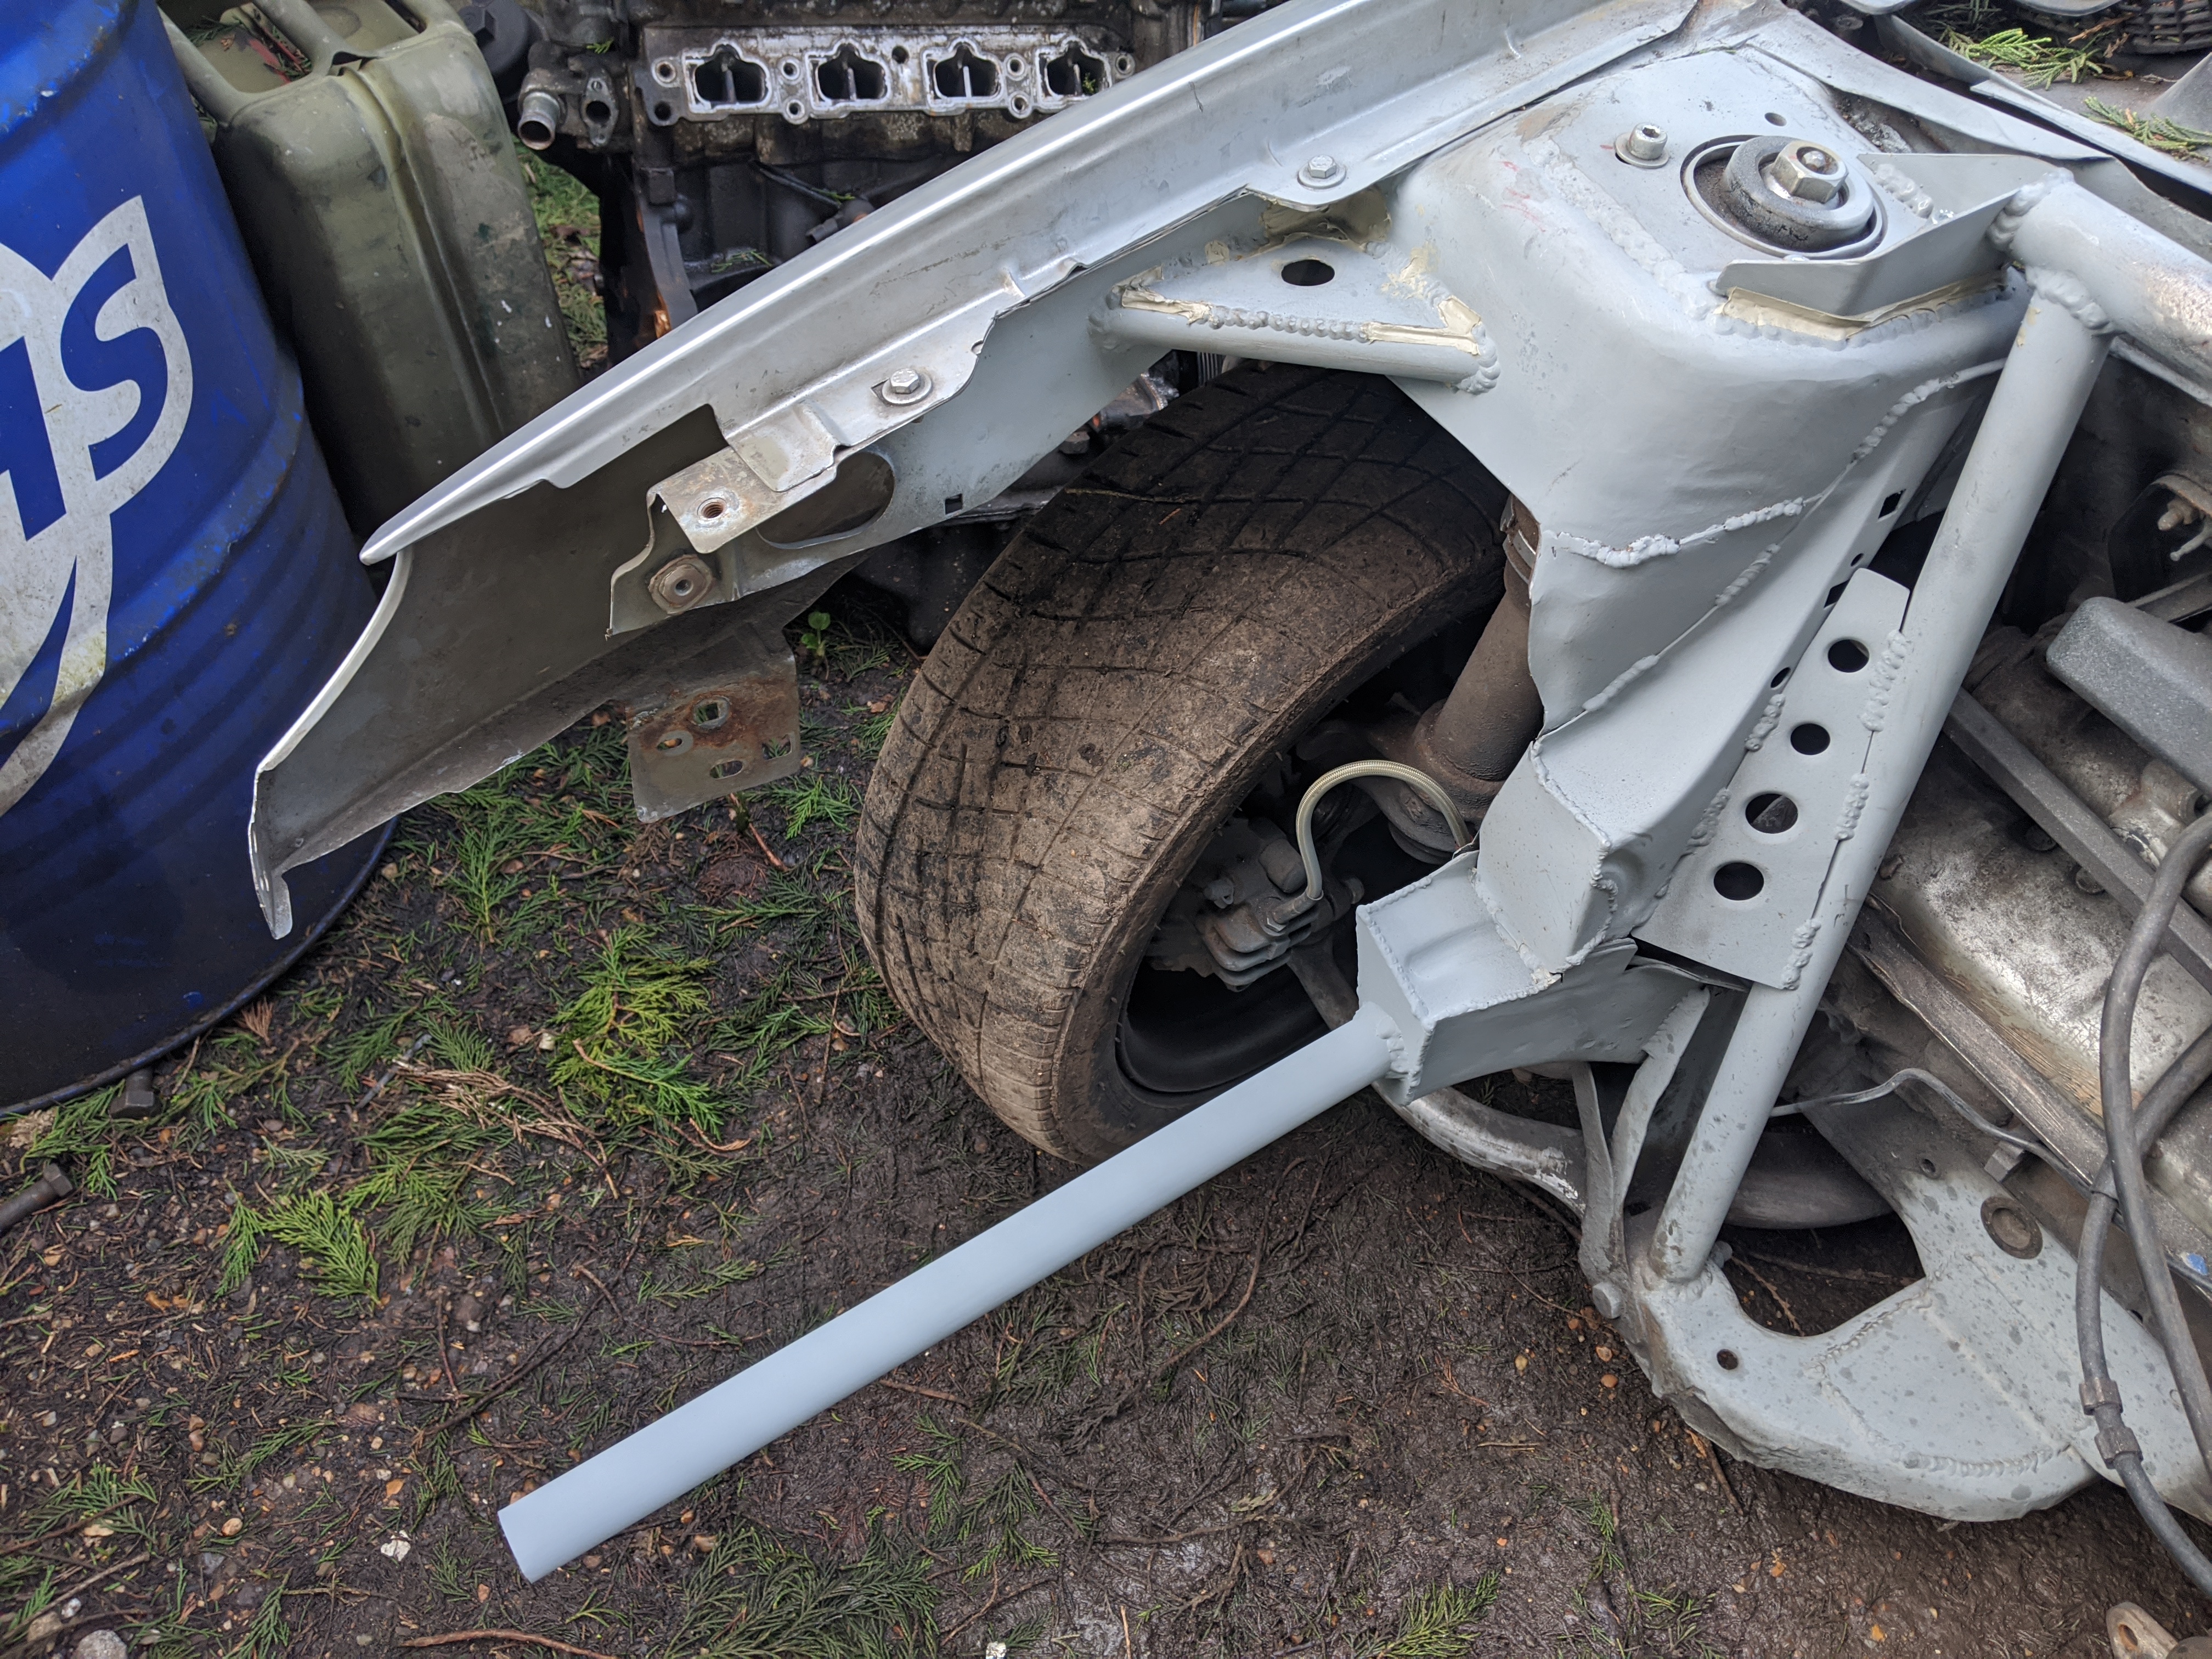
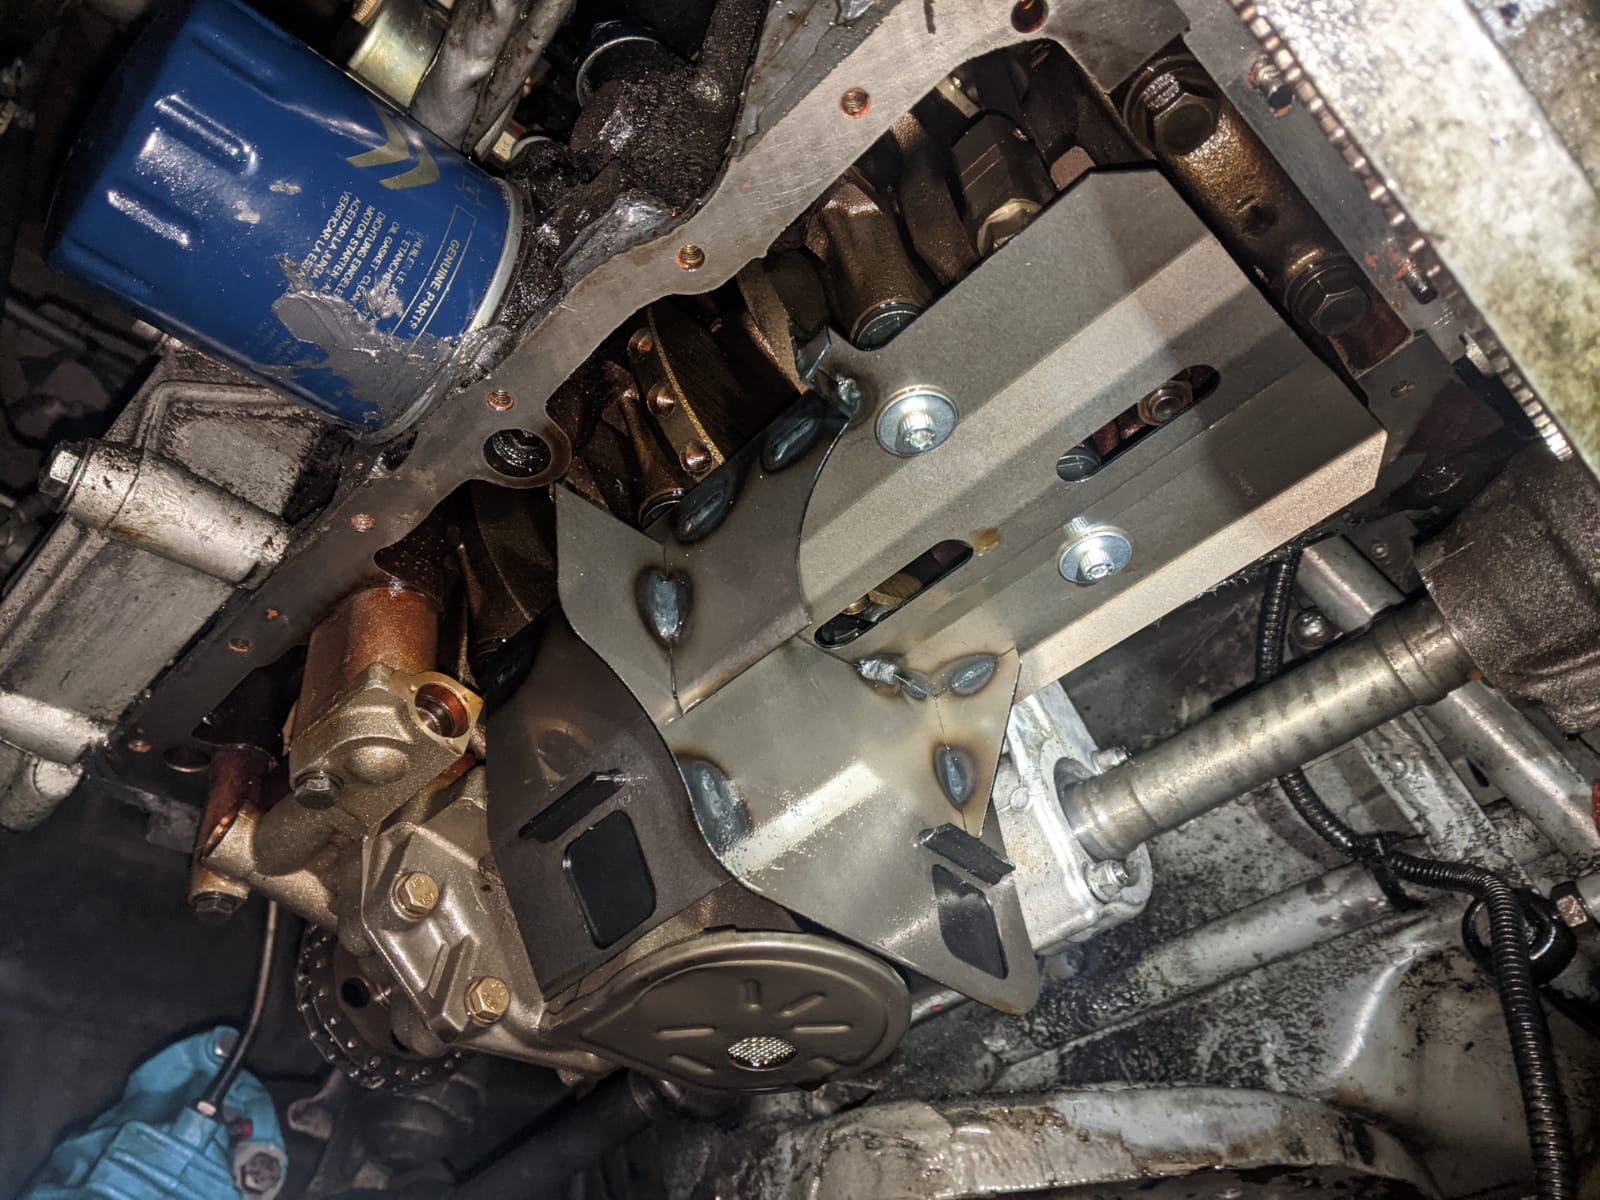
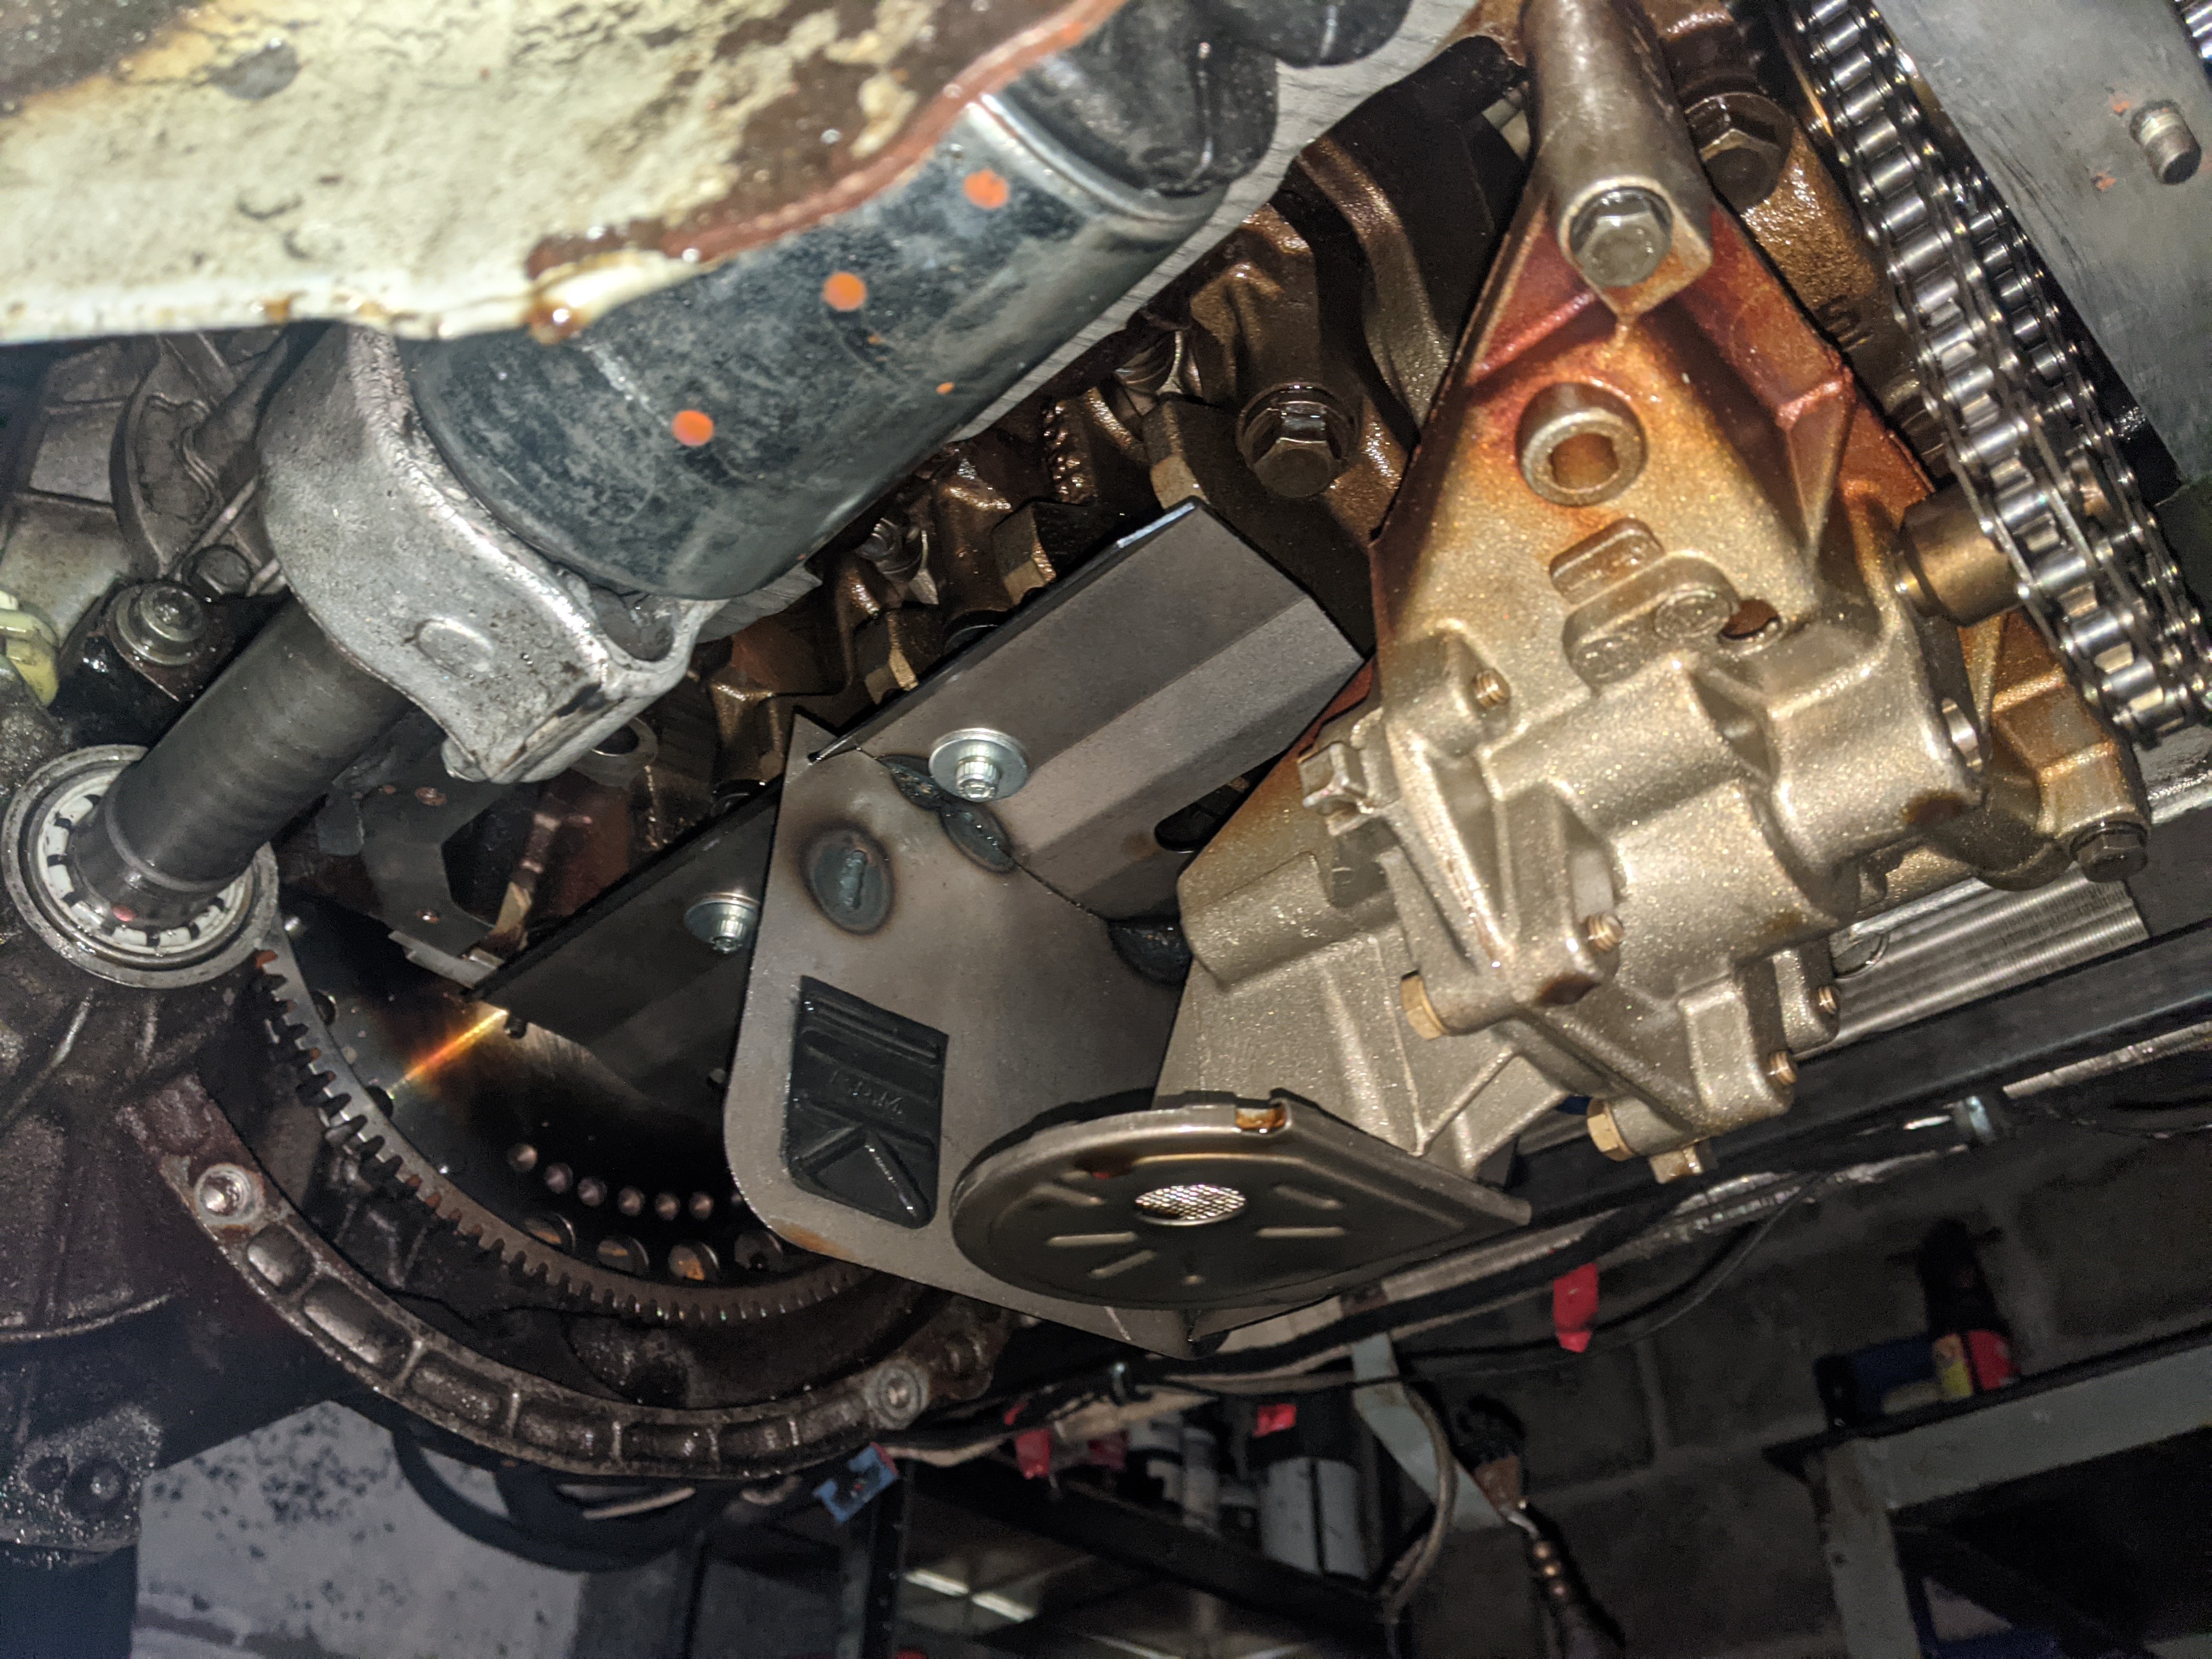
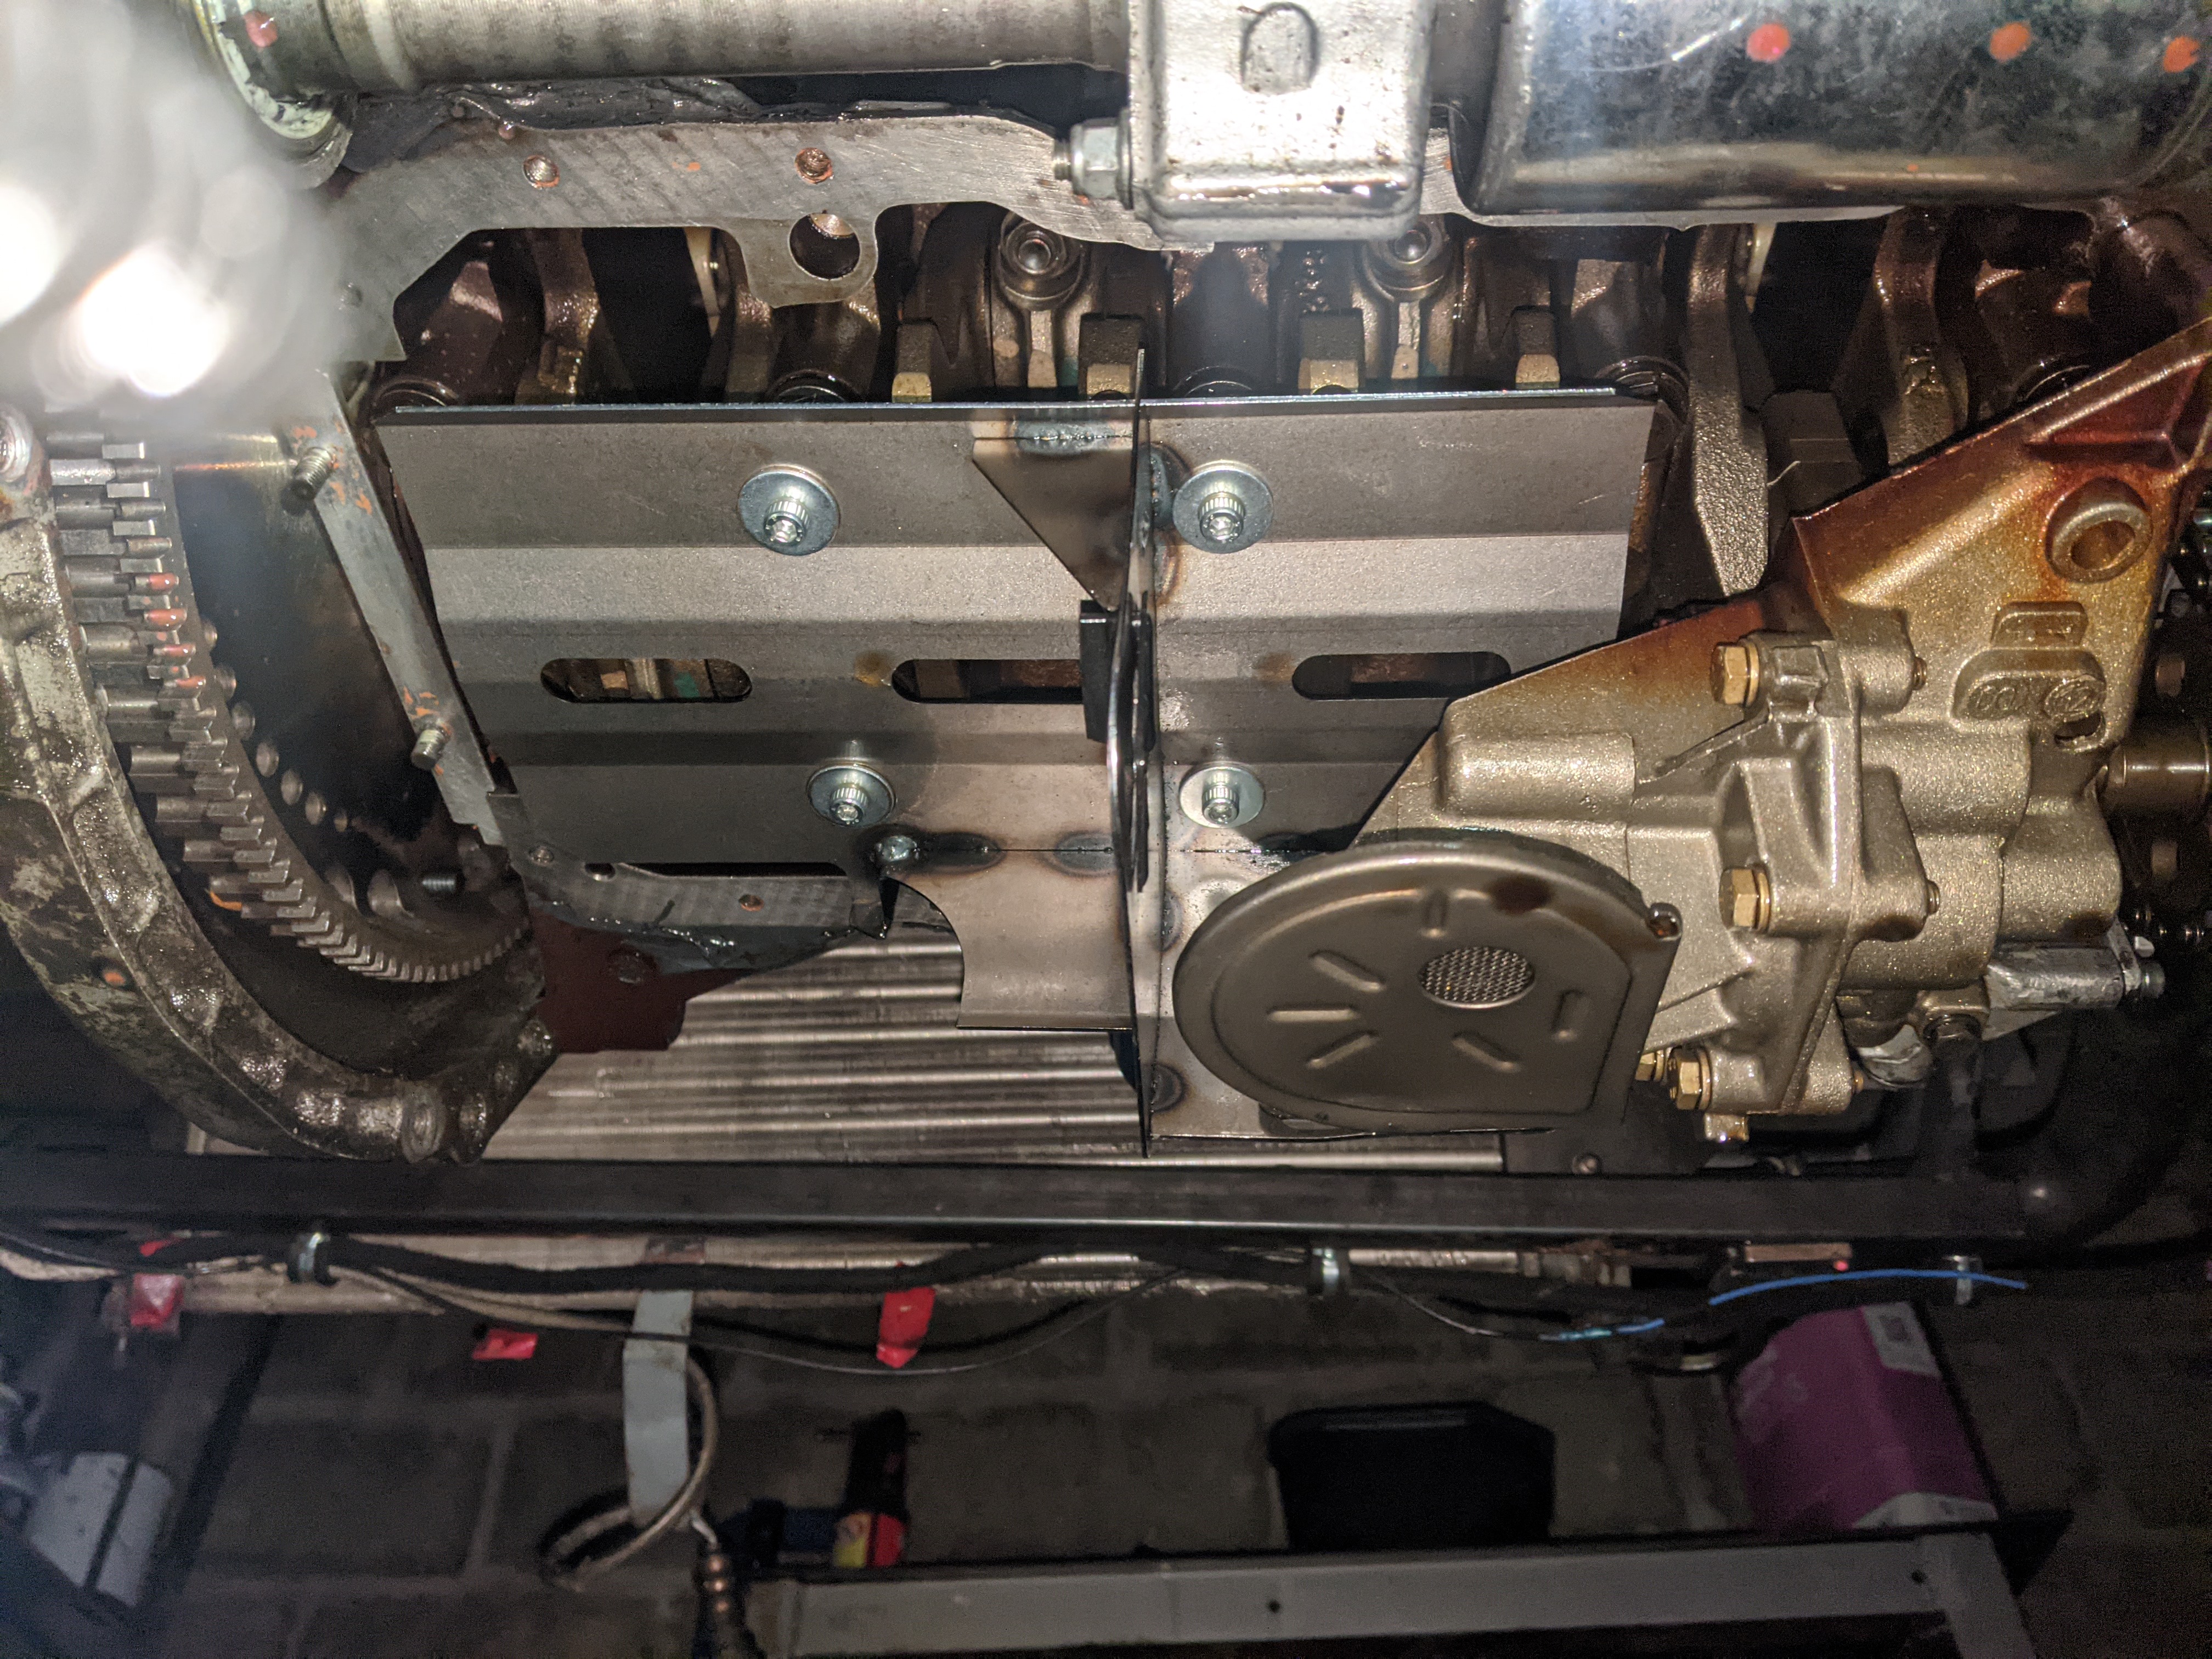
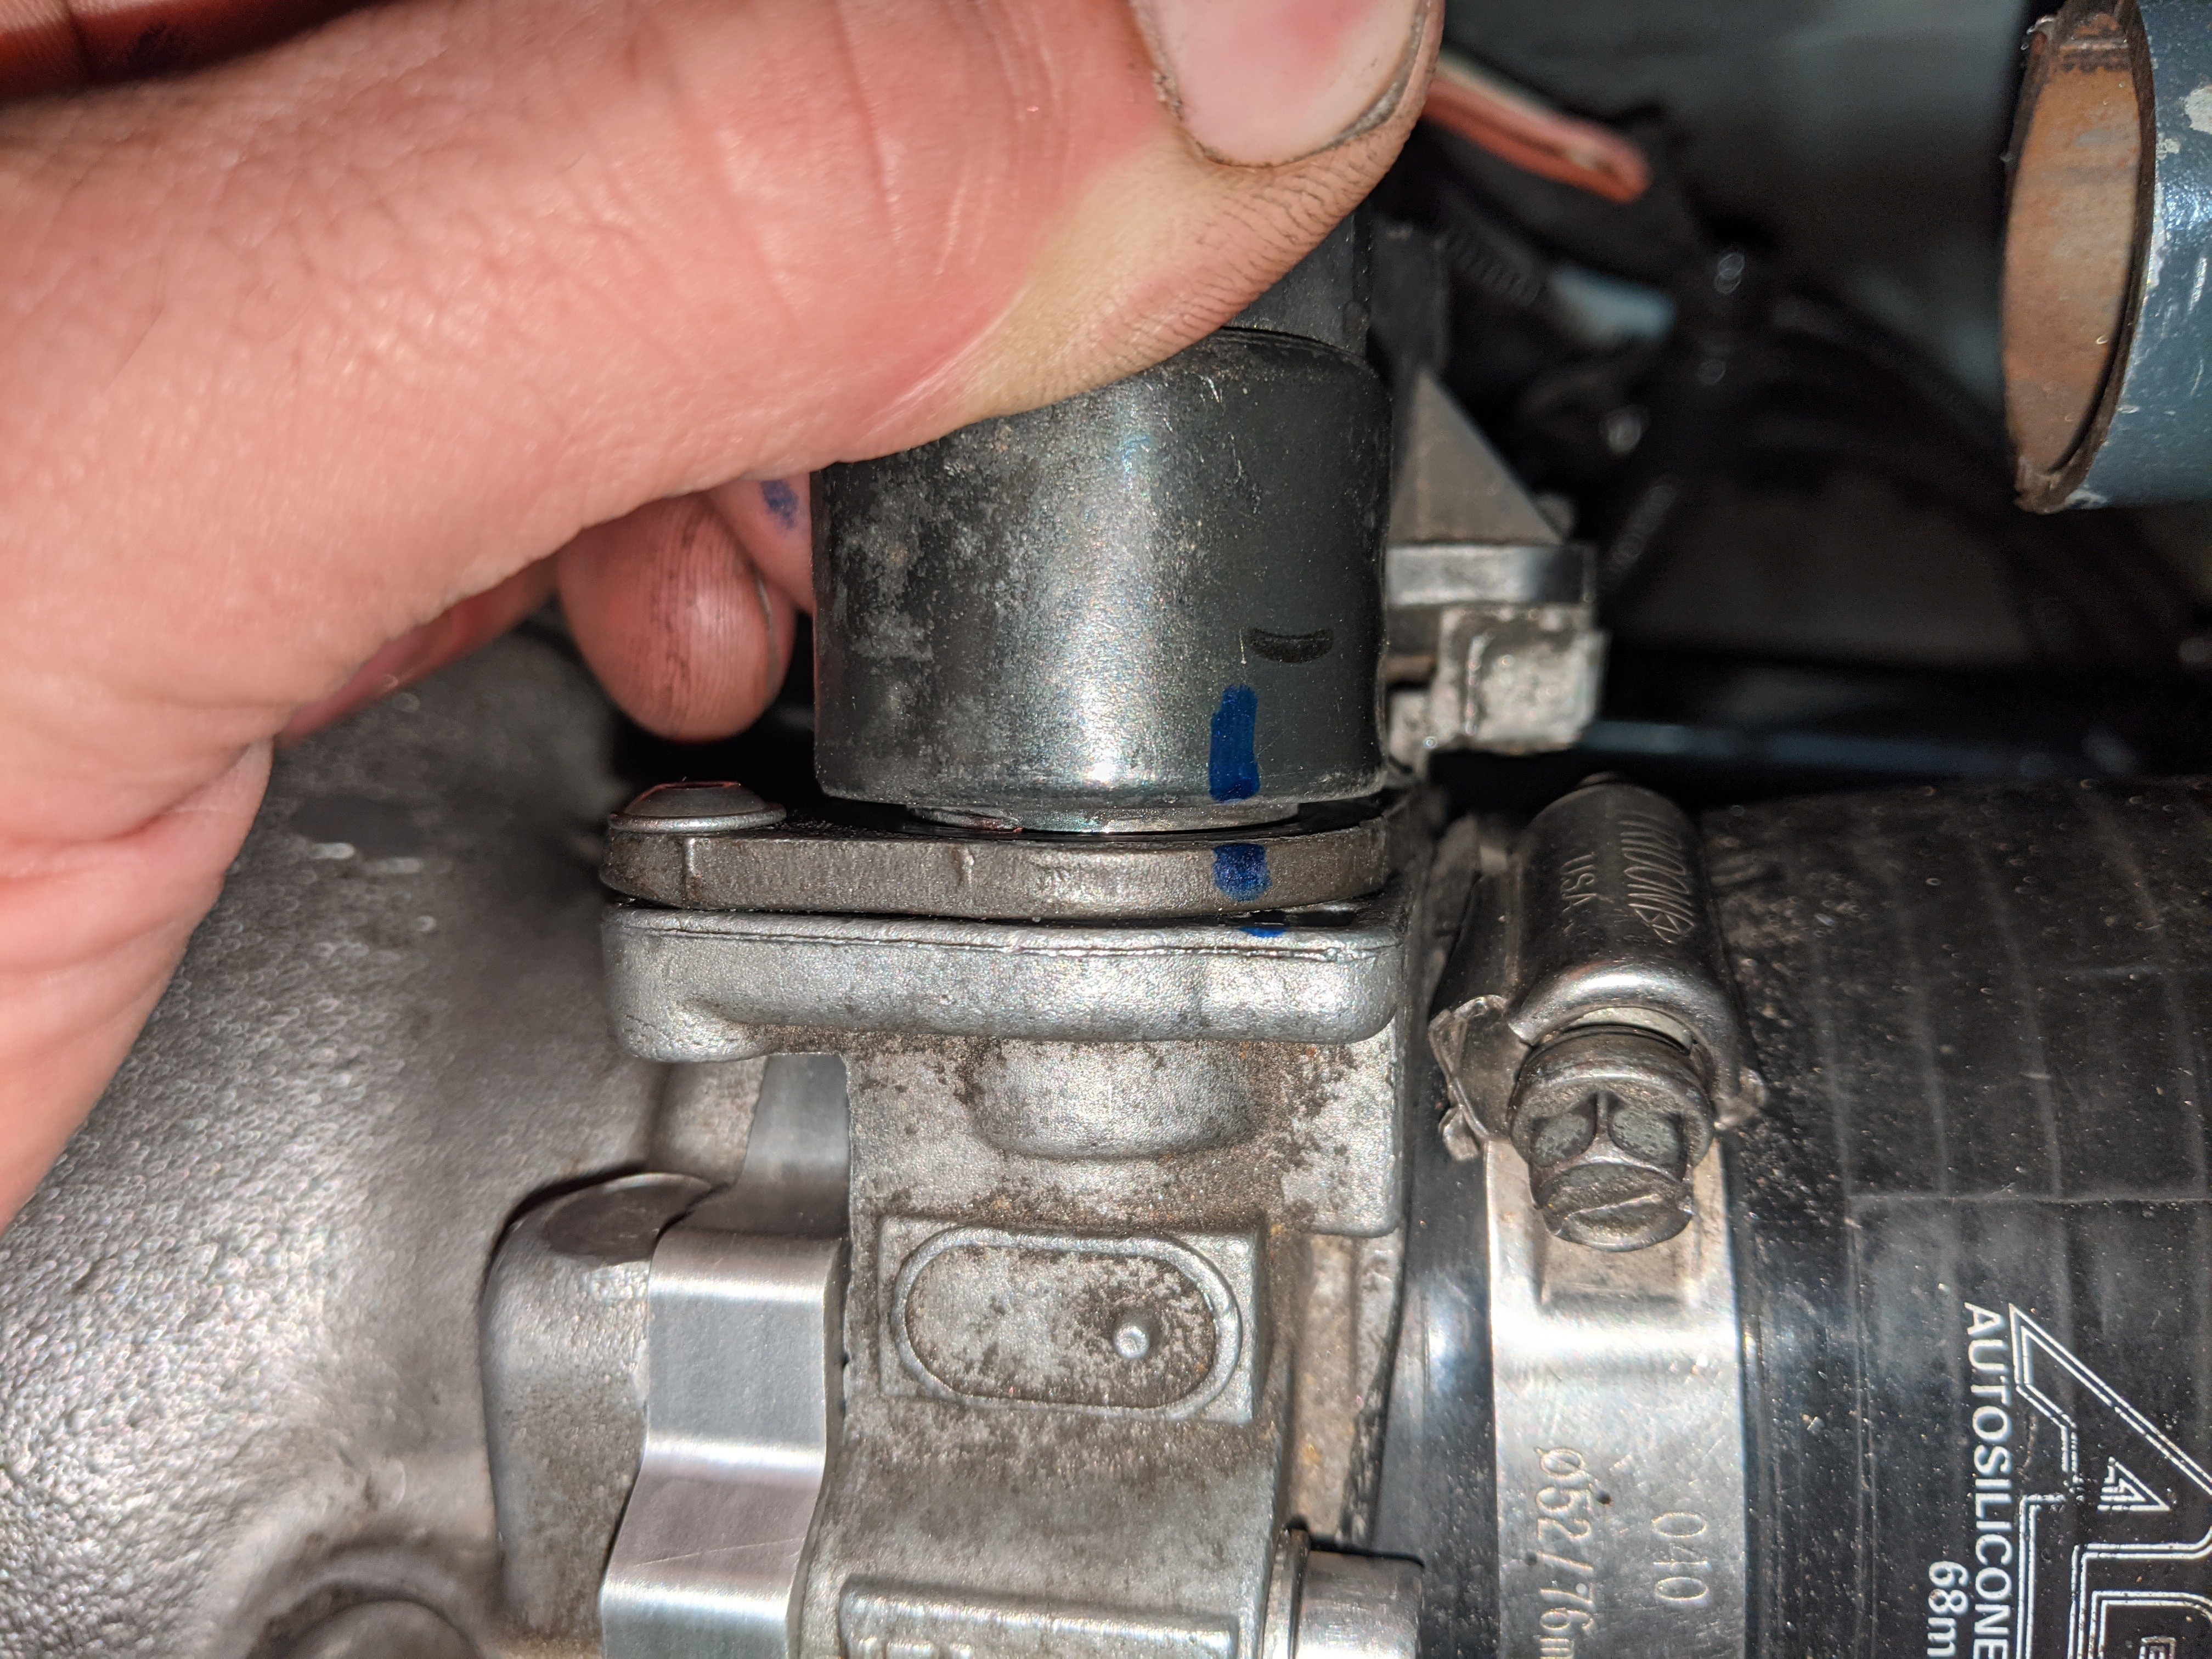
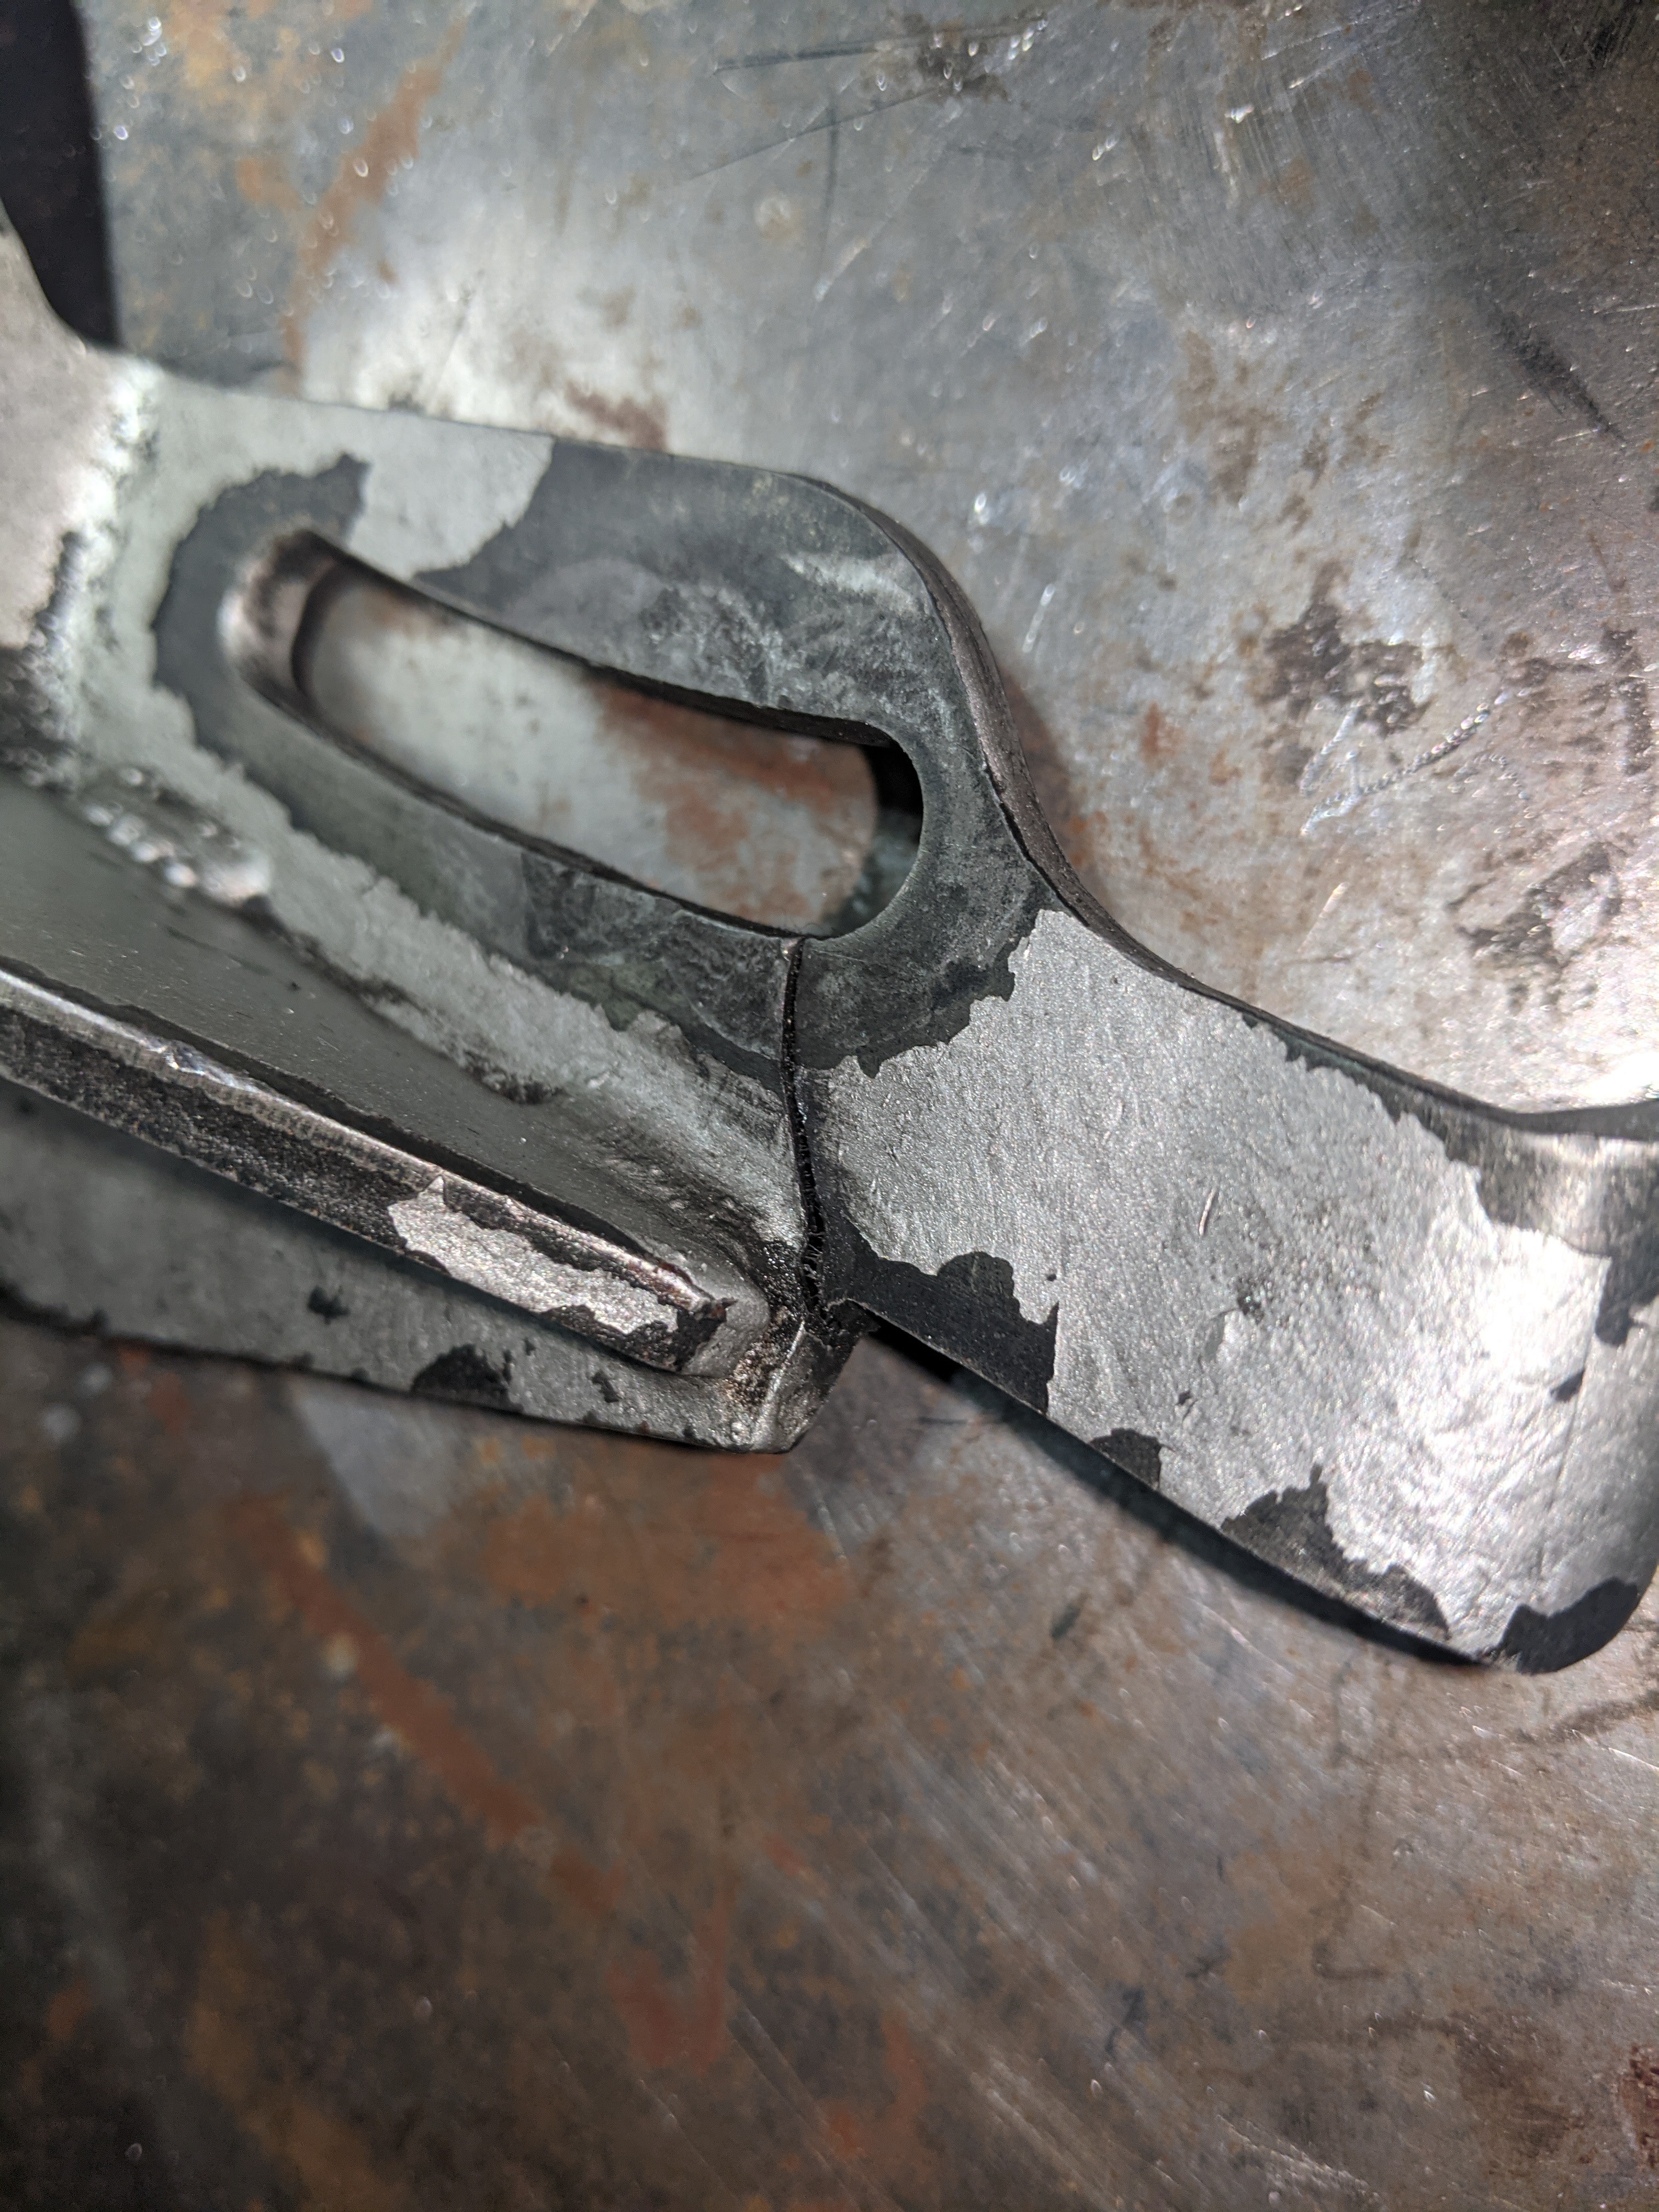
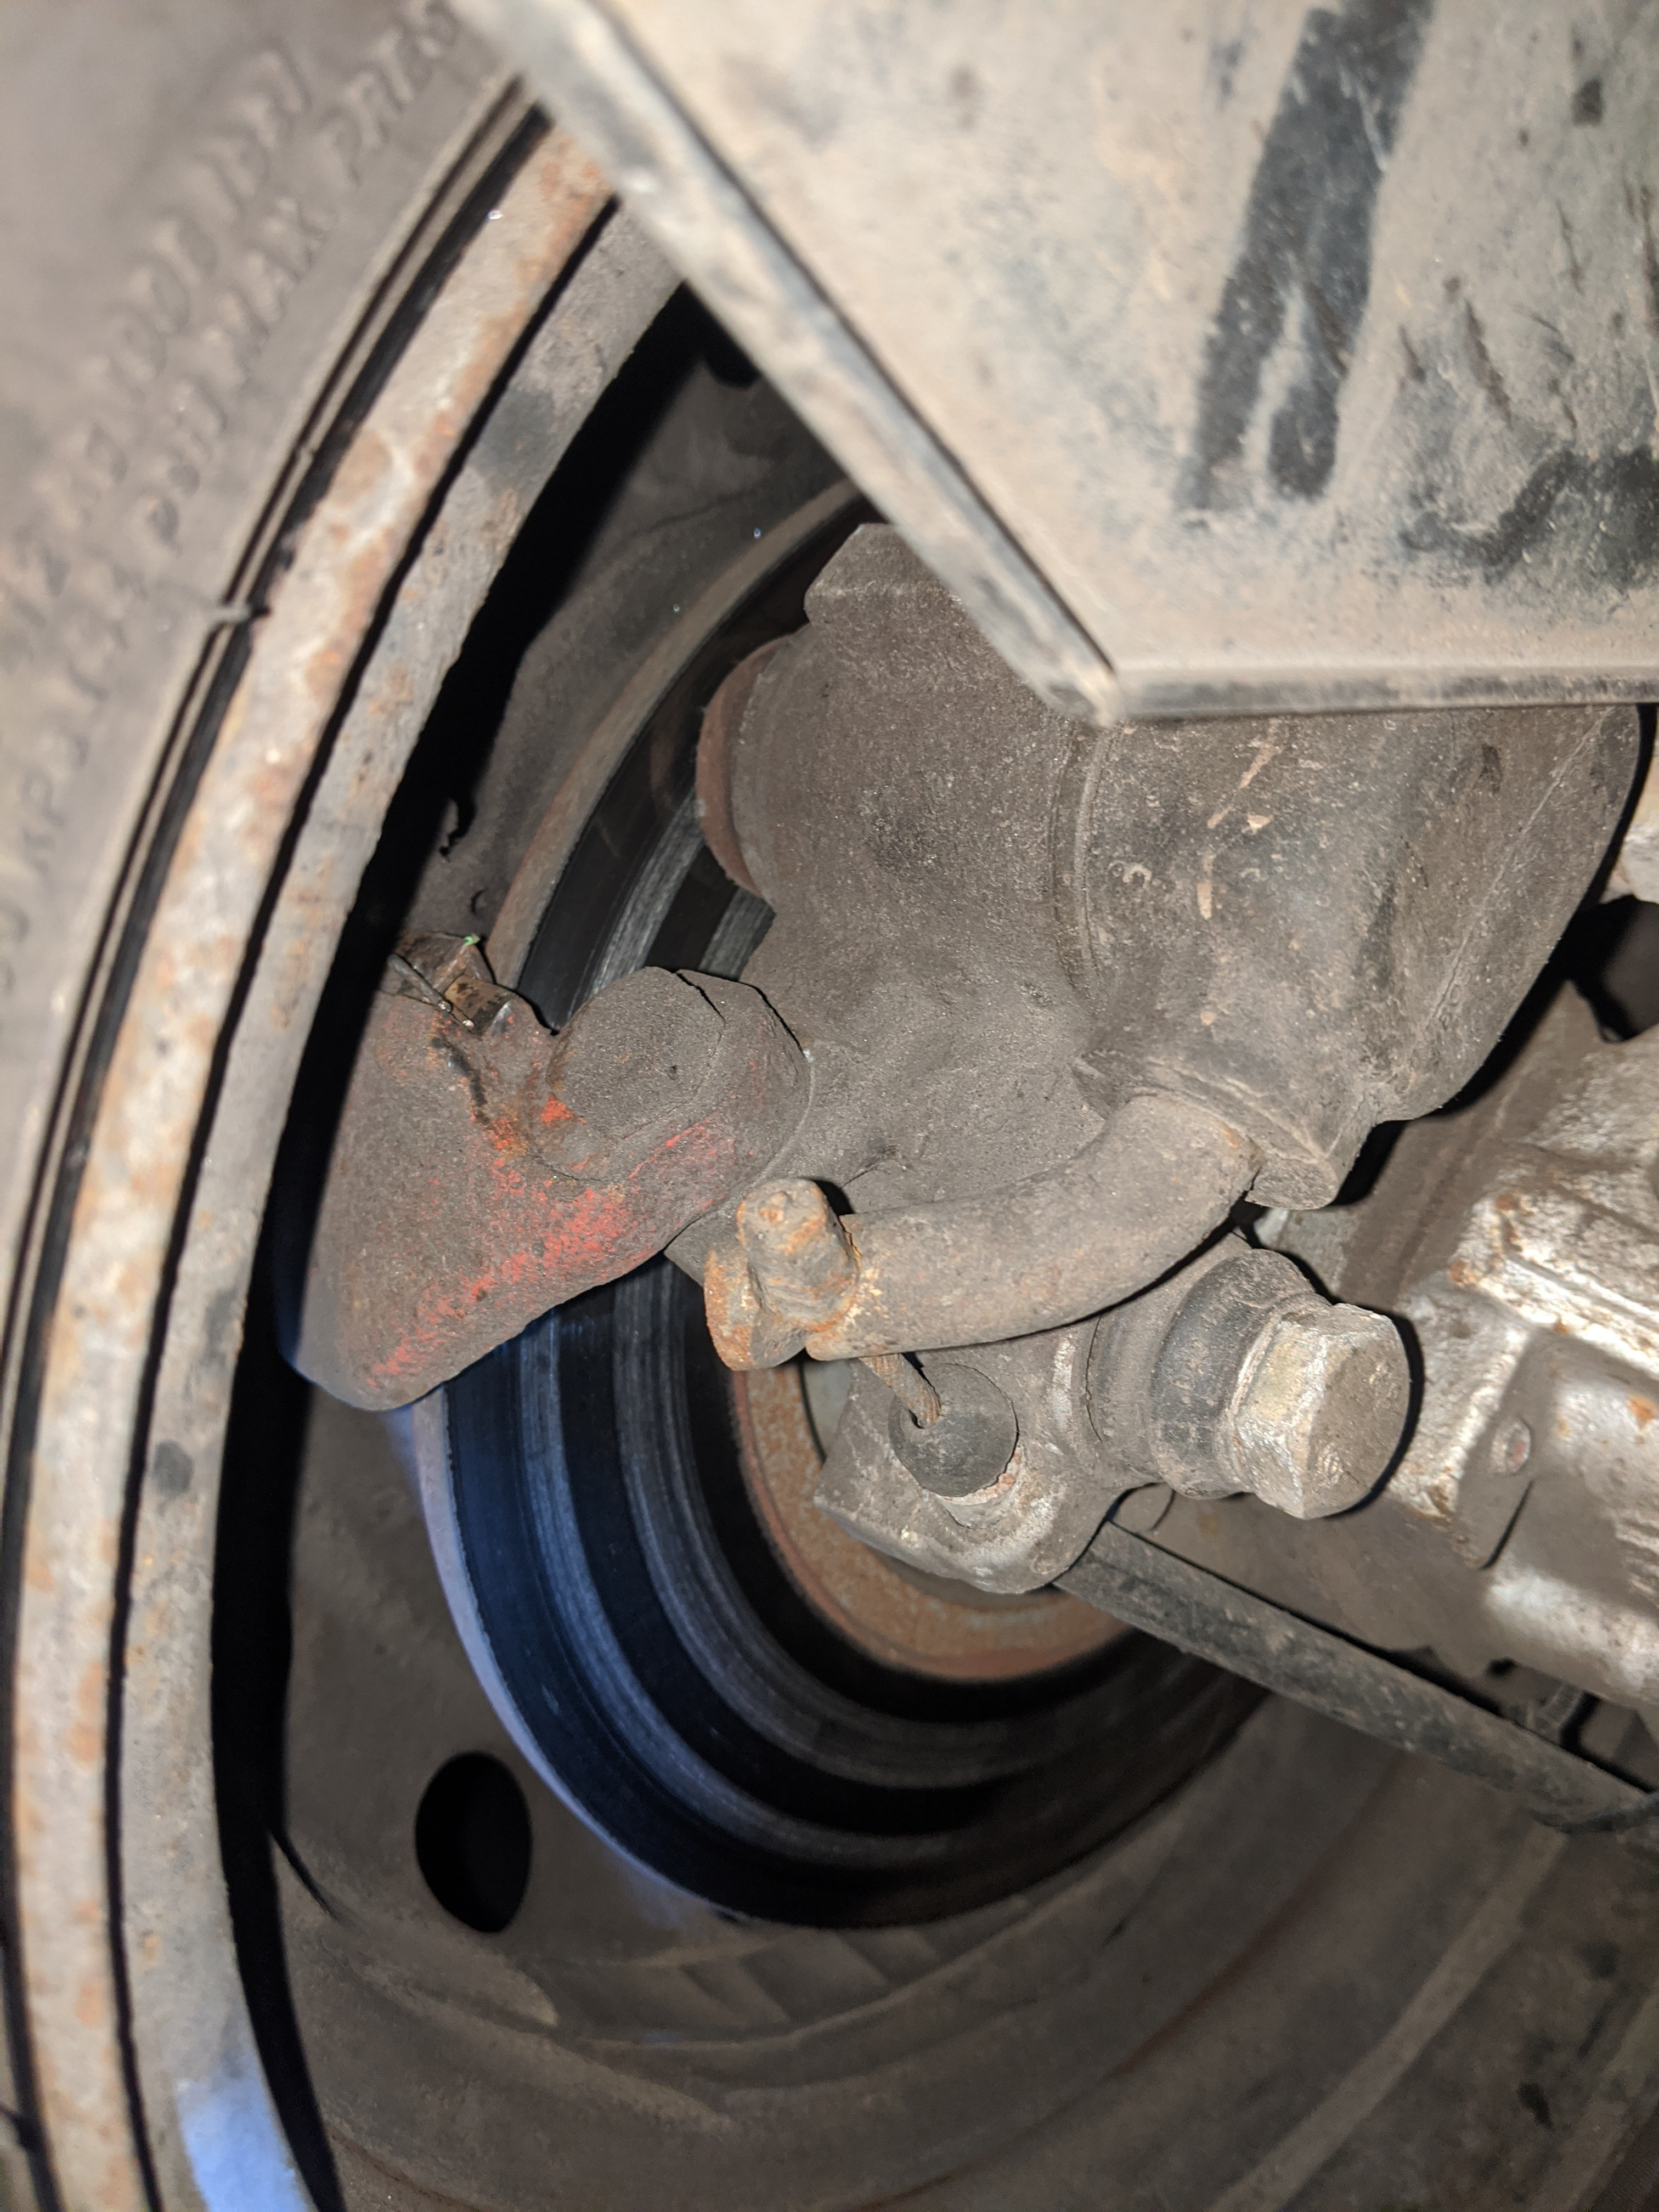
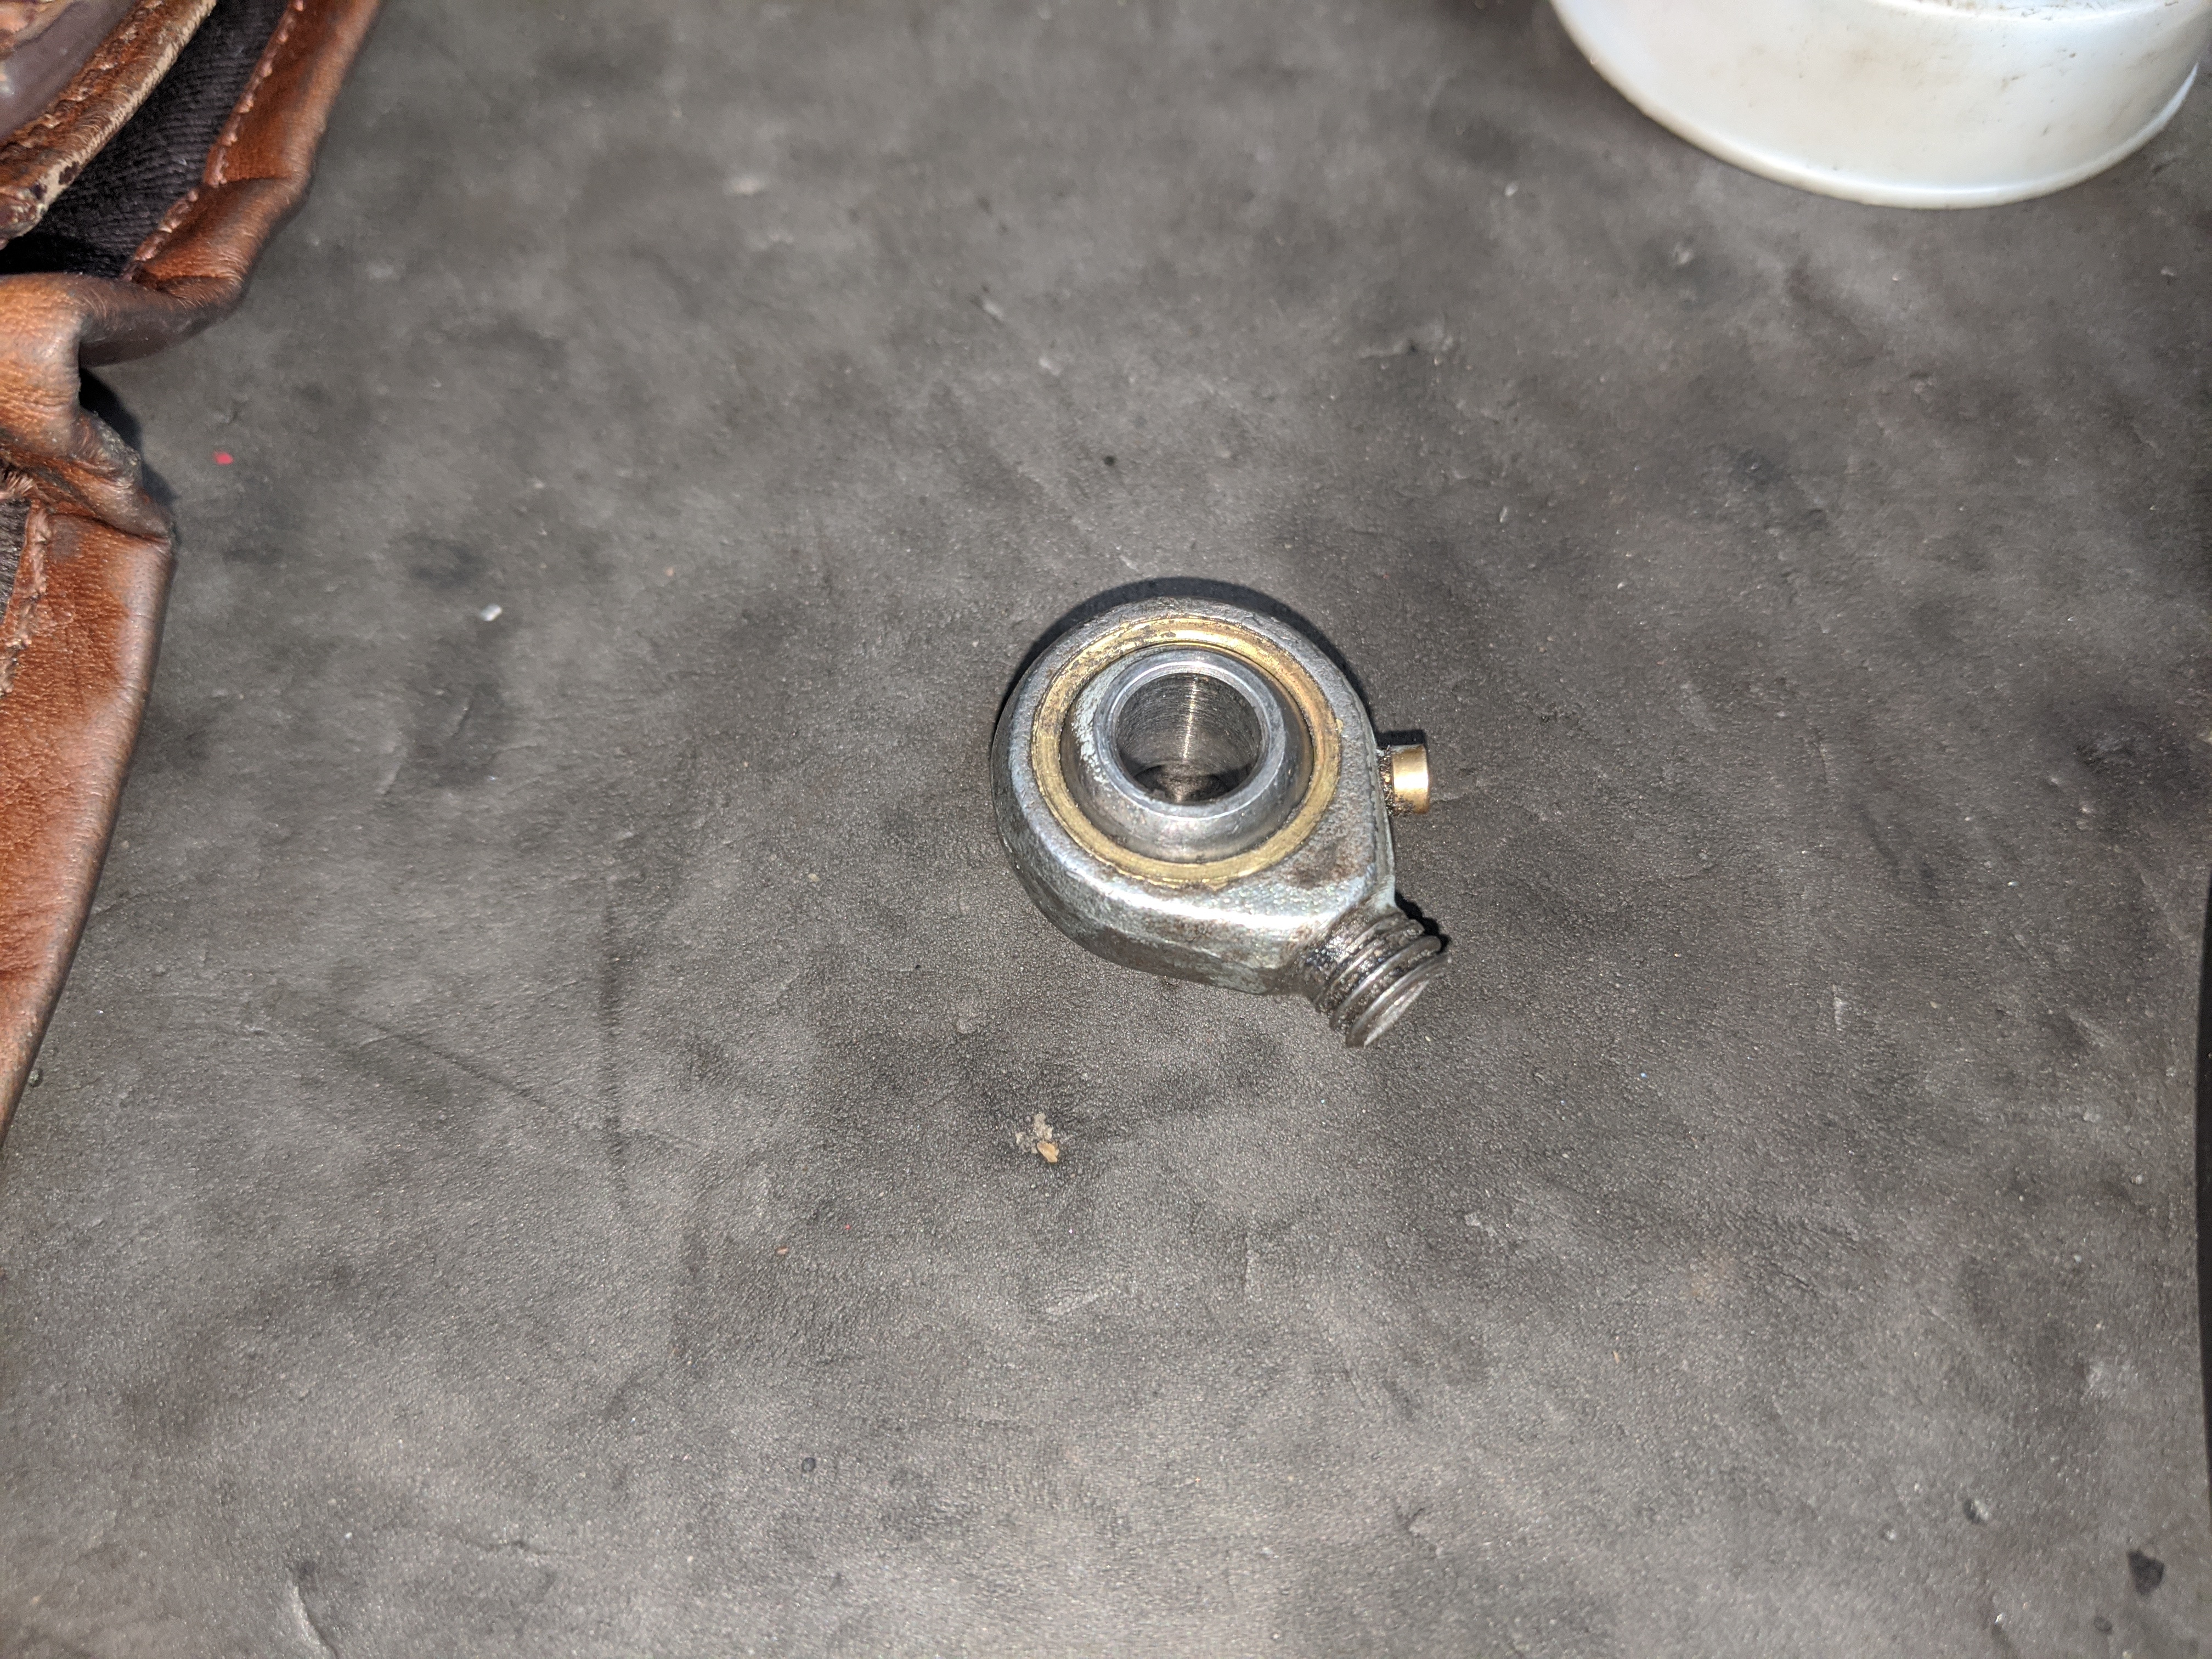
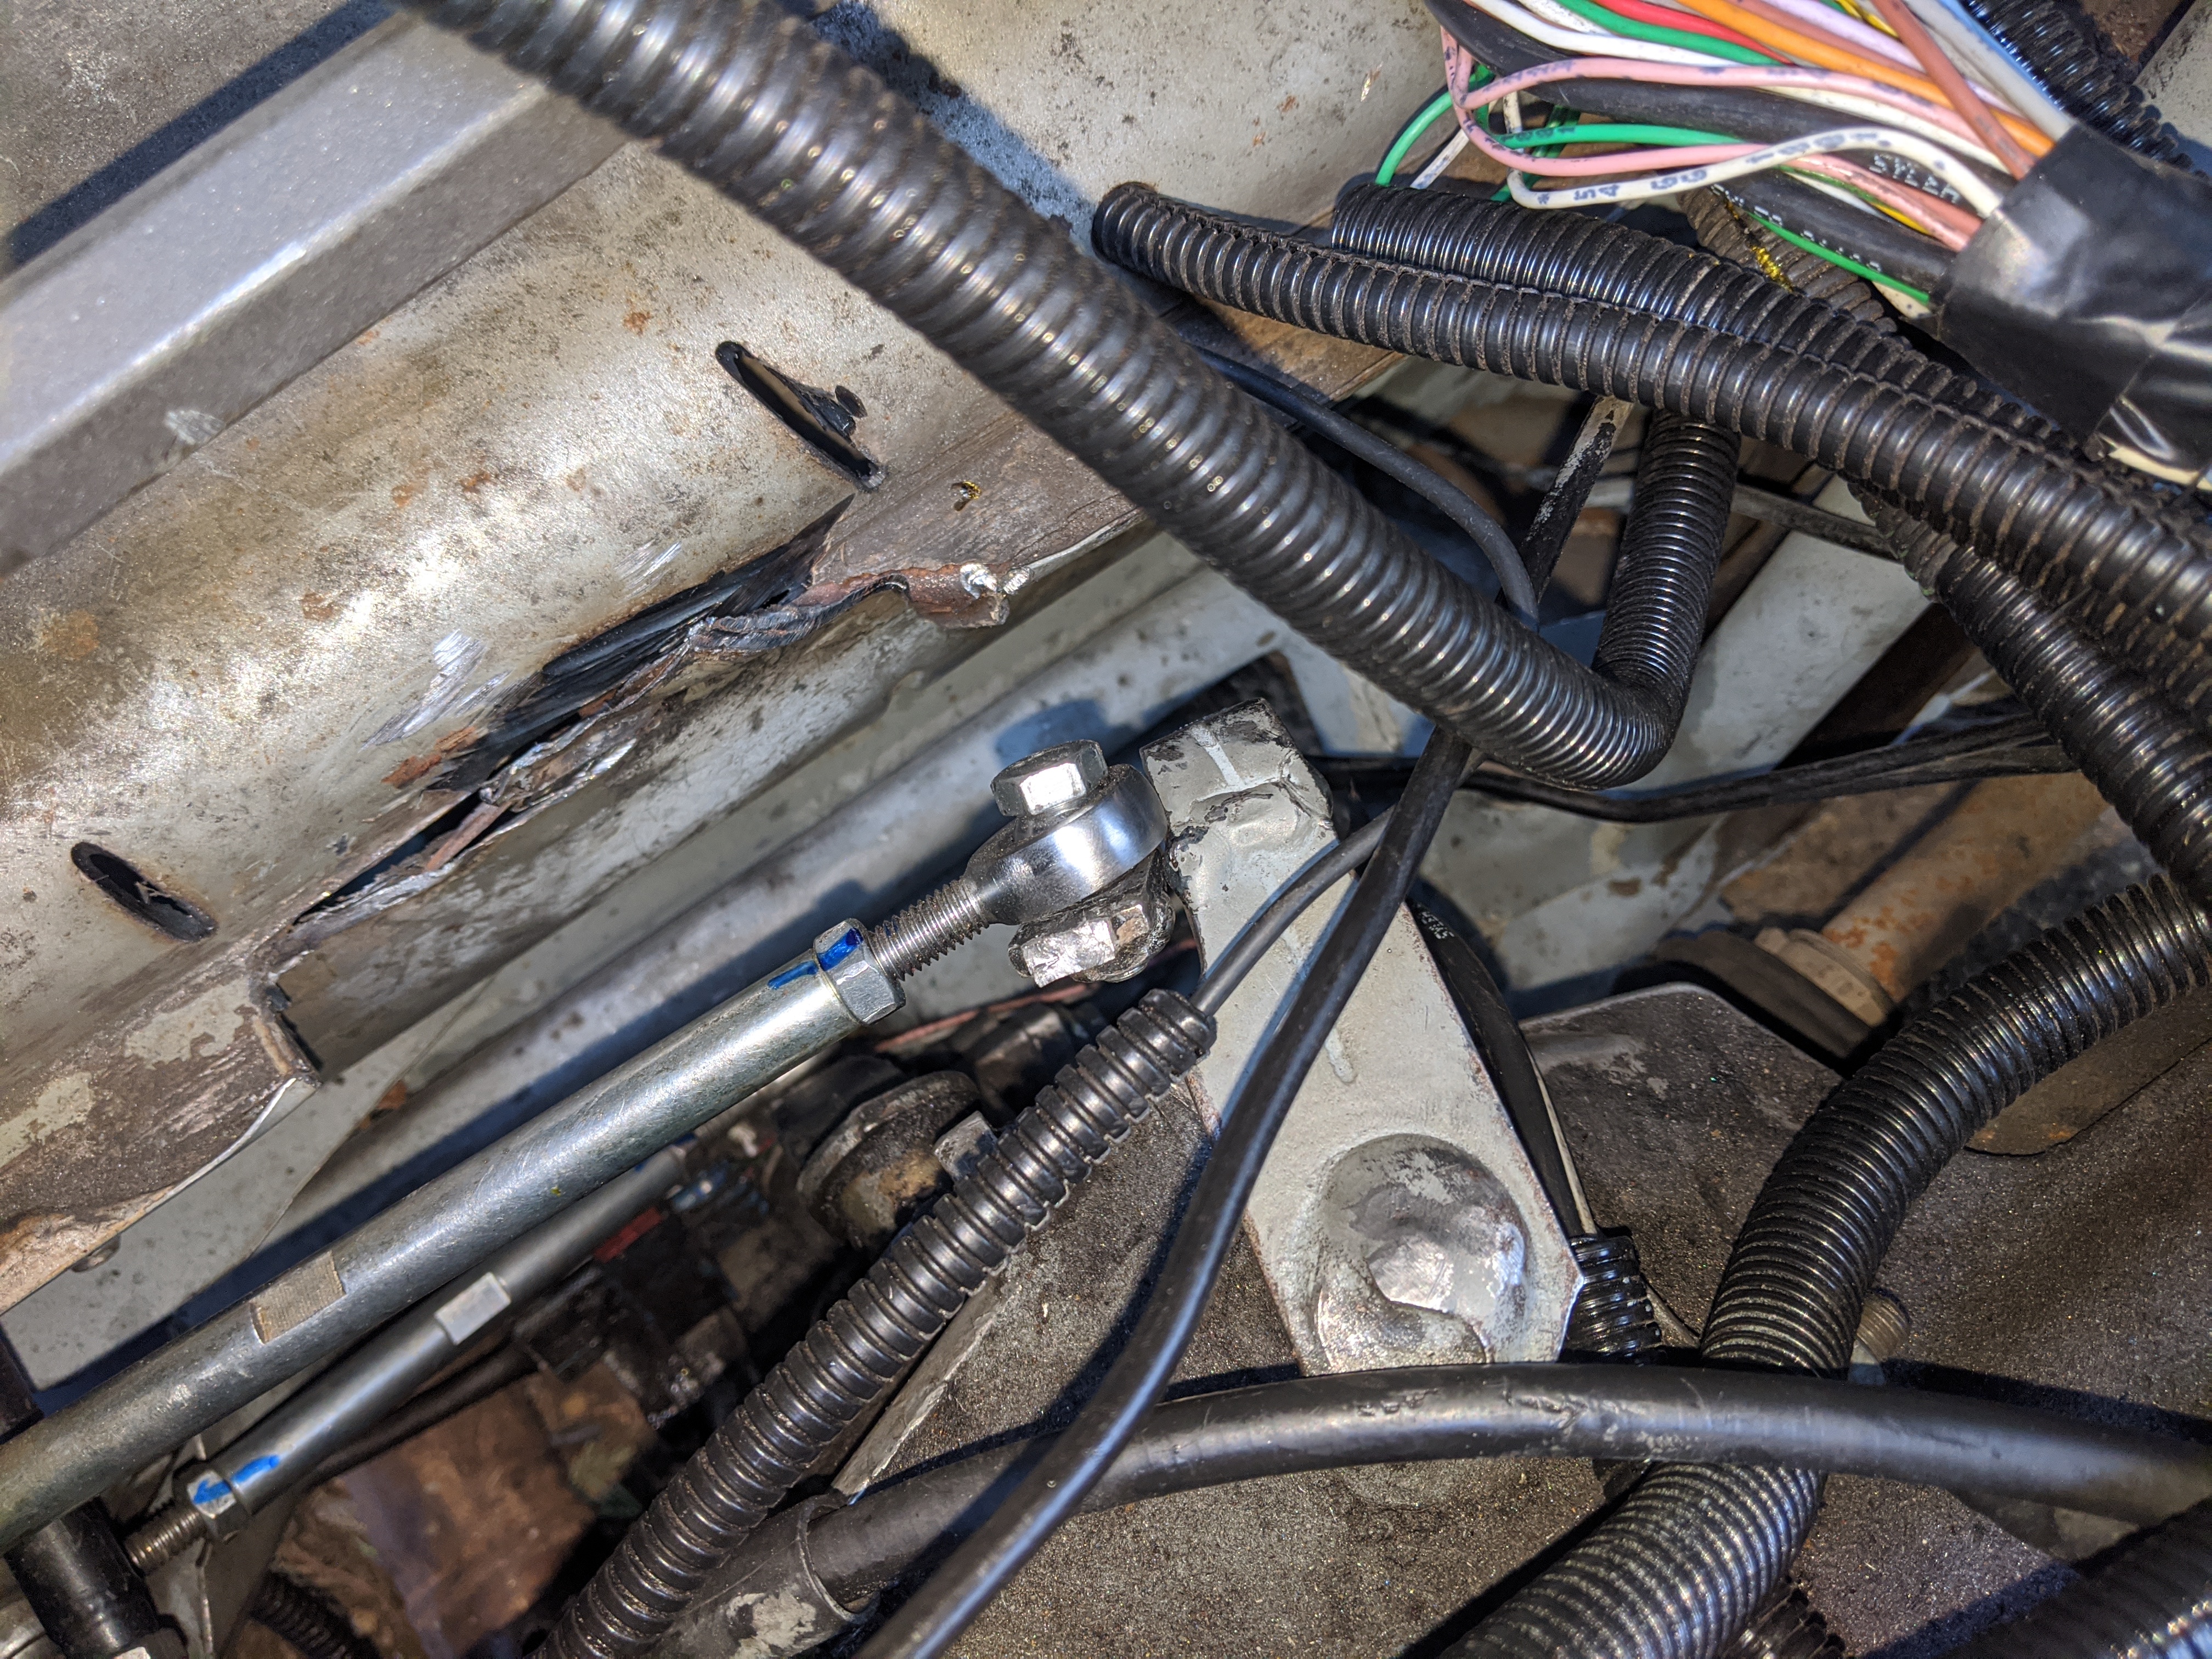
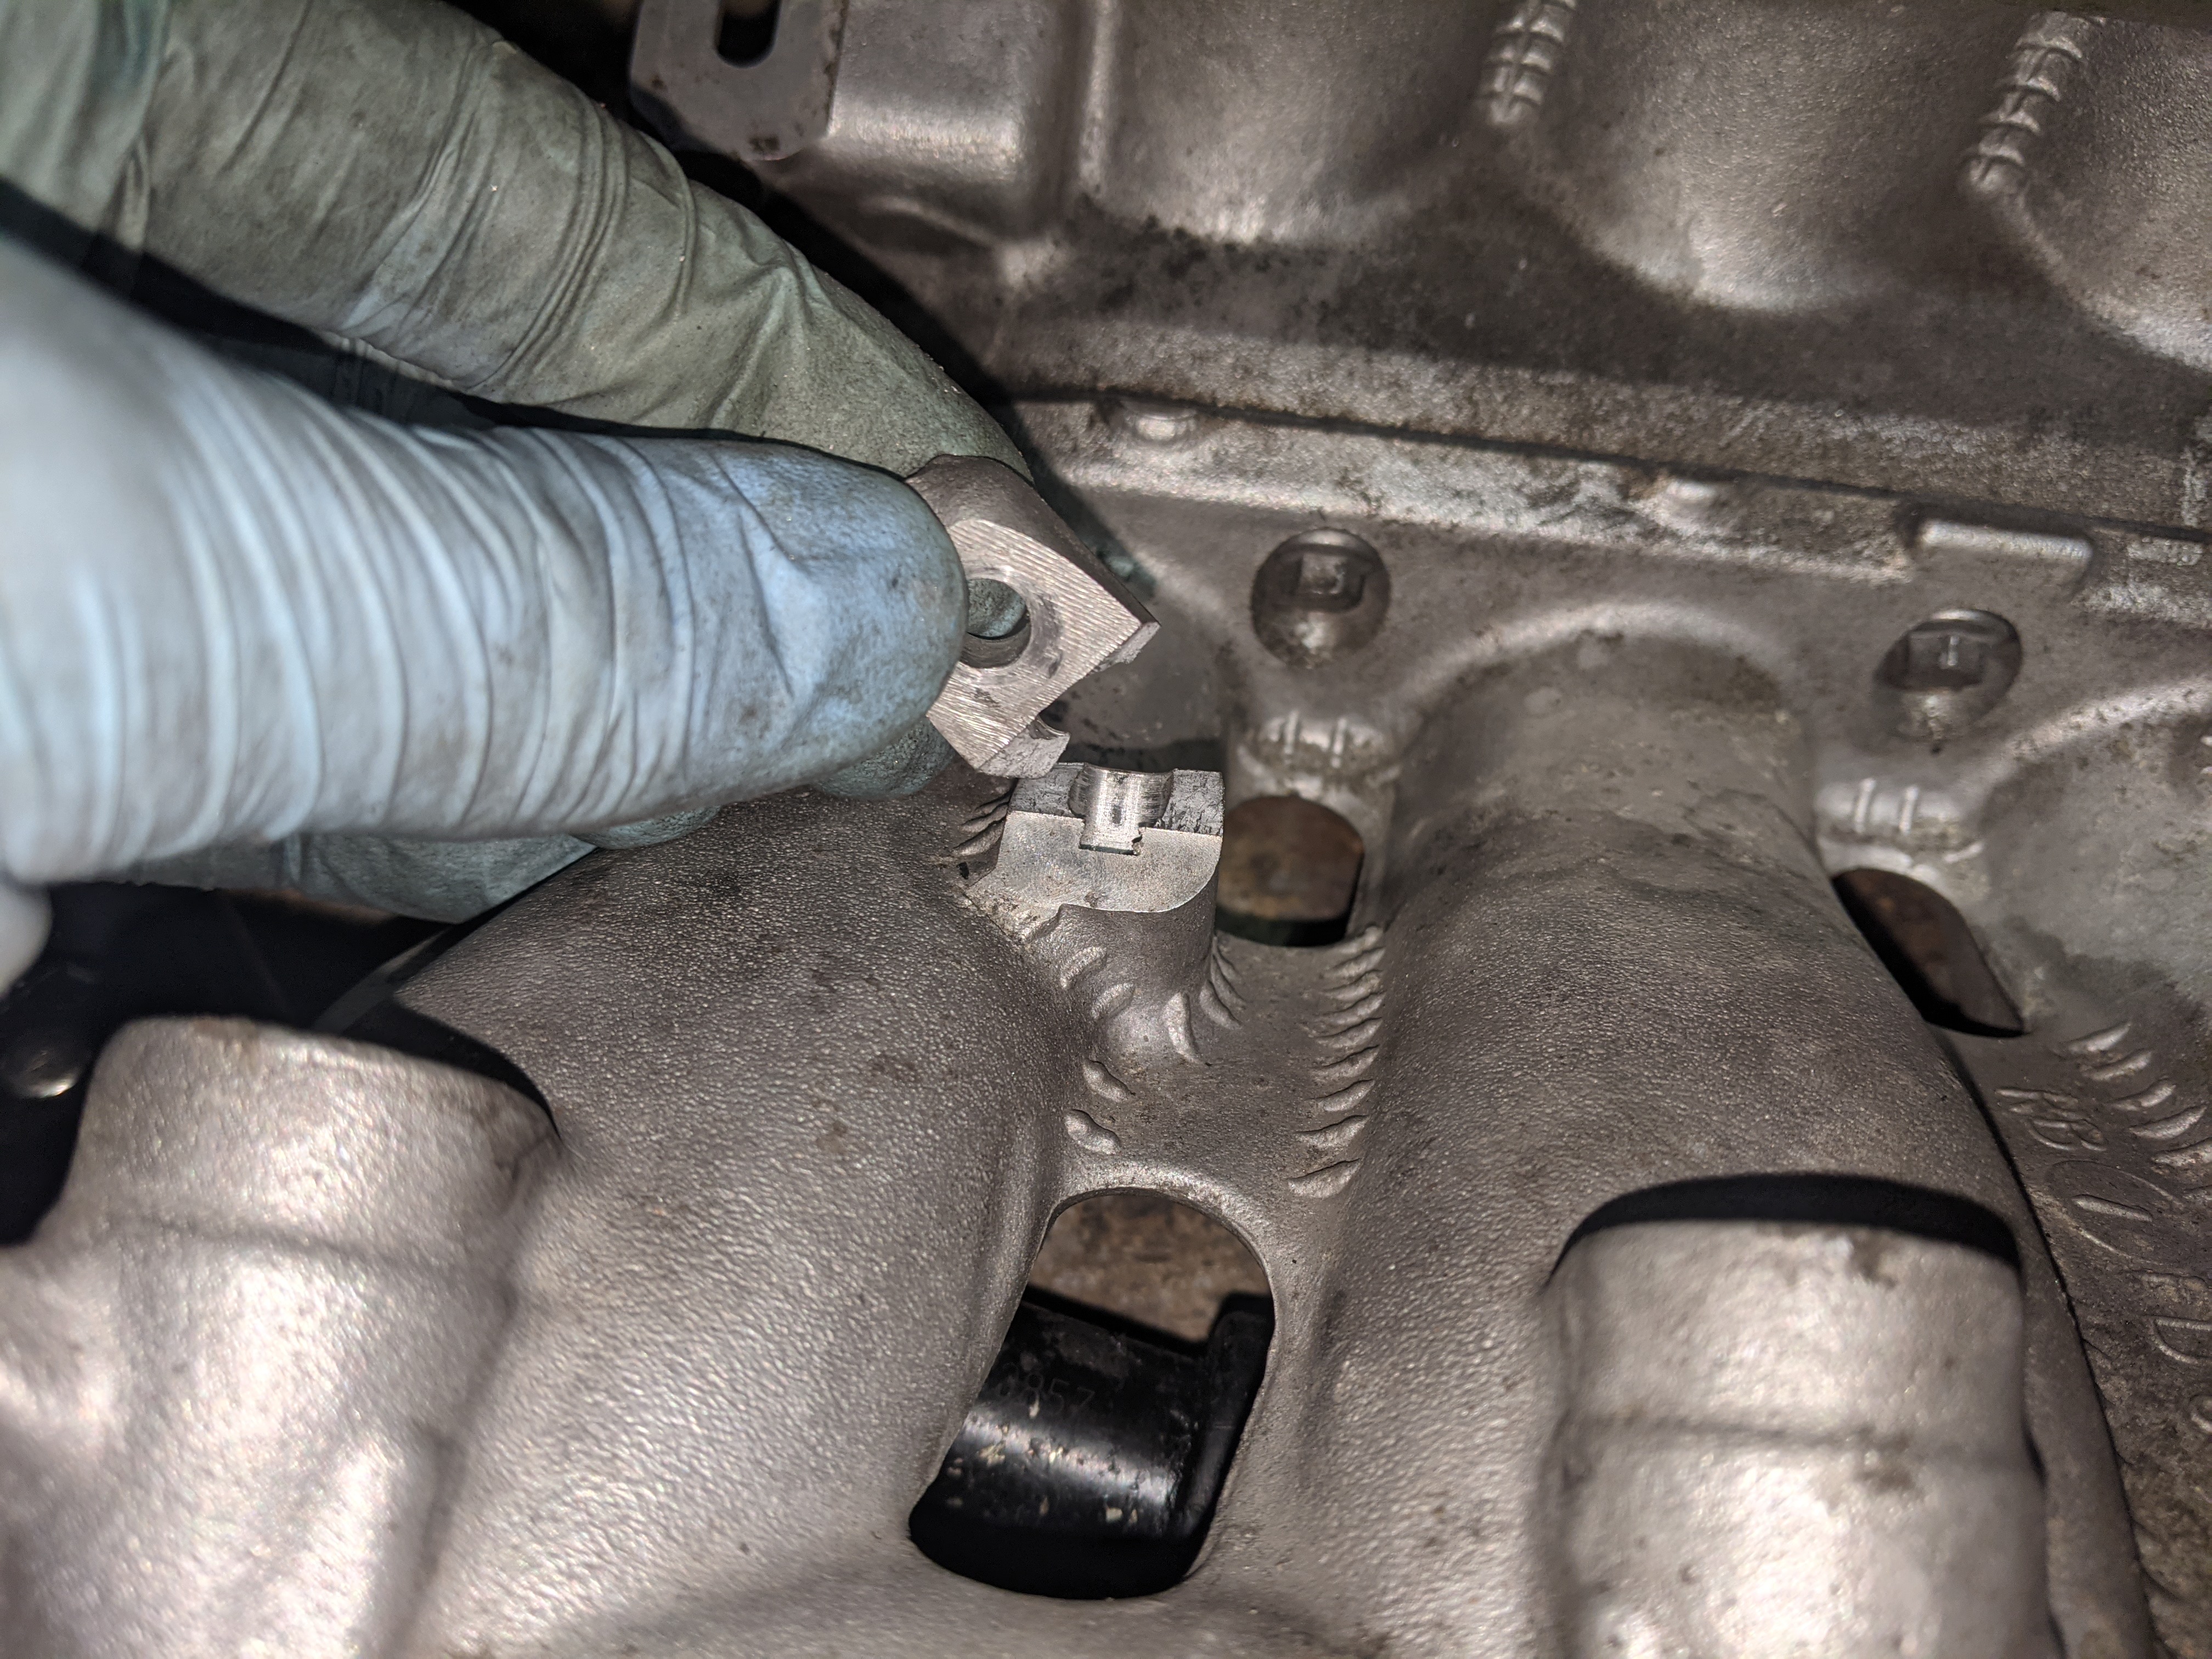
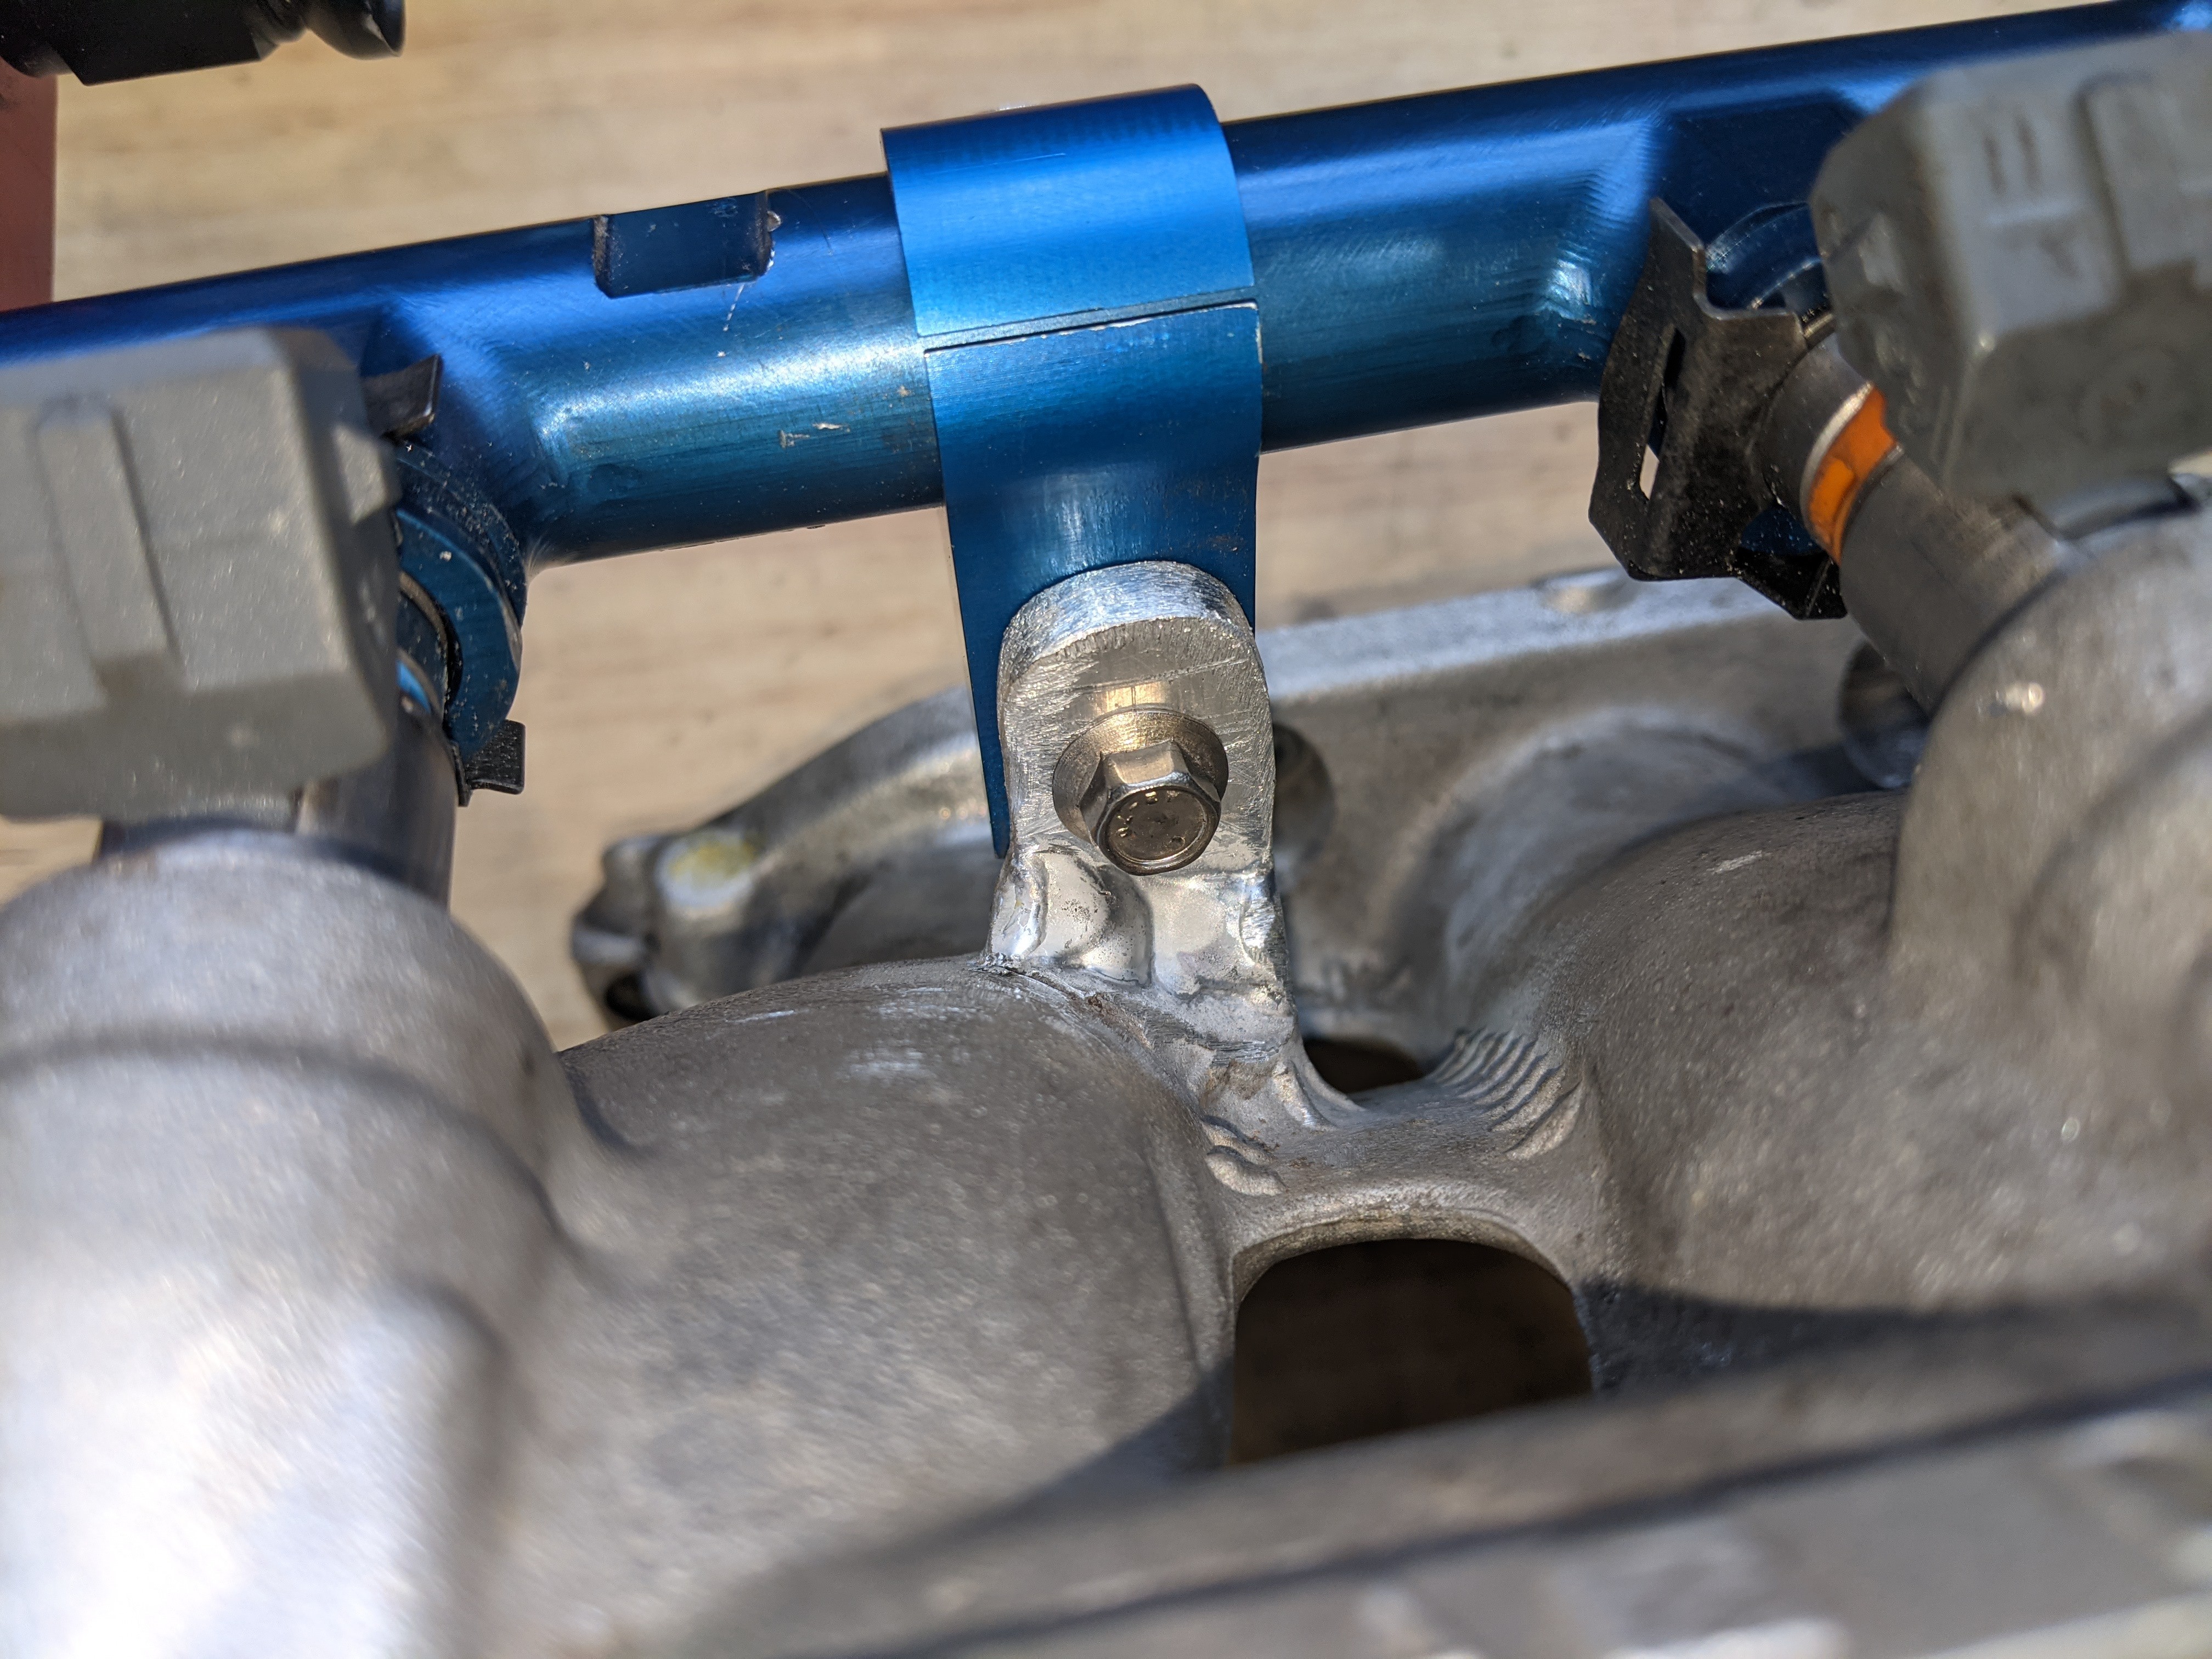
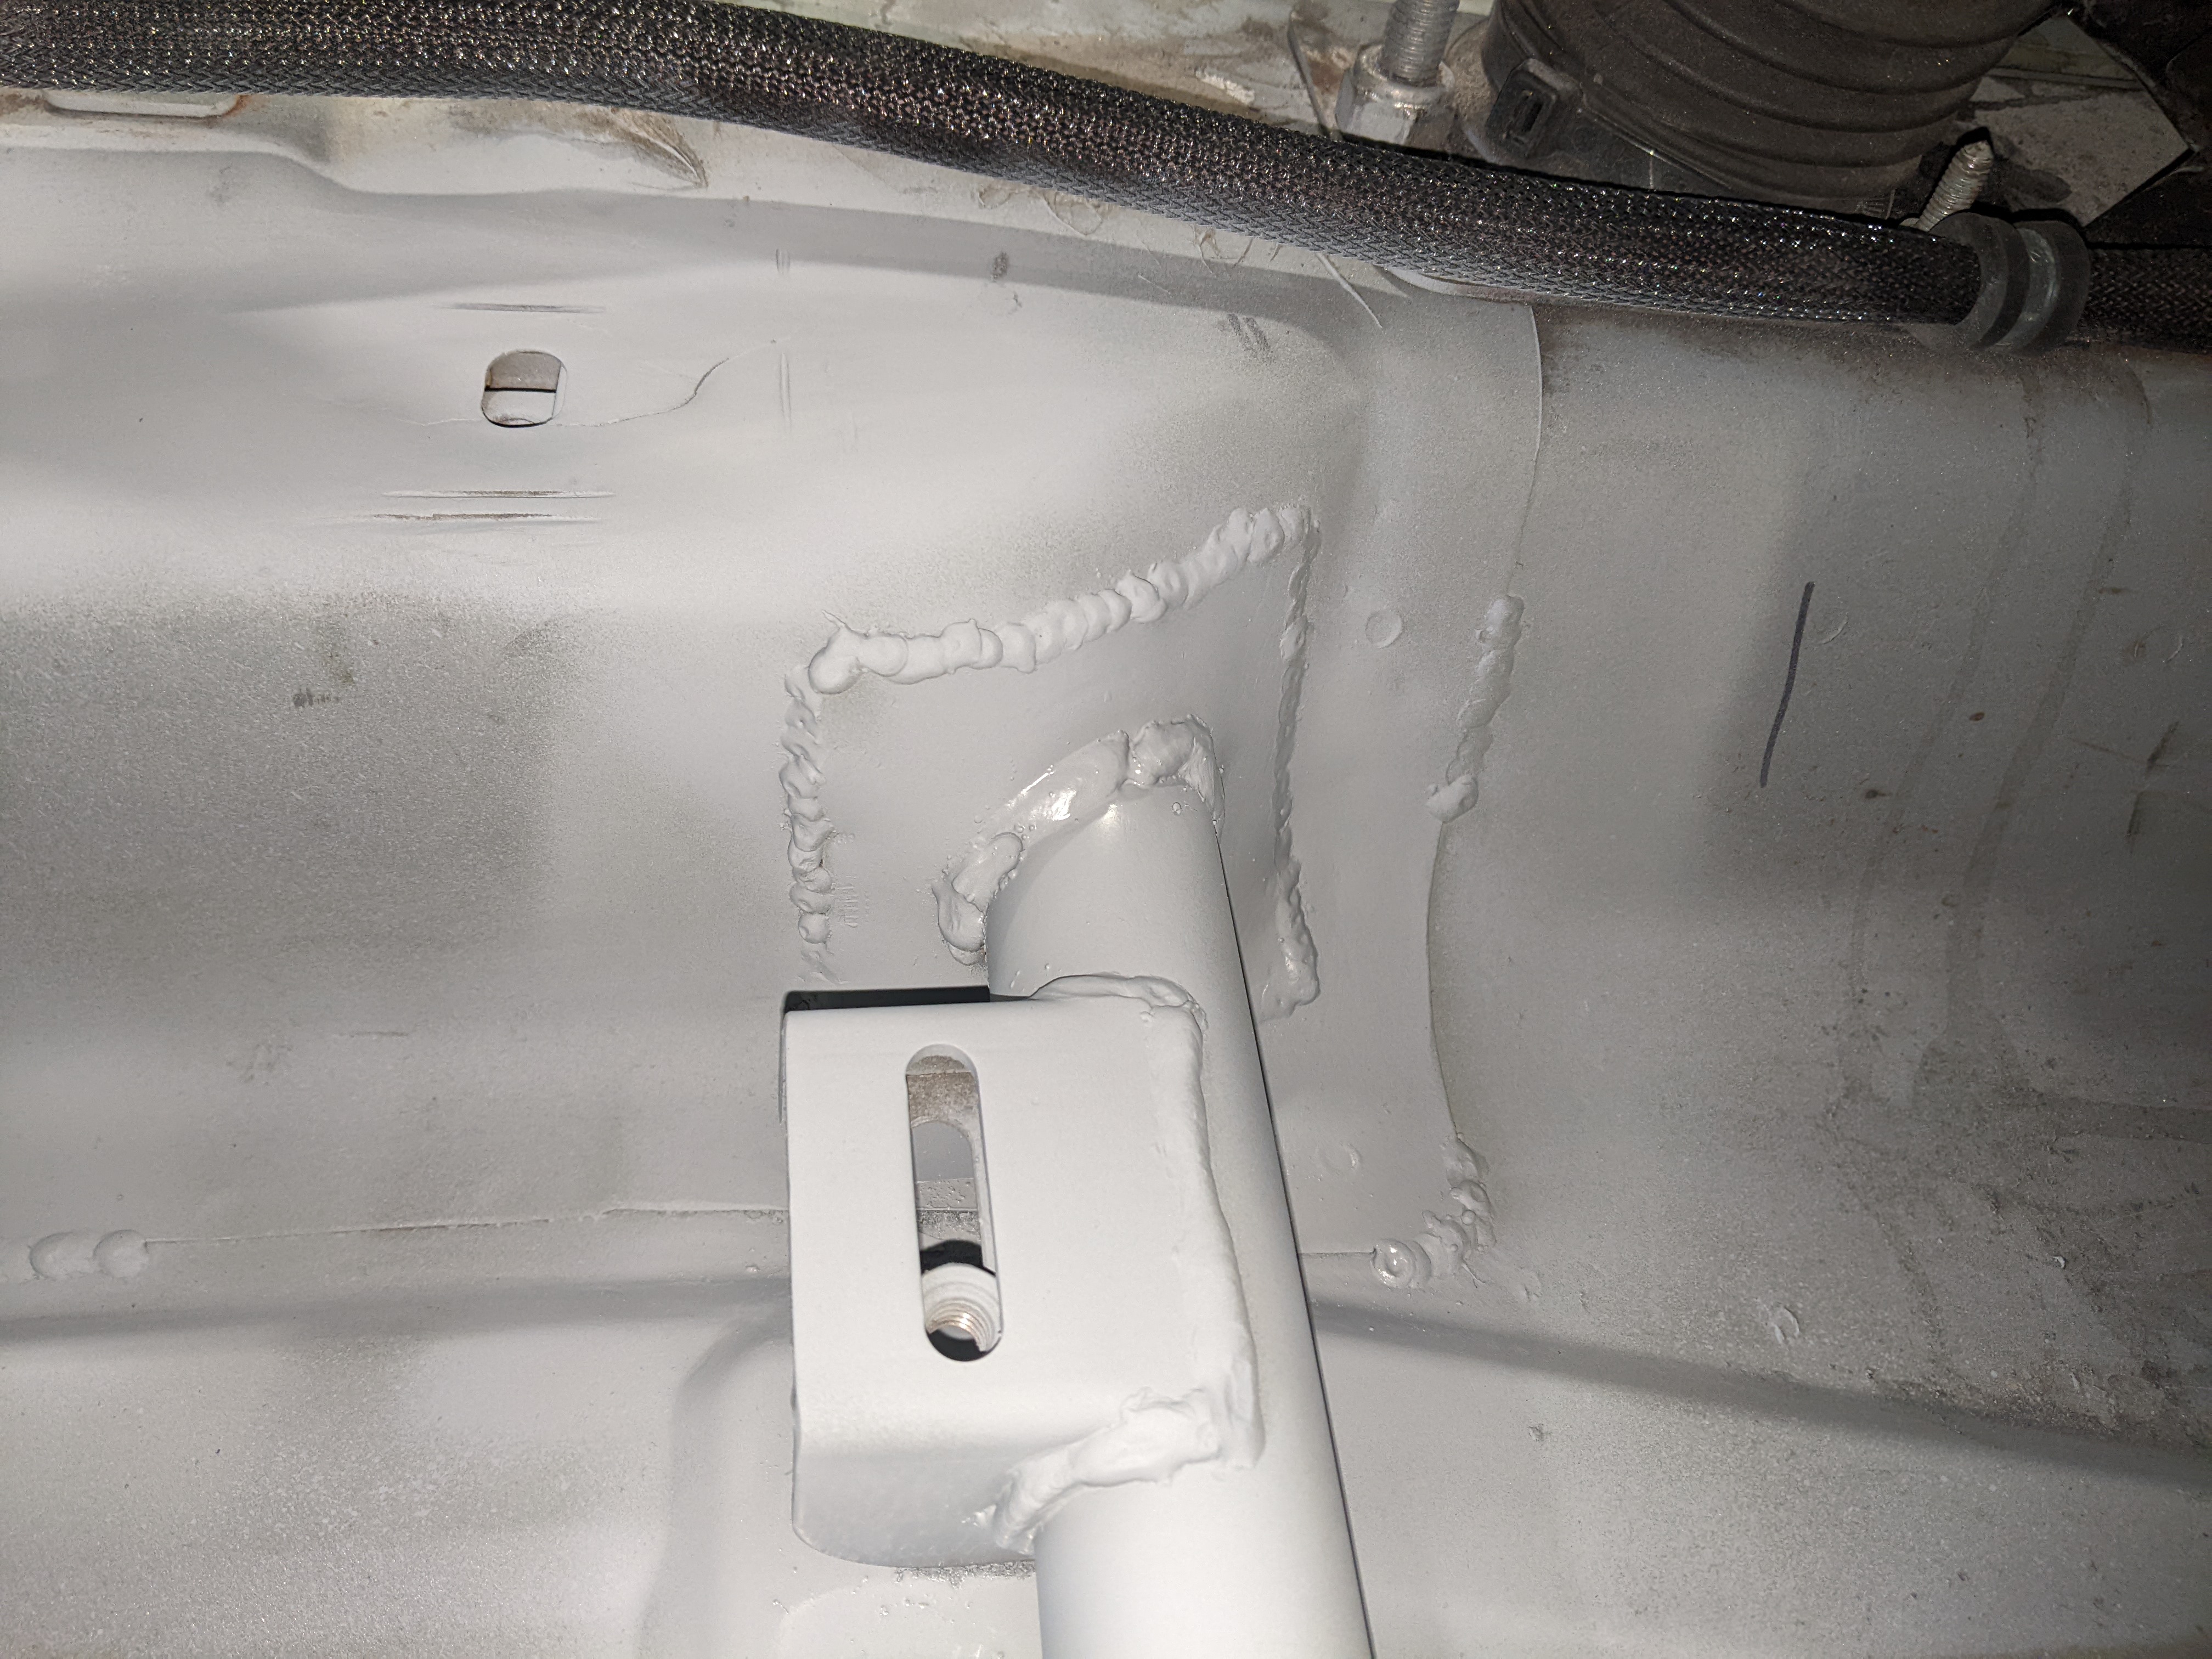
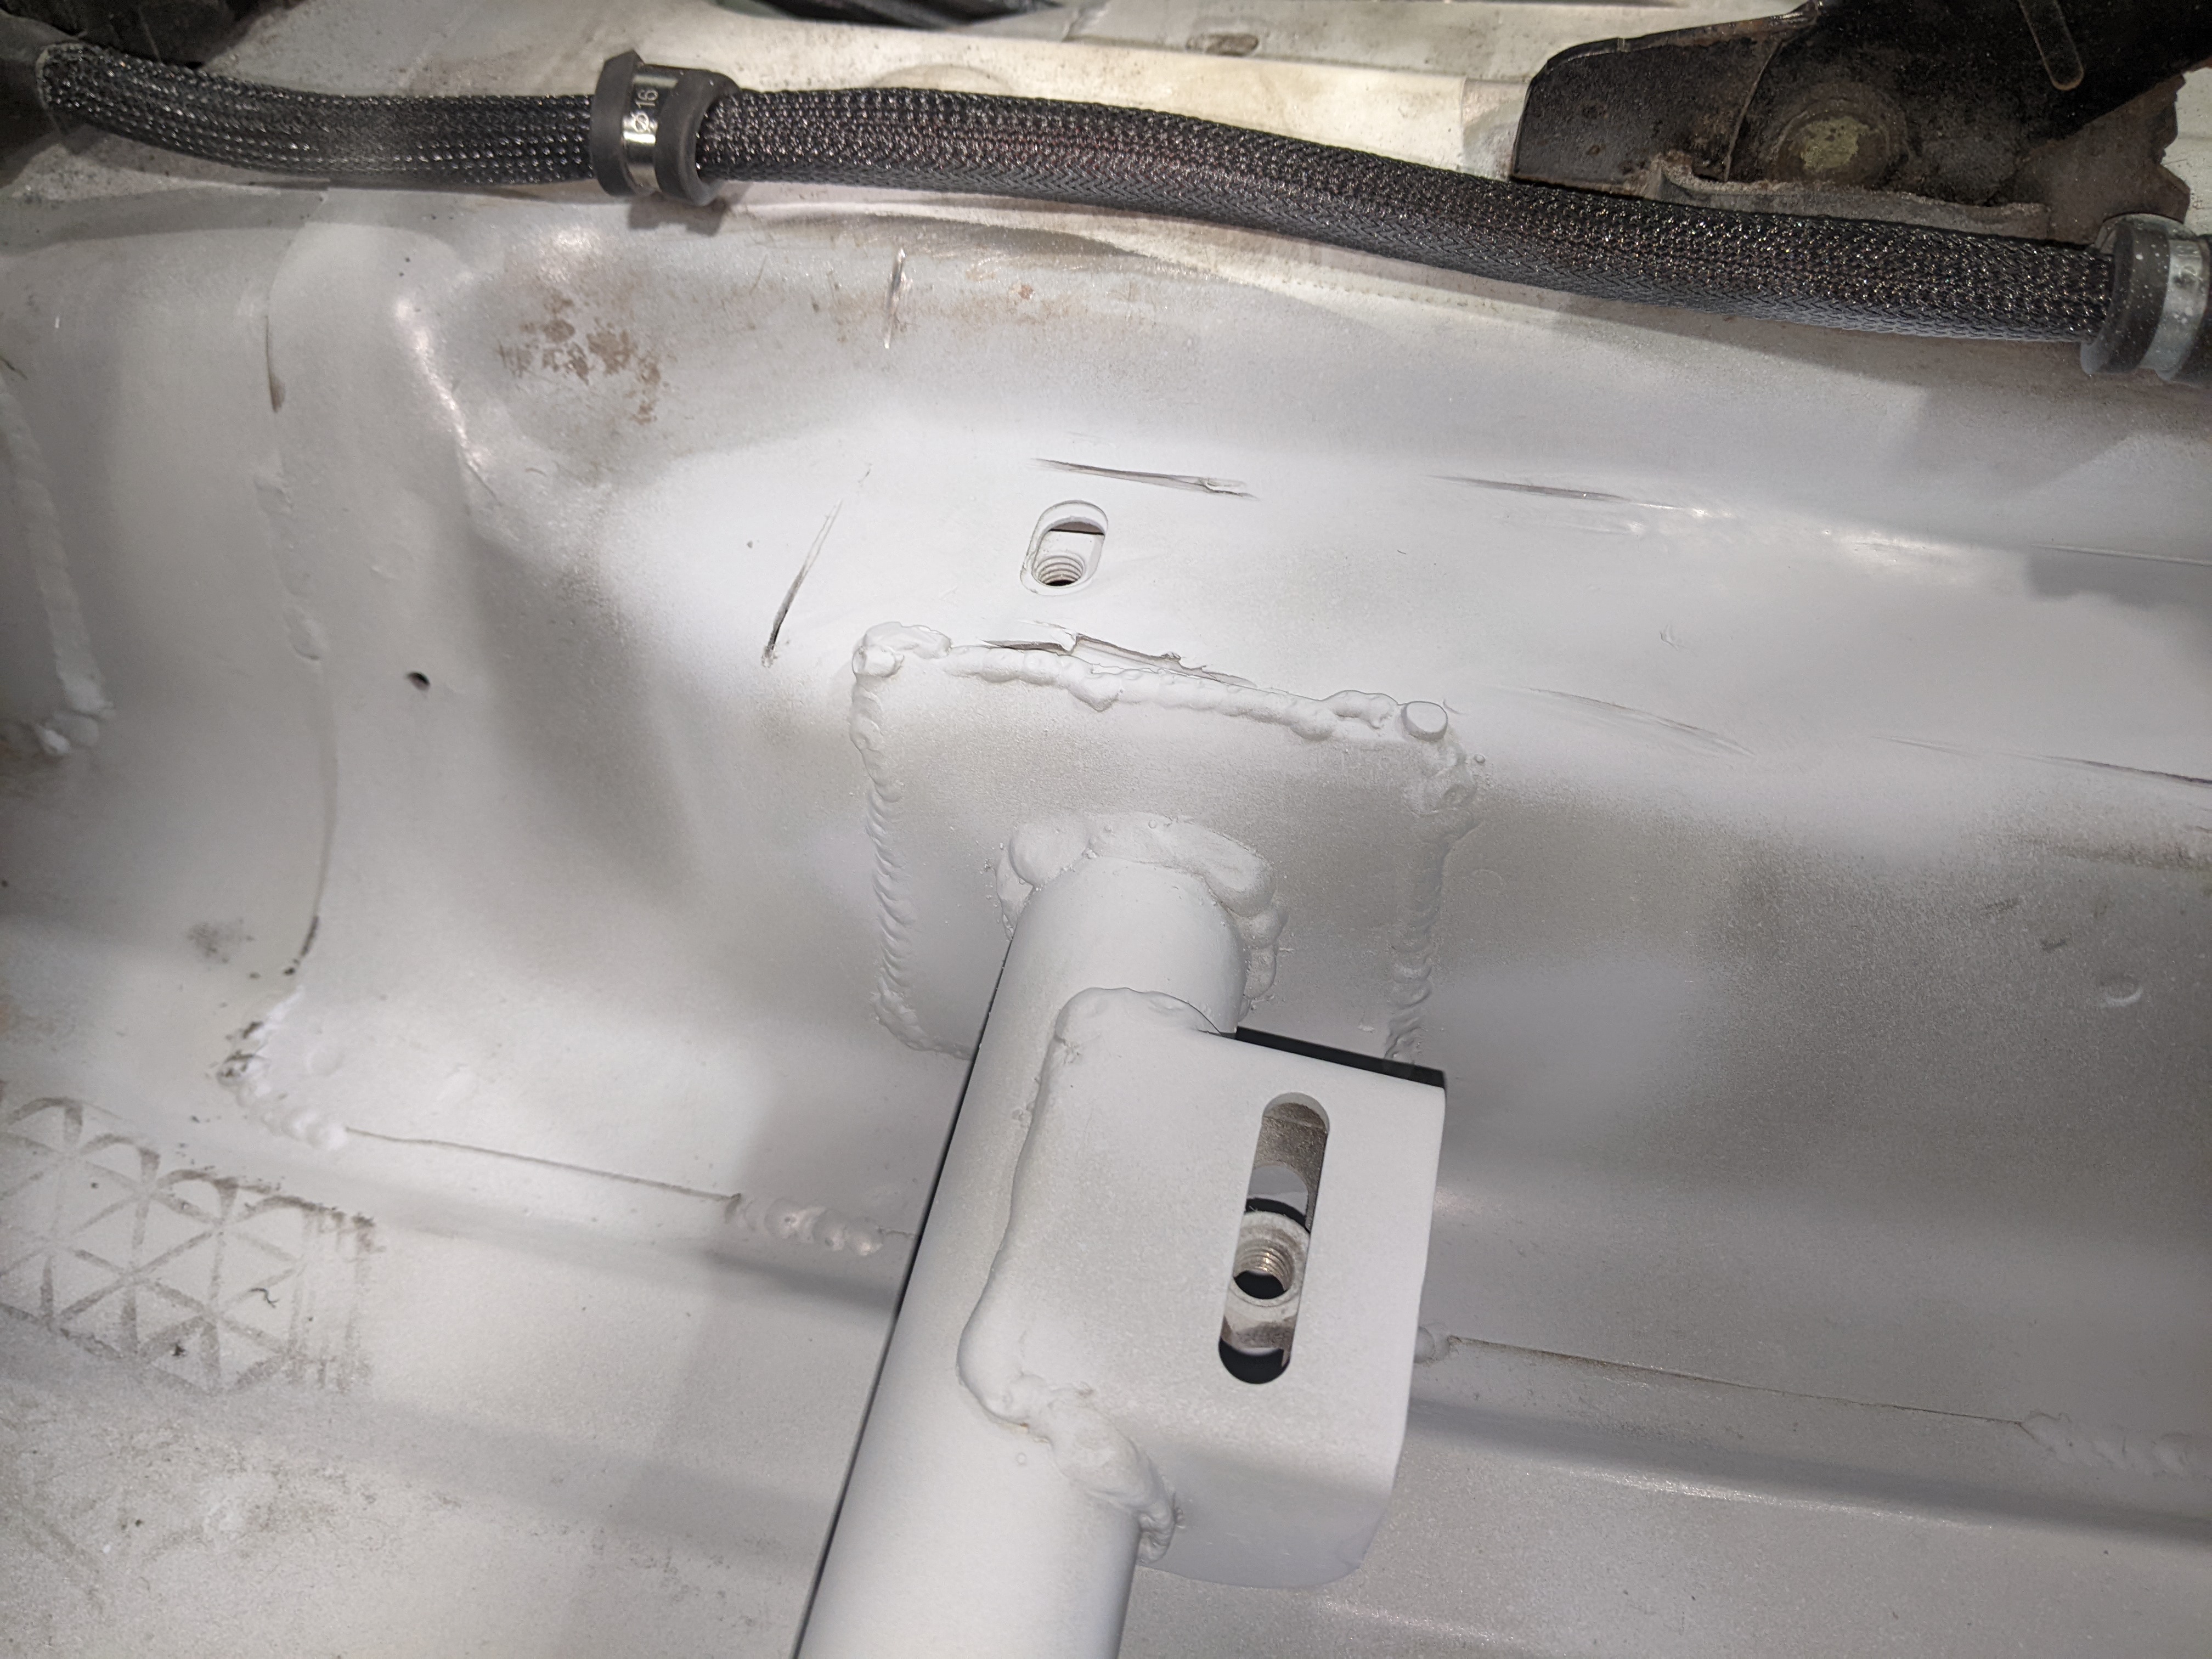
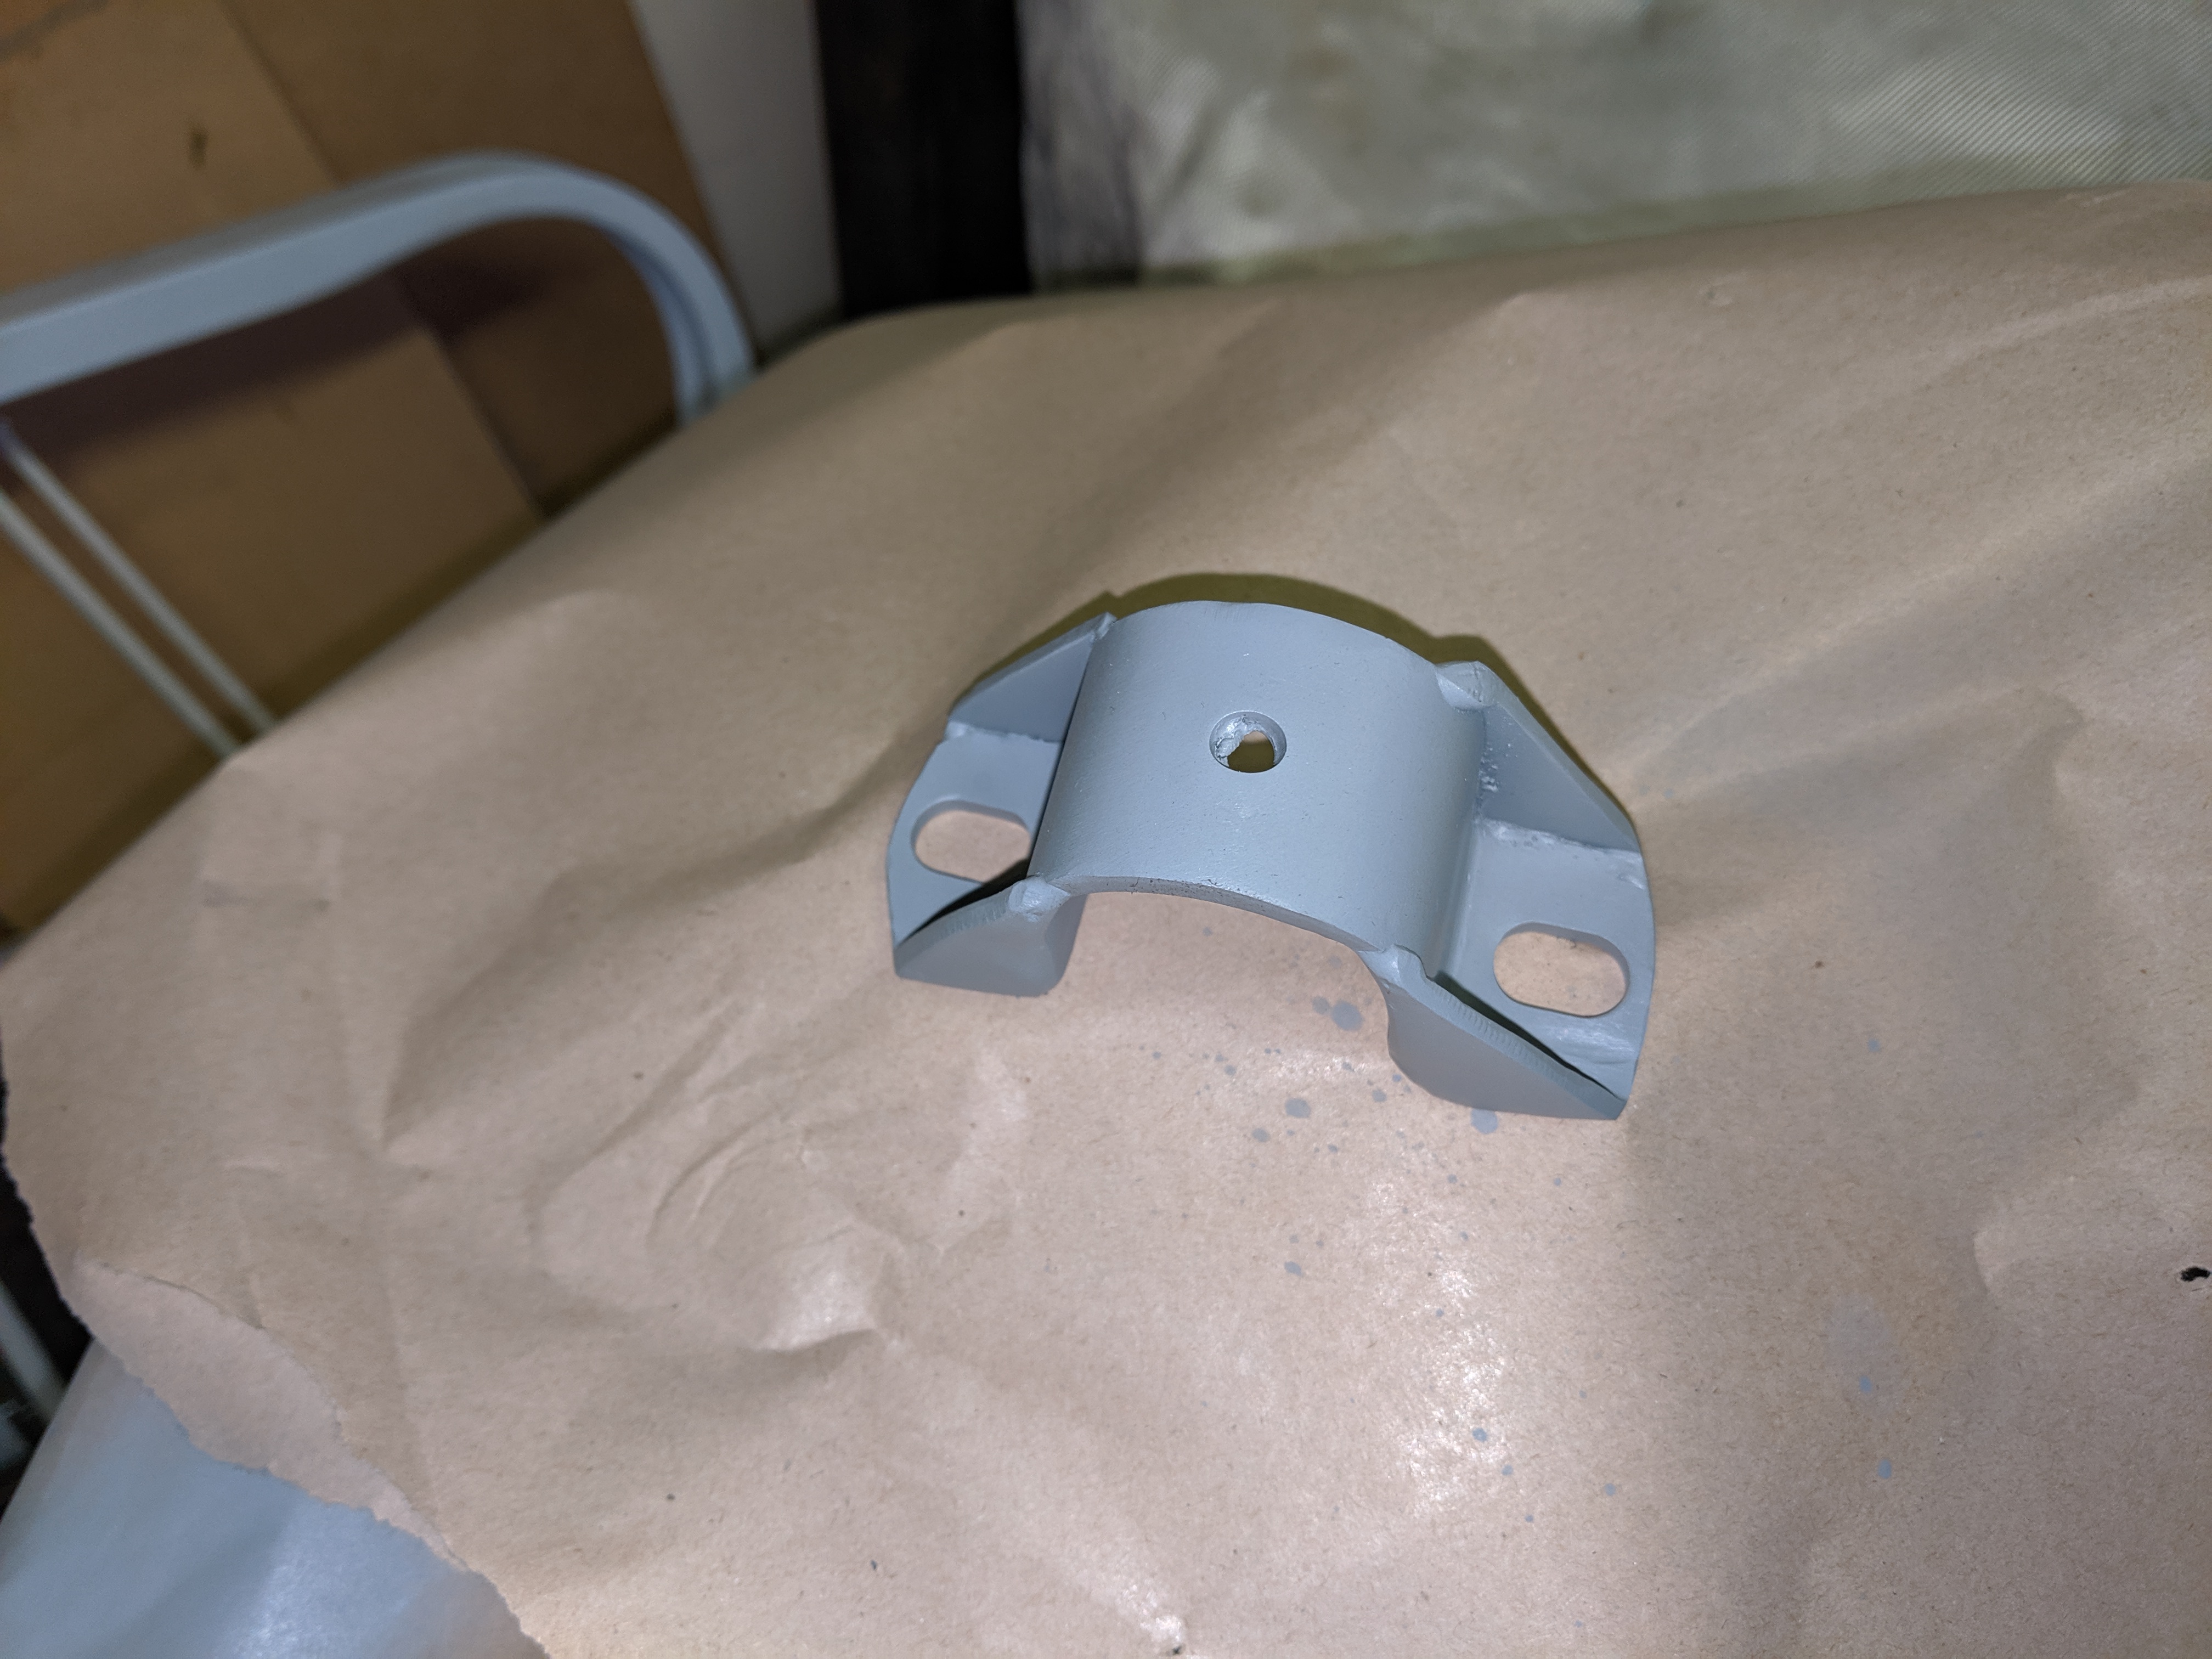
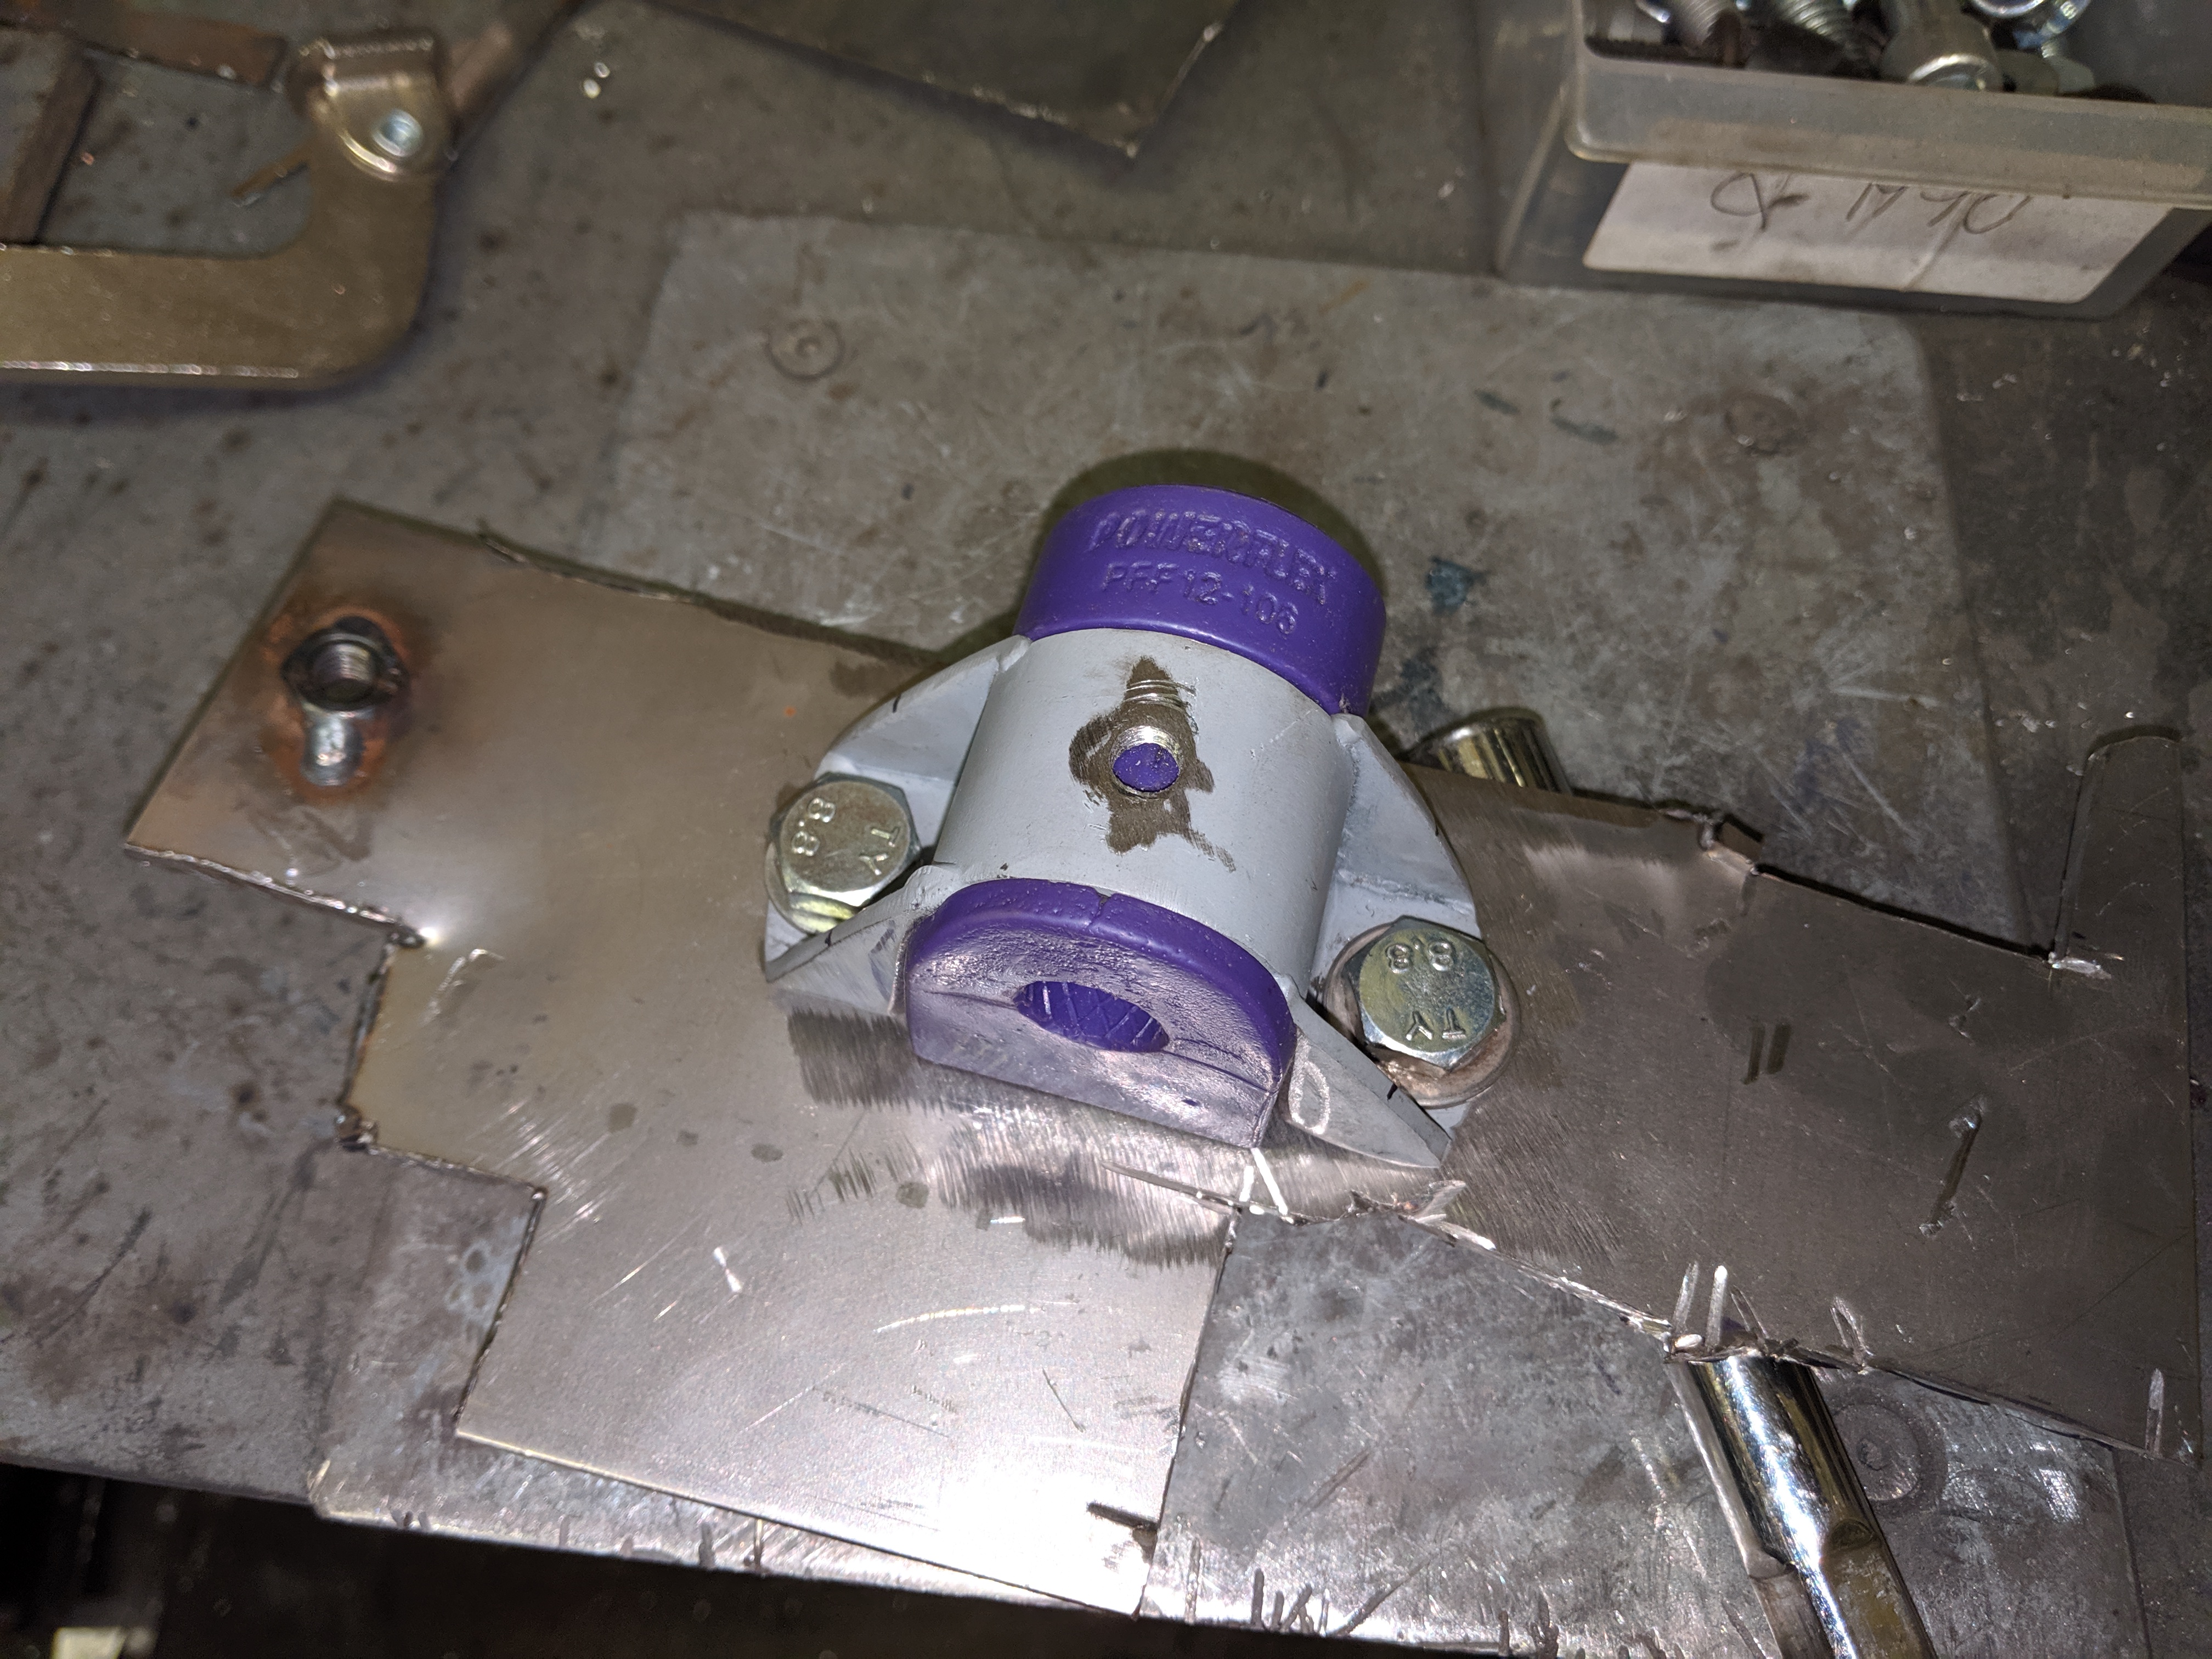
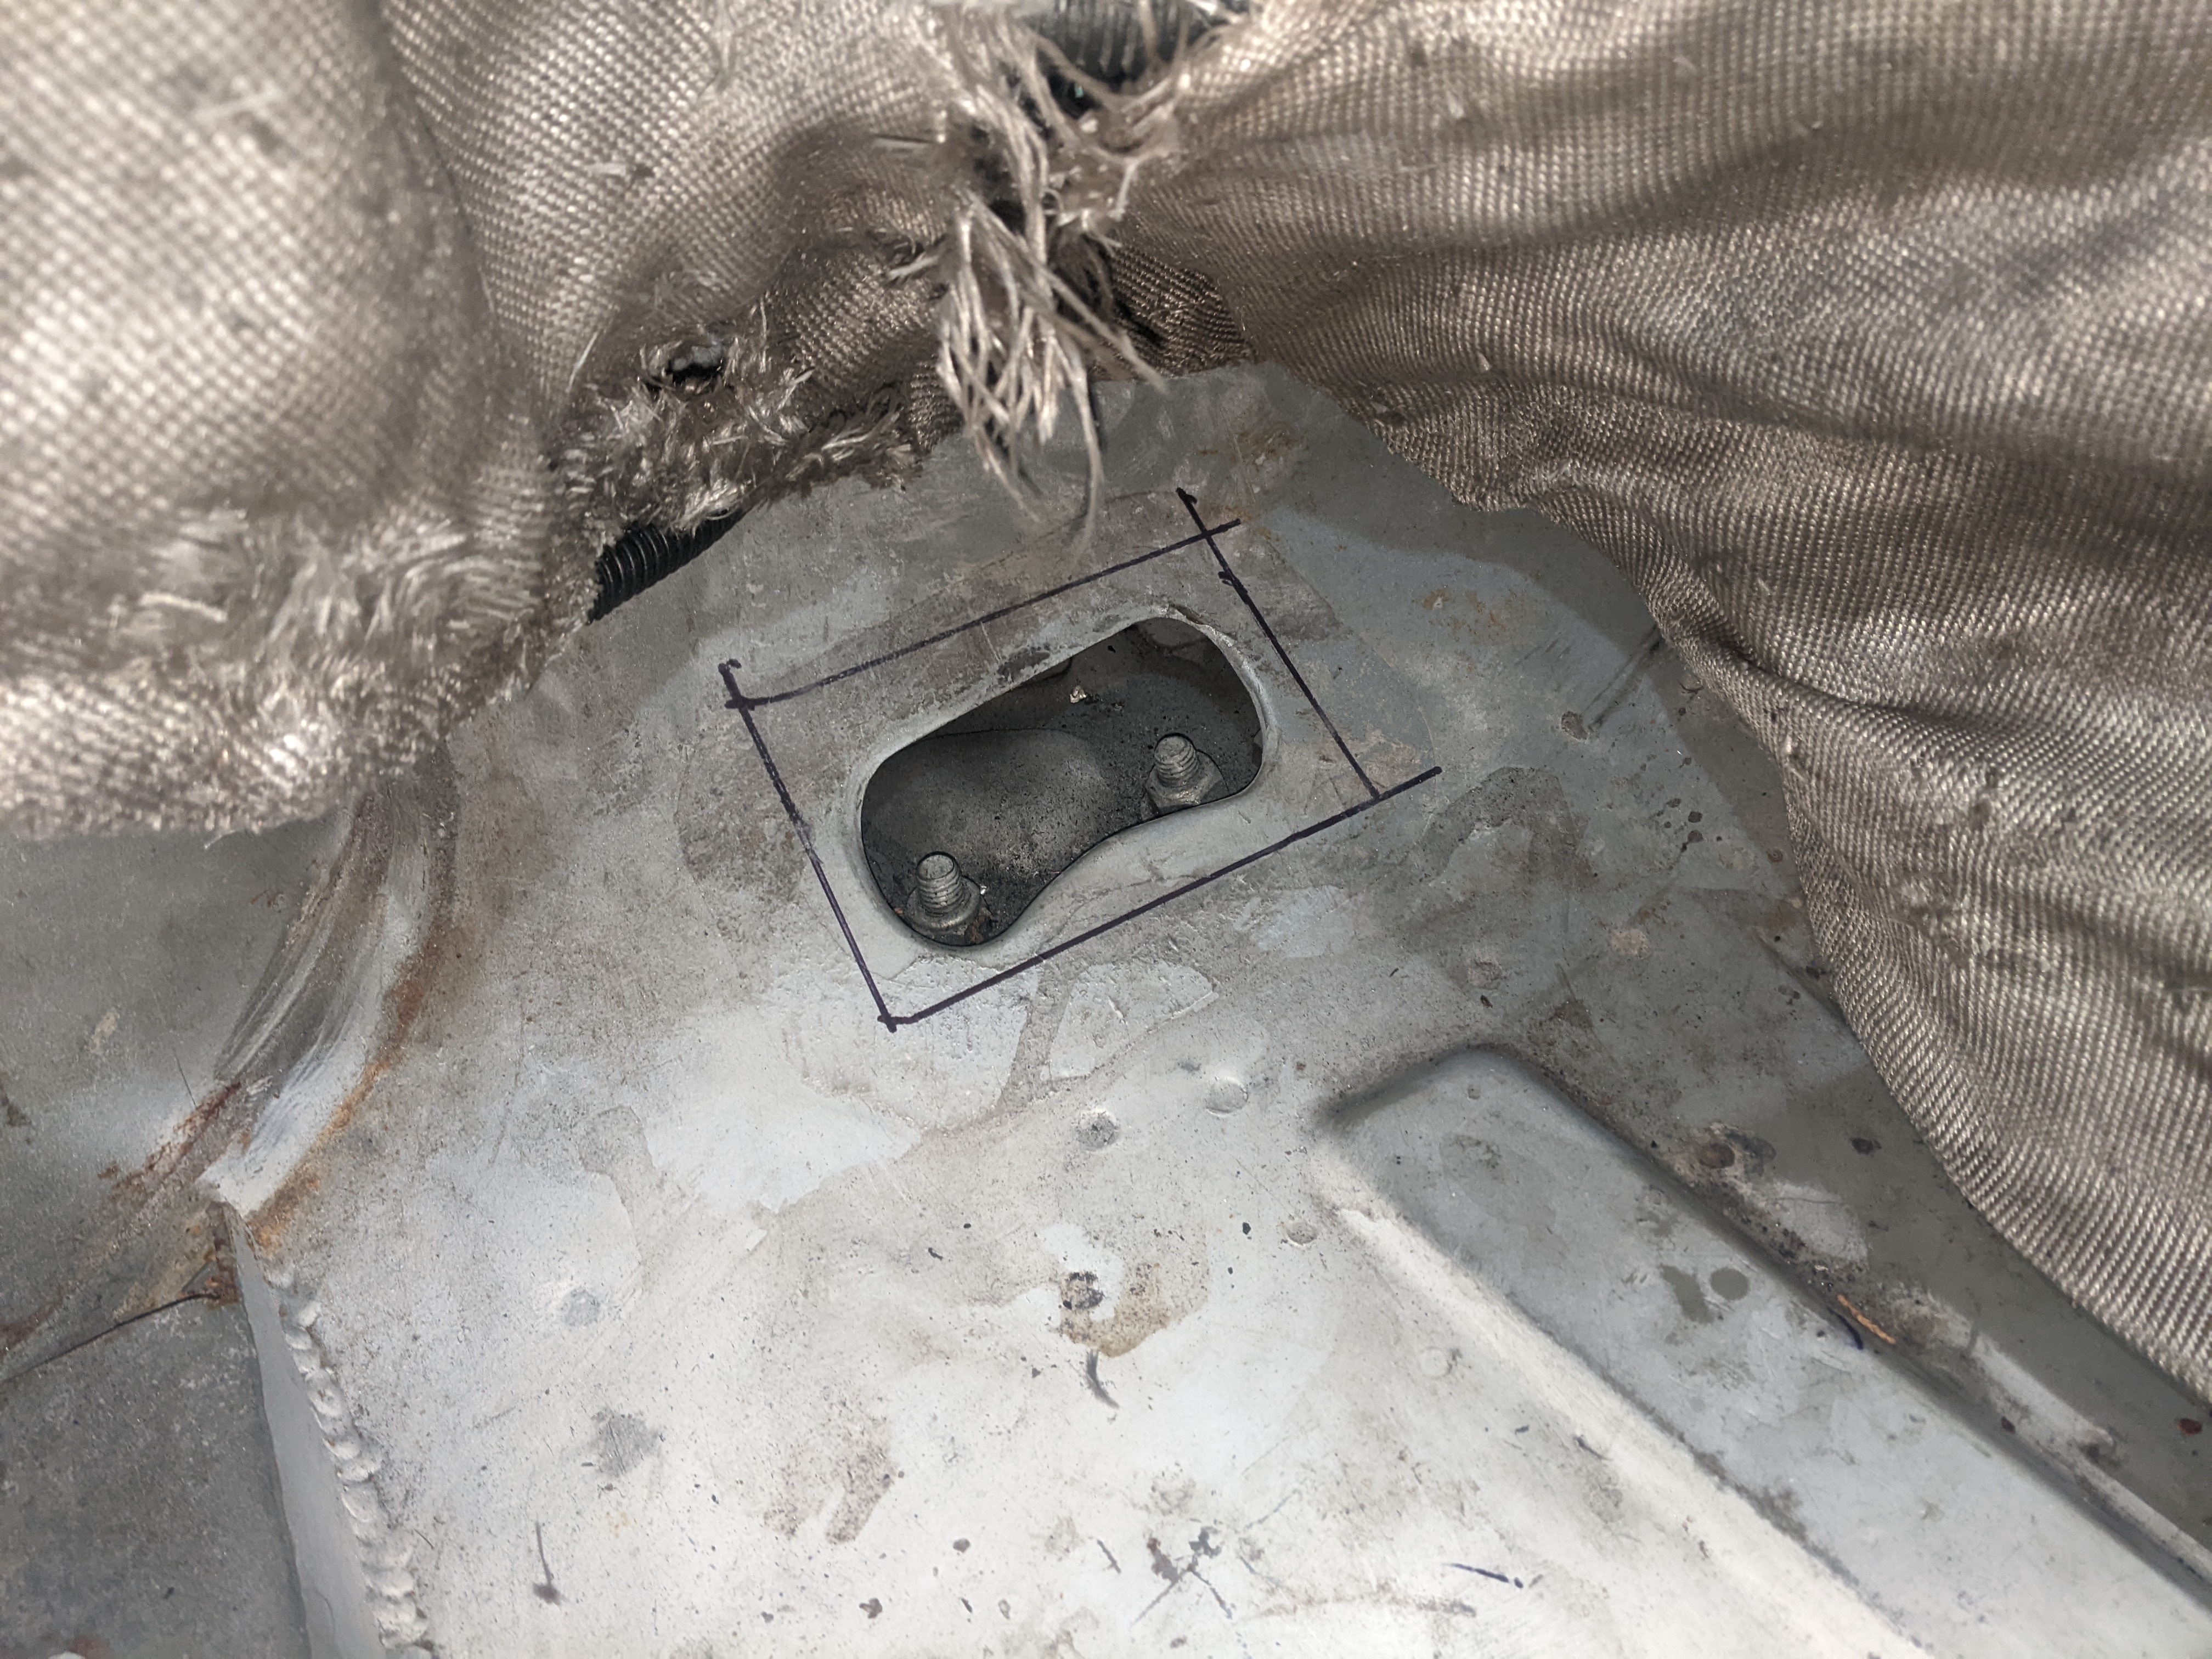
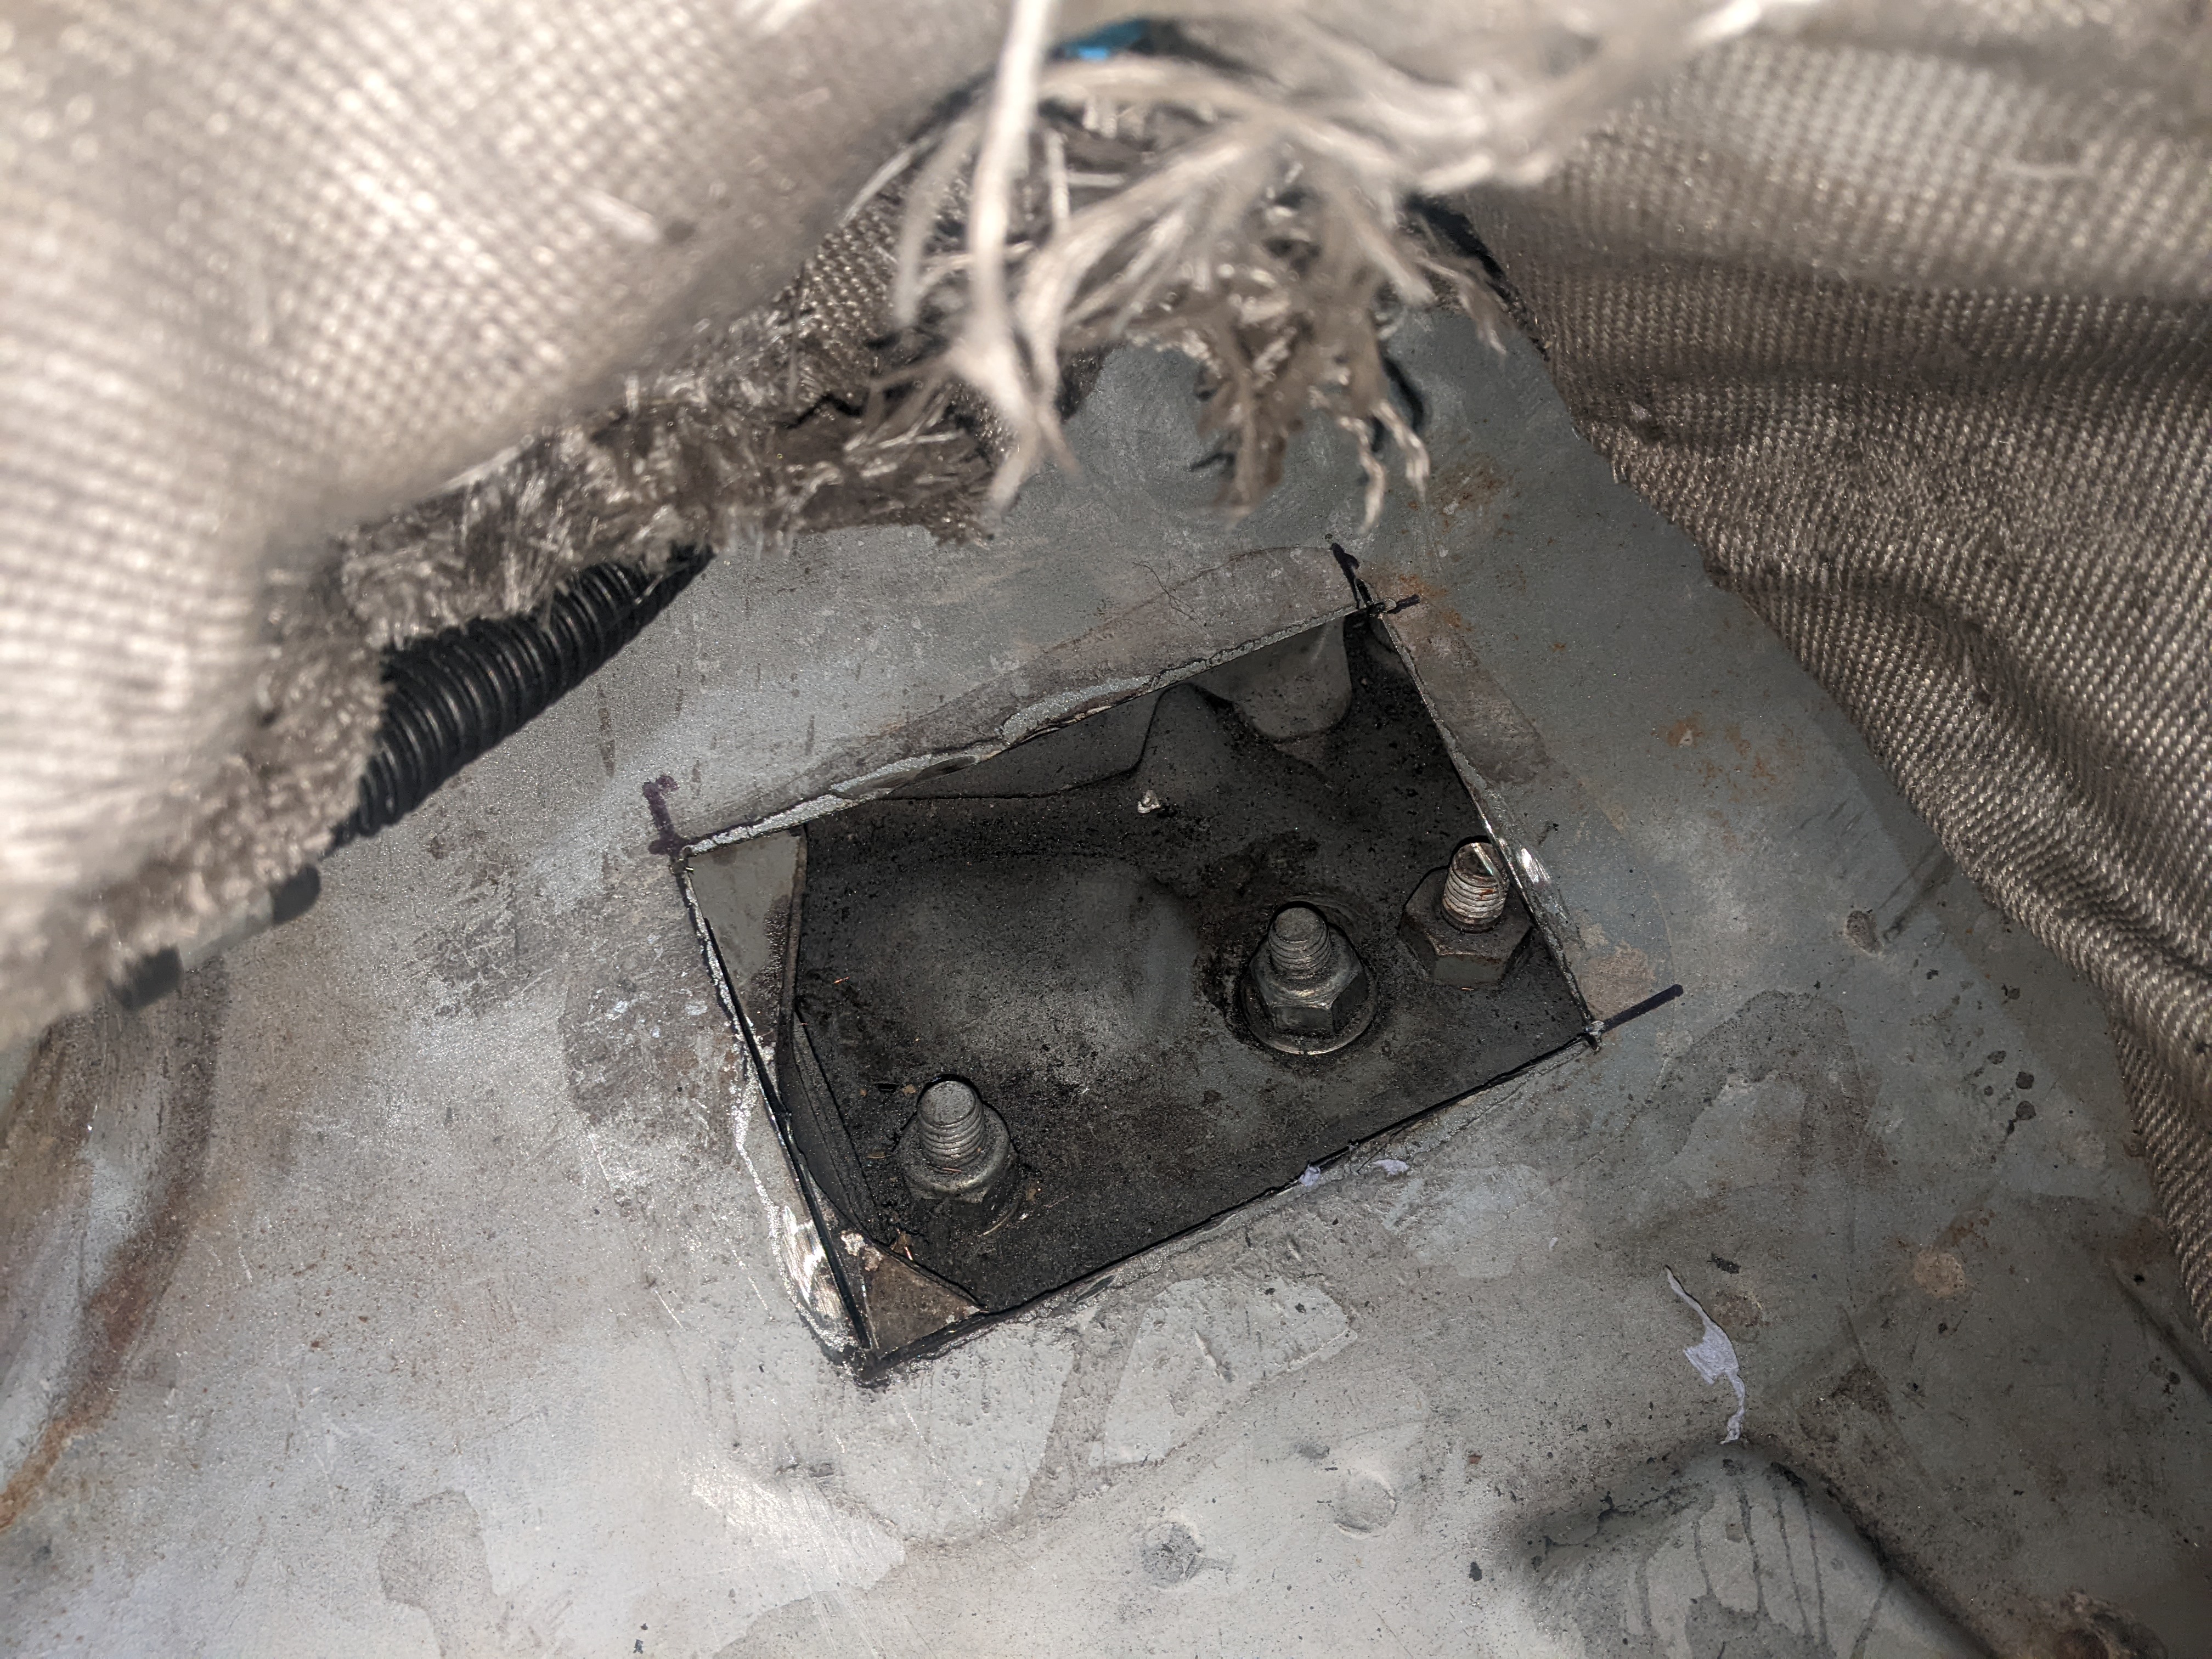
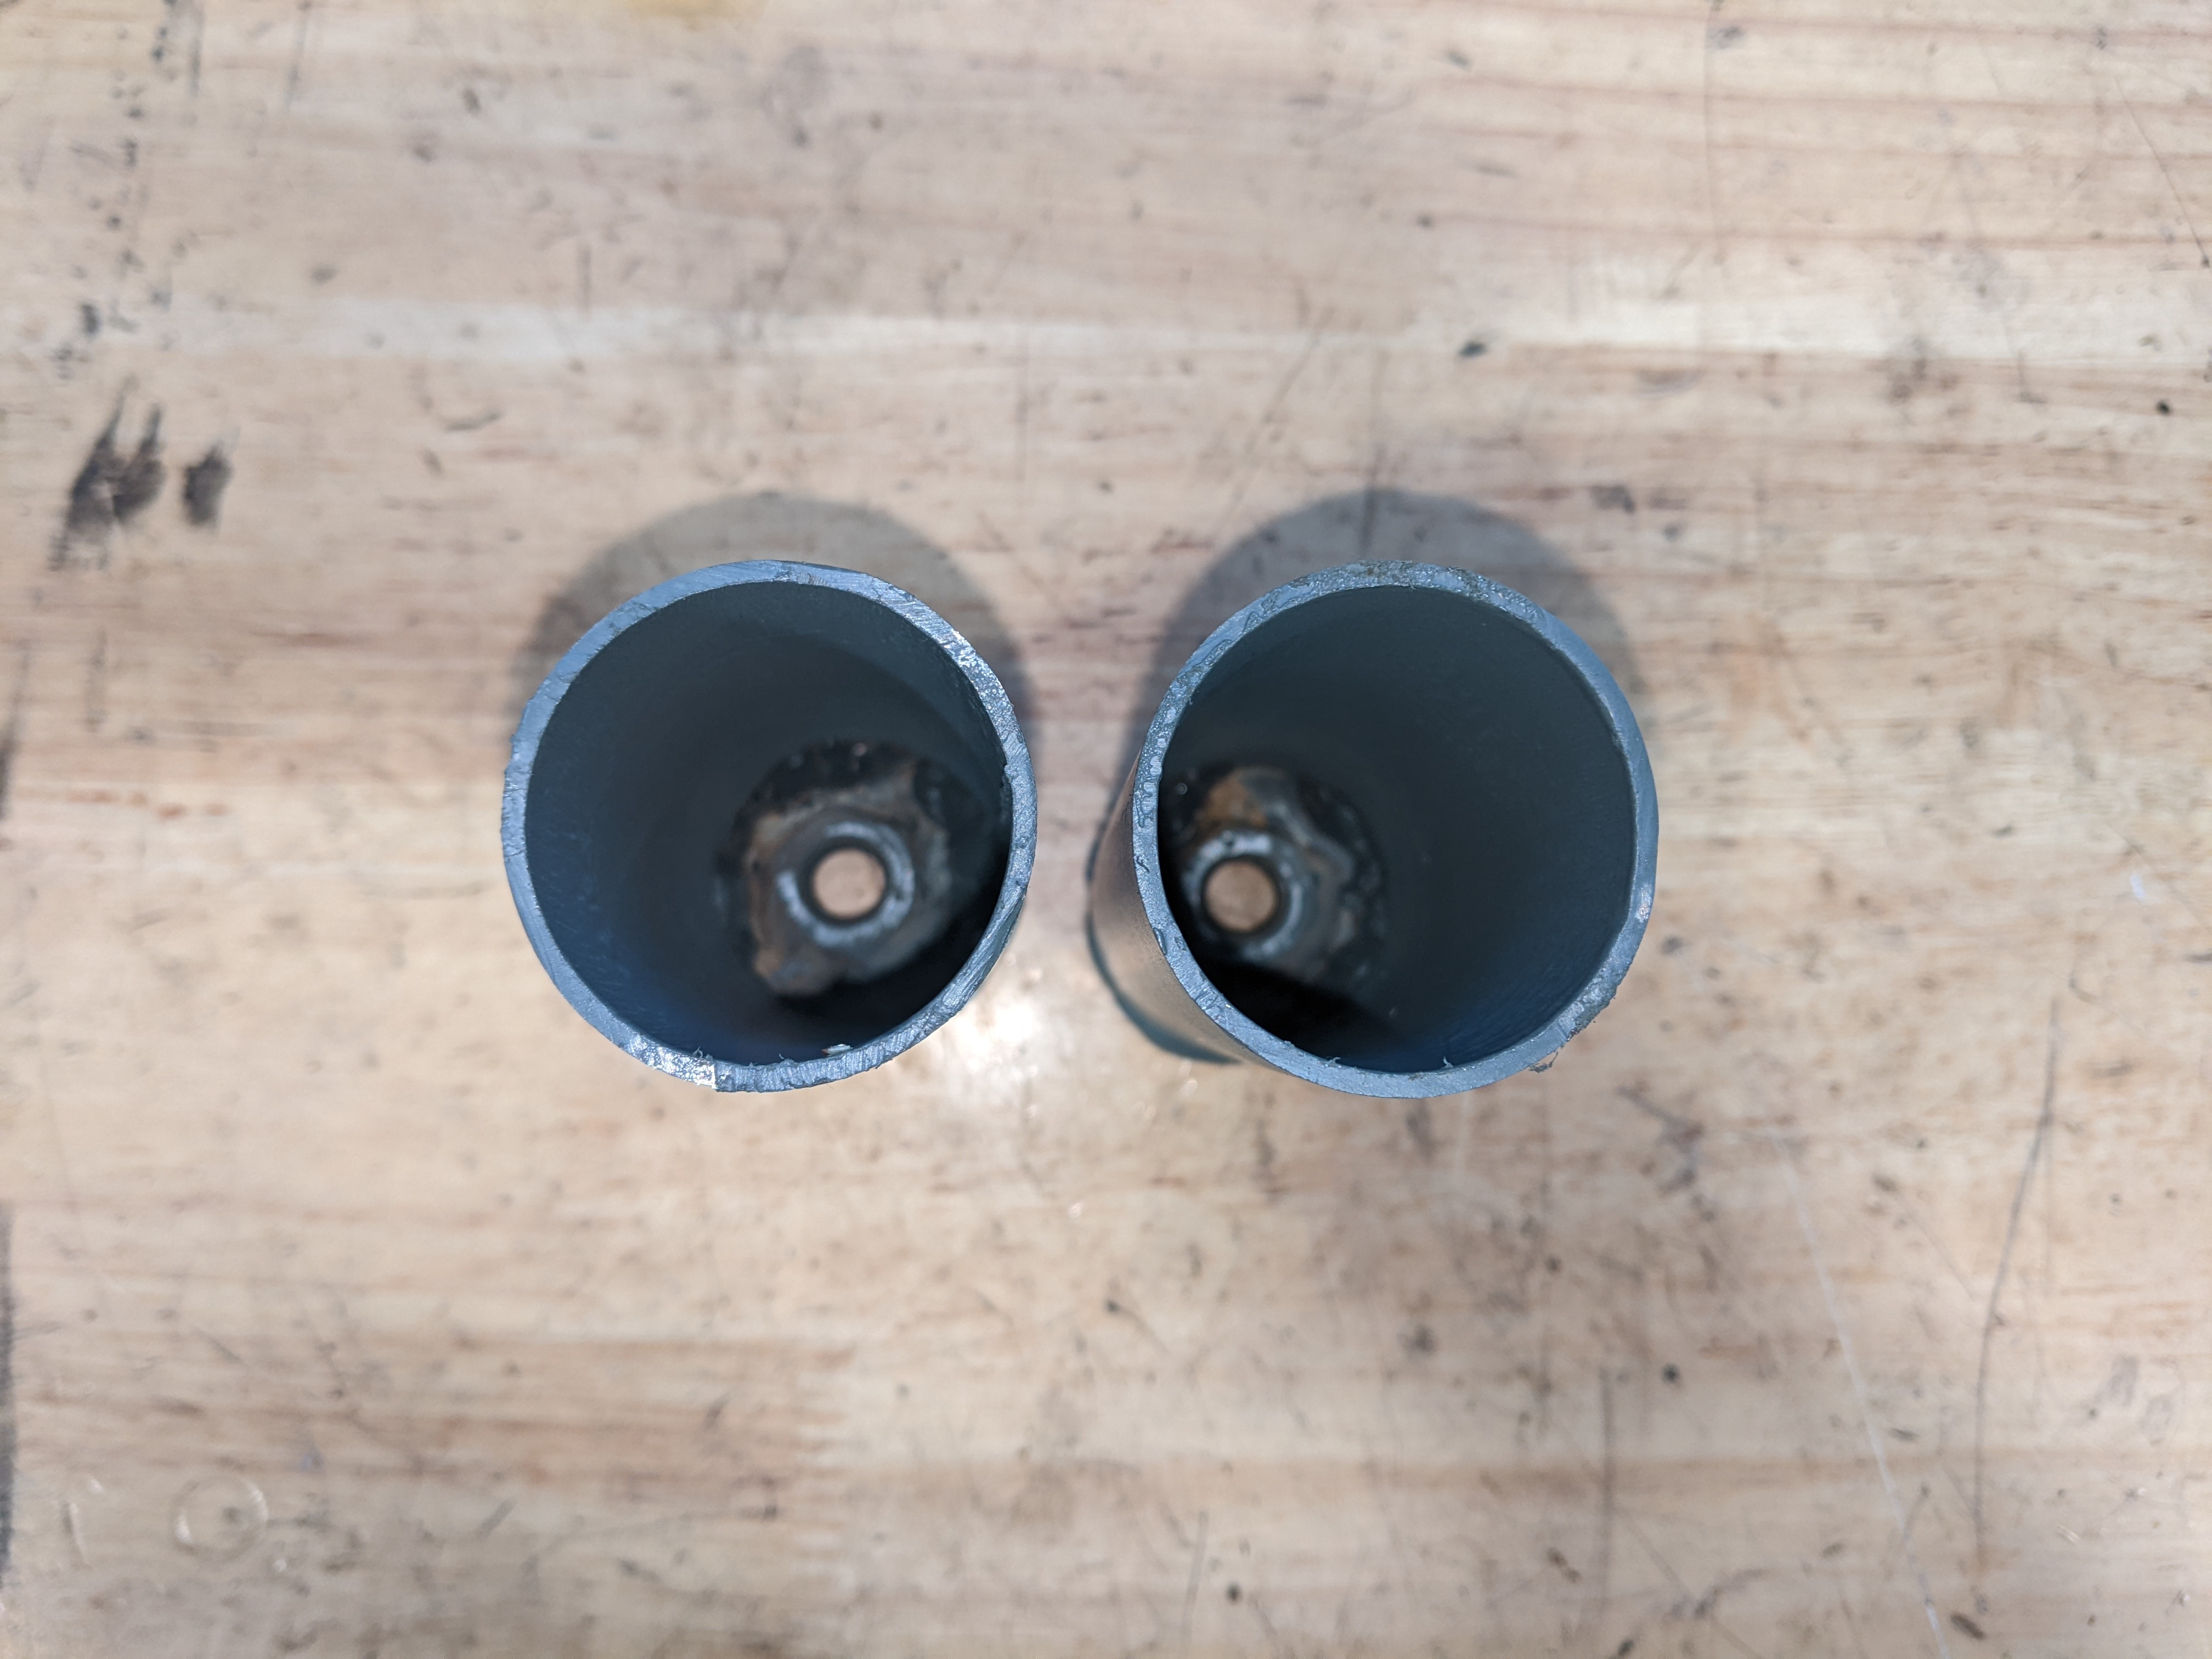
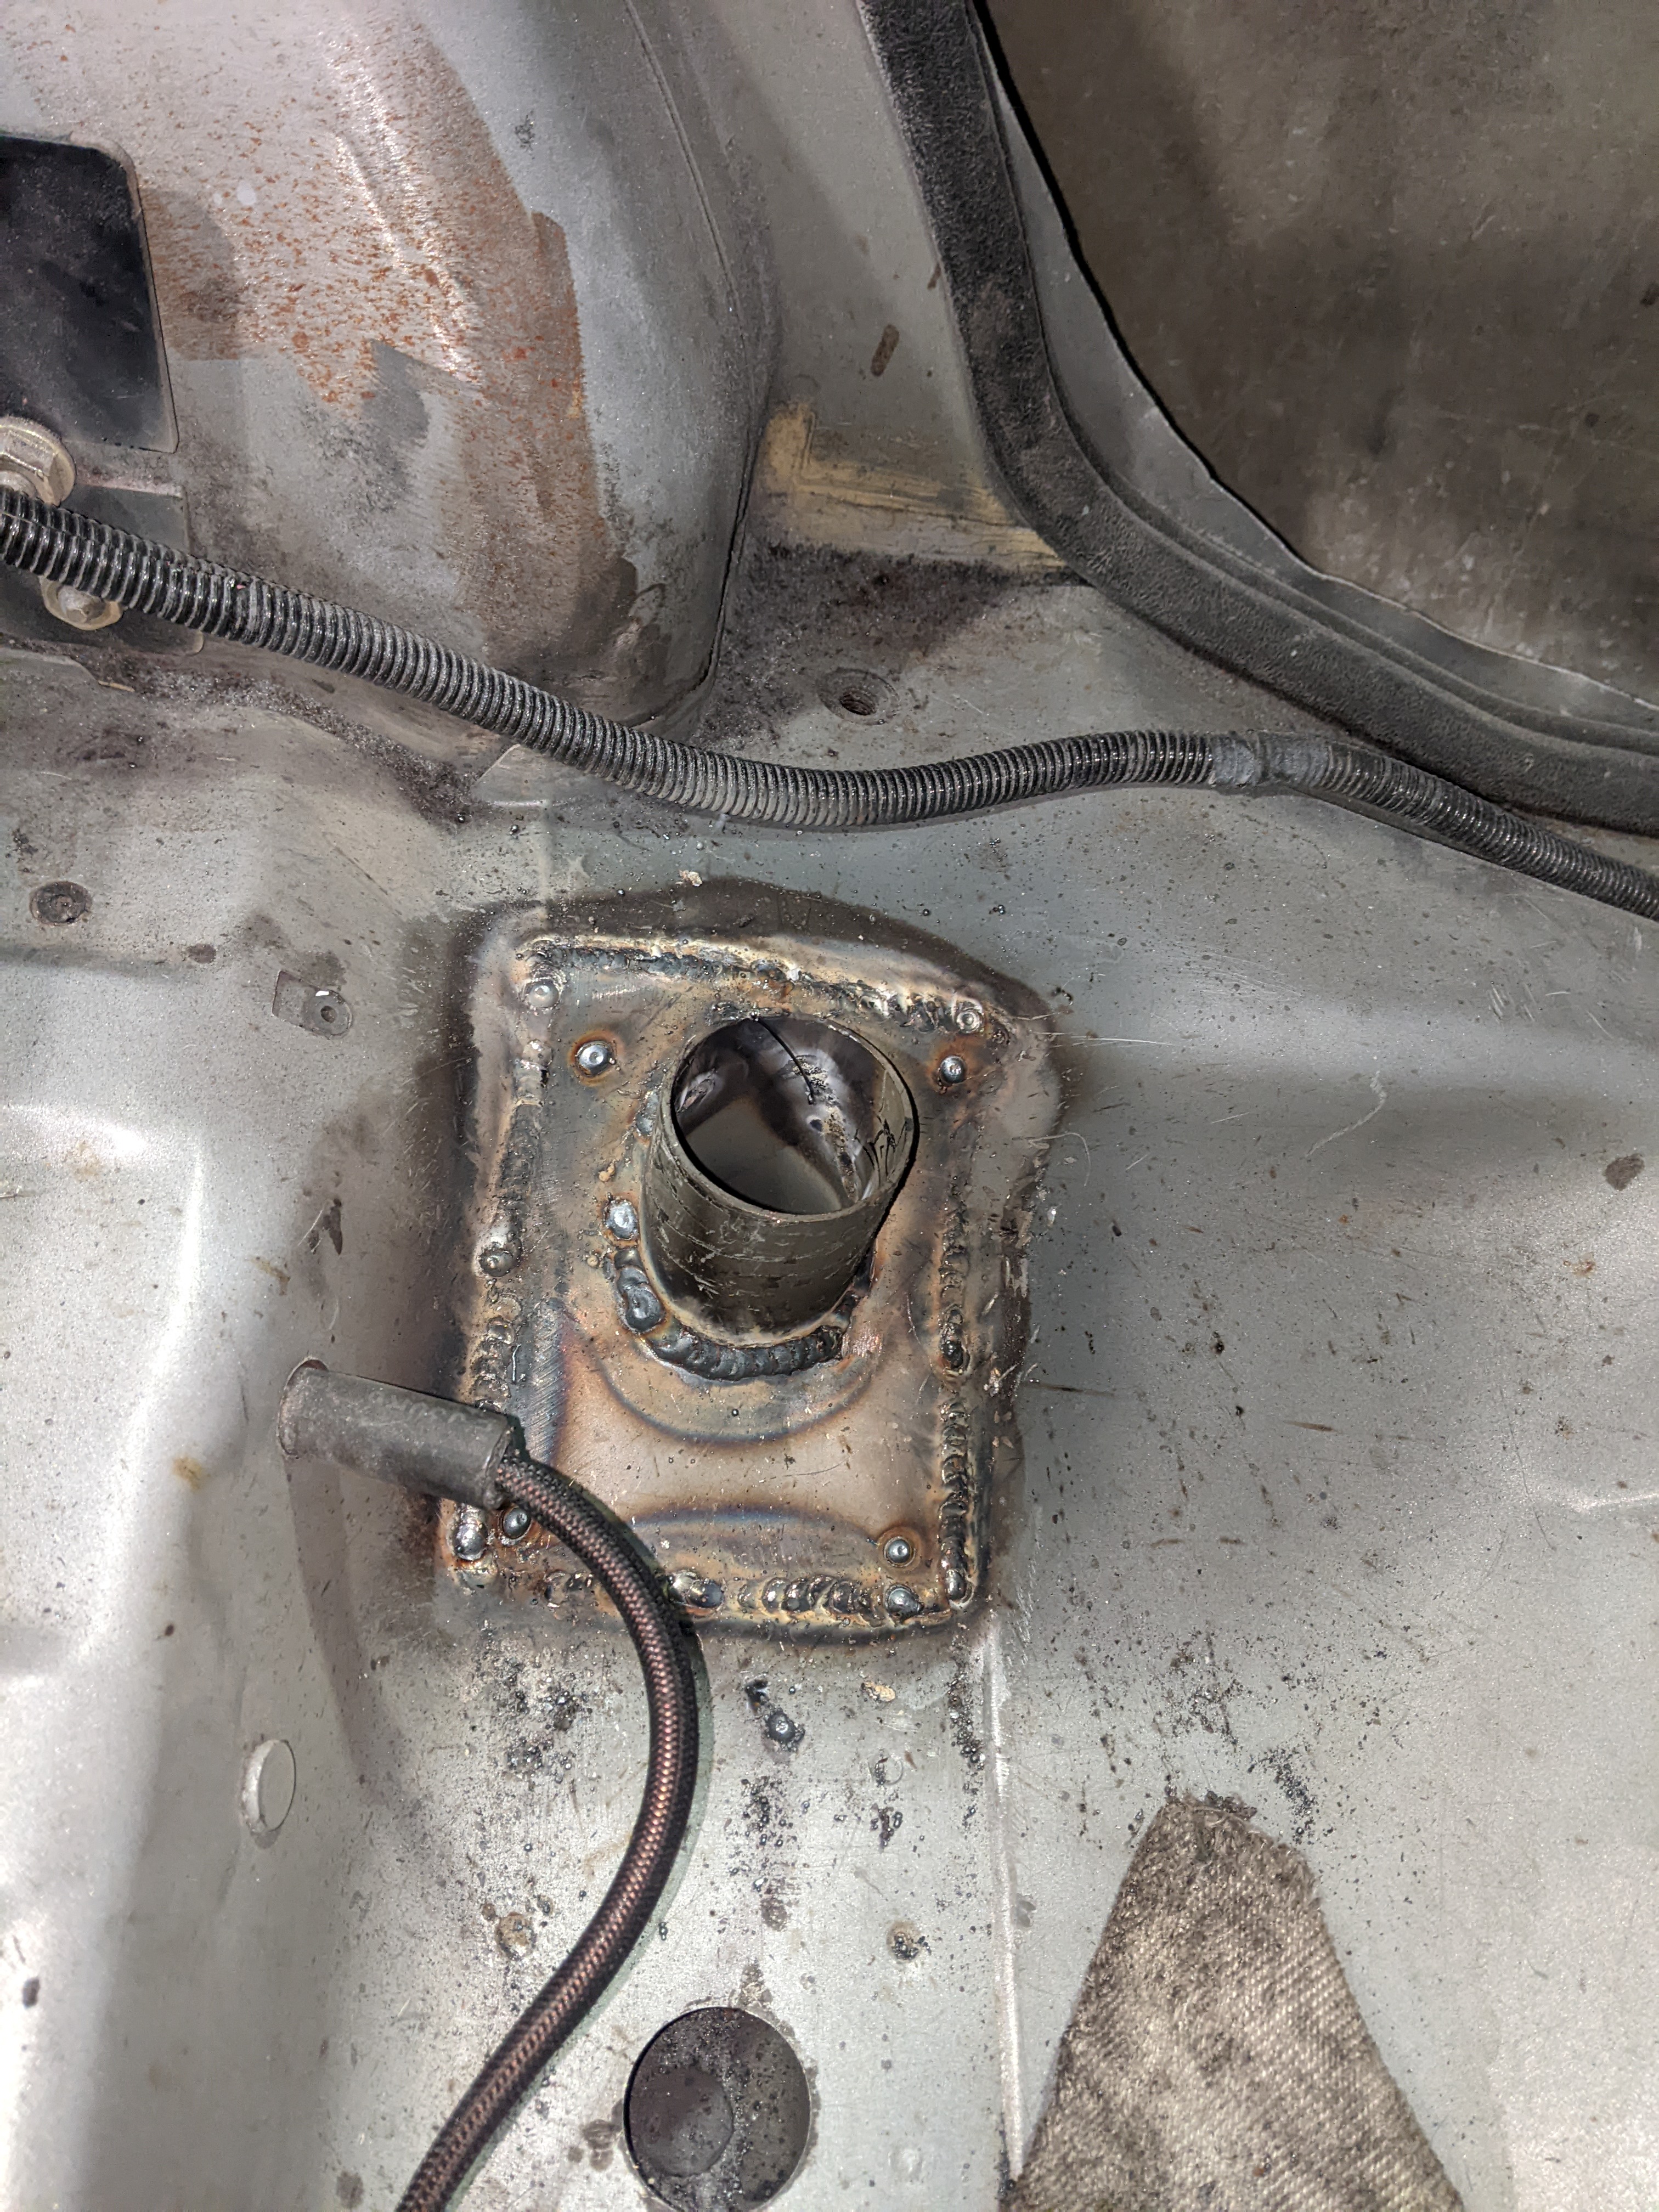
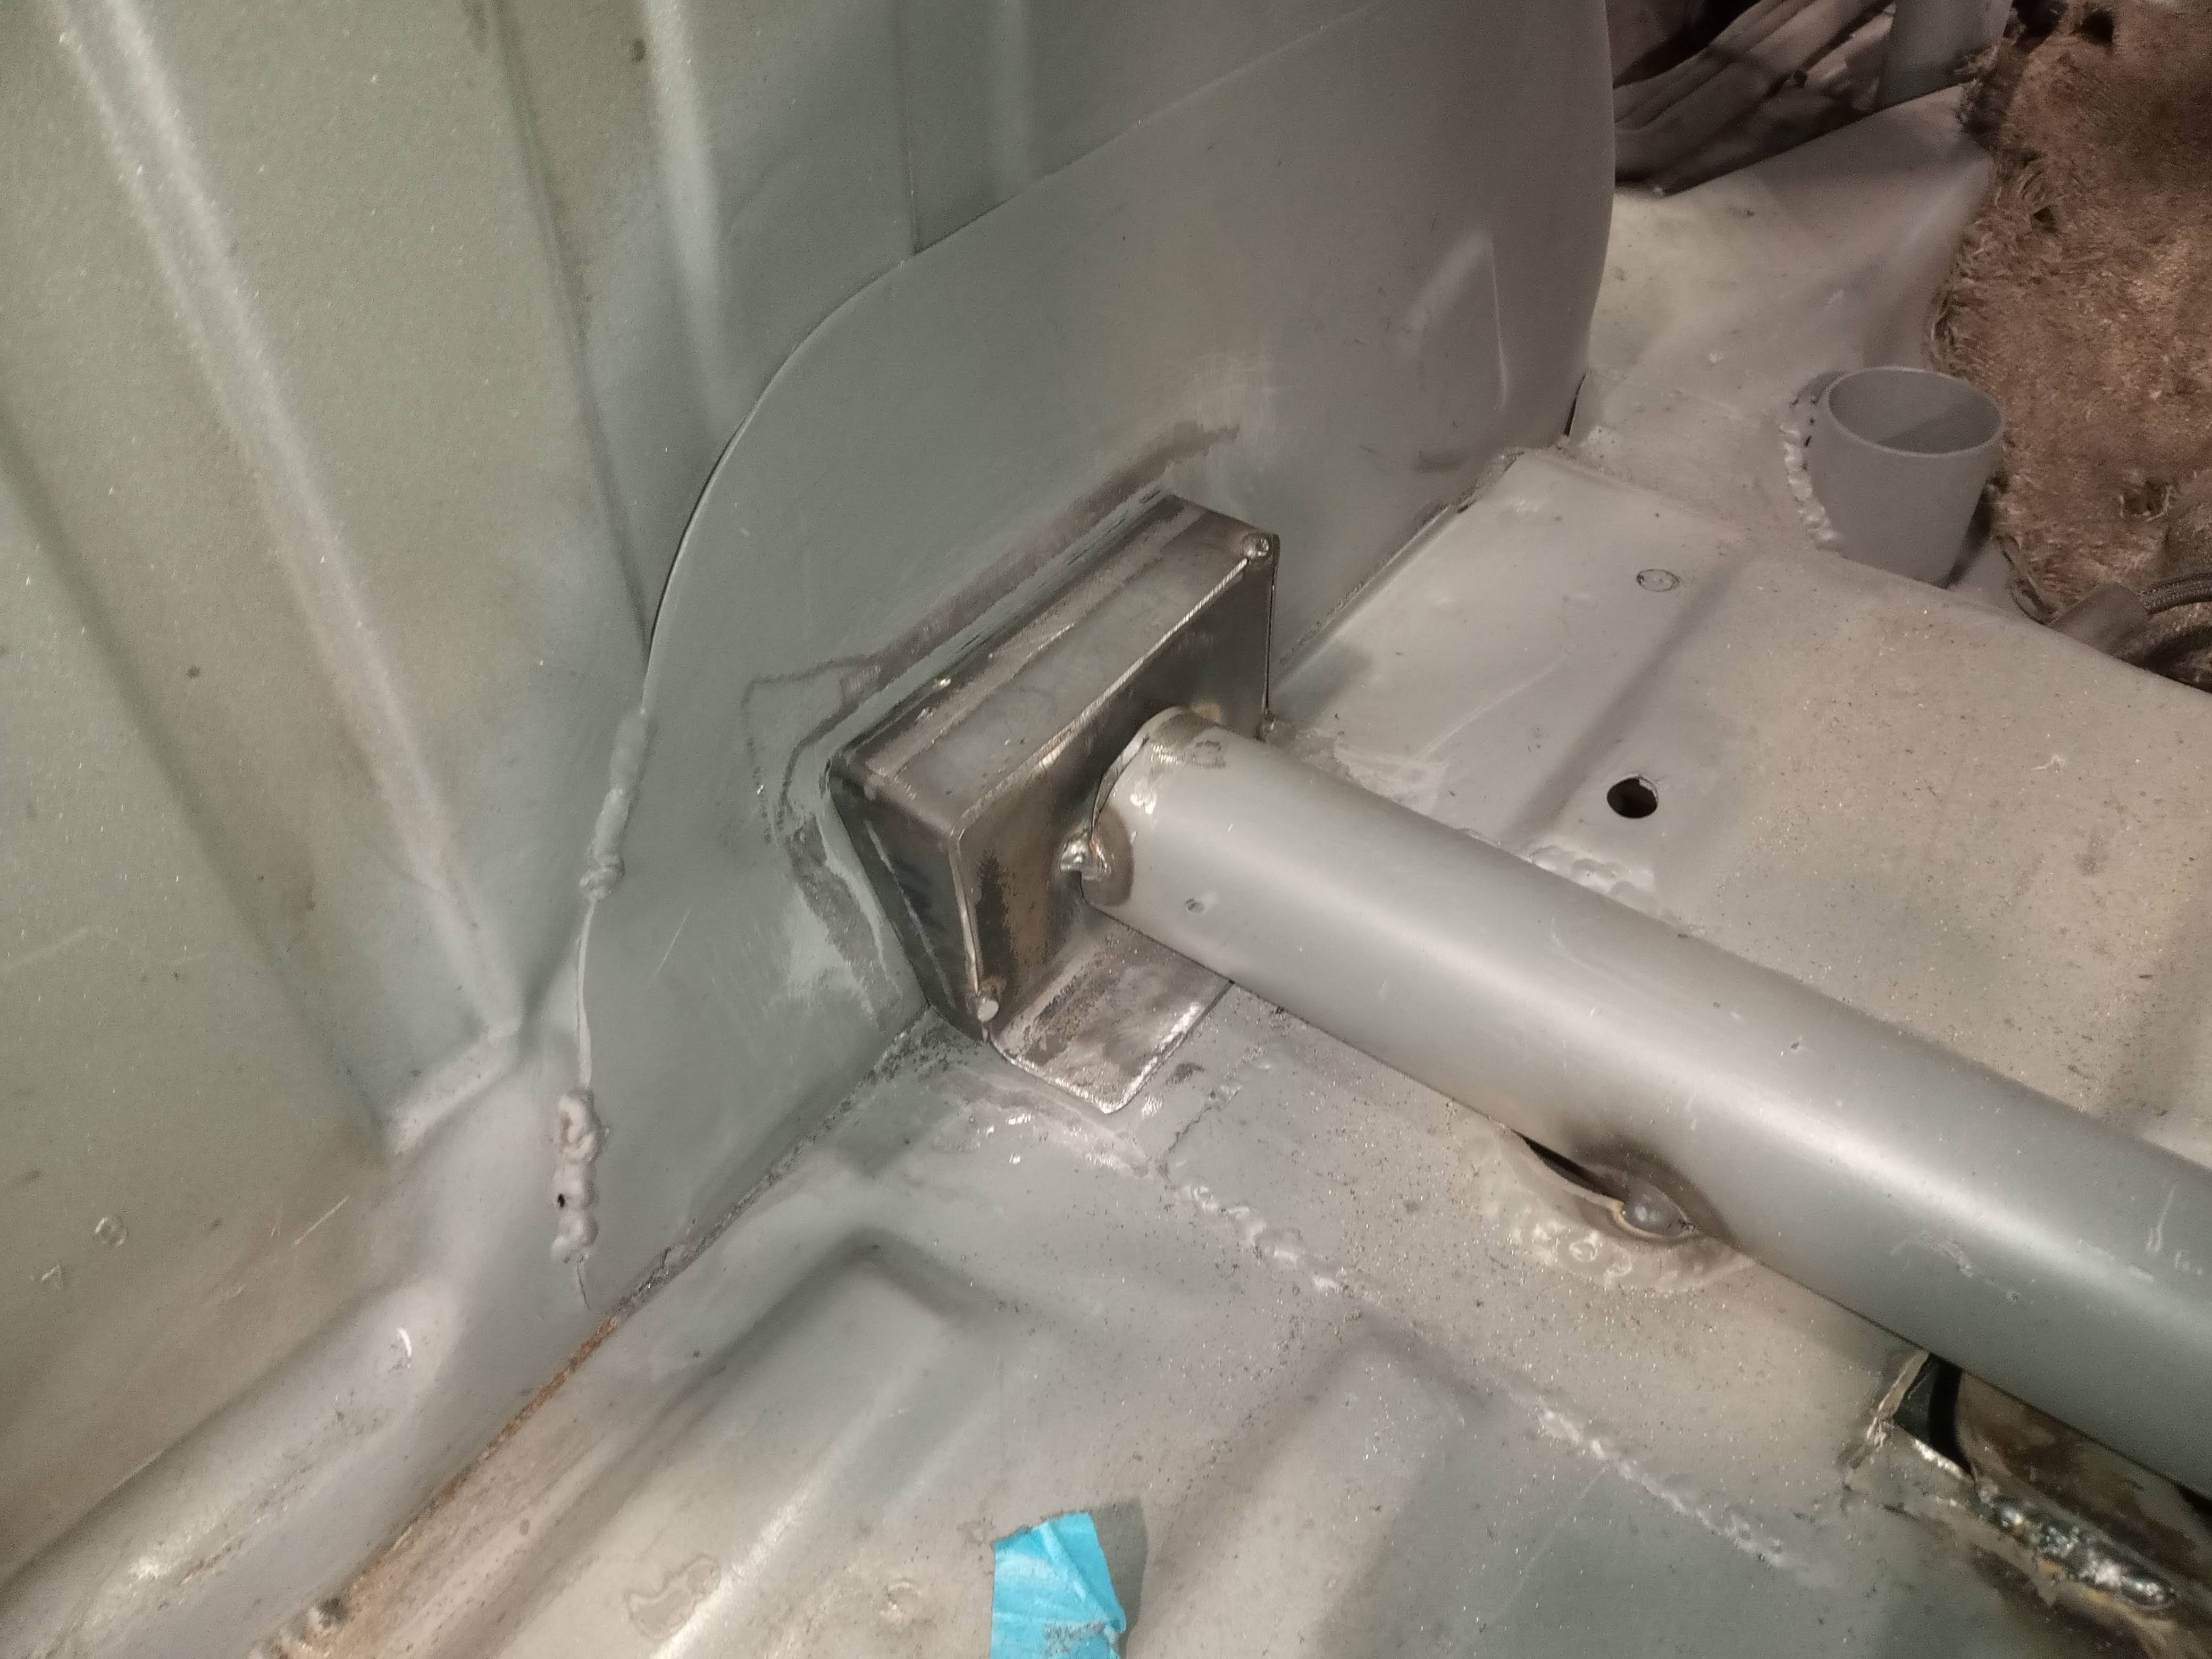
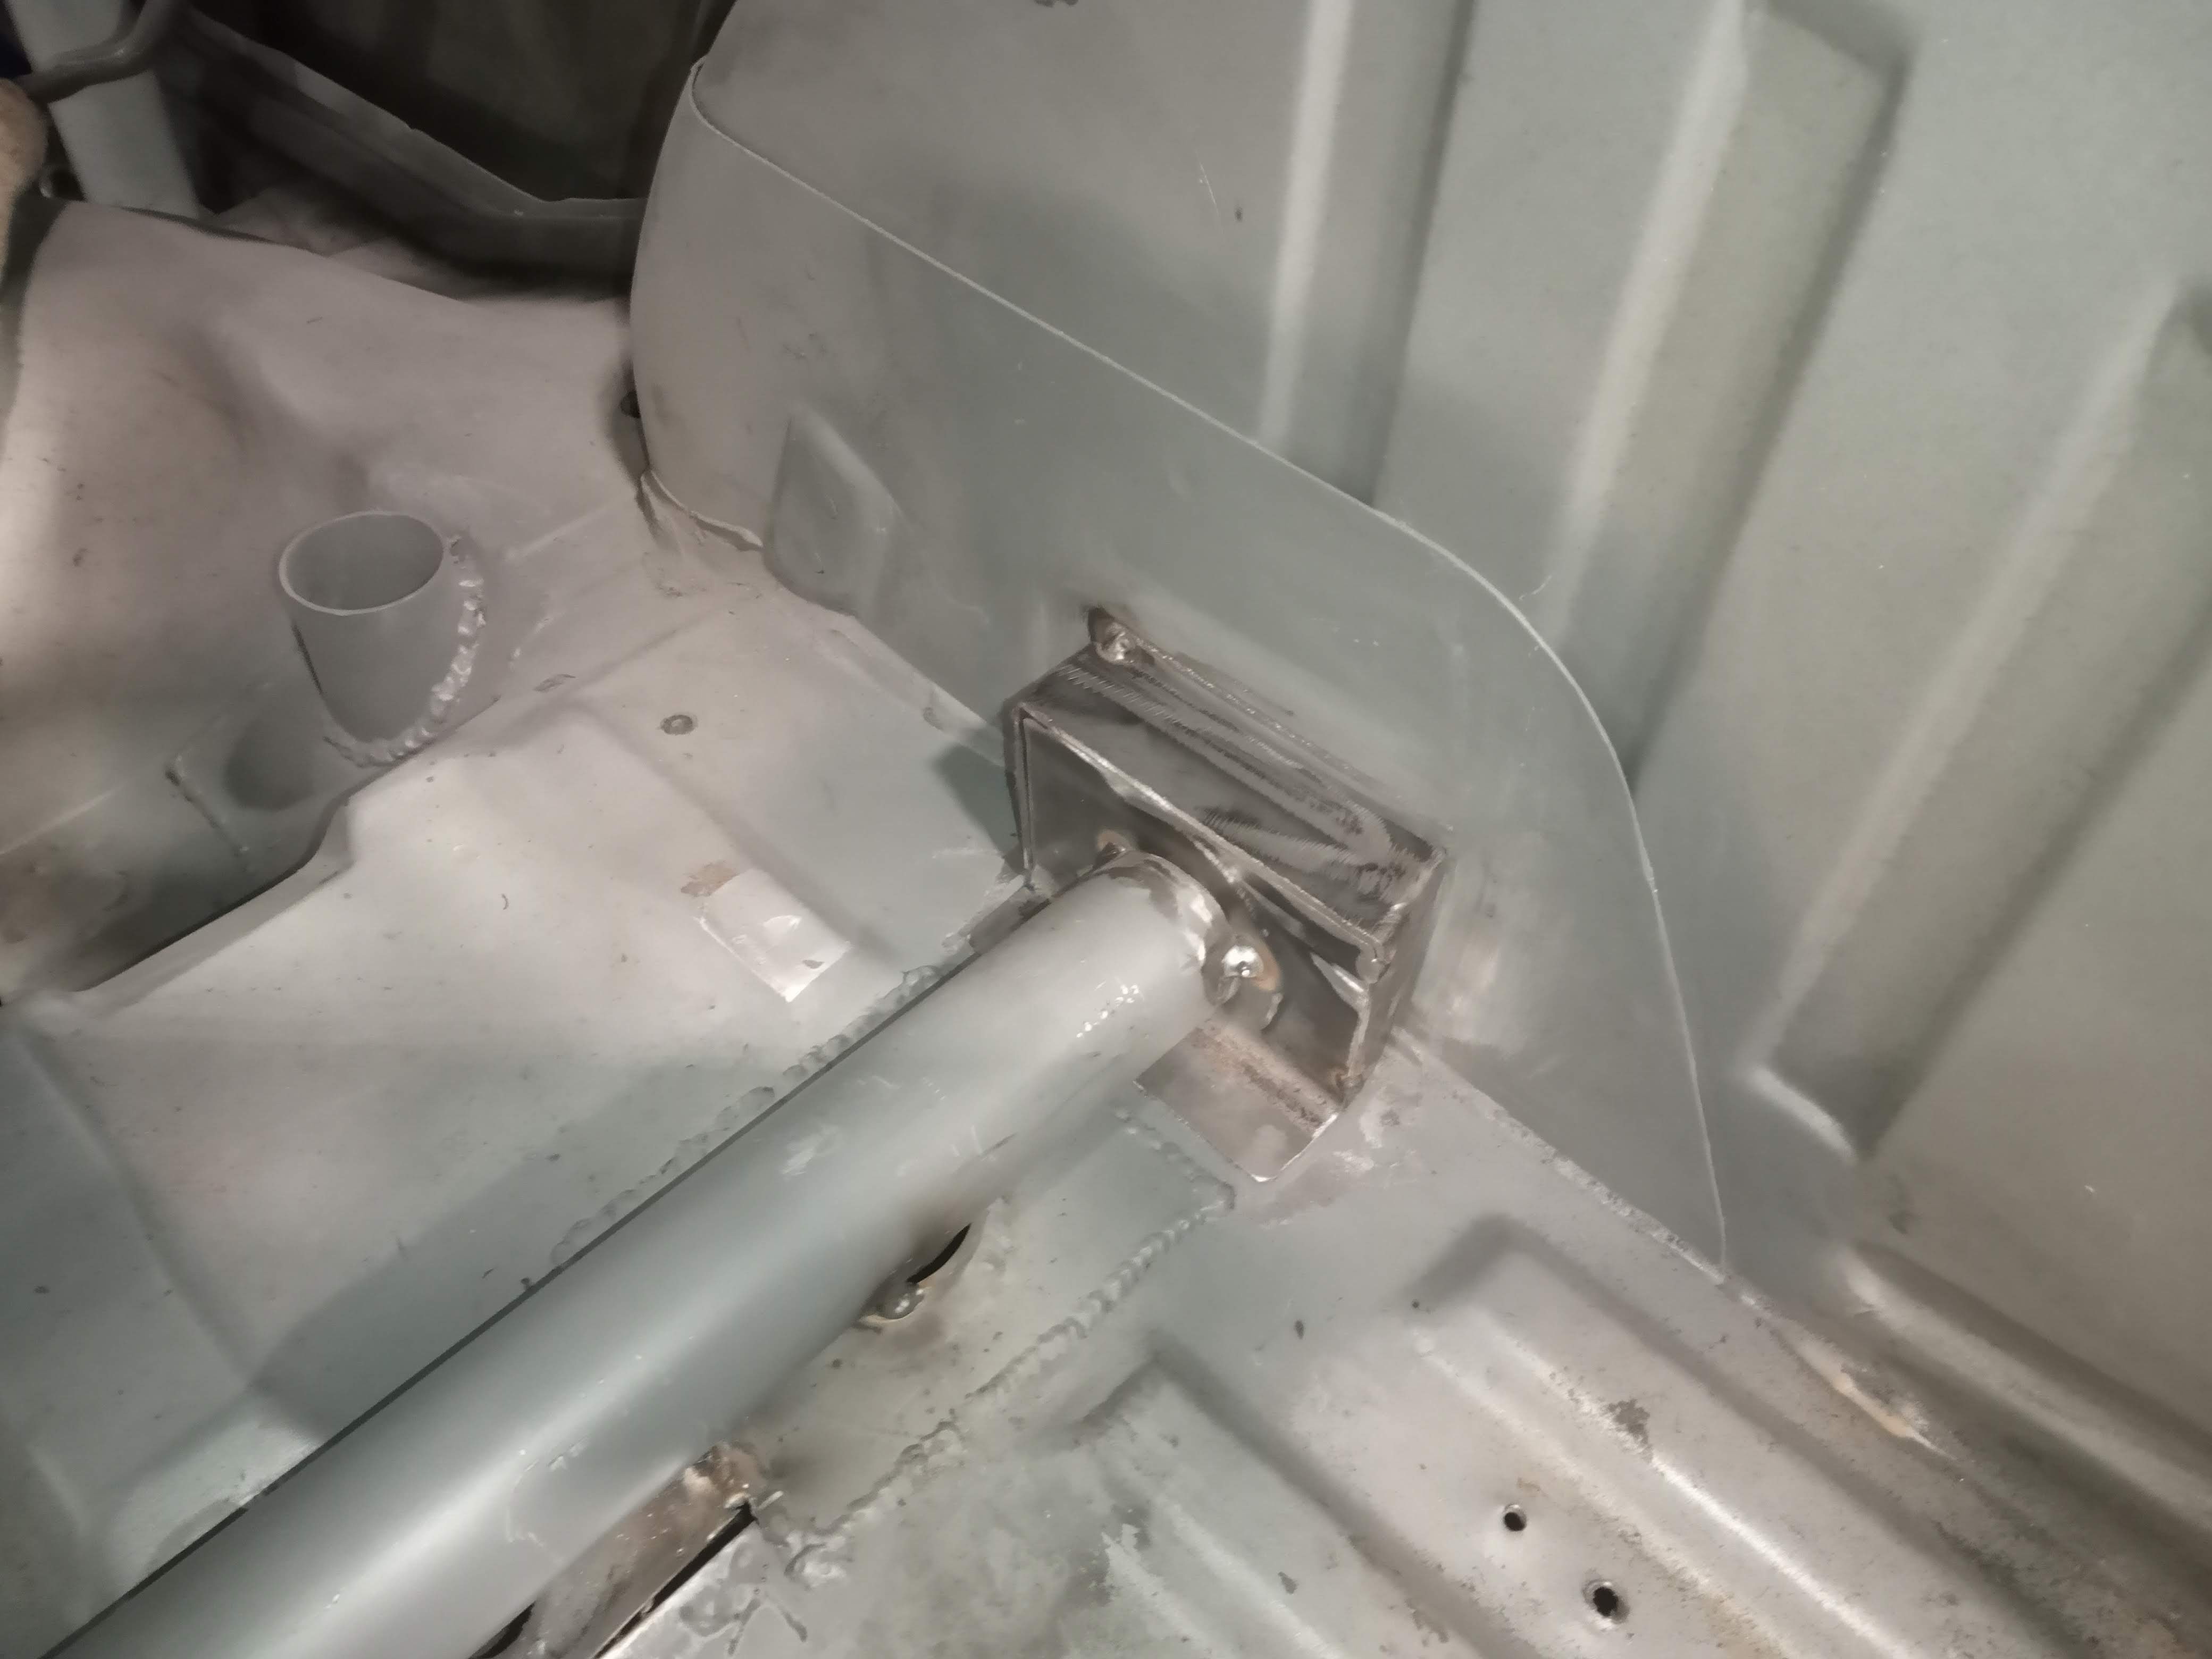
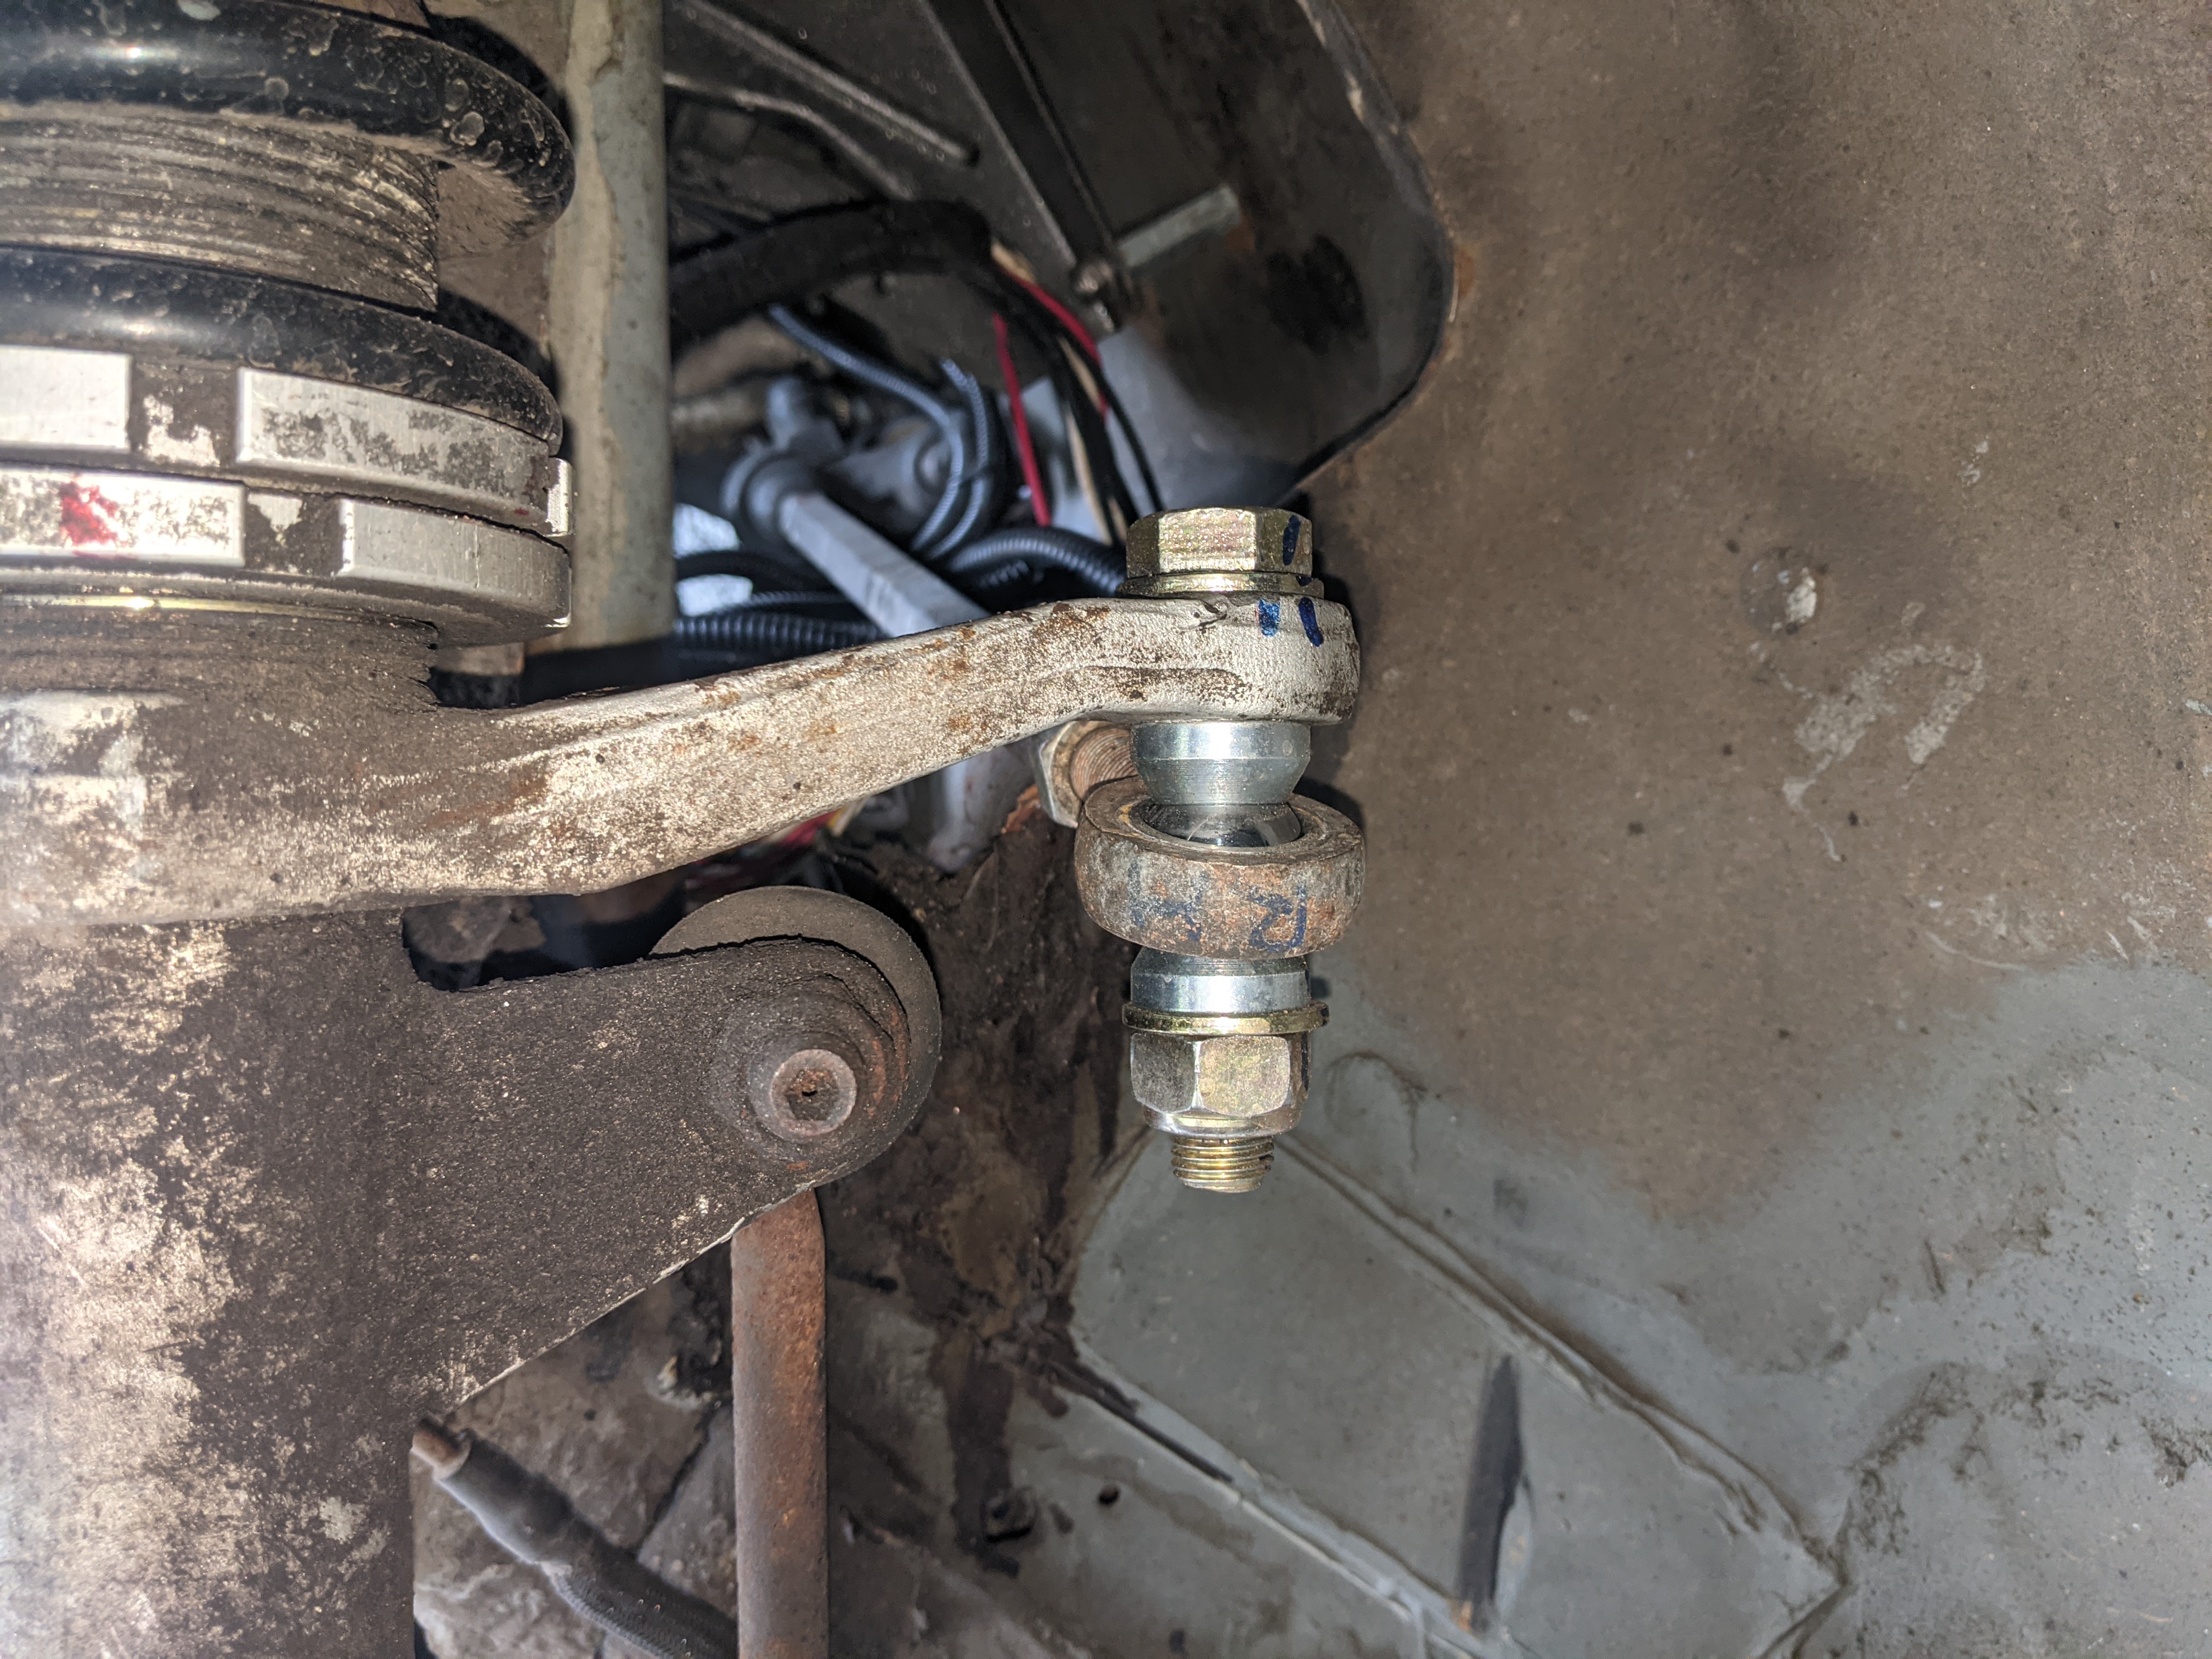
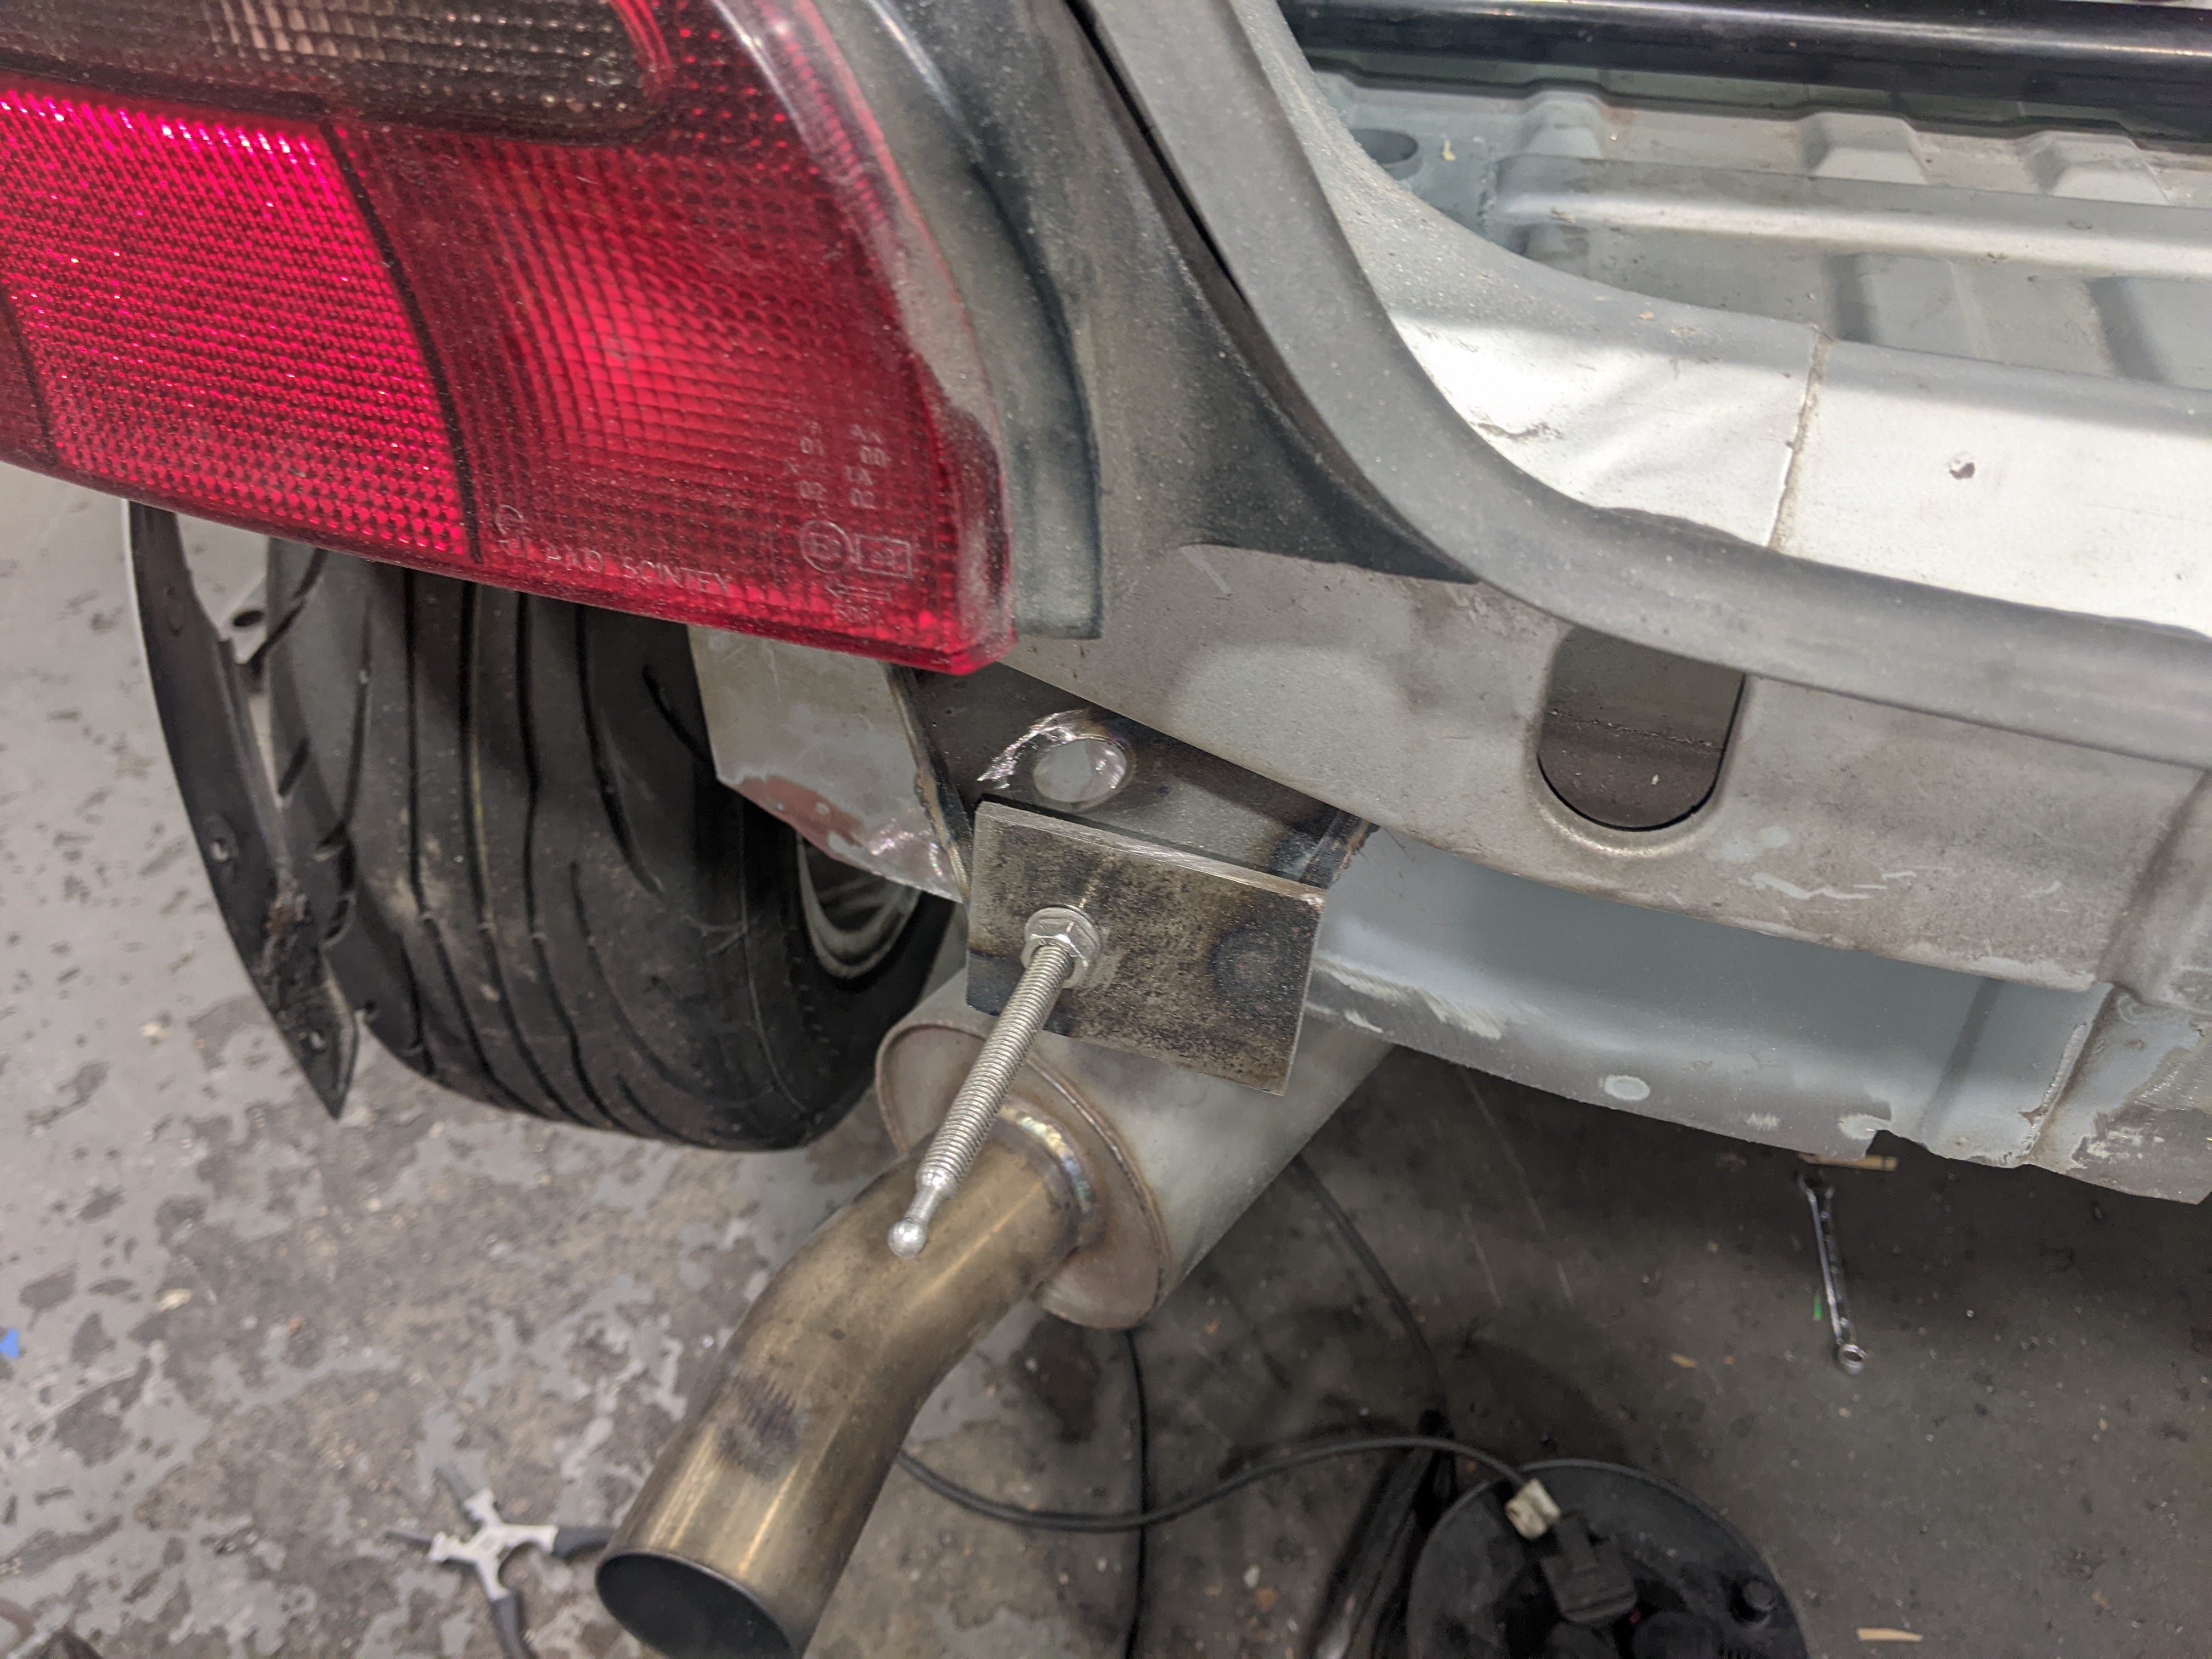
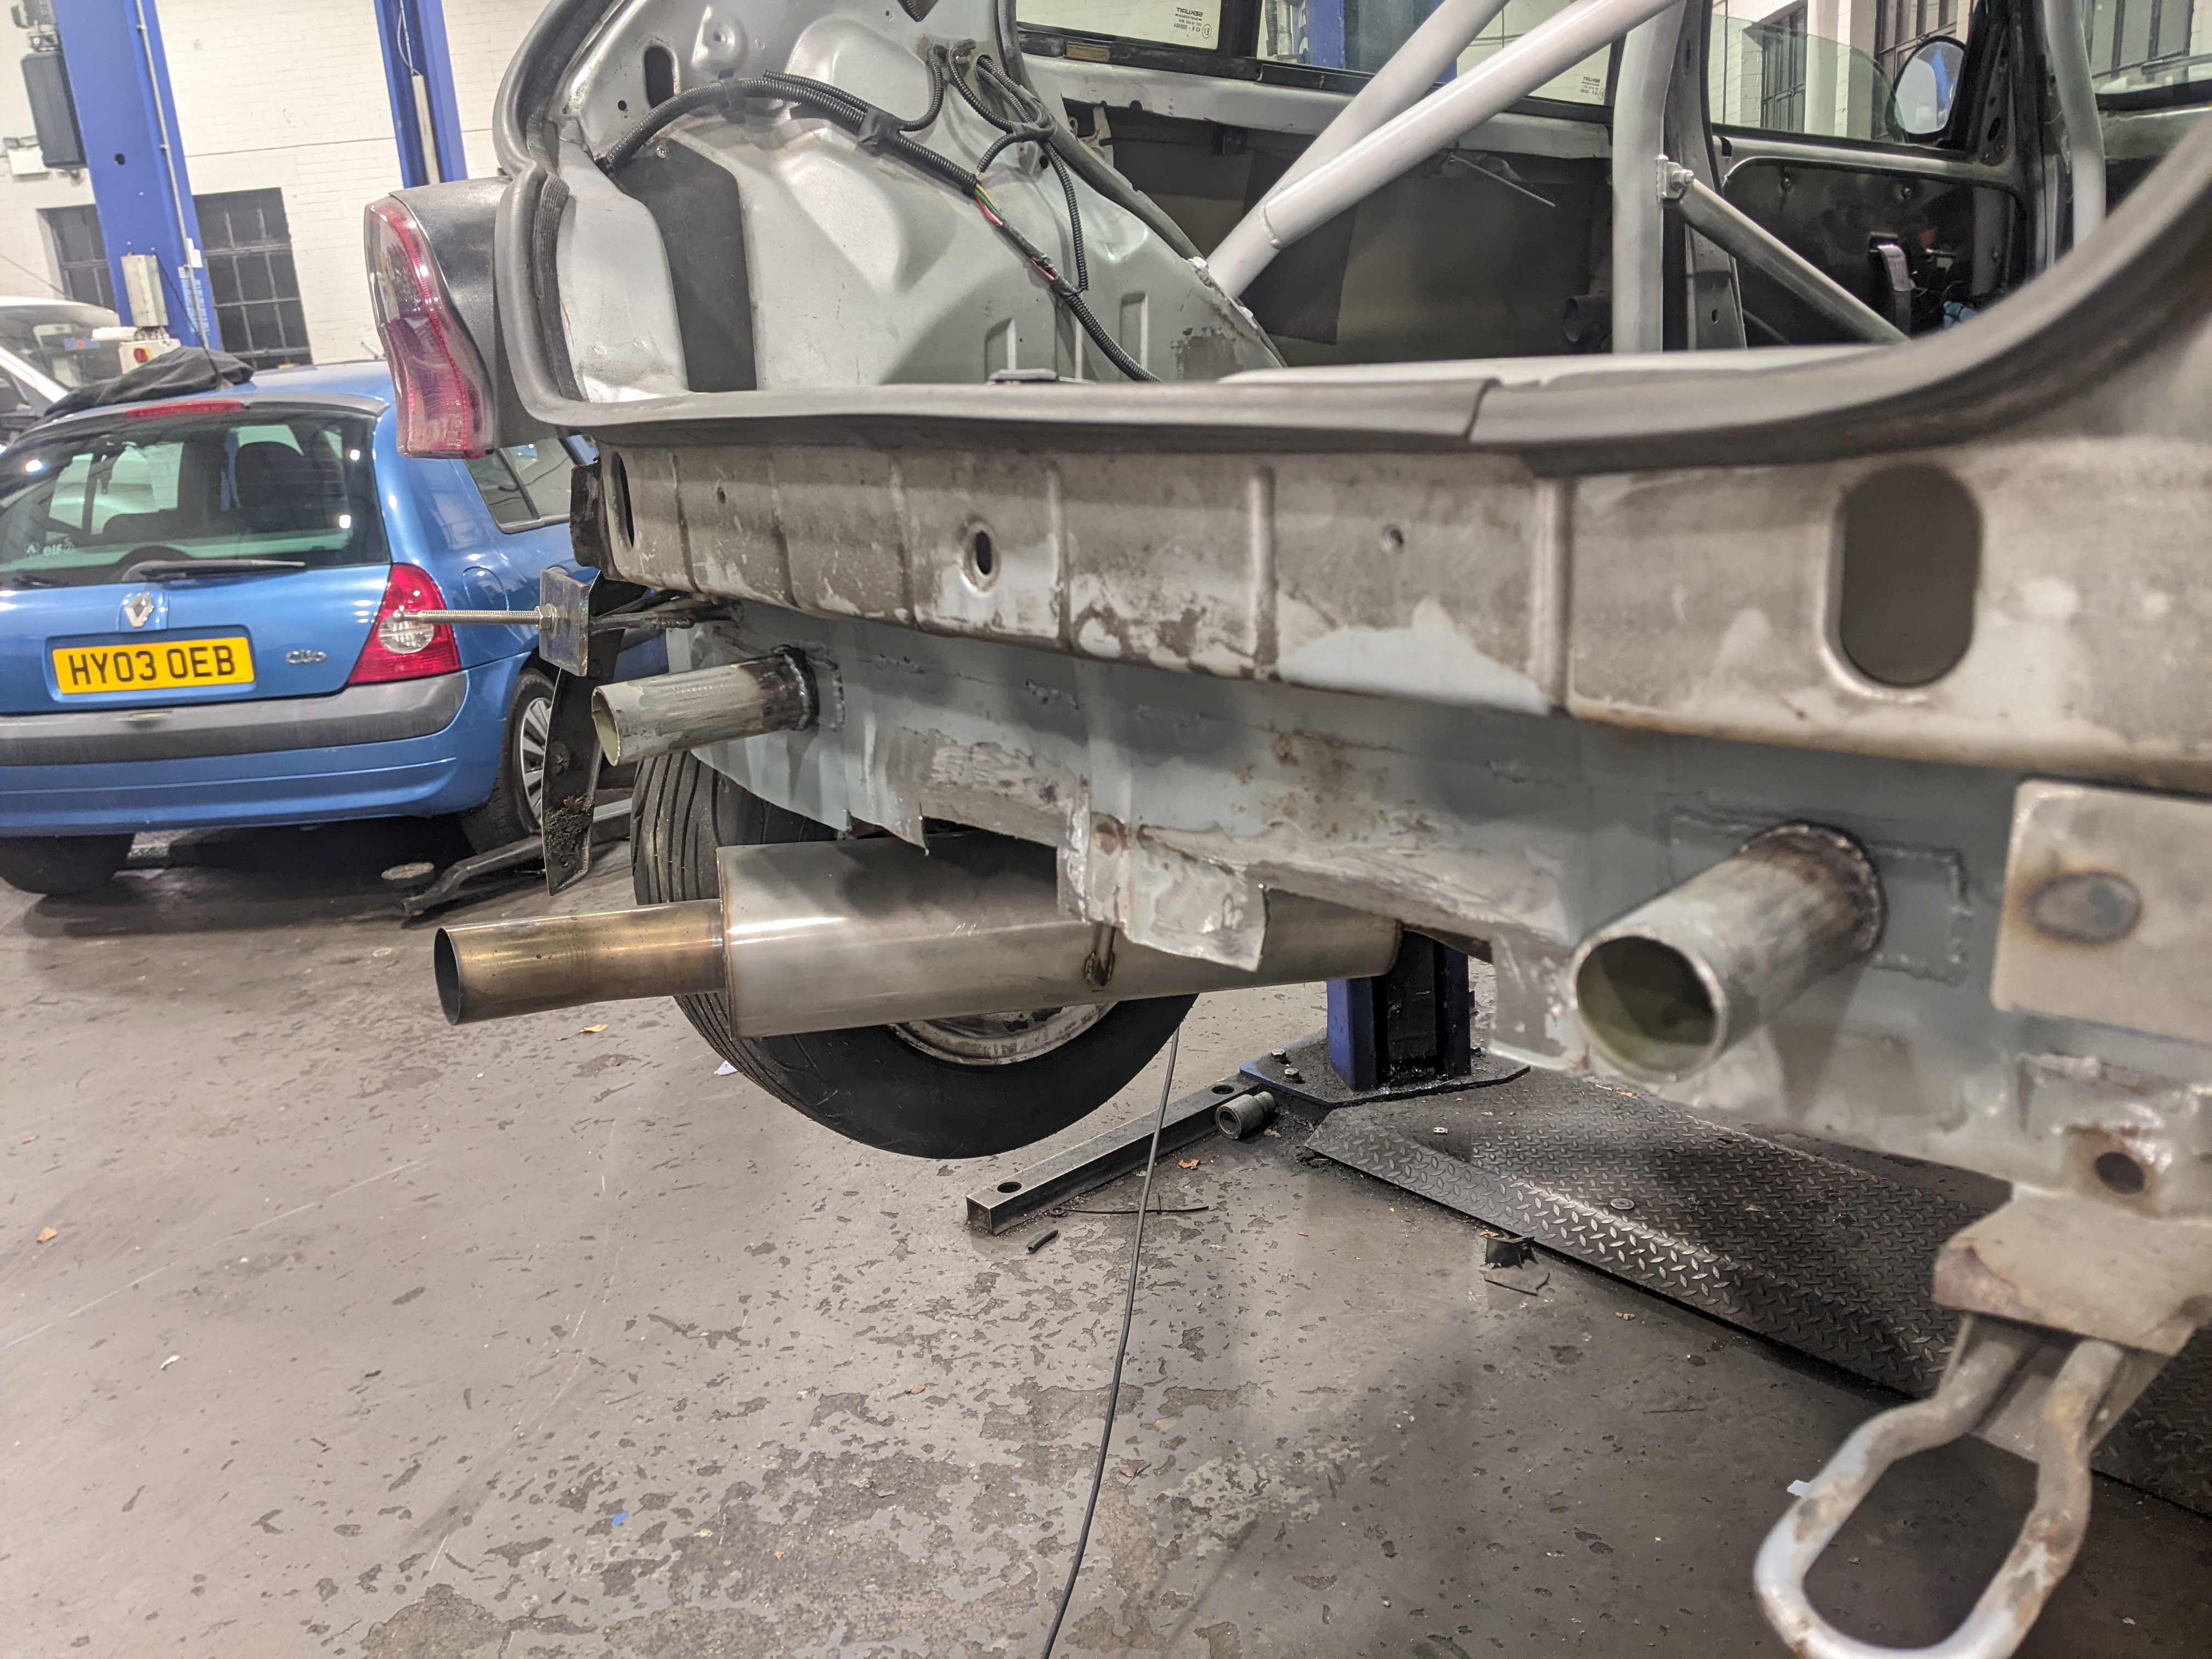
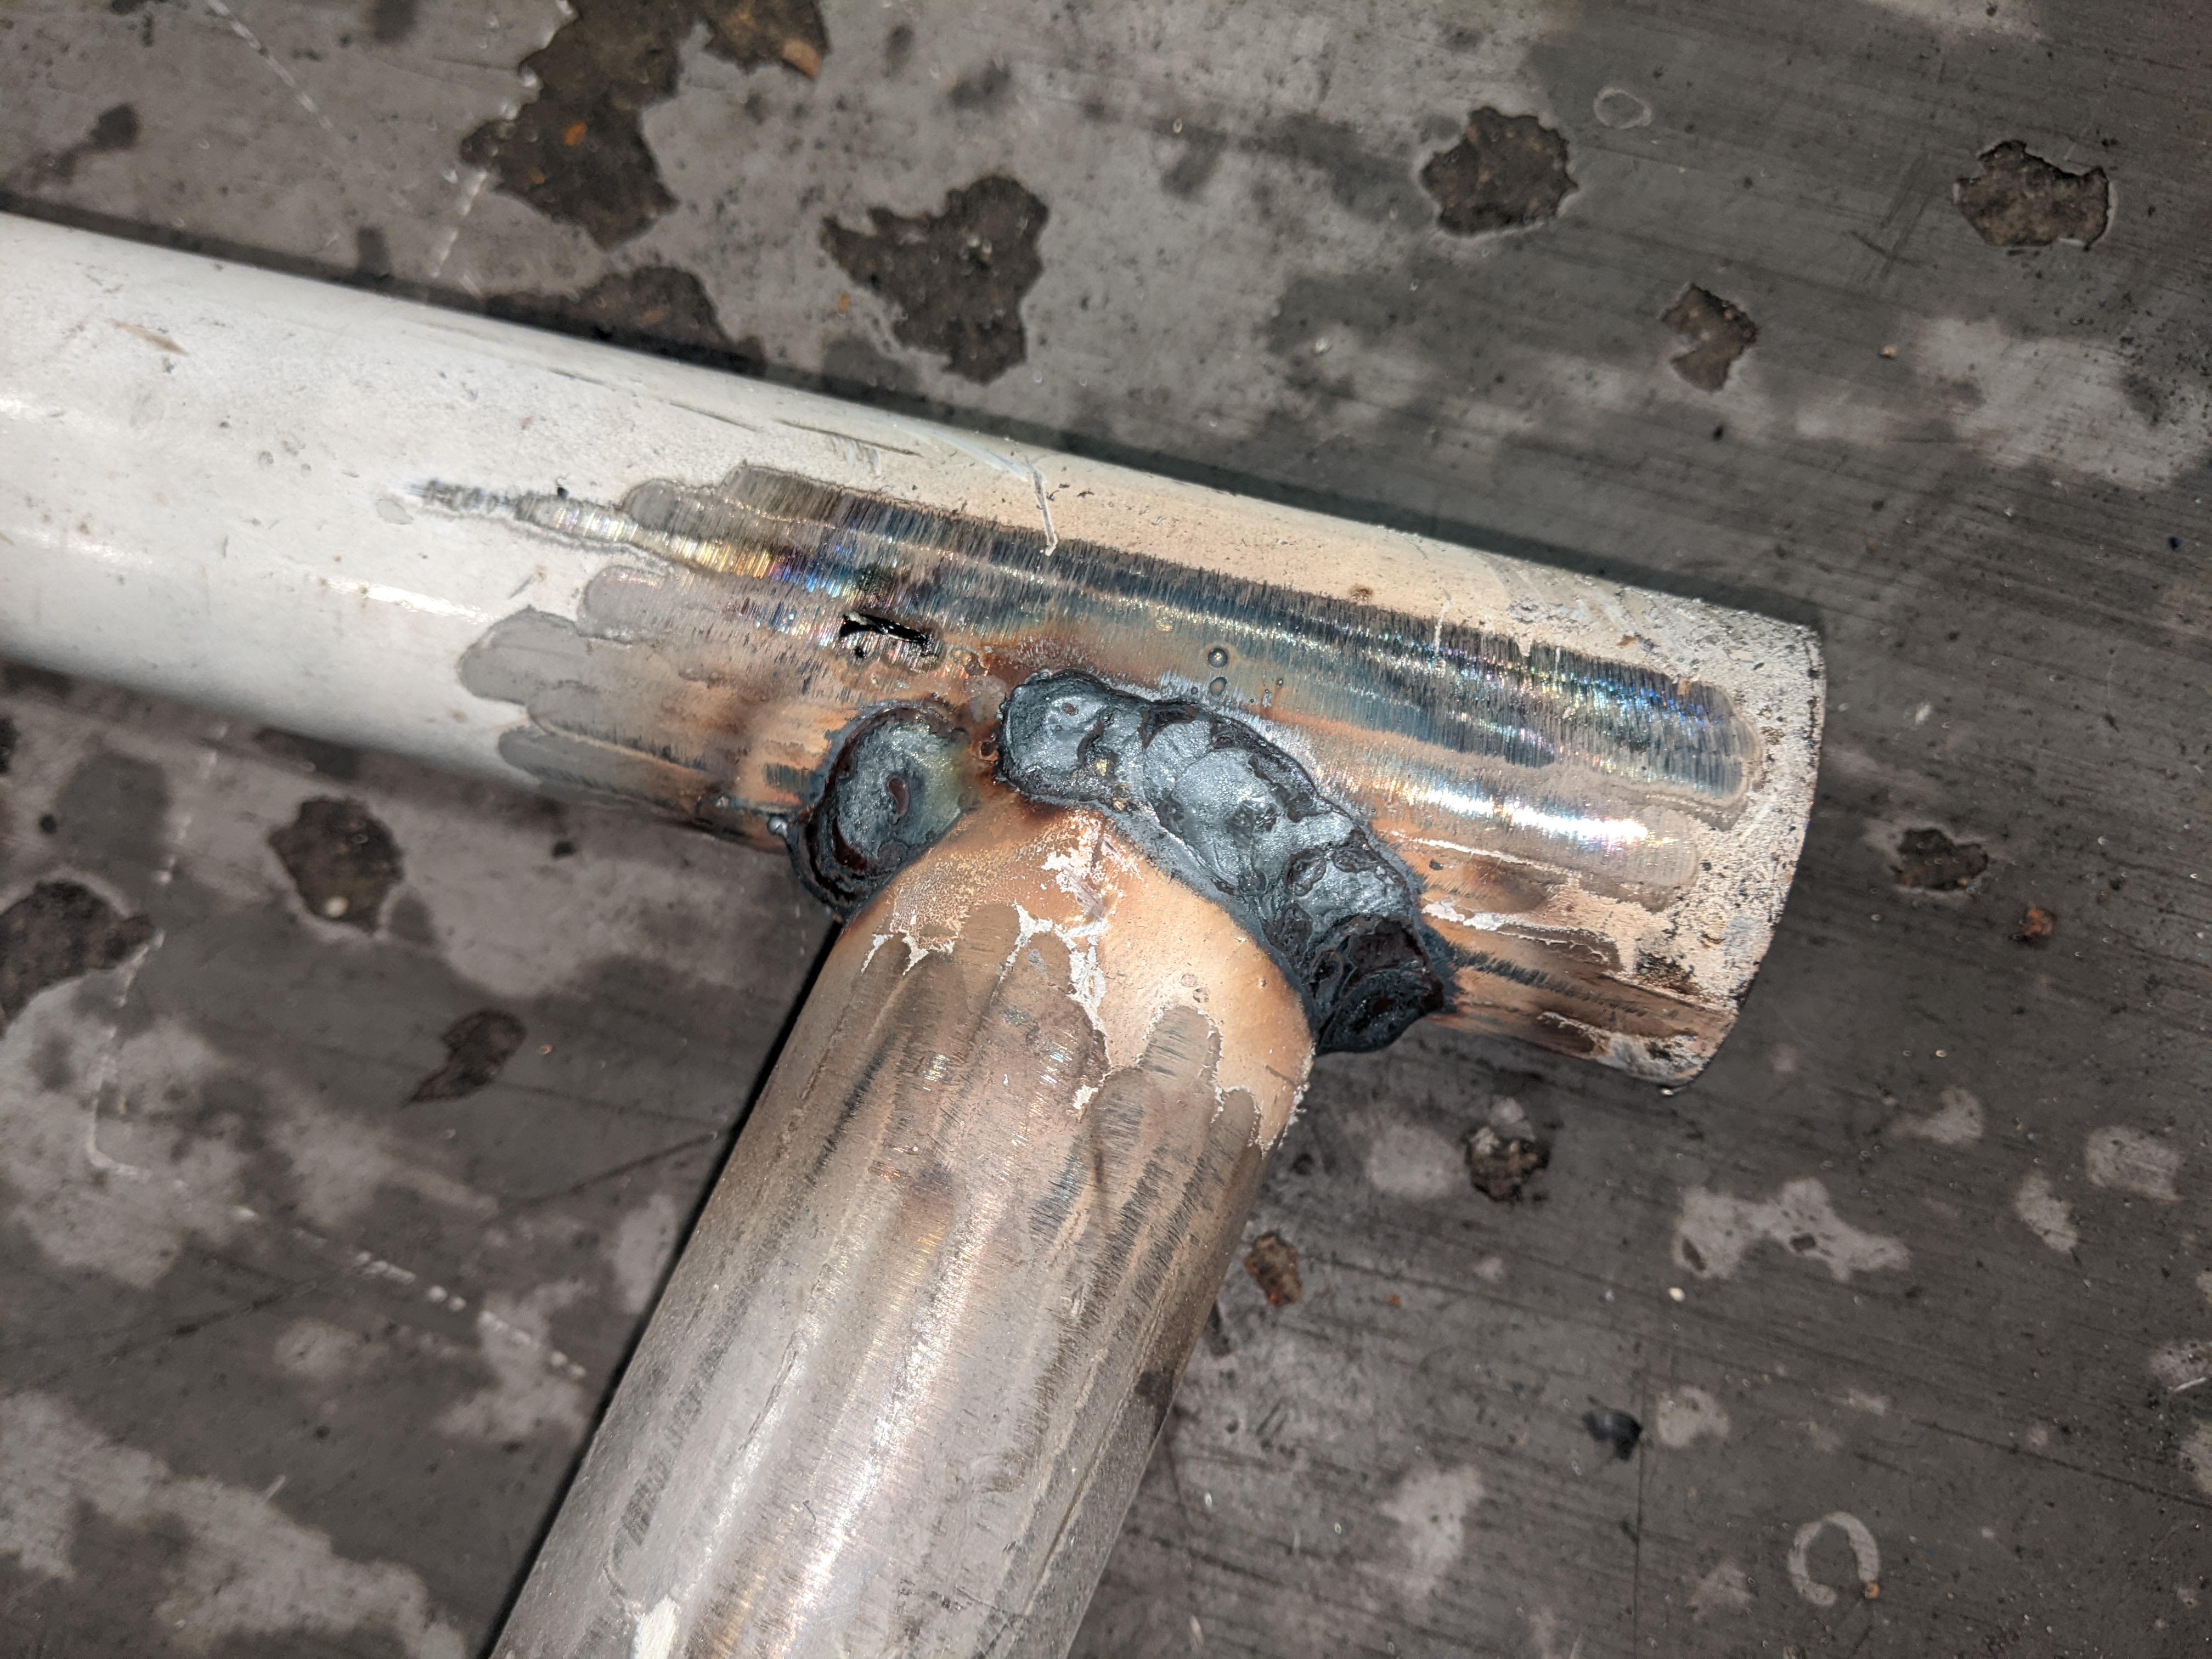
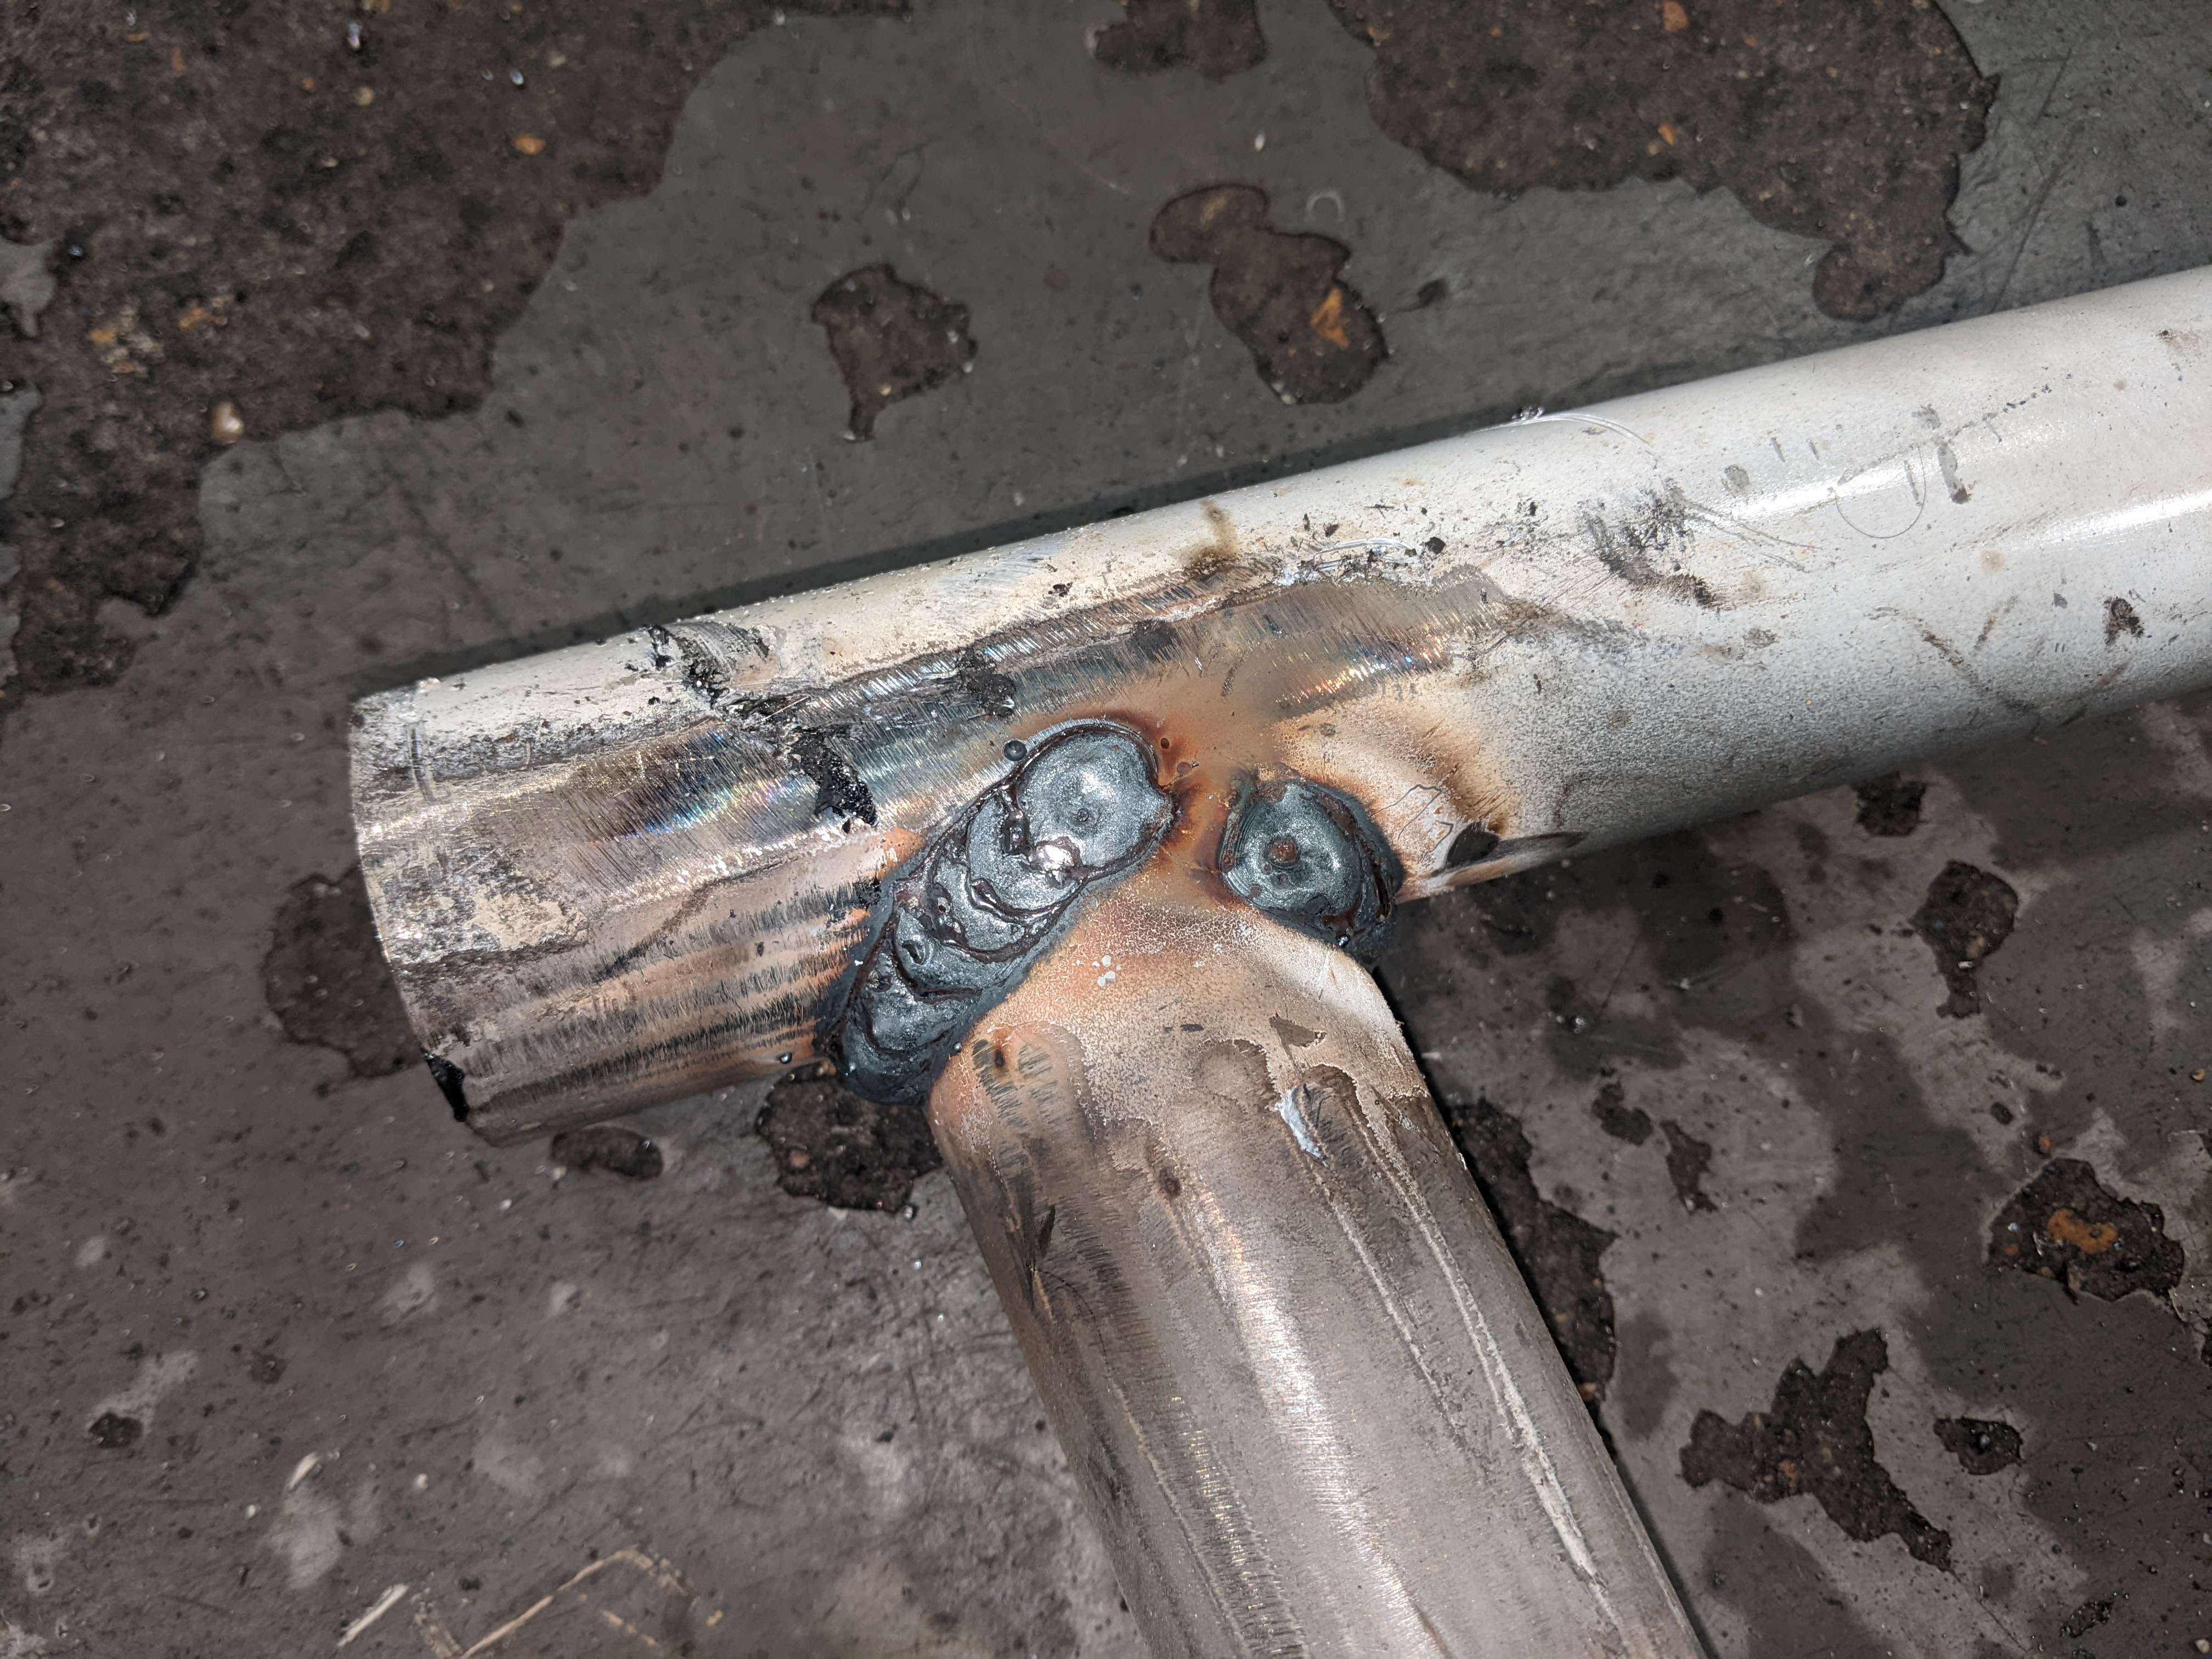
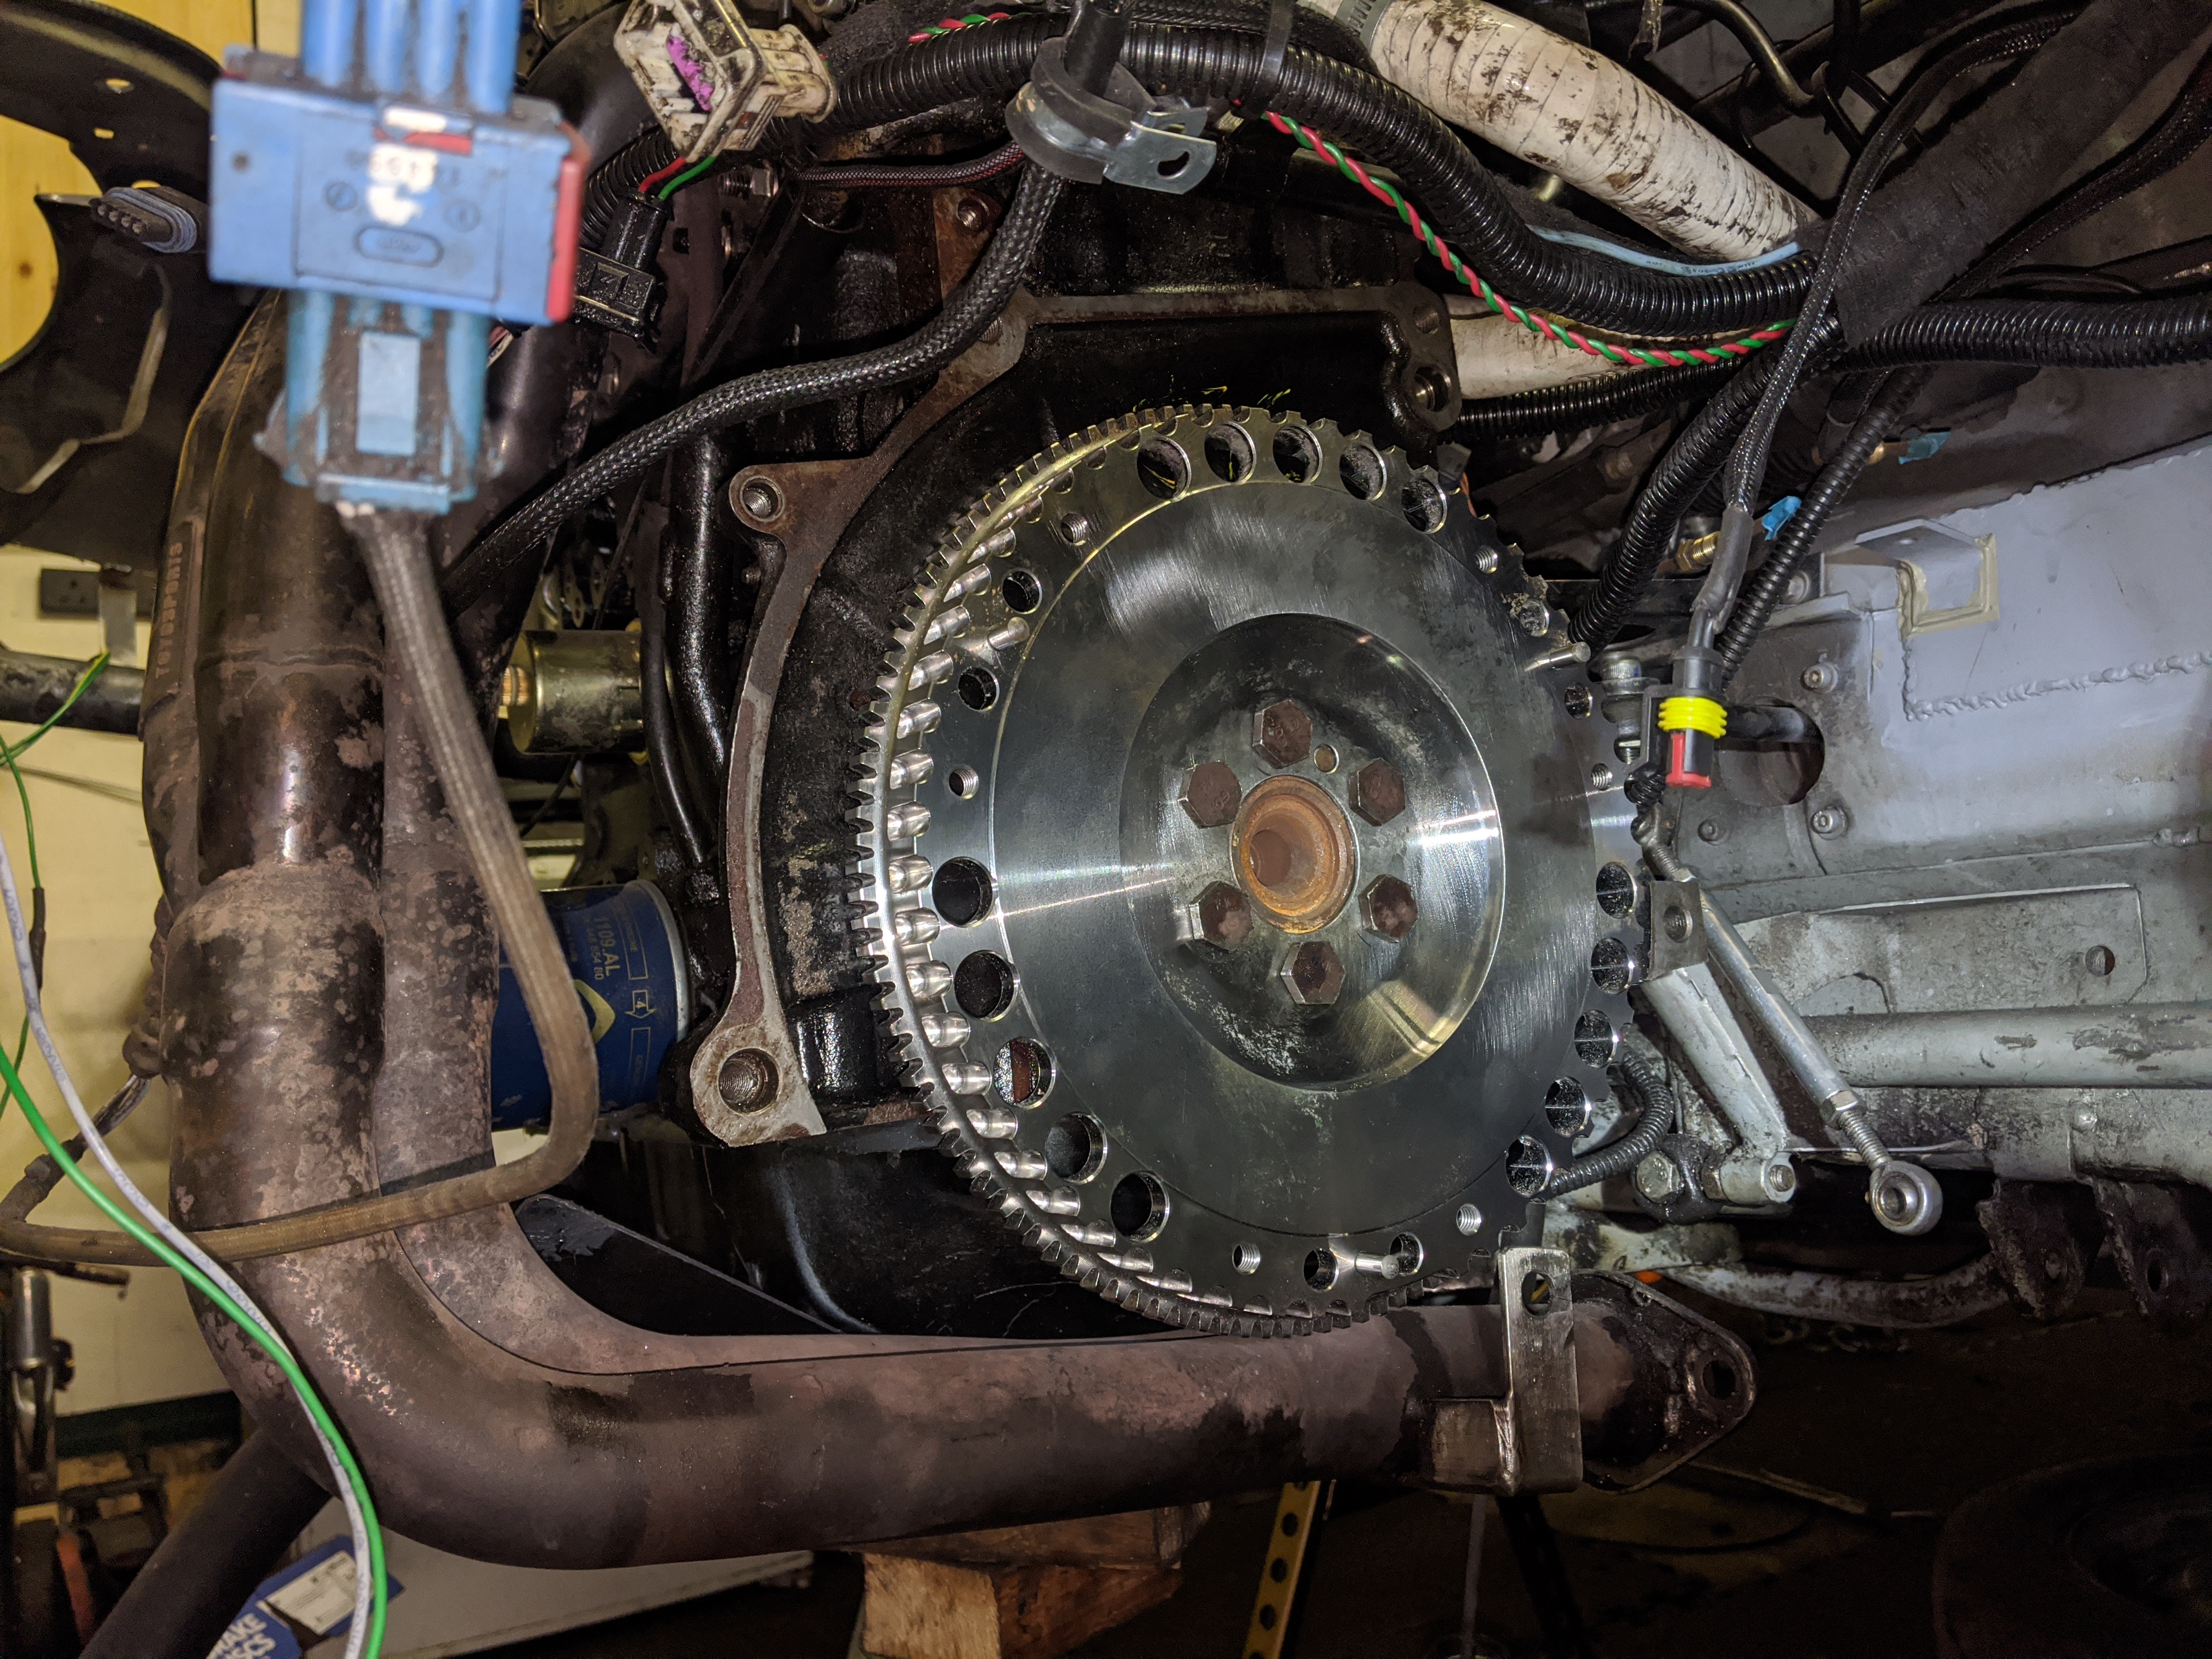
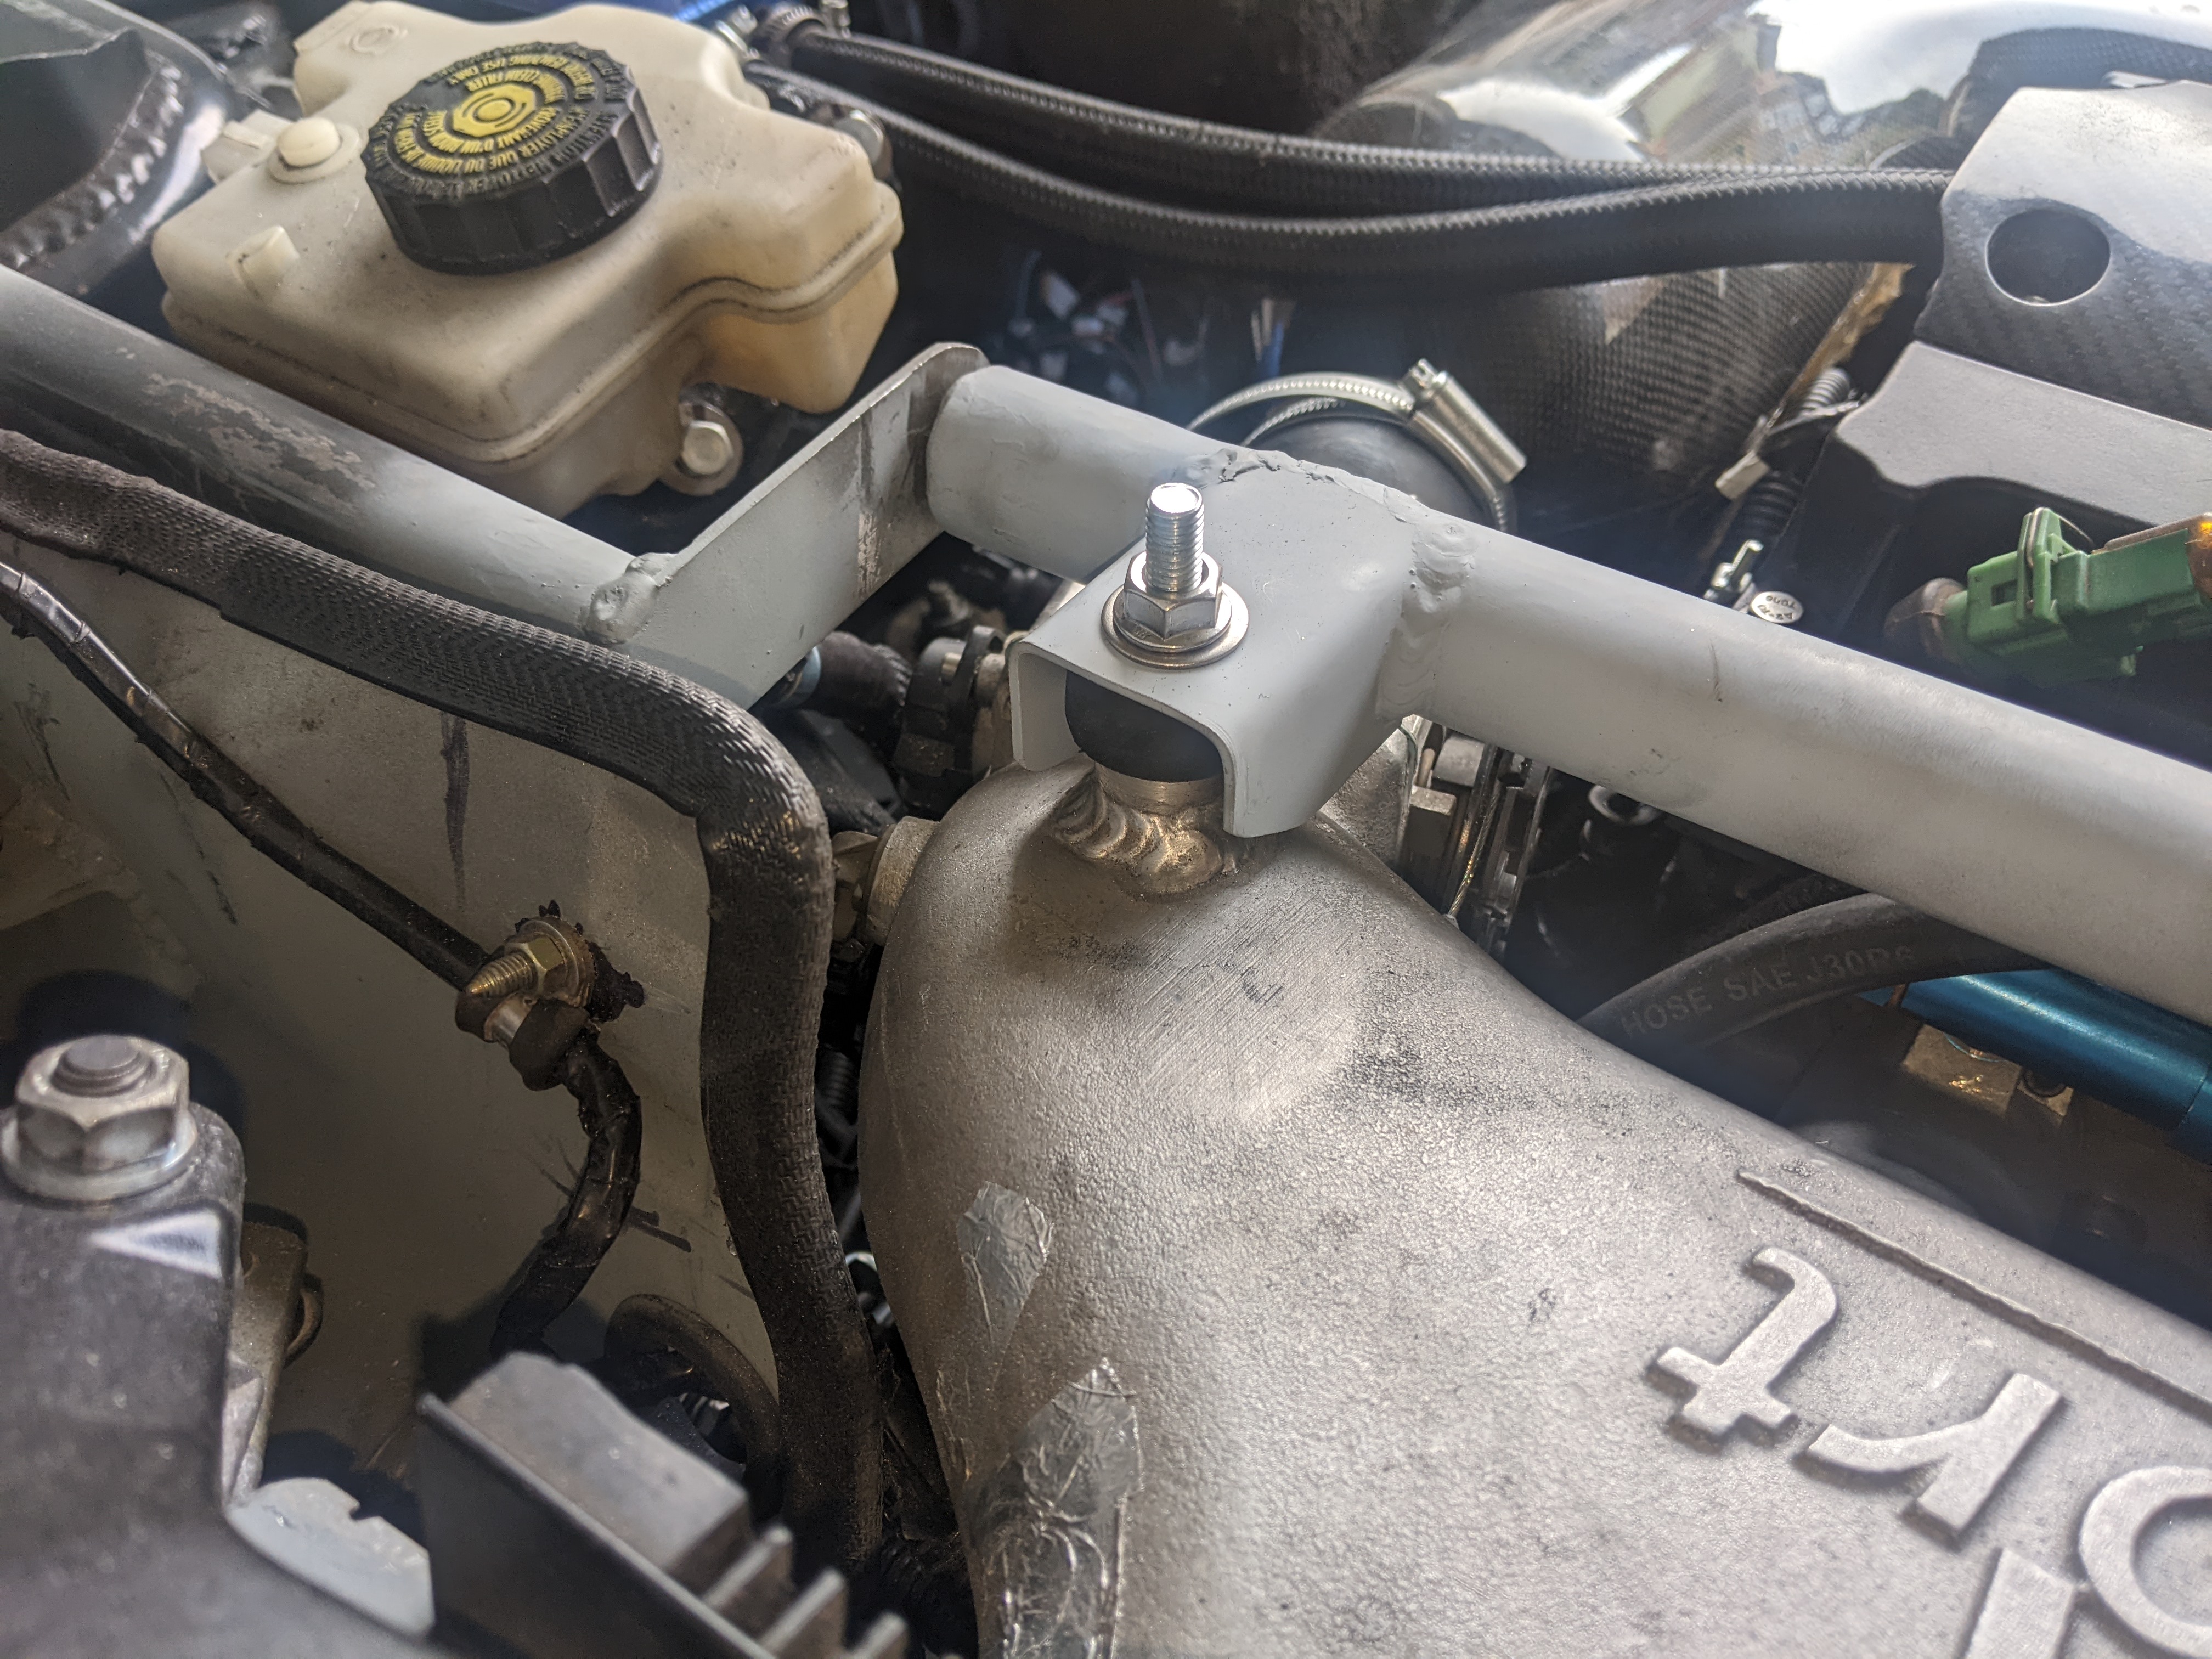
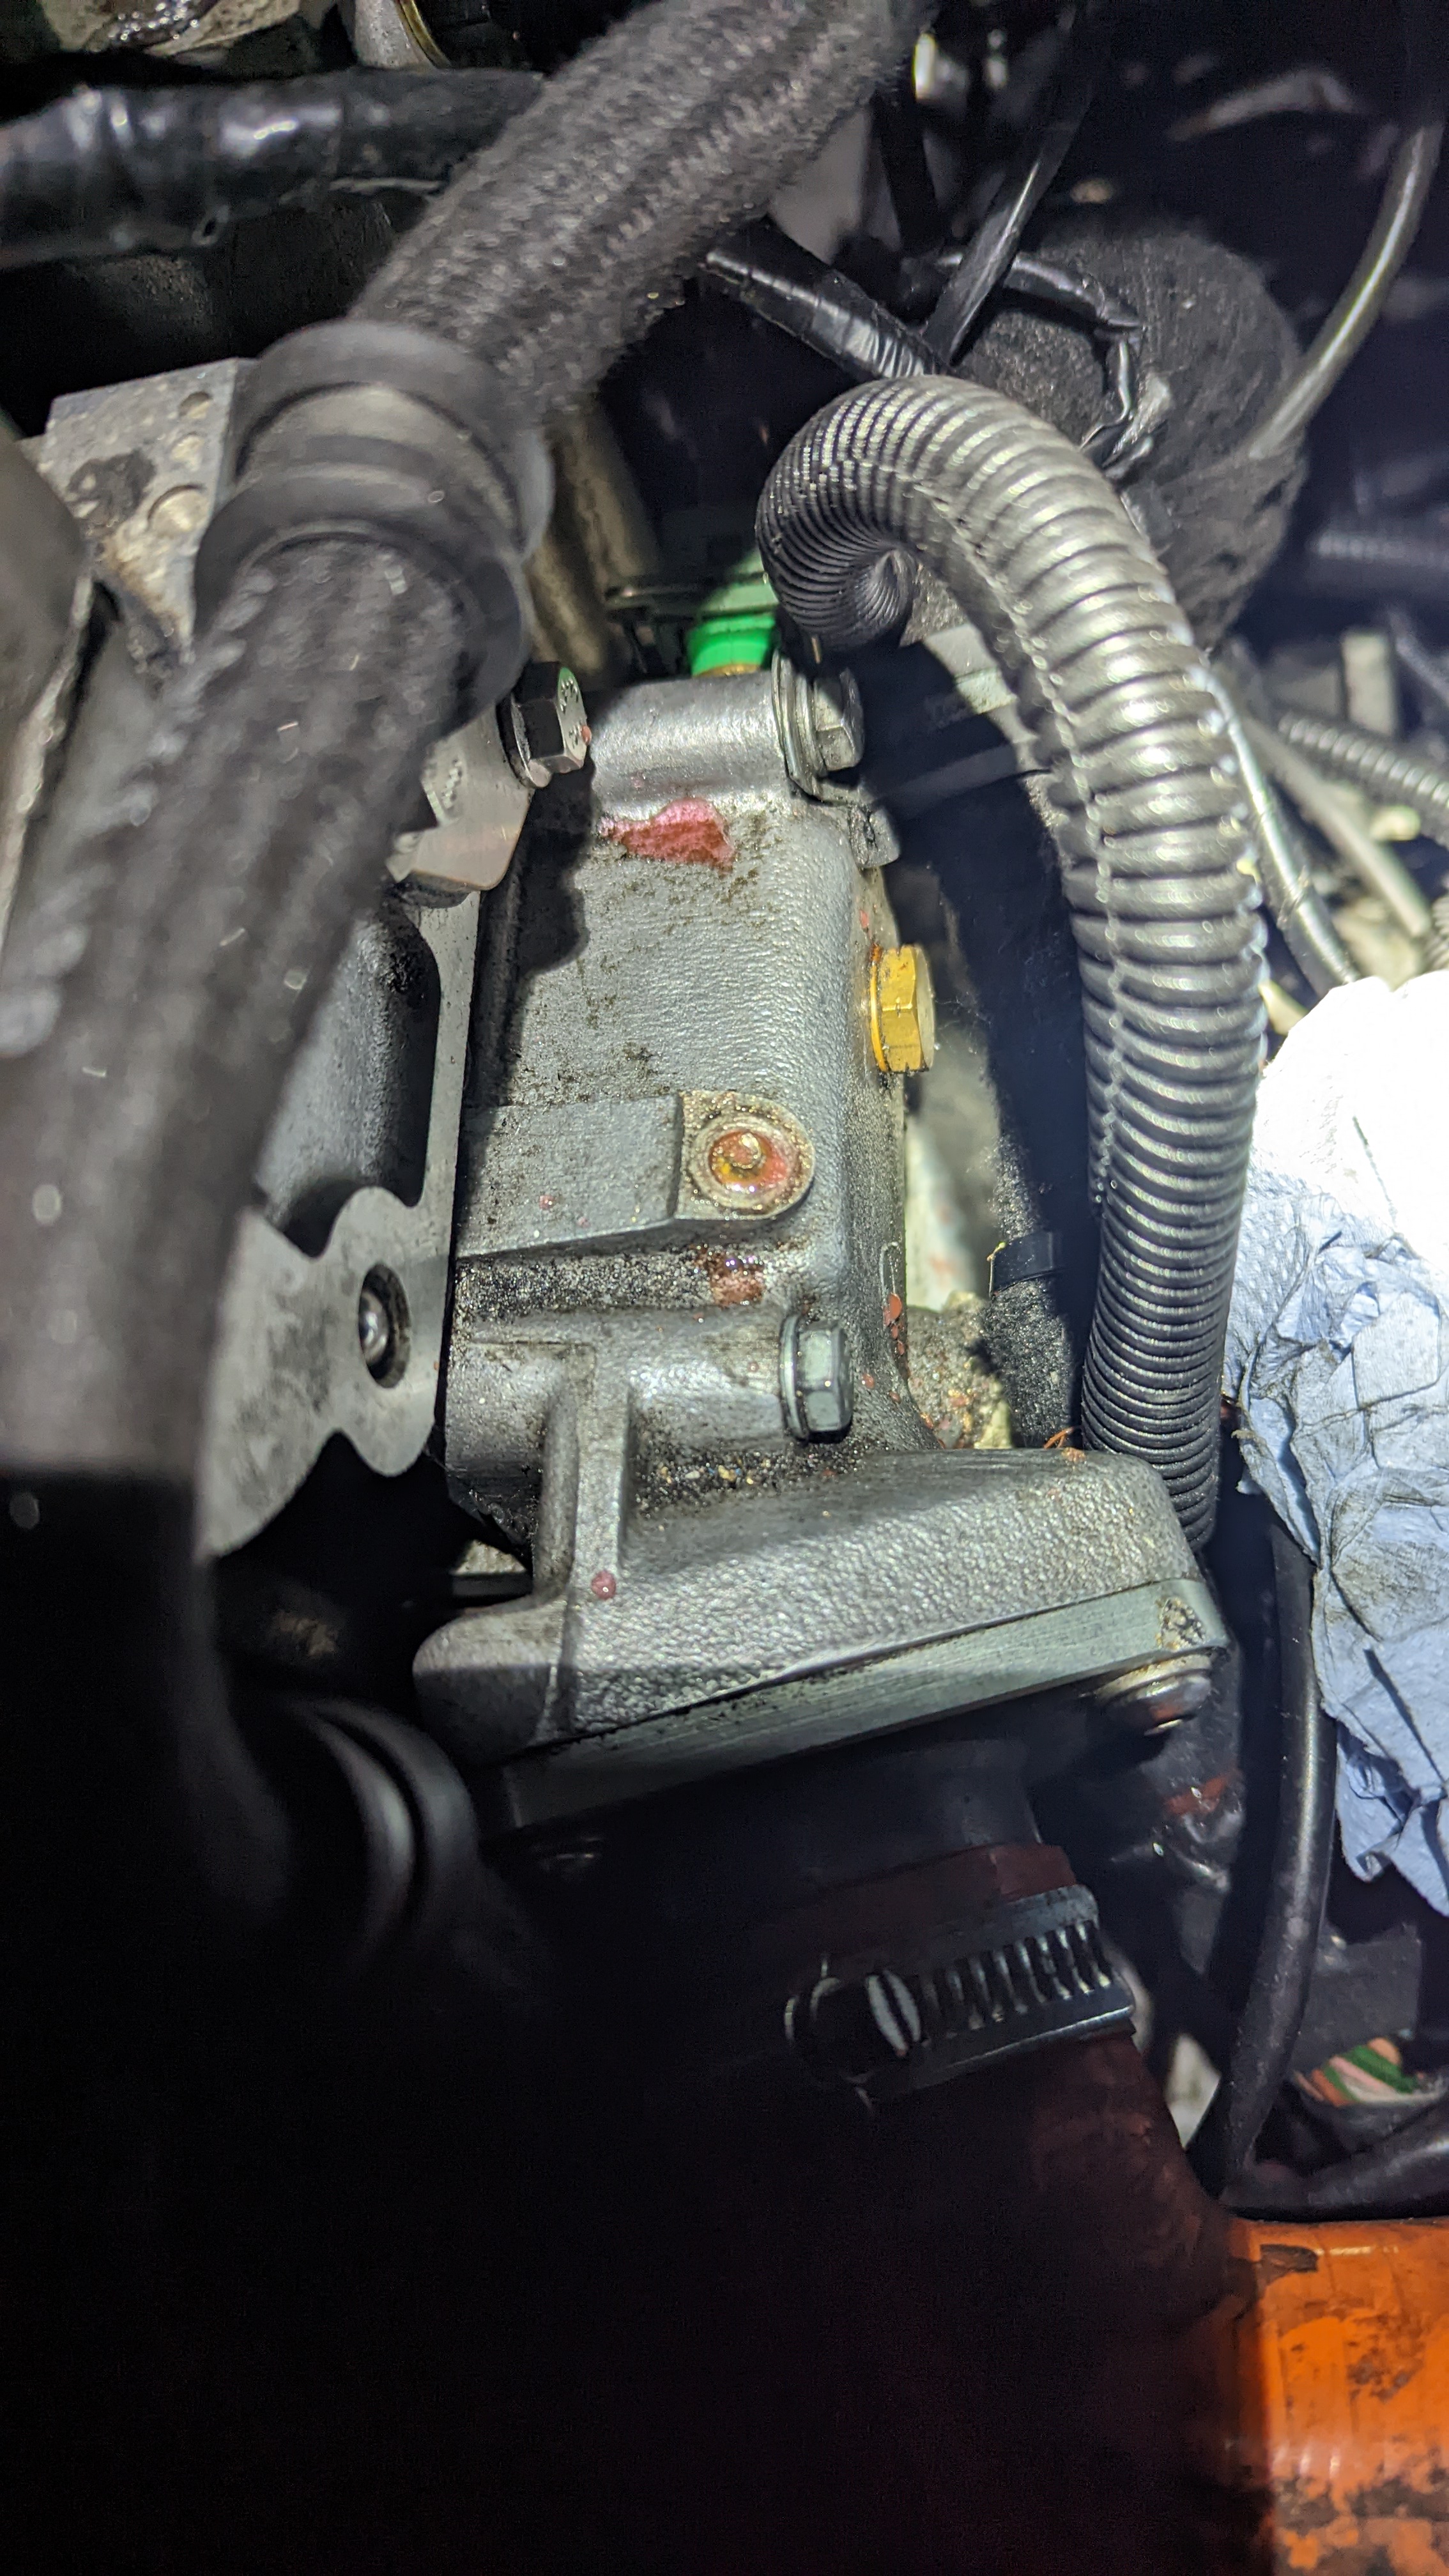
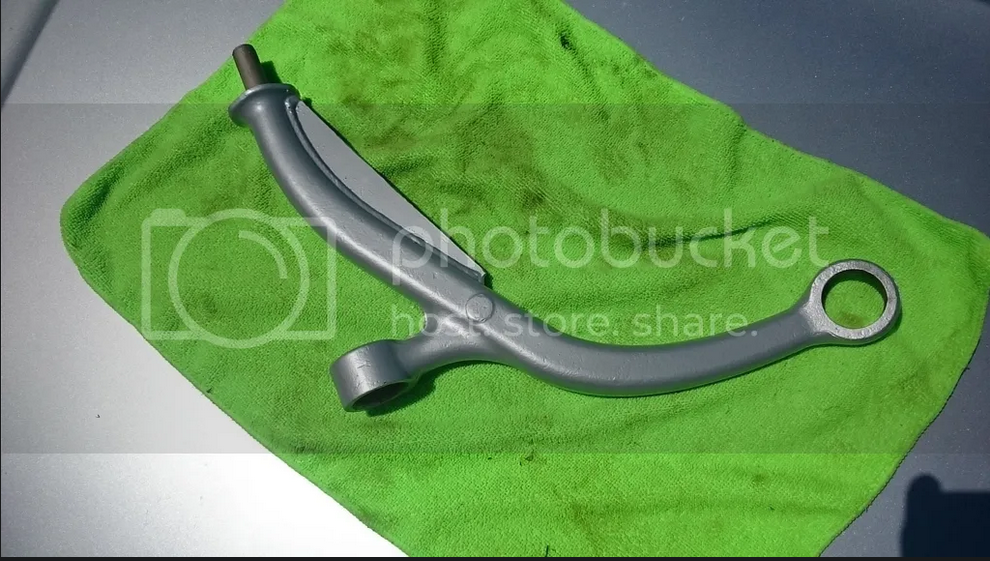
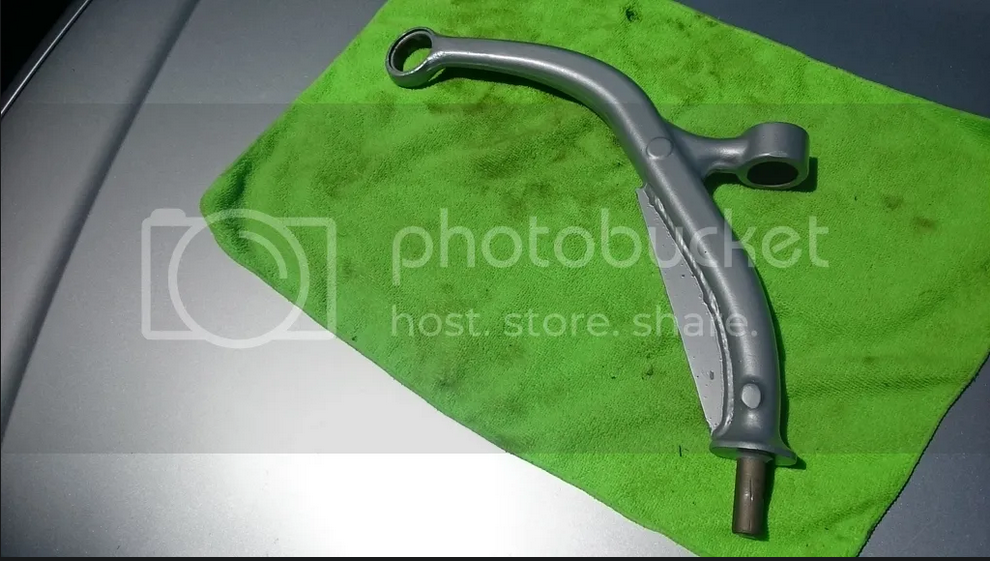
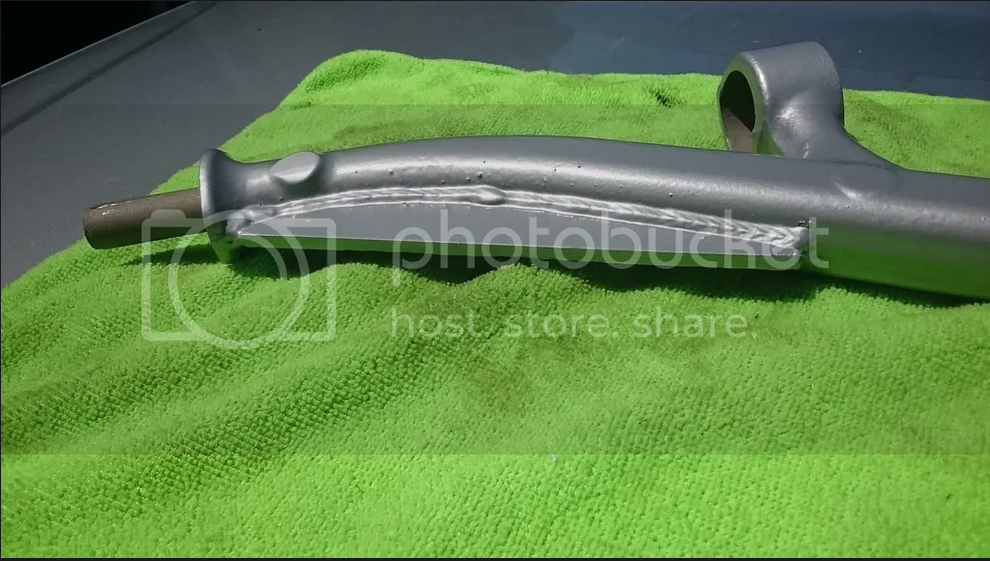
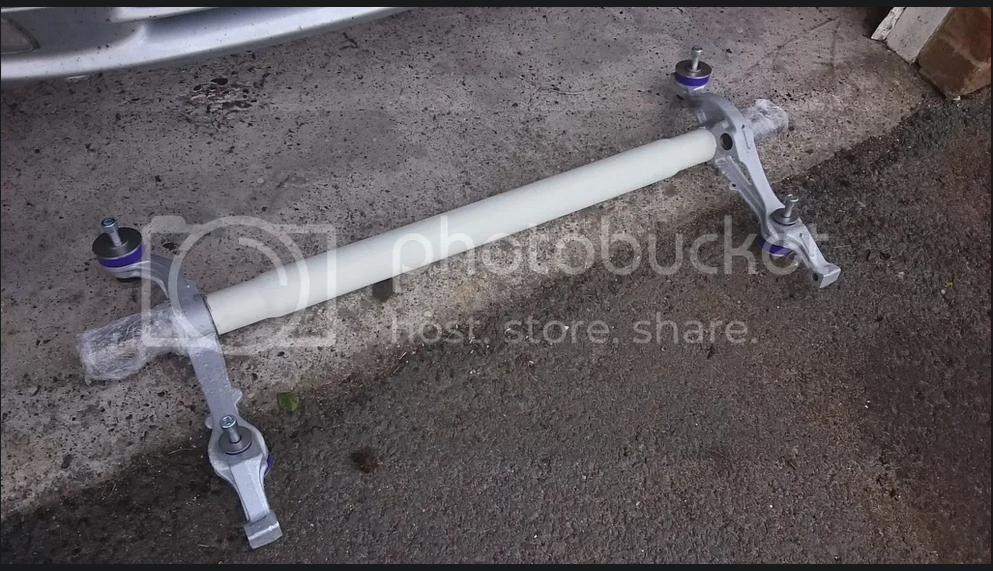
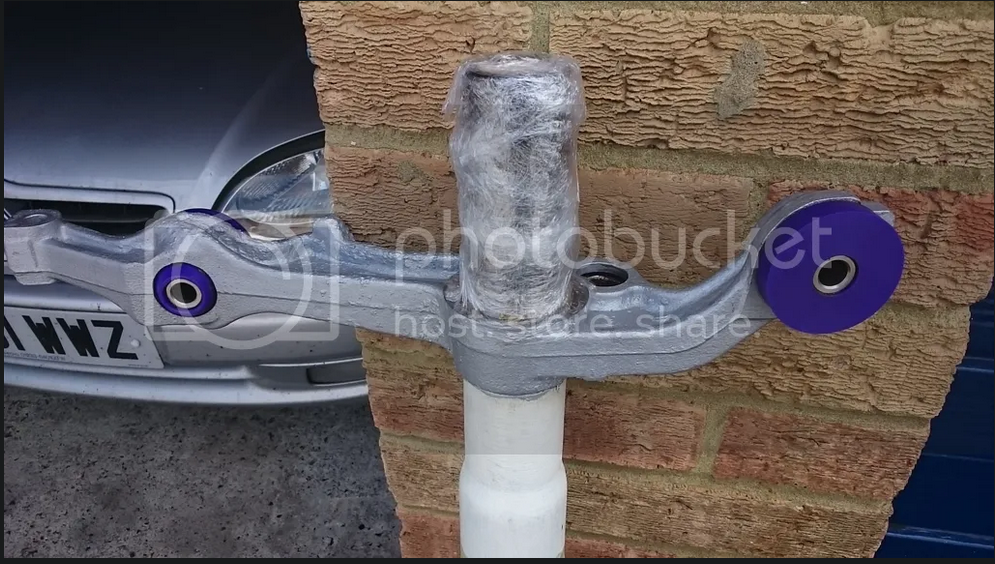
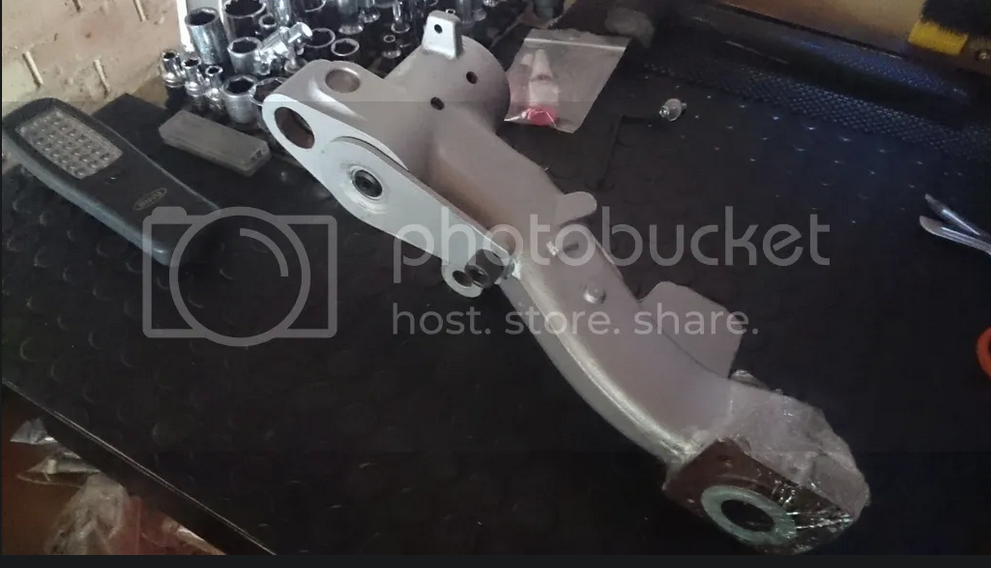
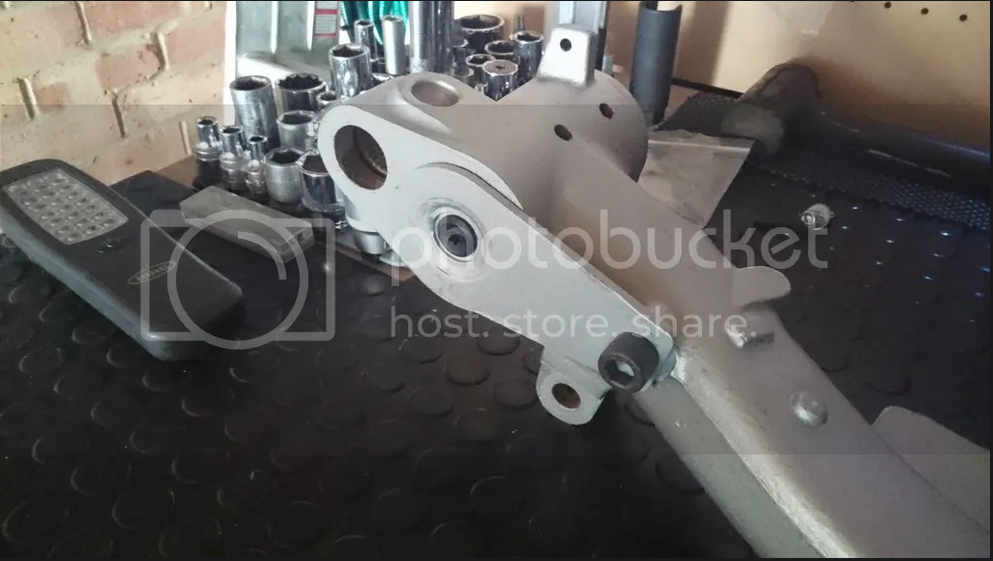
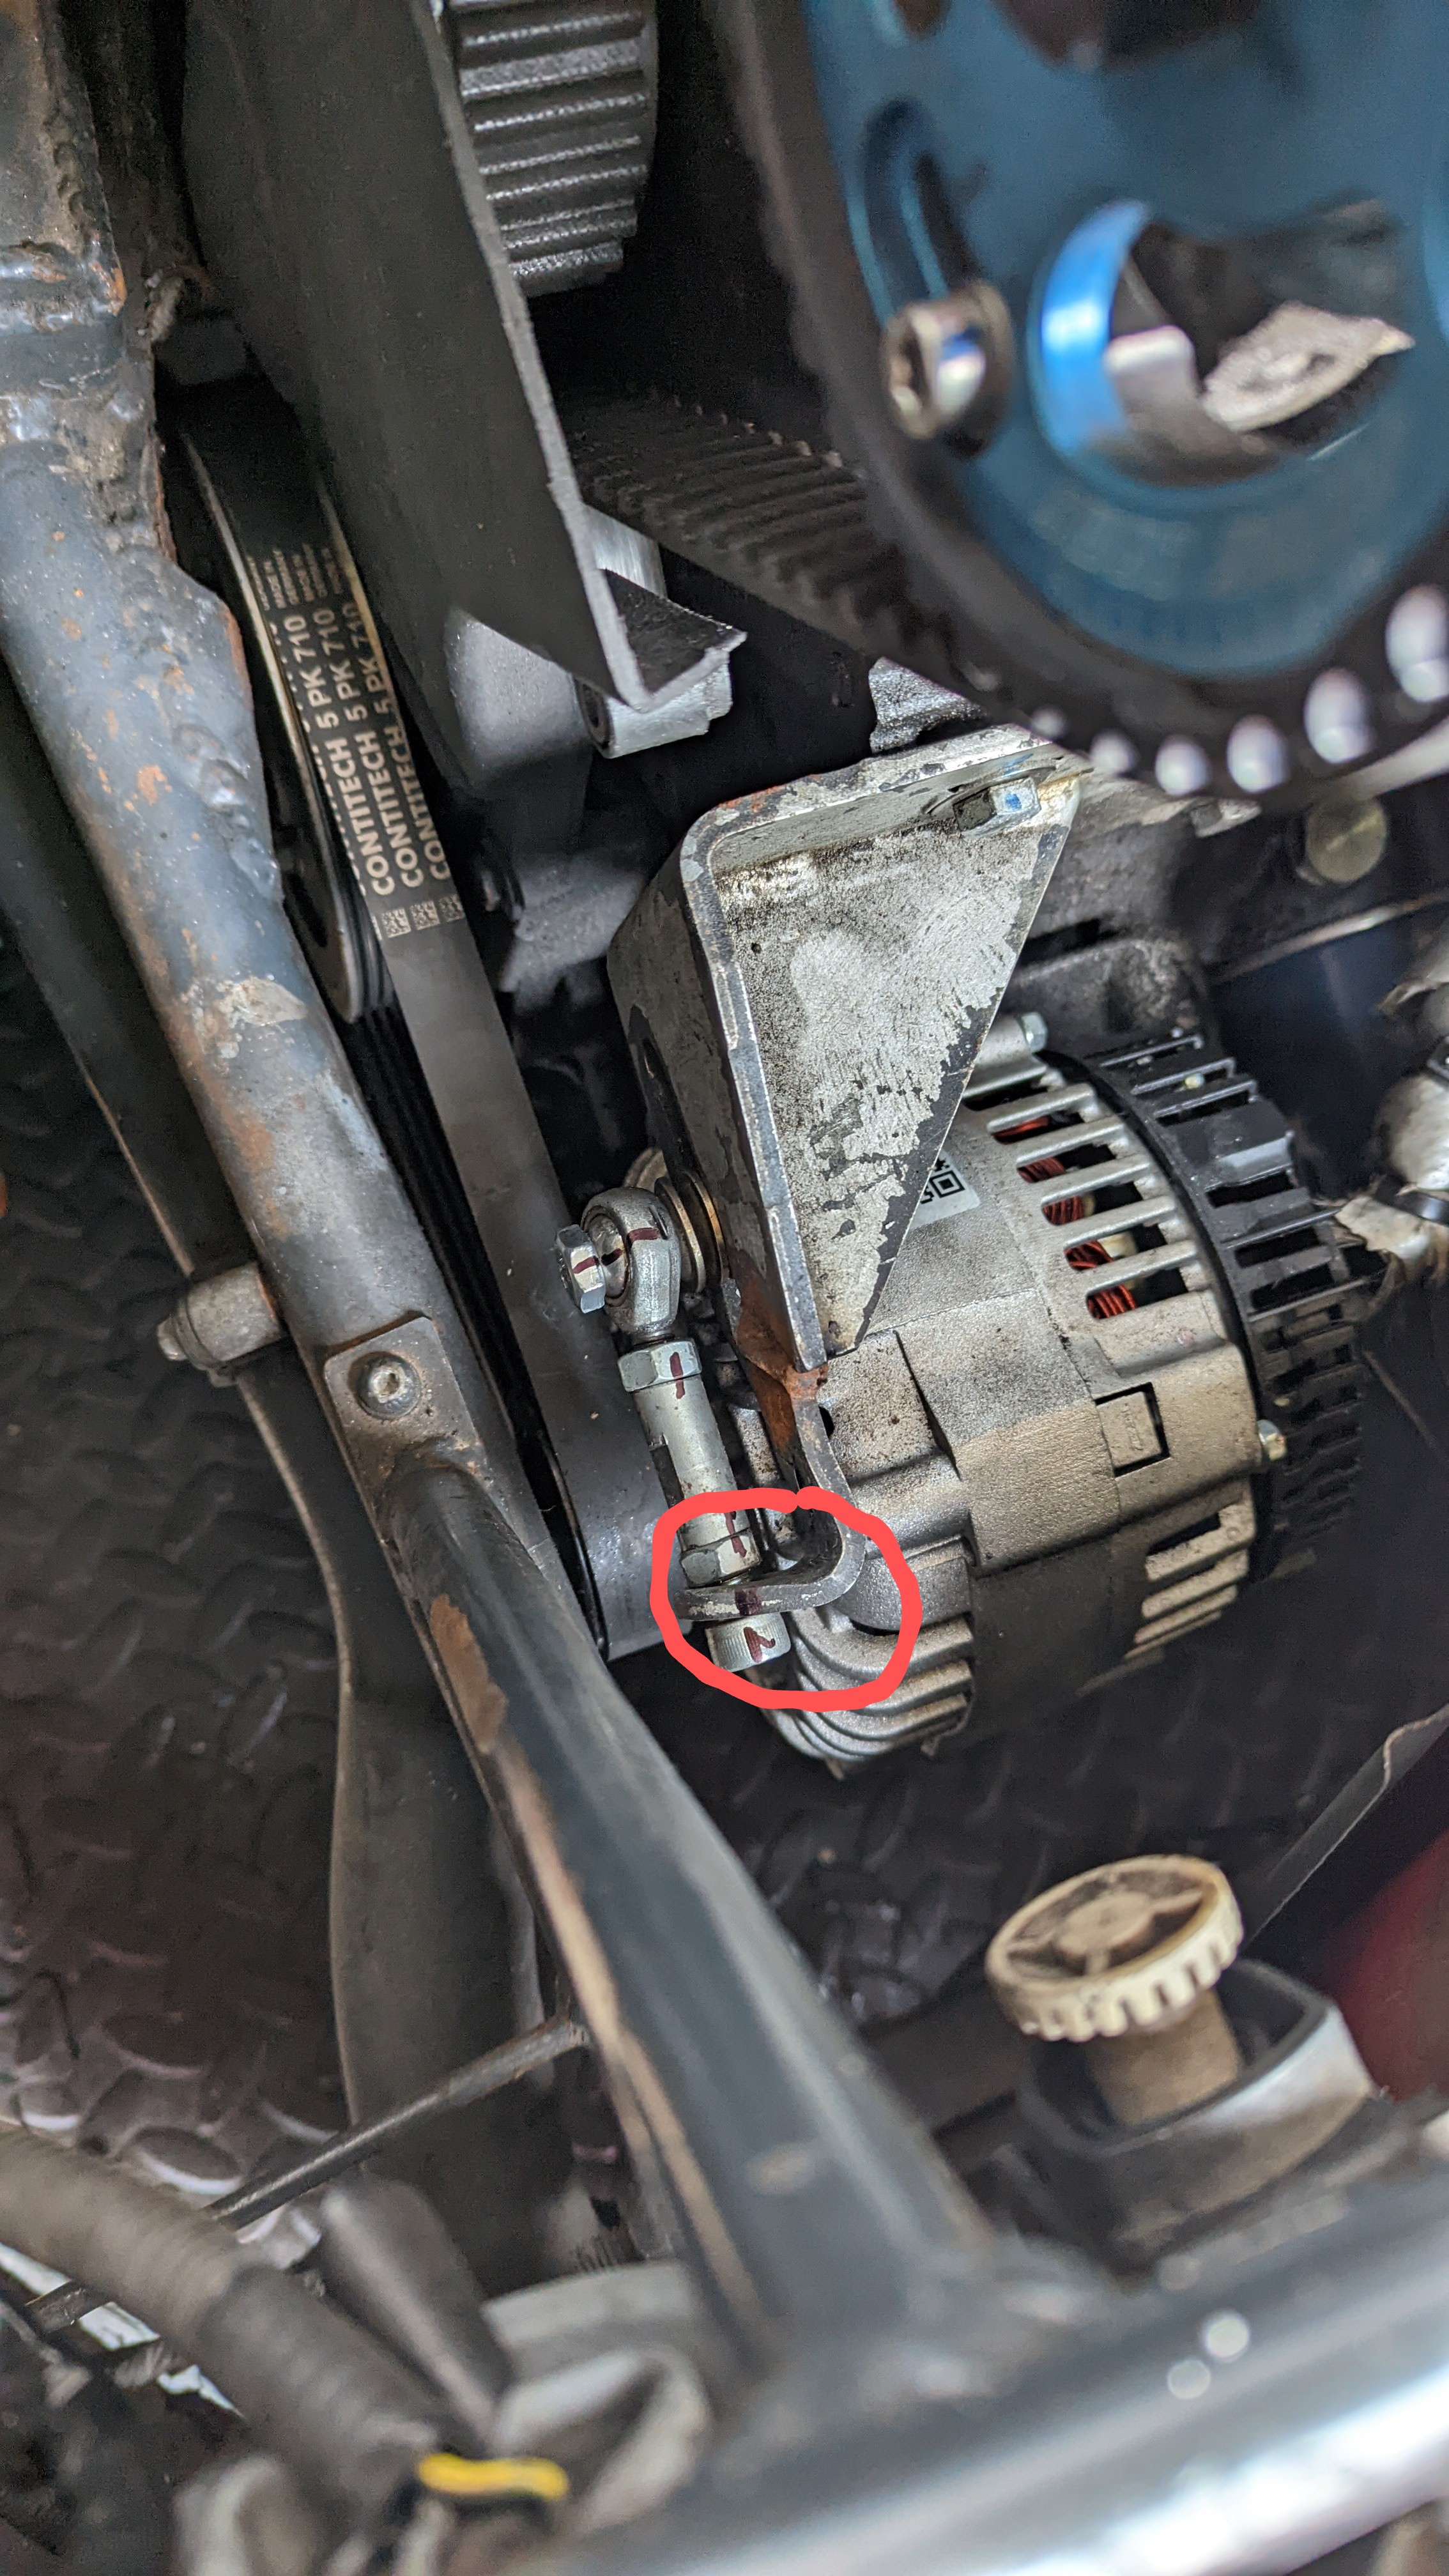
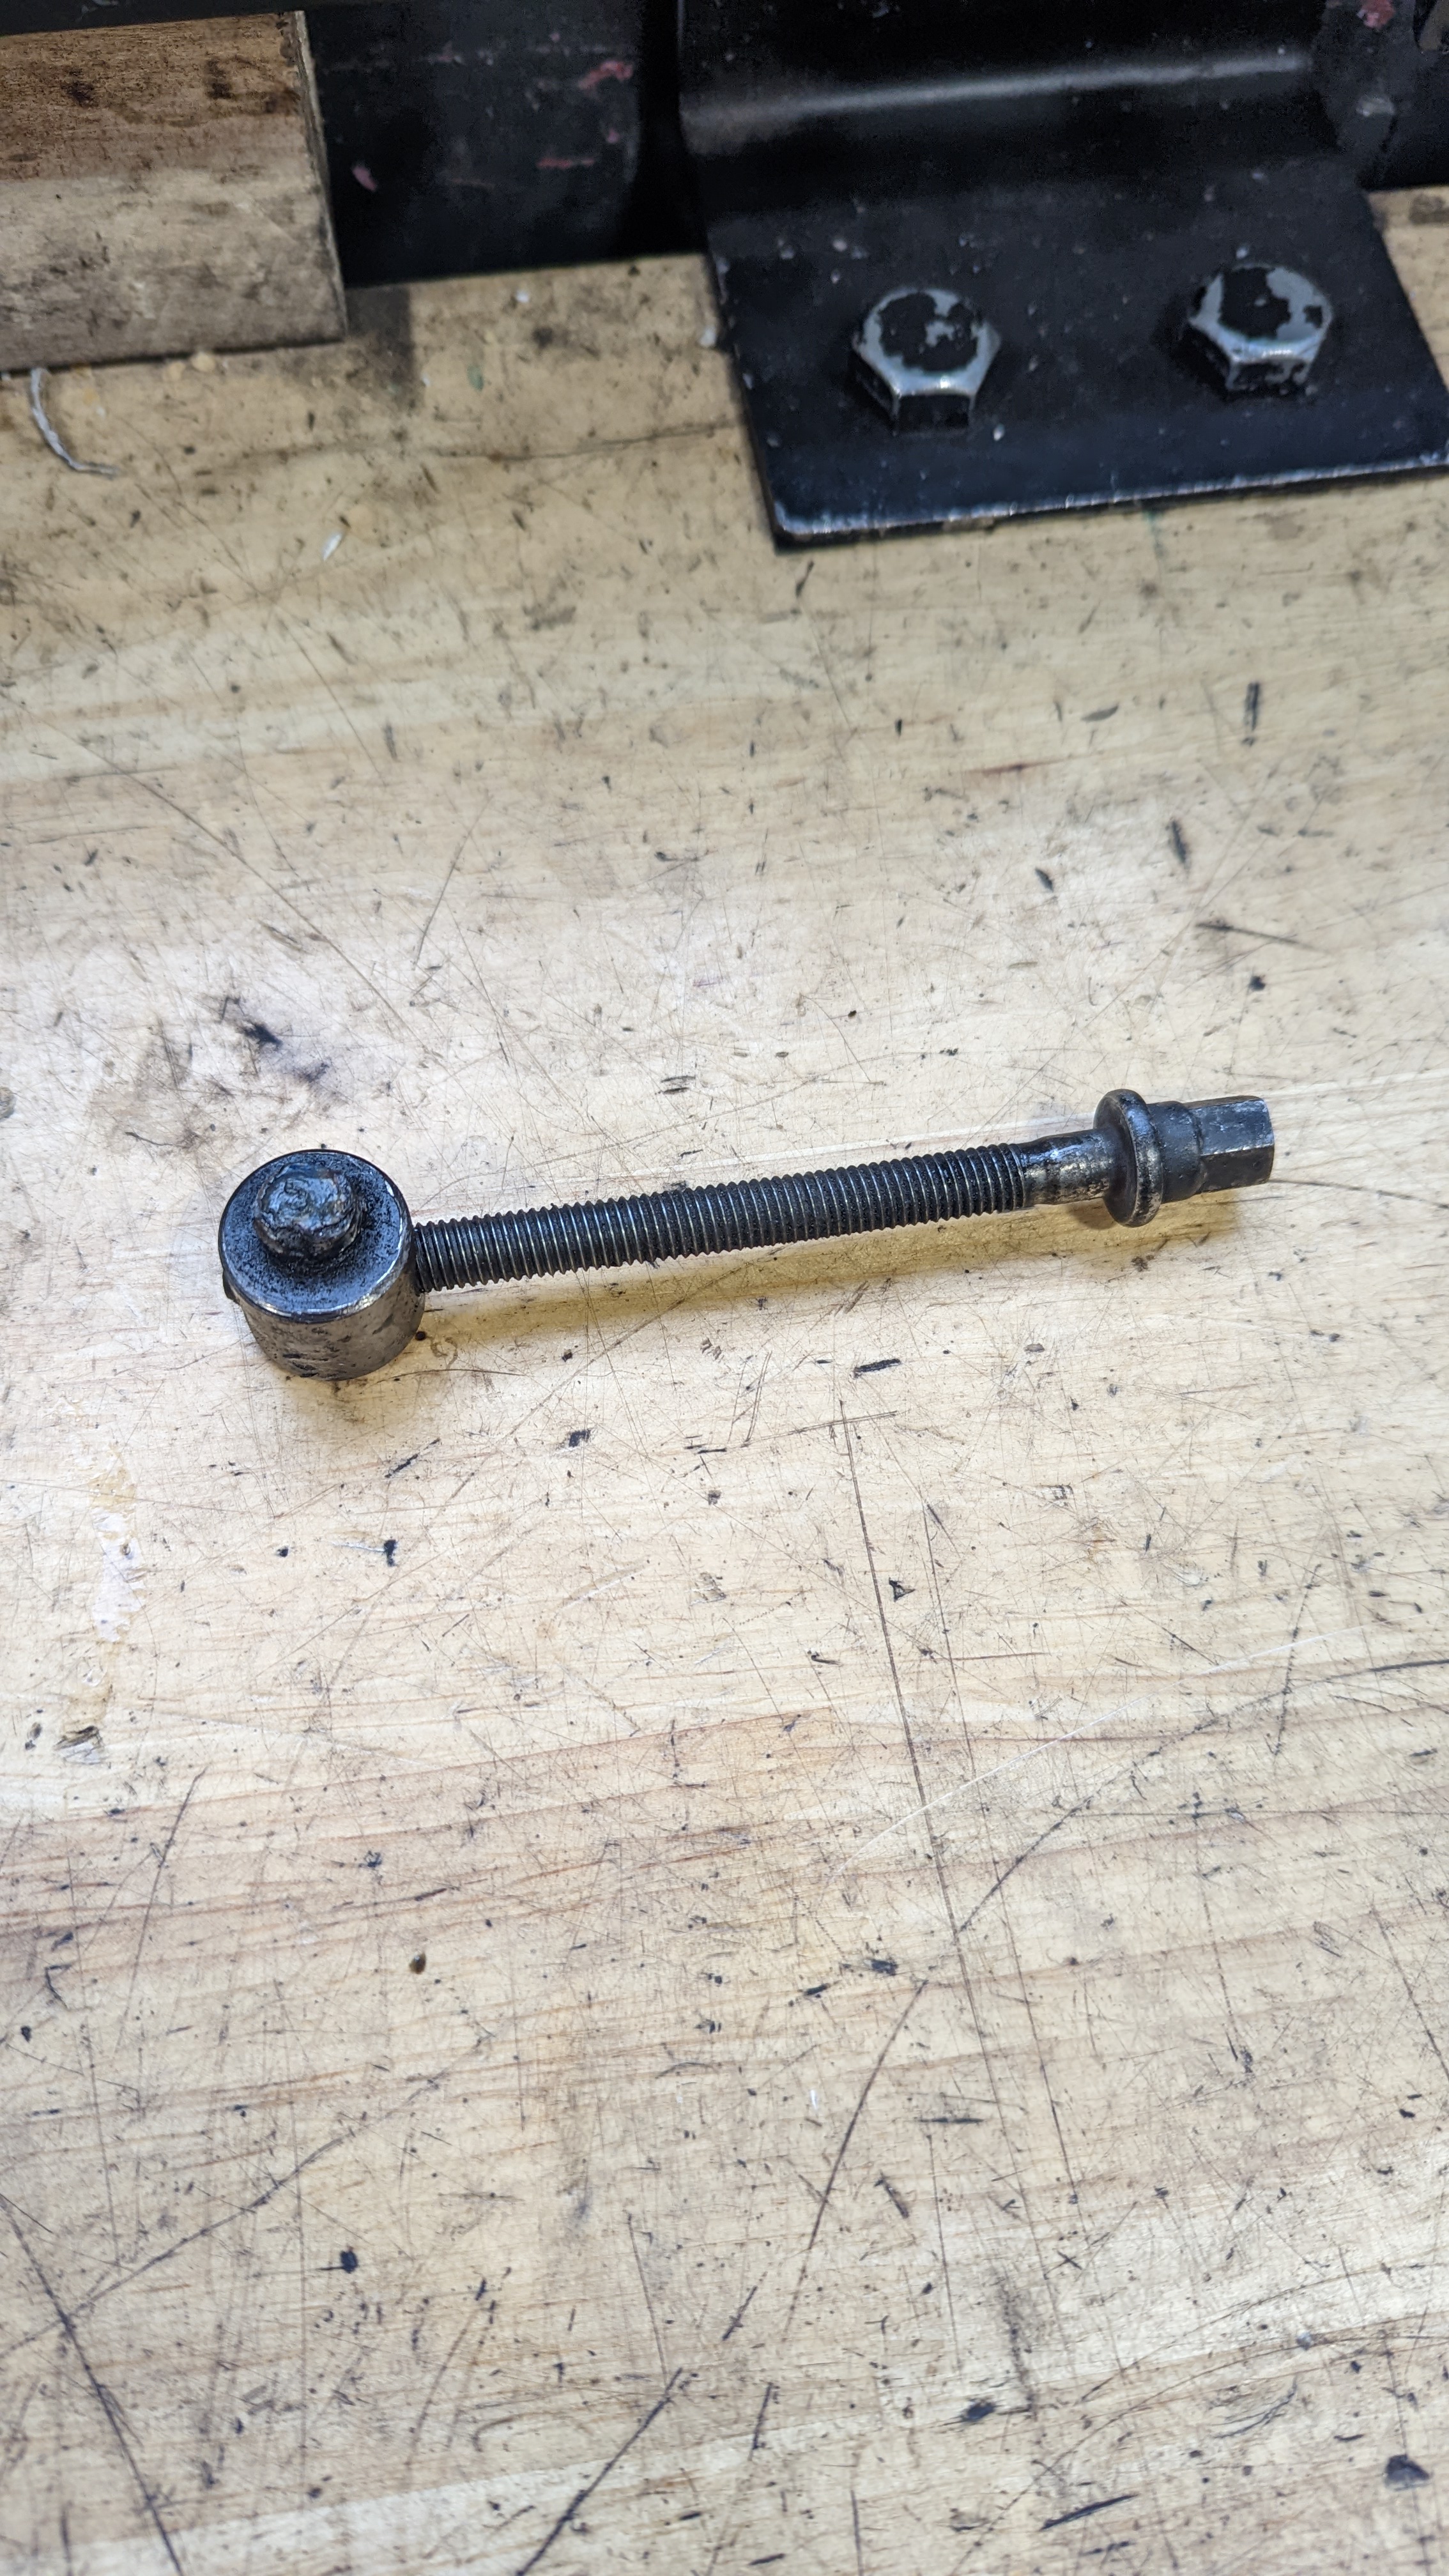
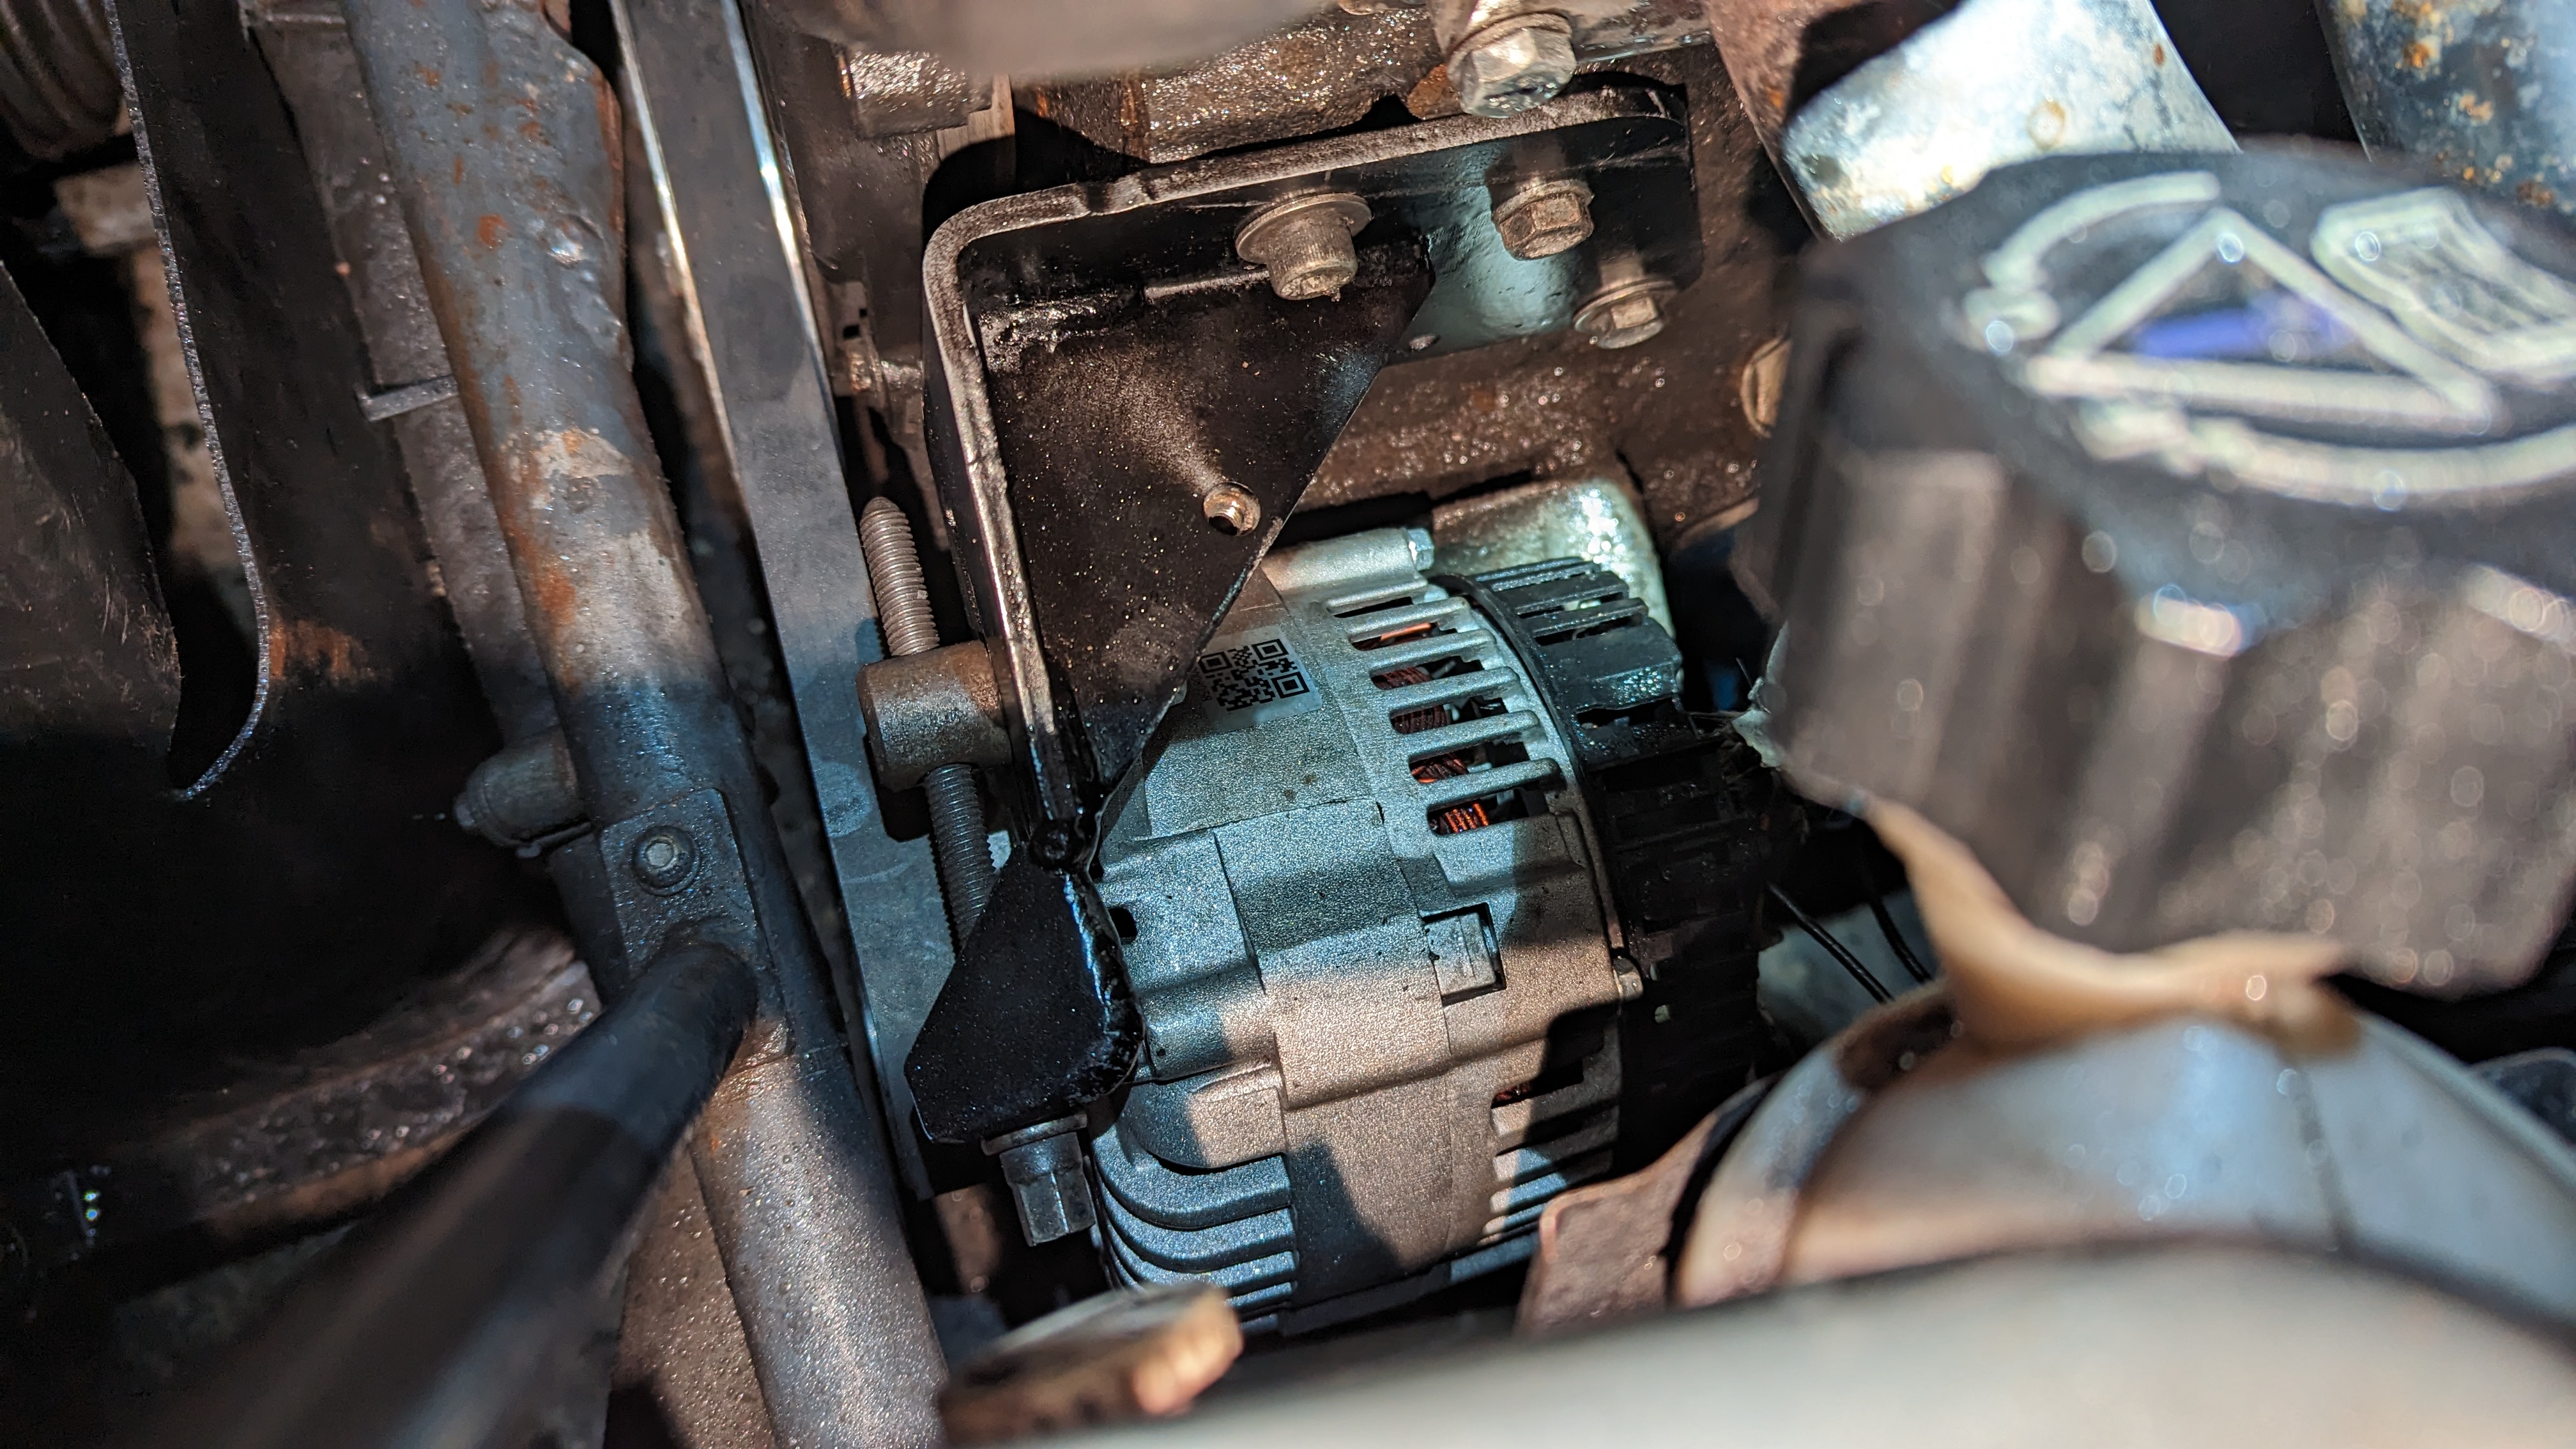
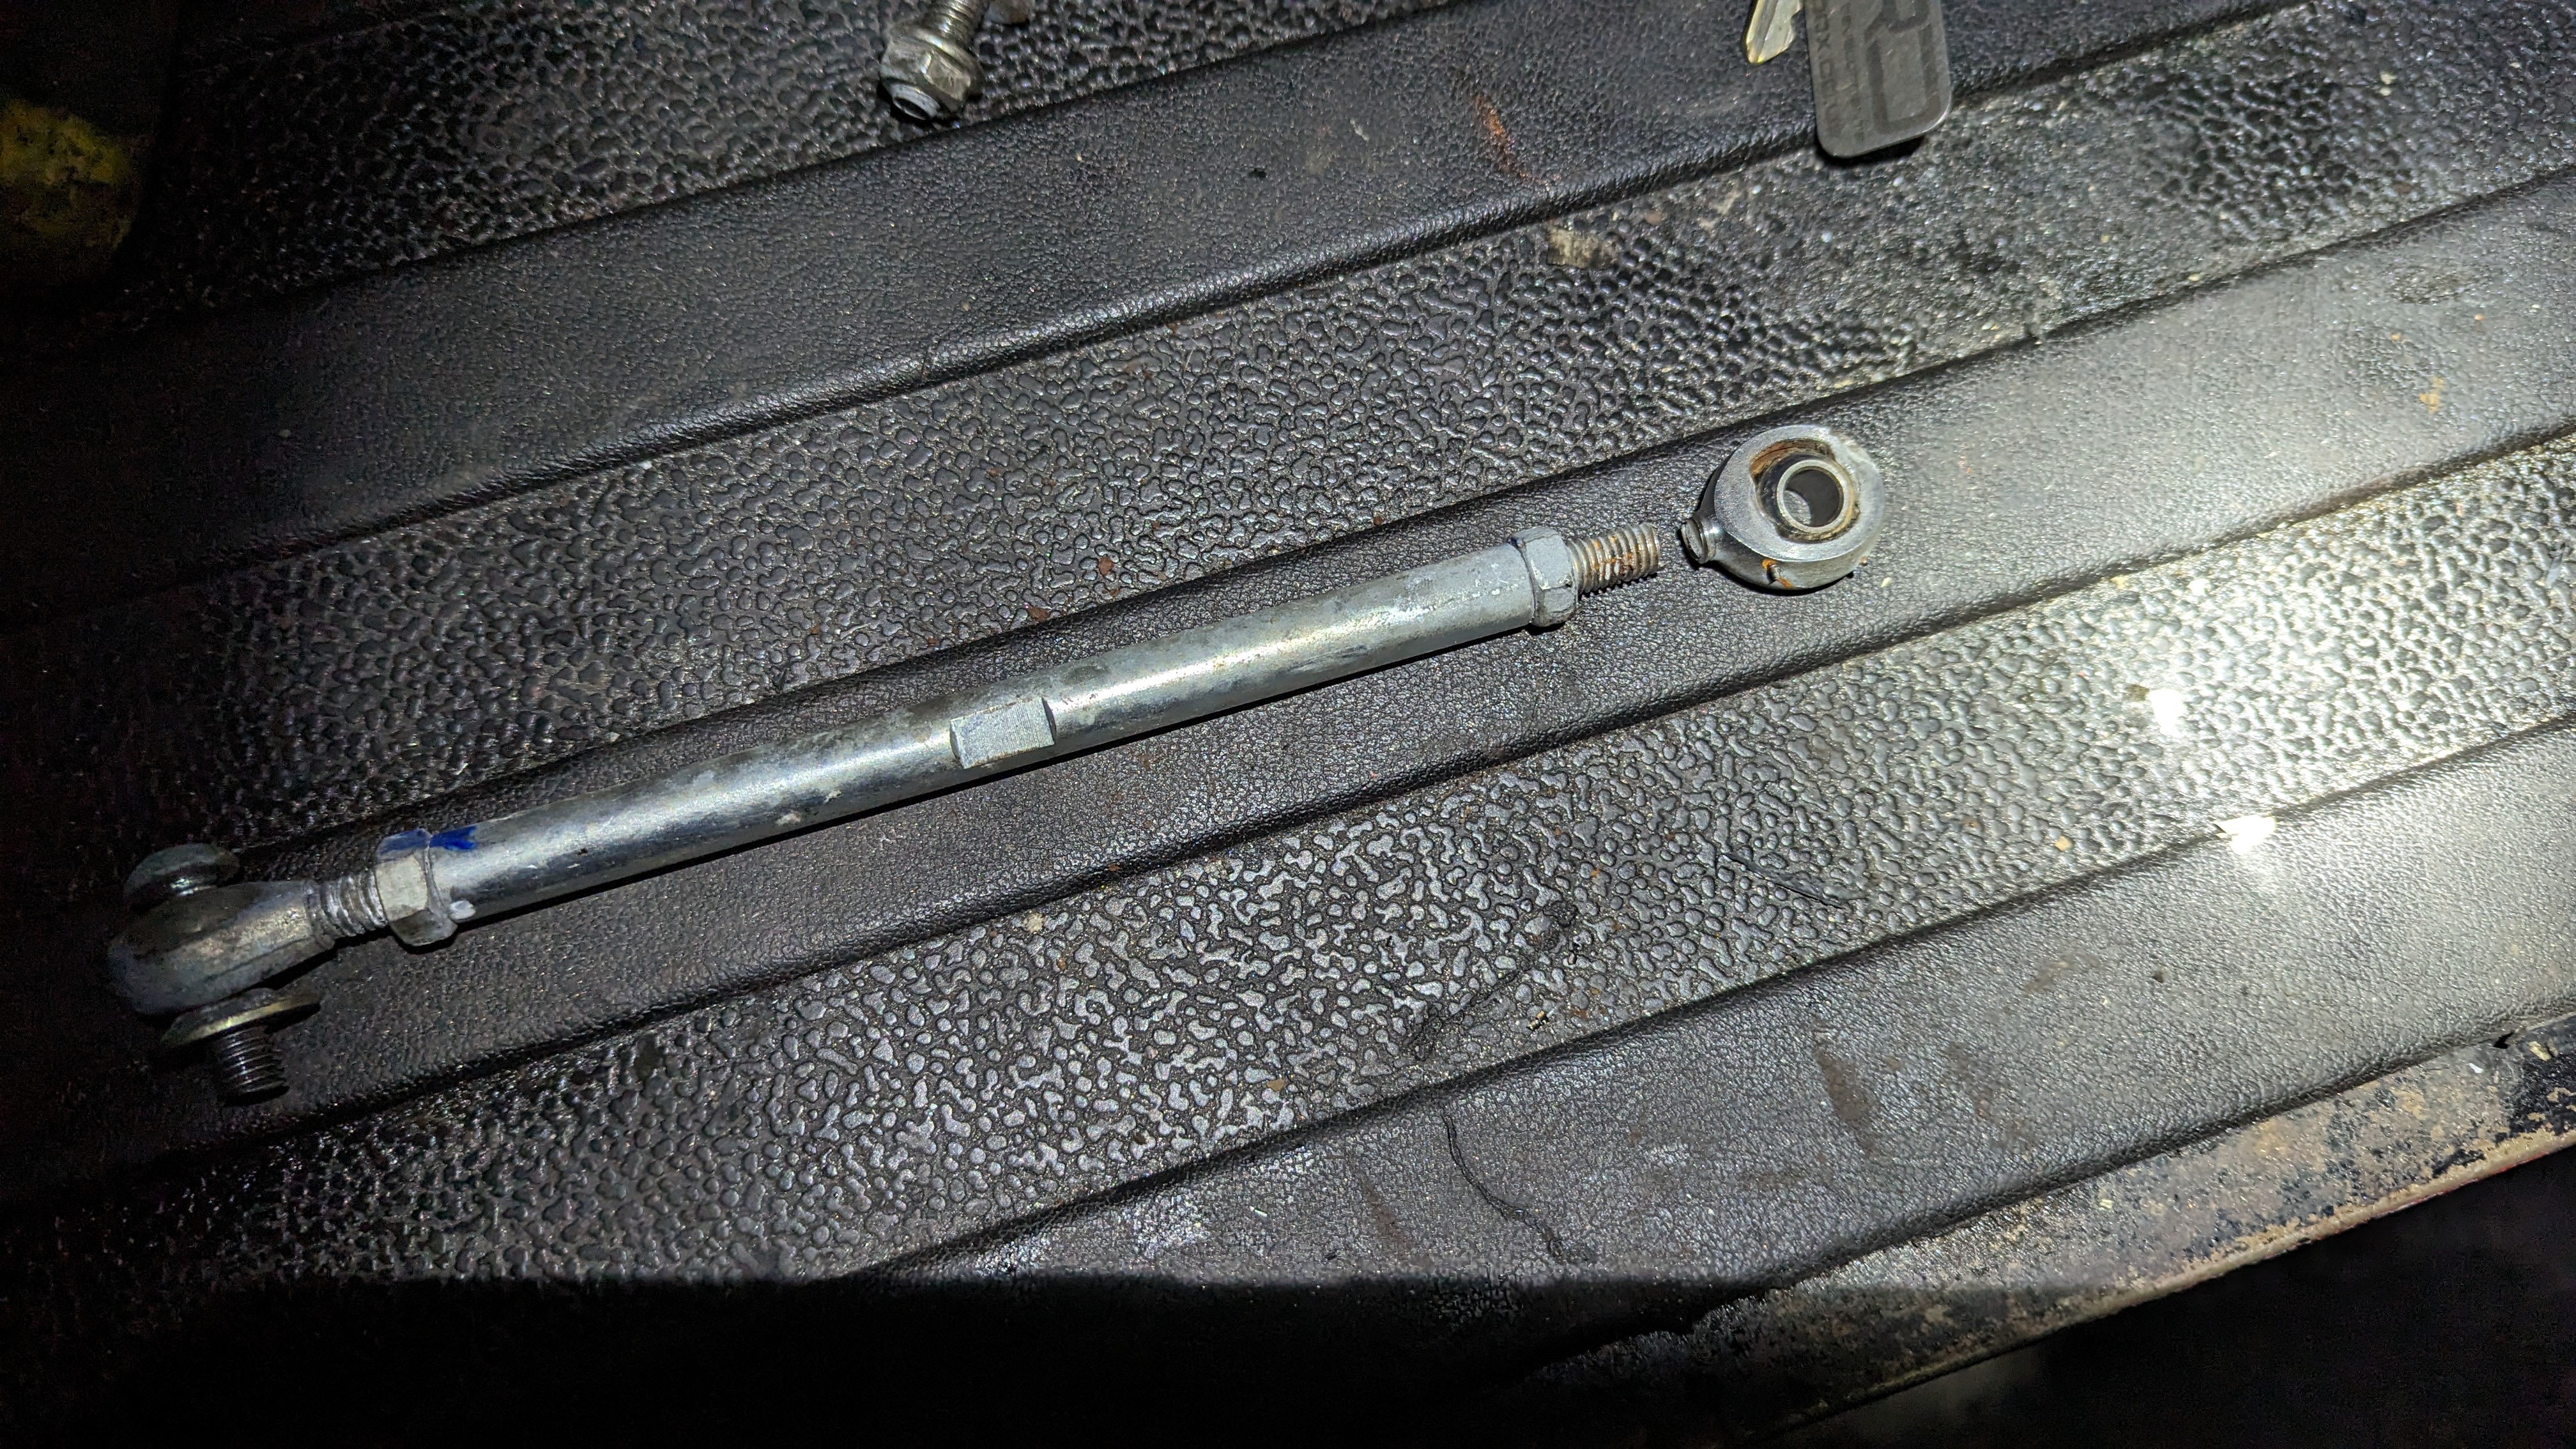
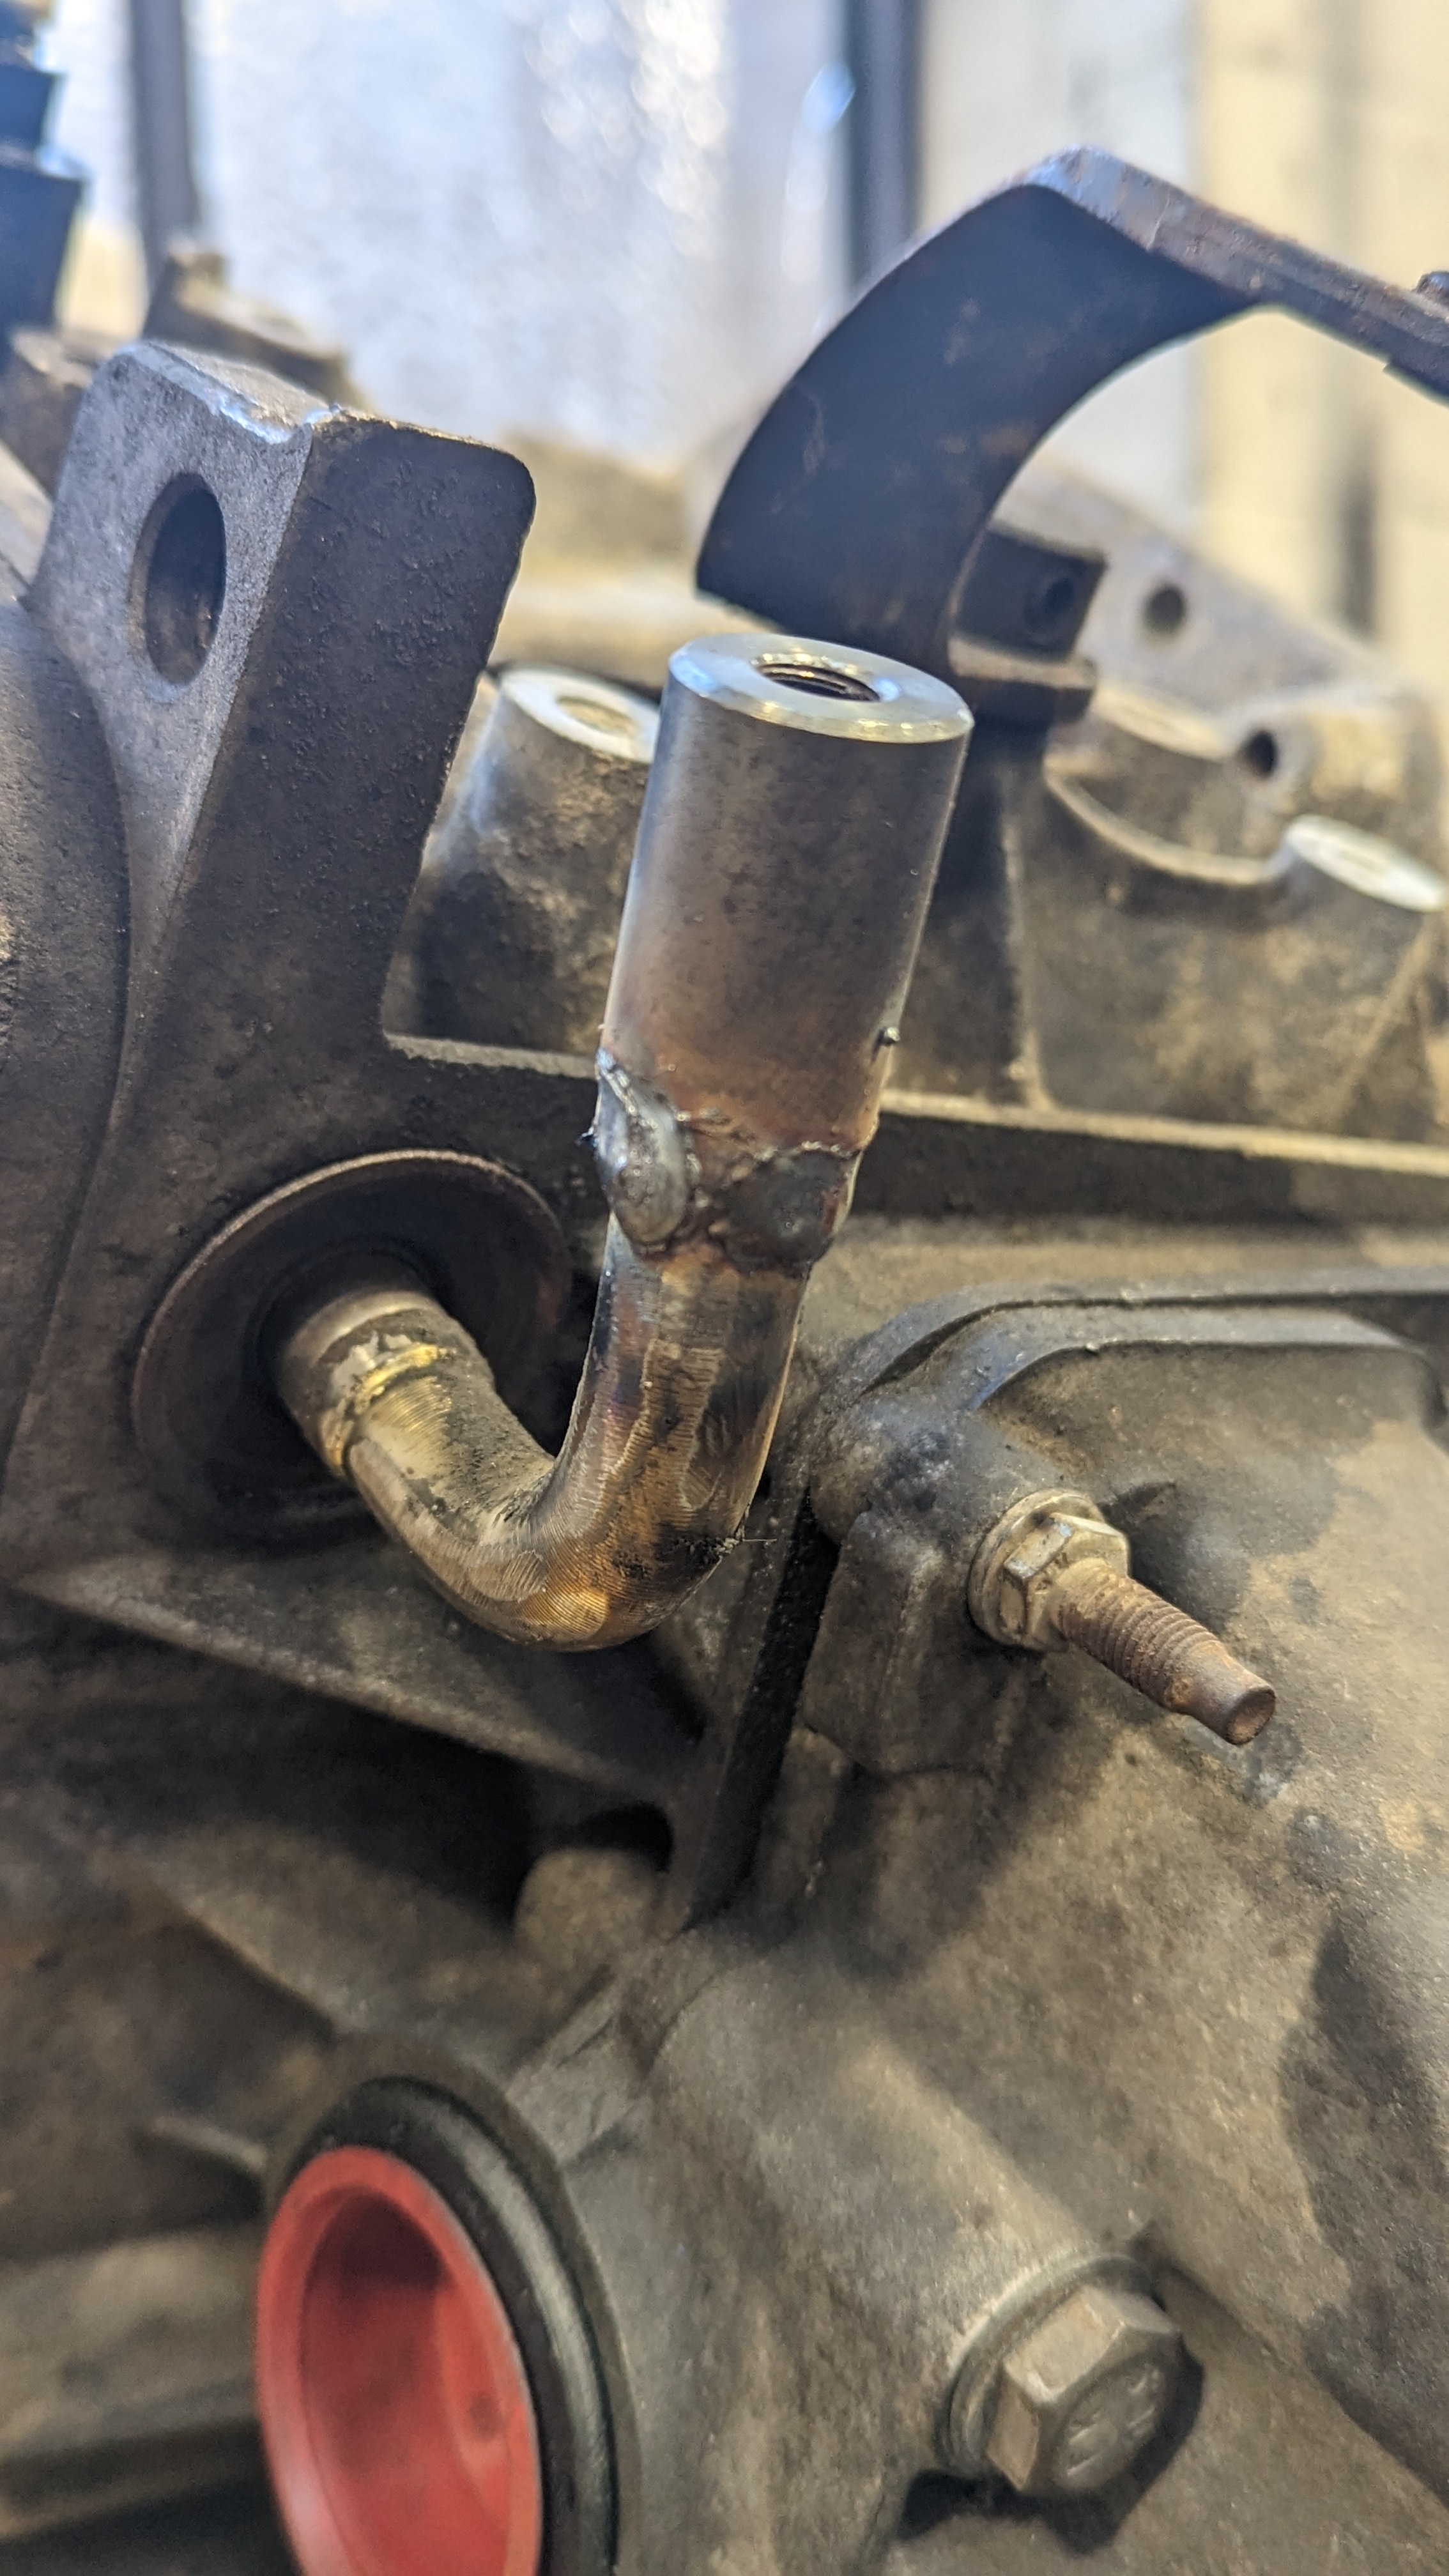
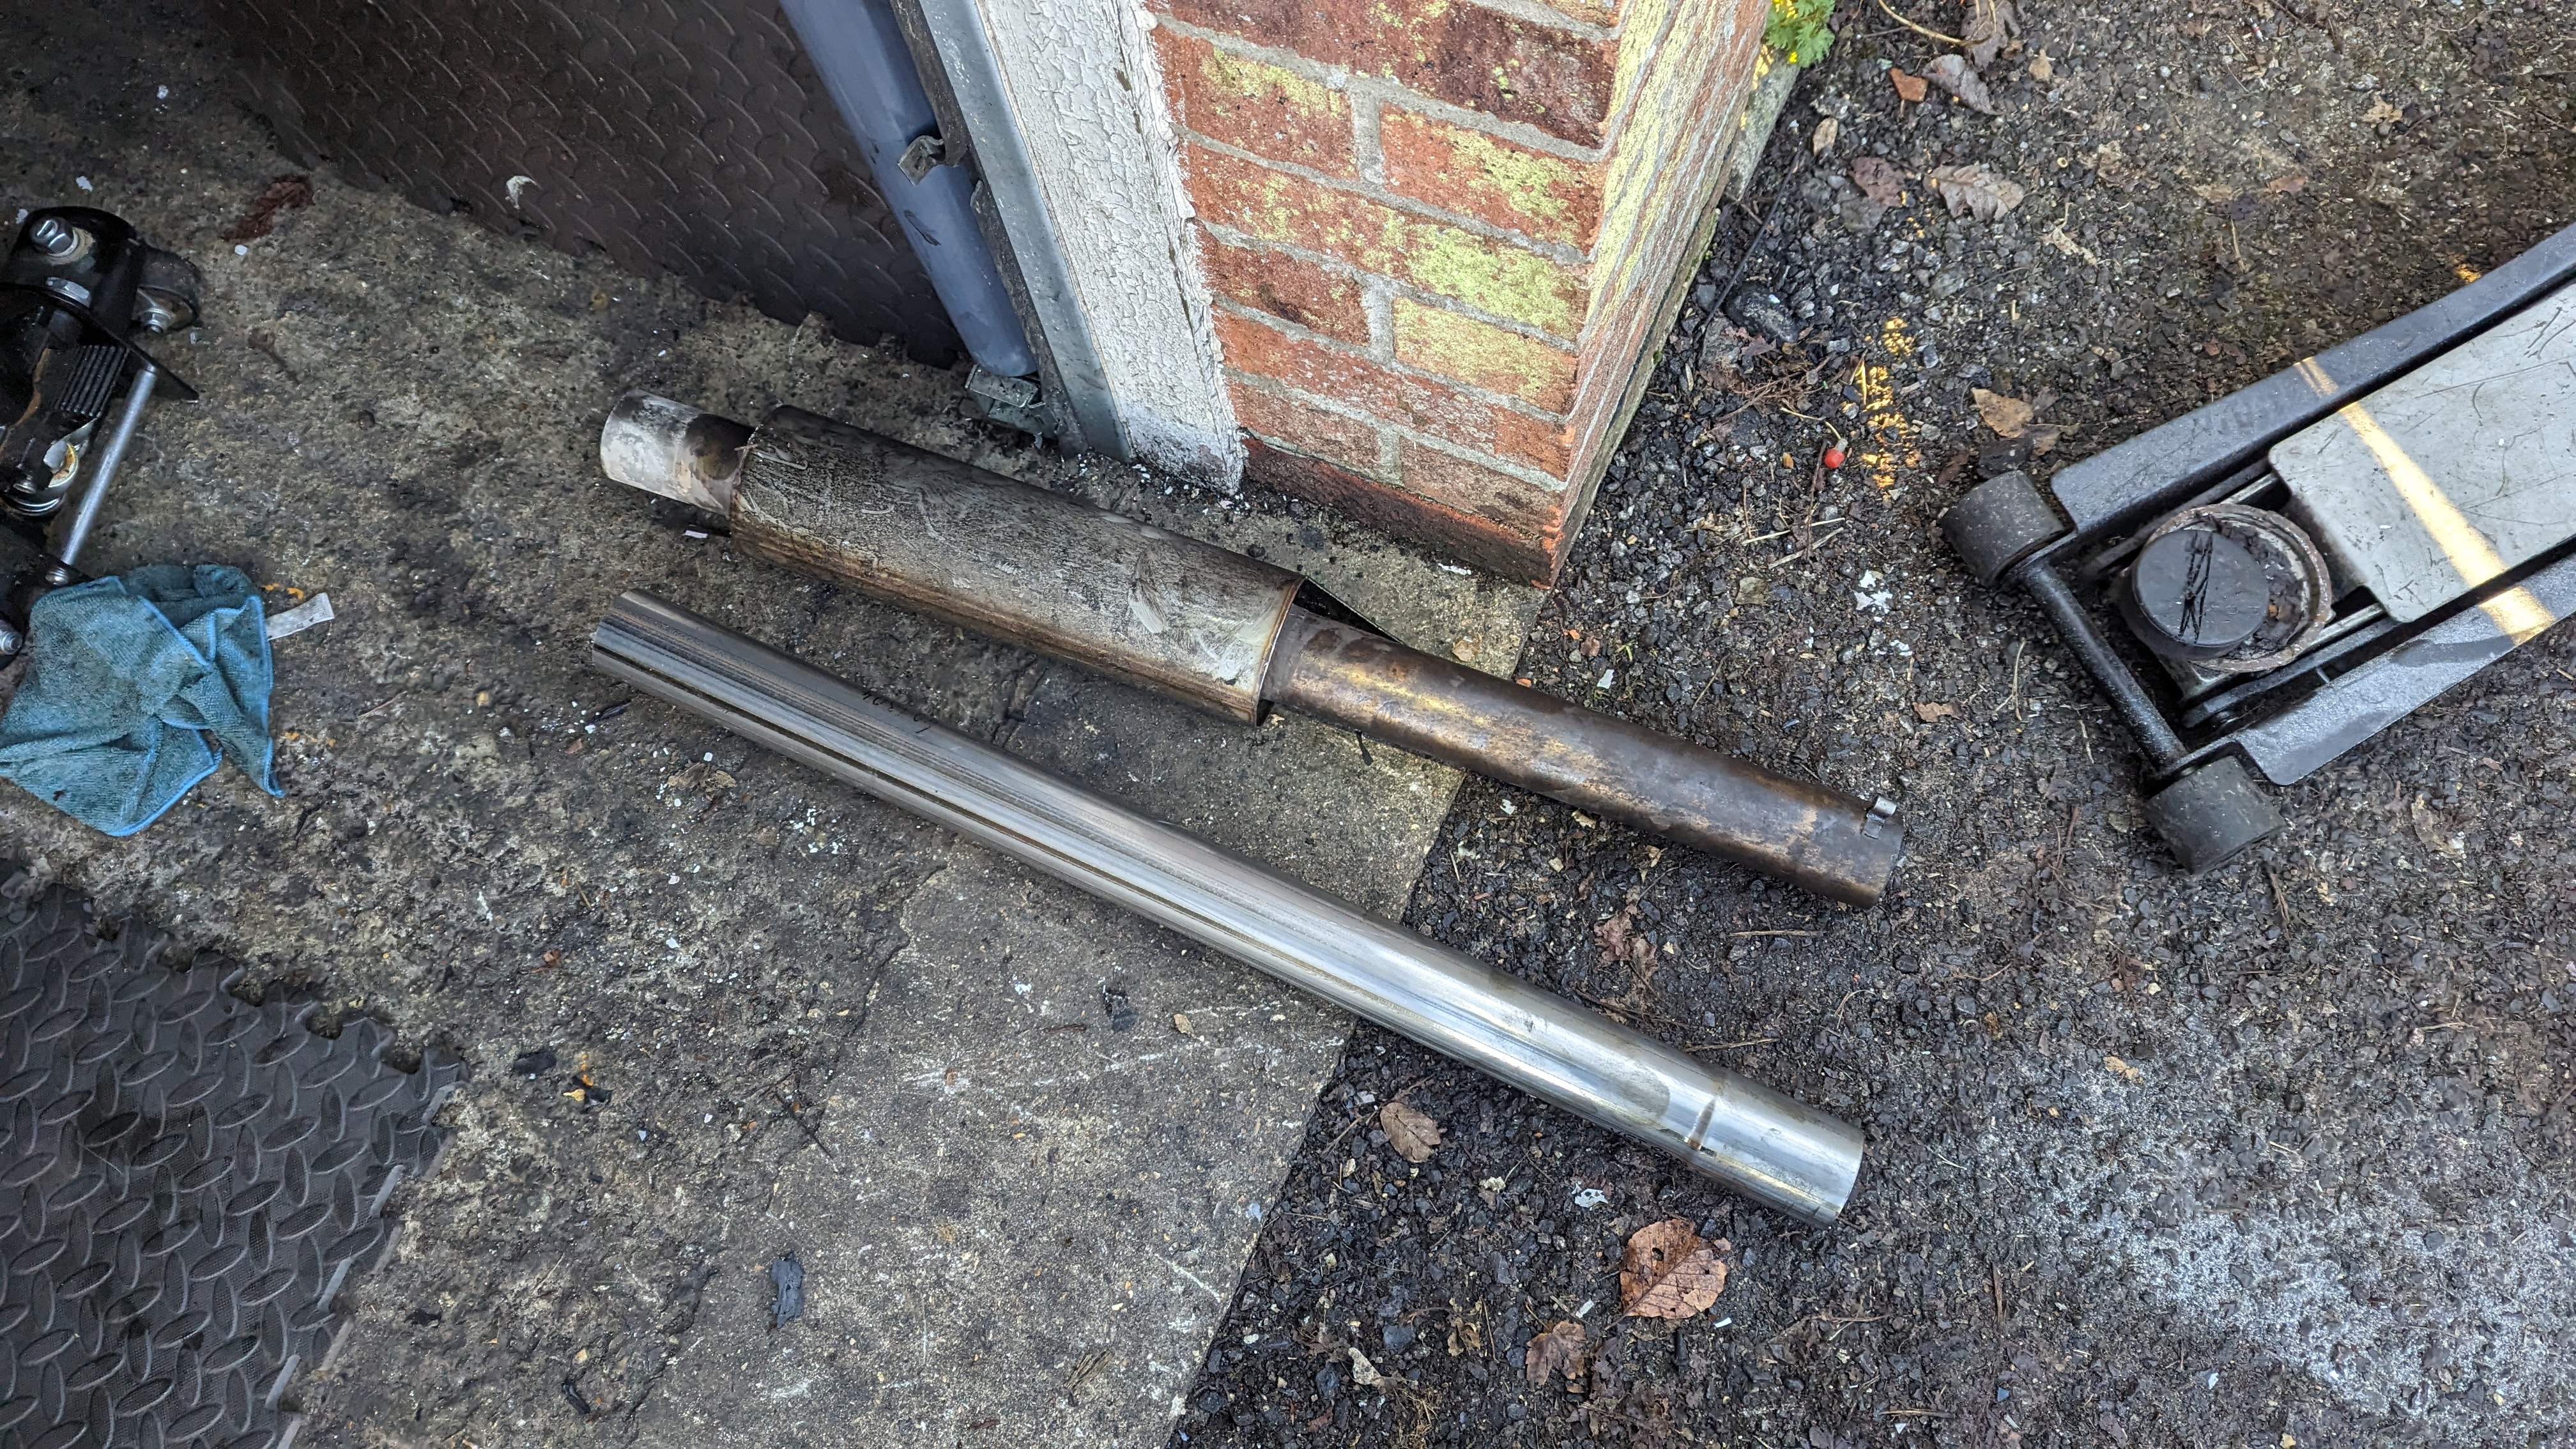
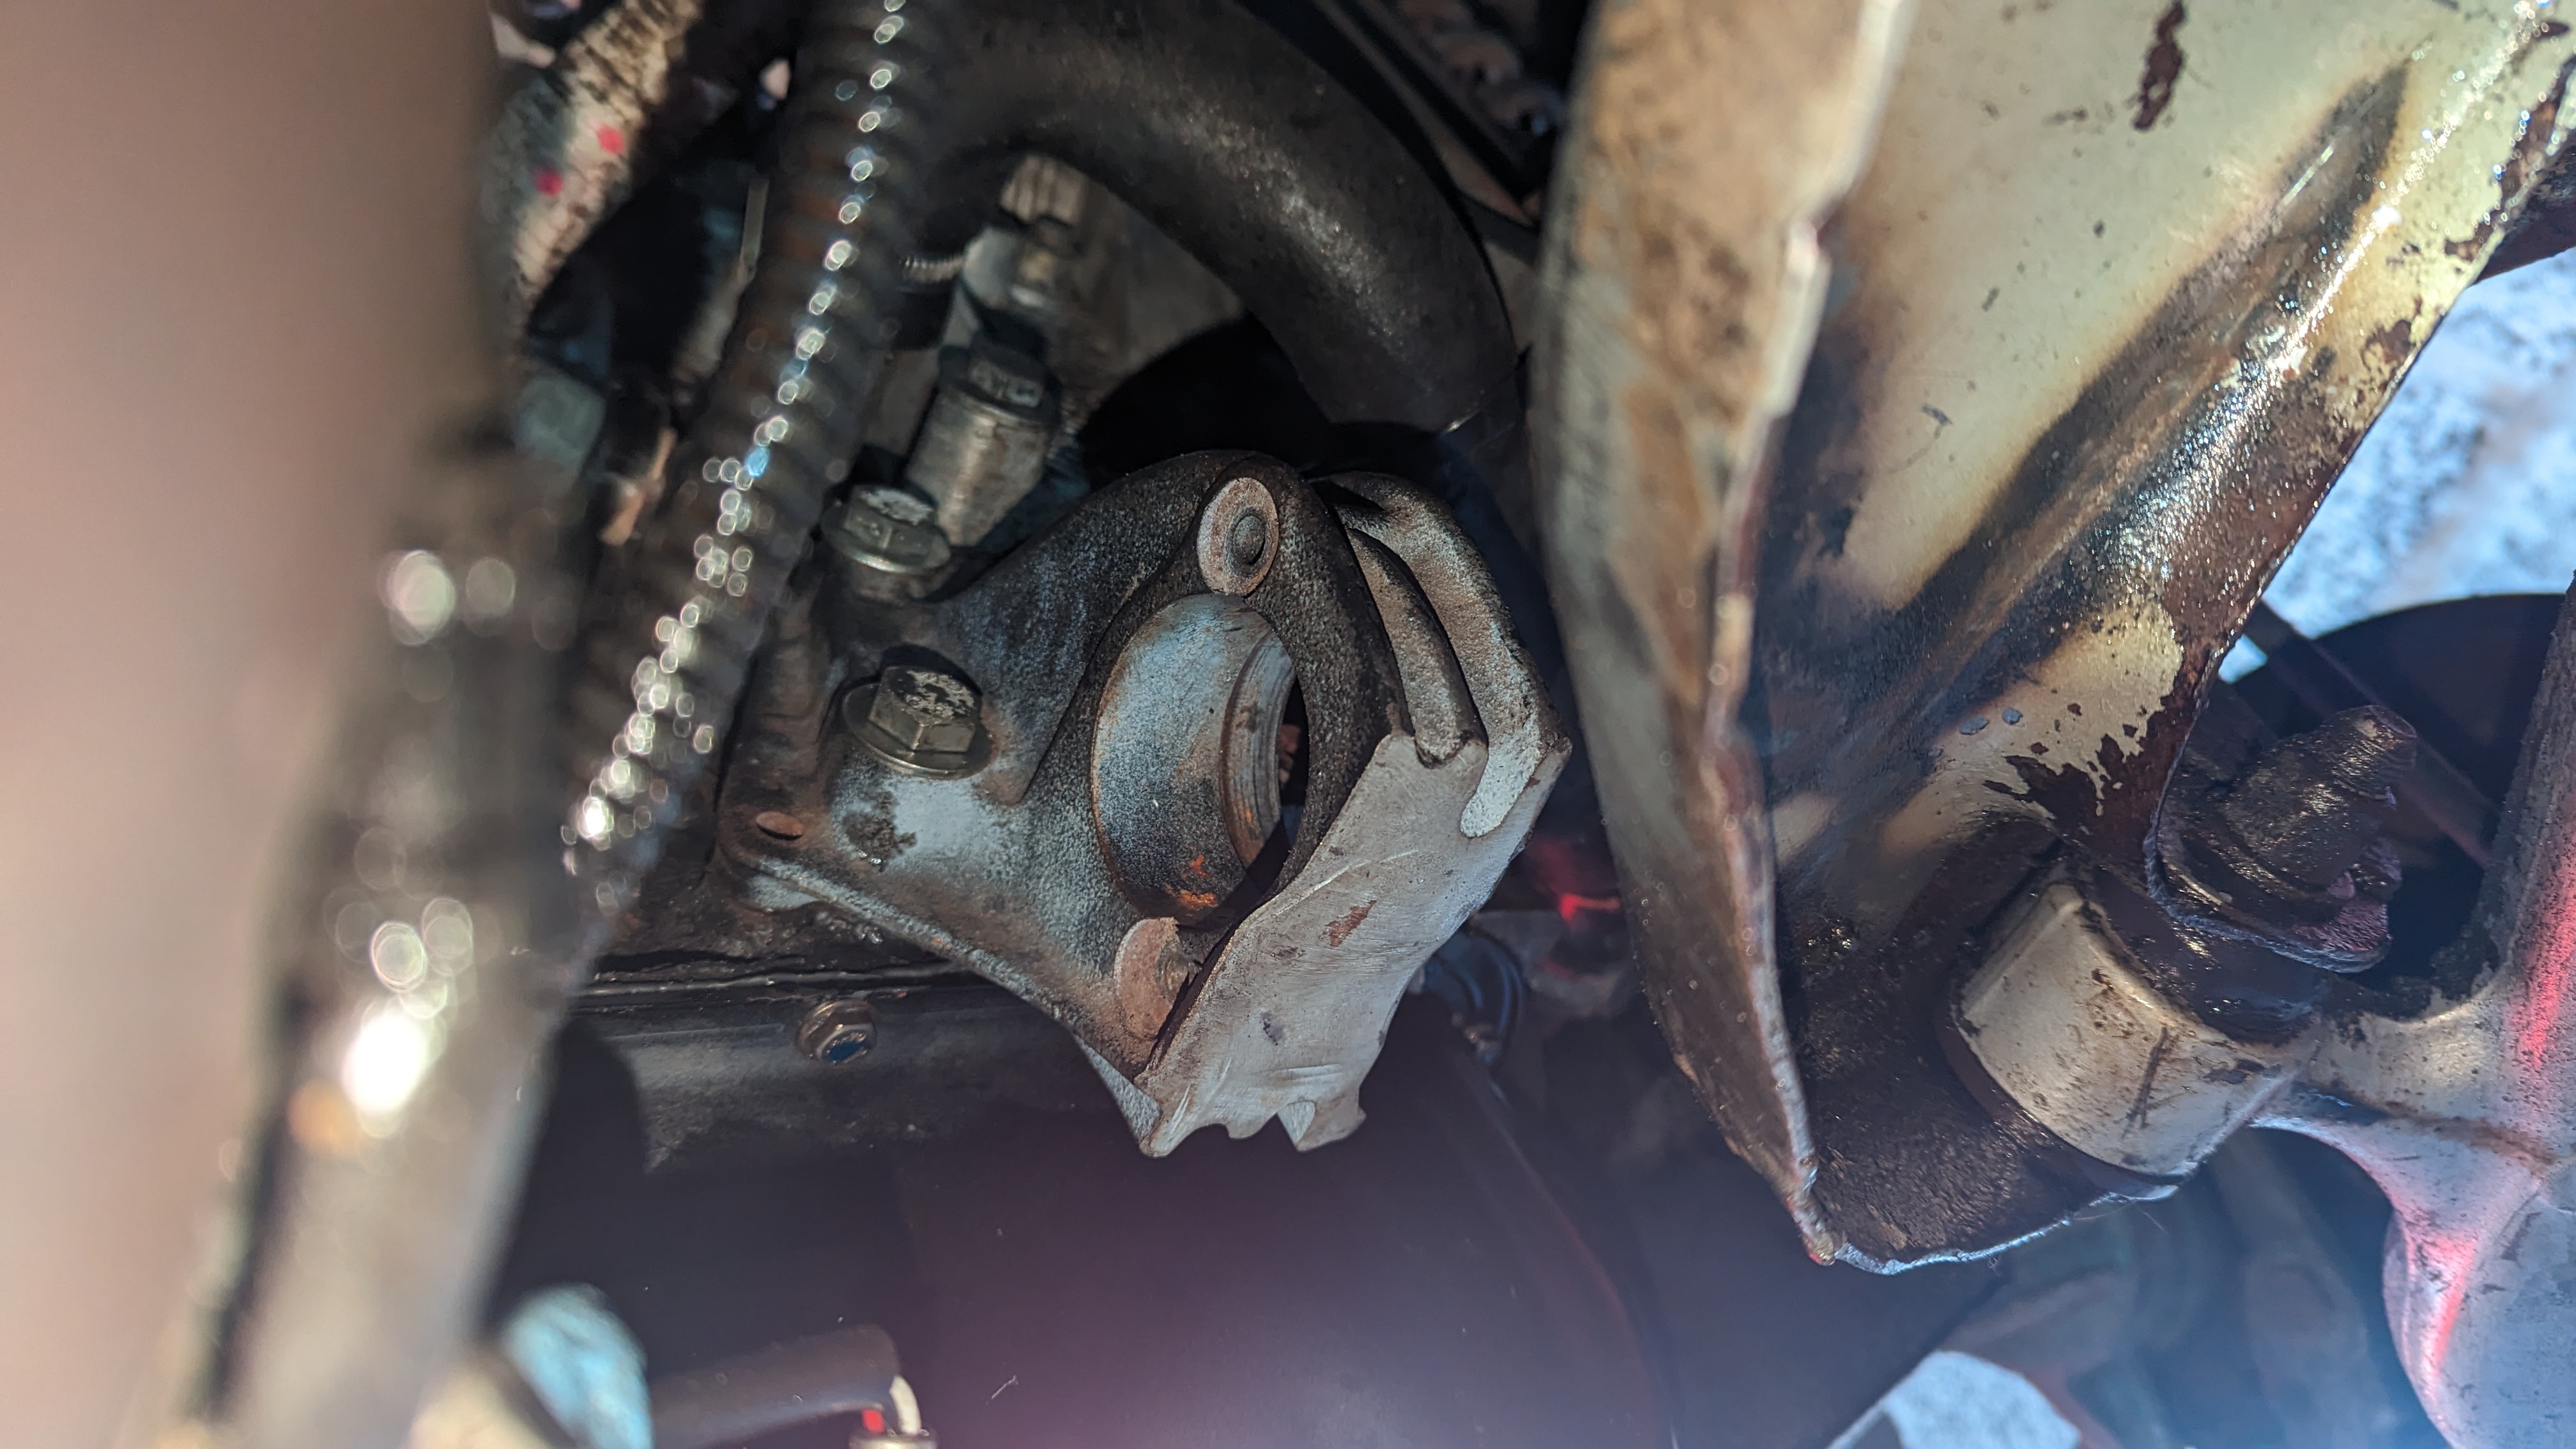
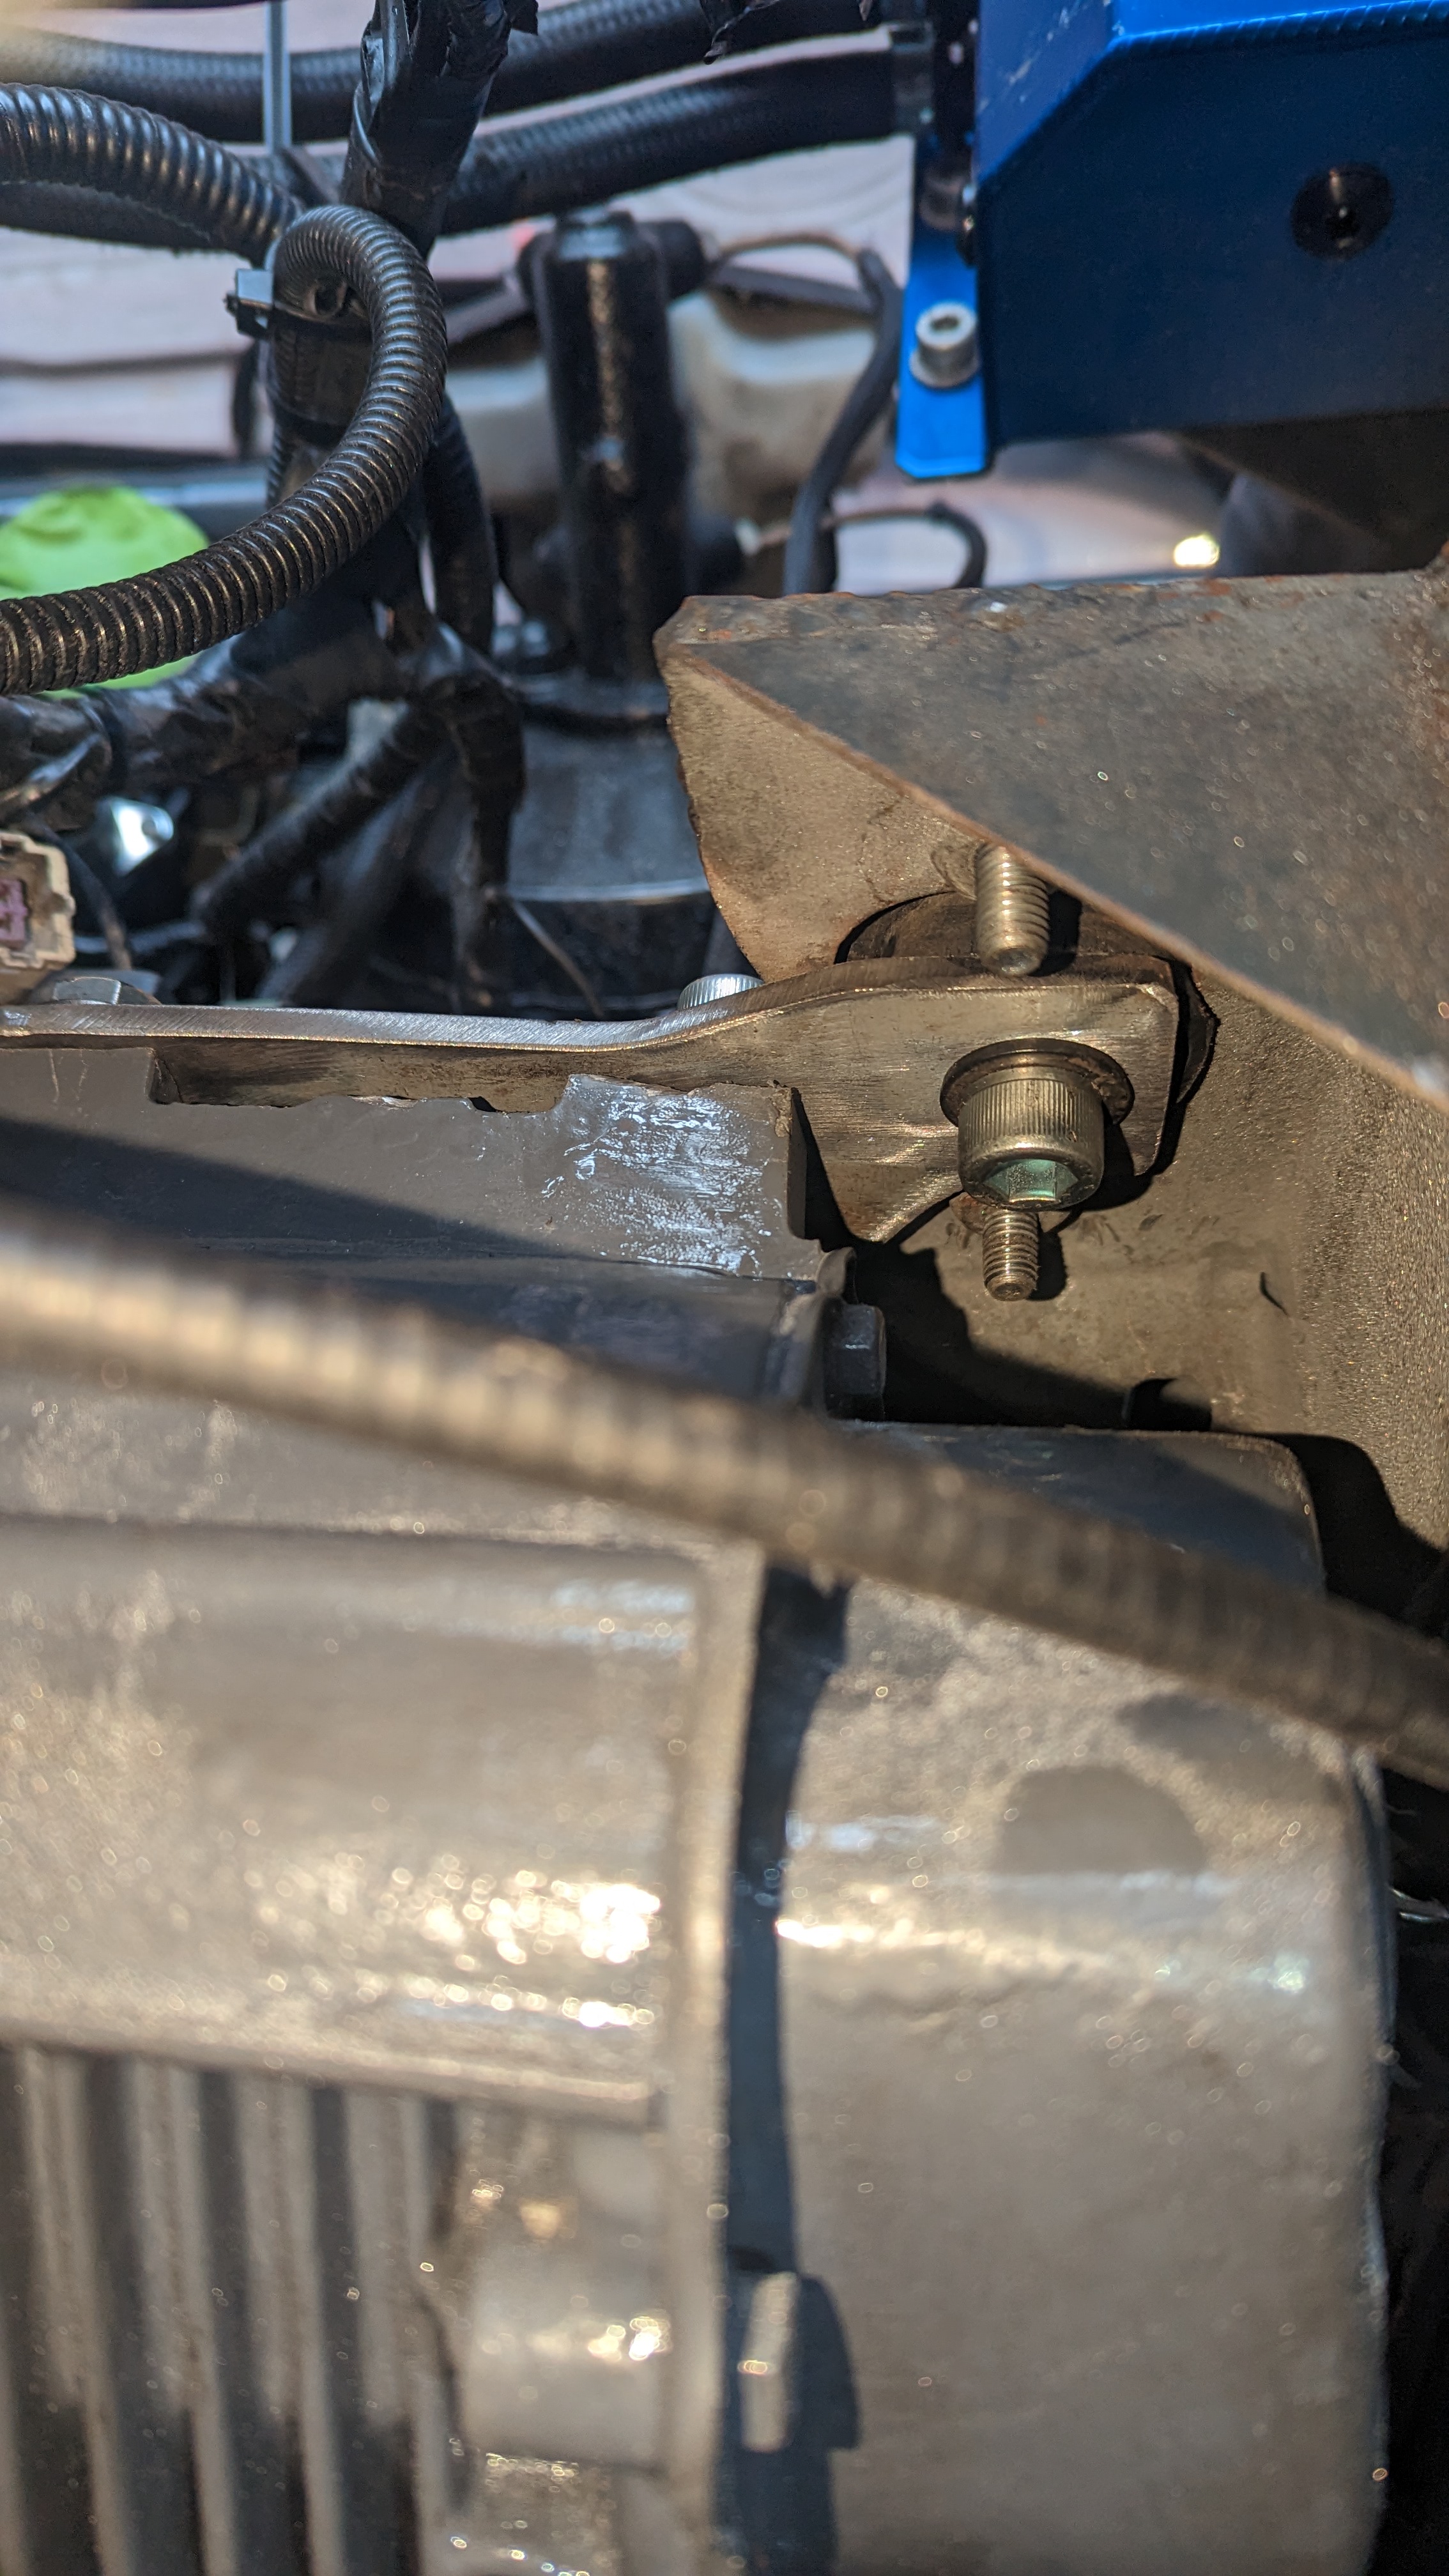
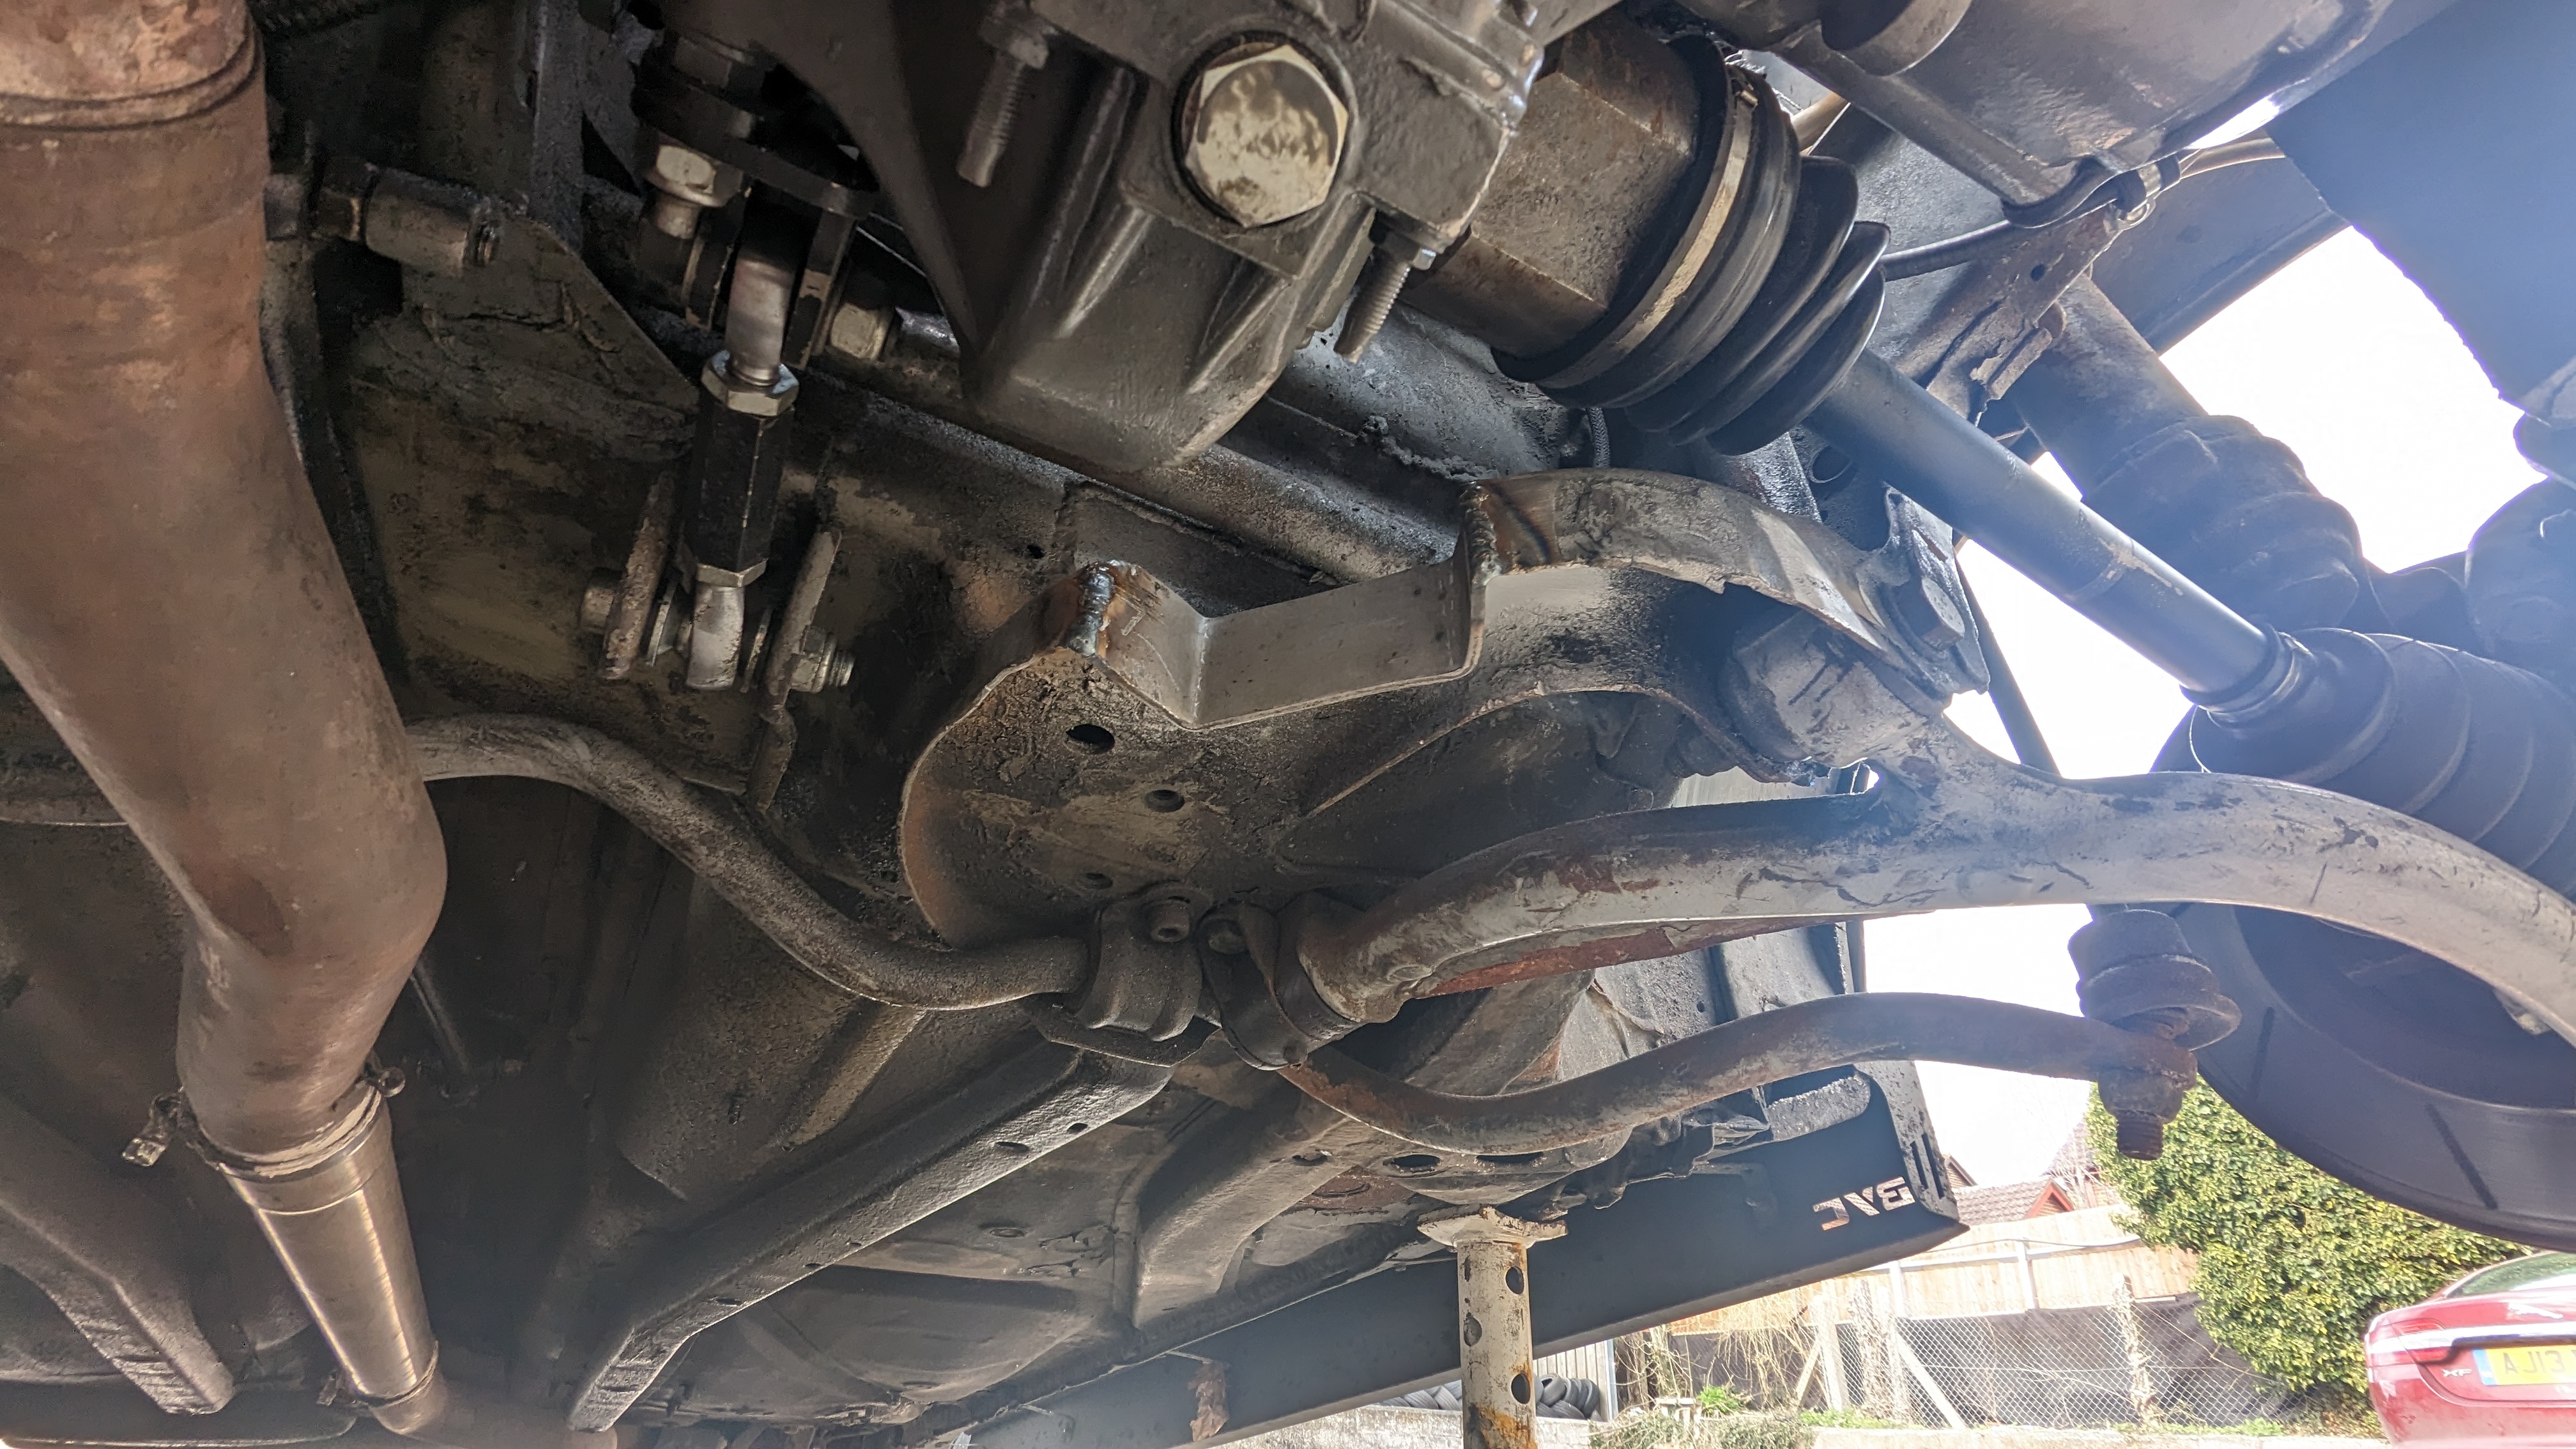
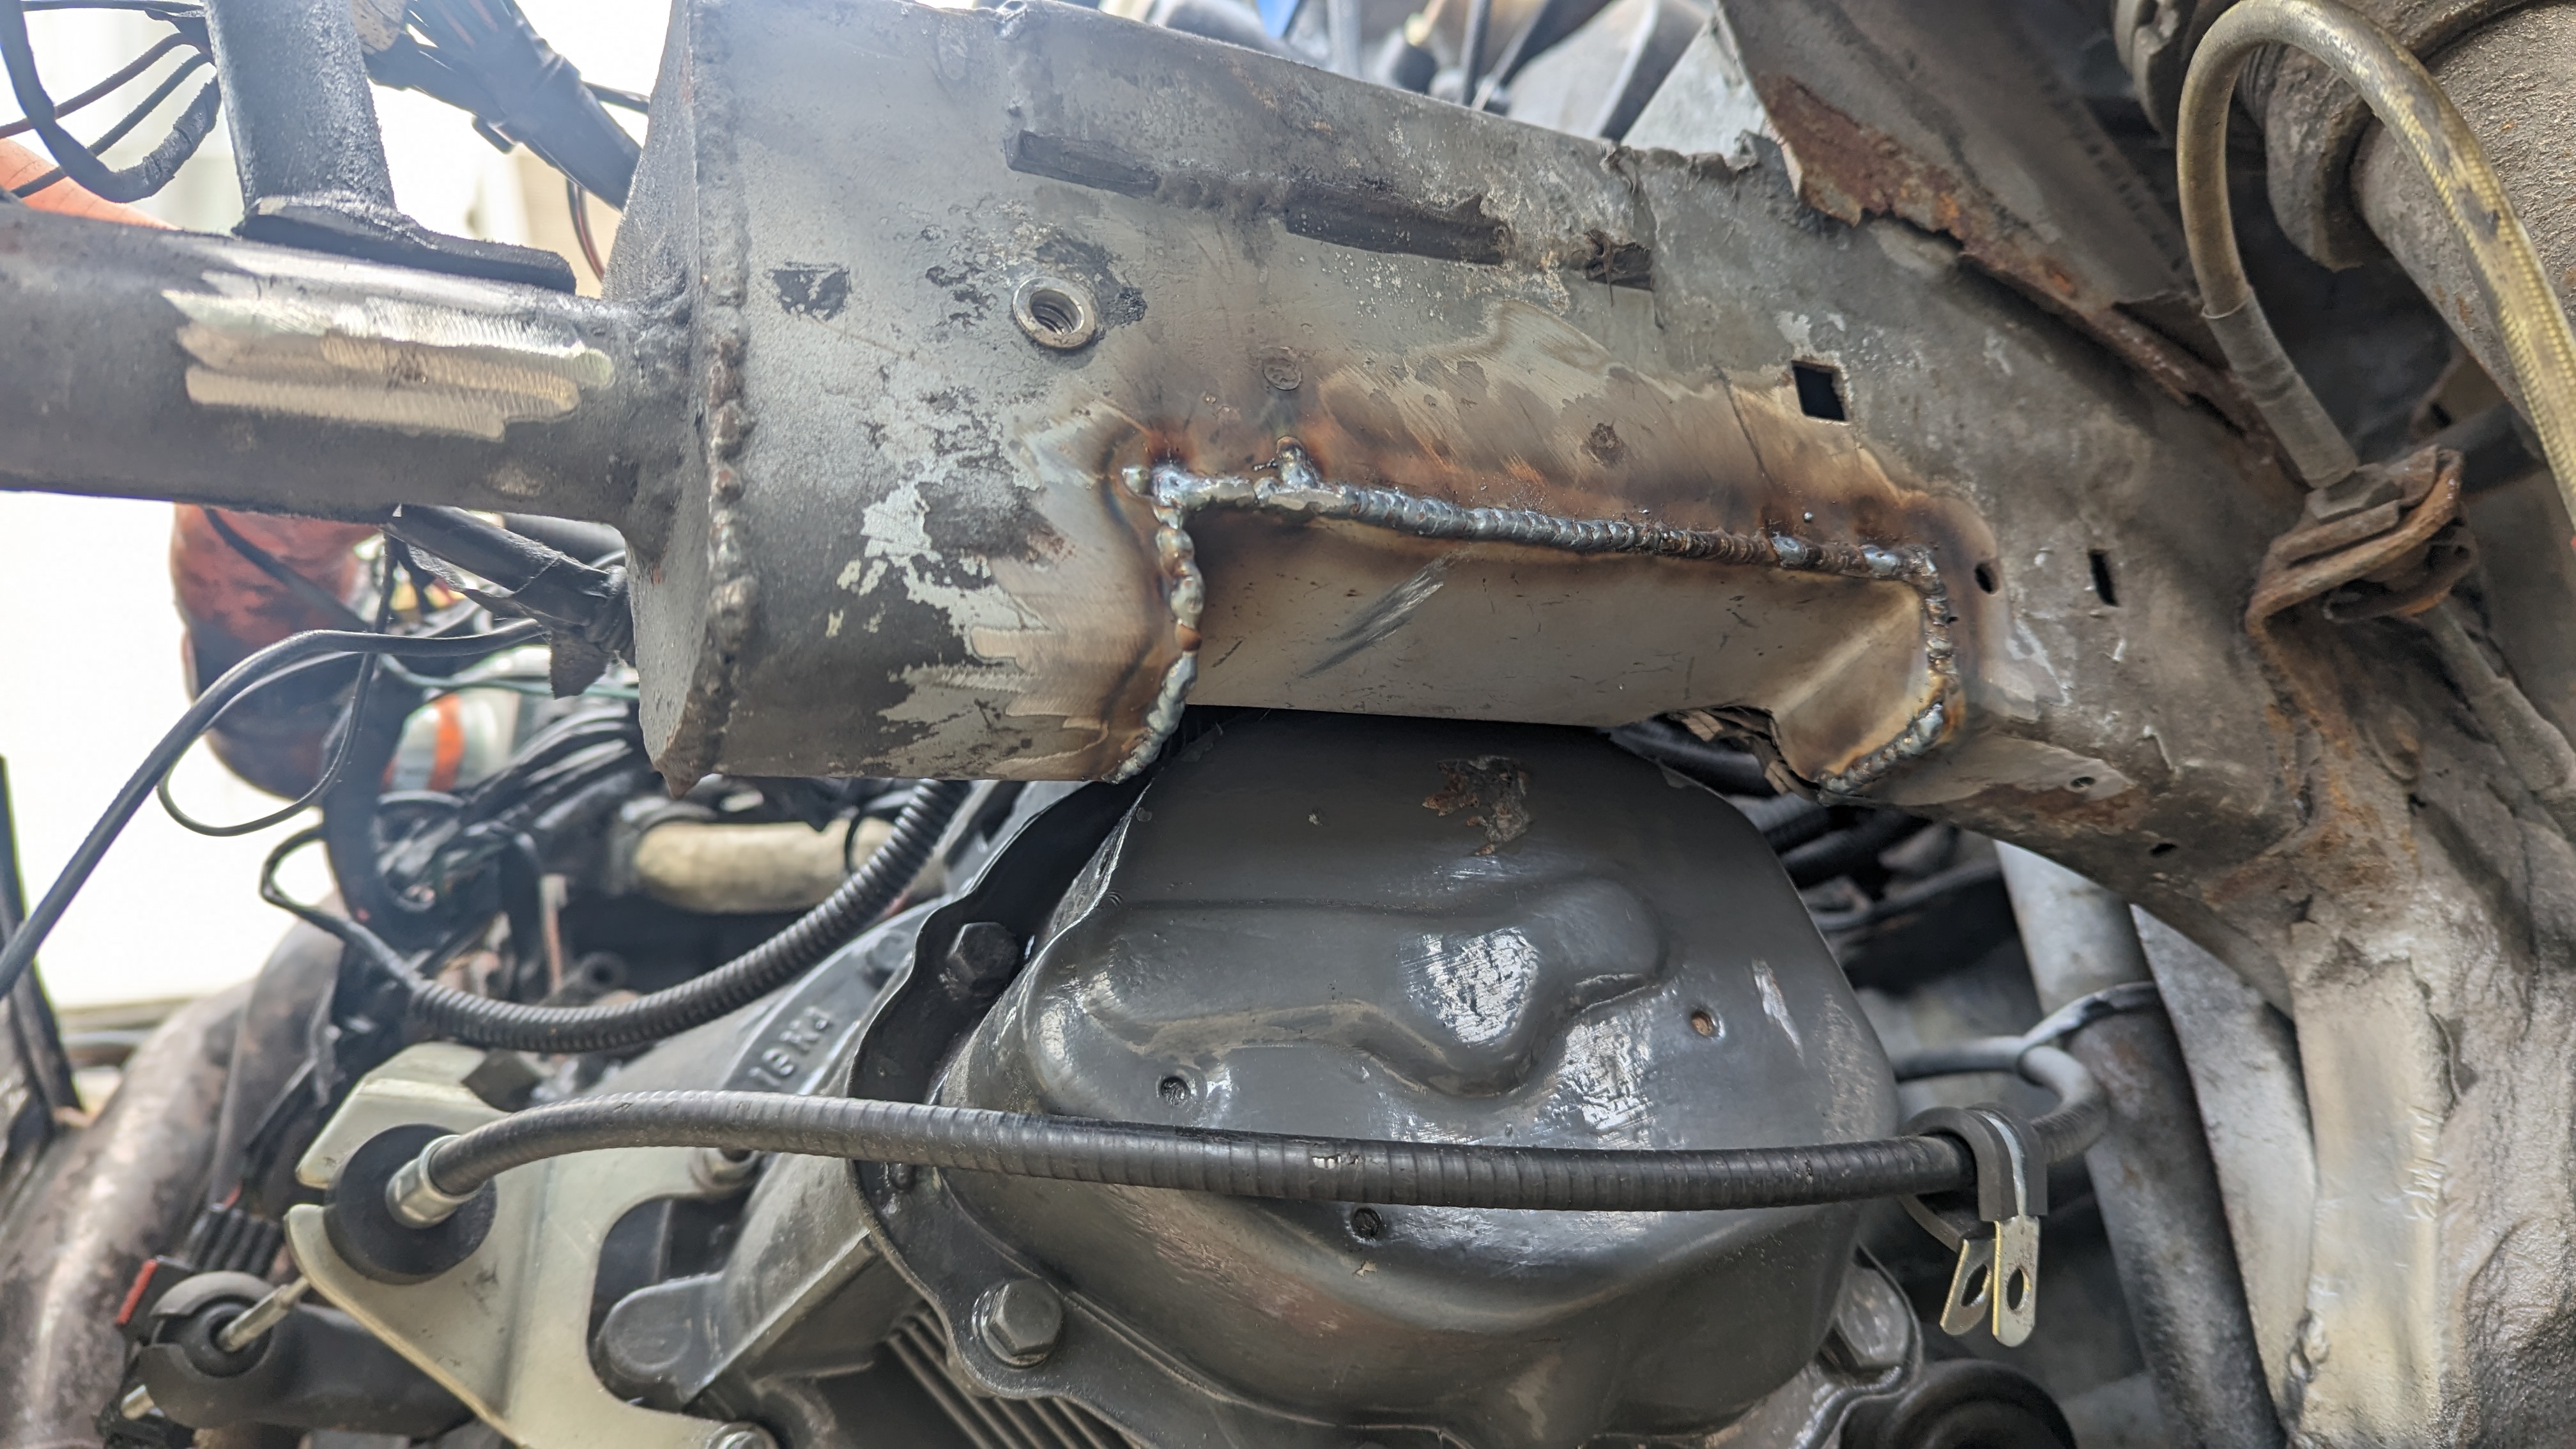
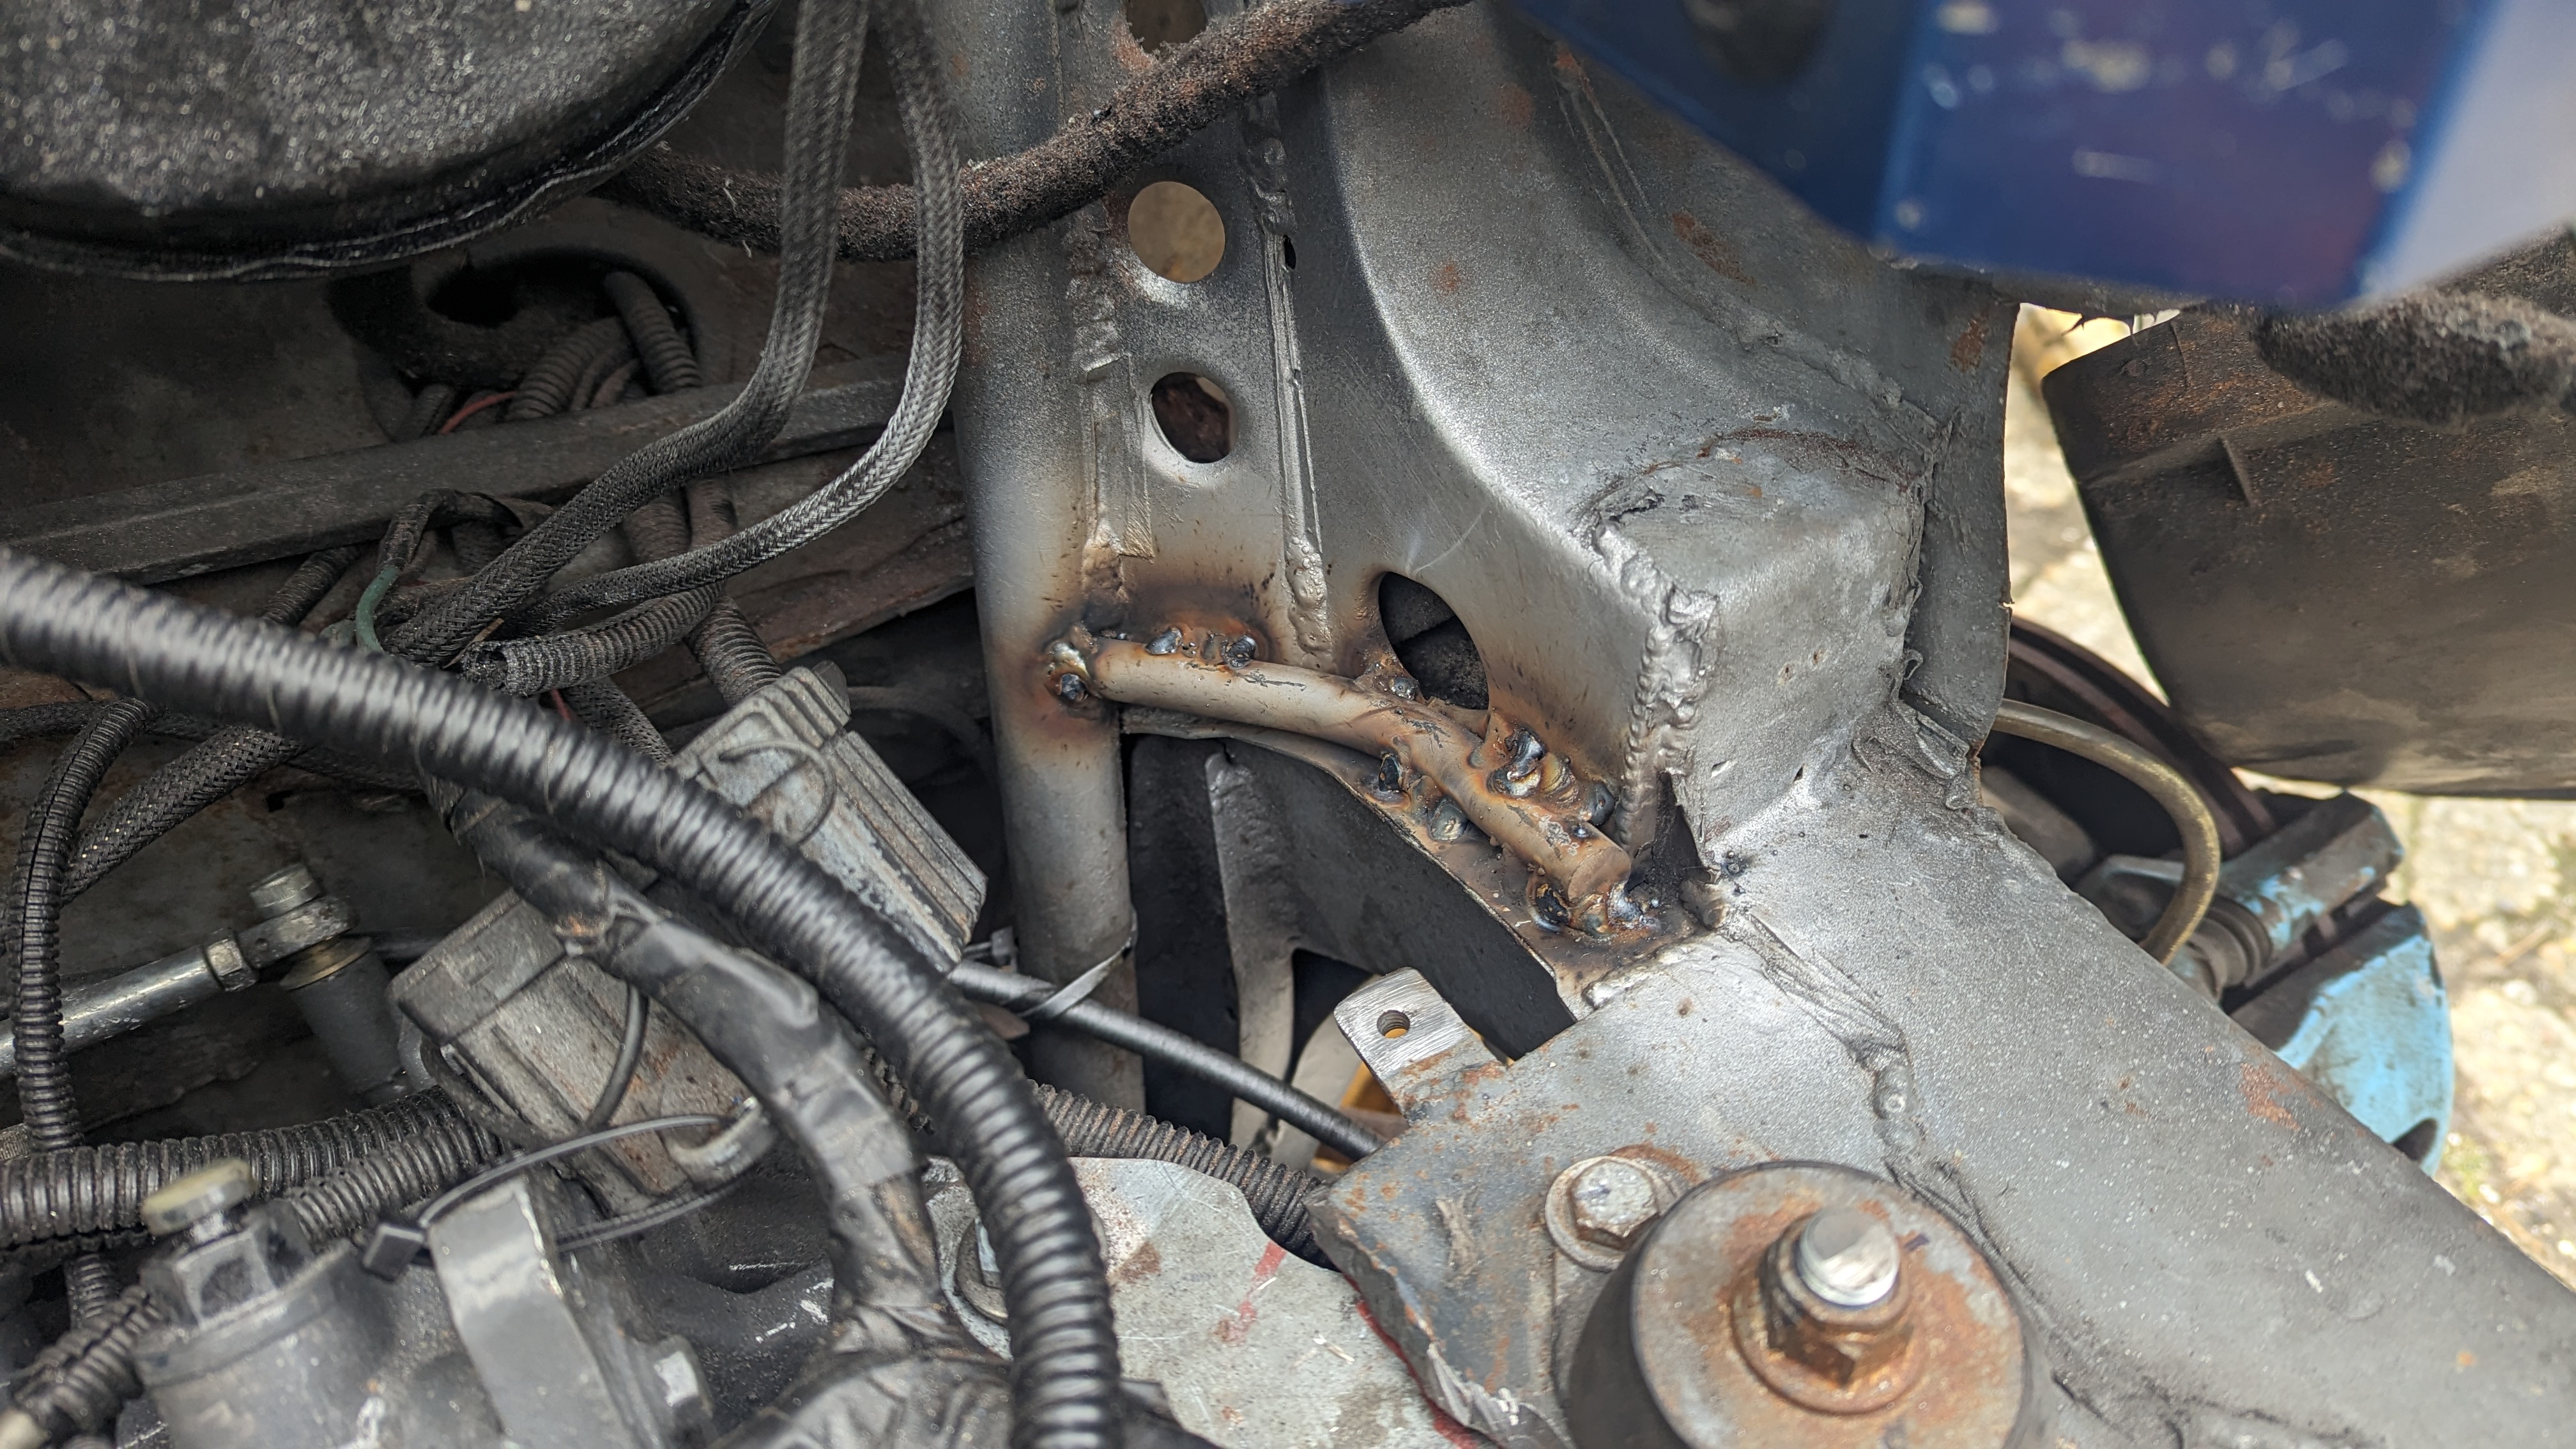
    VTS engine mount,version 2 as the first one the pipe was not thick enough.


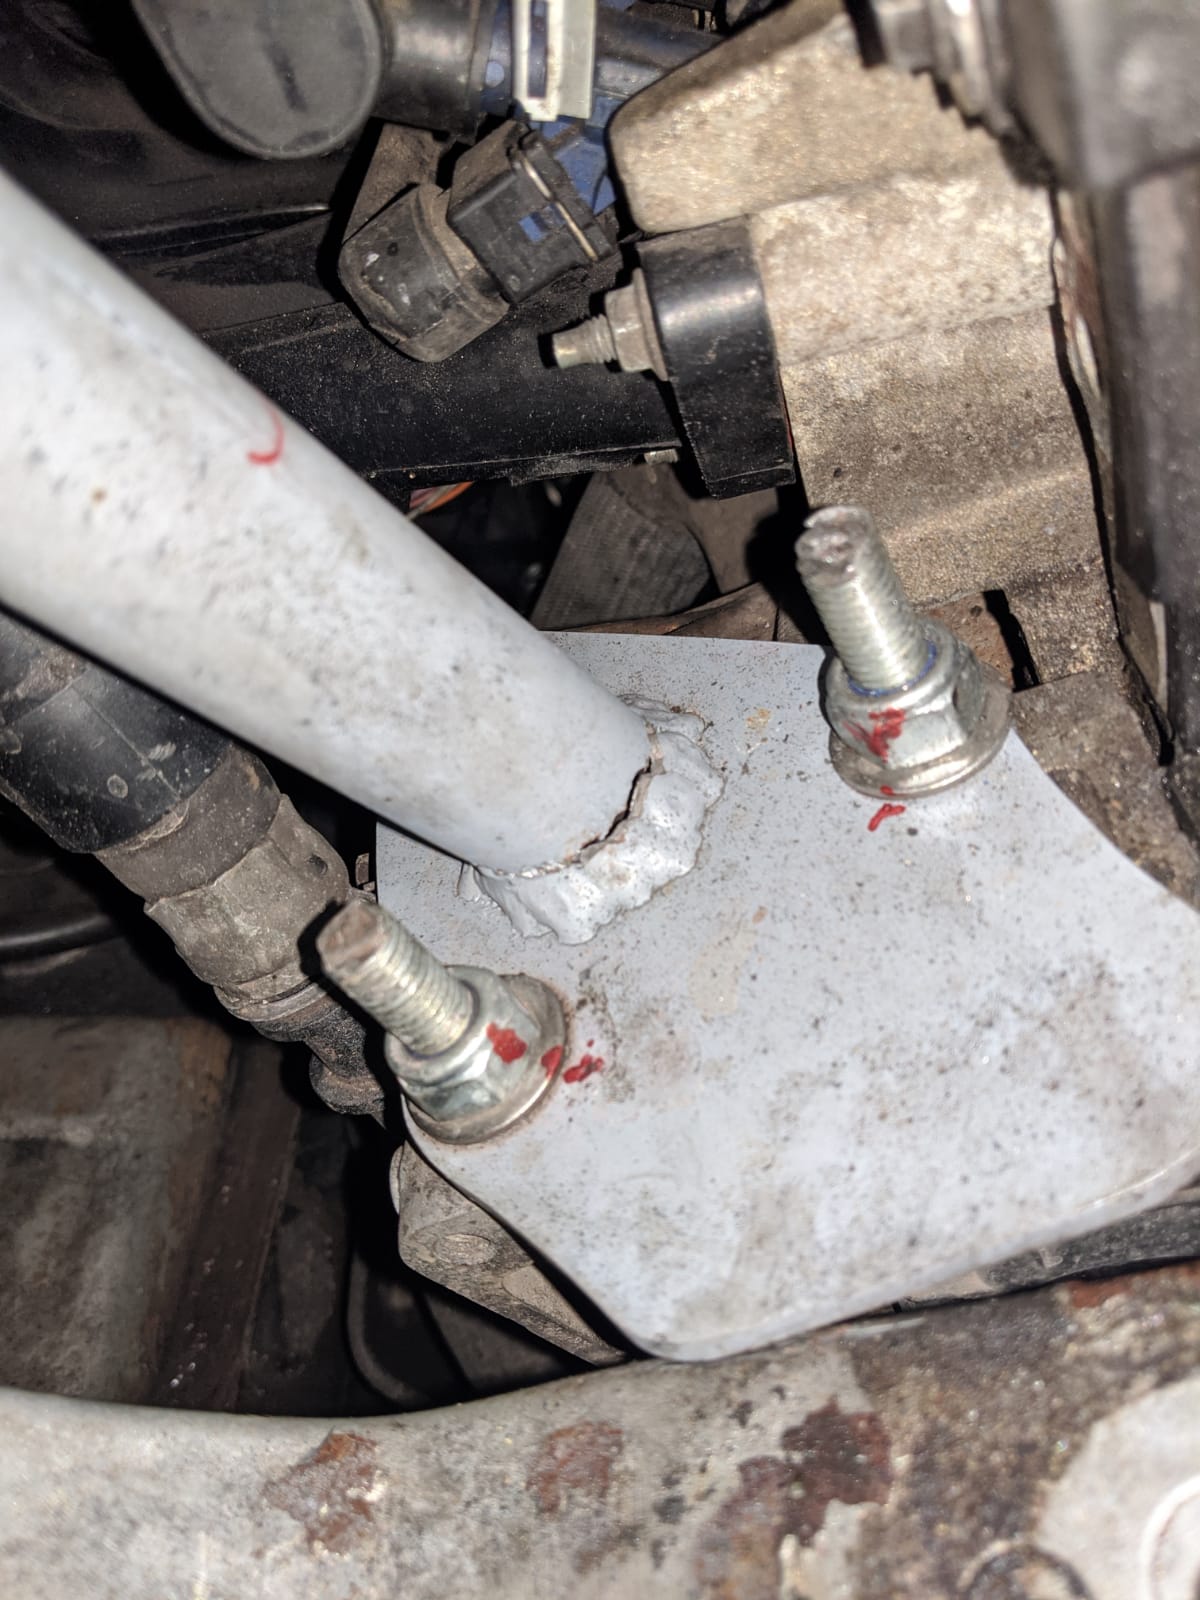
    that's not finished some pictures missing.
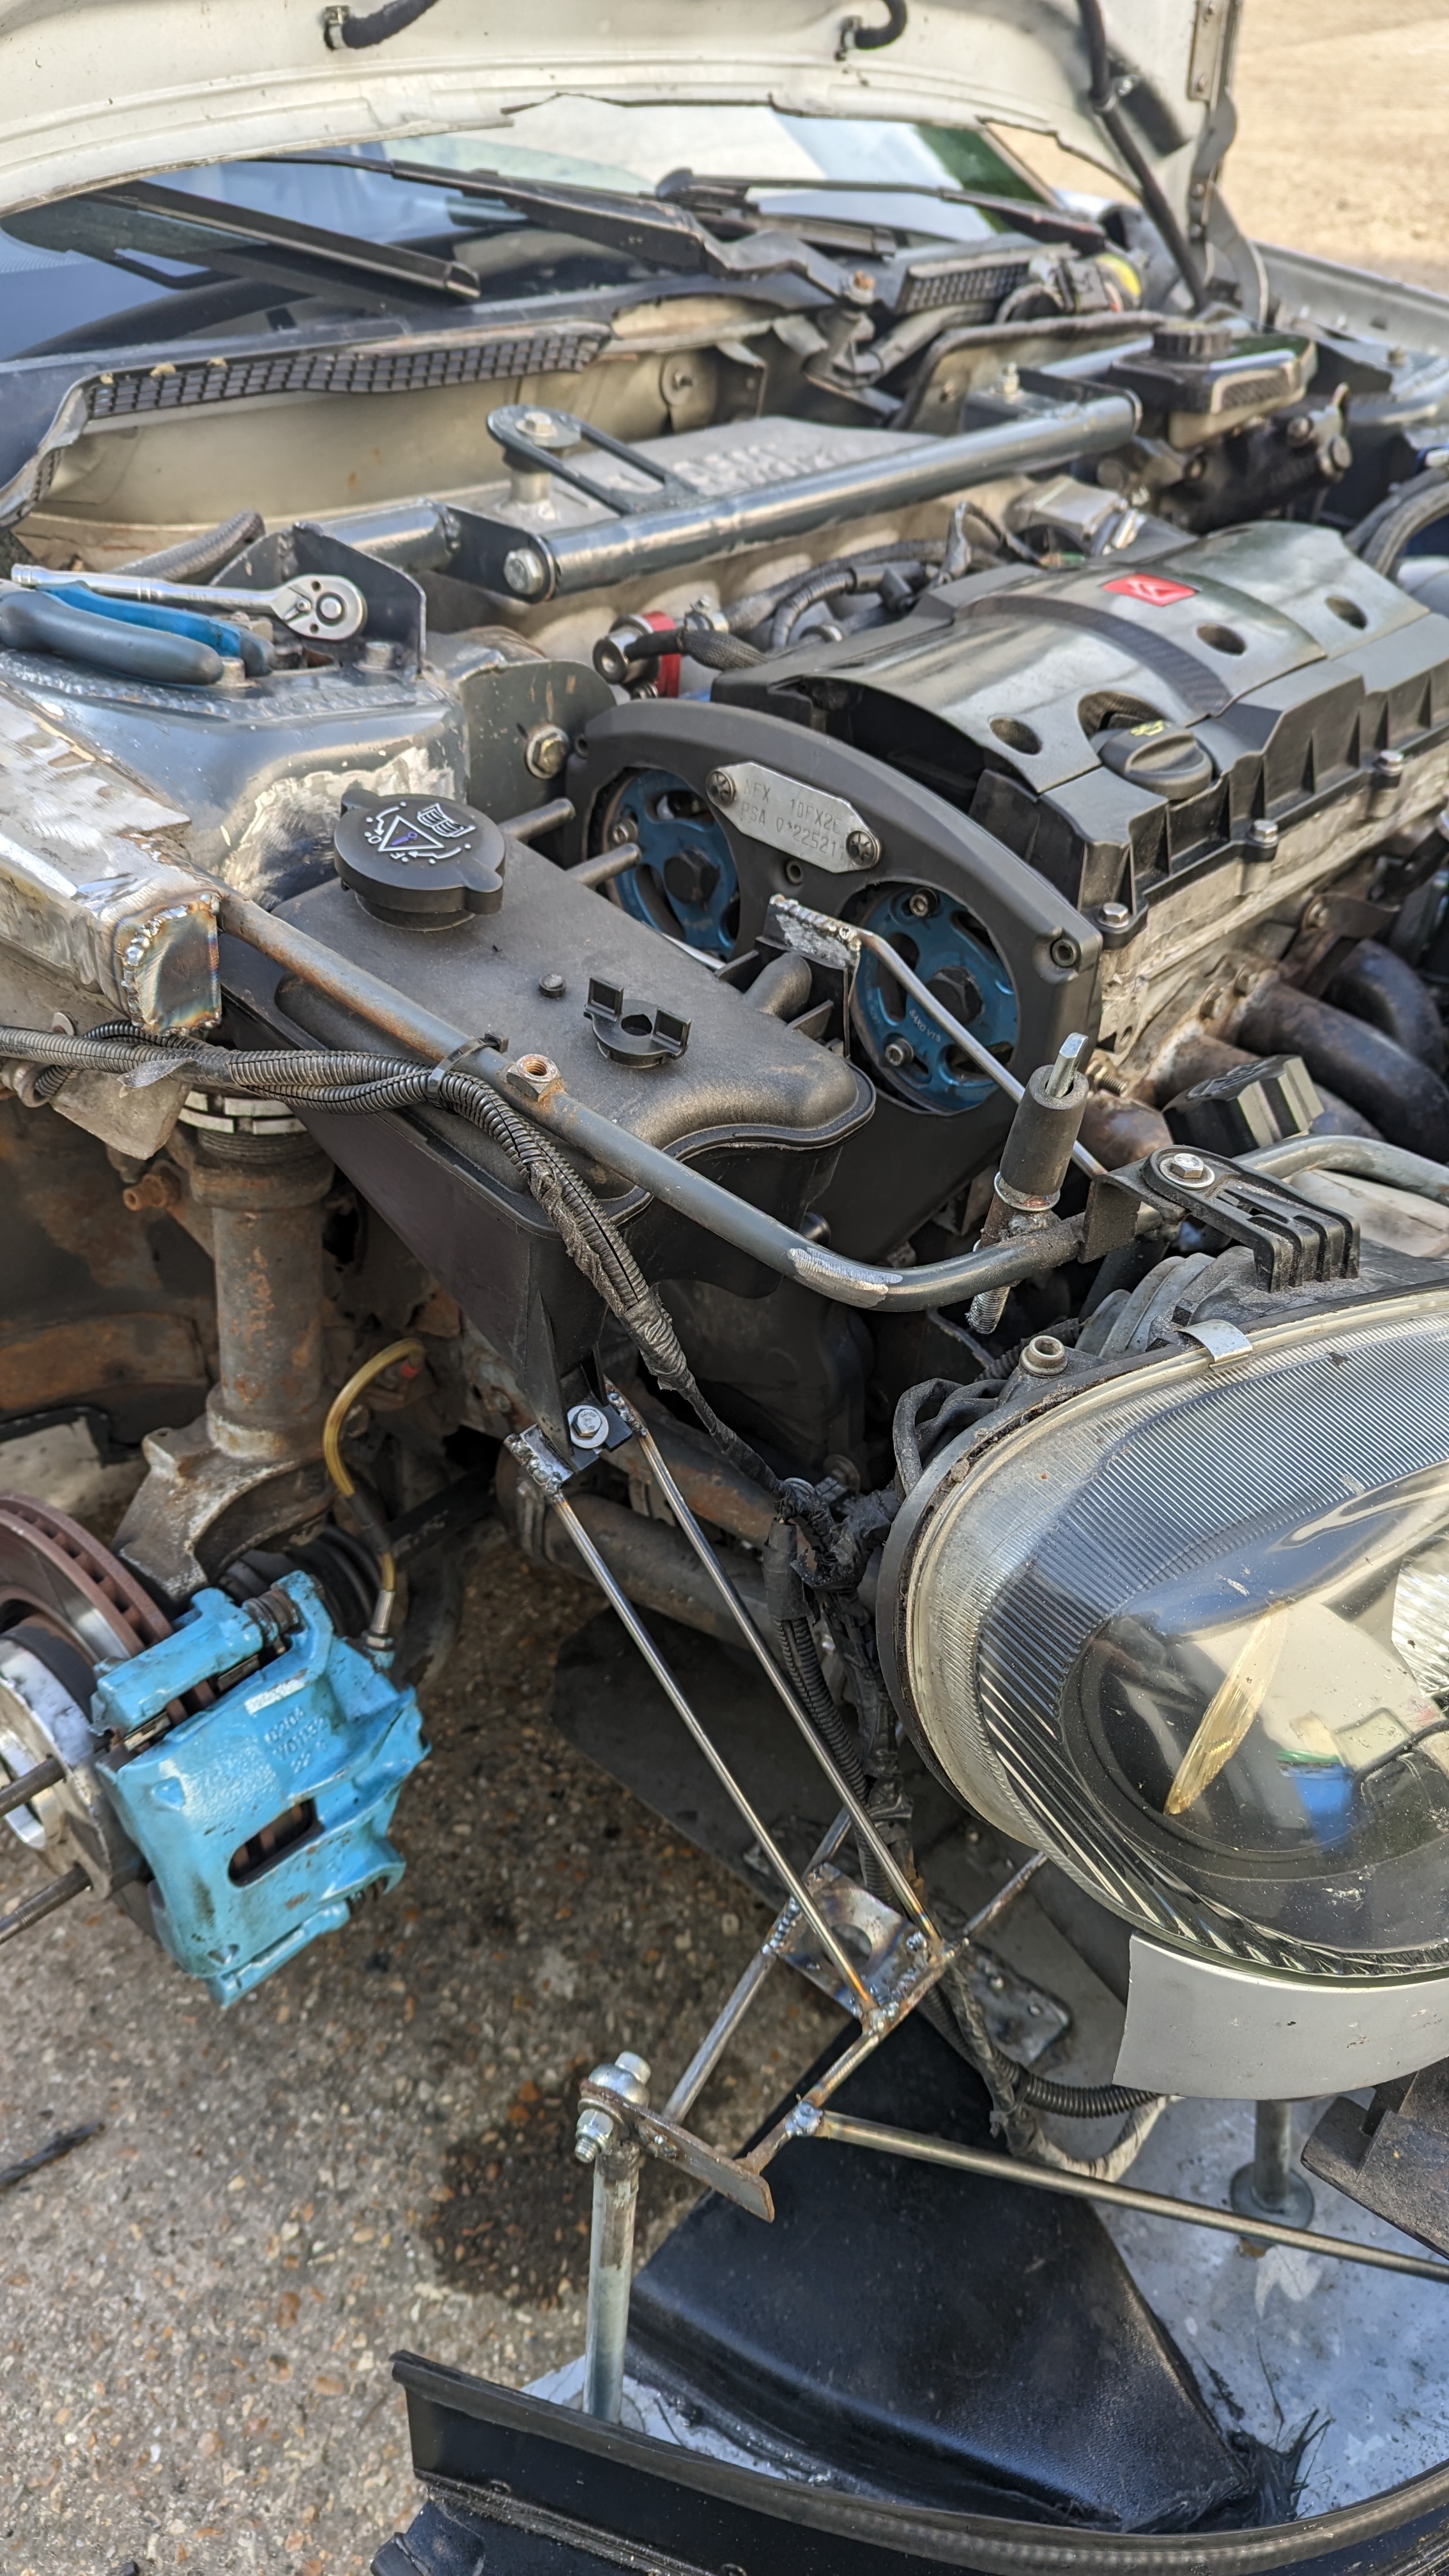
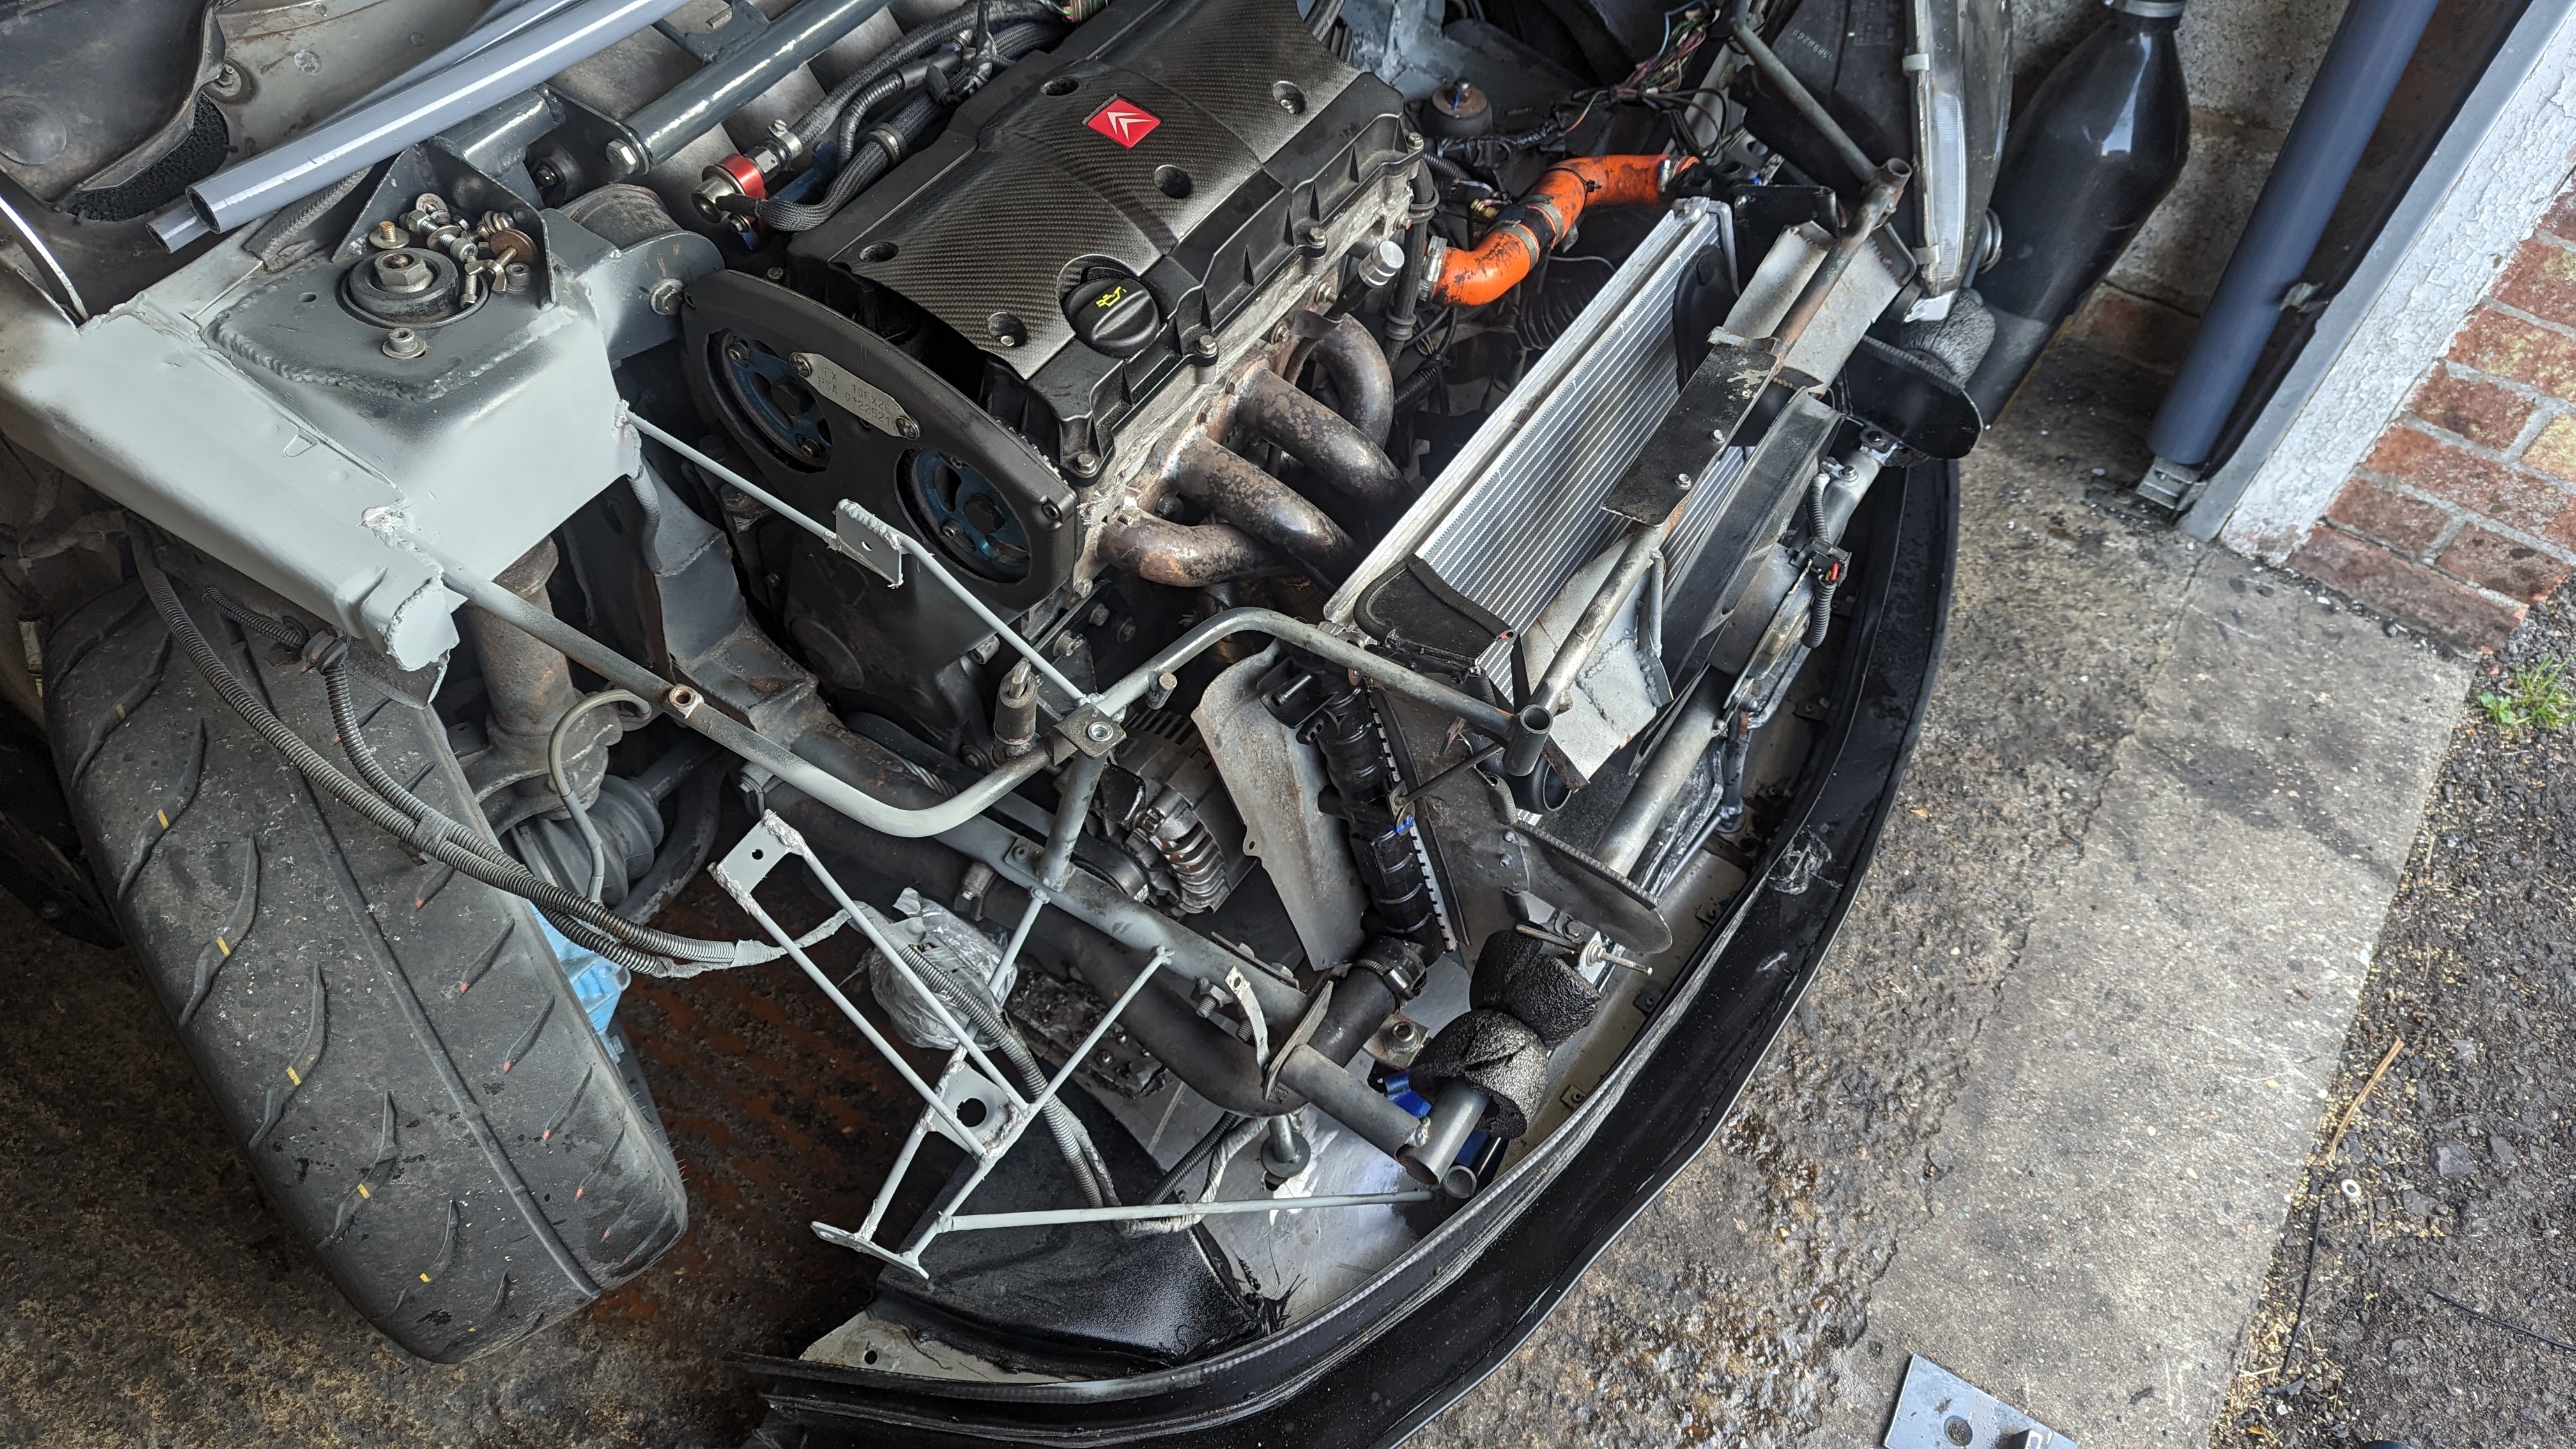
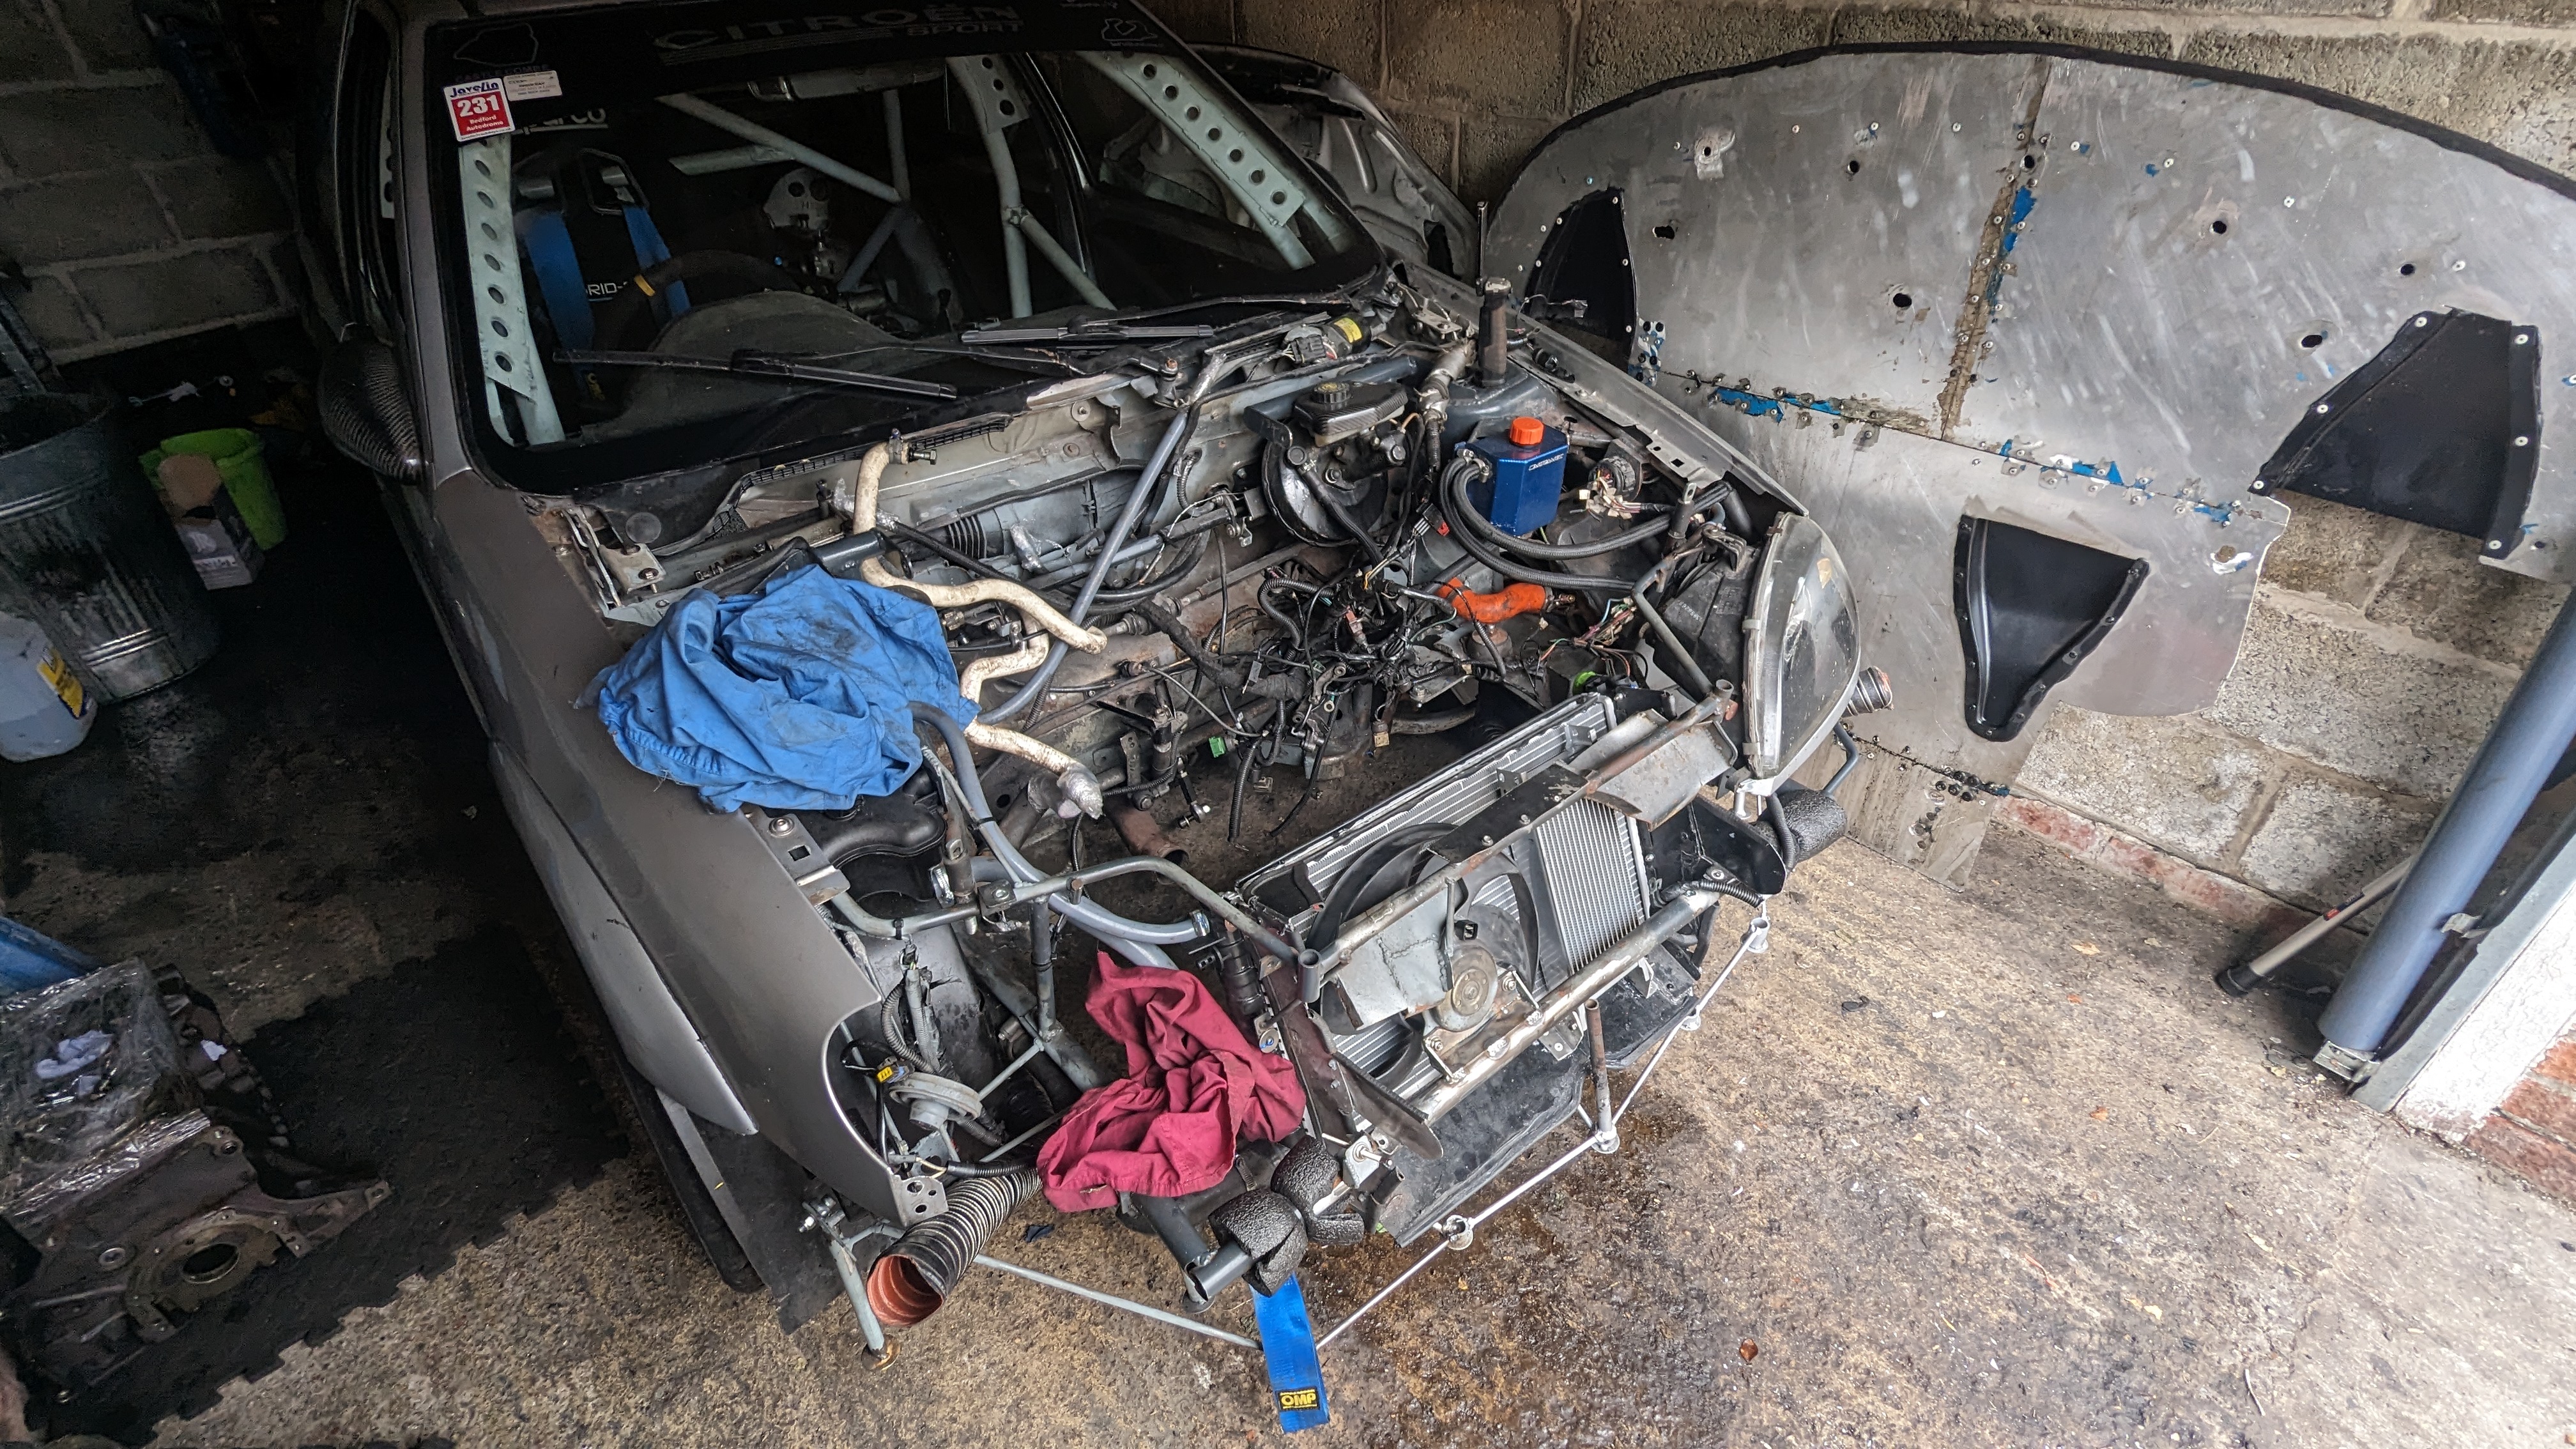
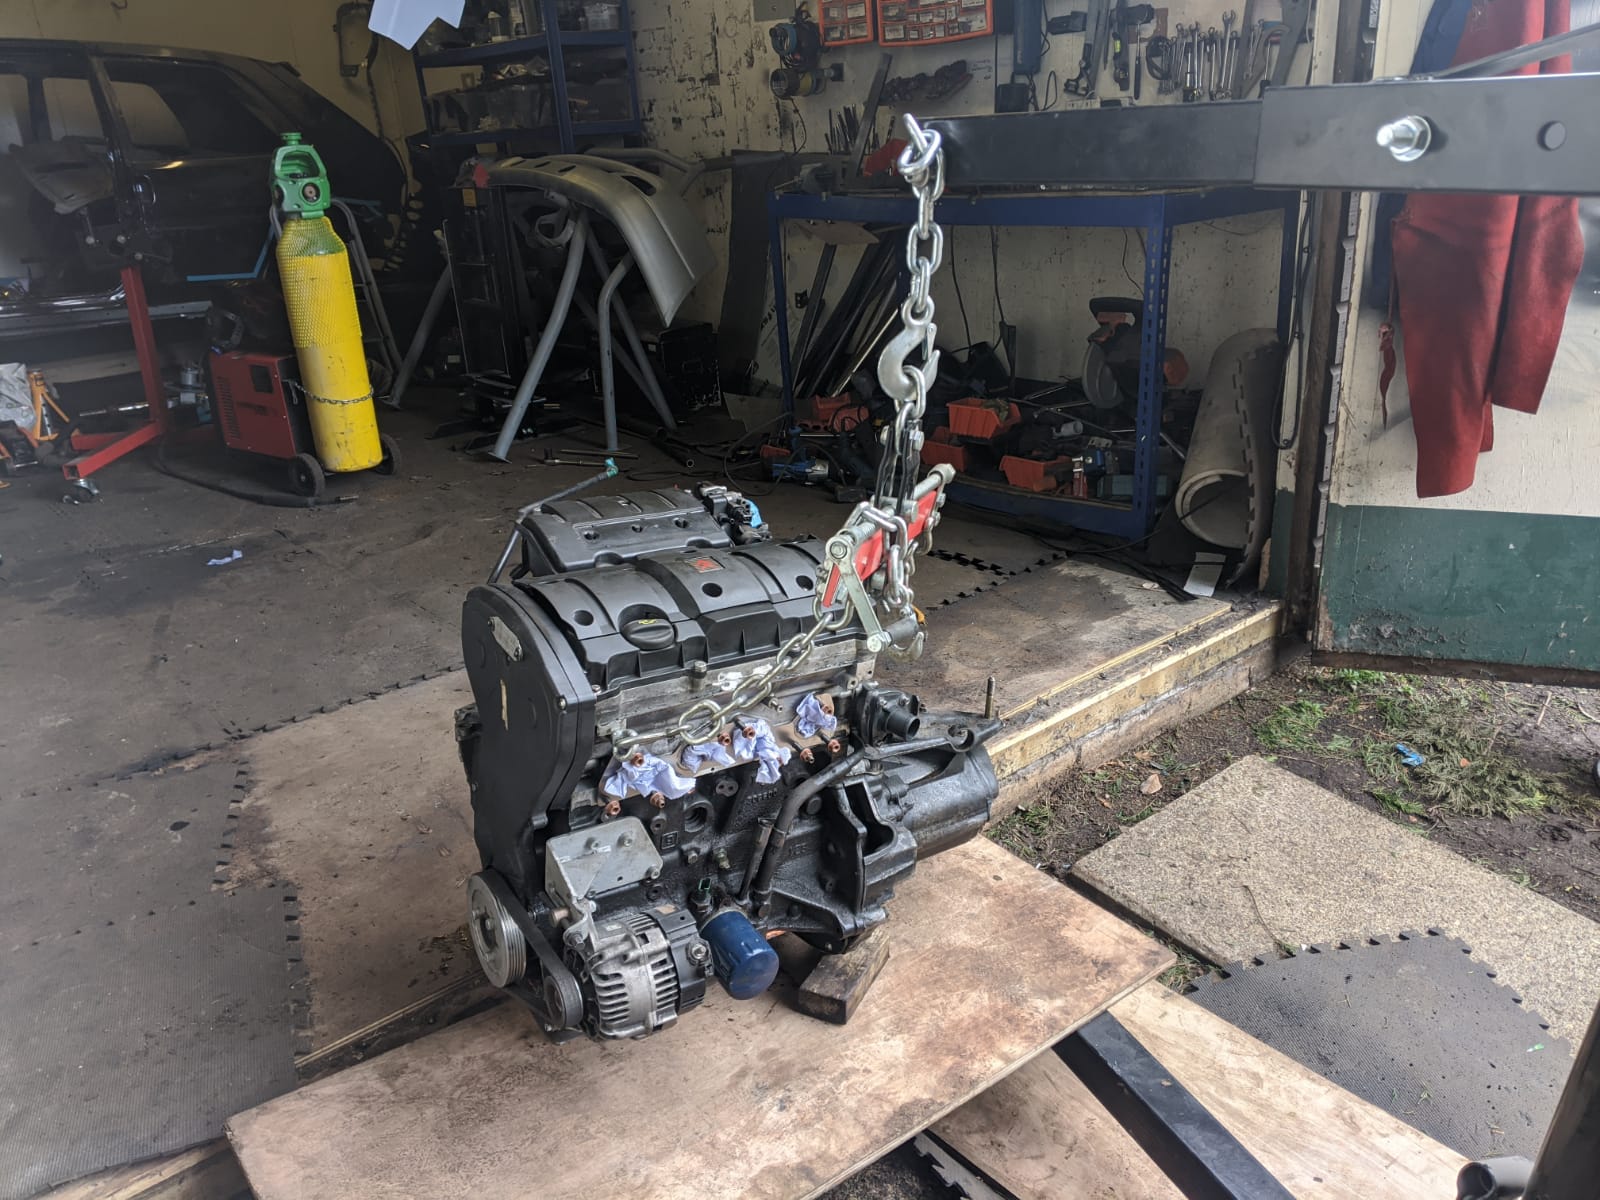
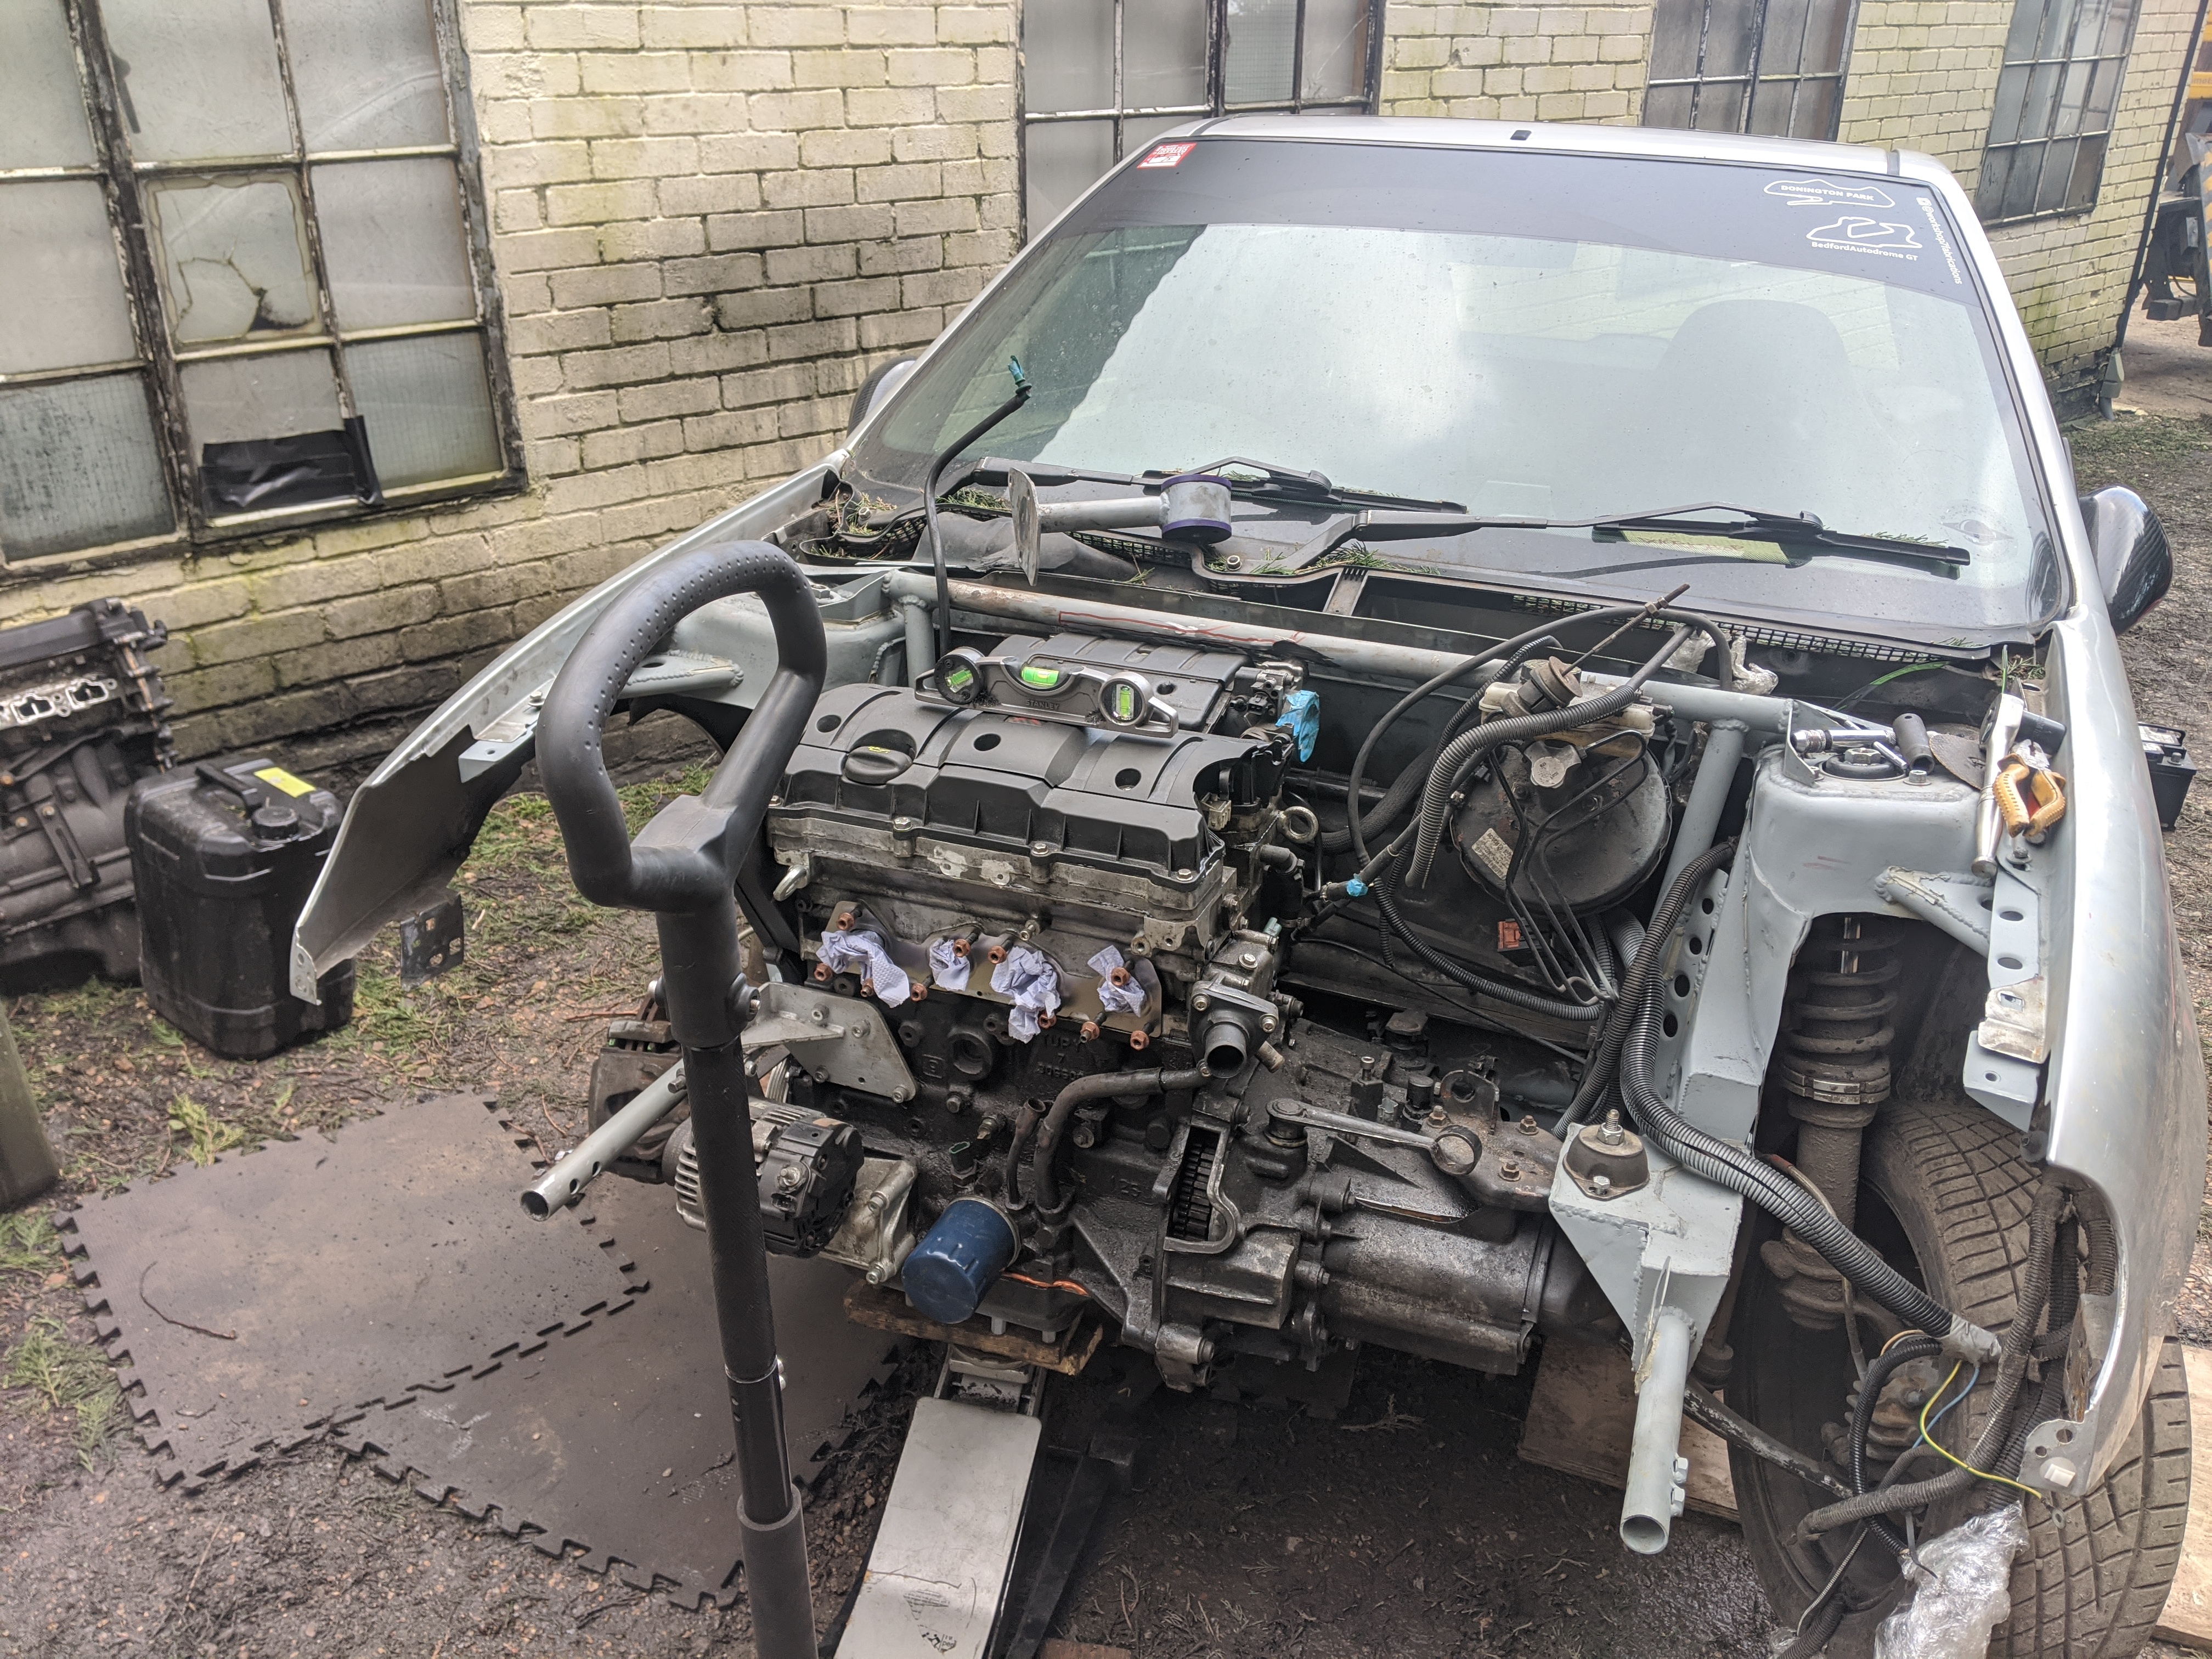
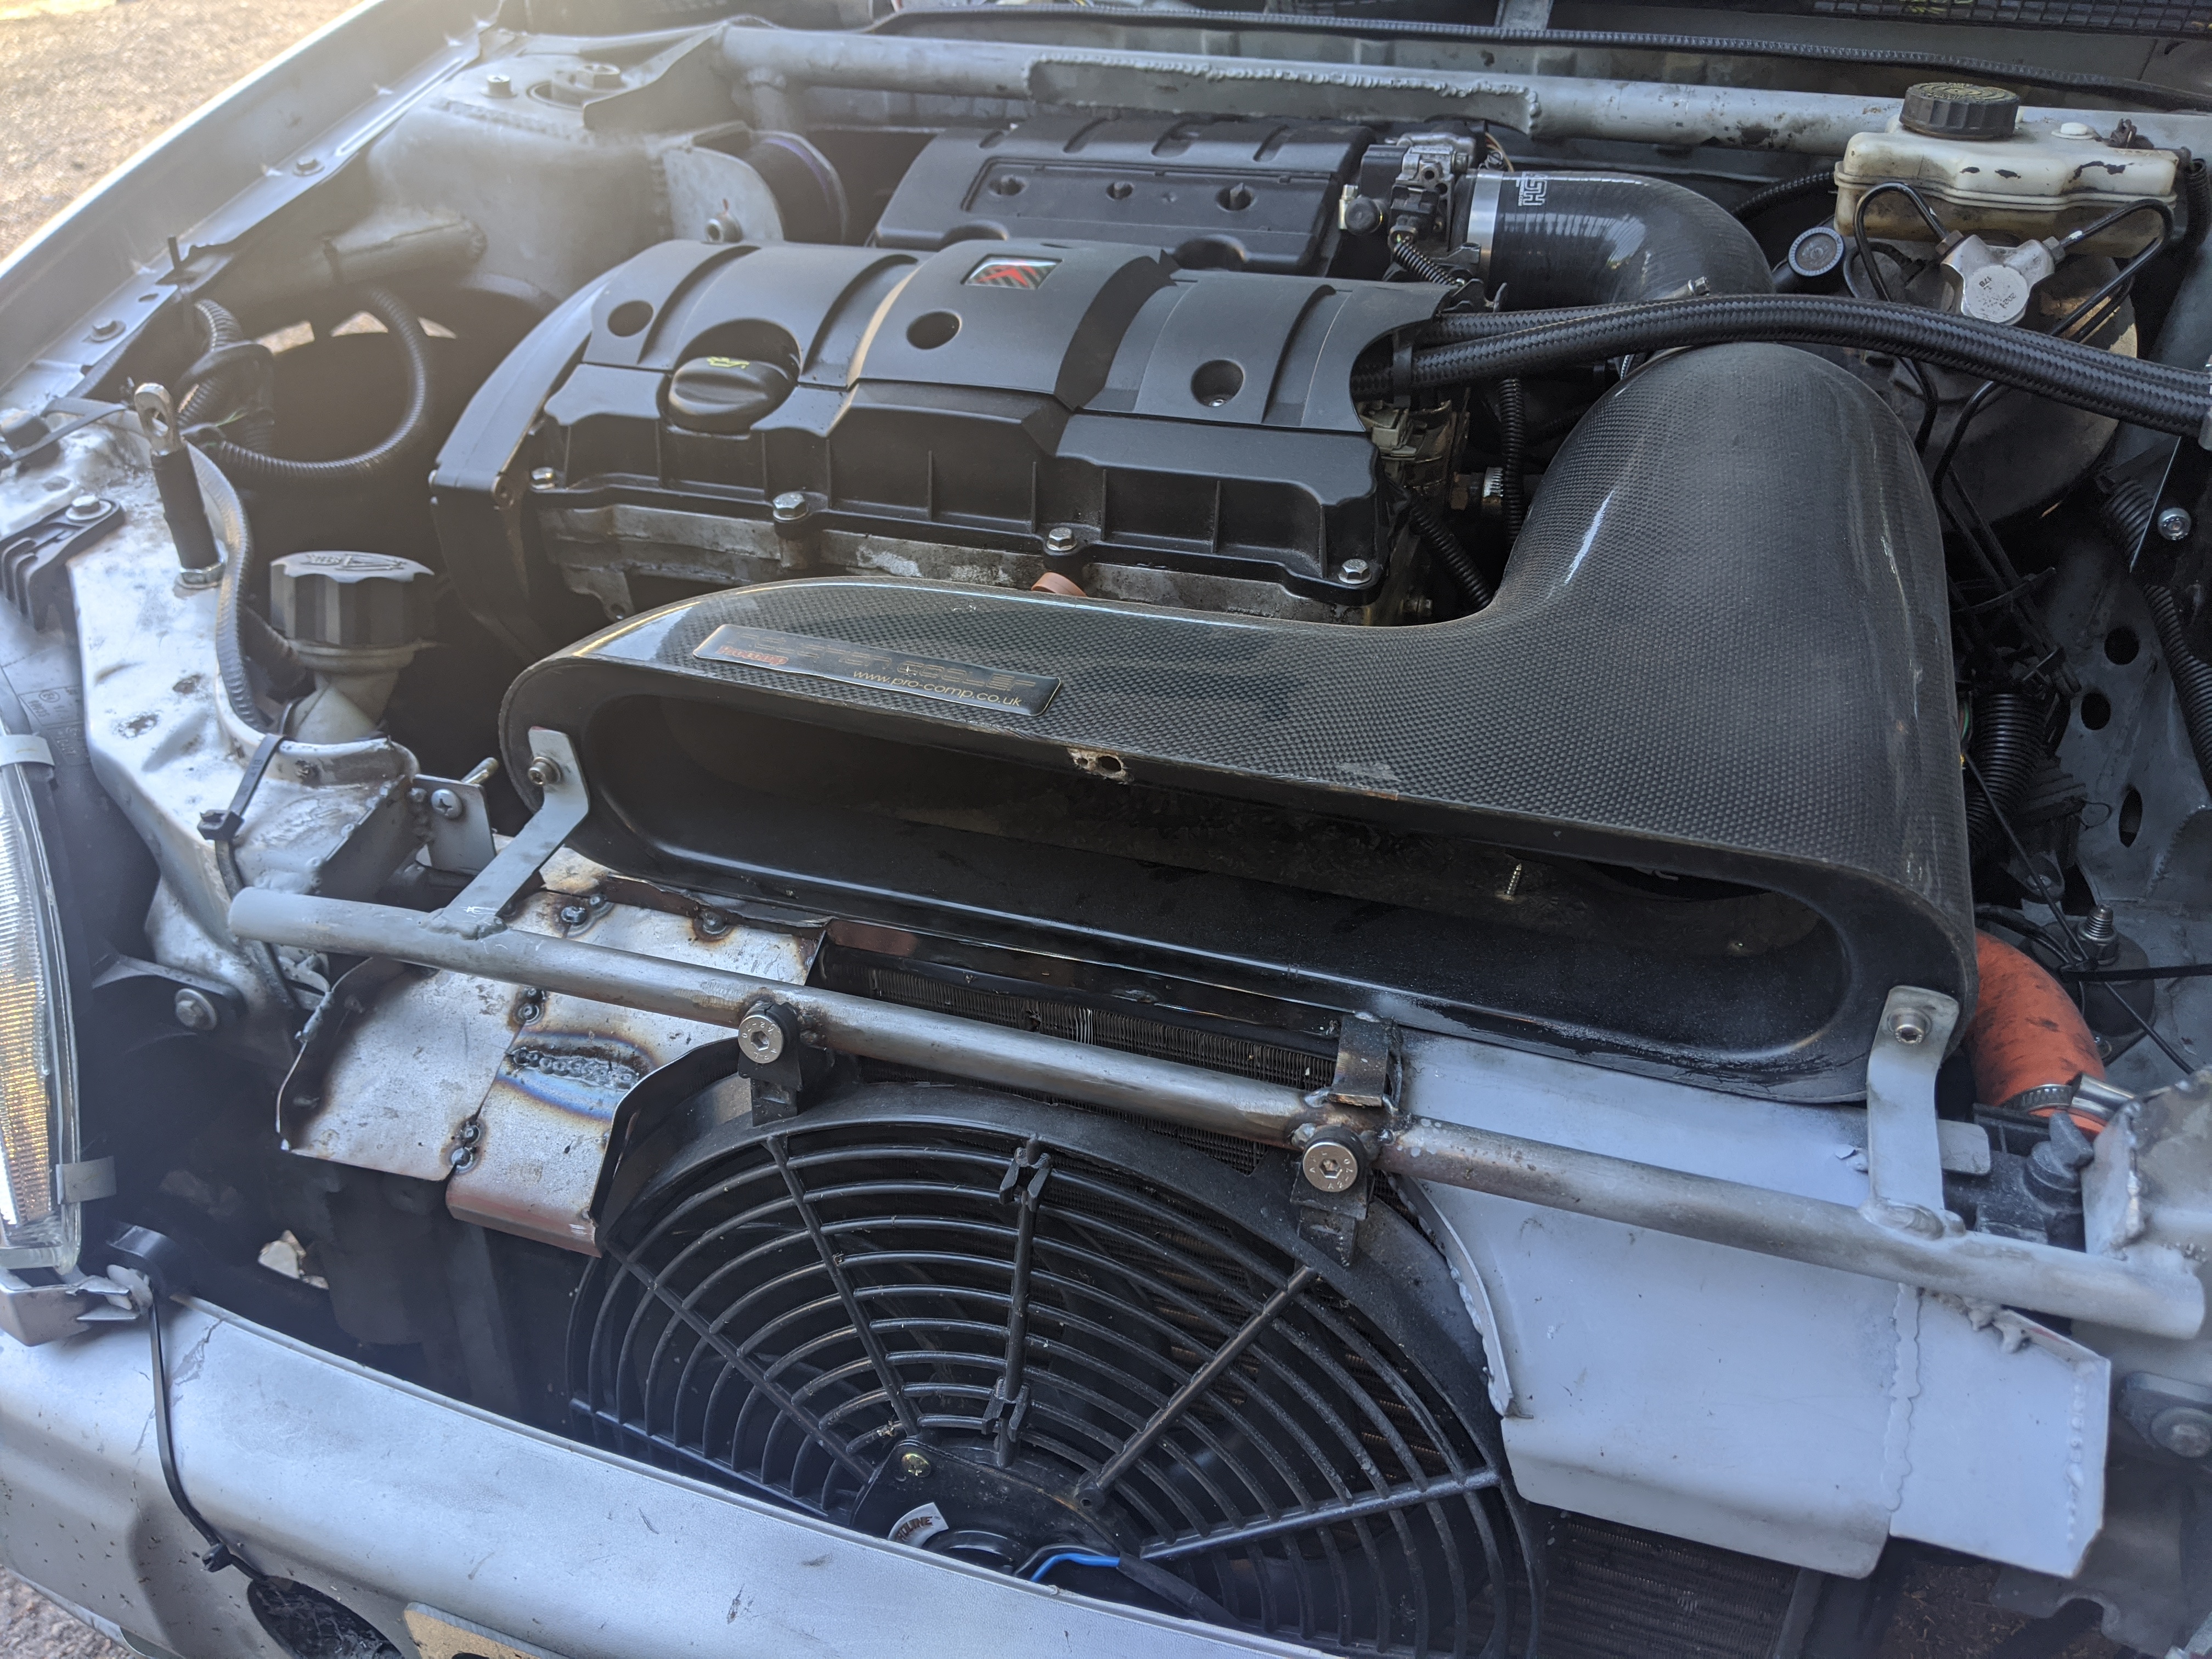
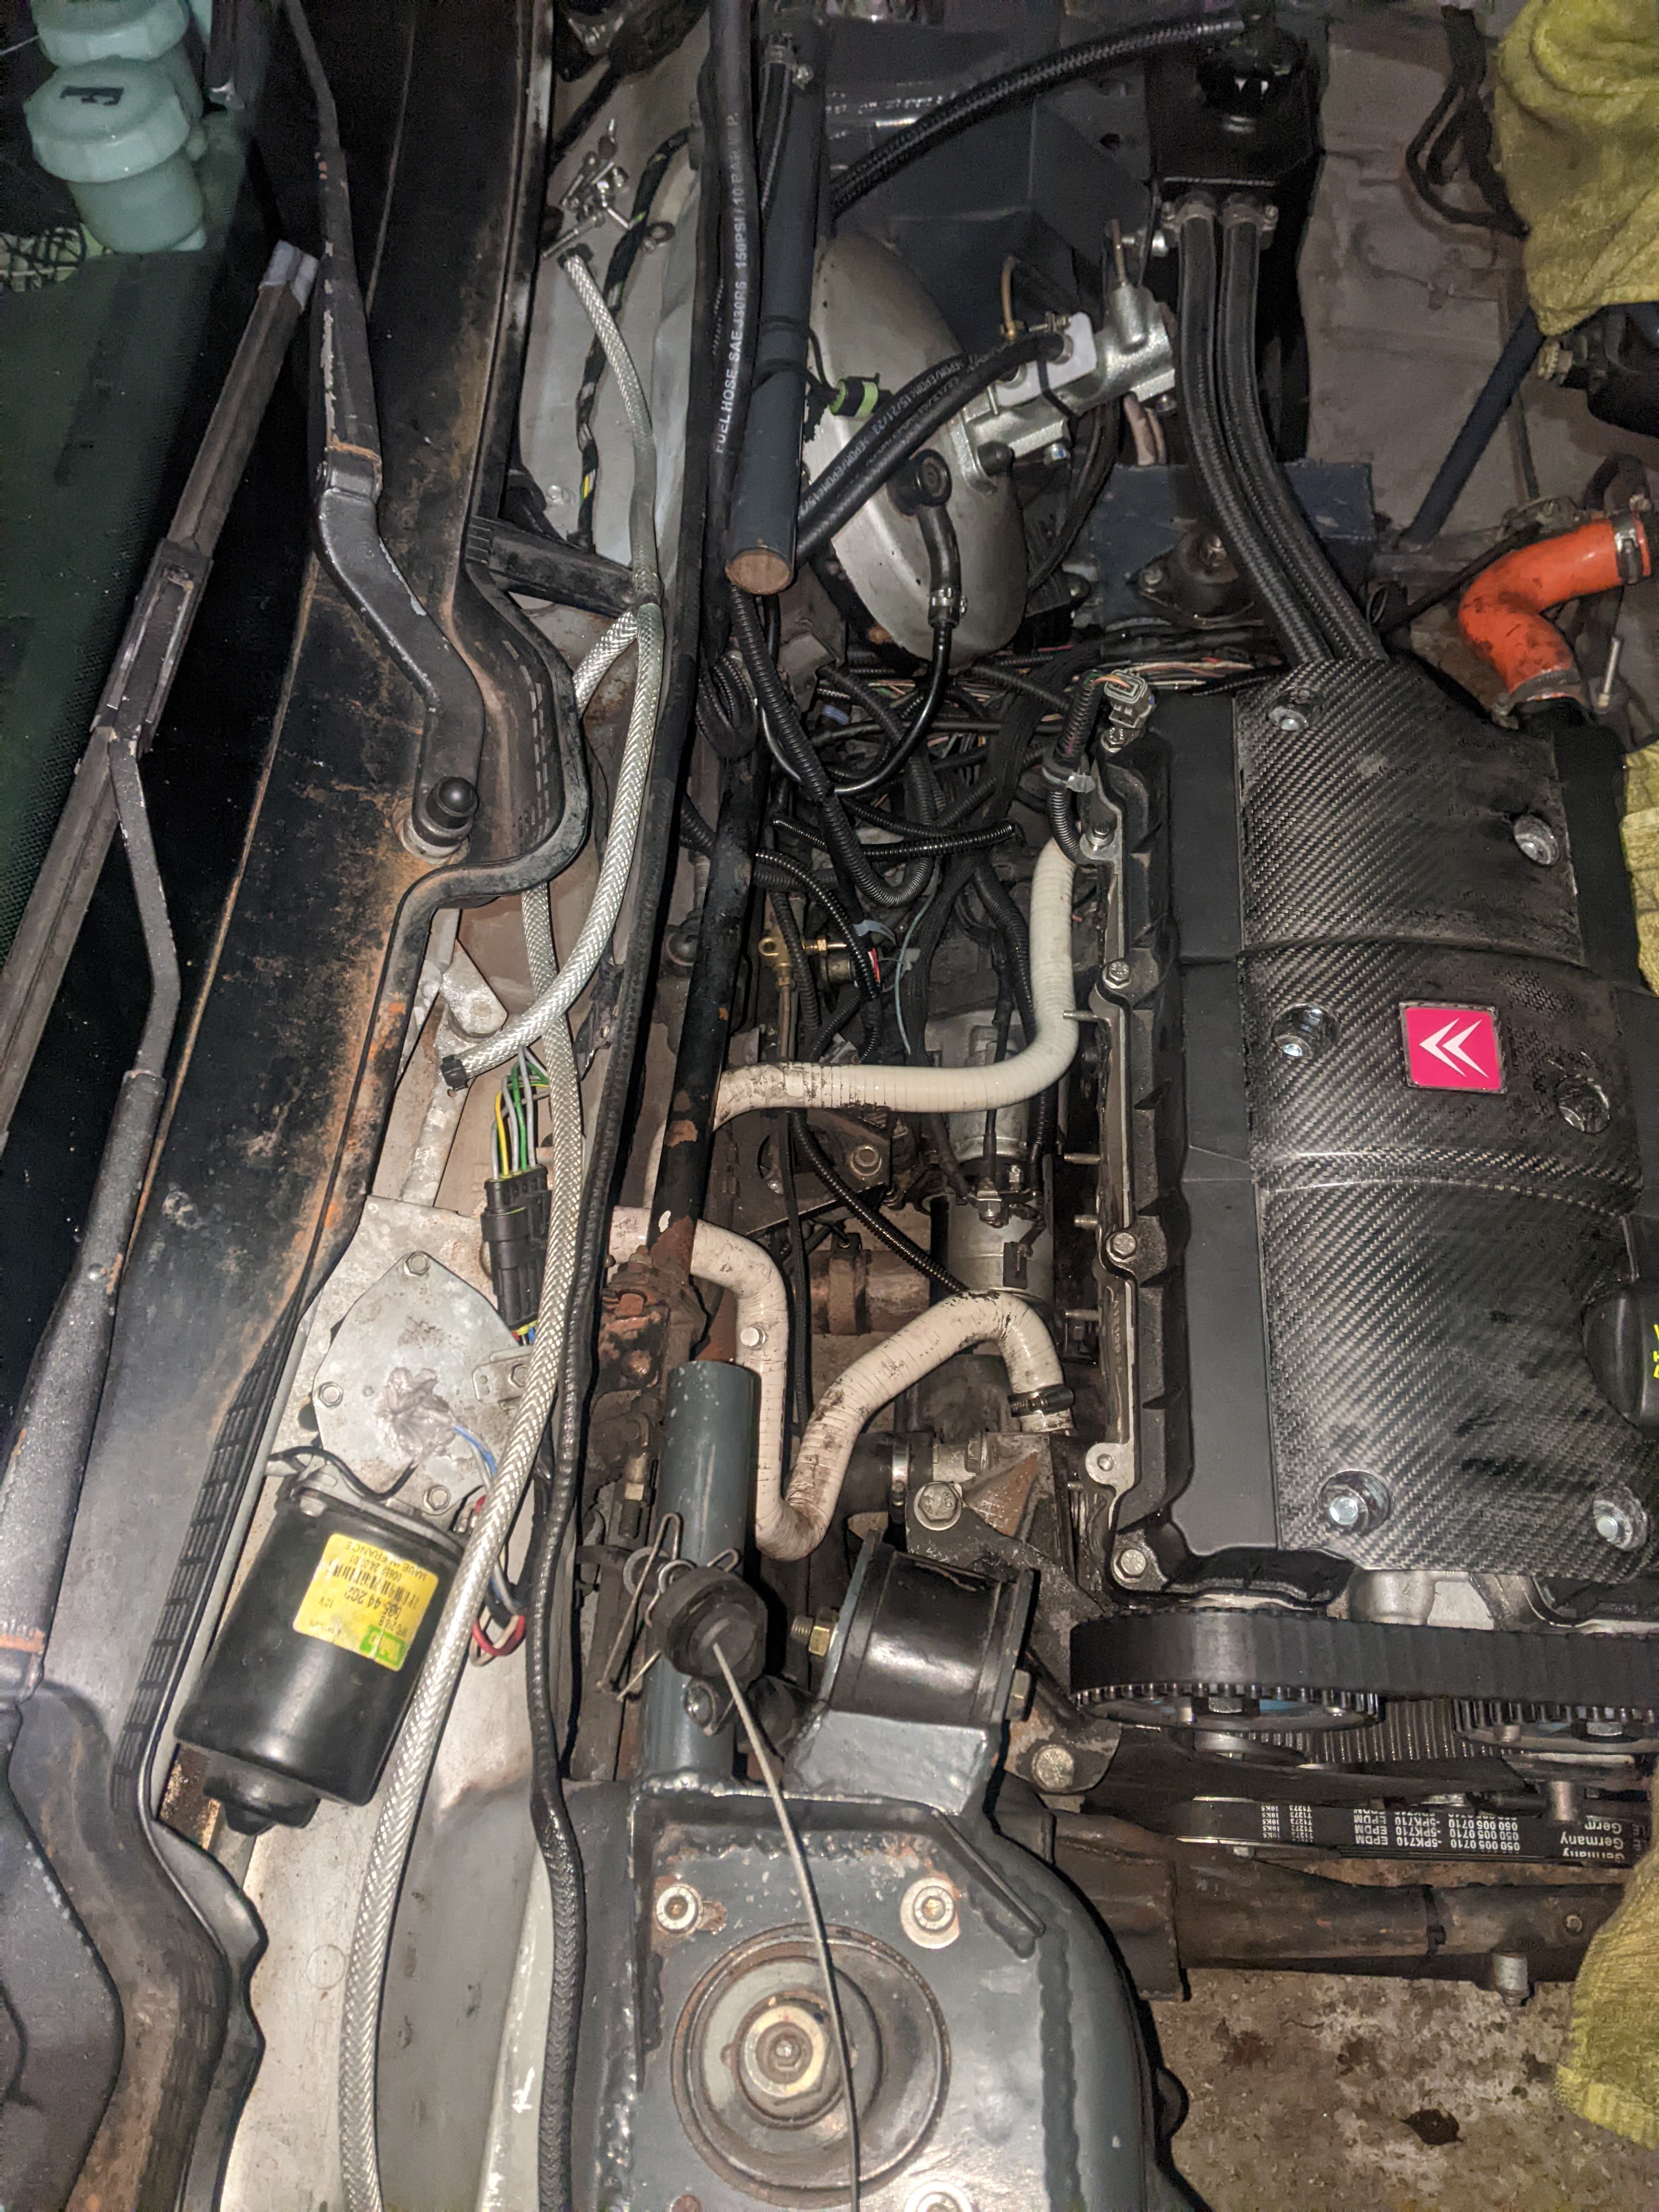
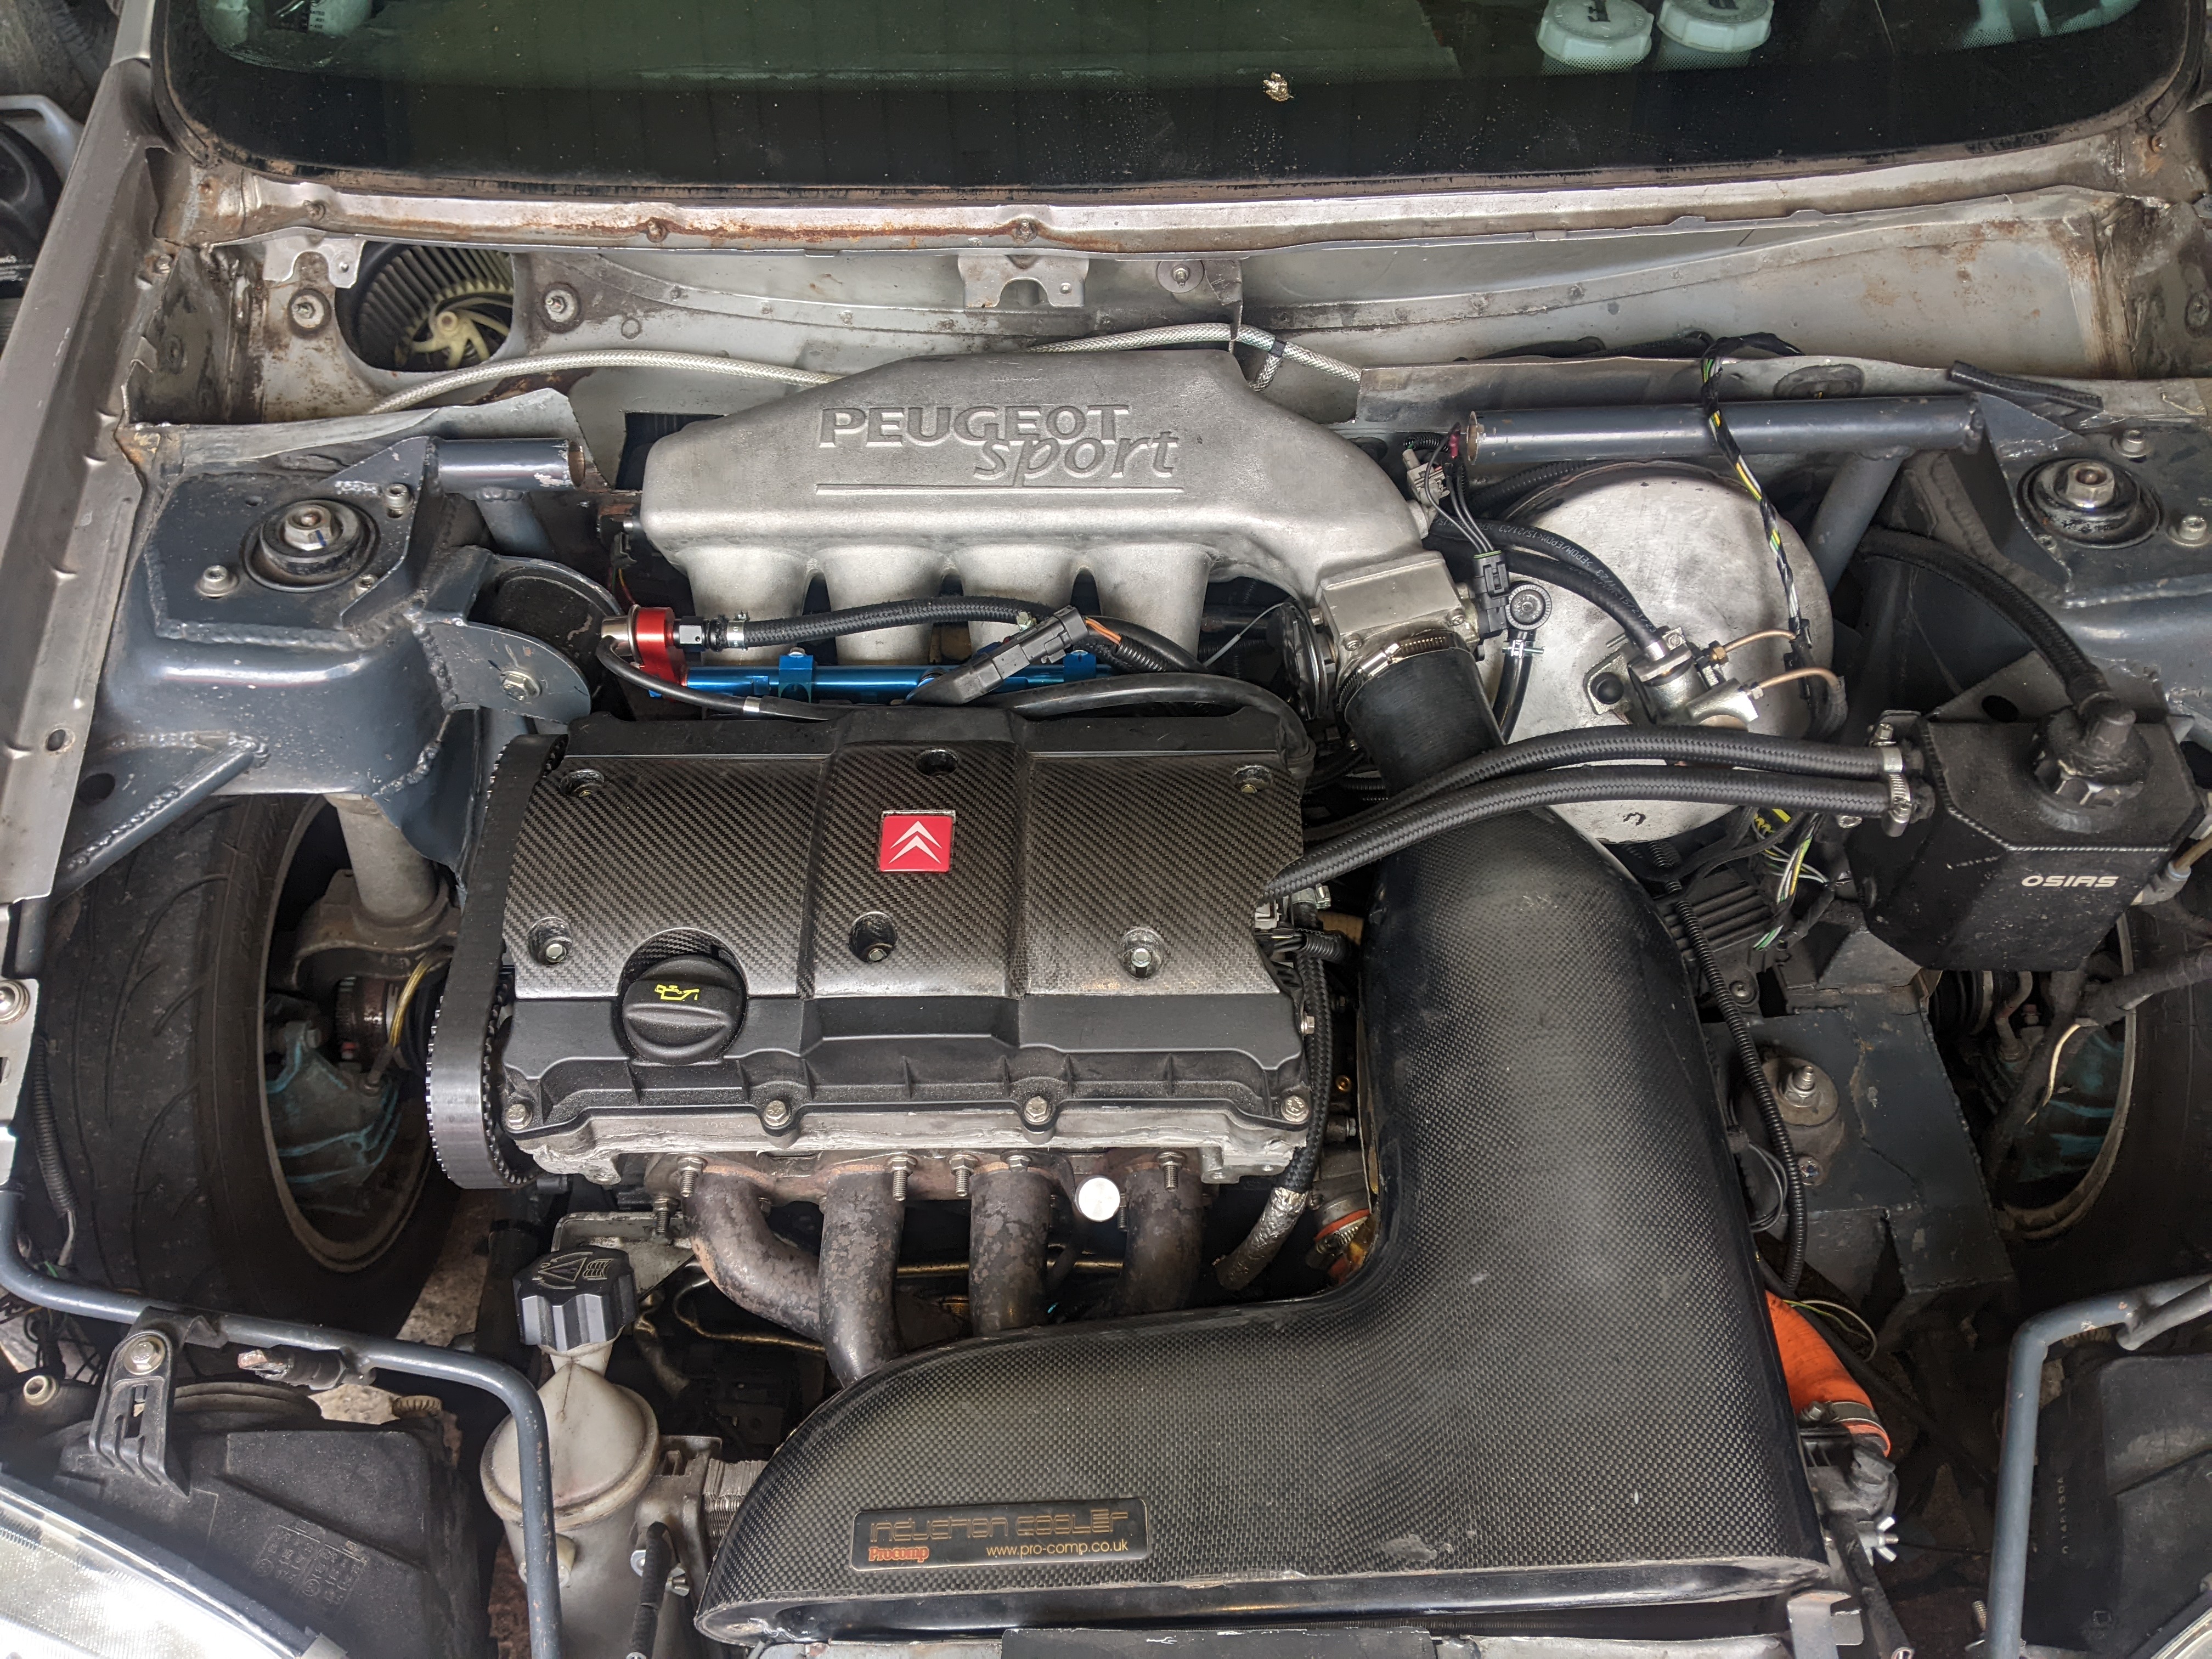
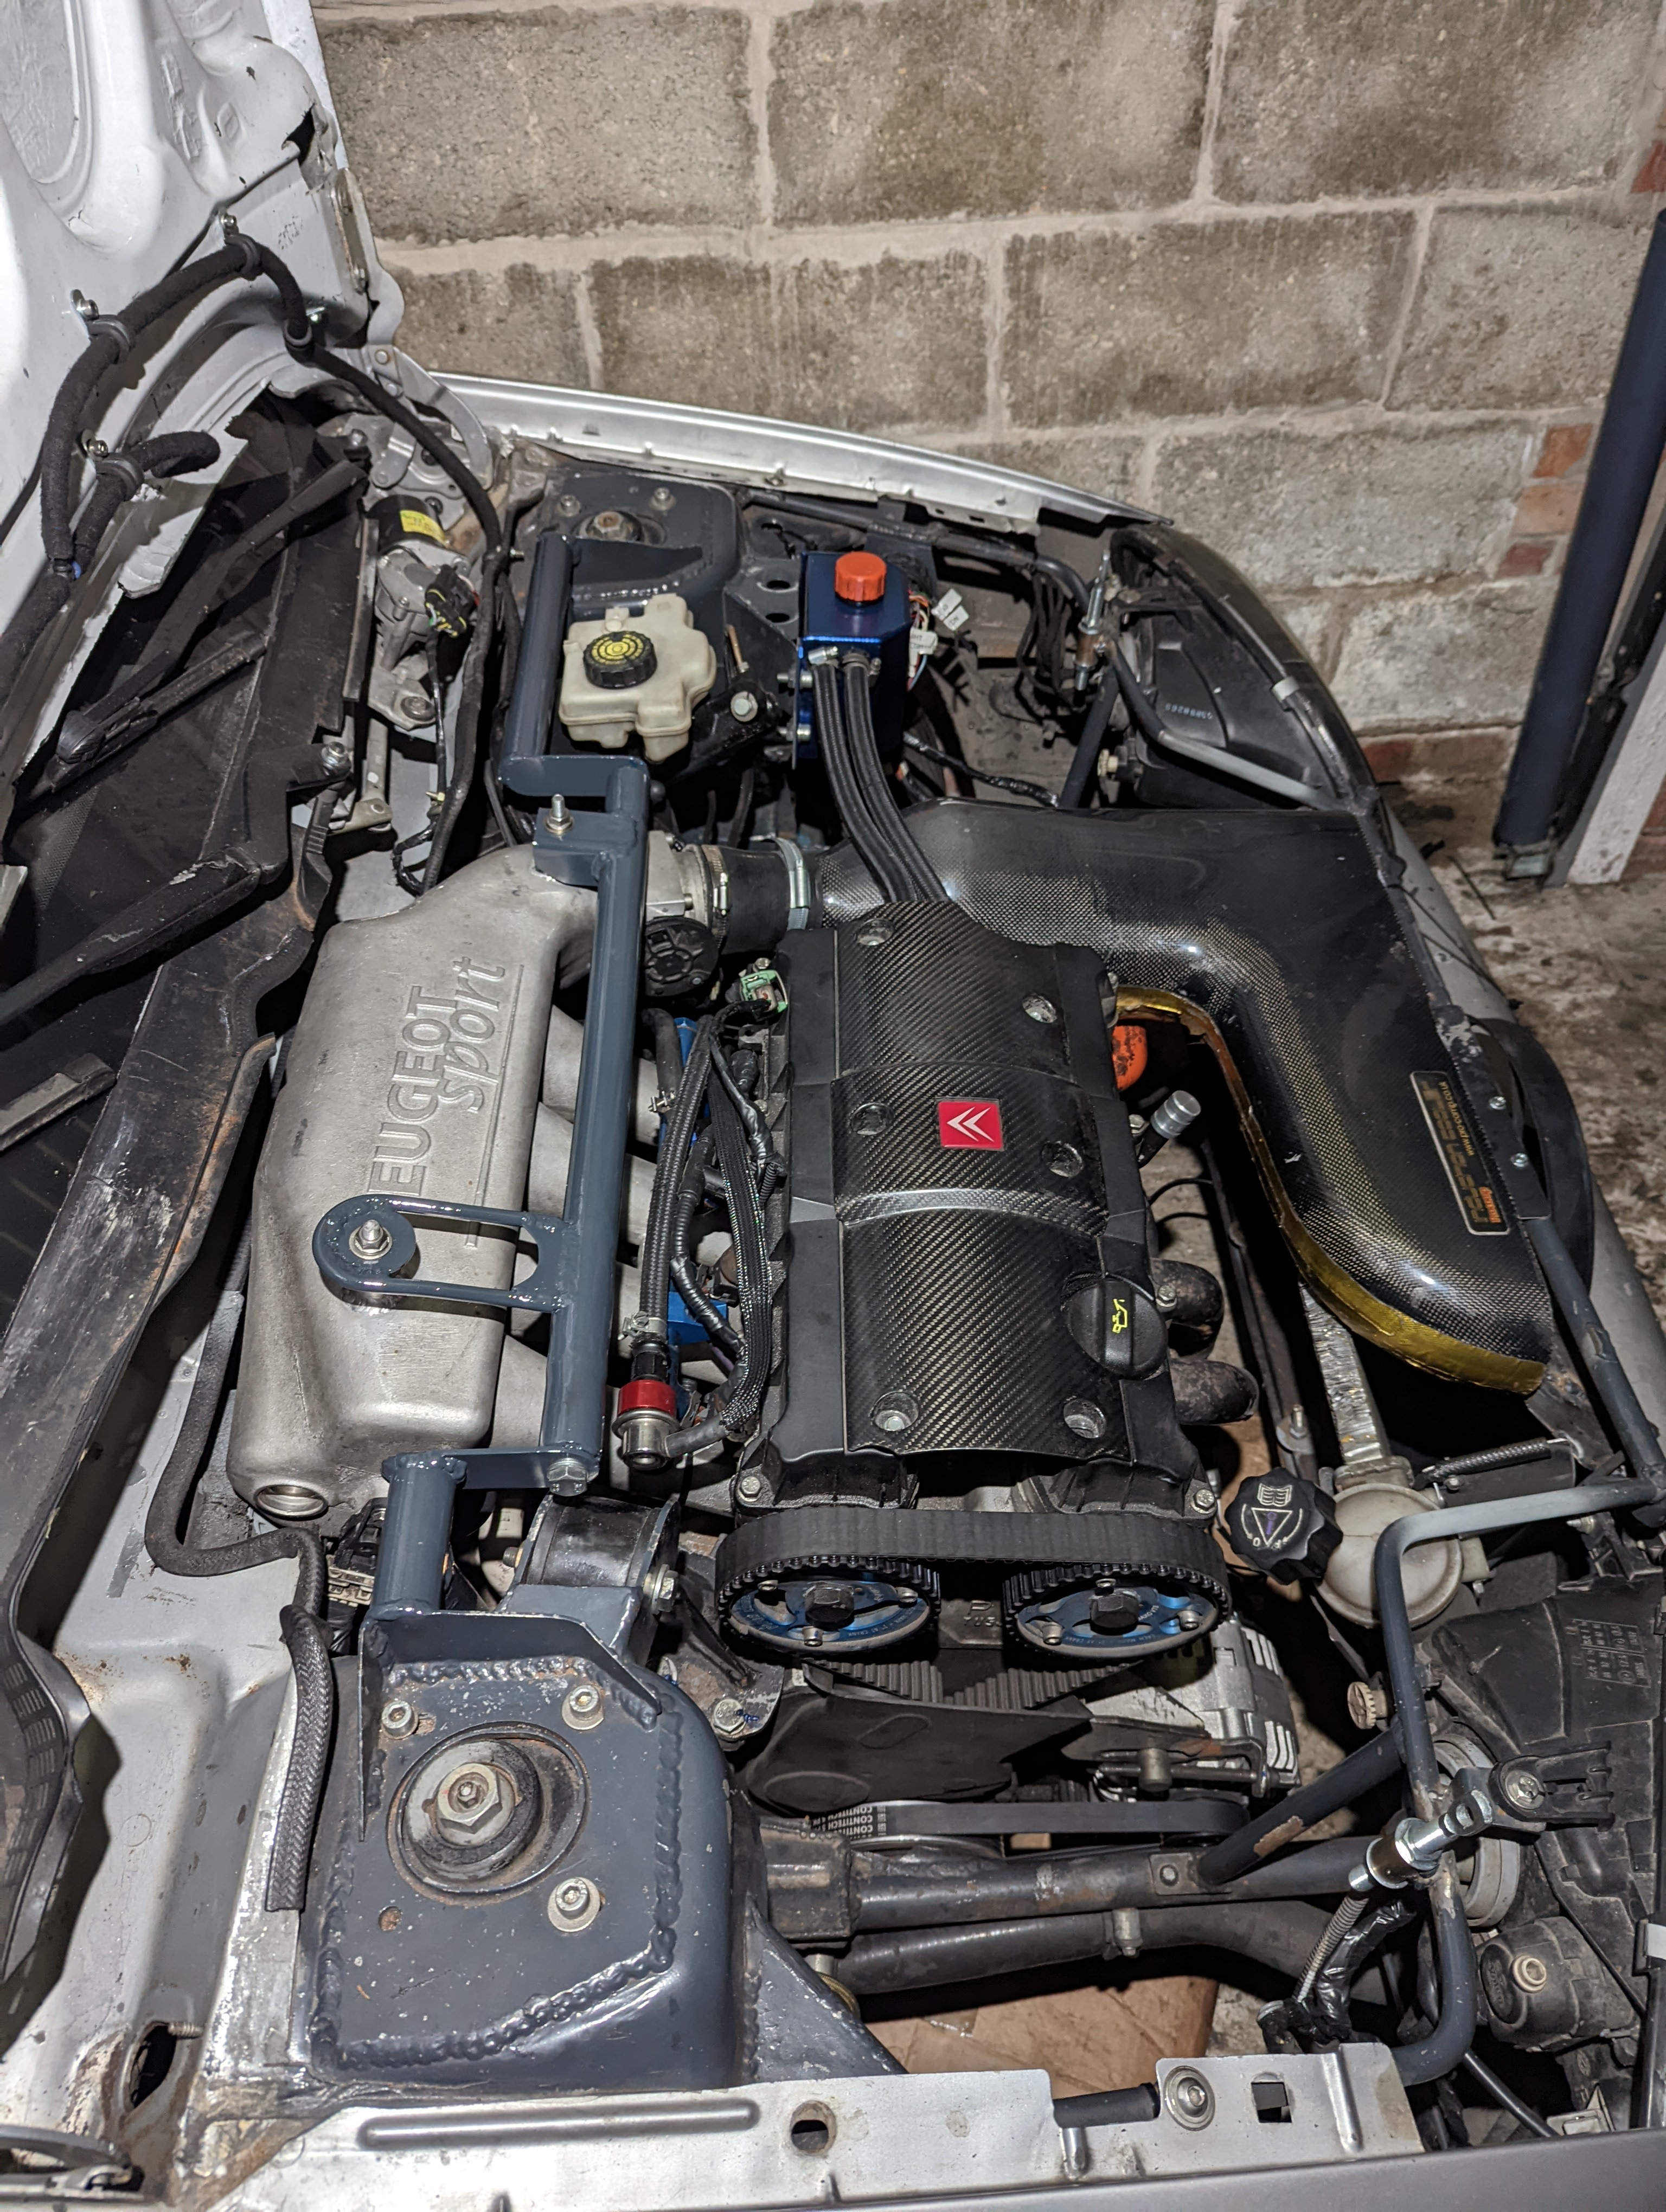
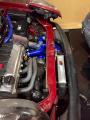
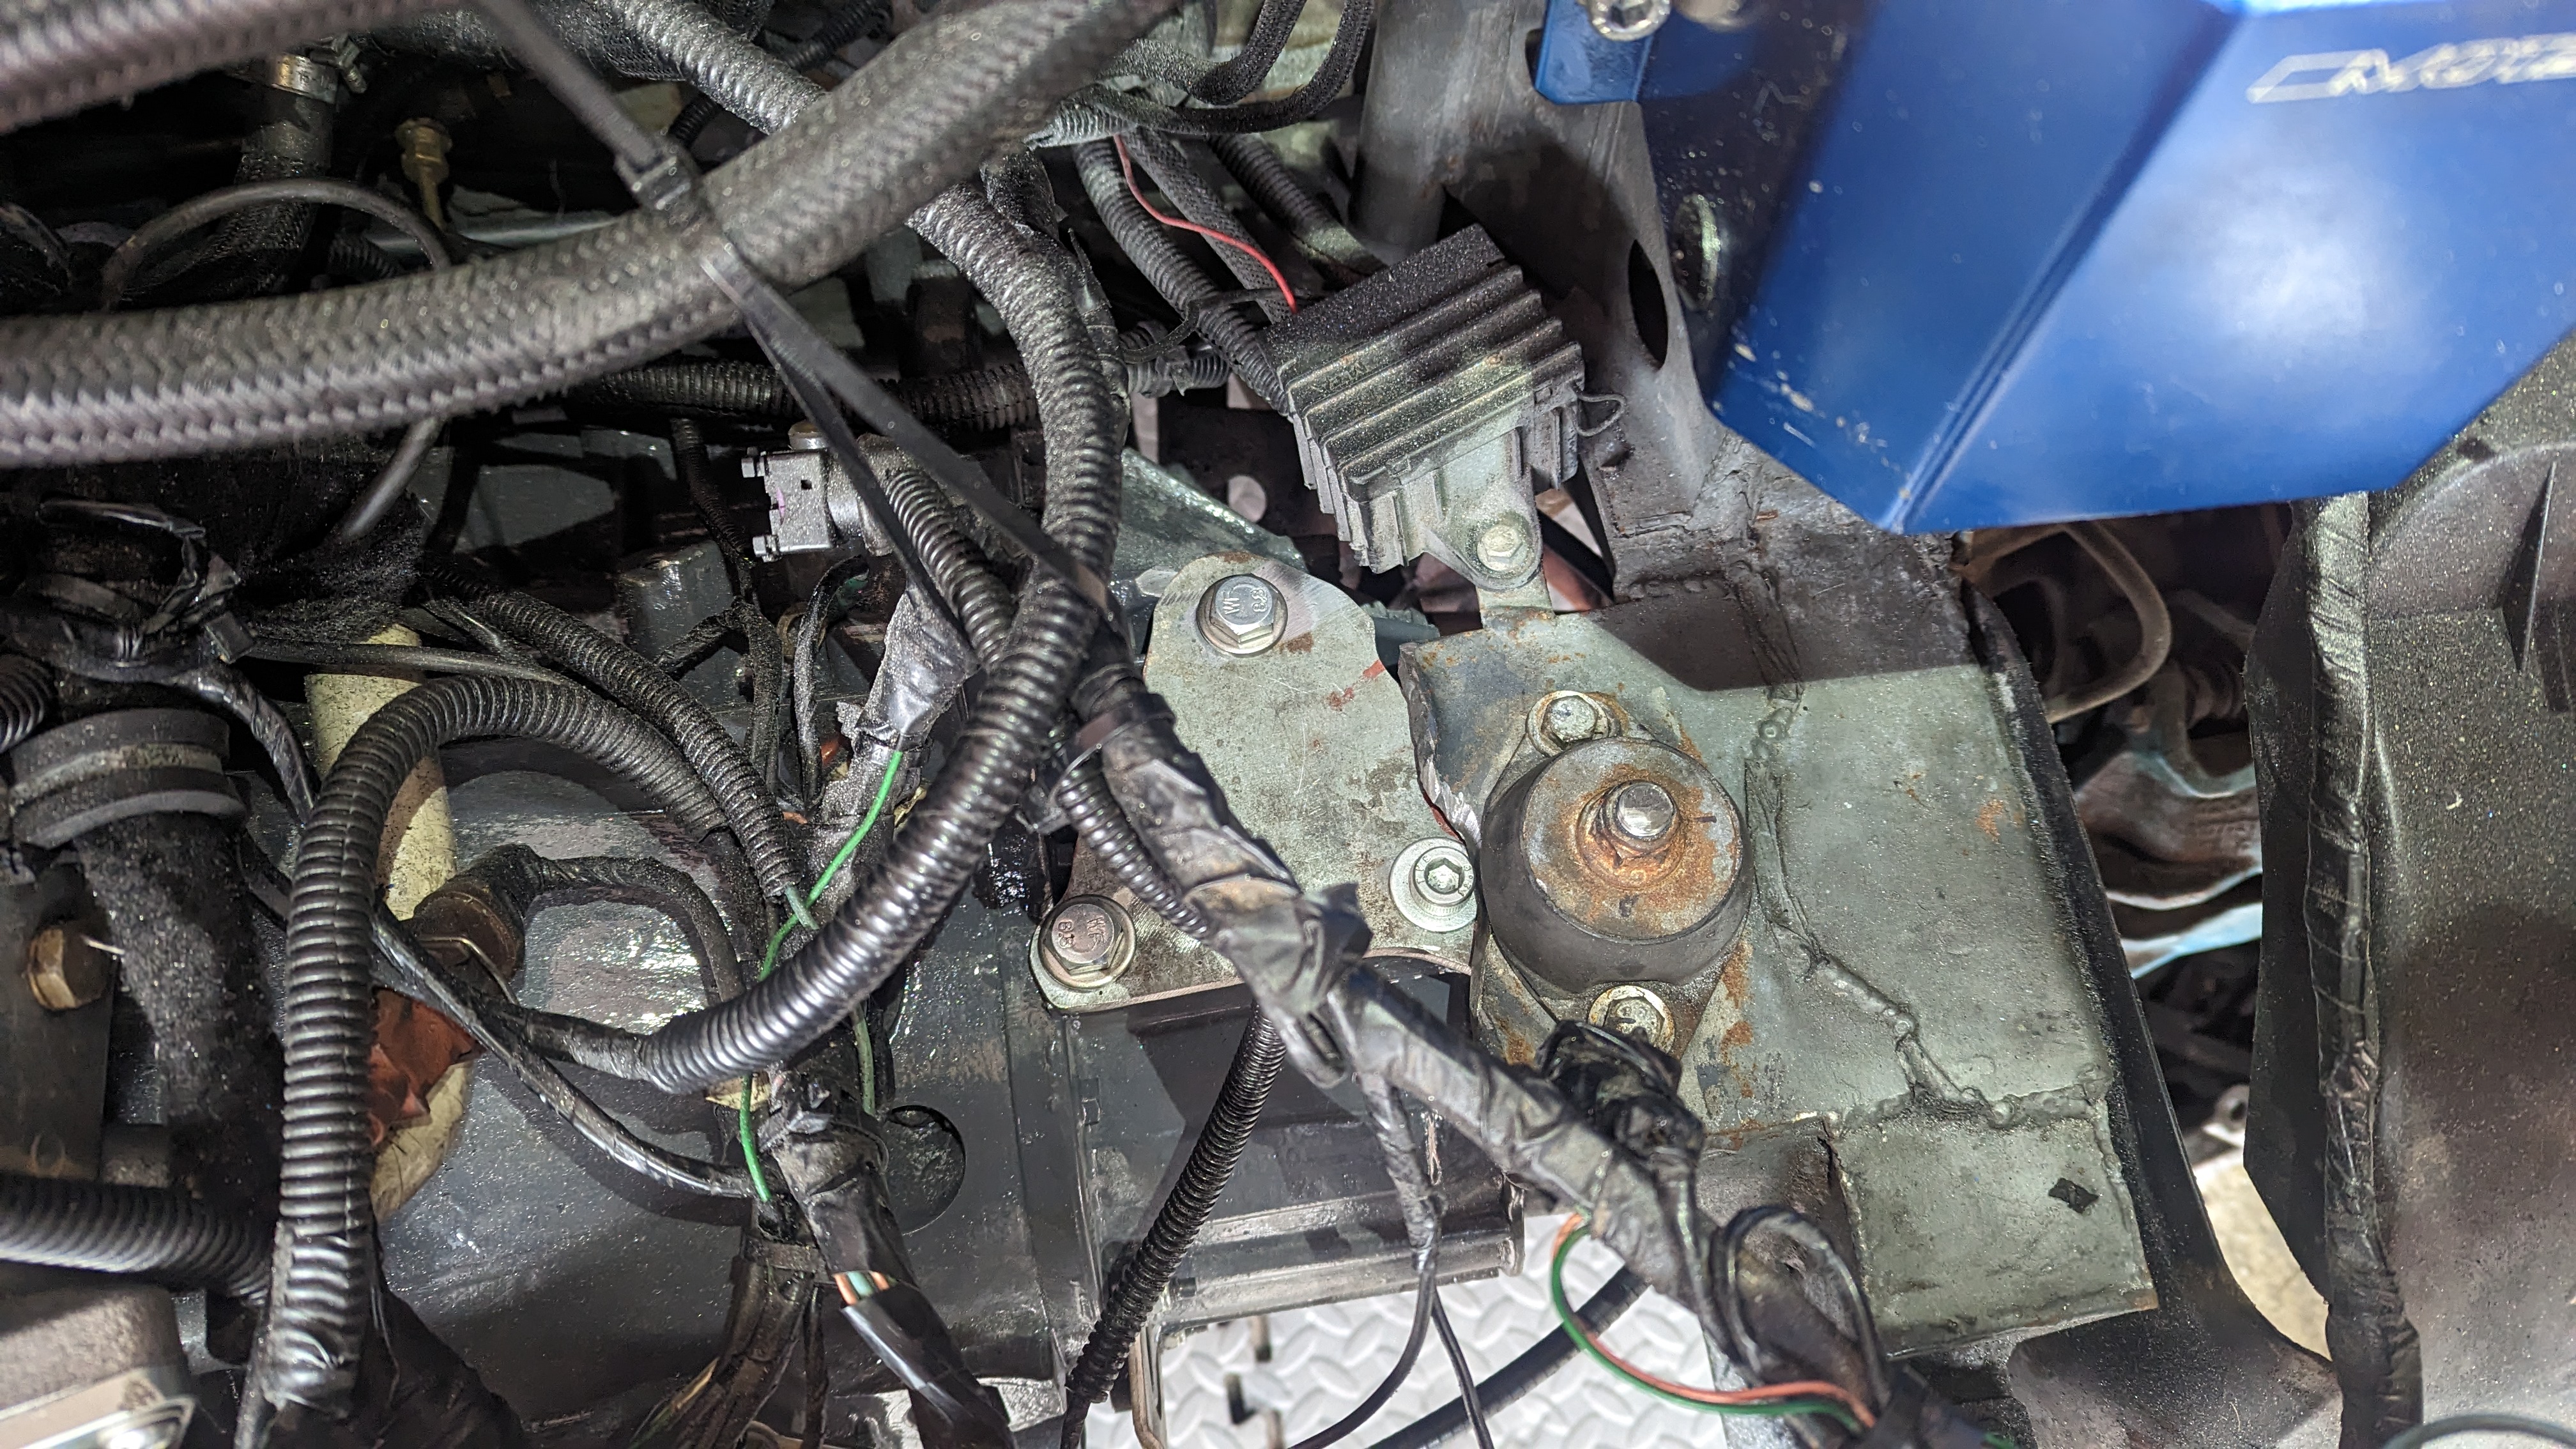
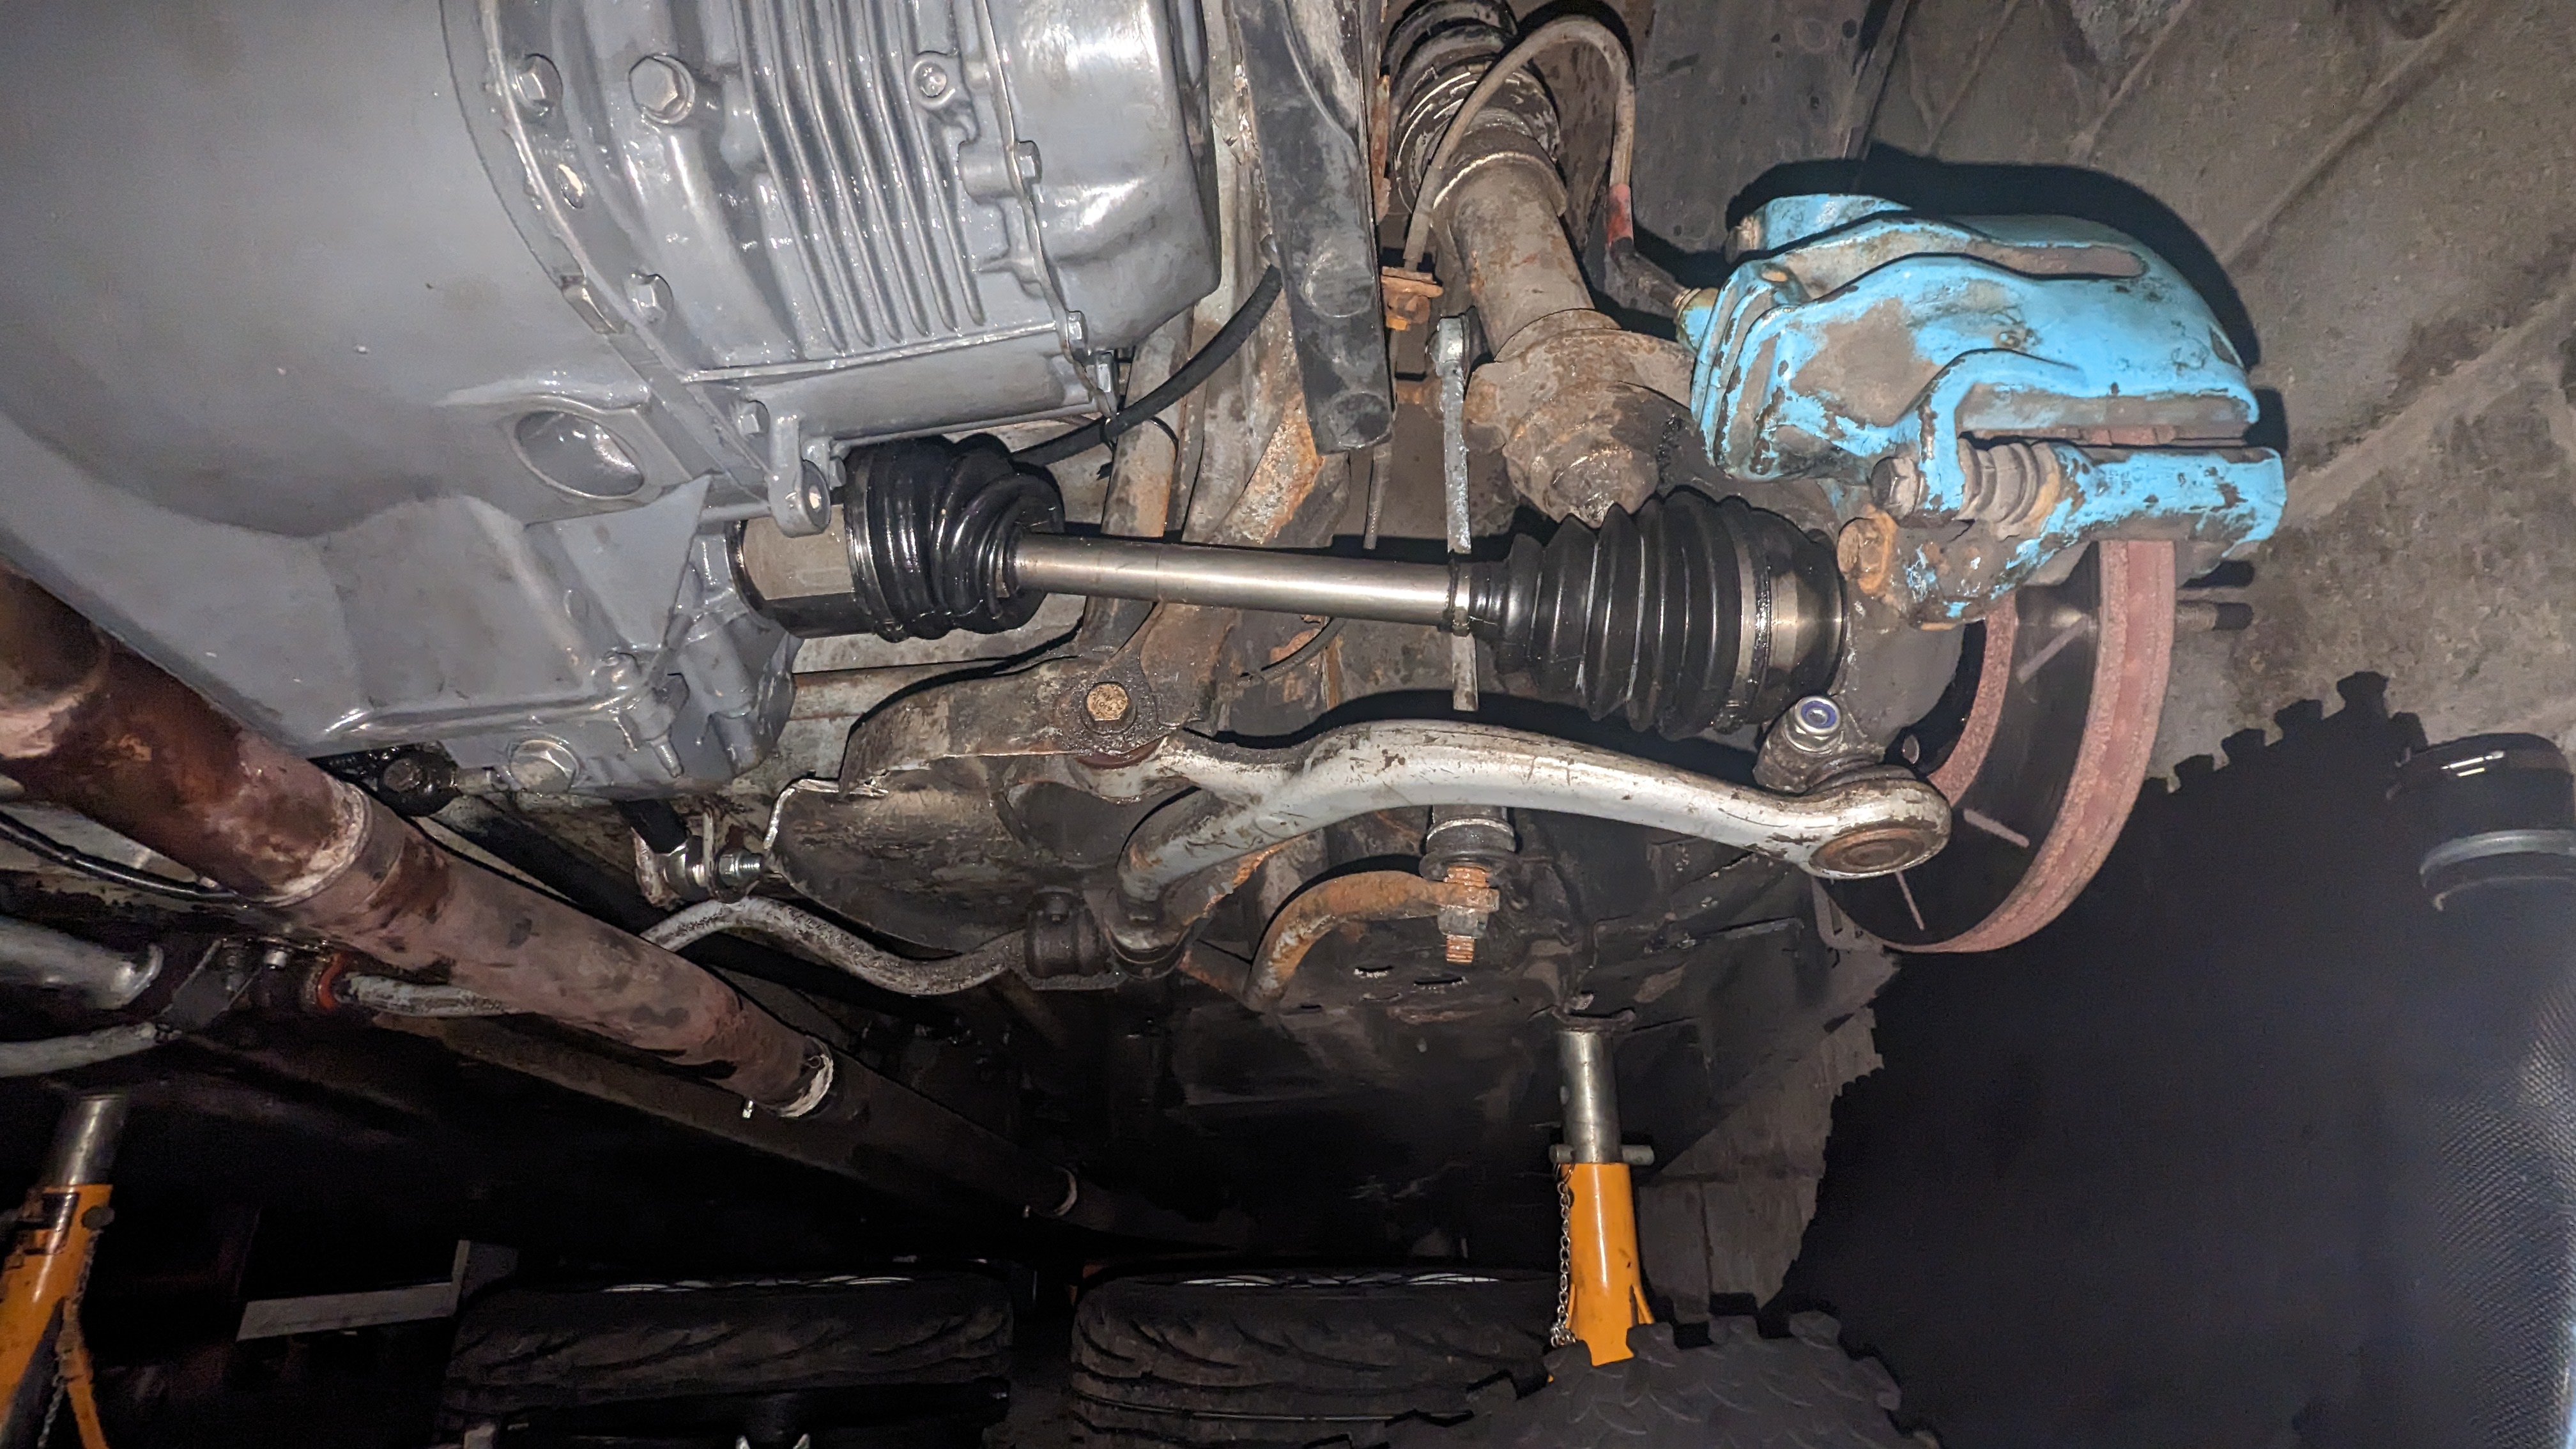
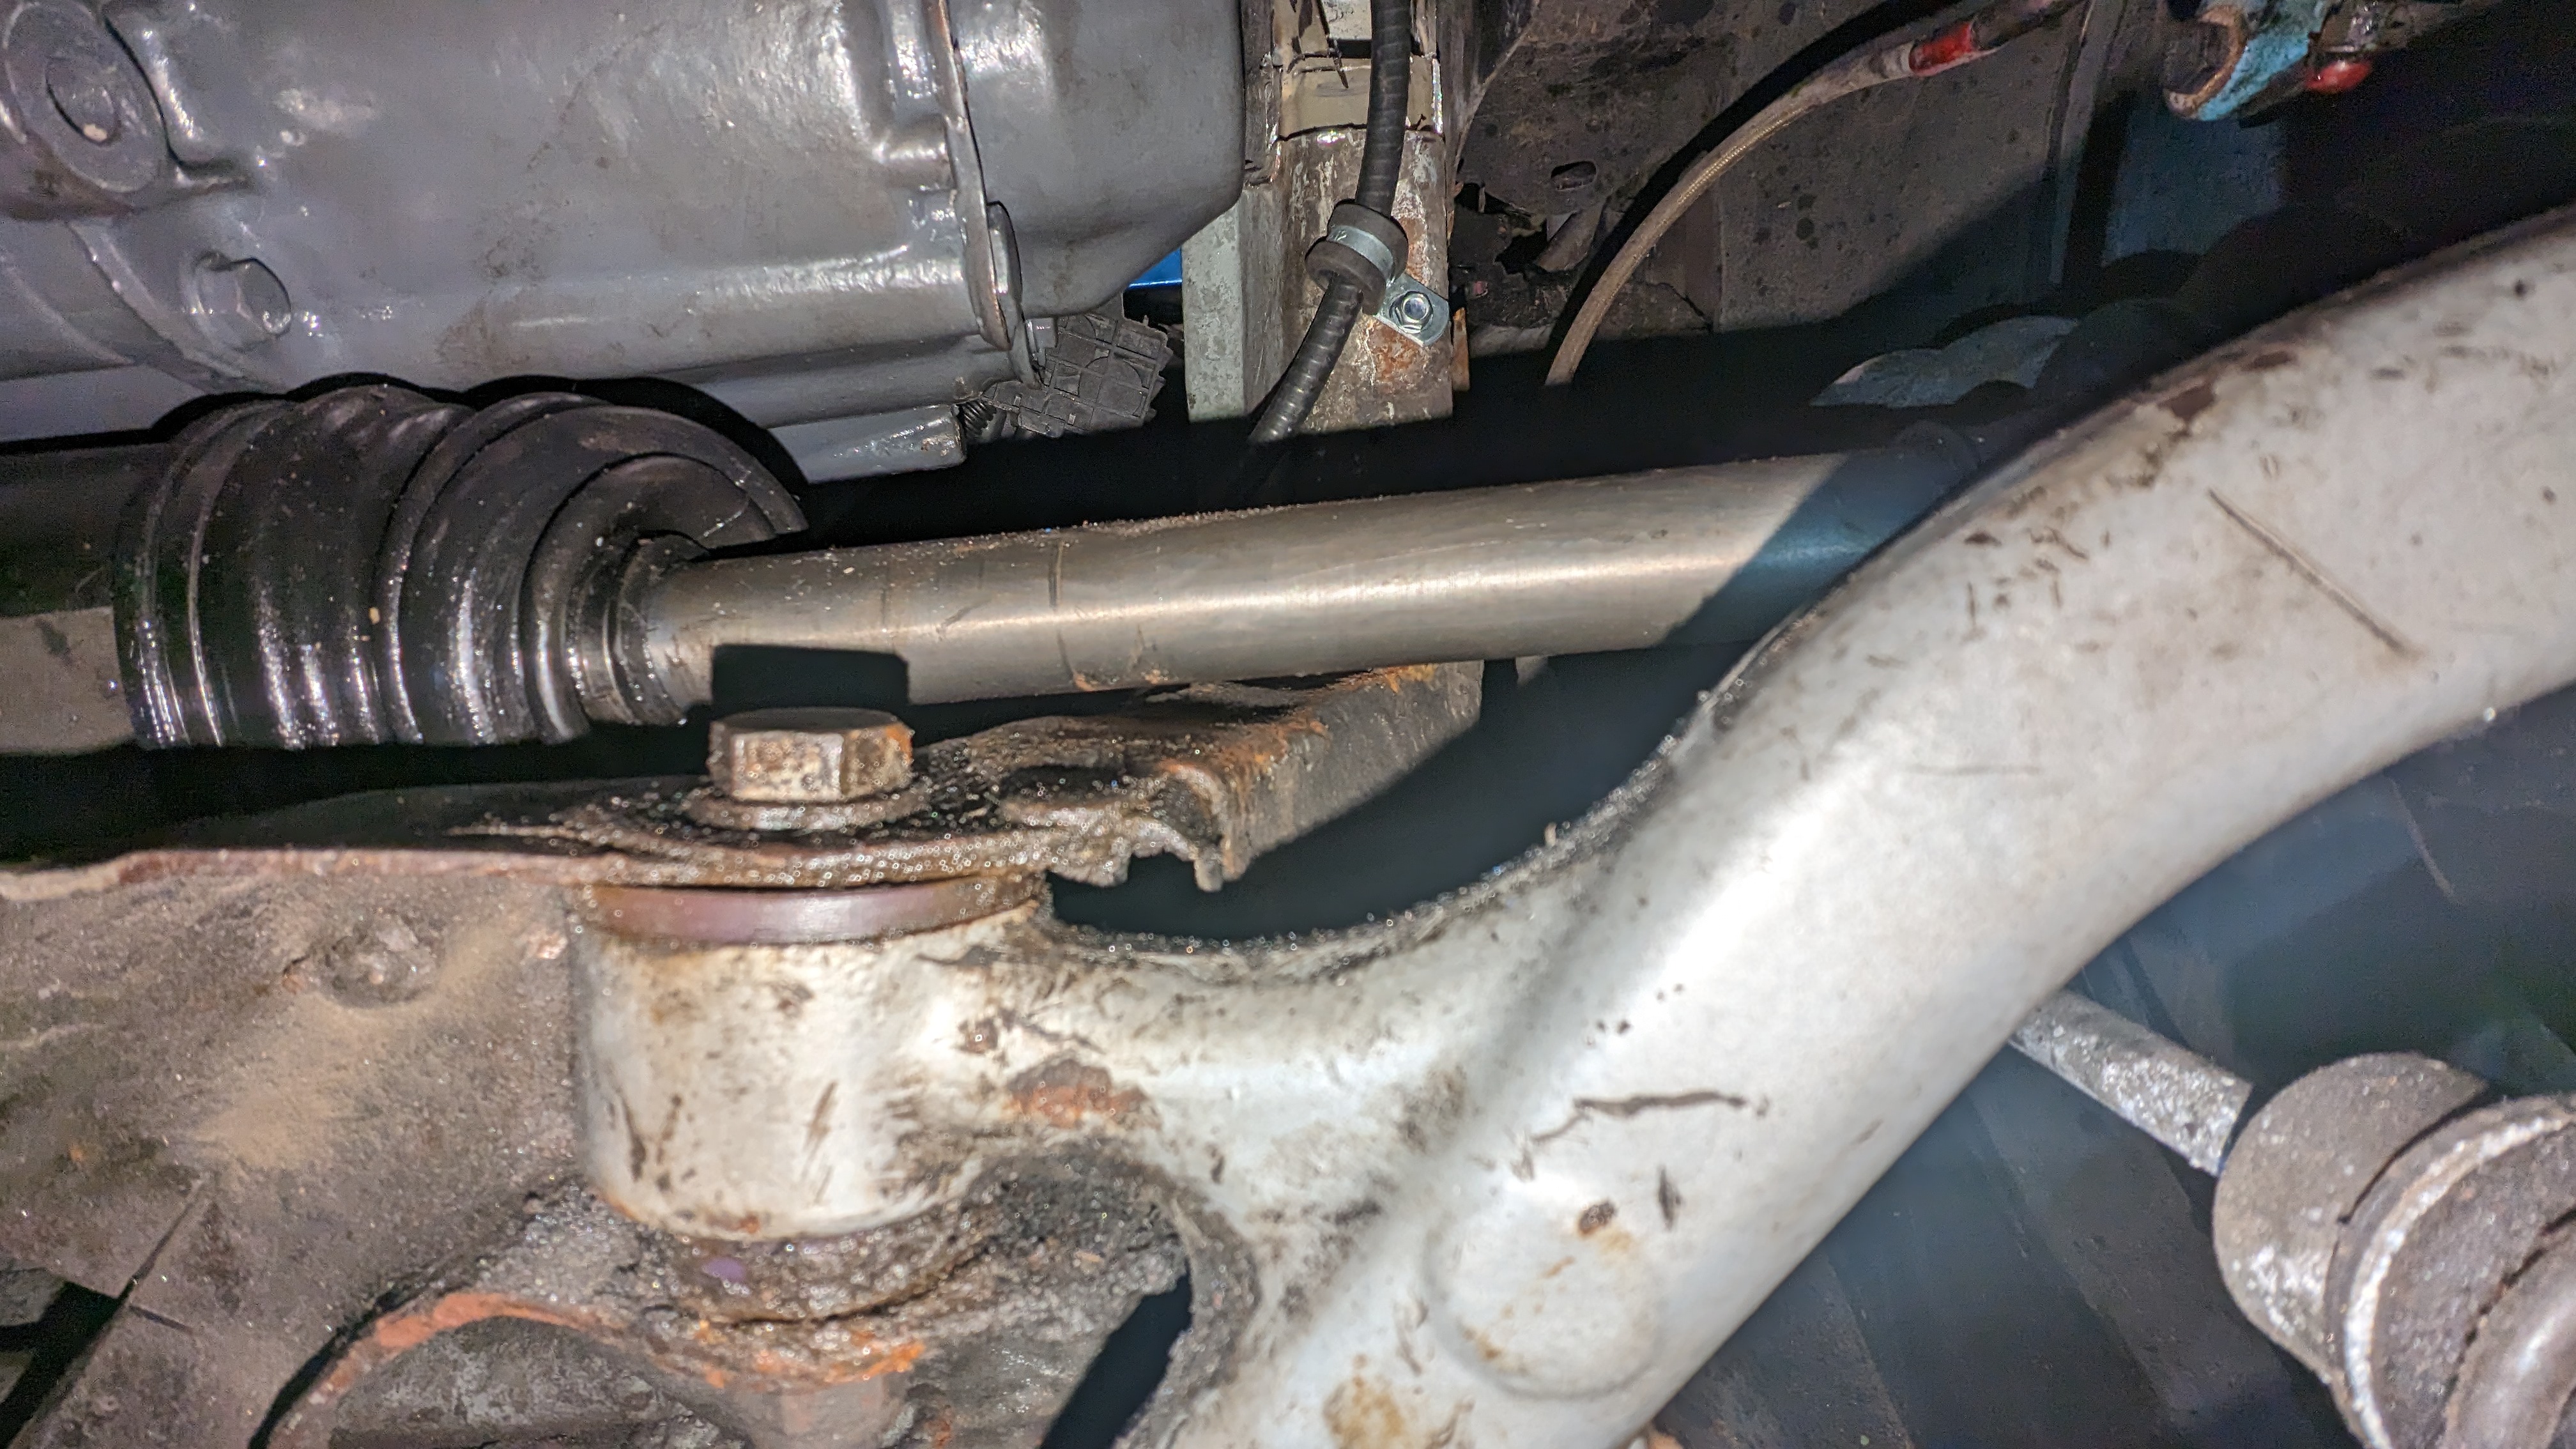
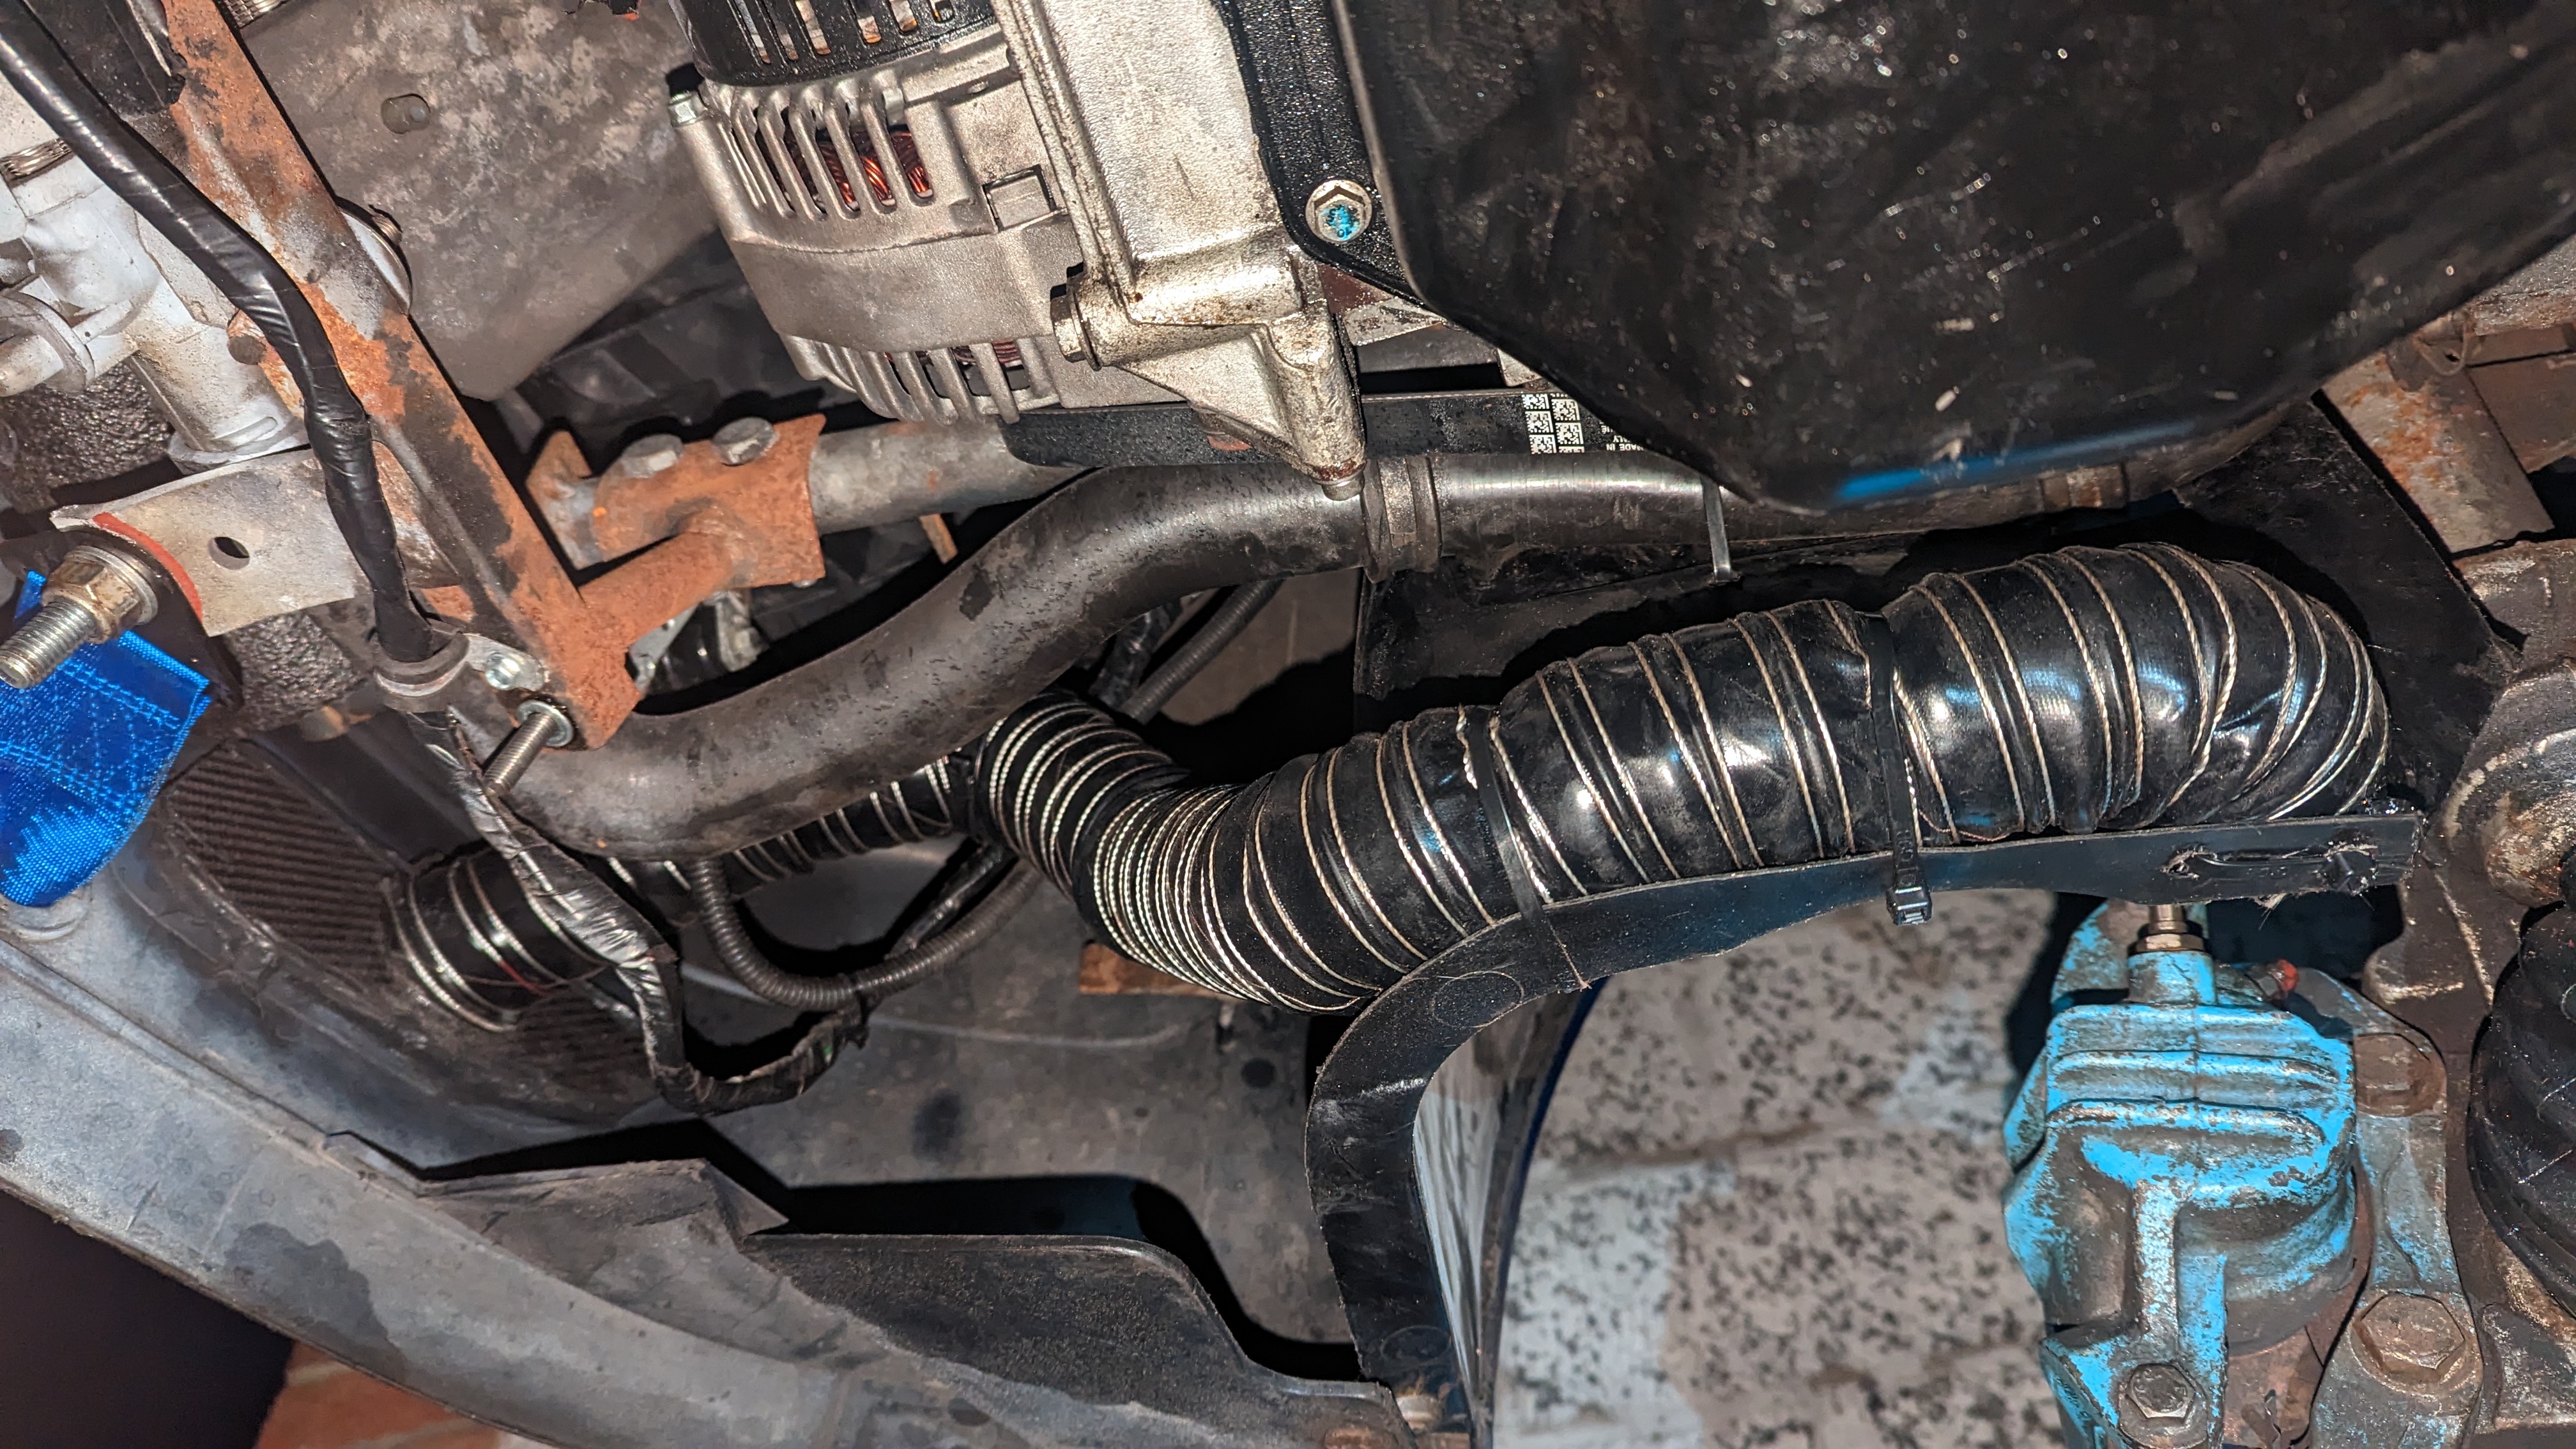
    Engine in:


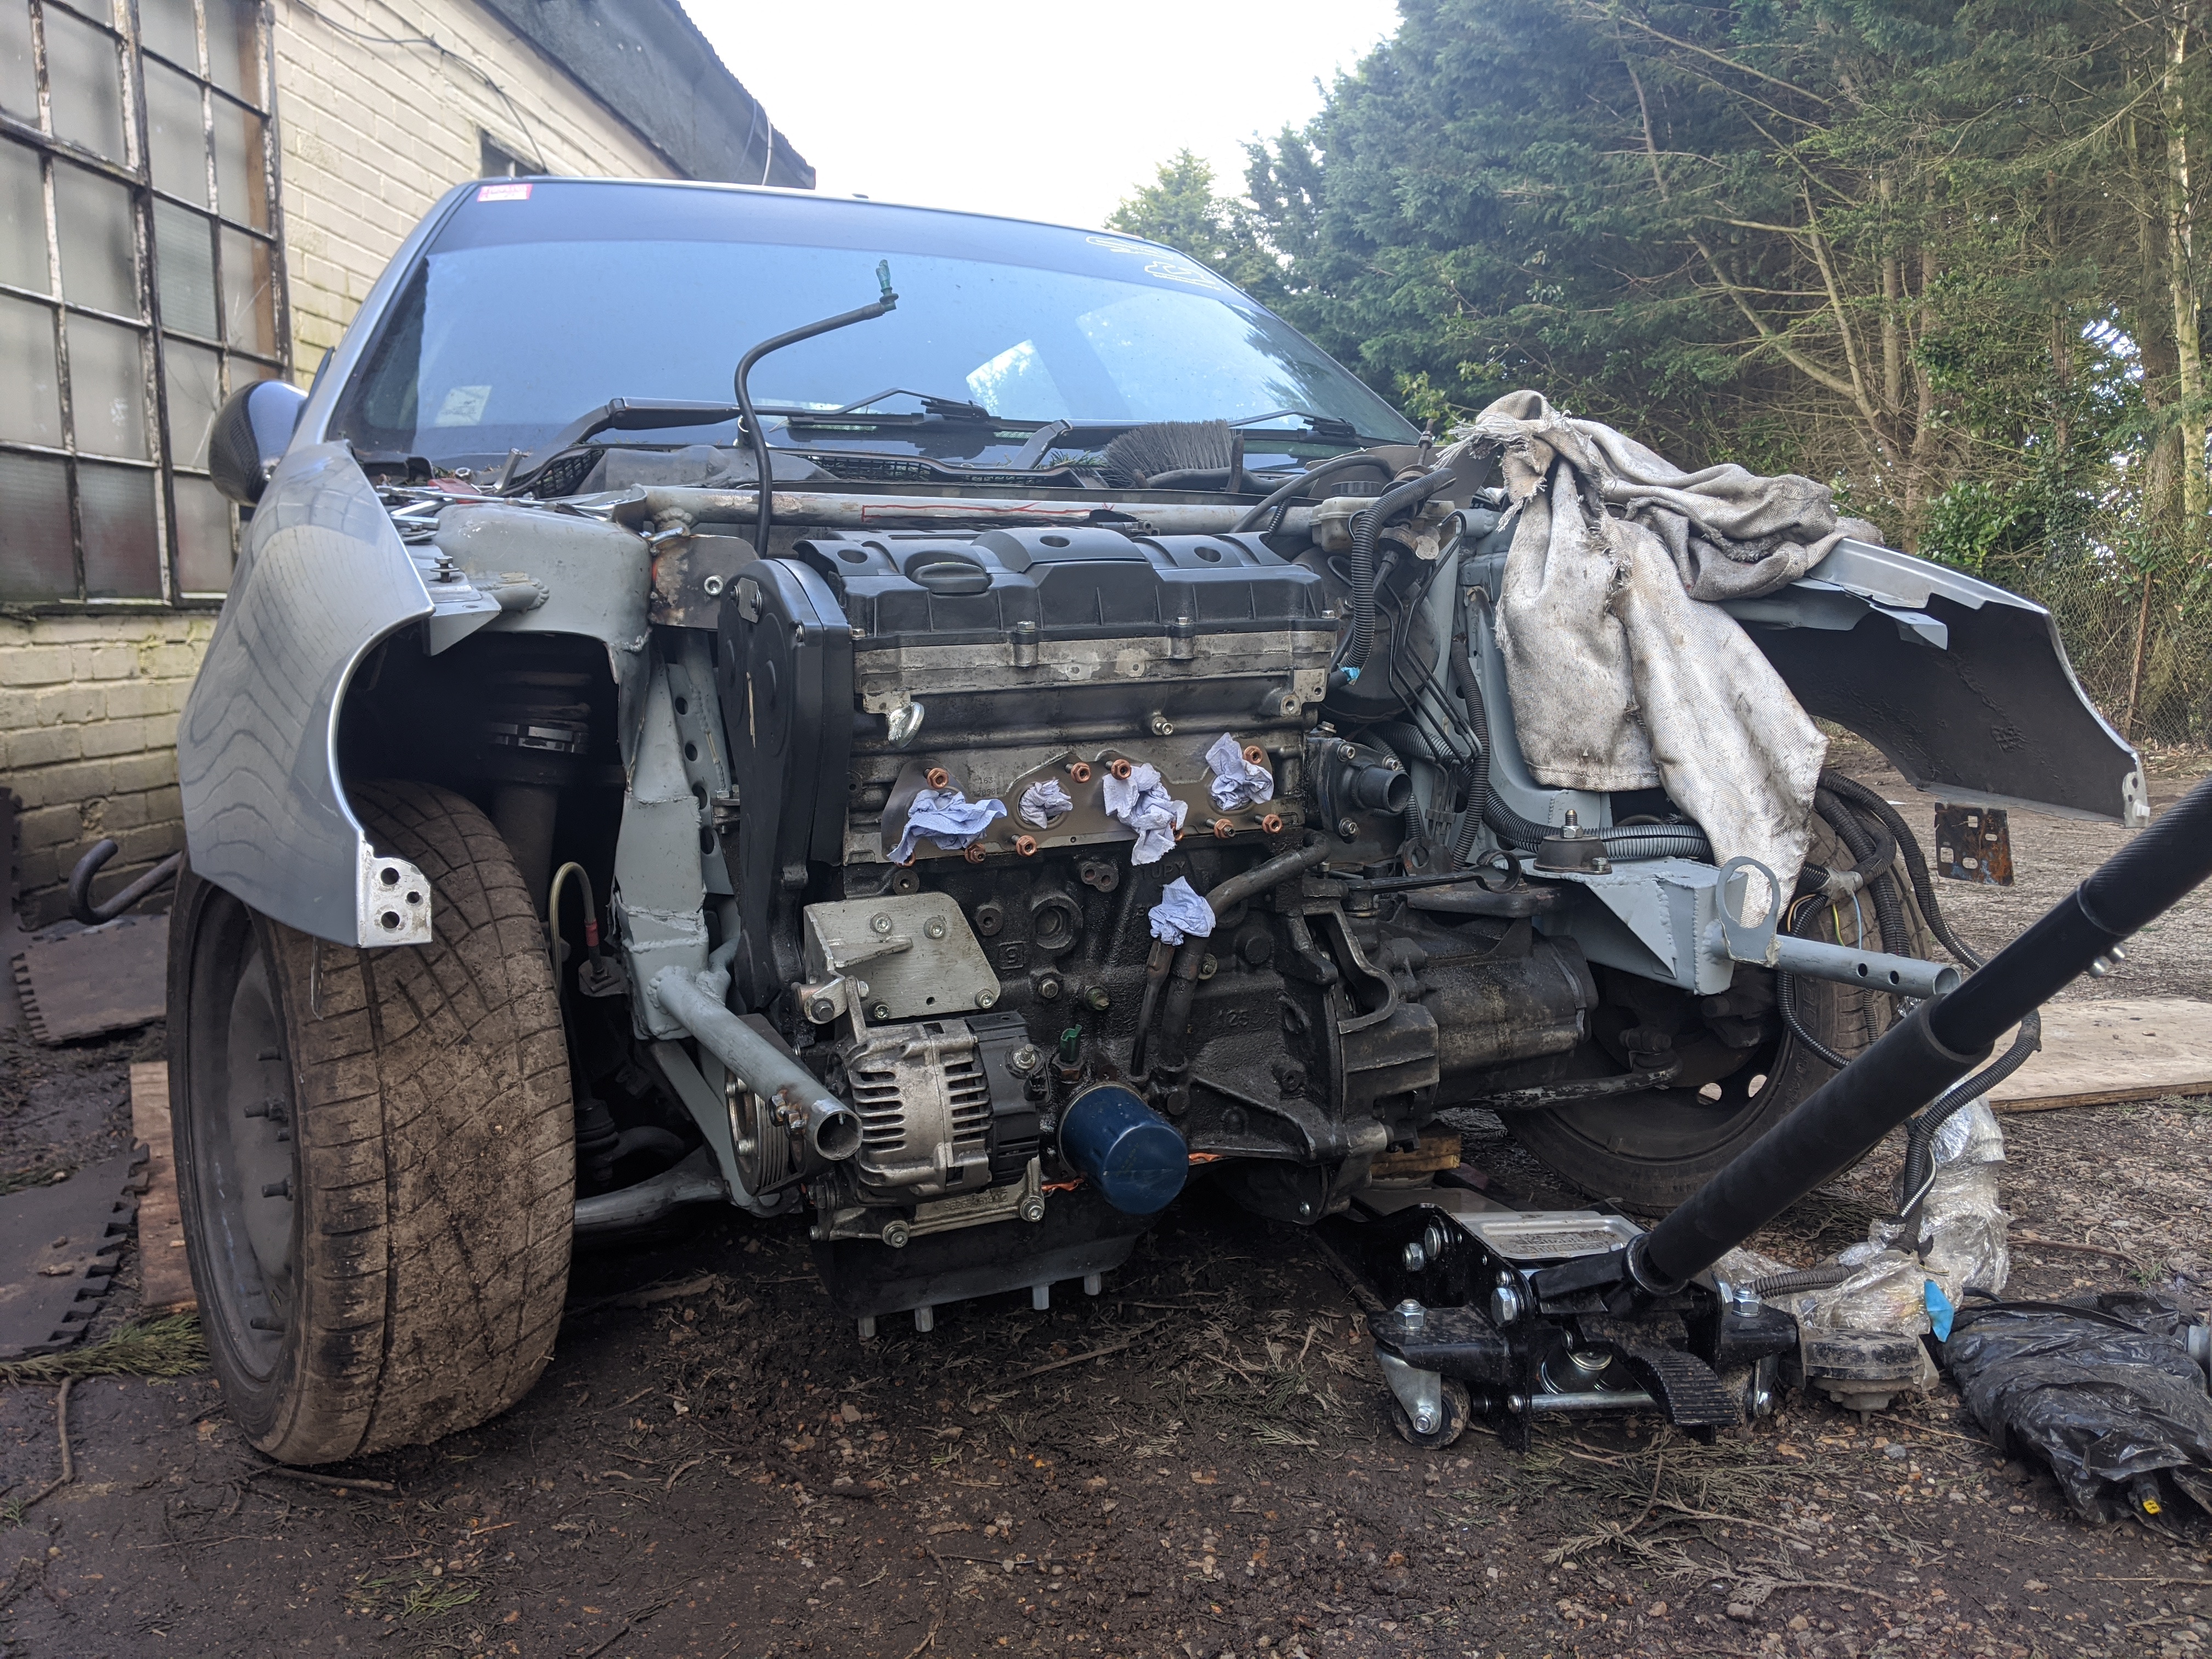
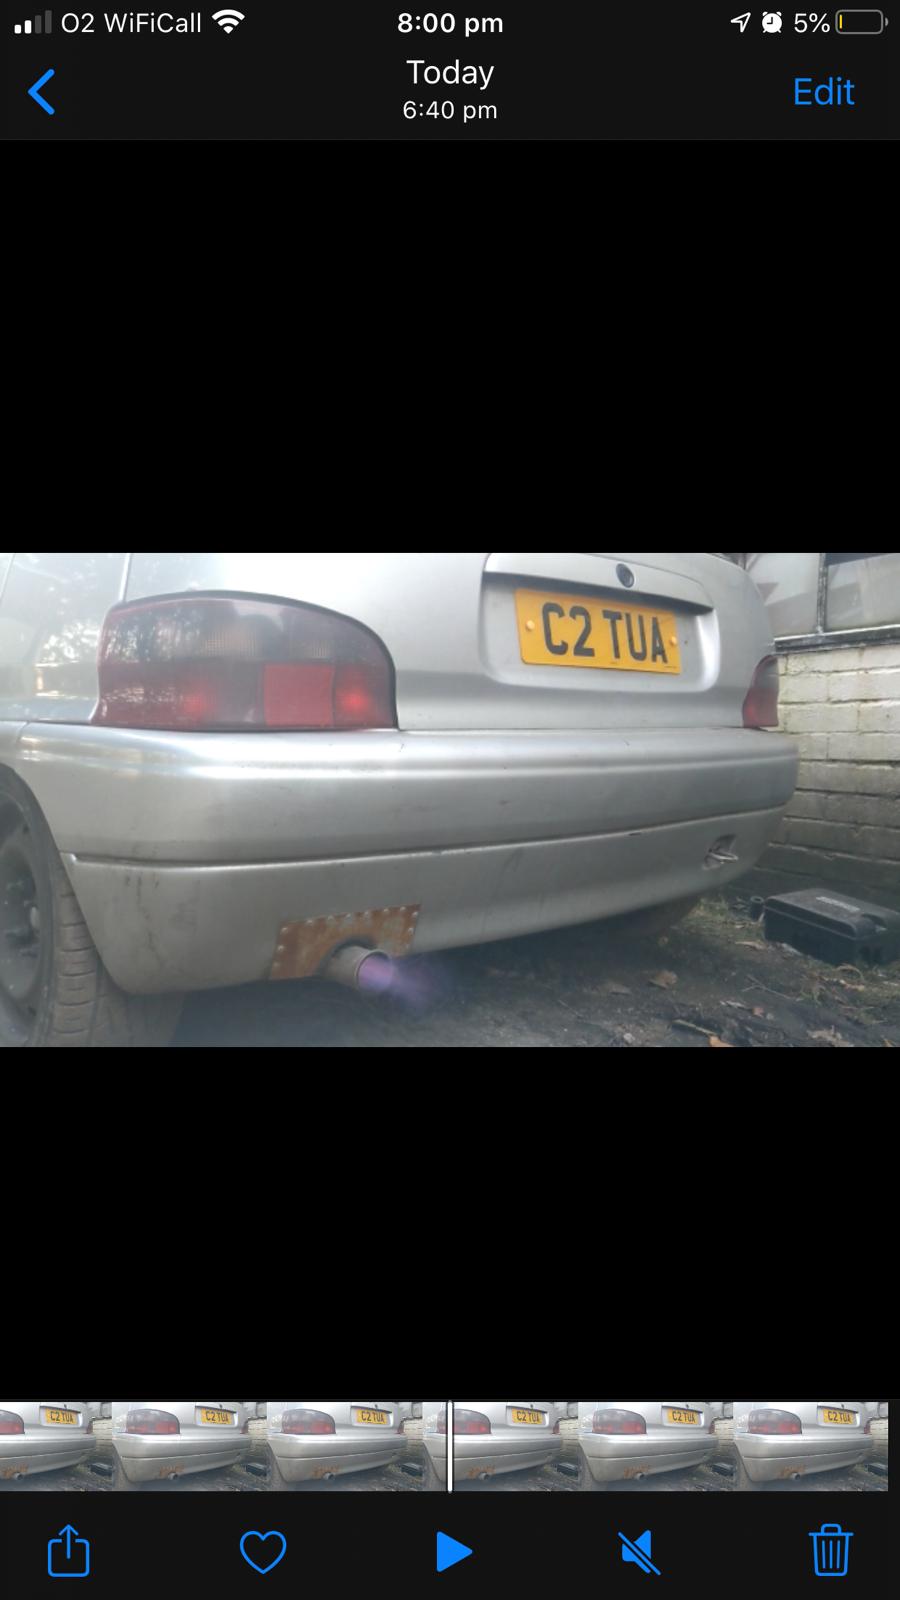
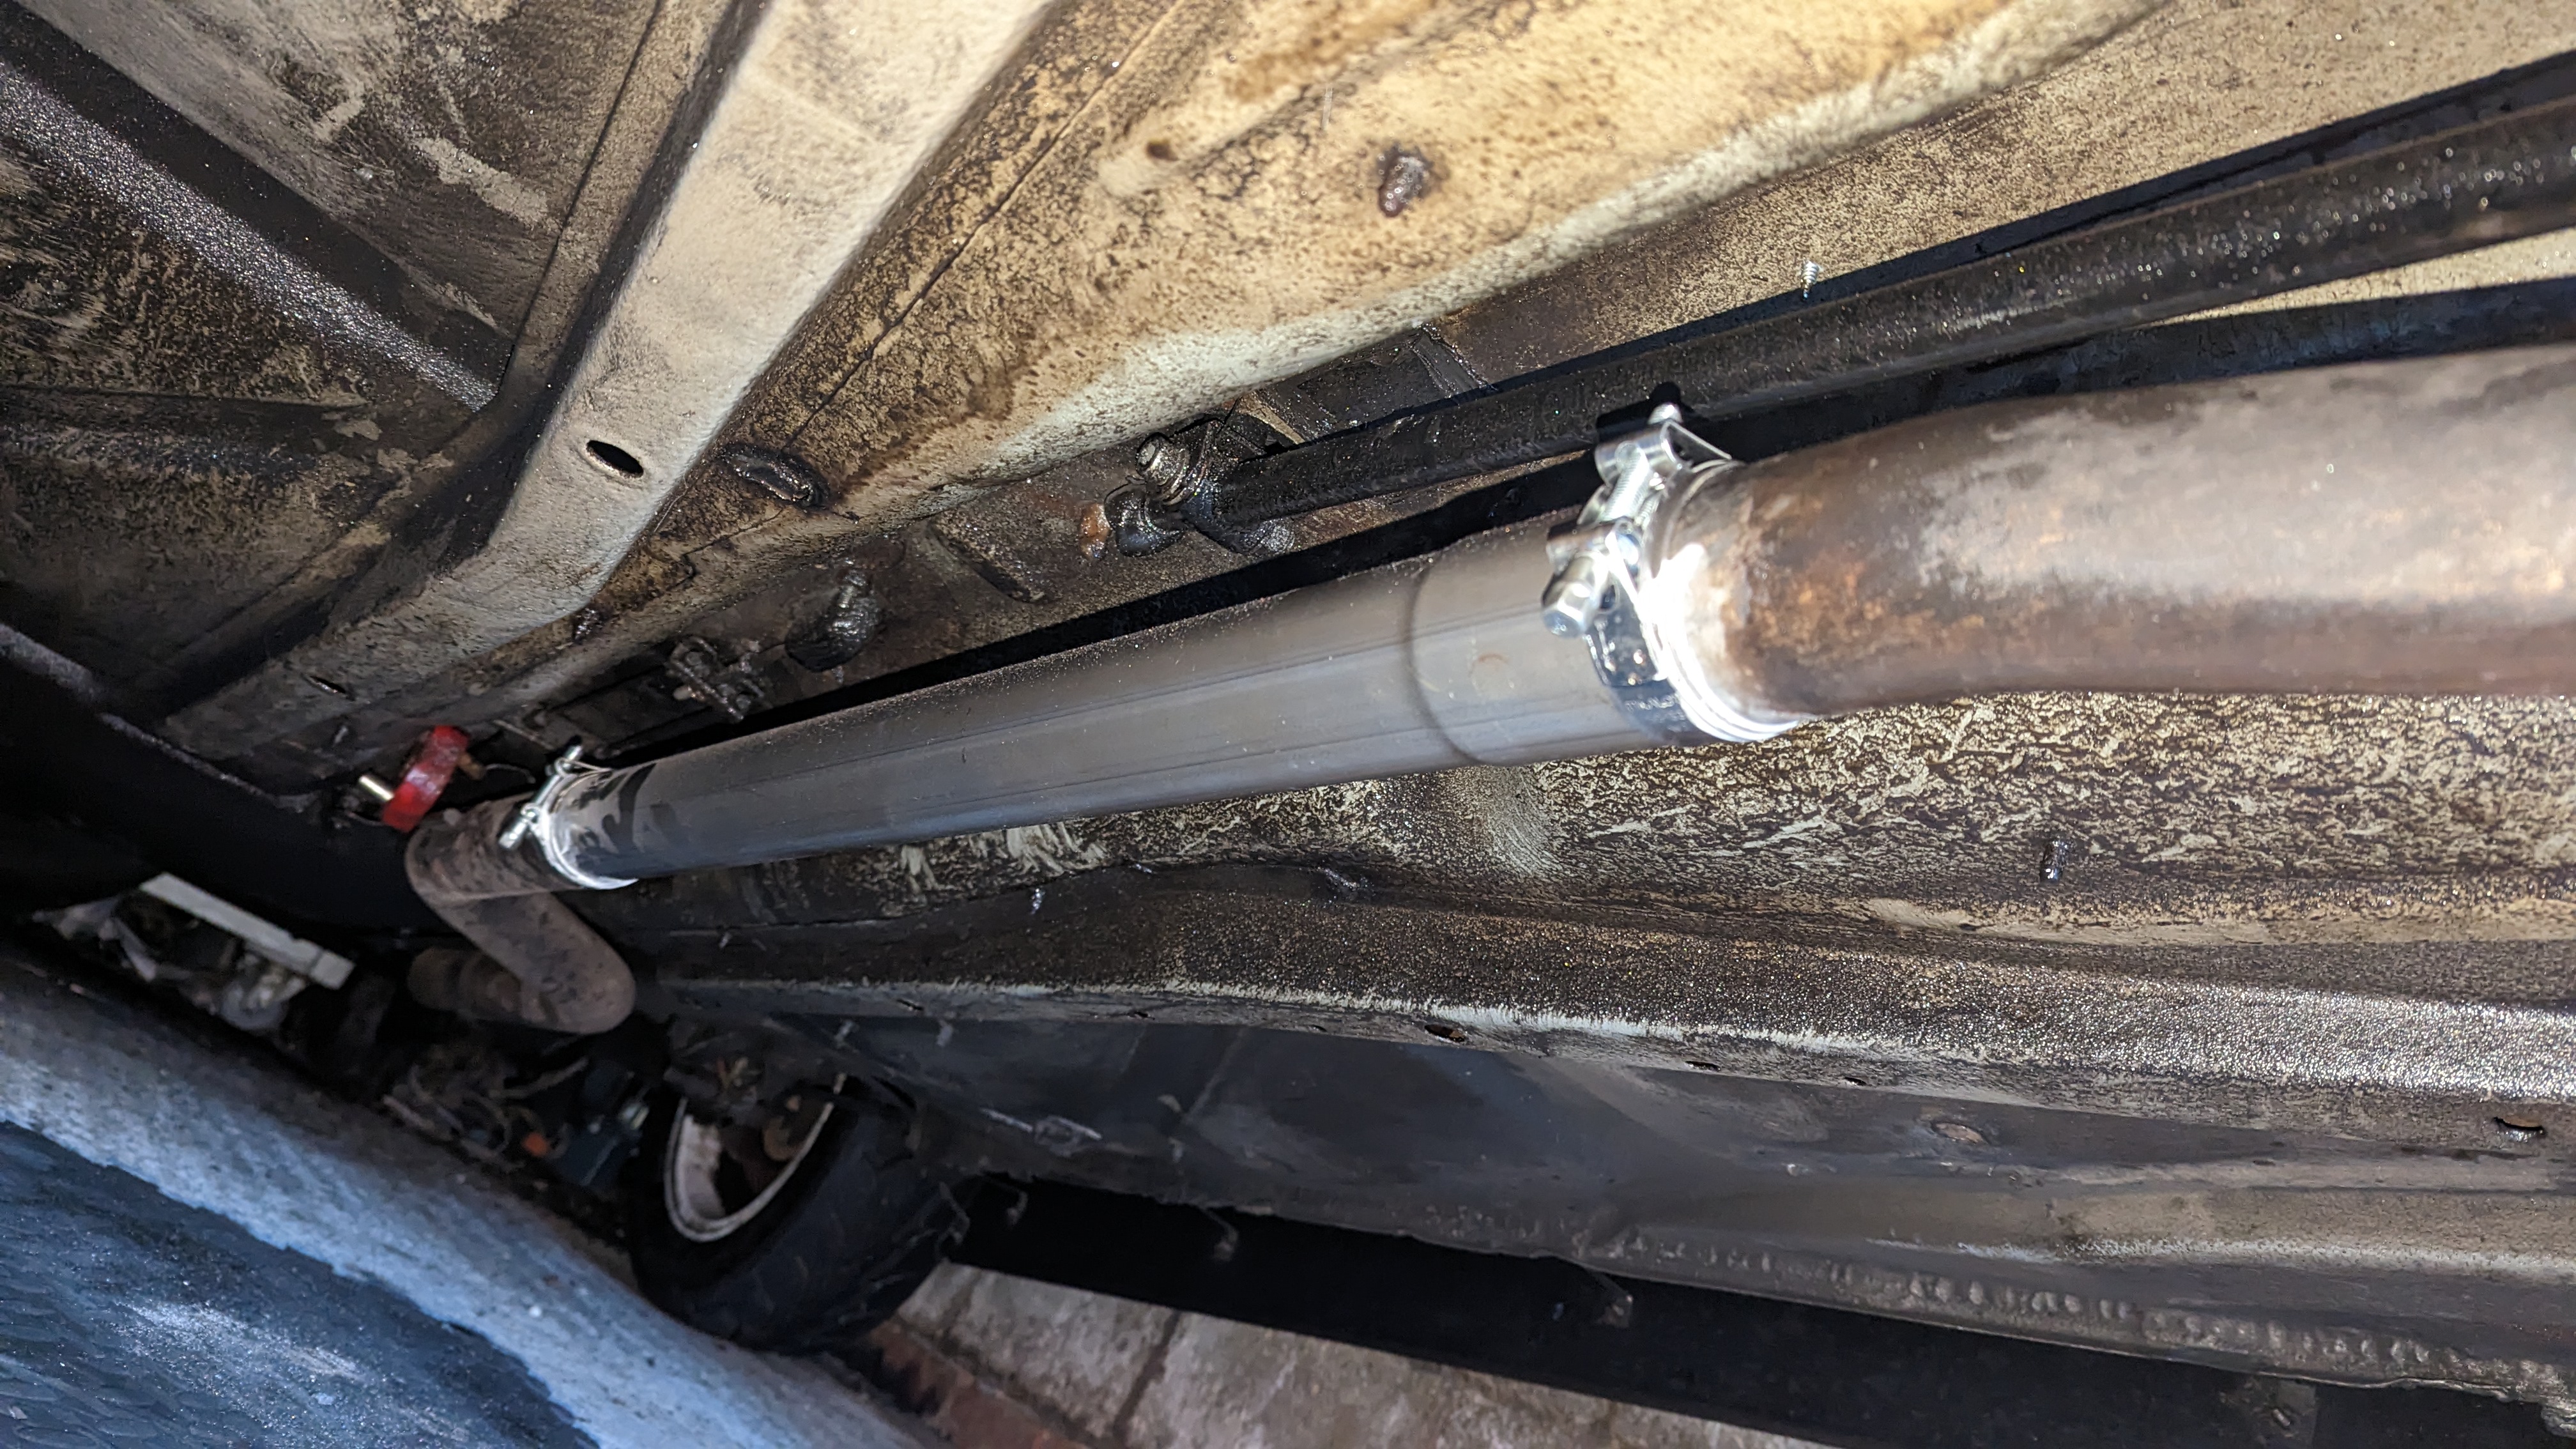
    It made a few pops when it was cold lol:


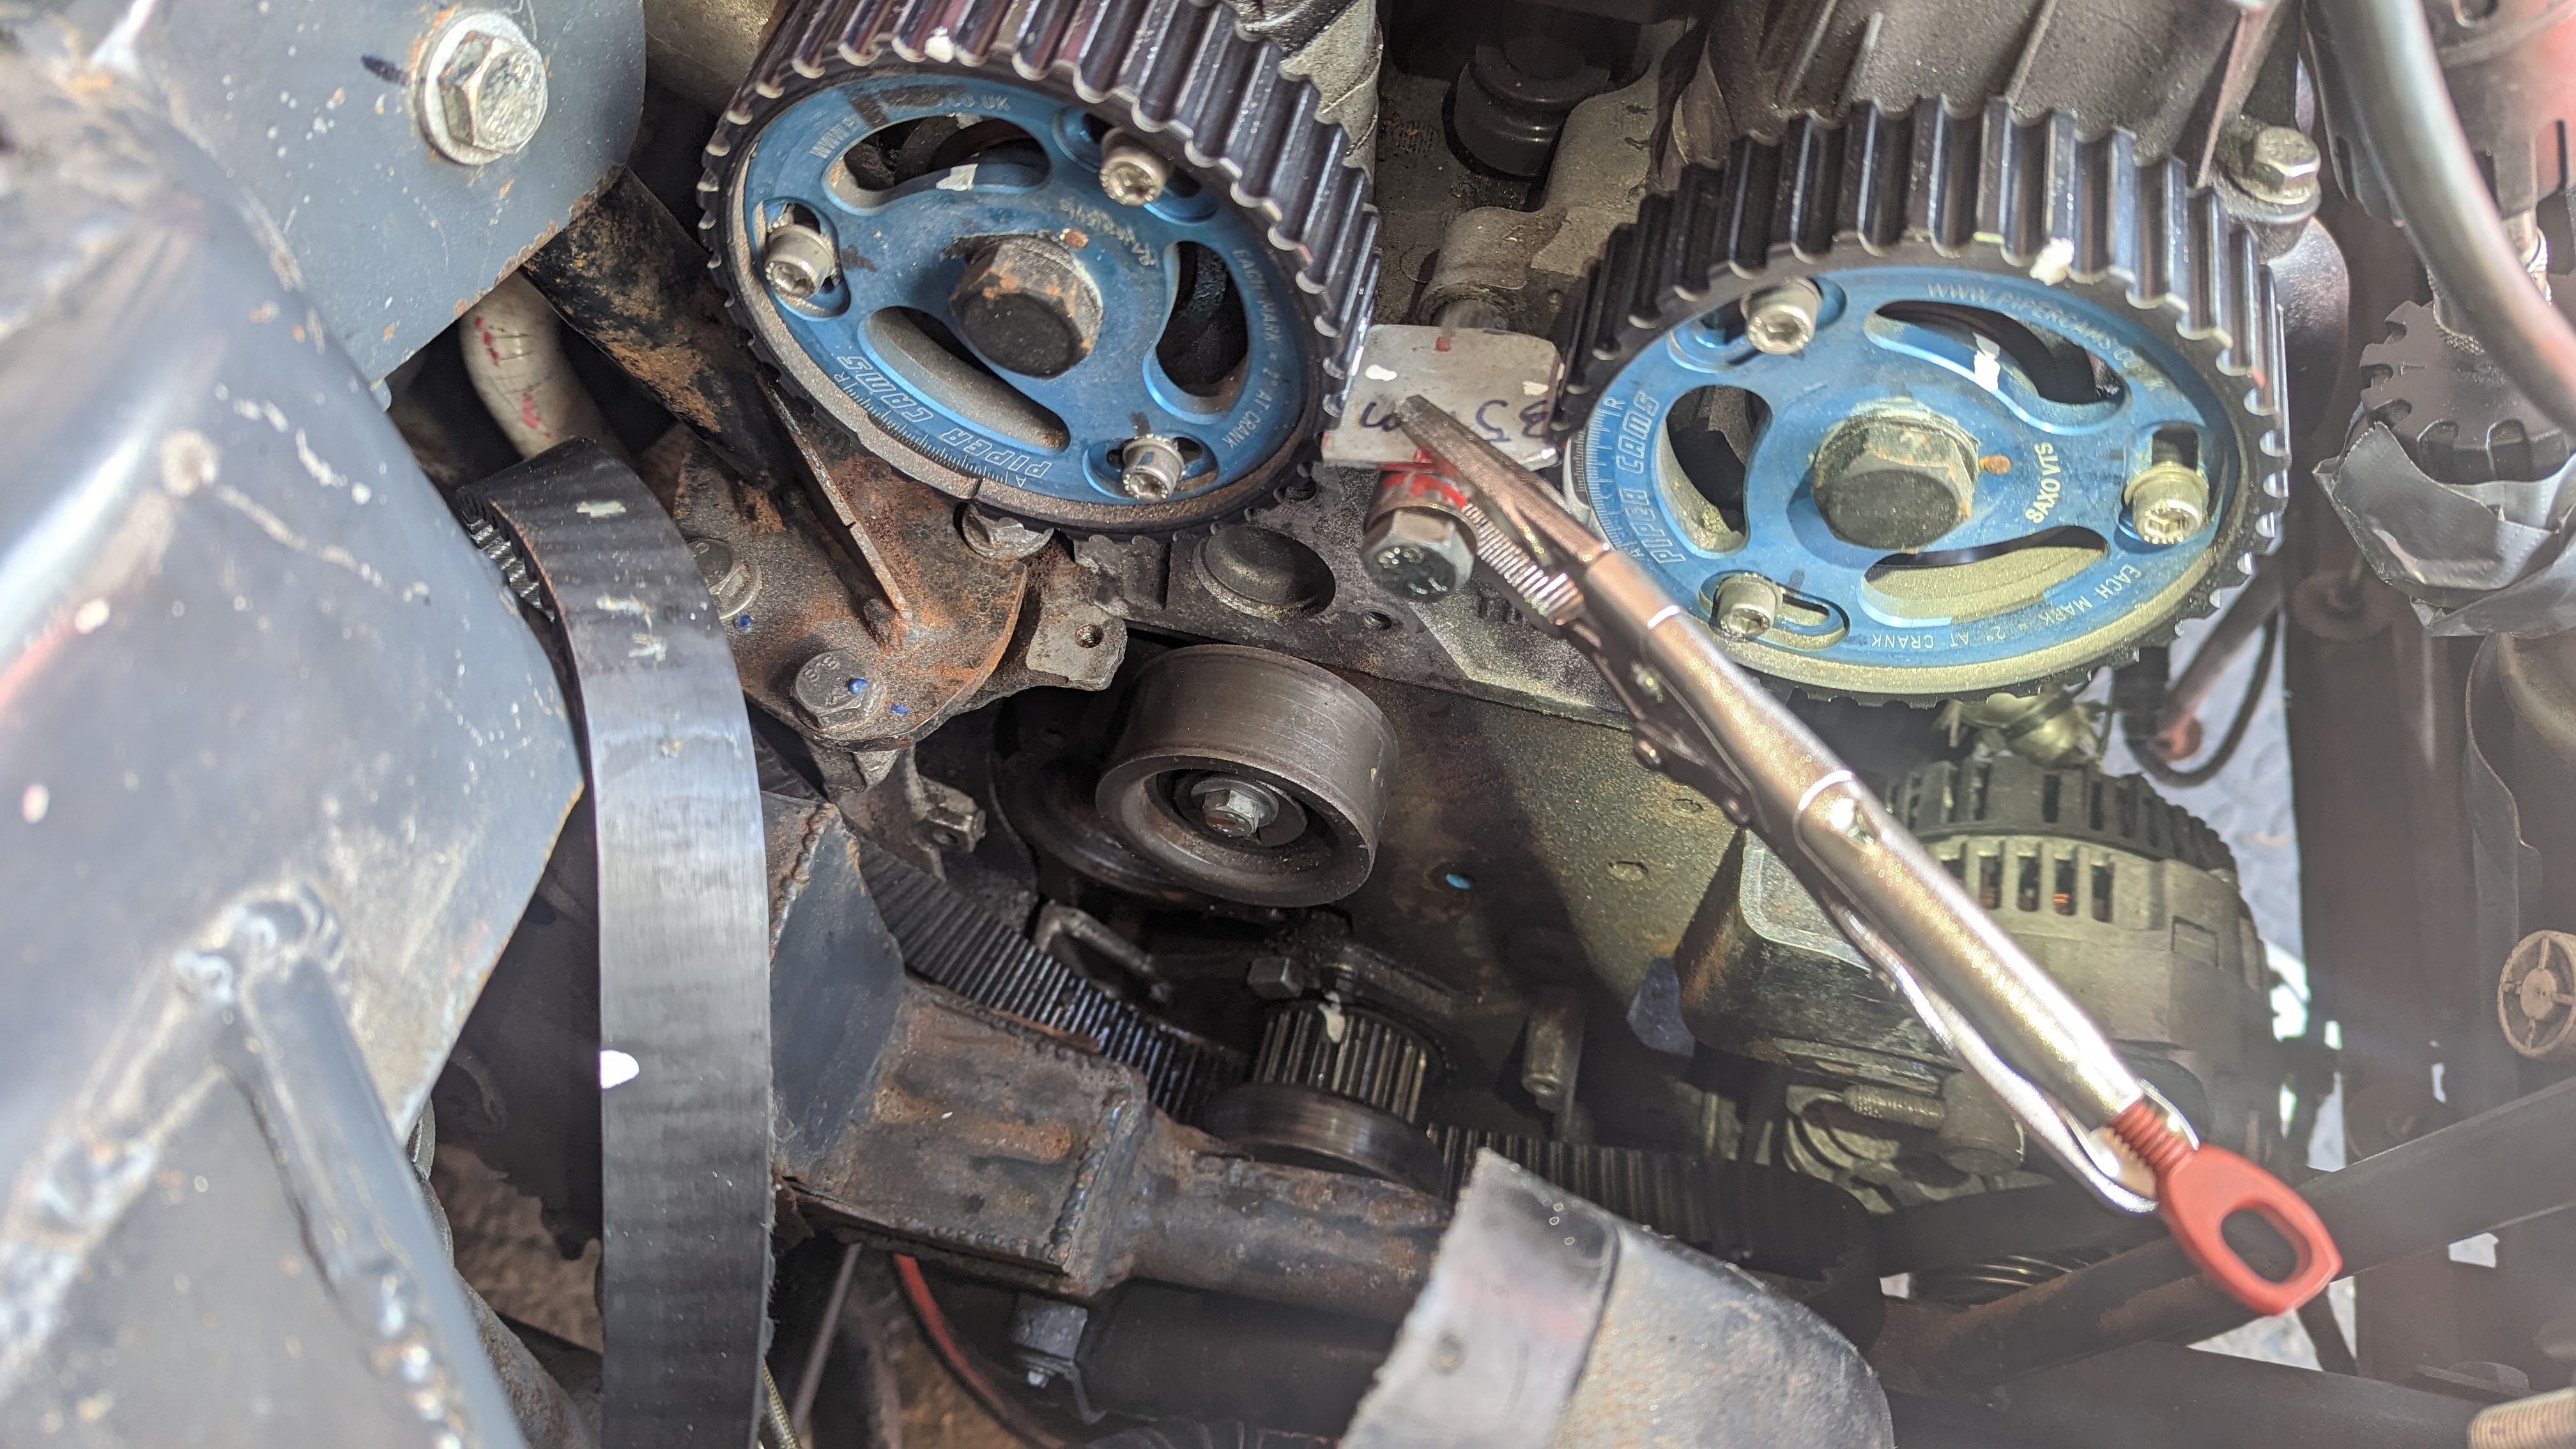
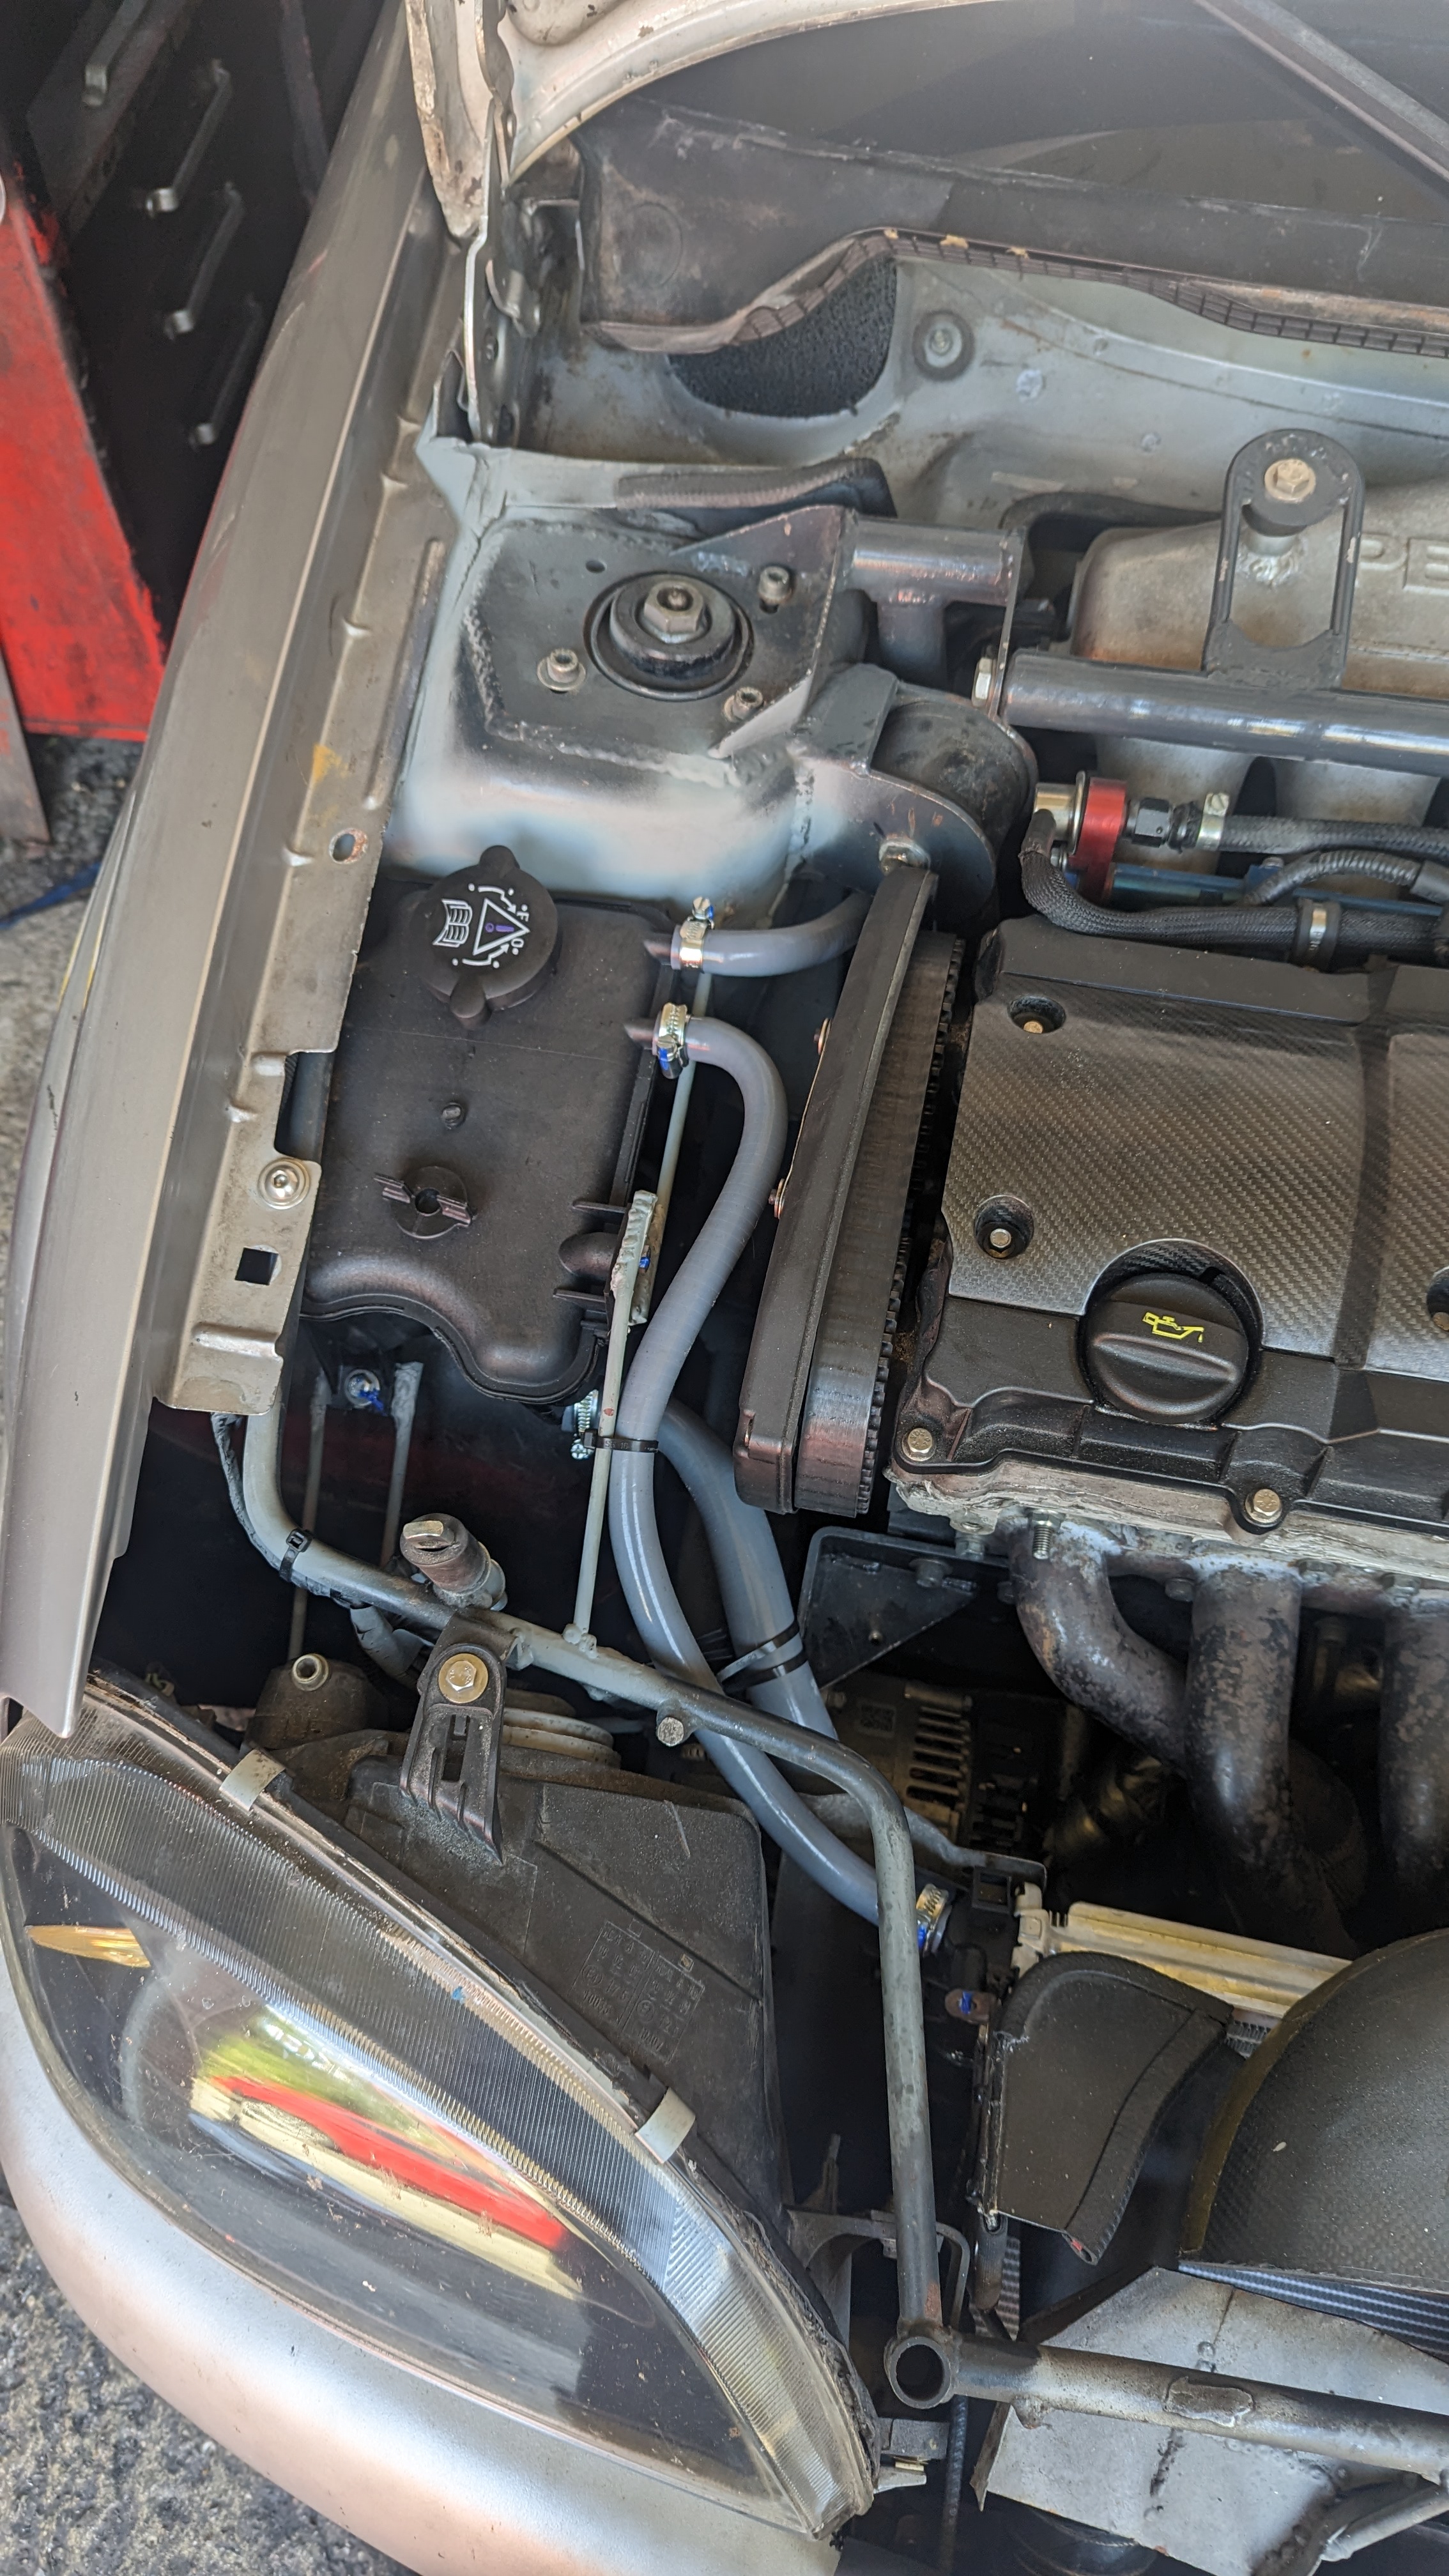
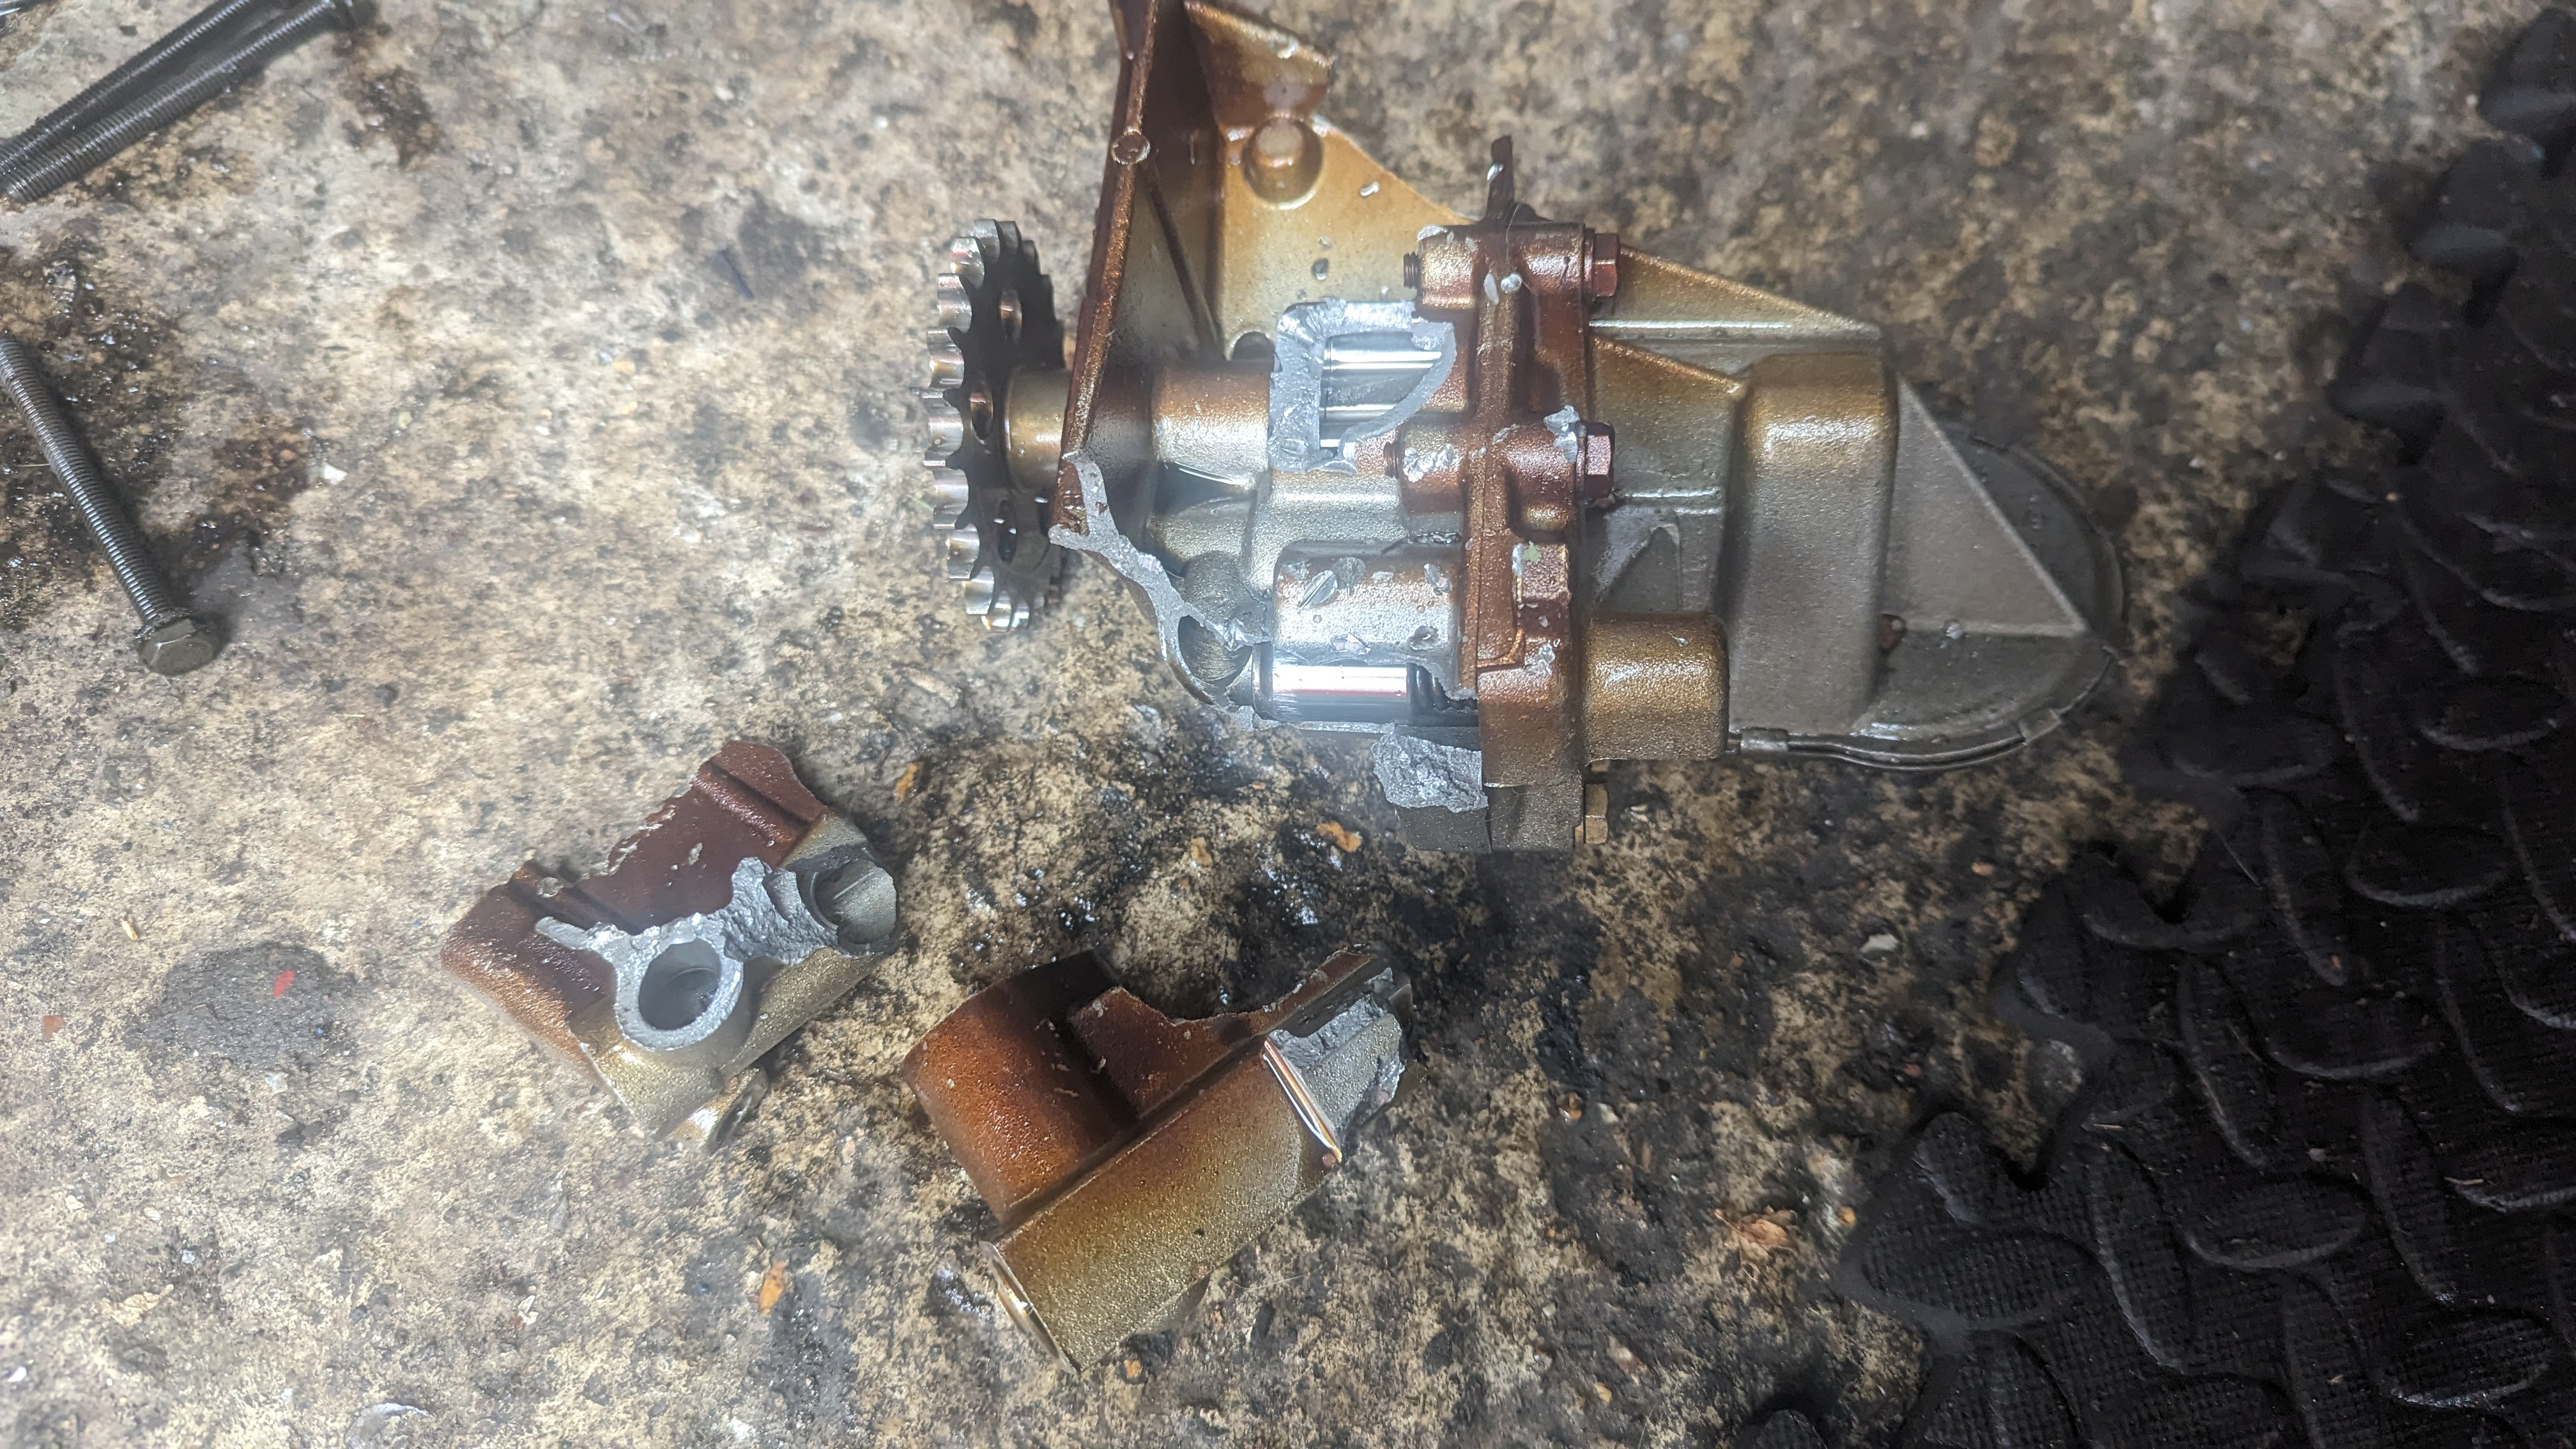
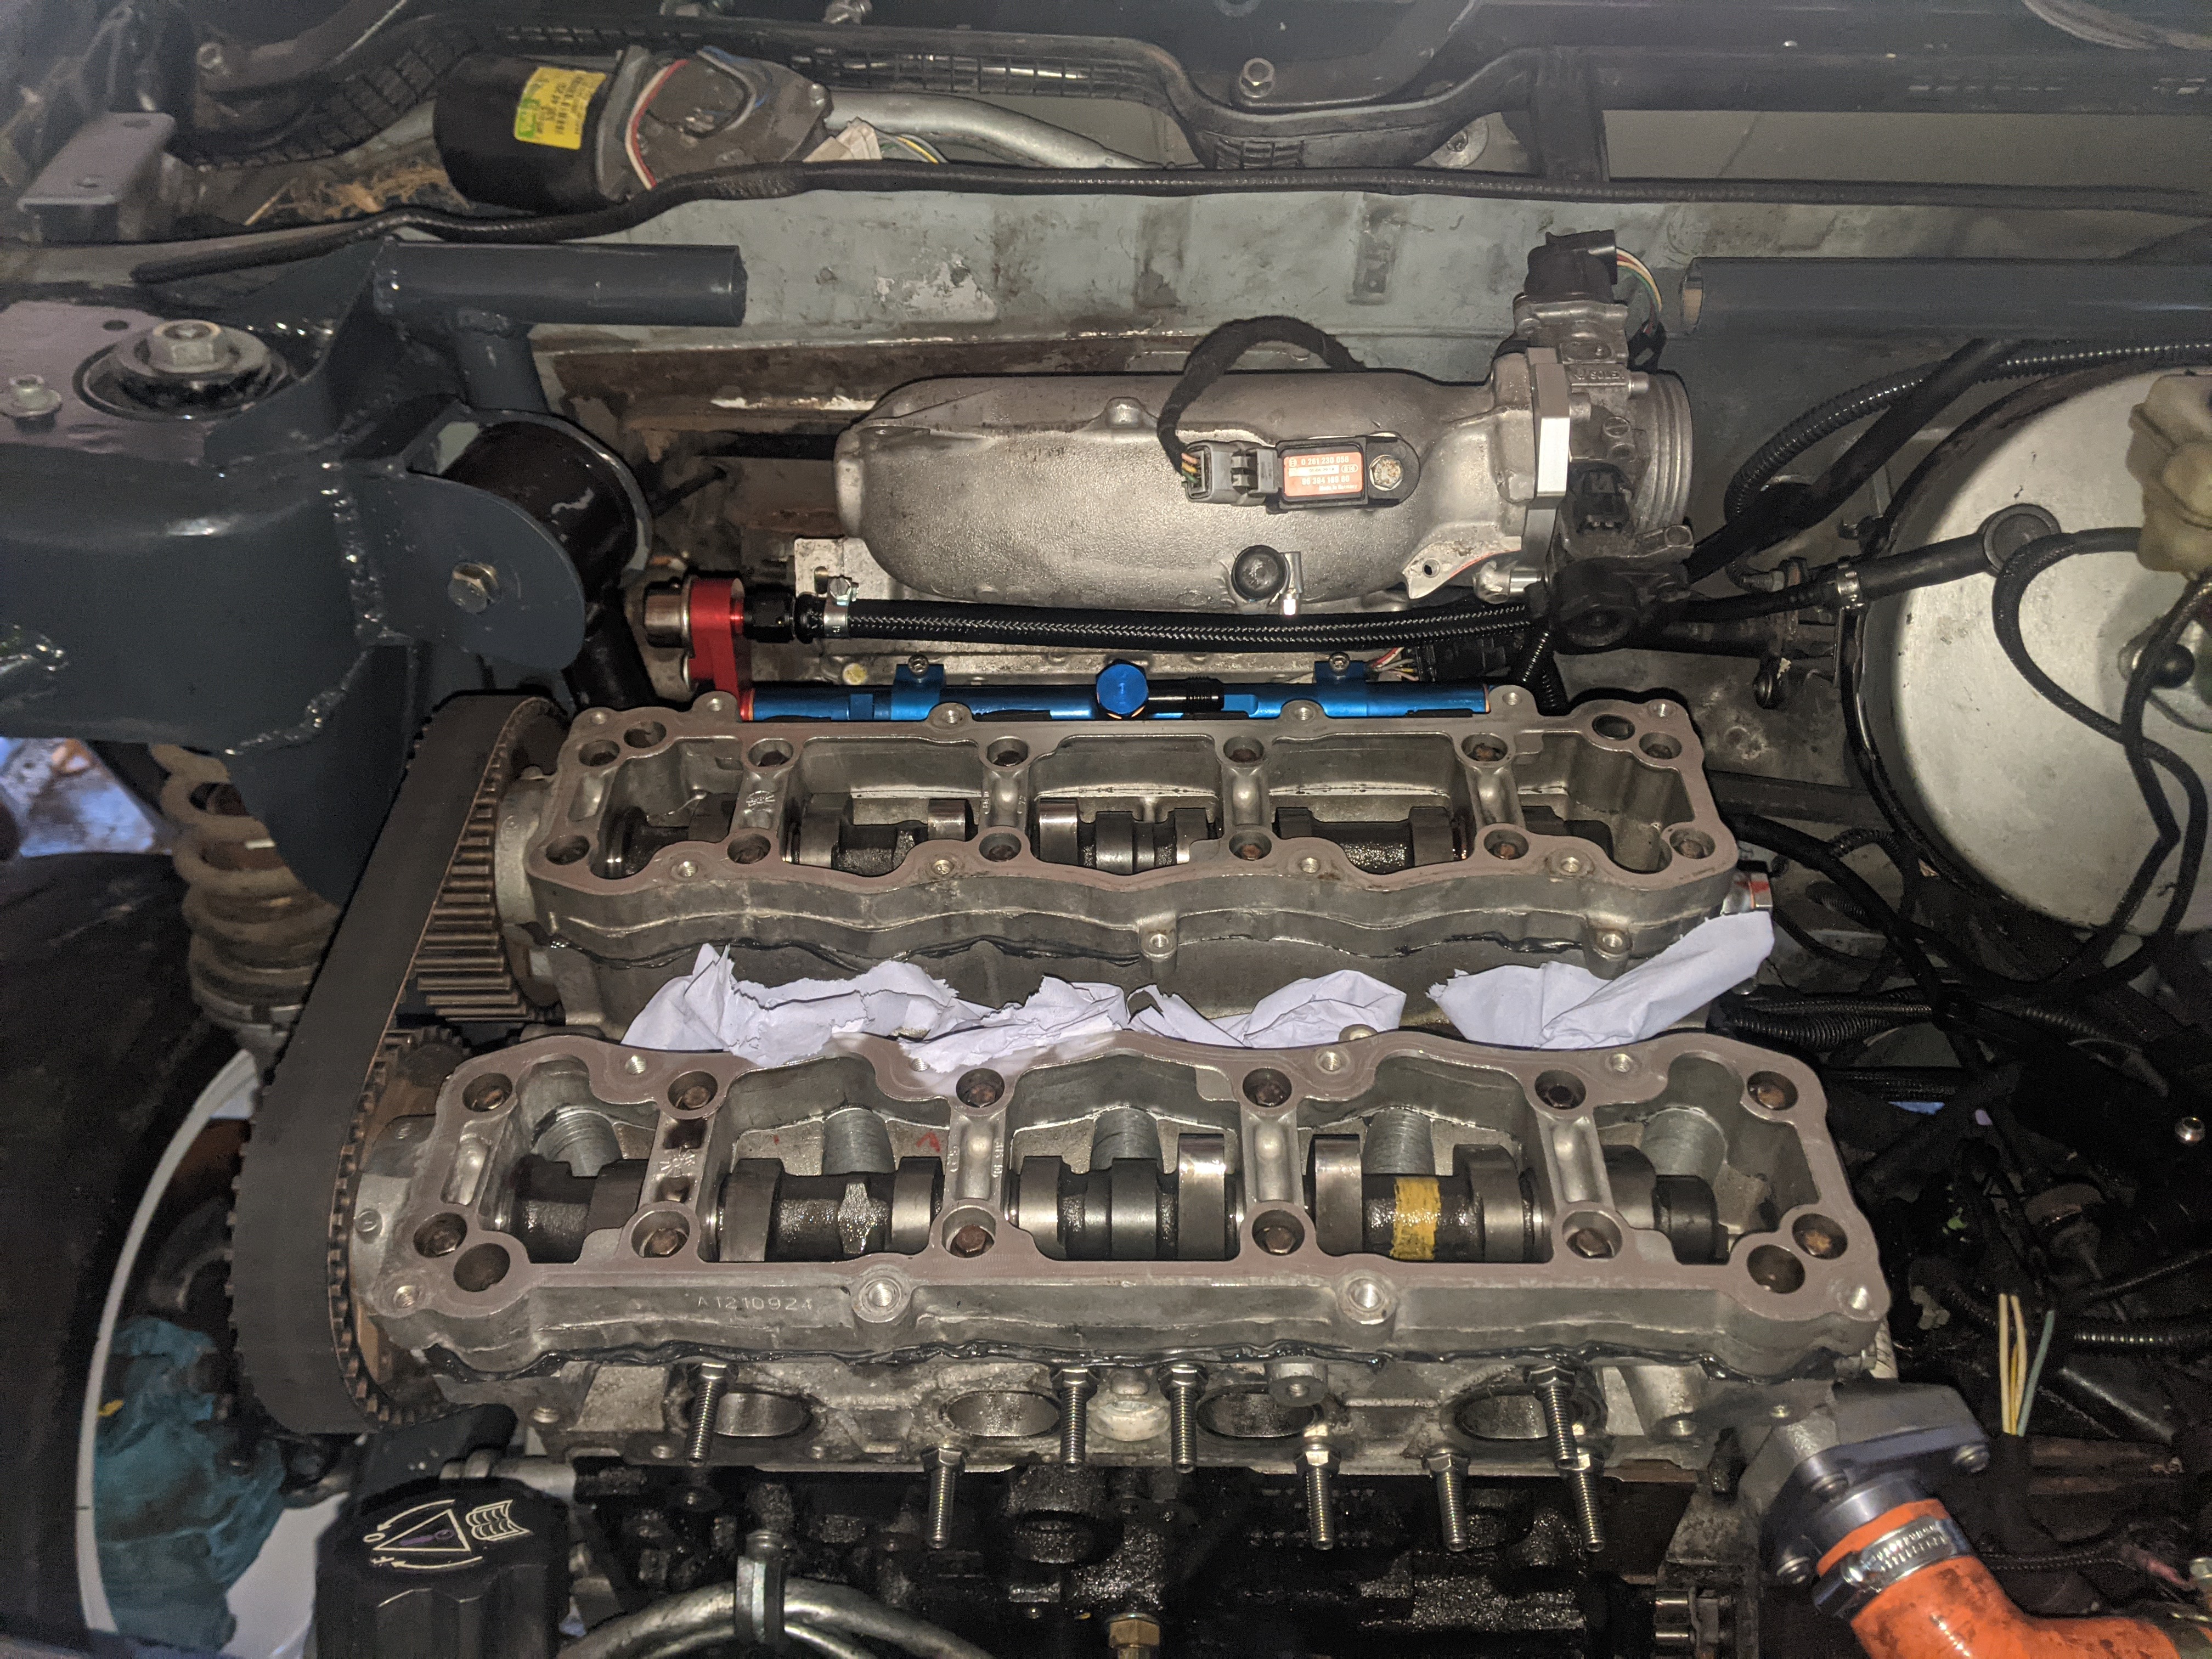
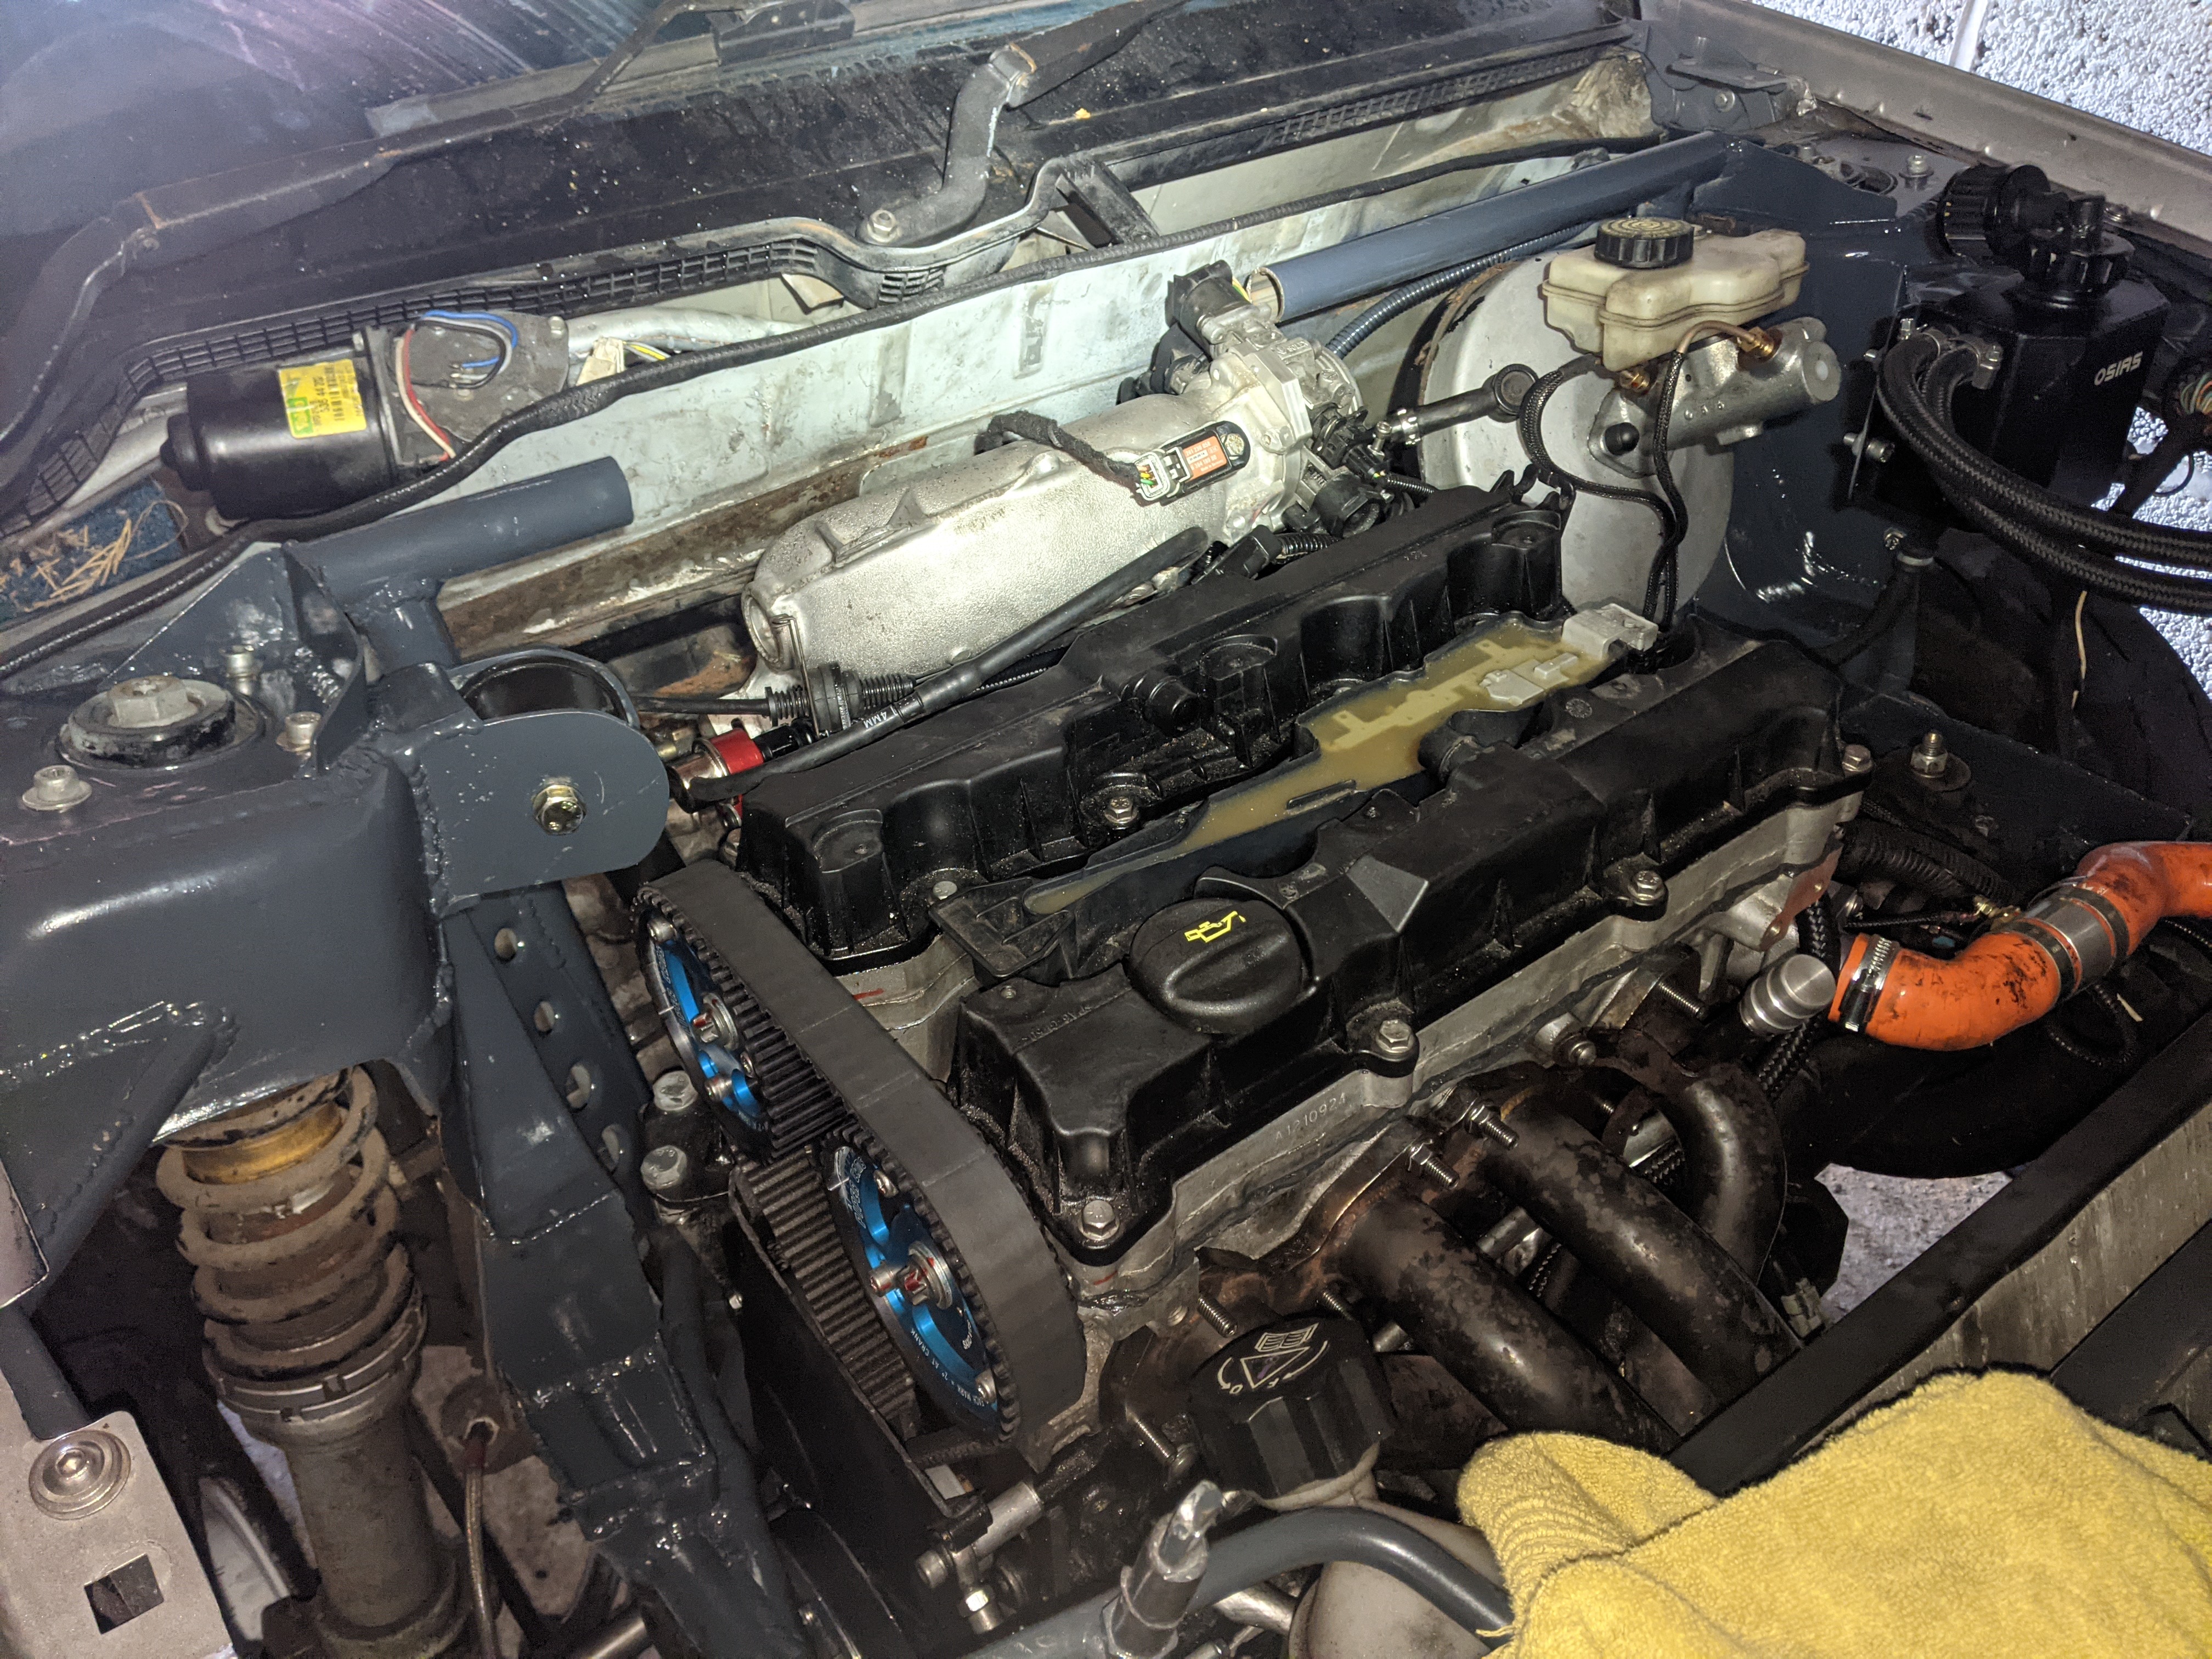
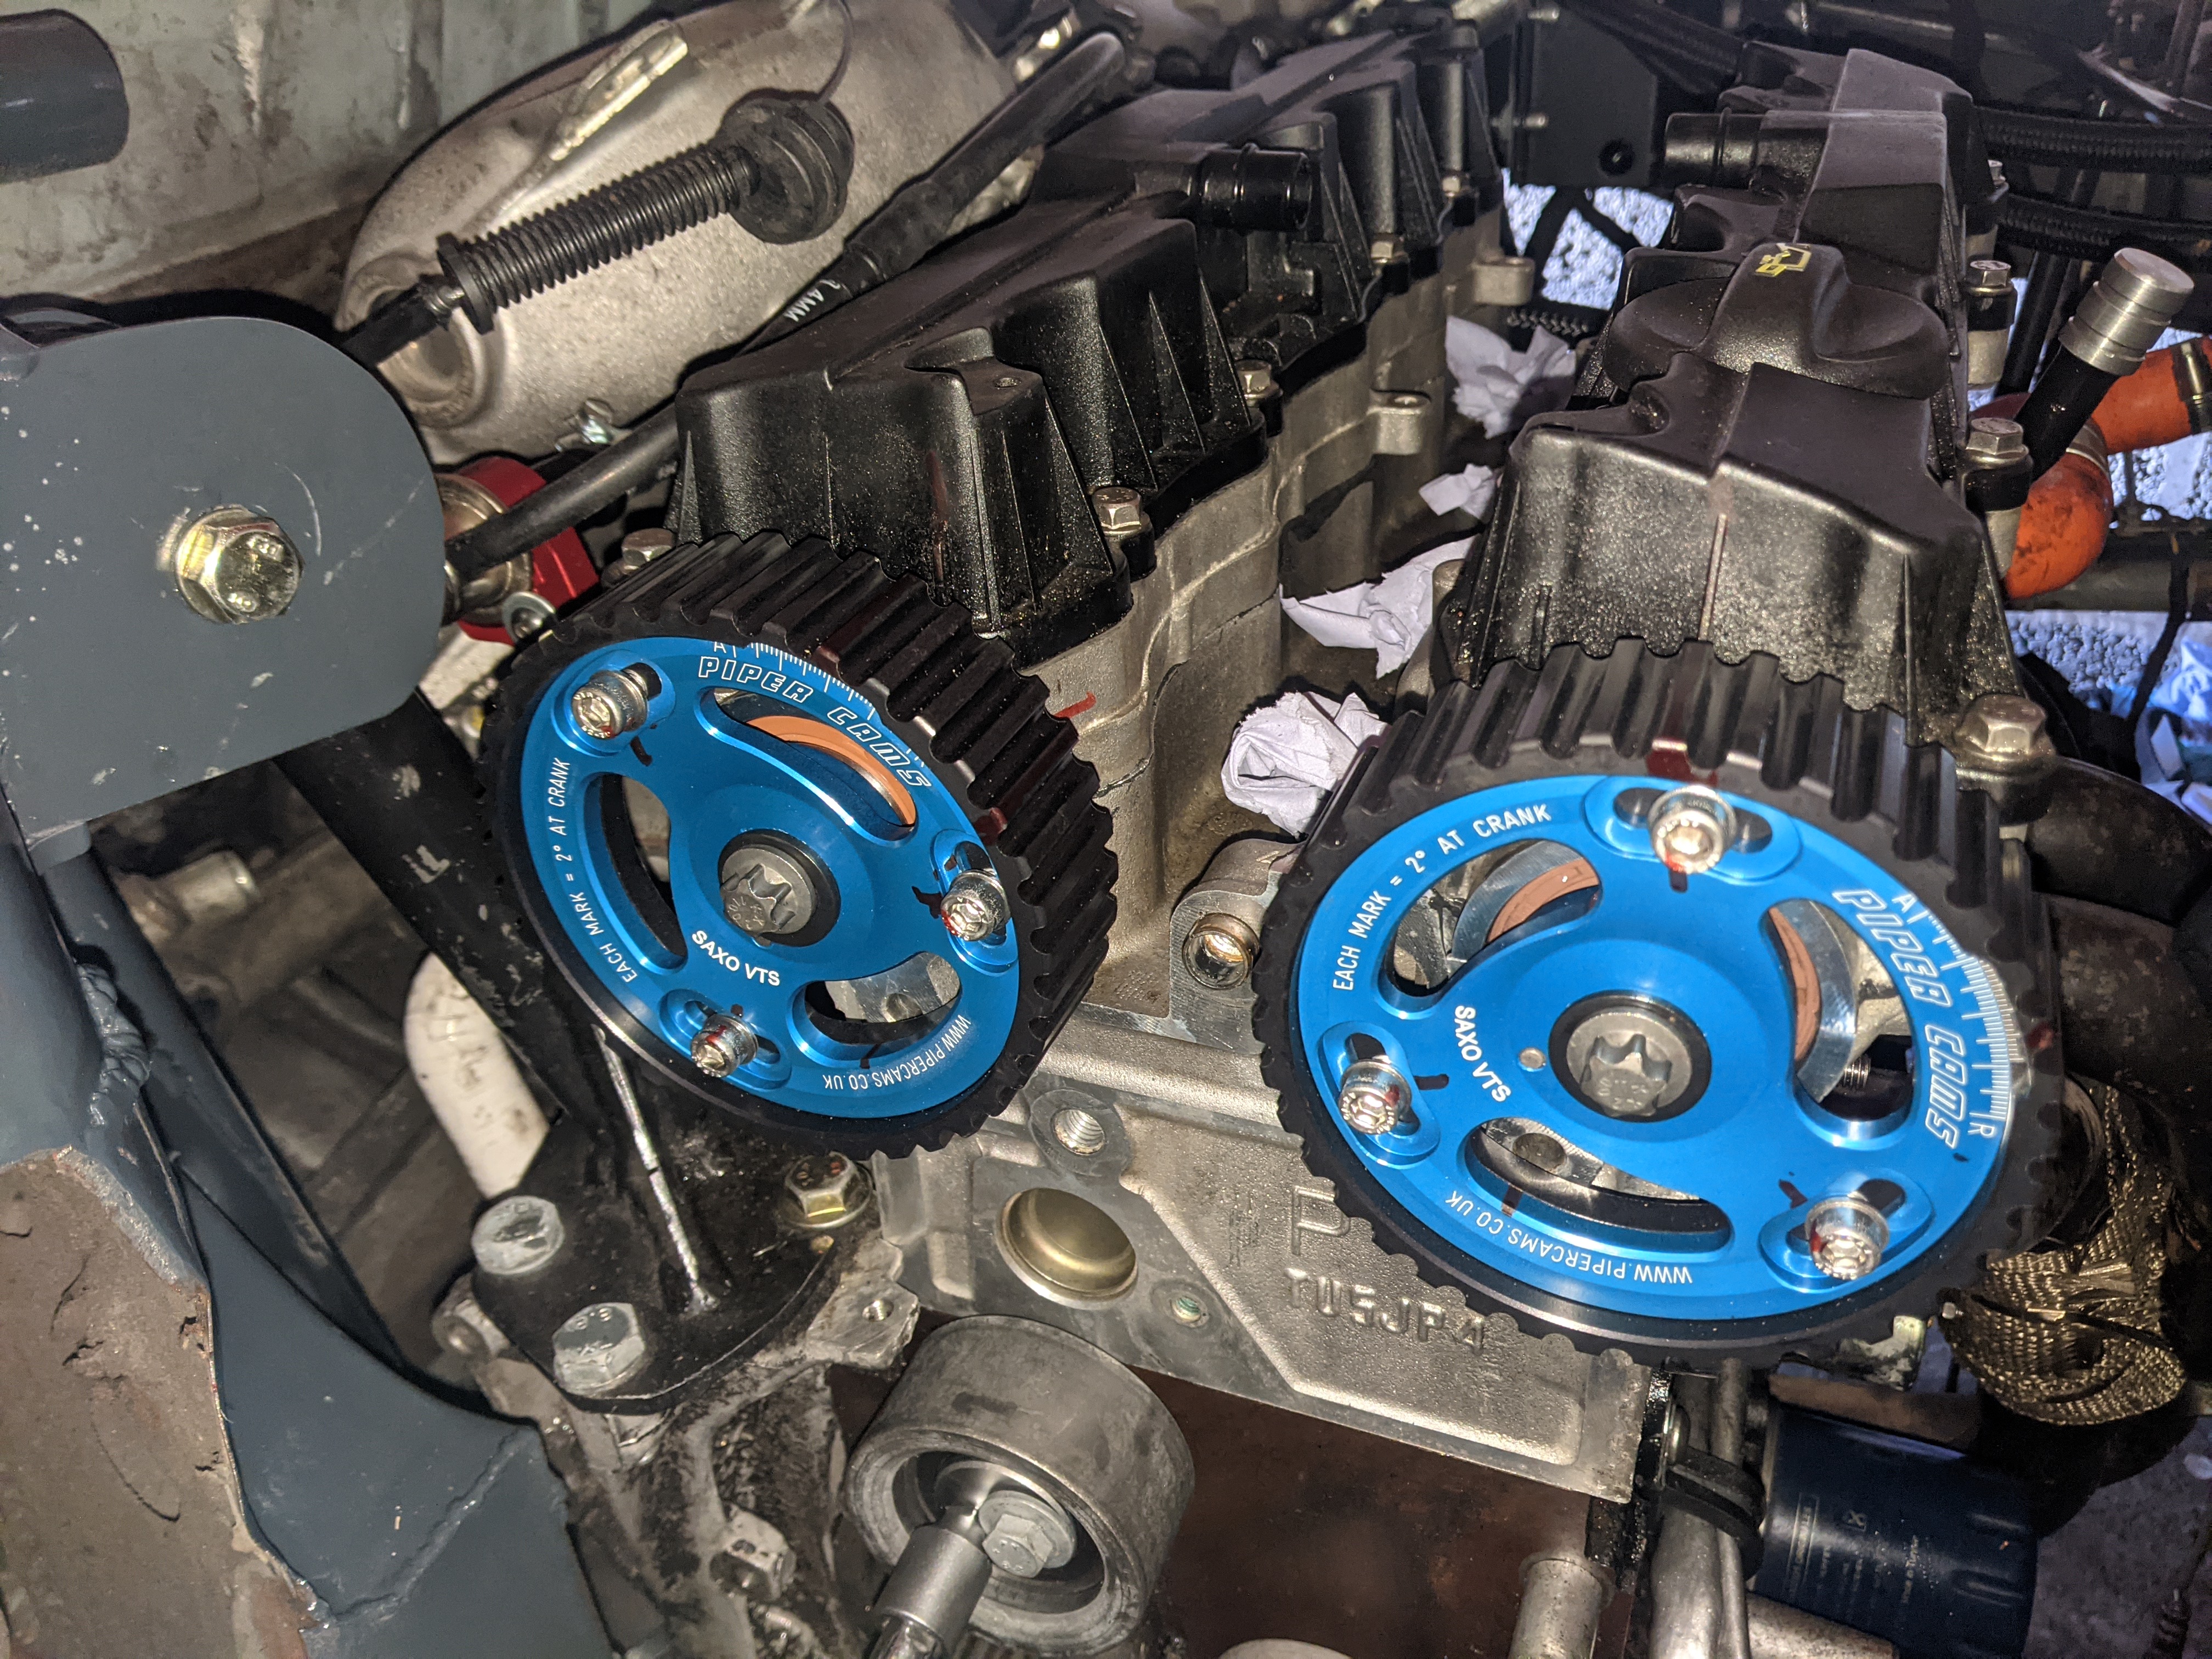
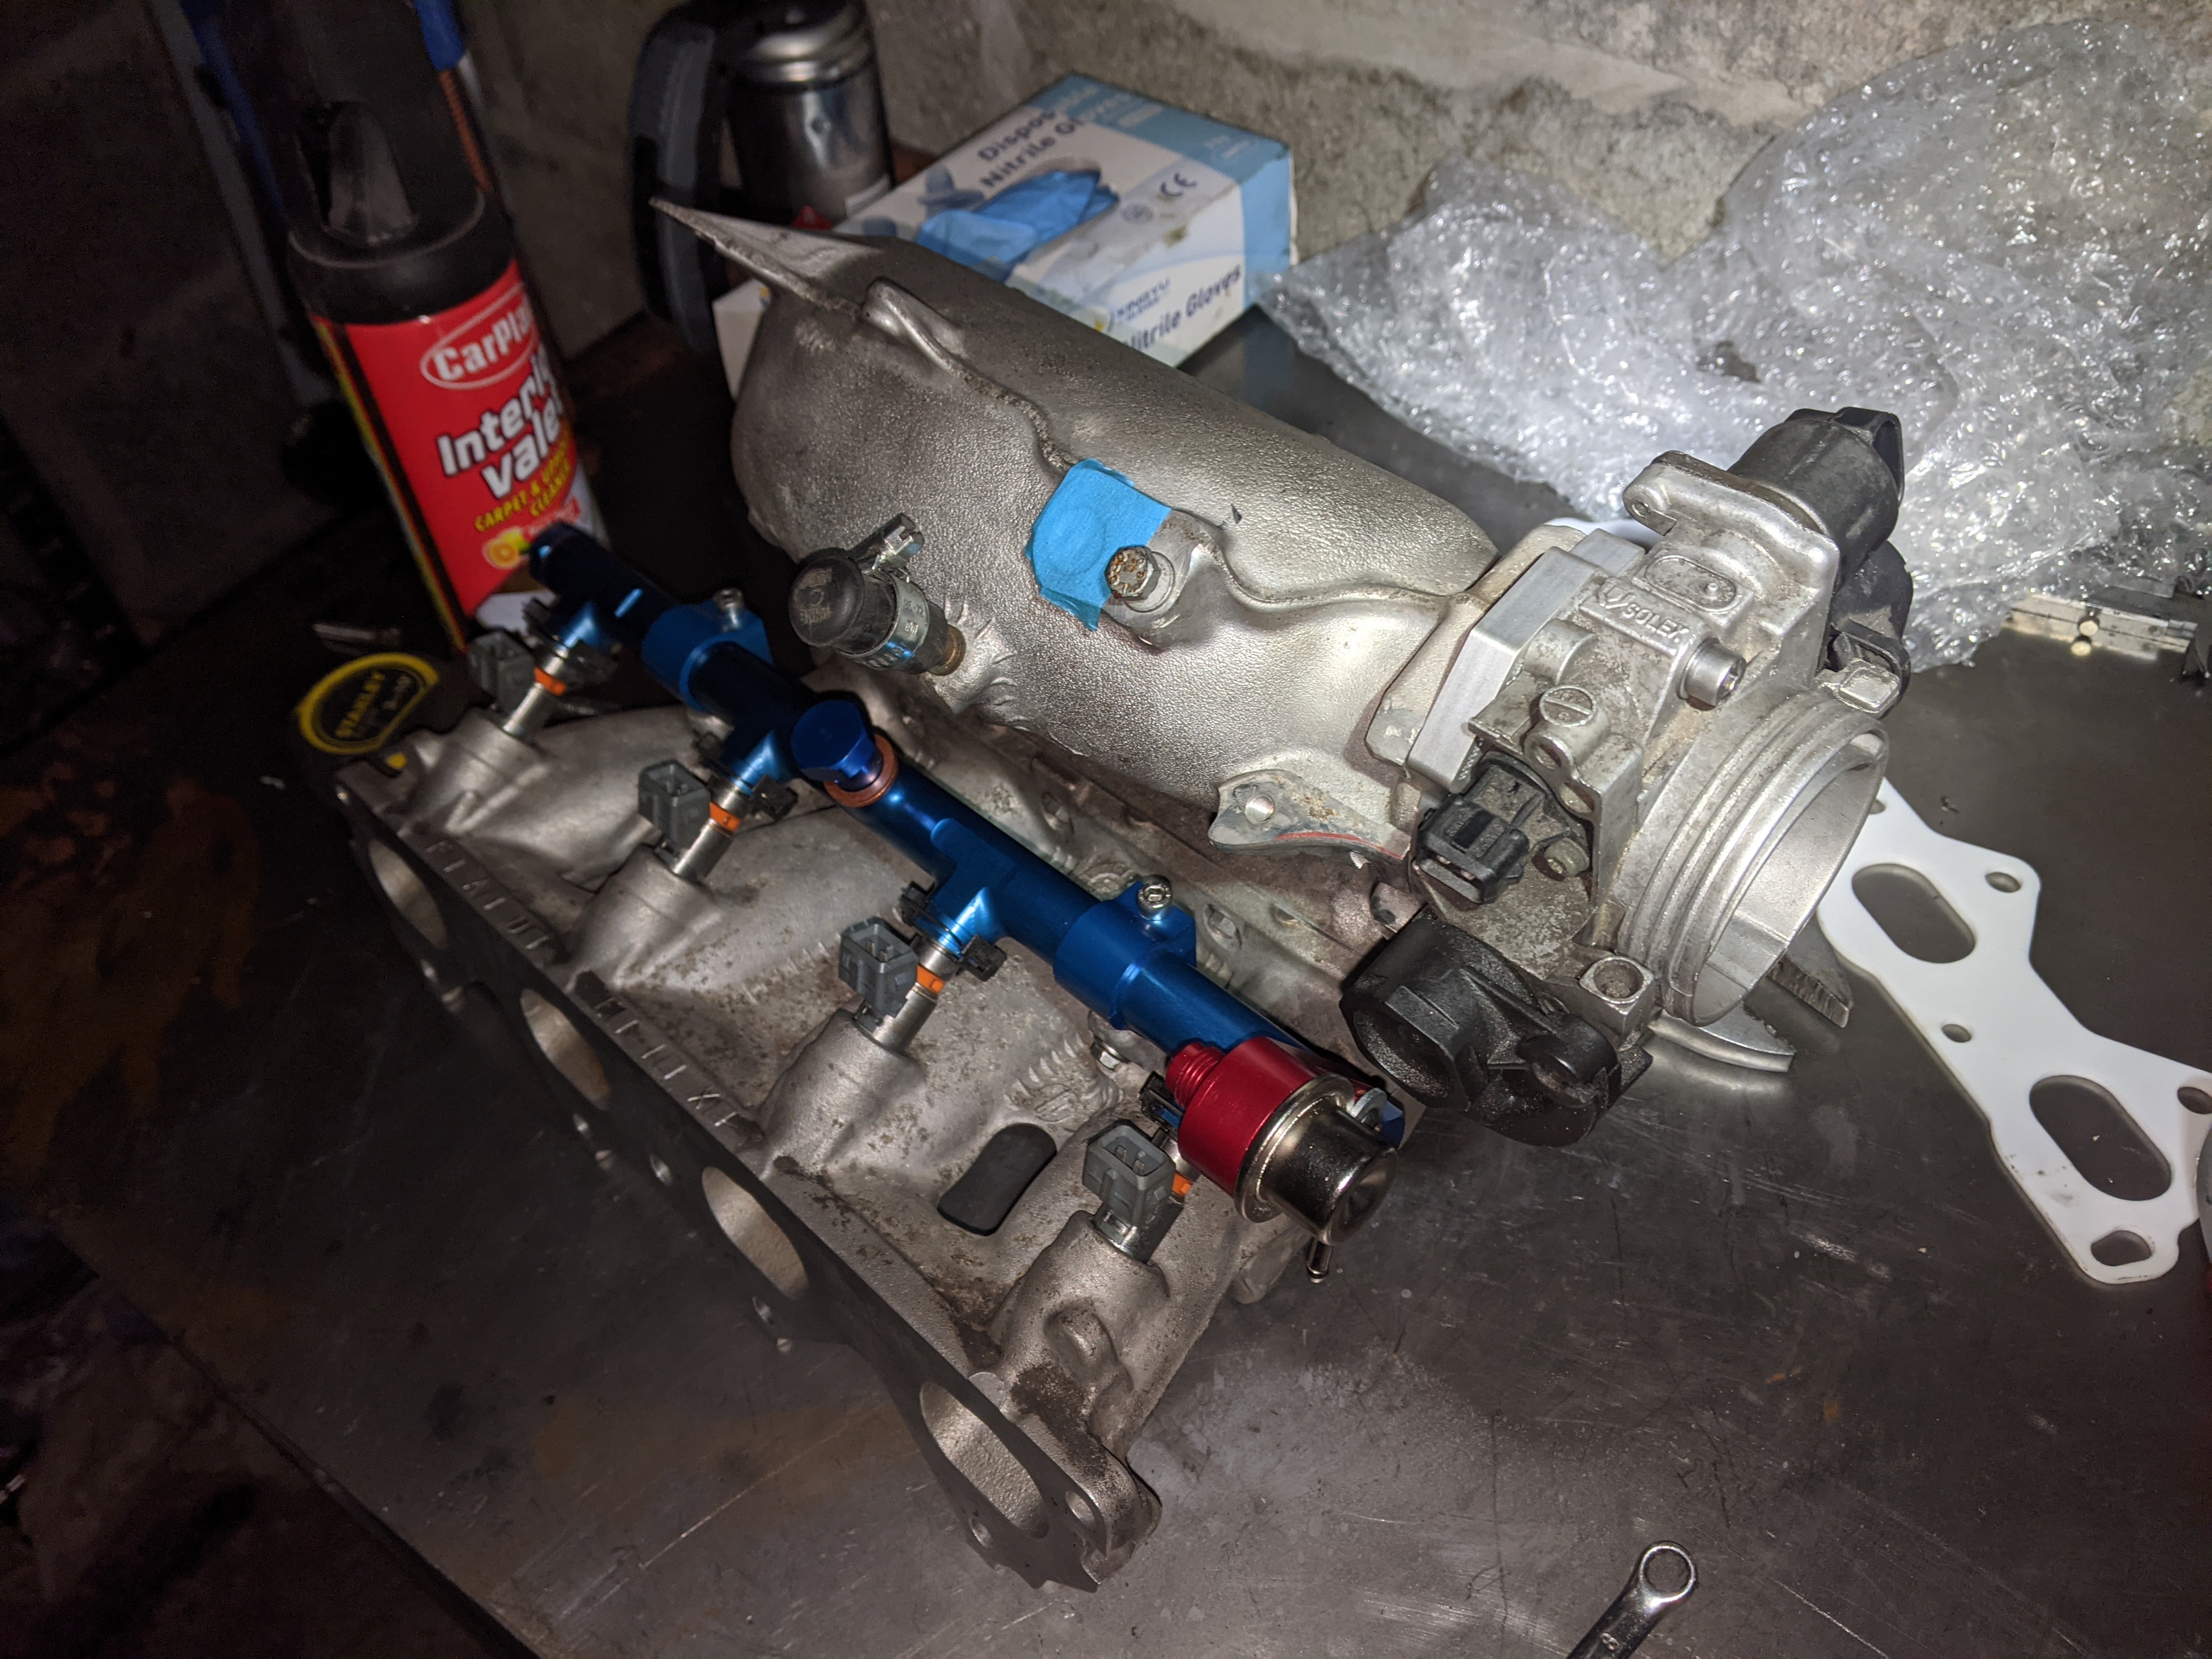
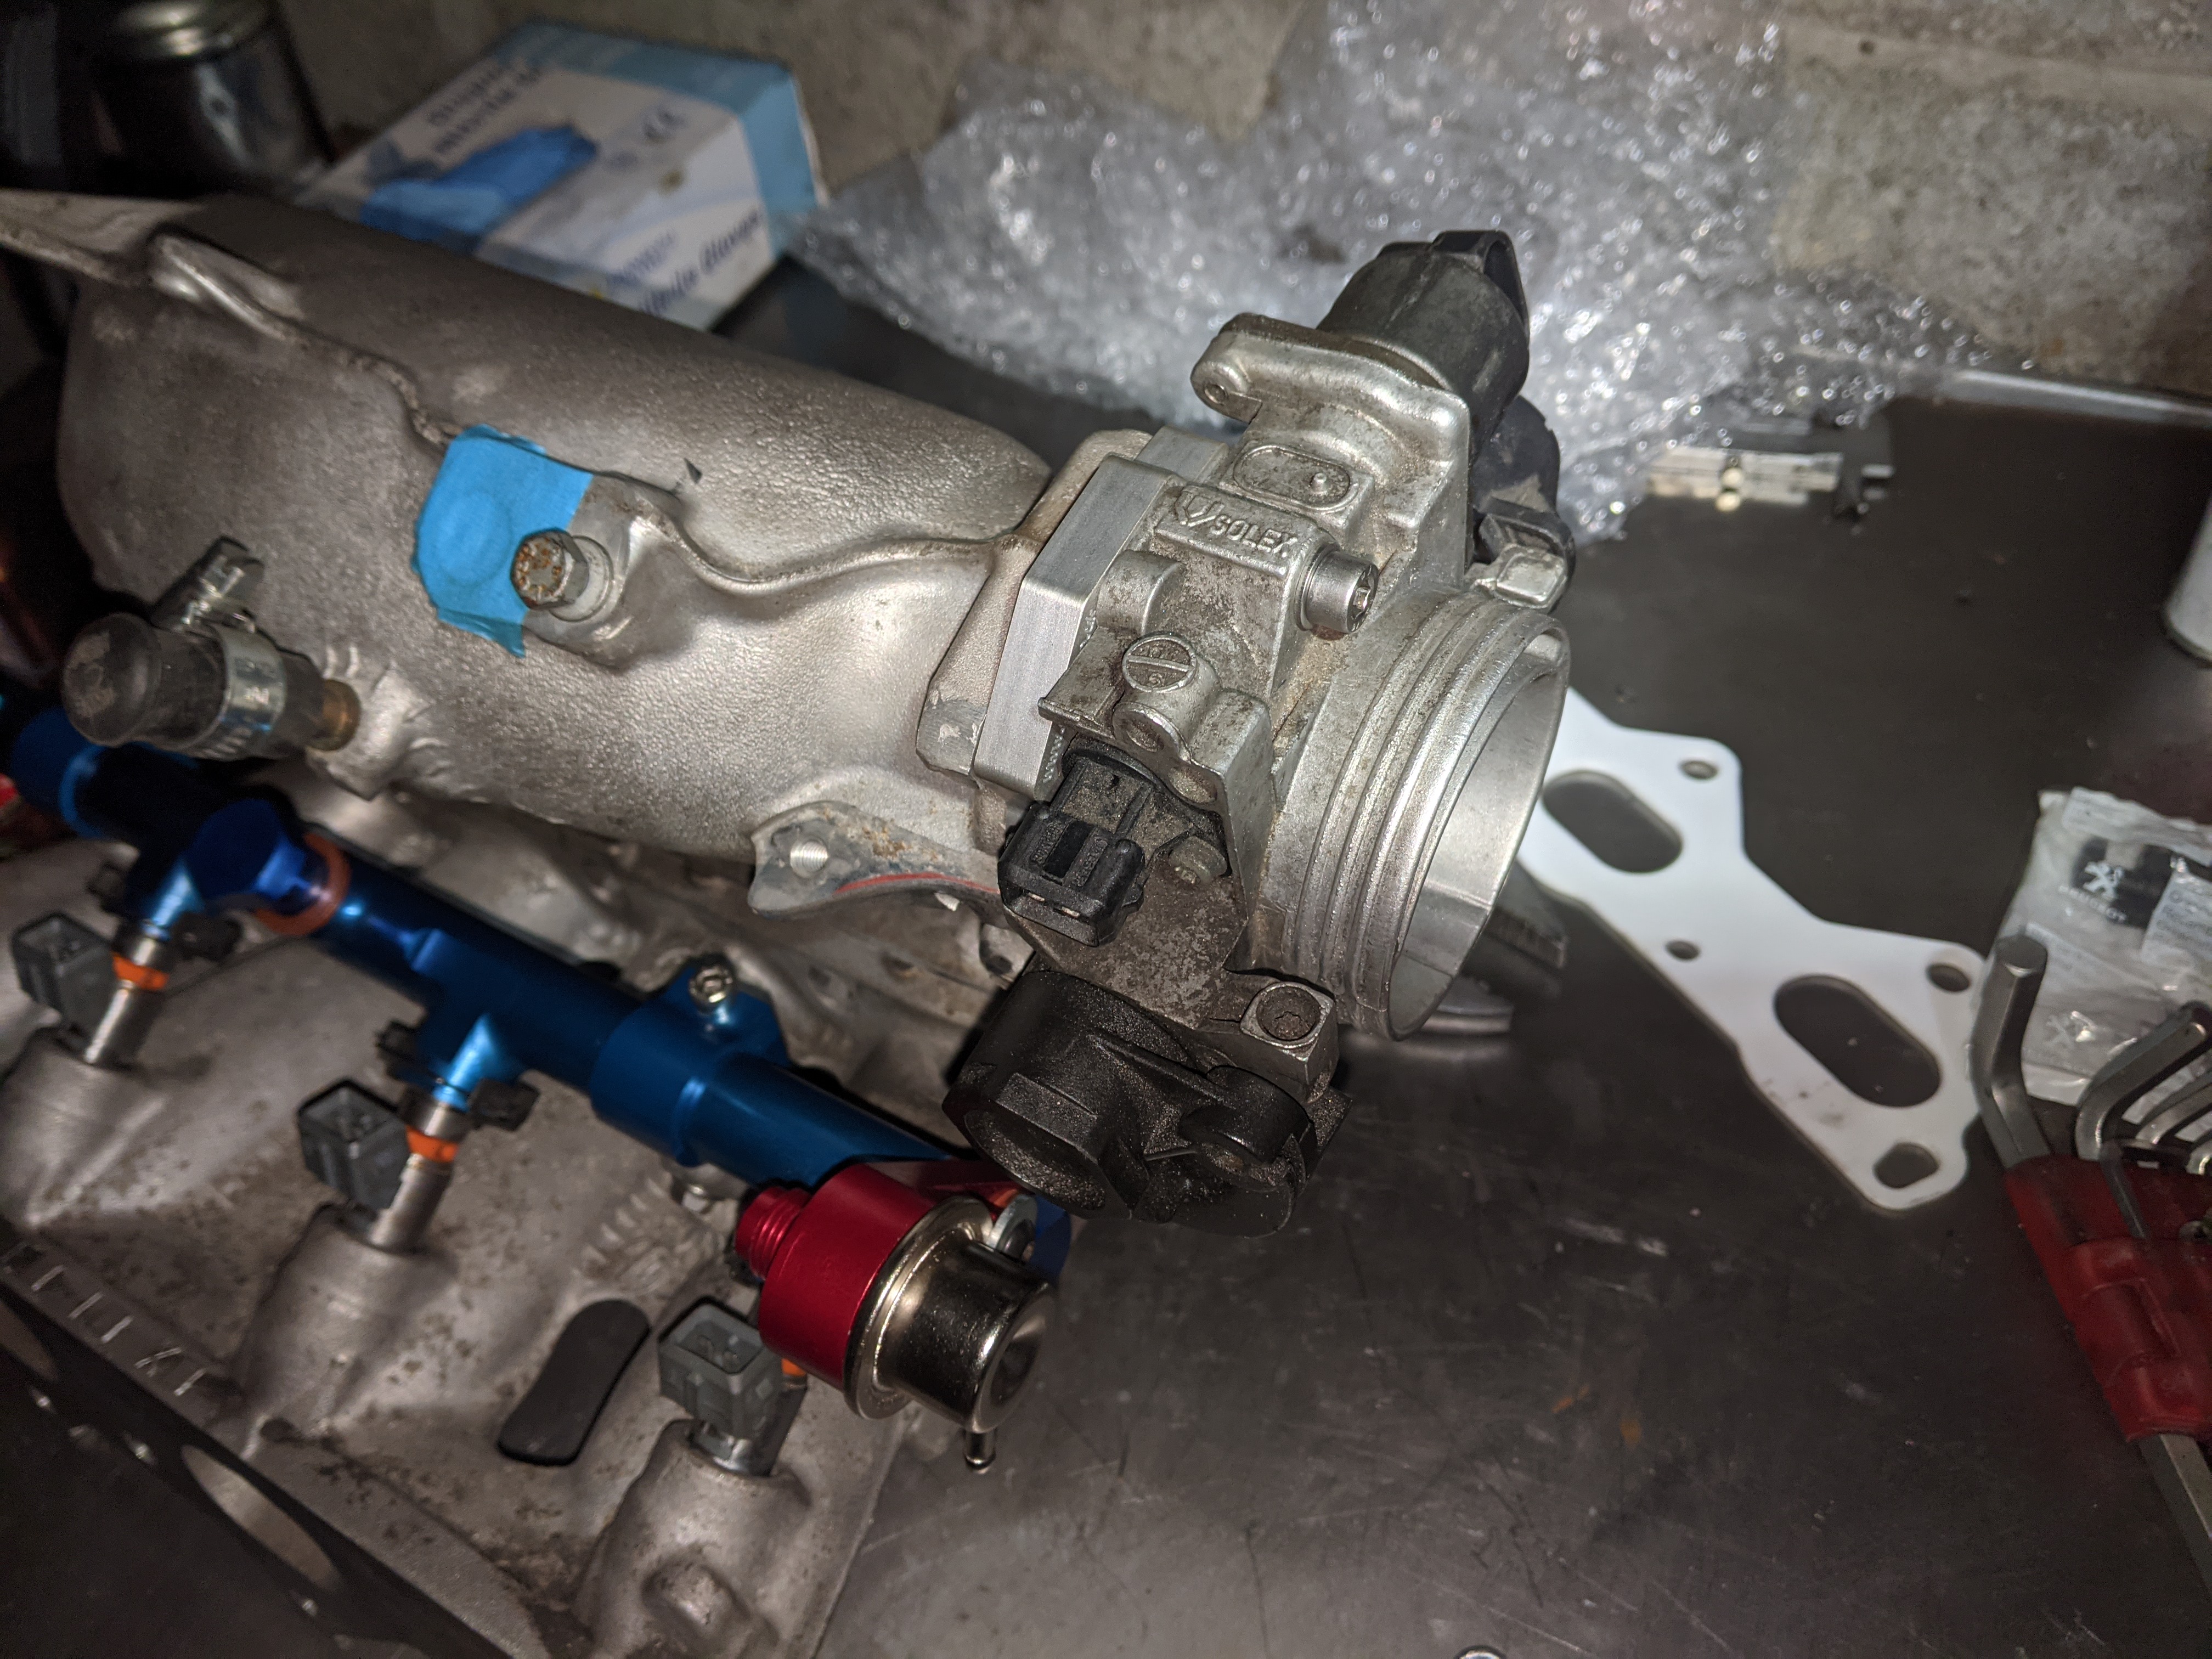
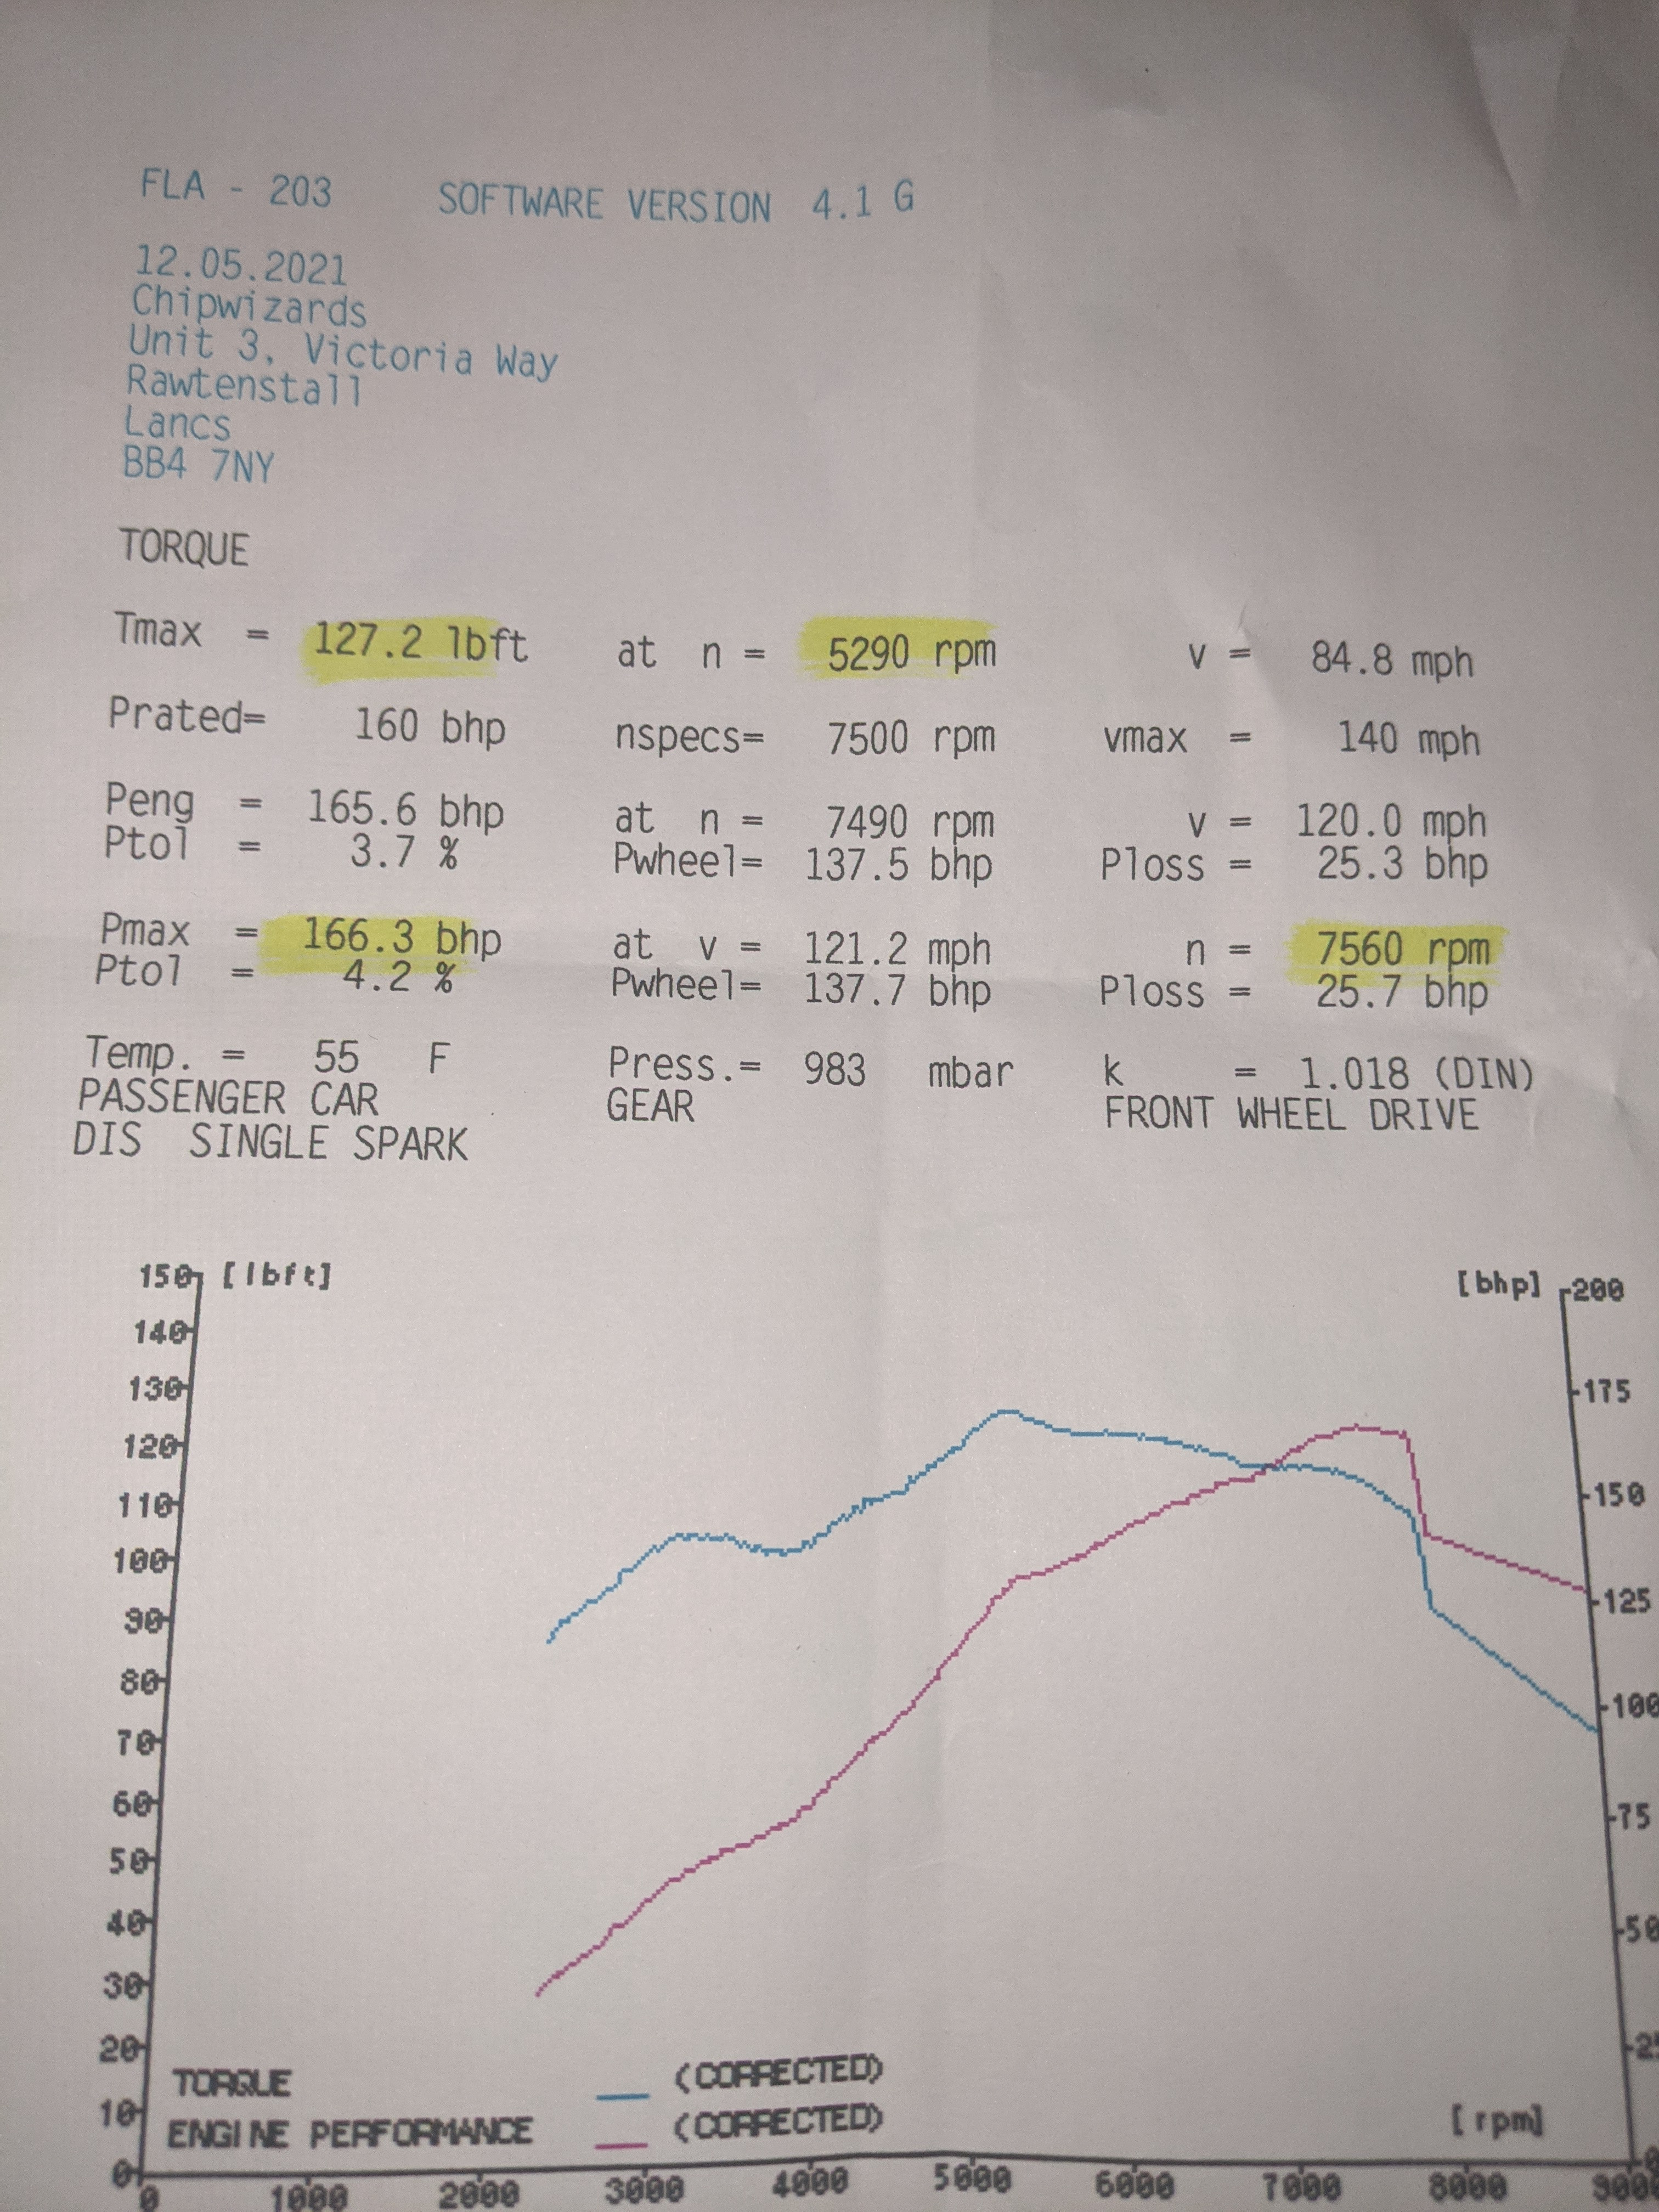
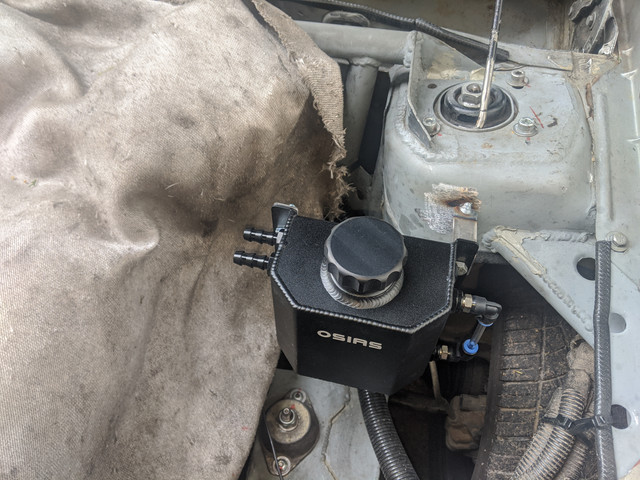
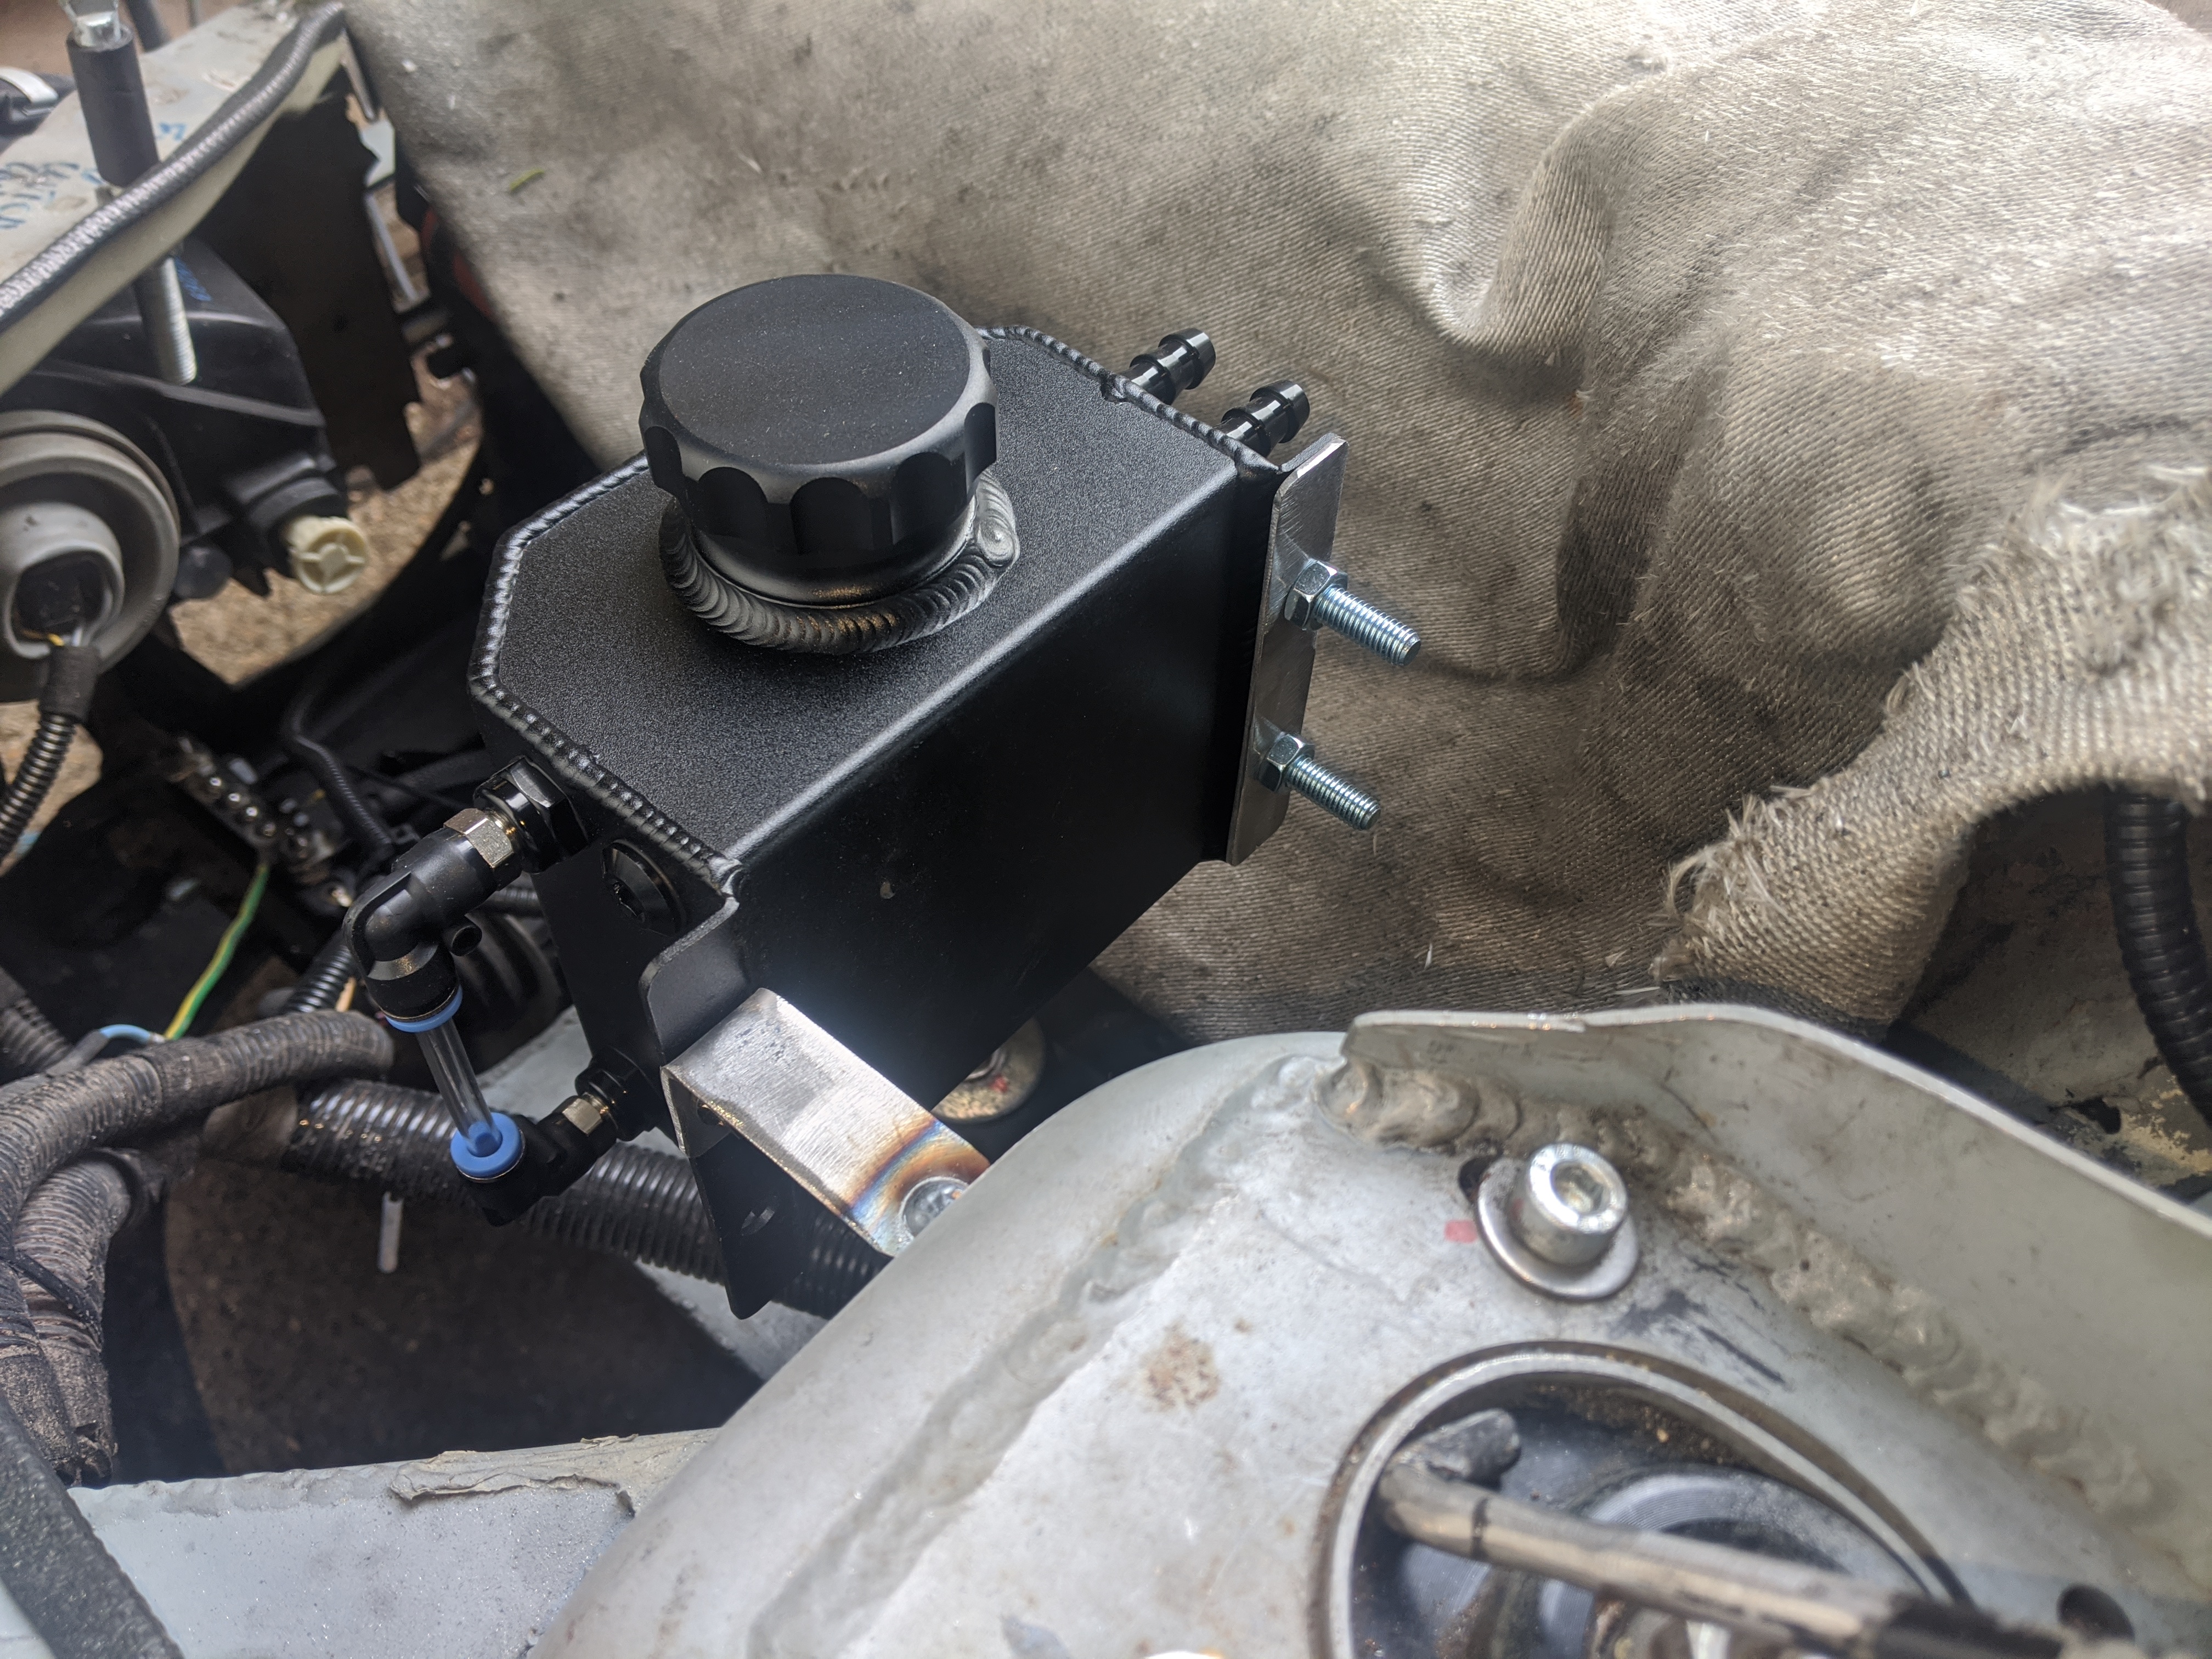
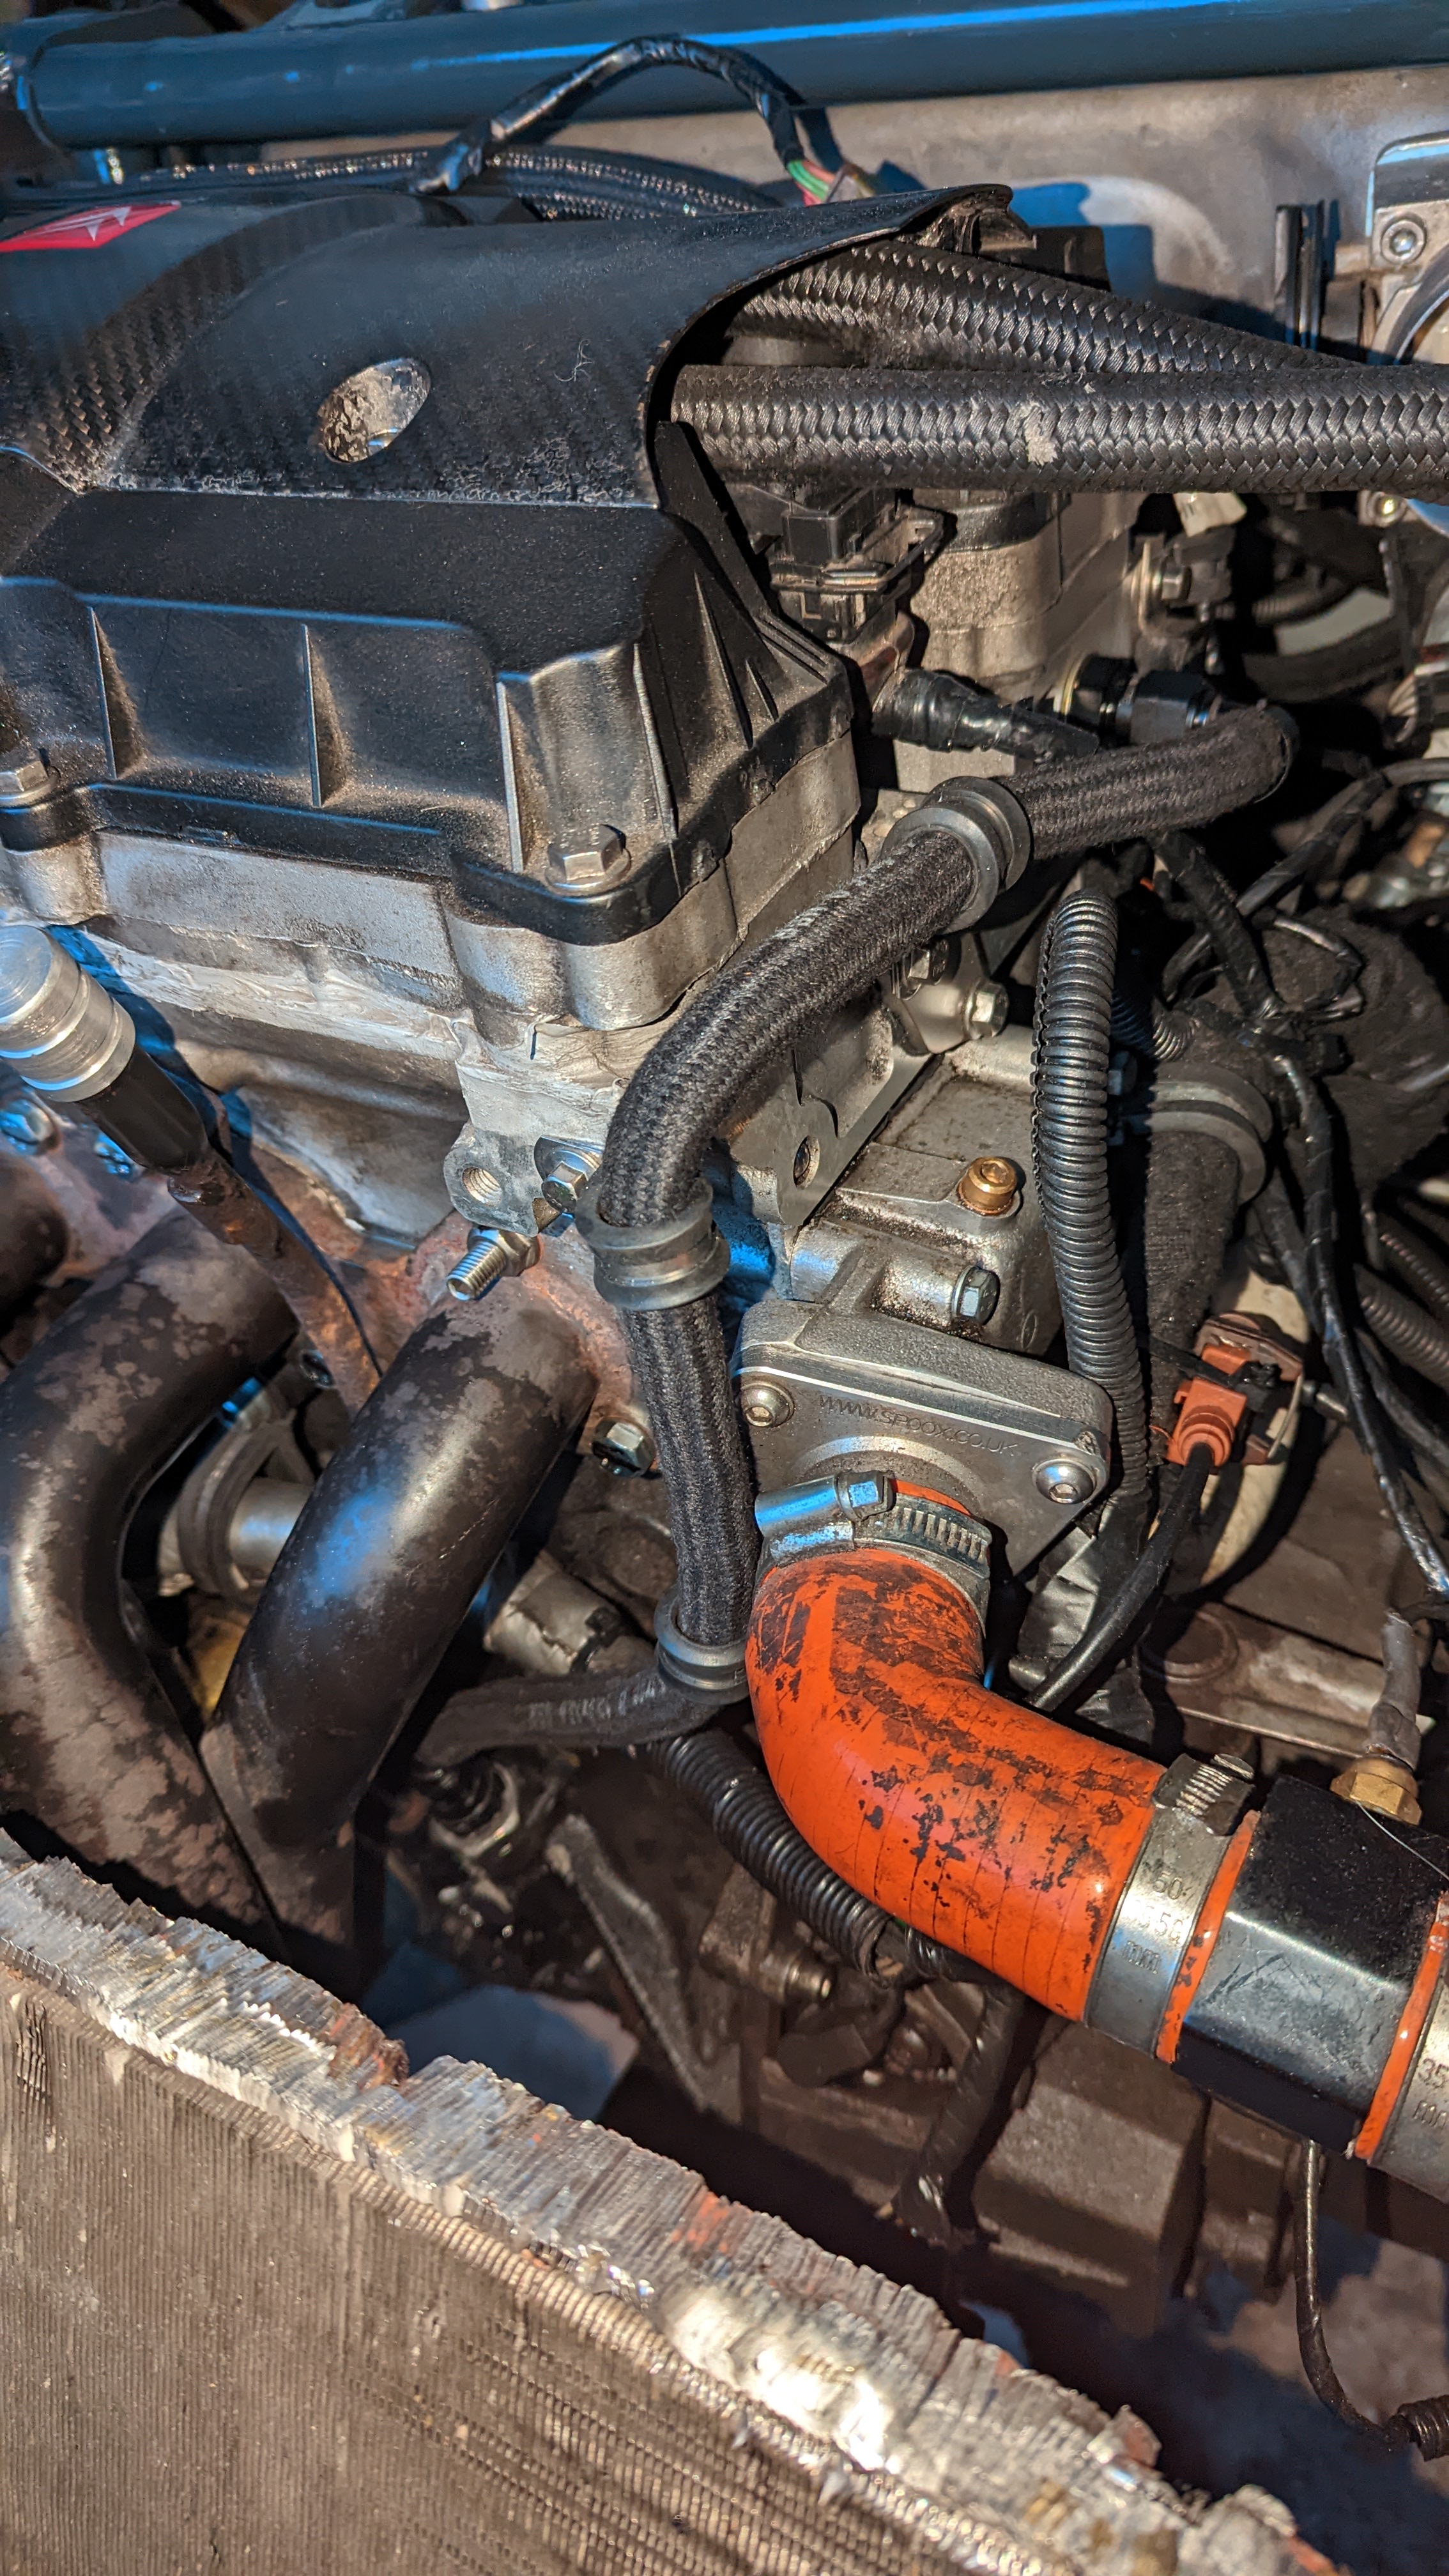
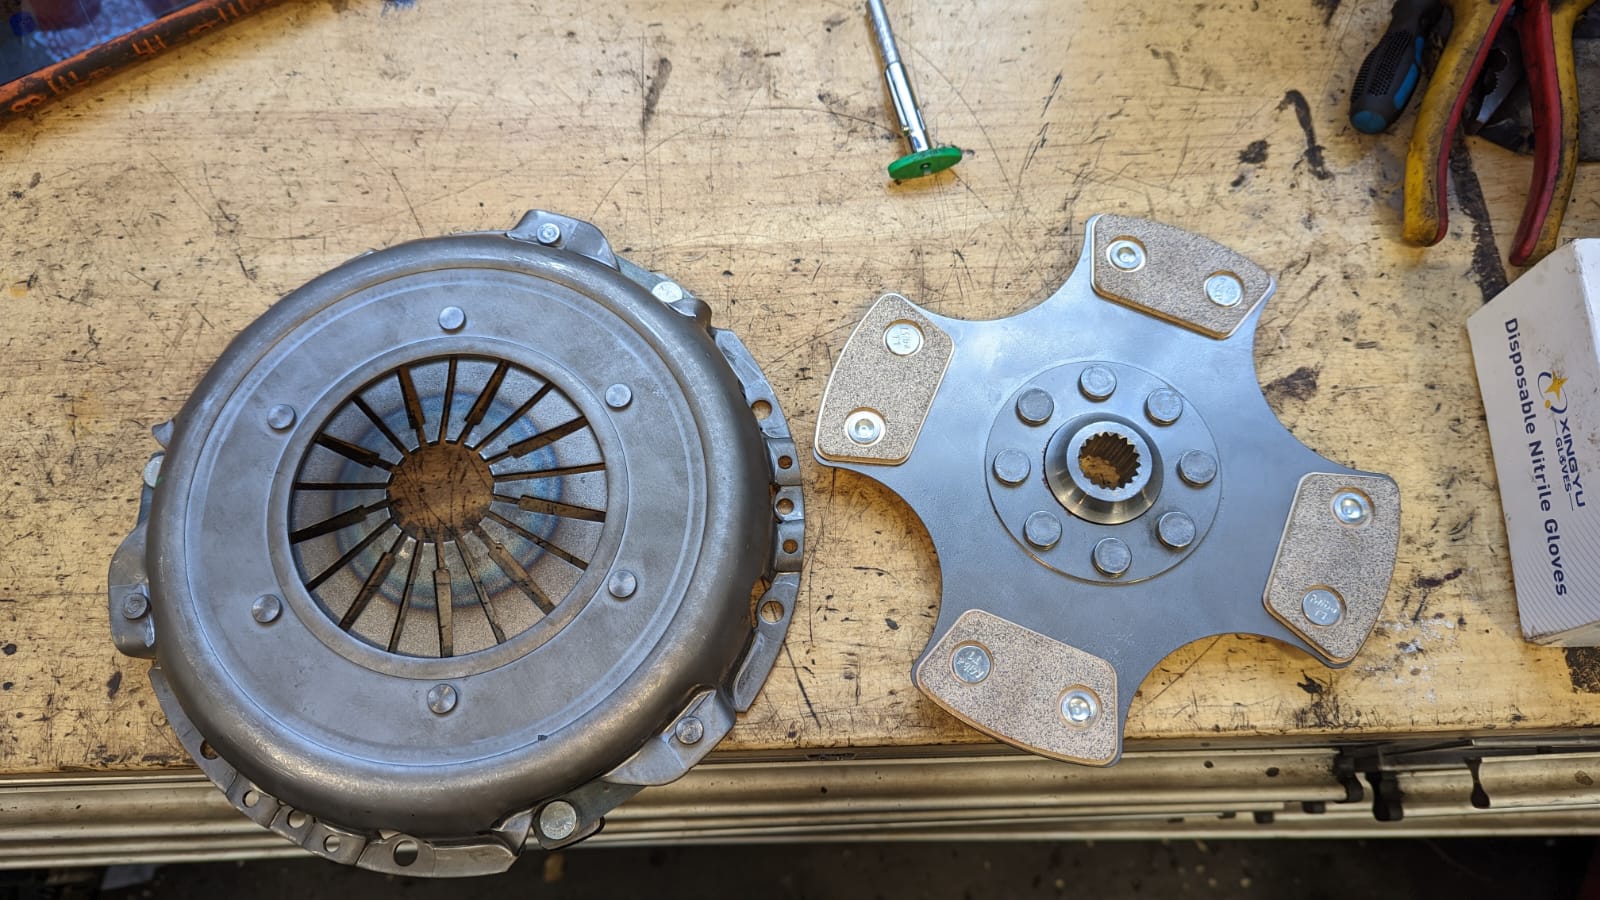
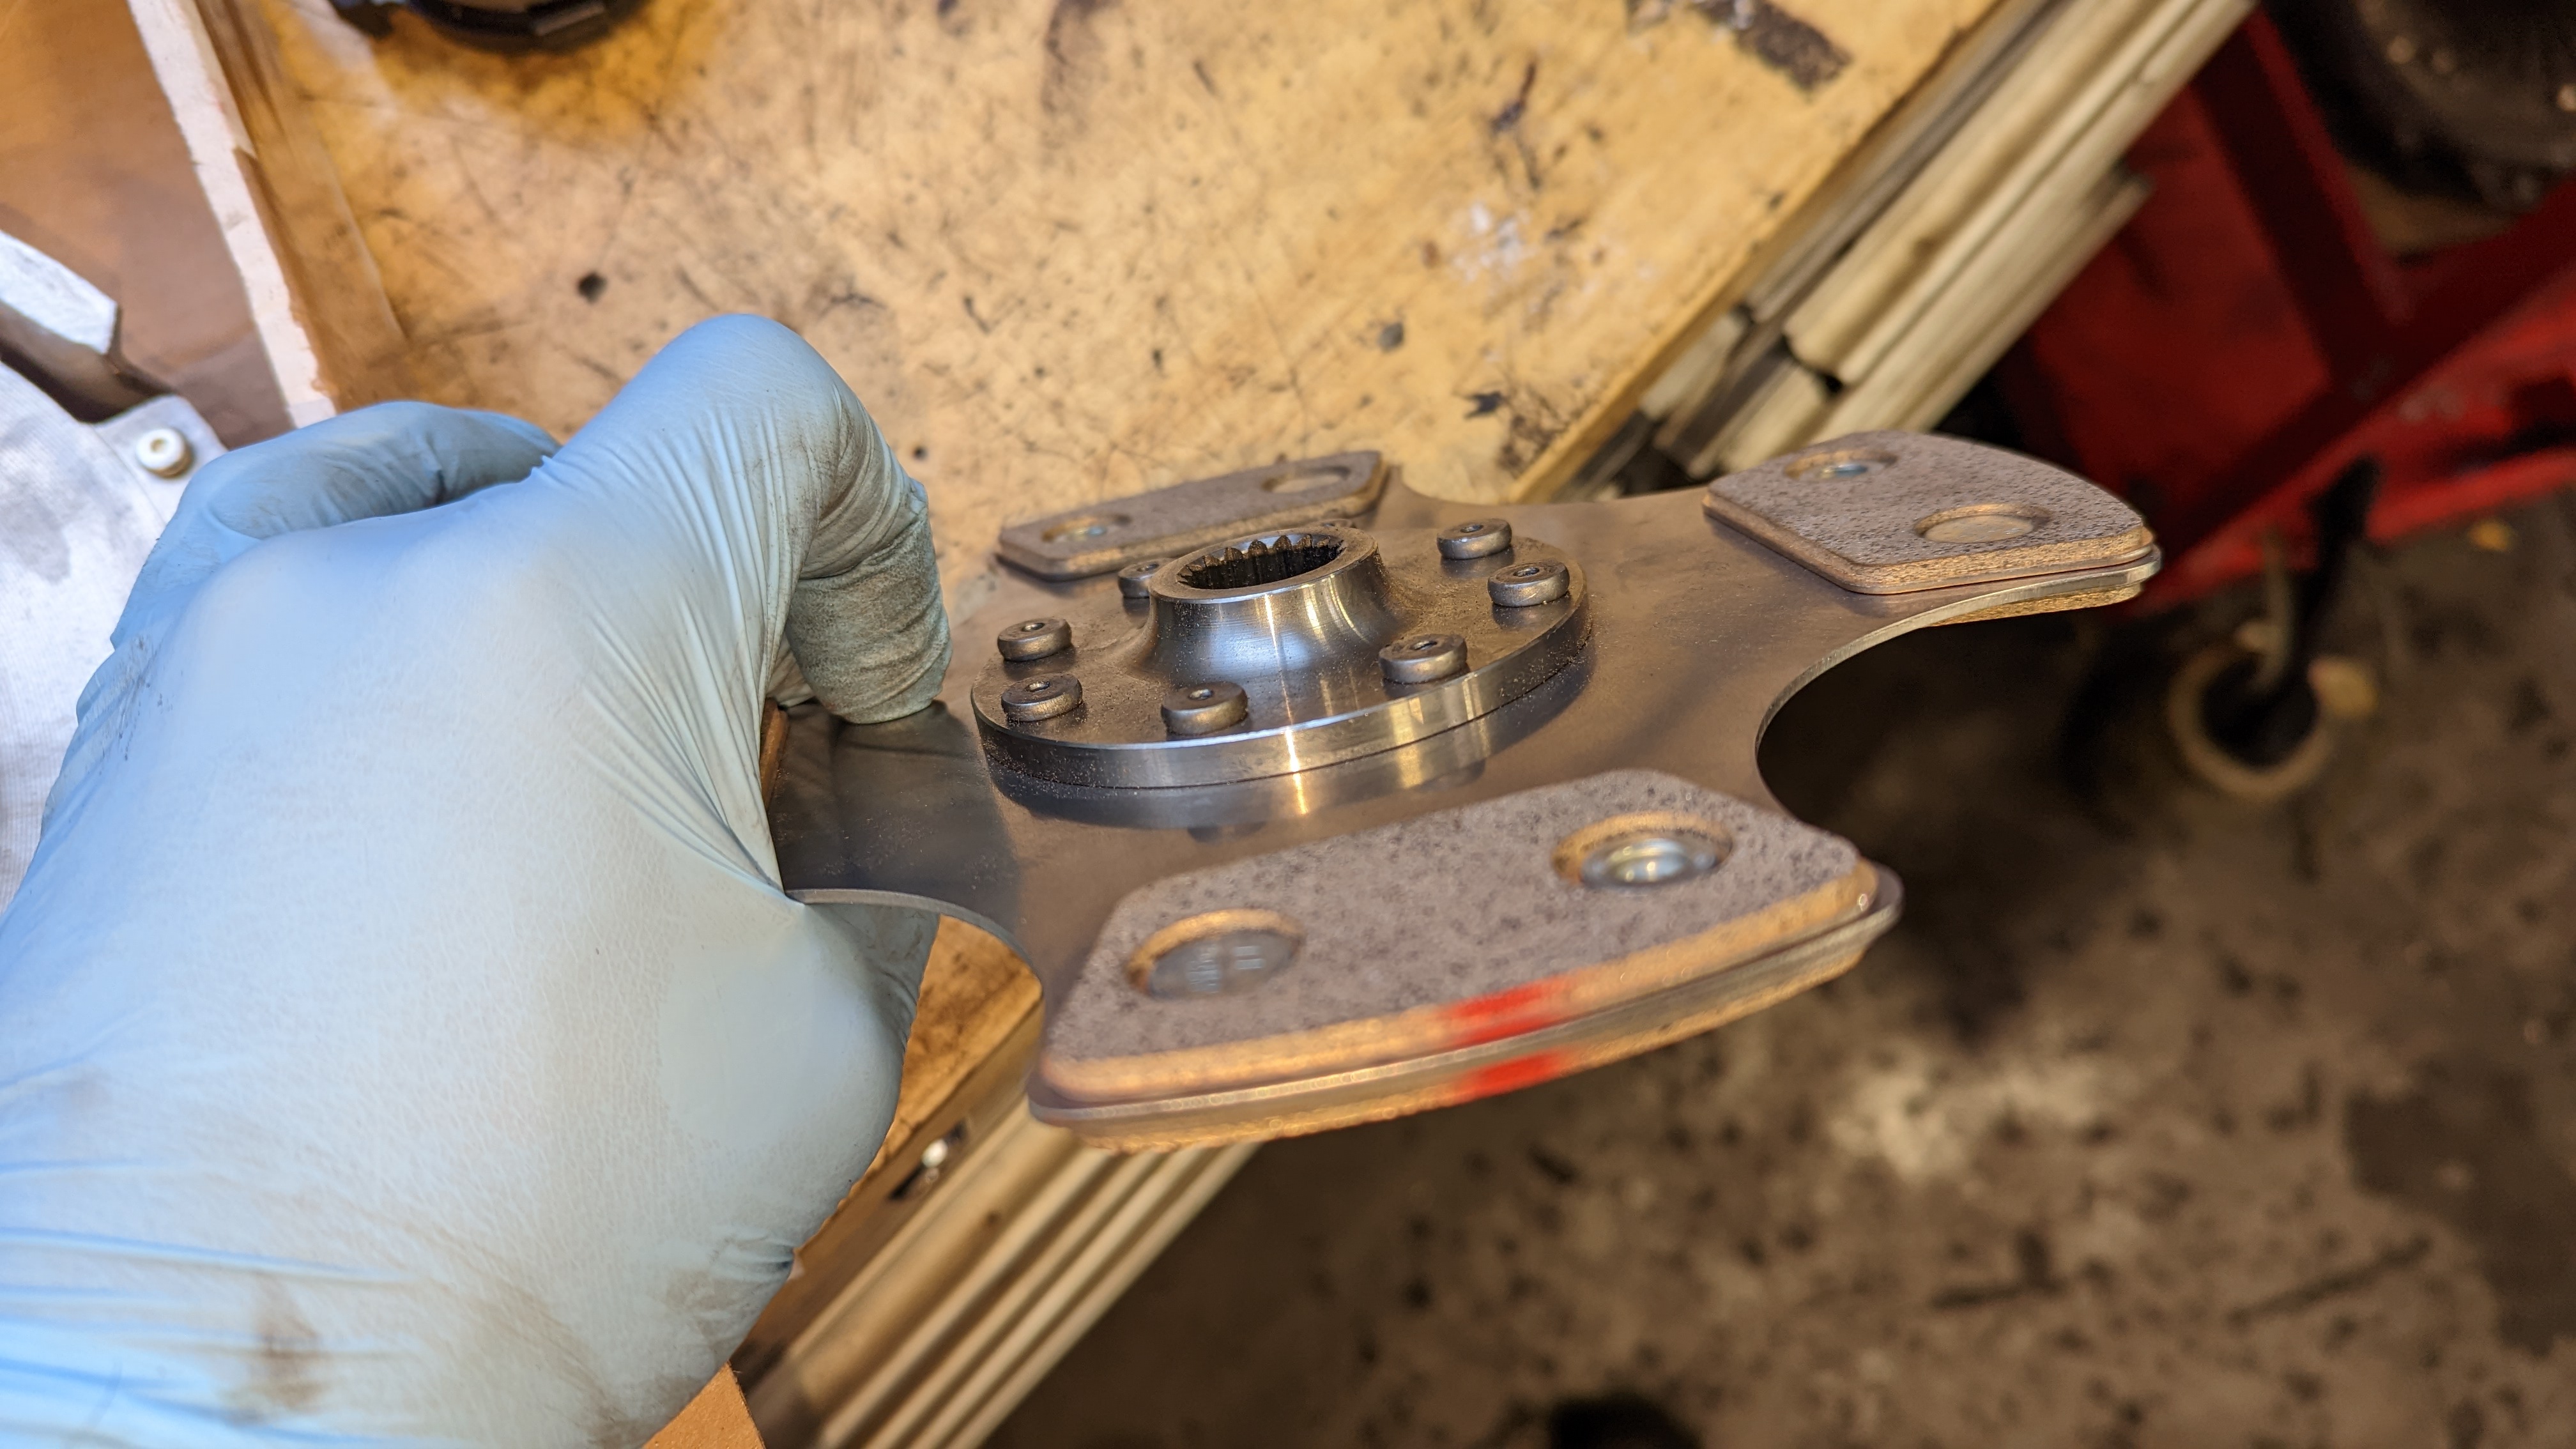
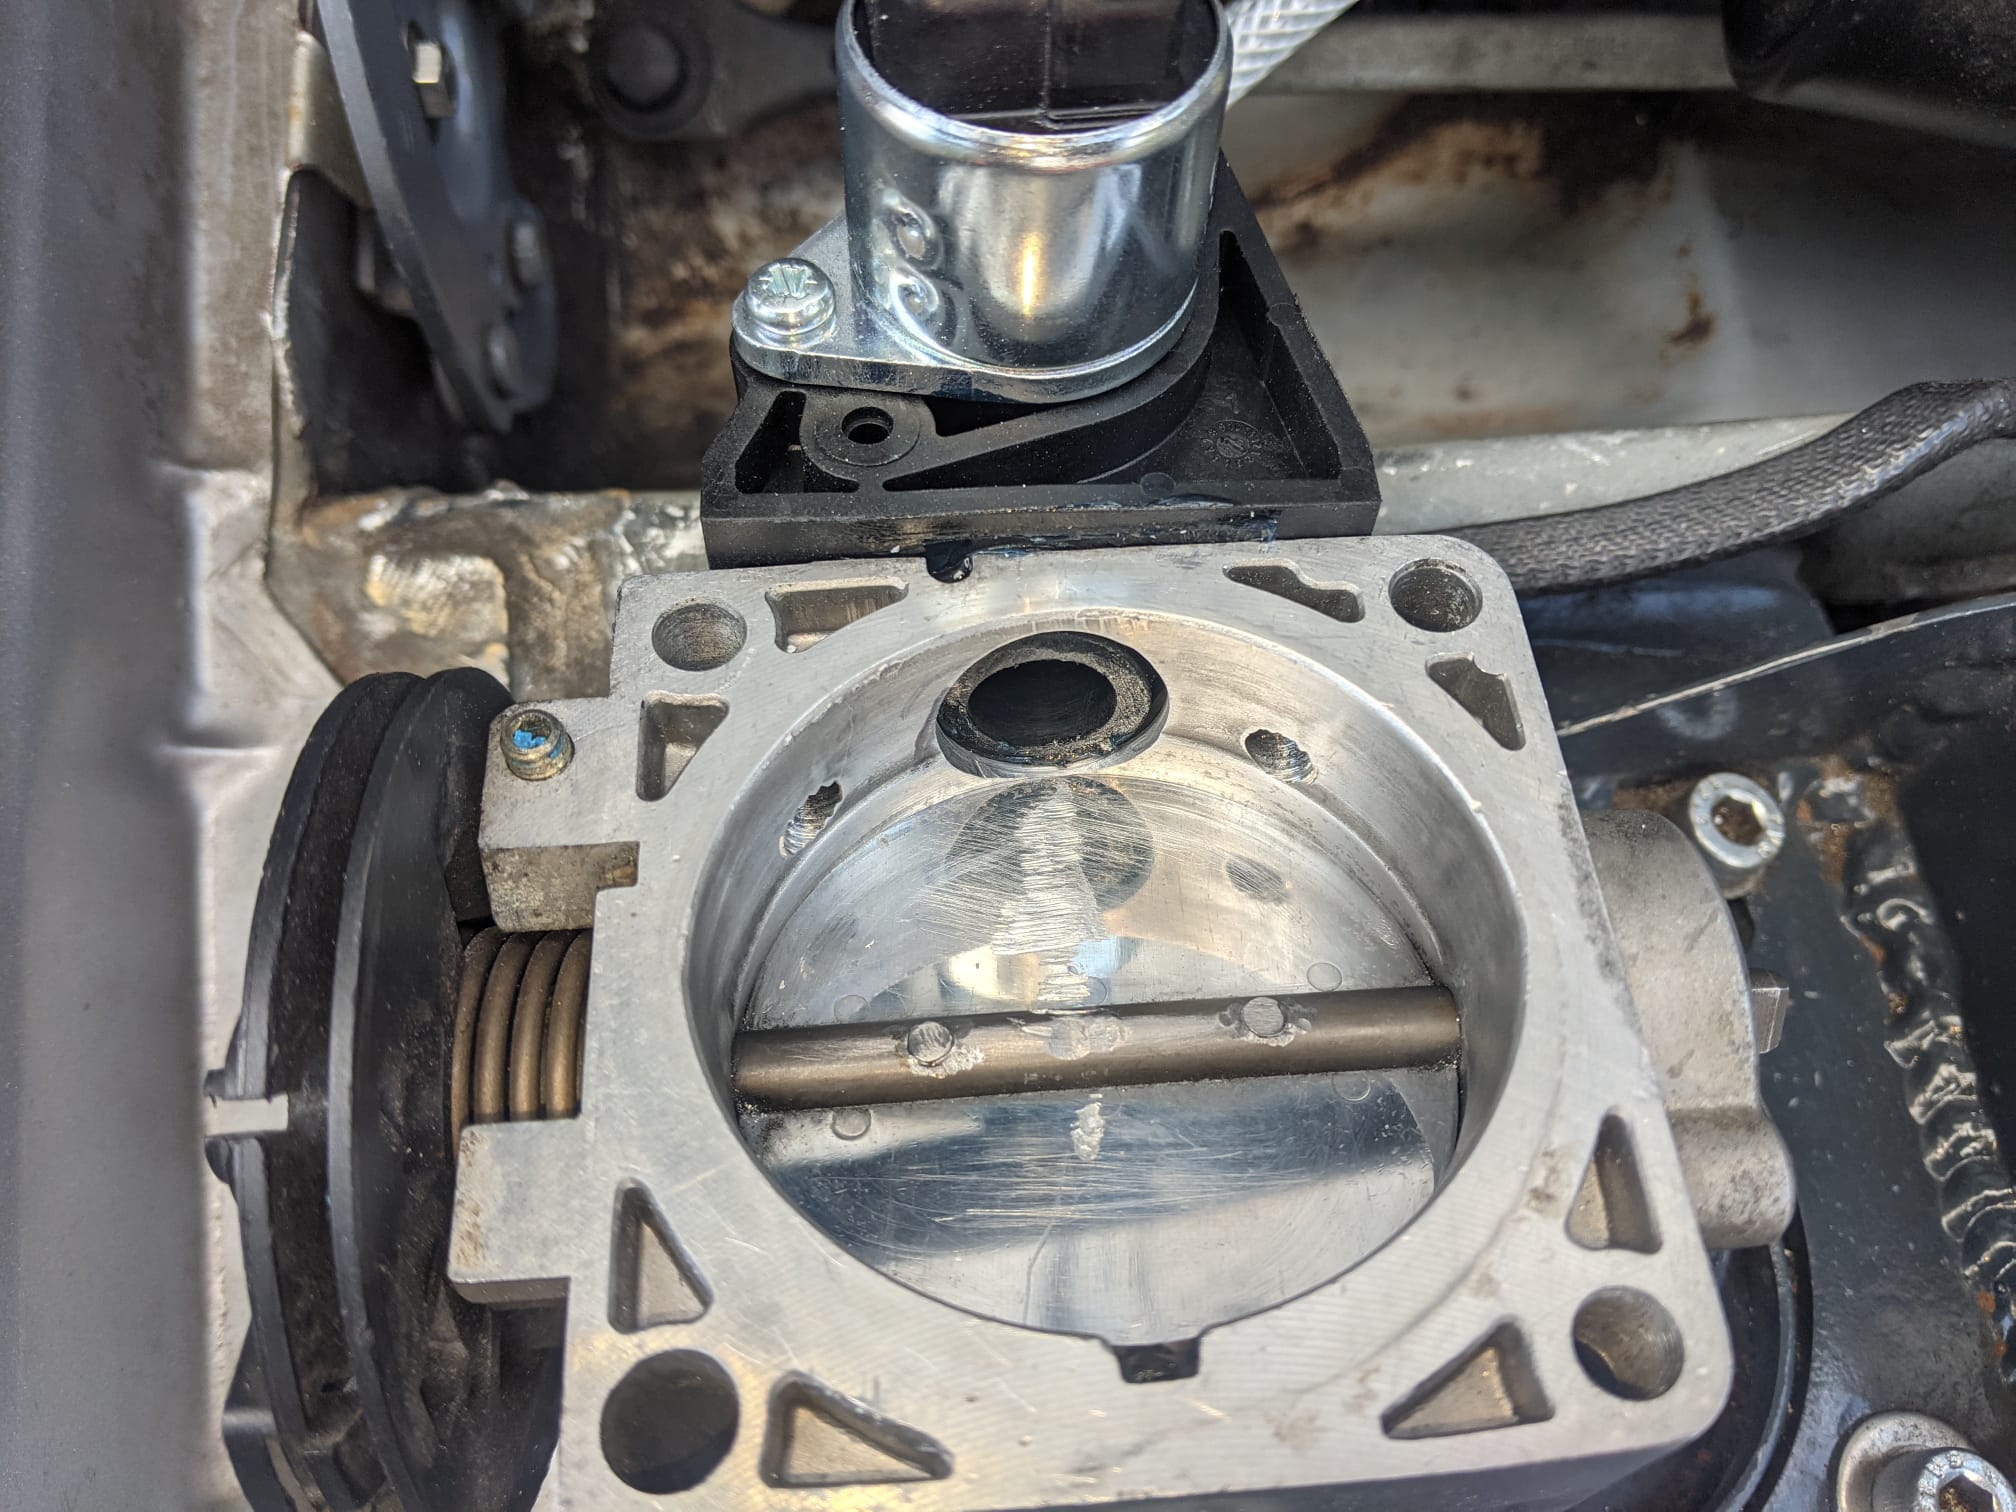
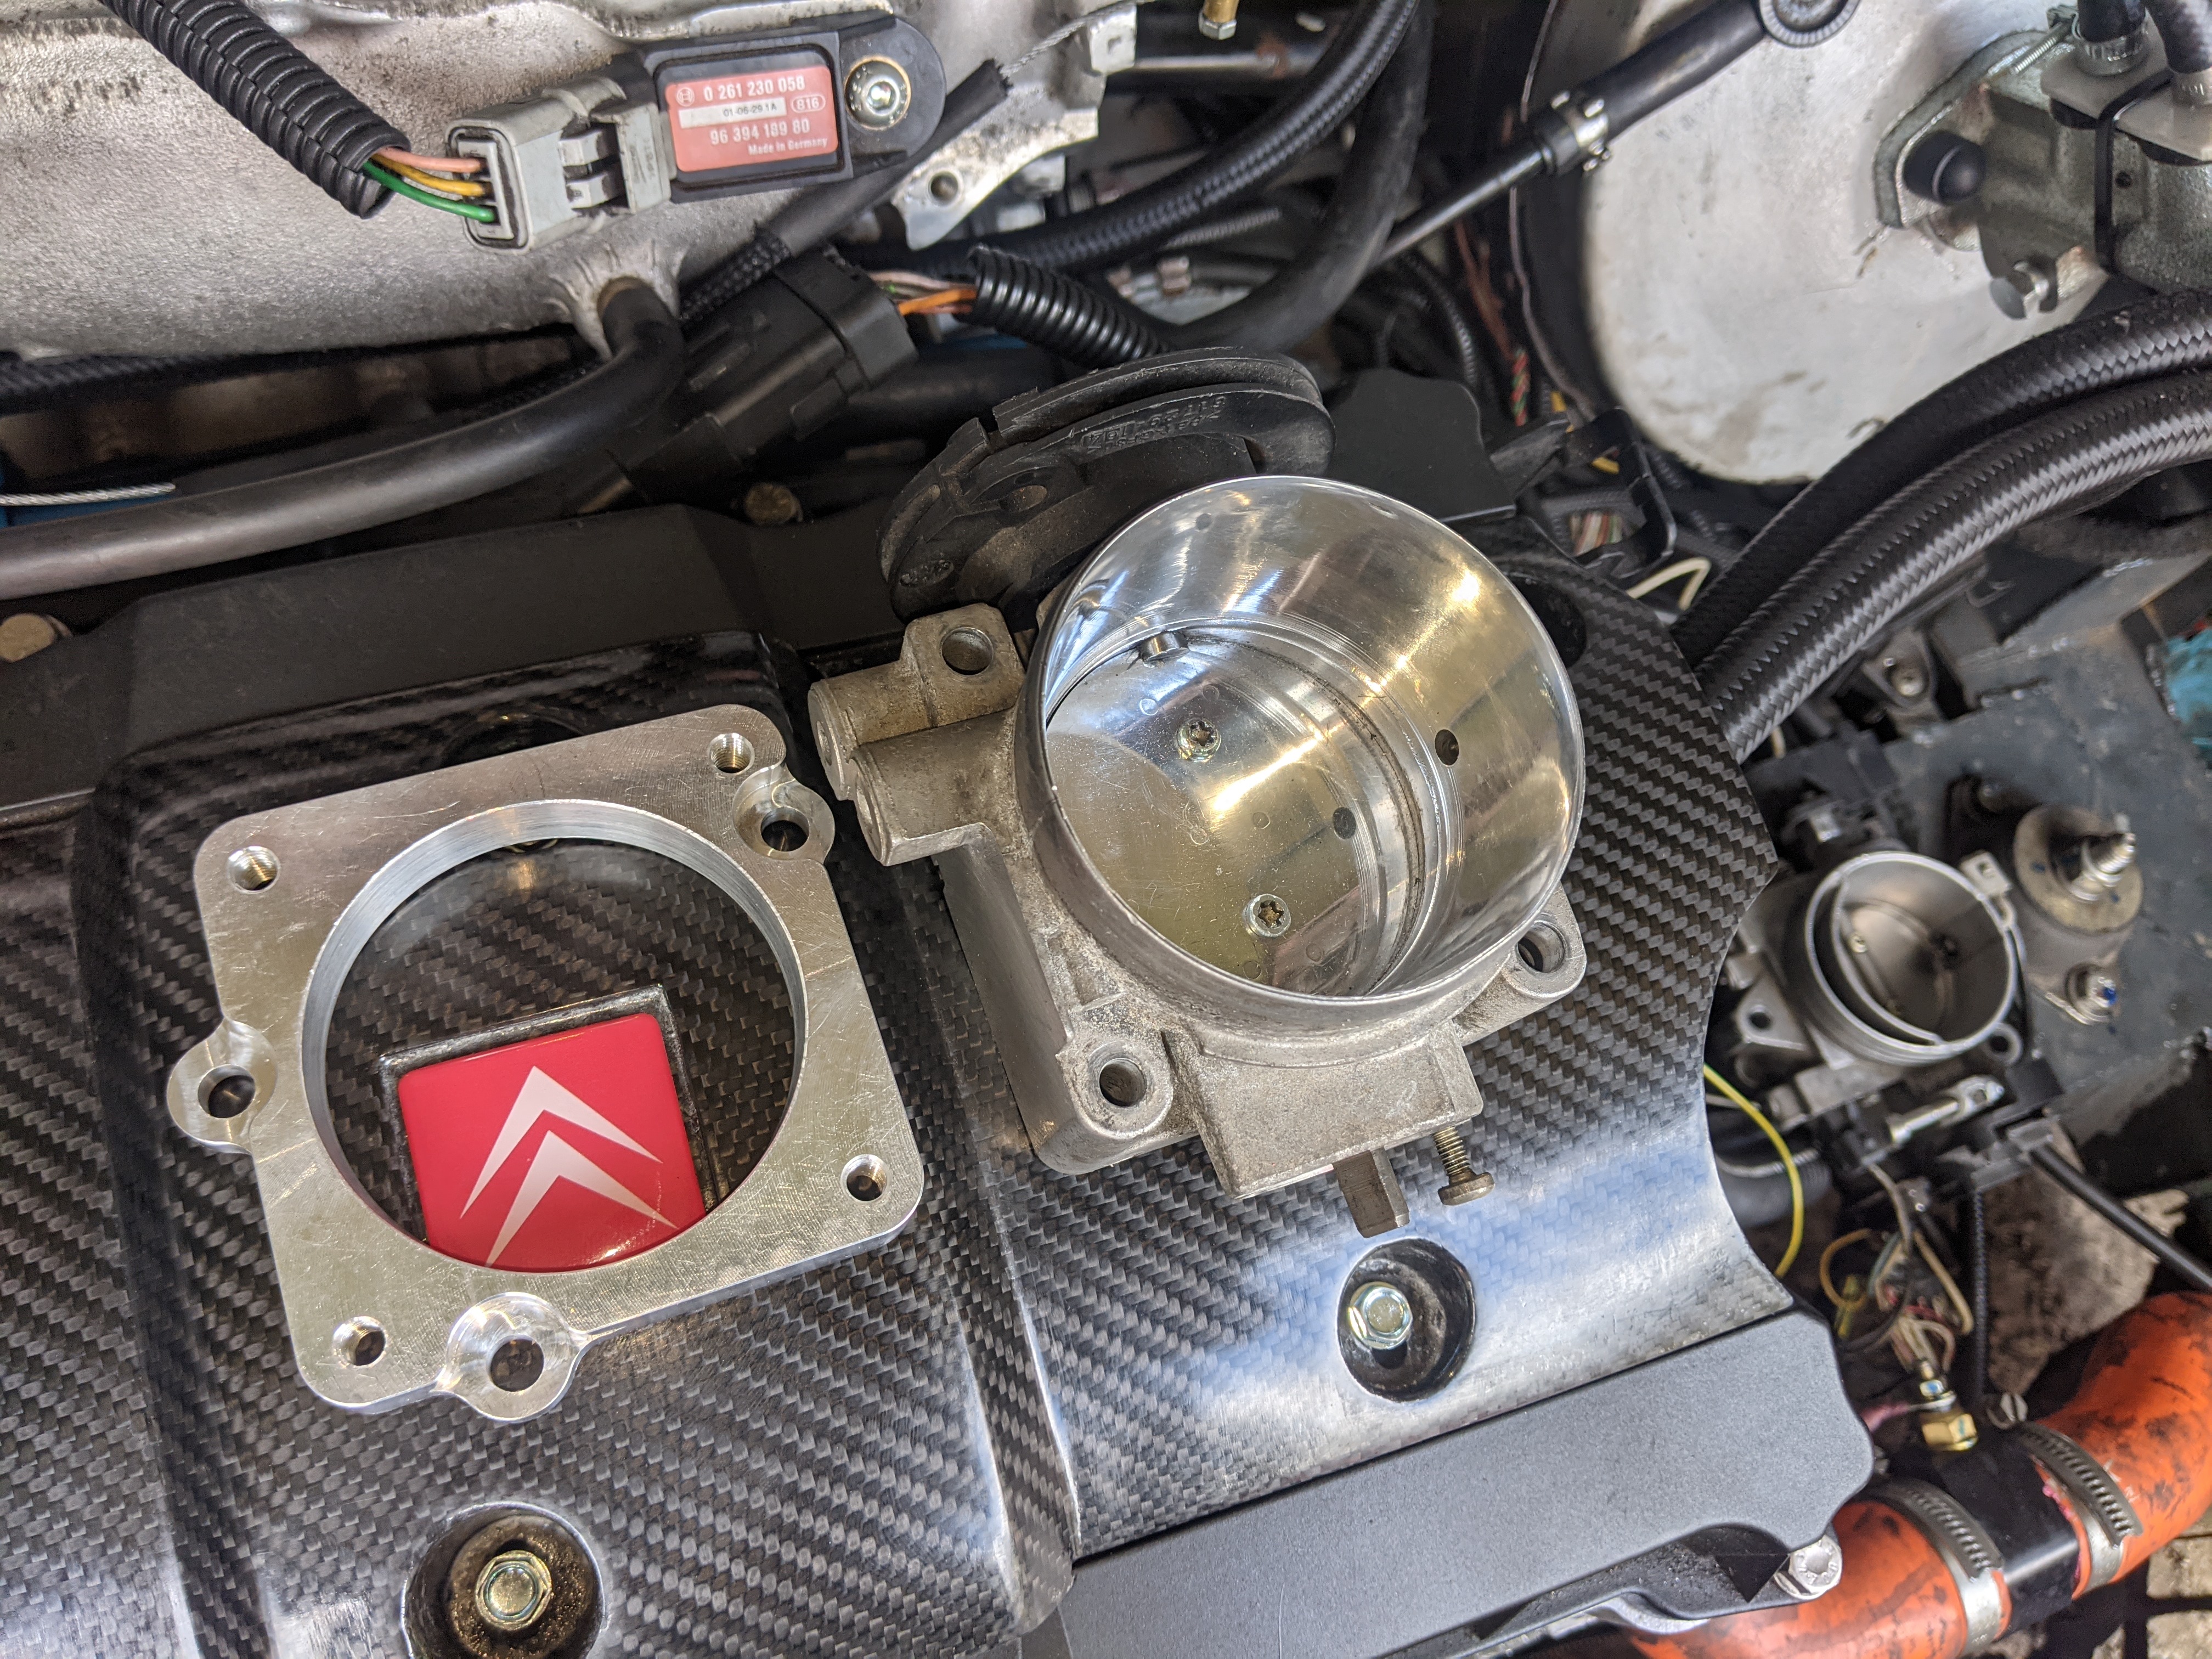
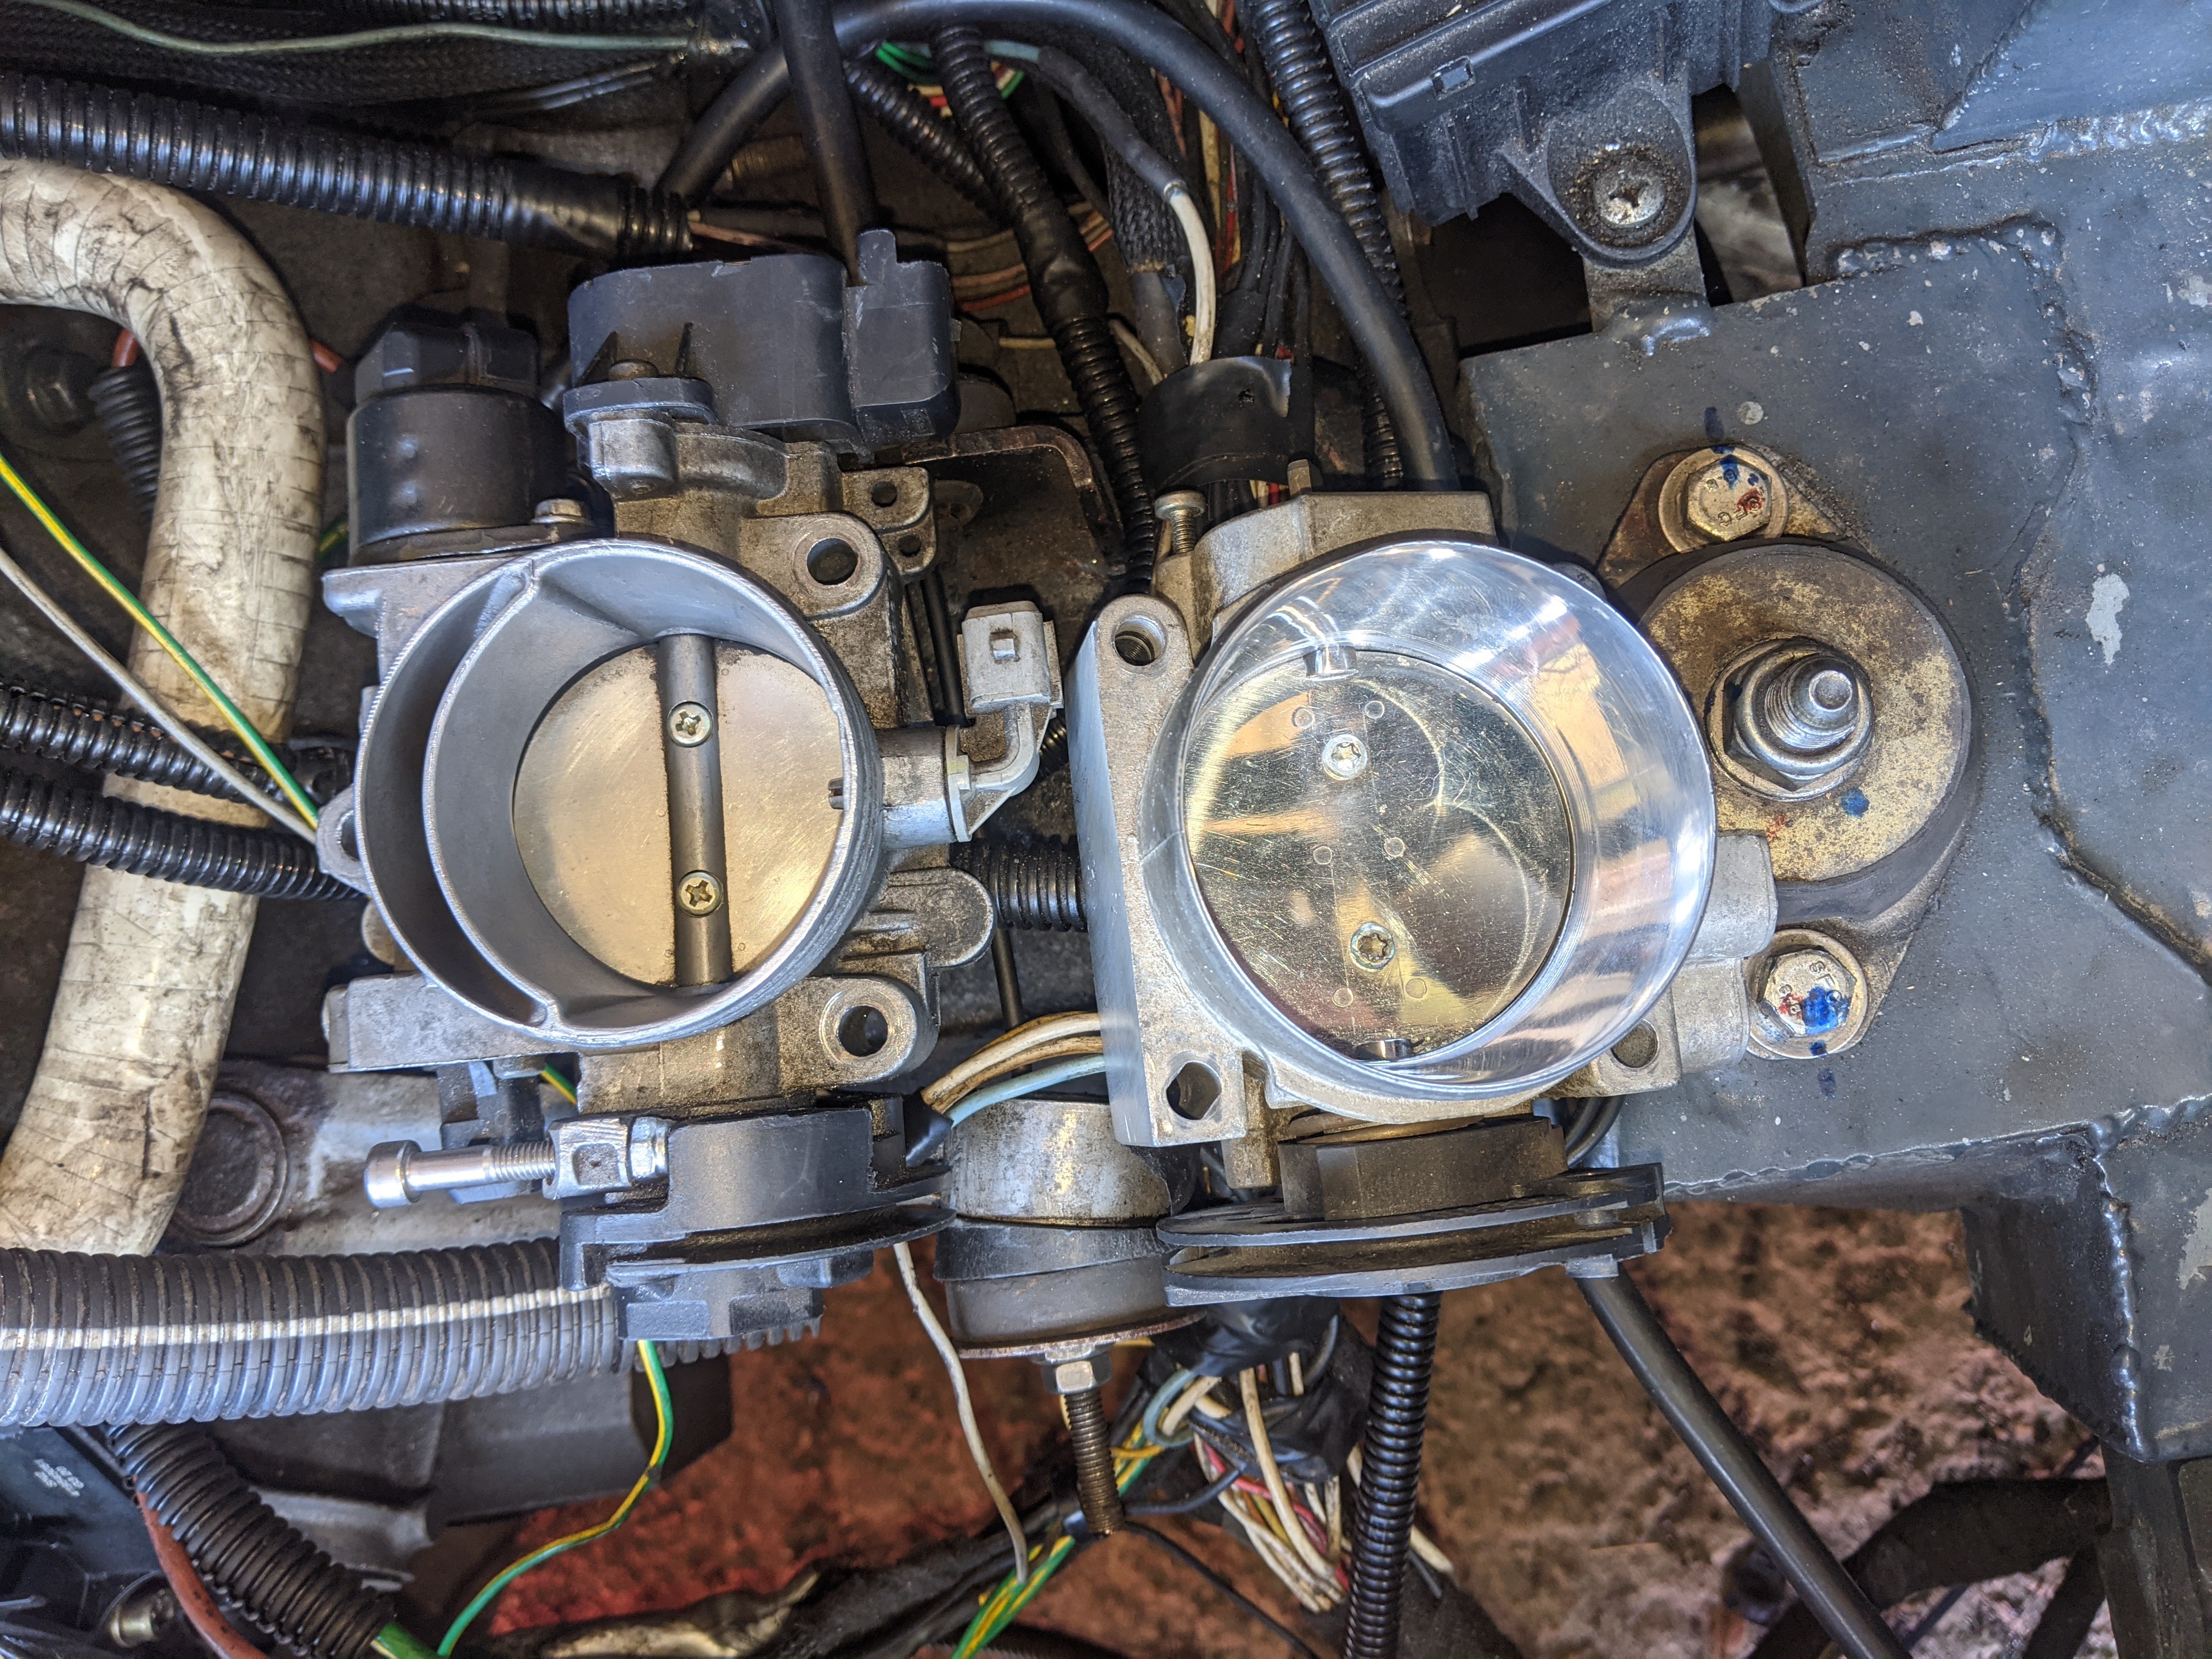
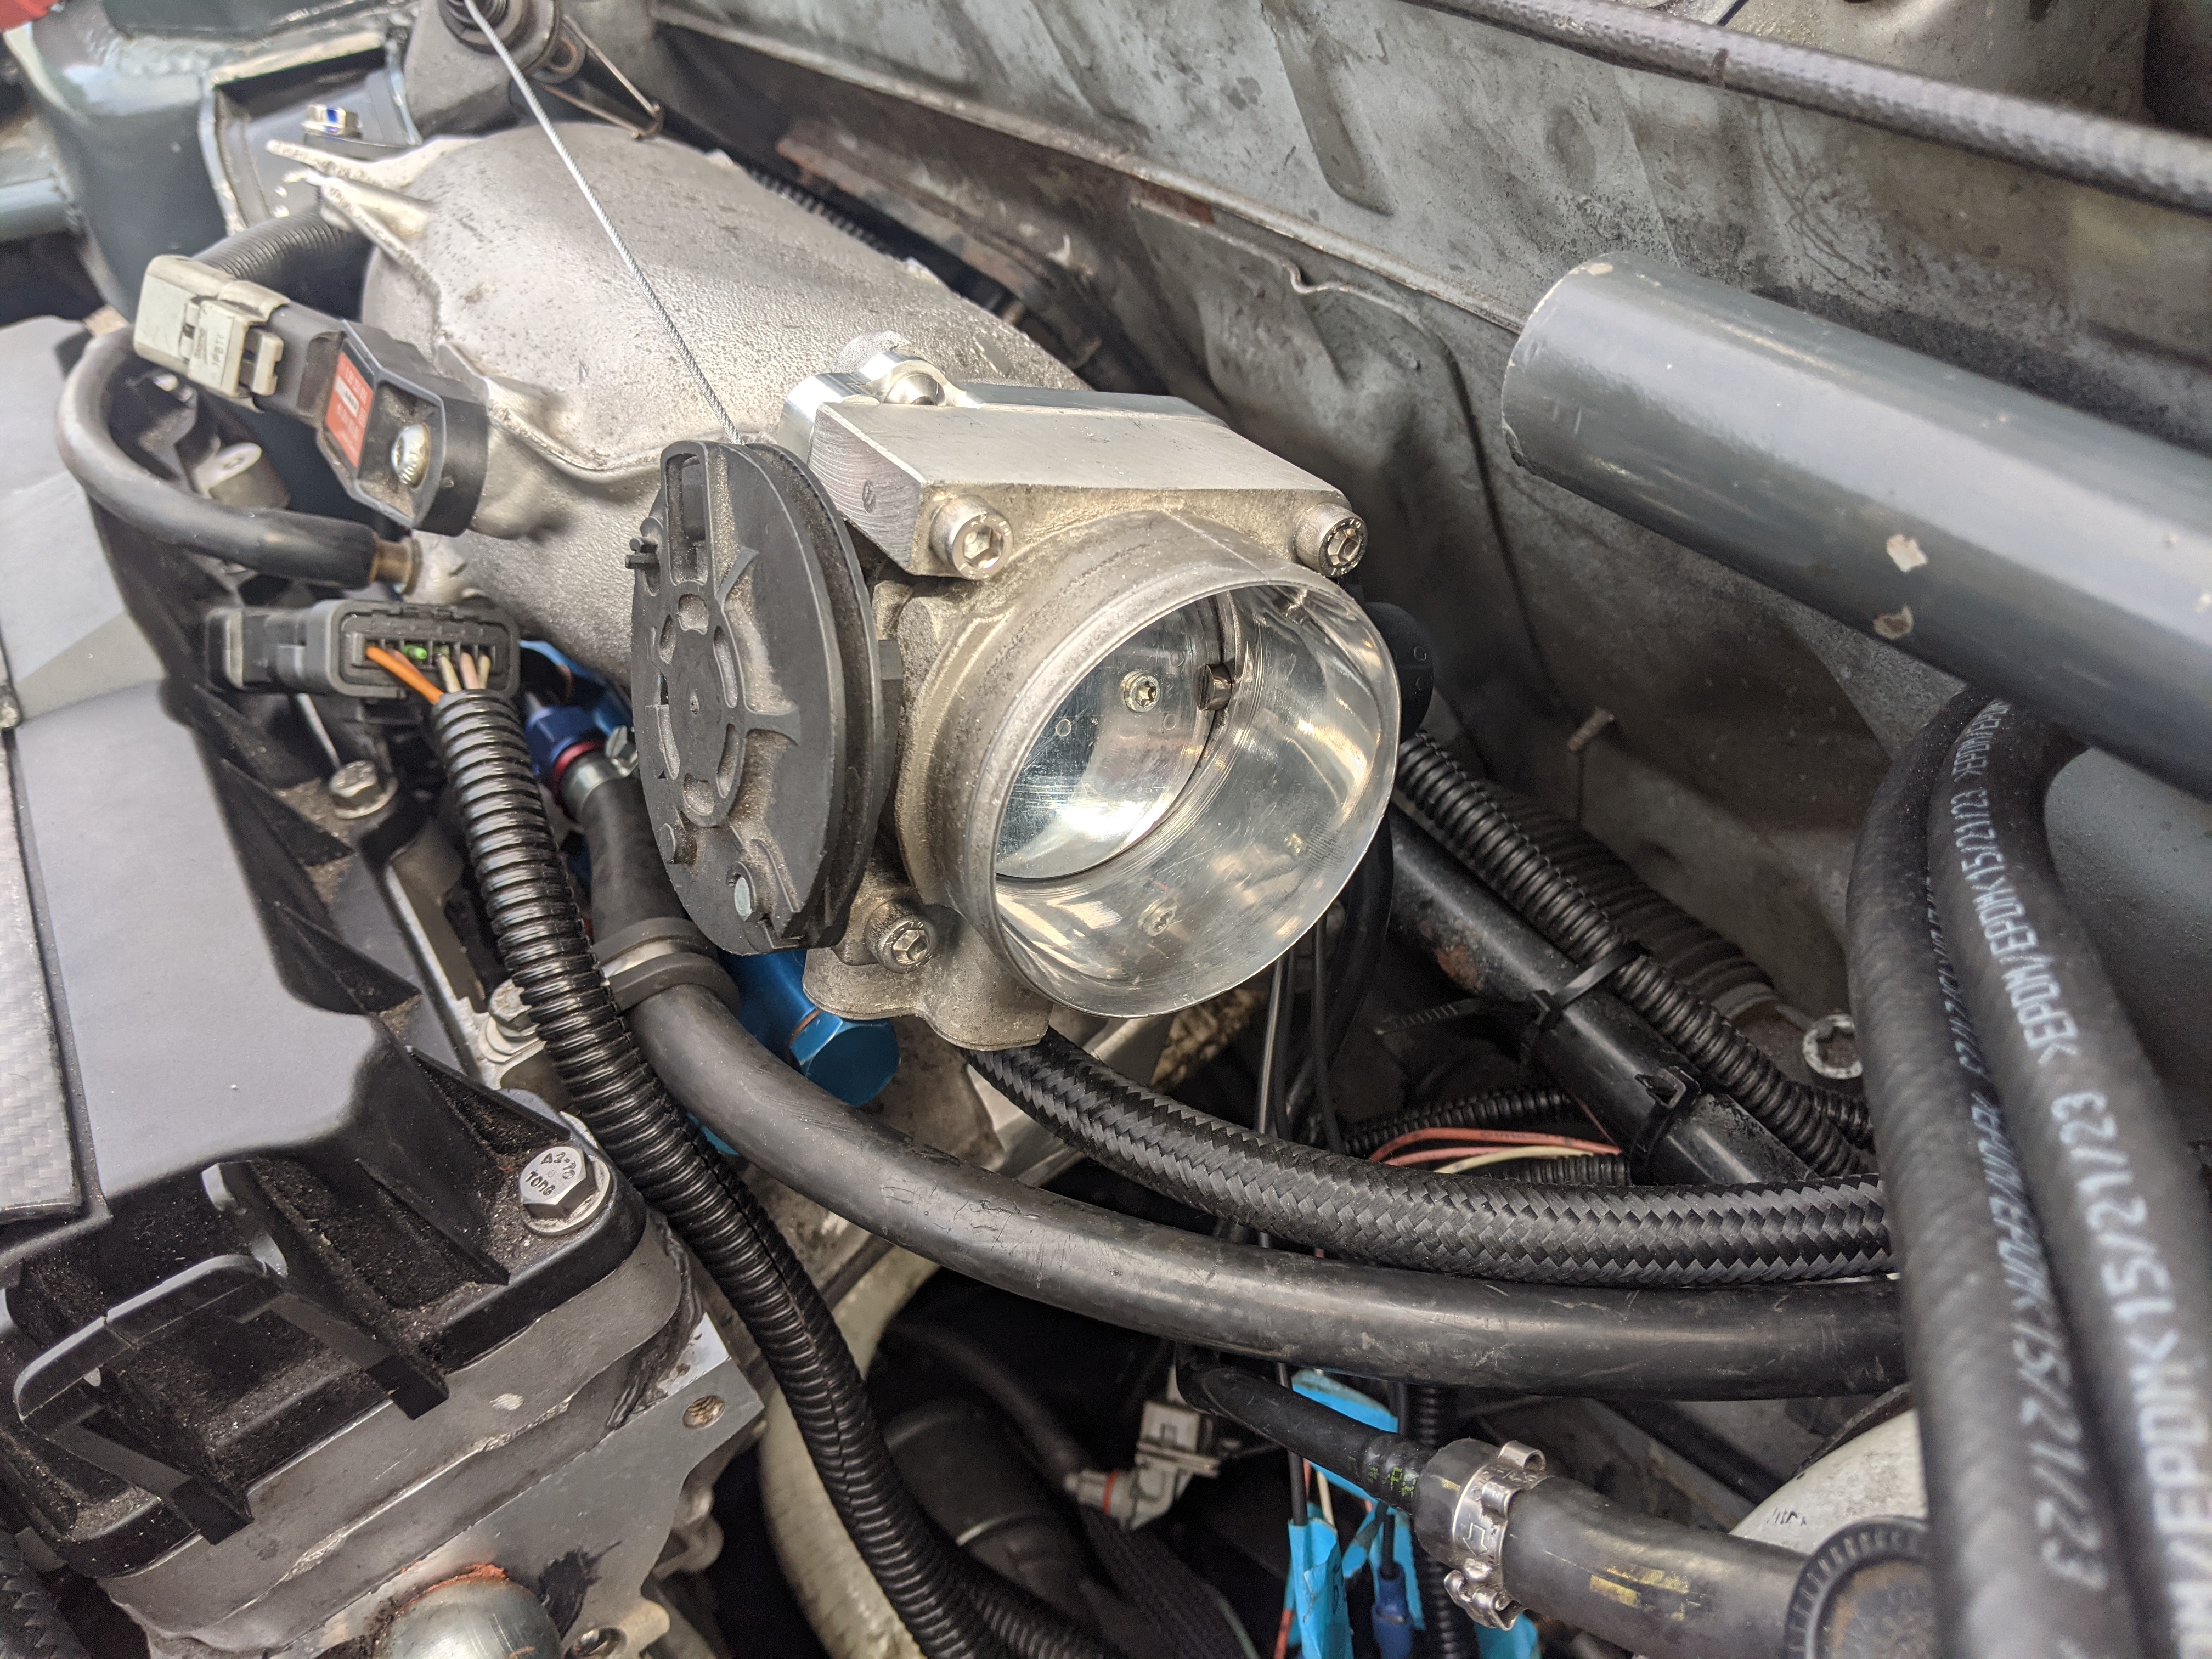
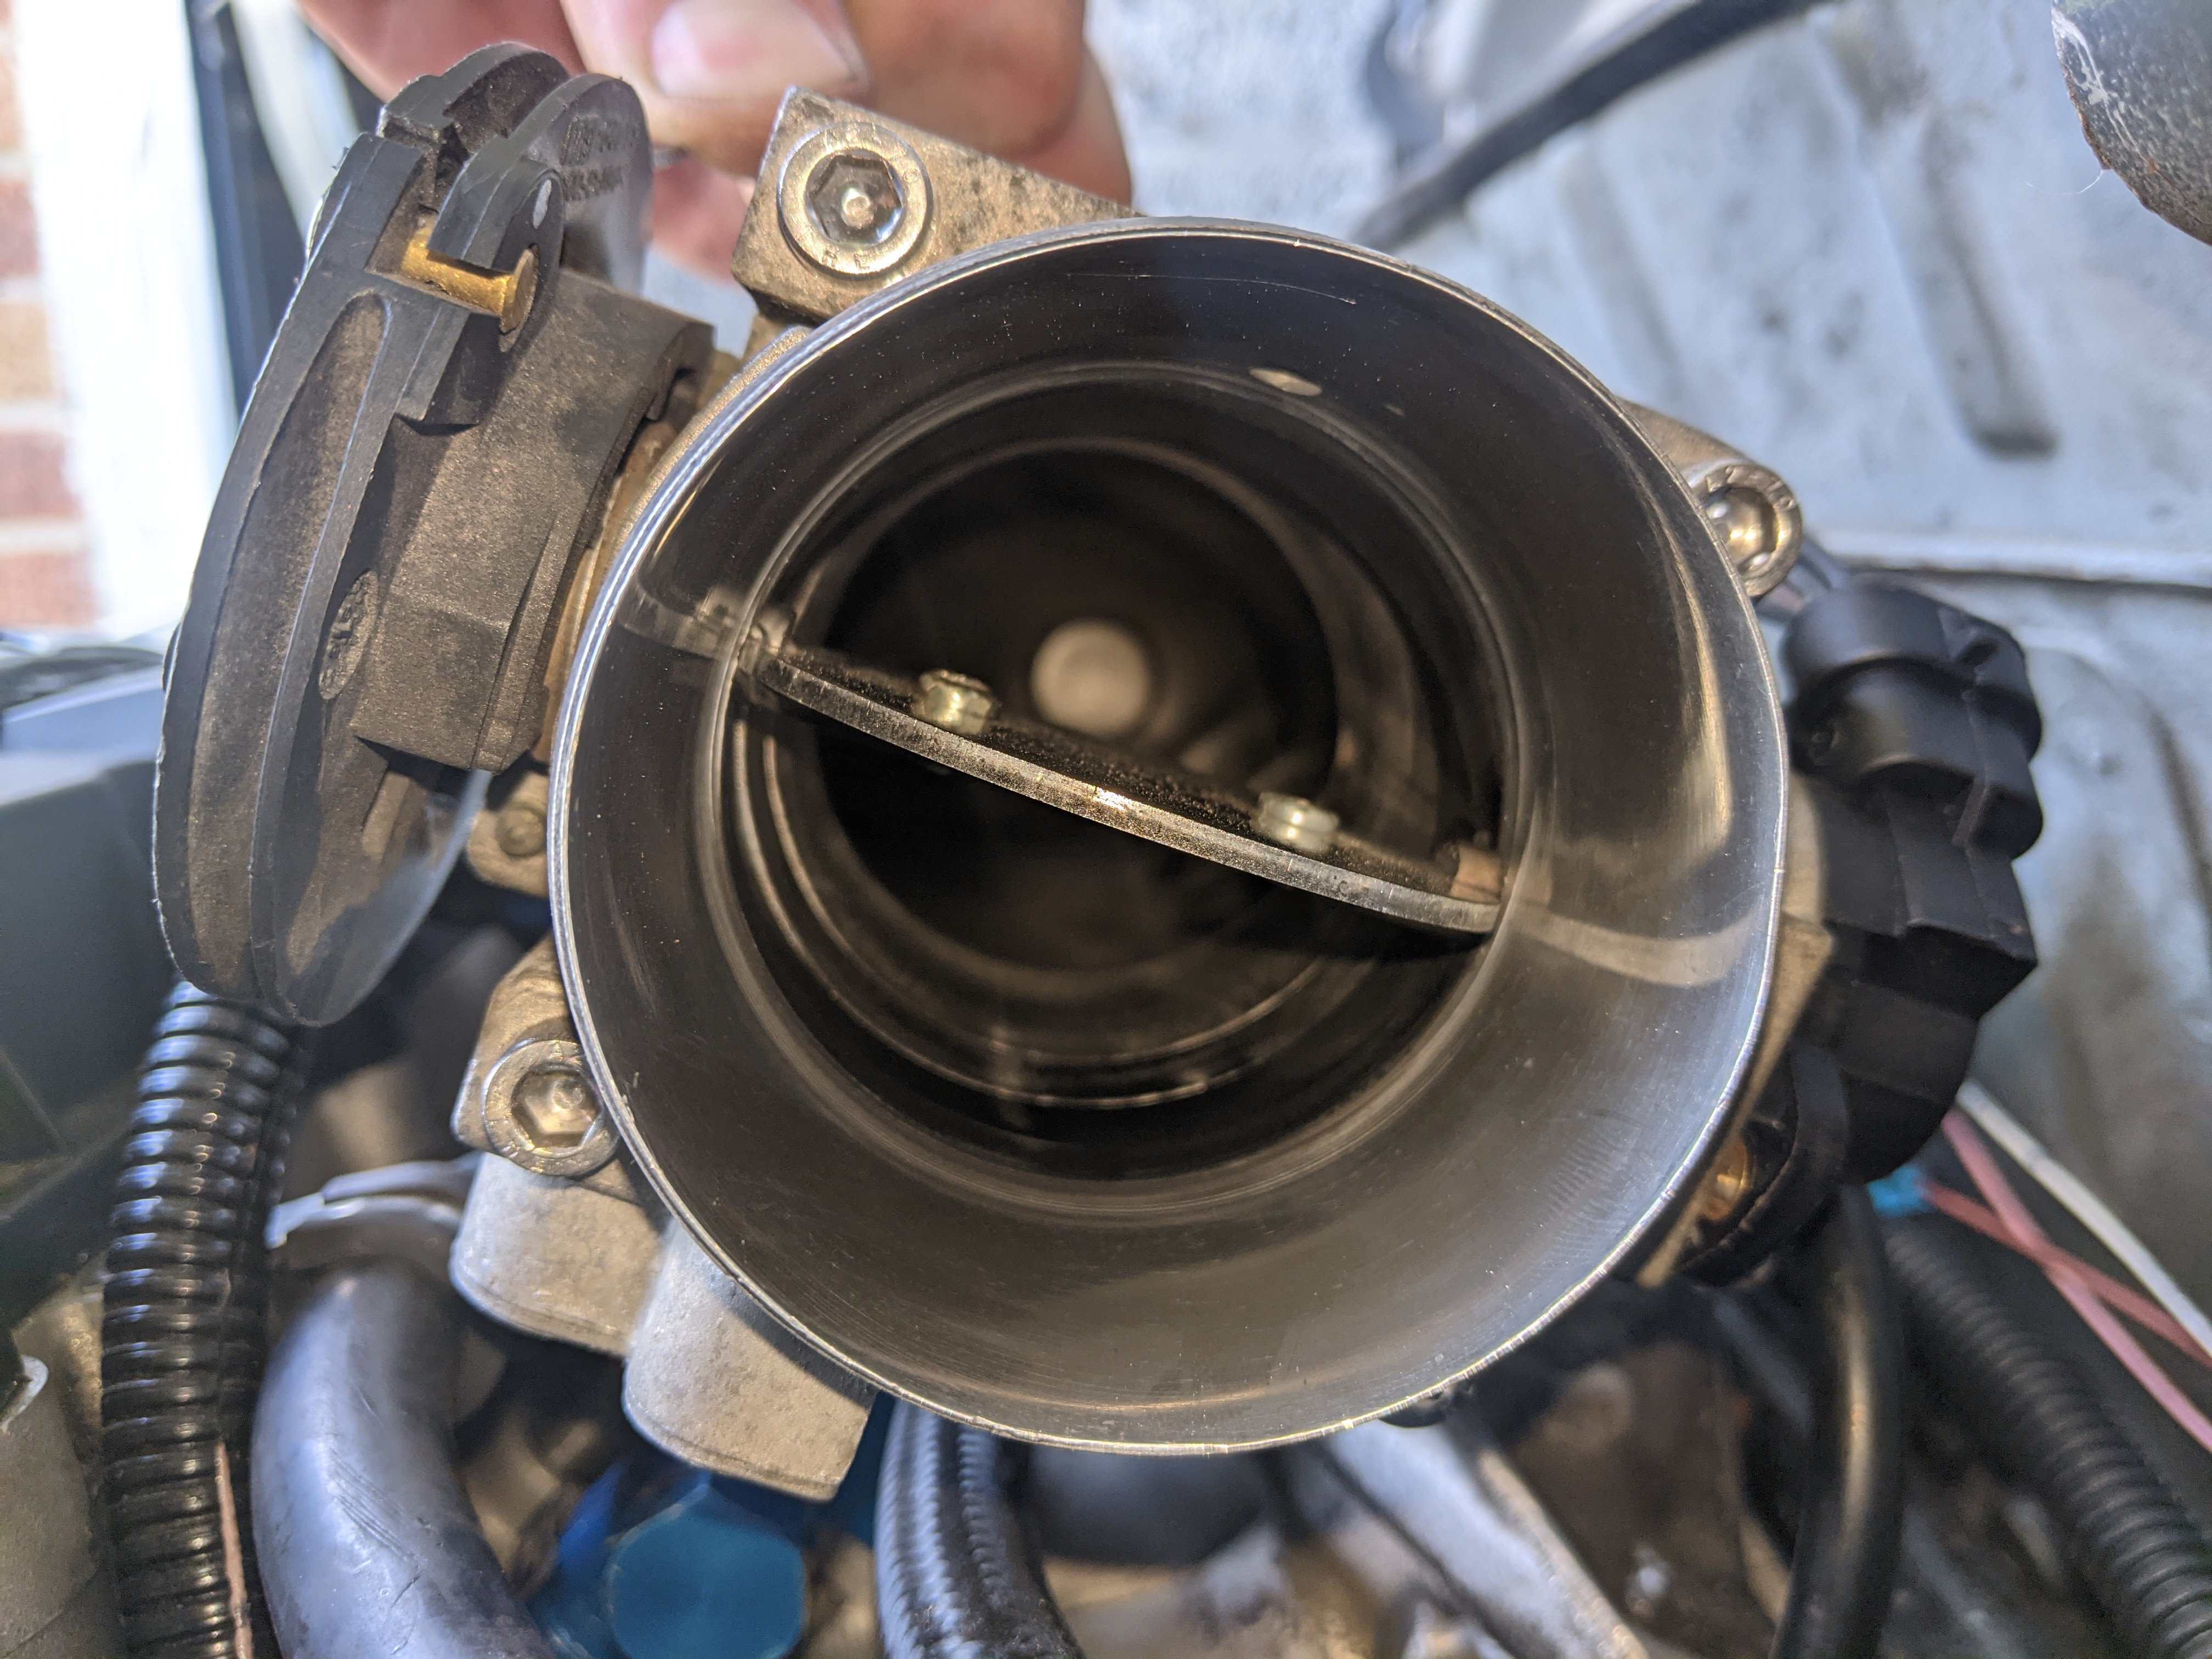
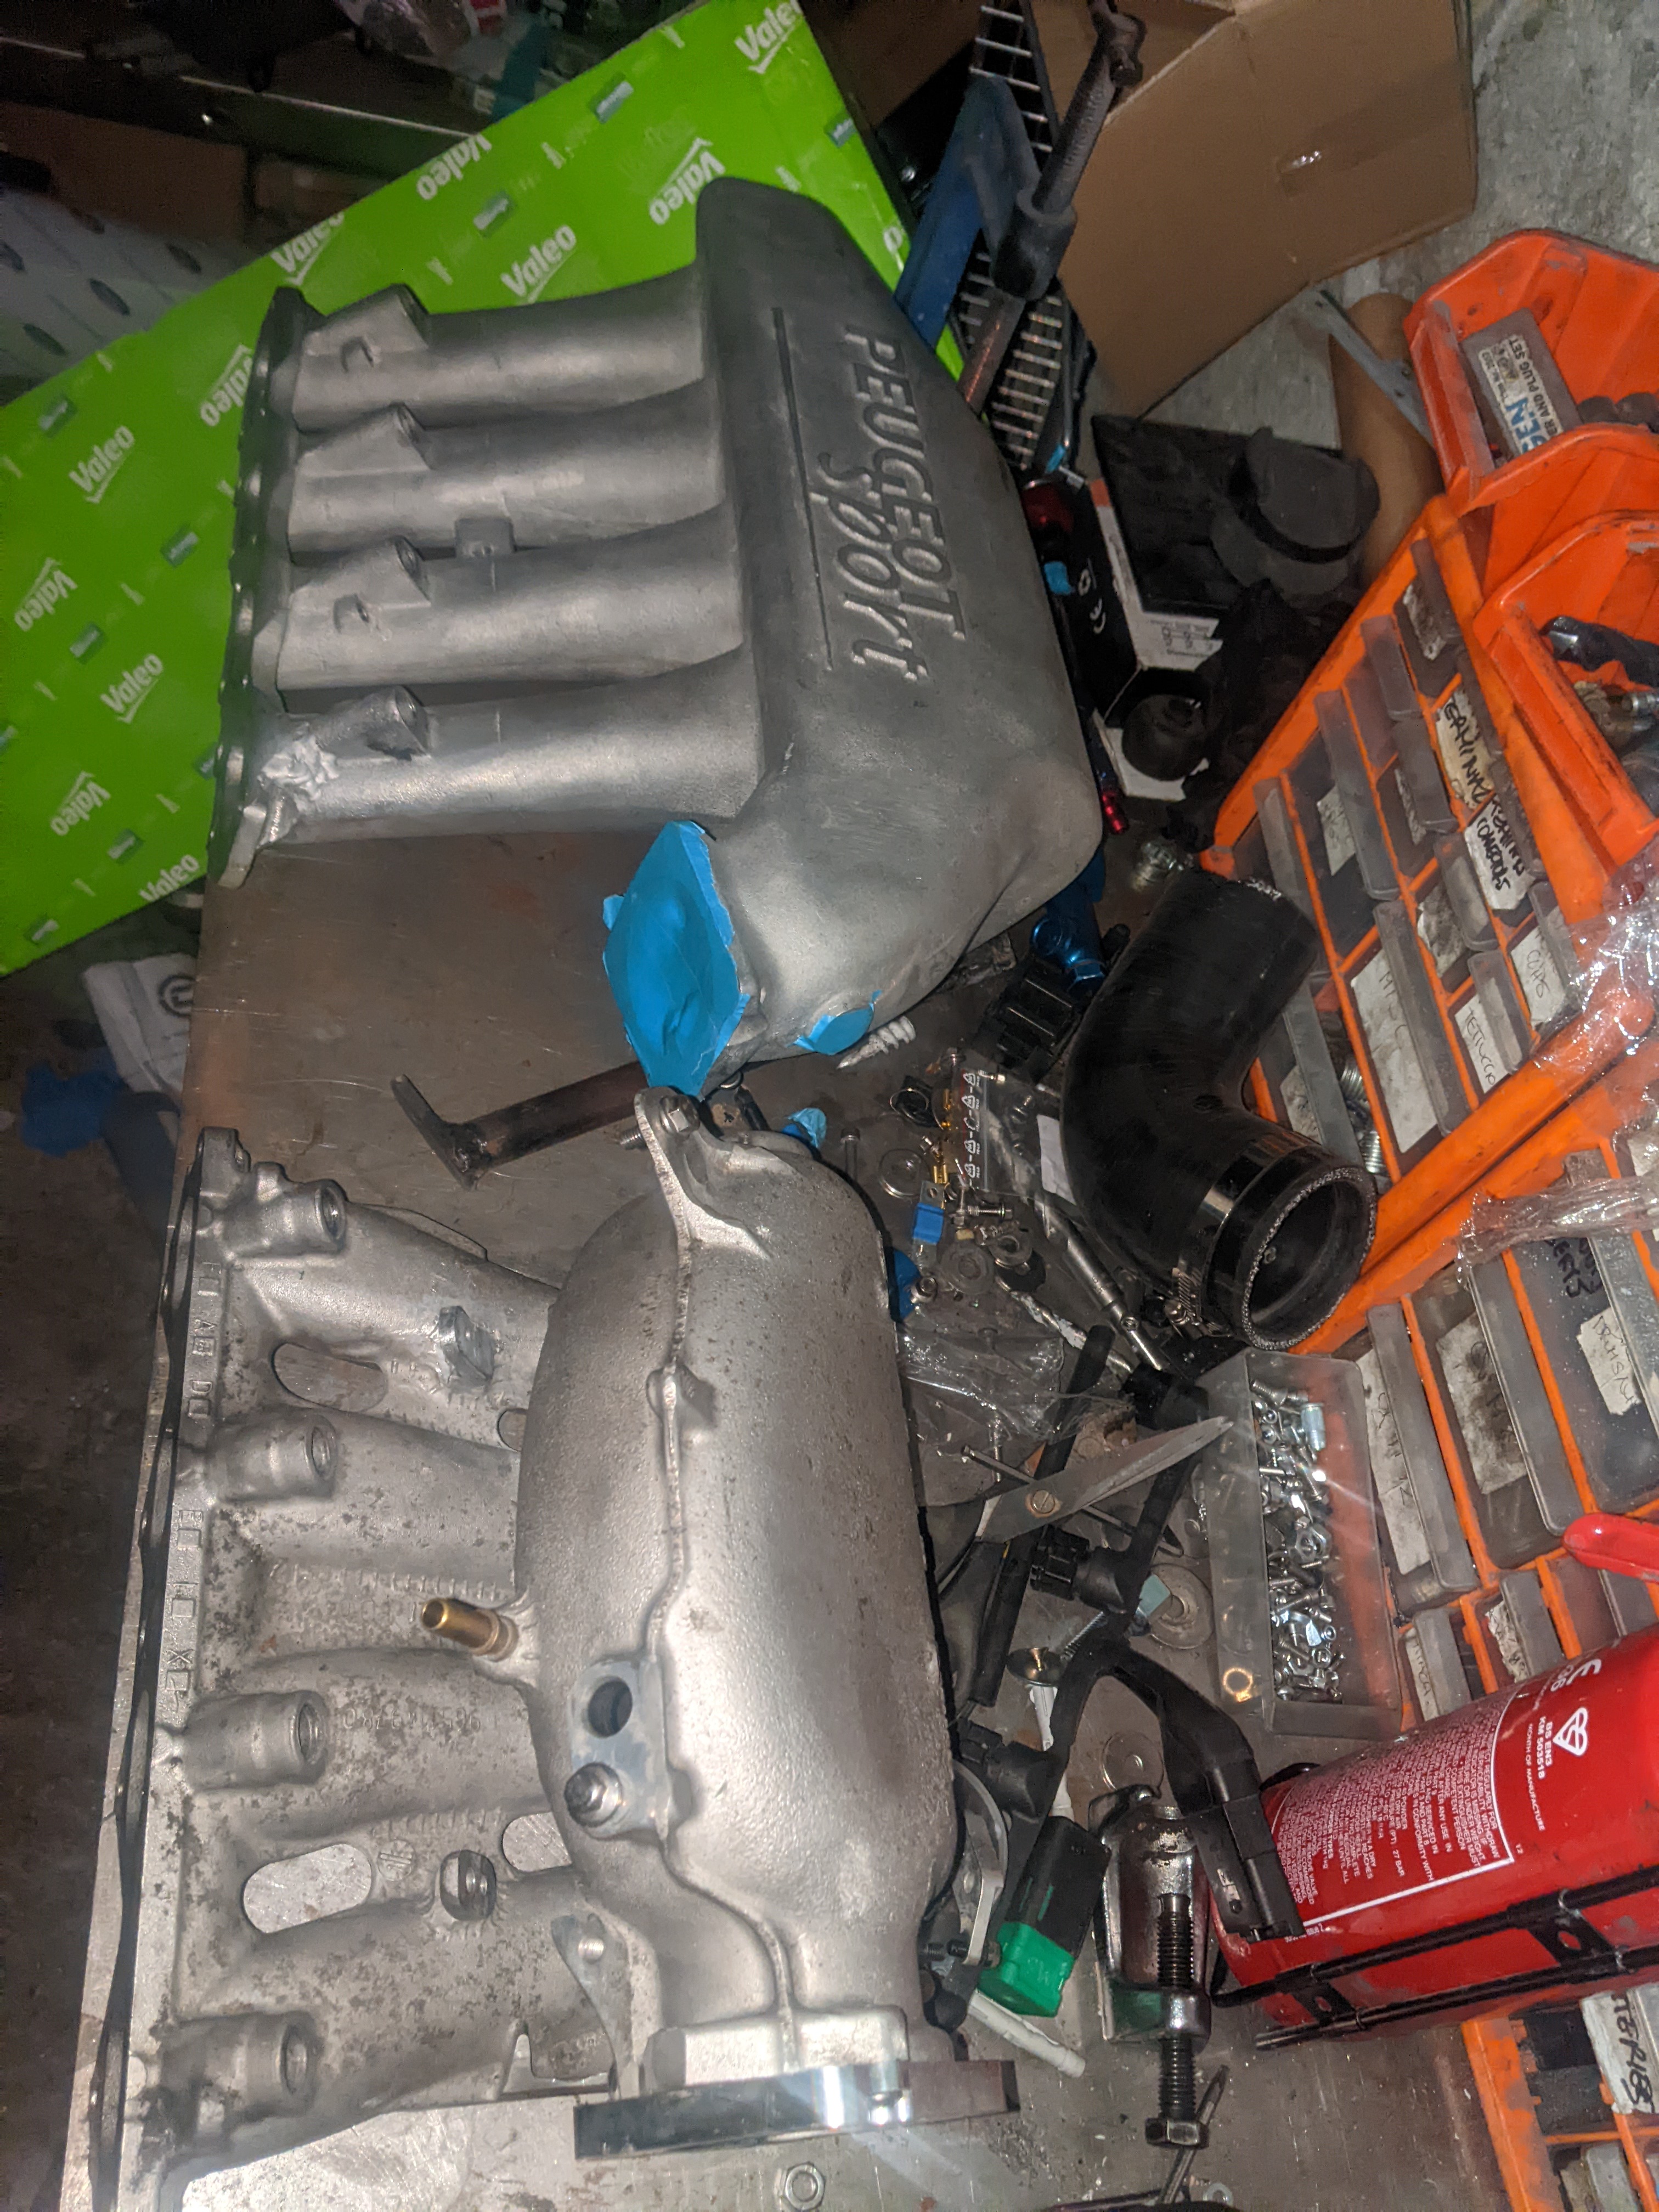
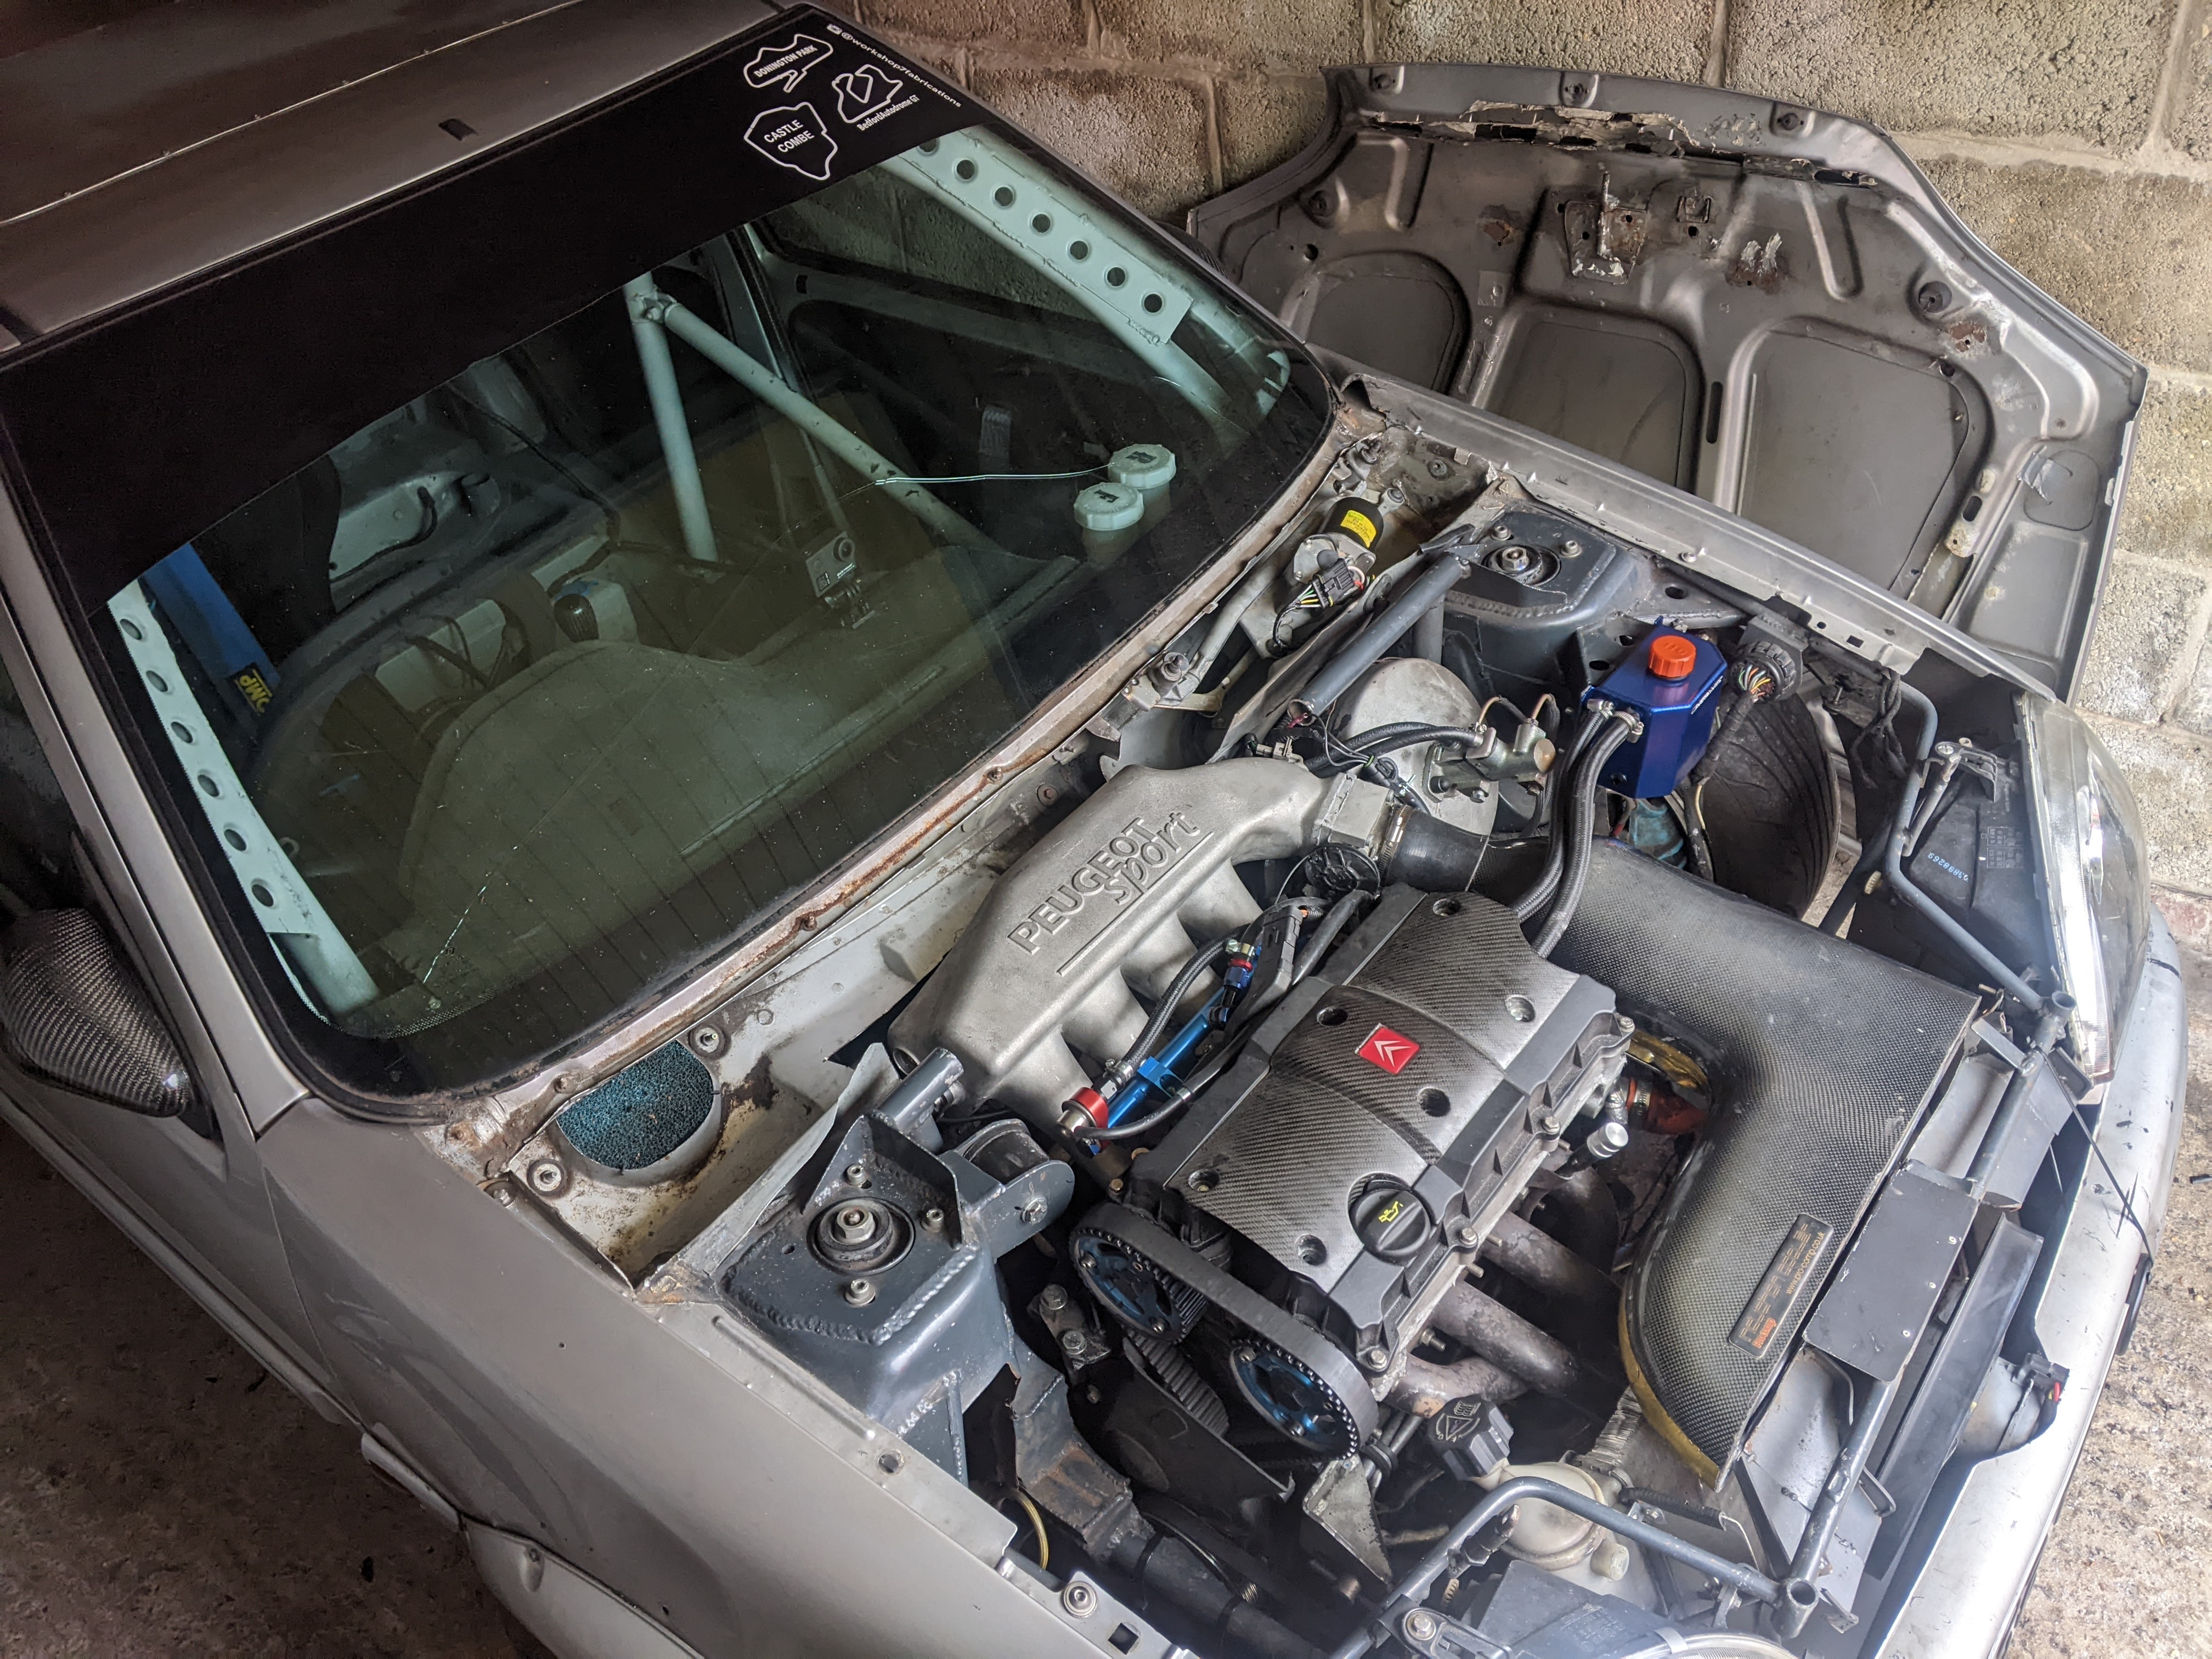
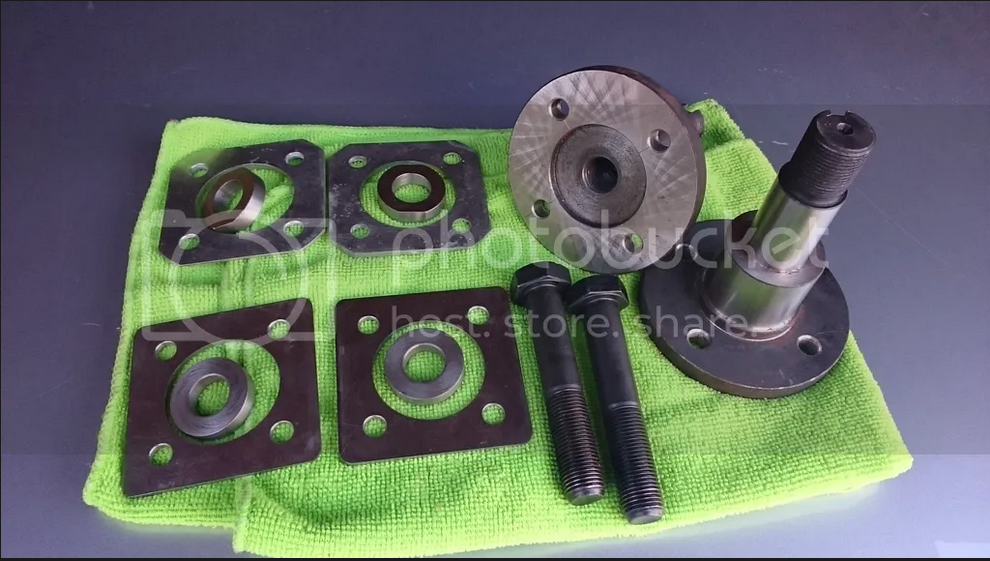
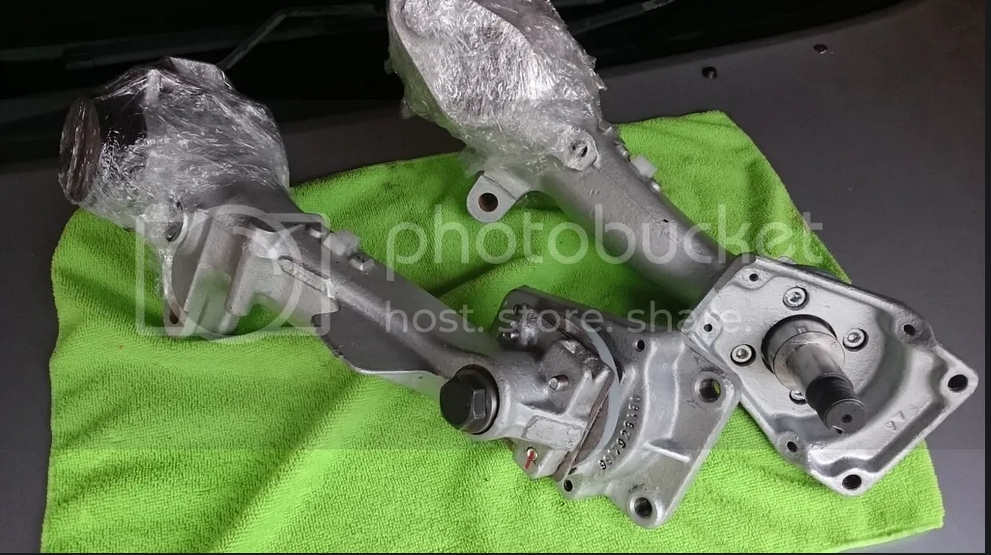
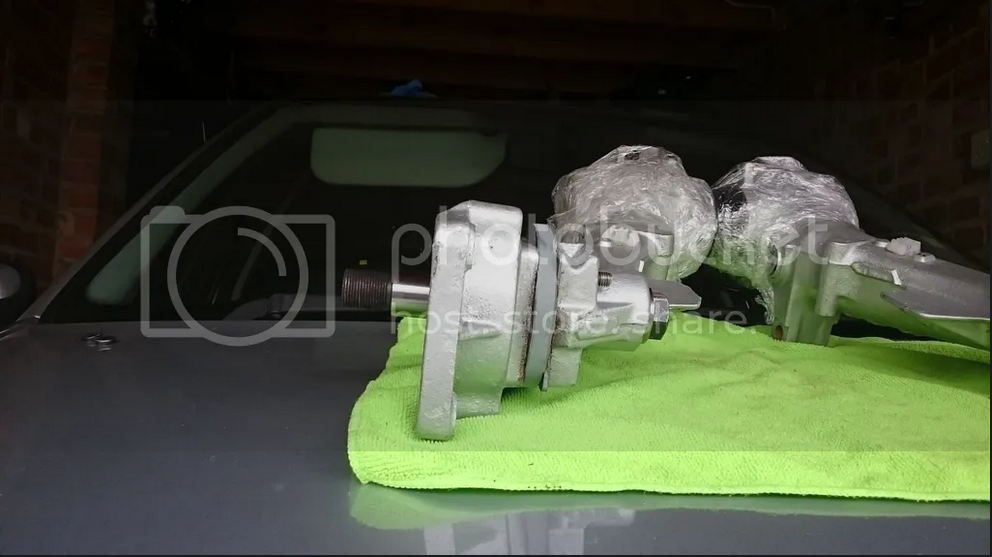
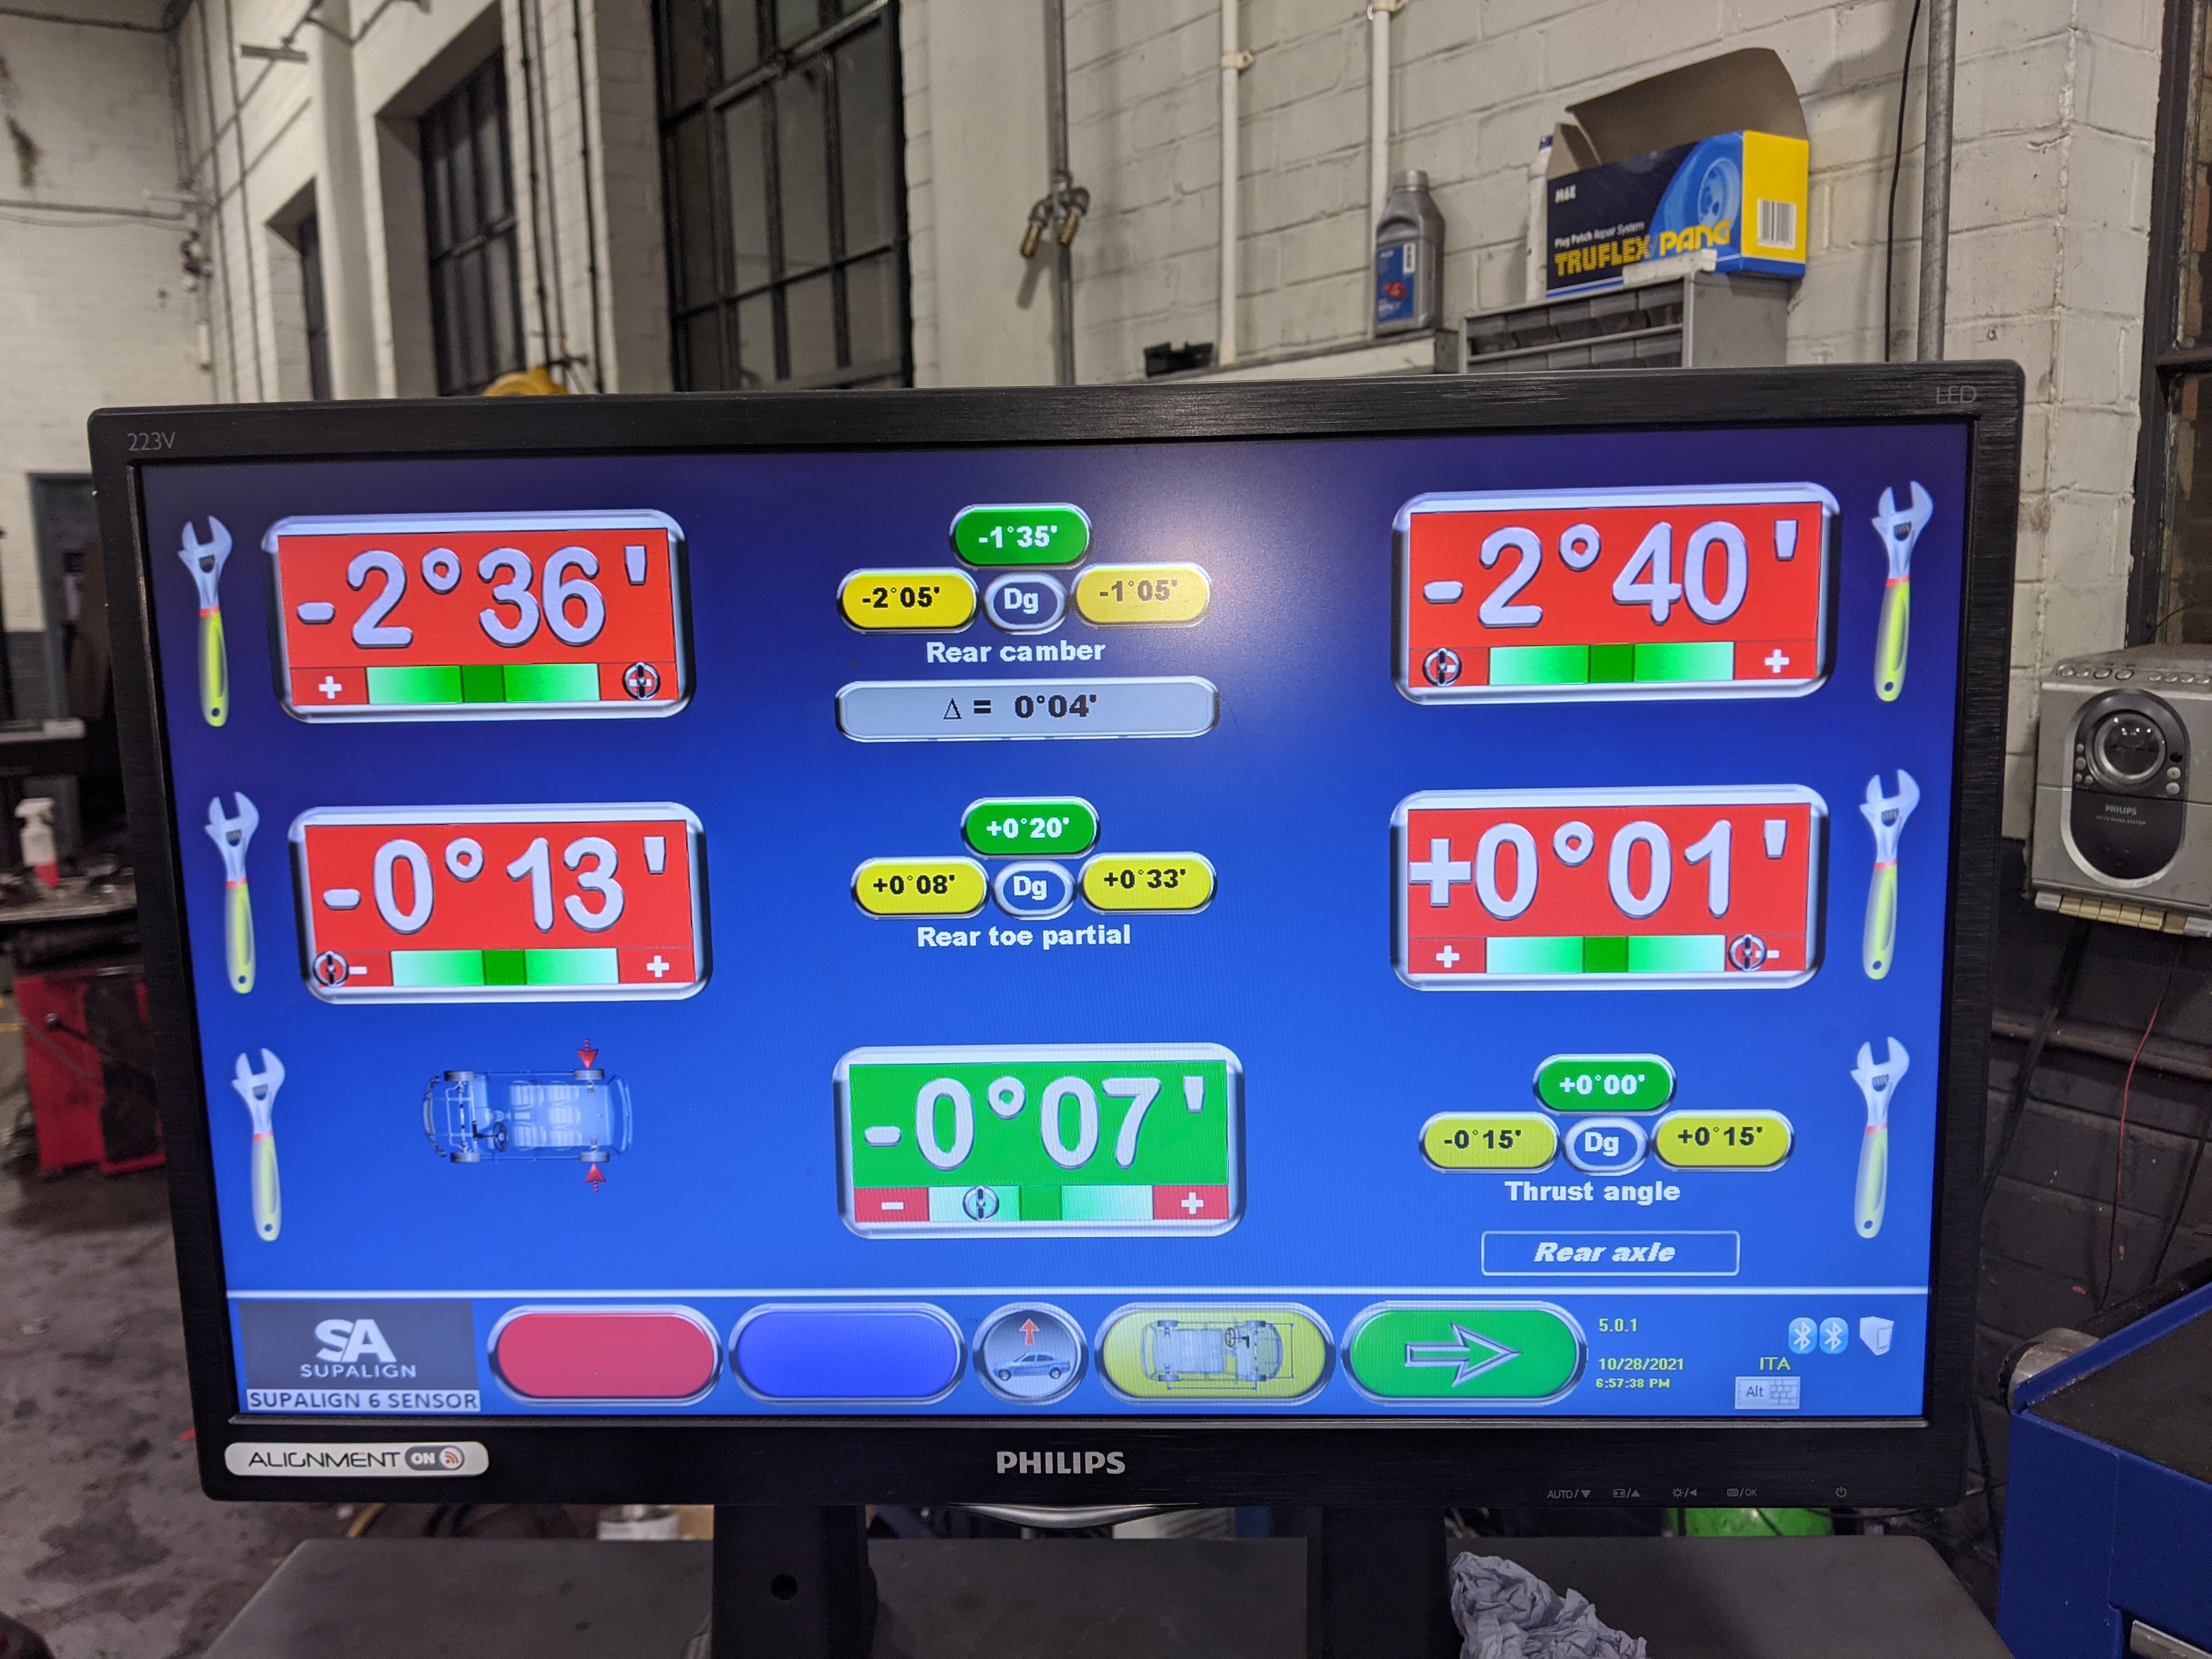
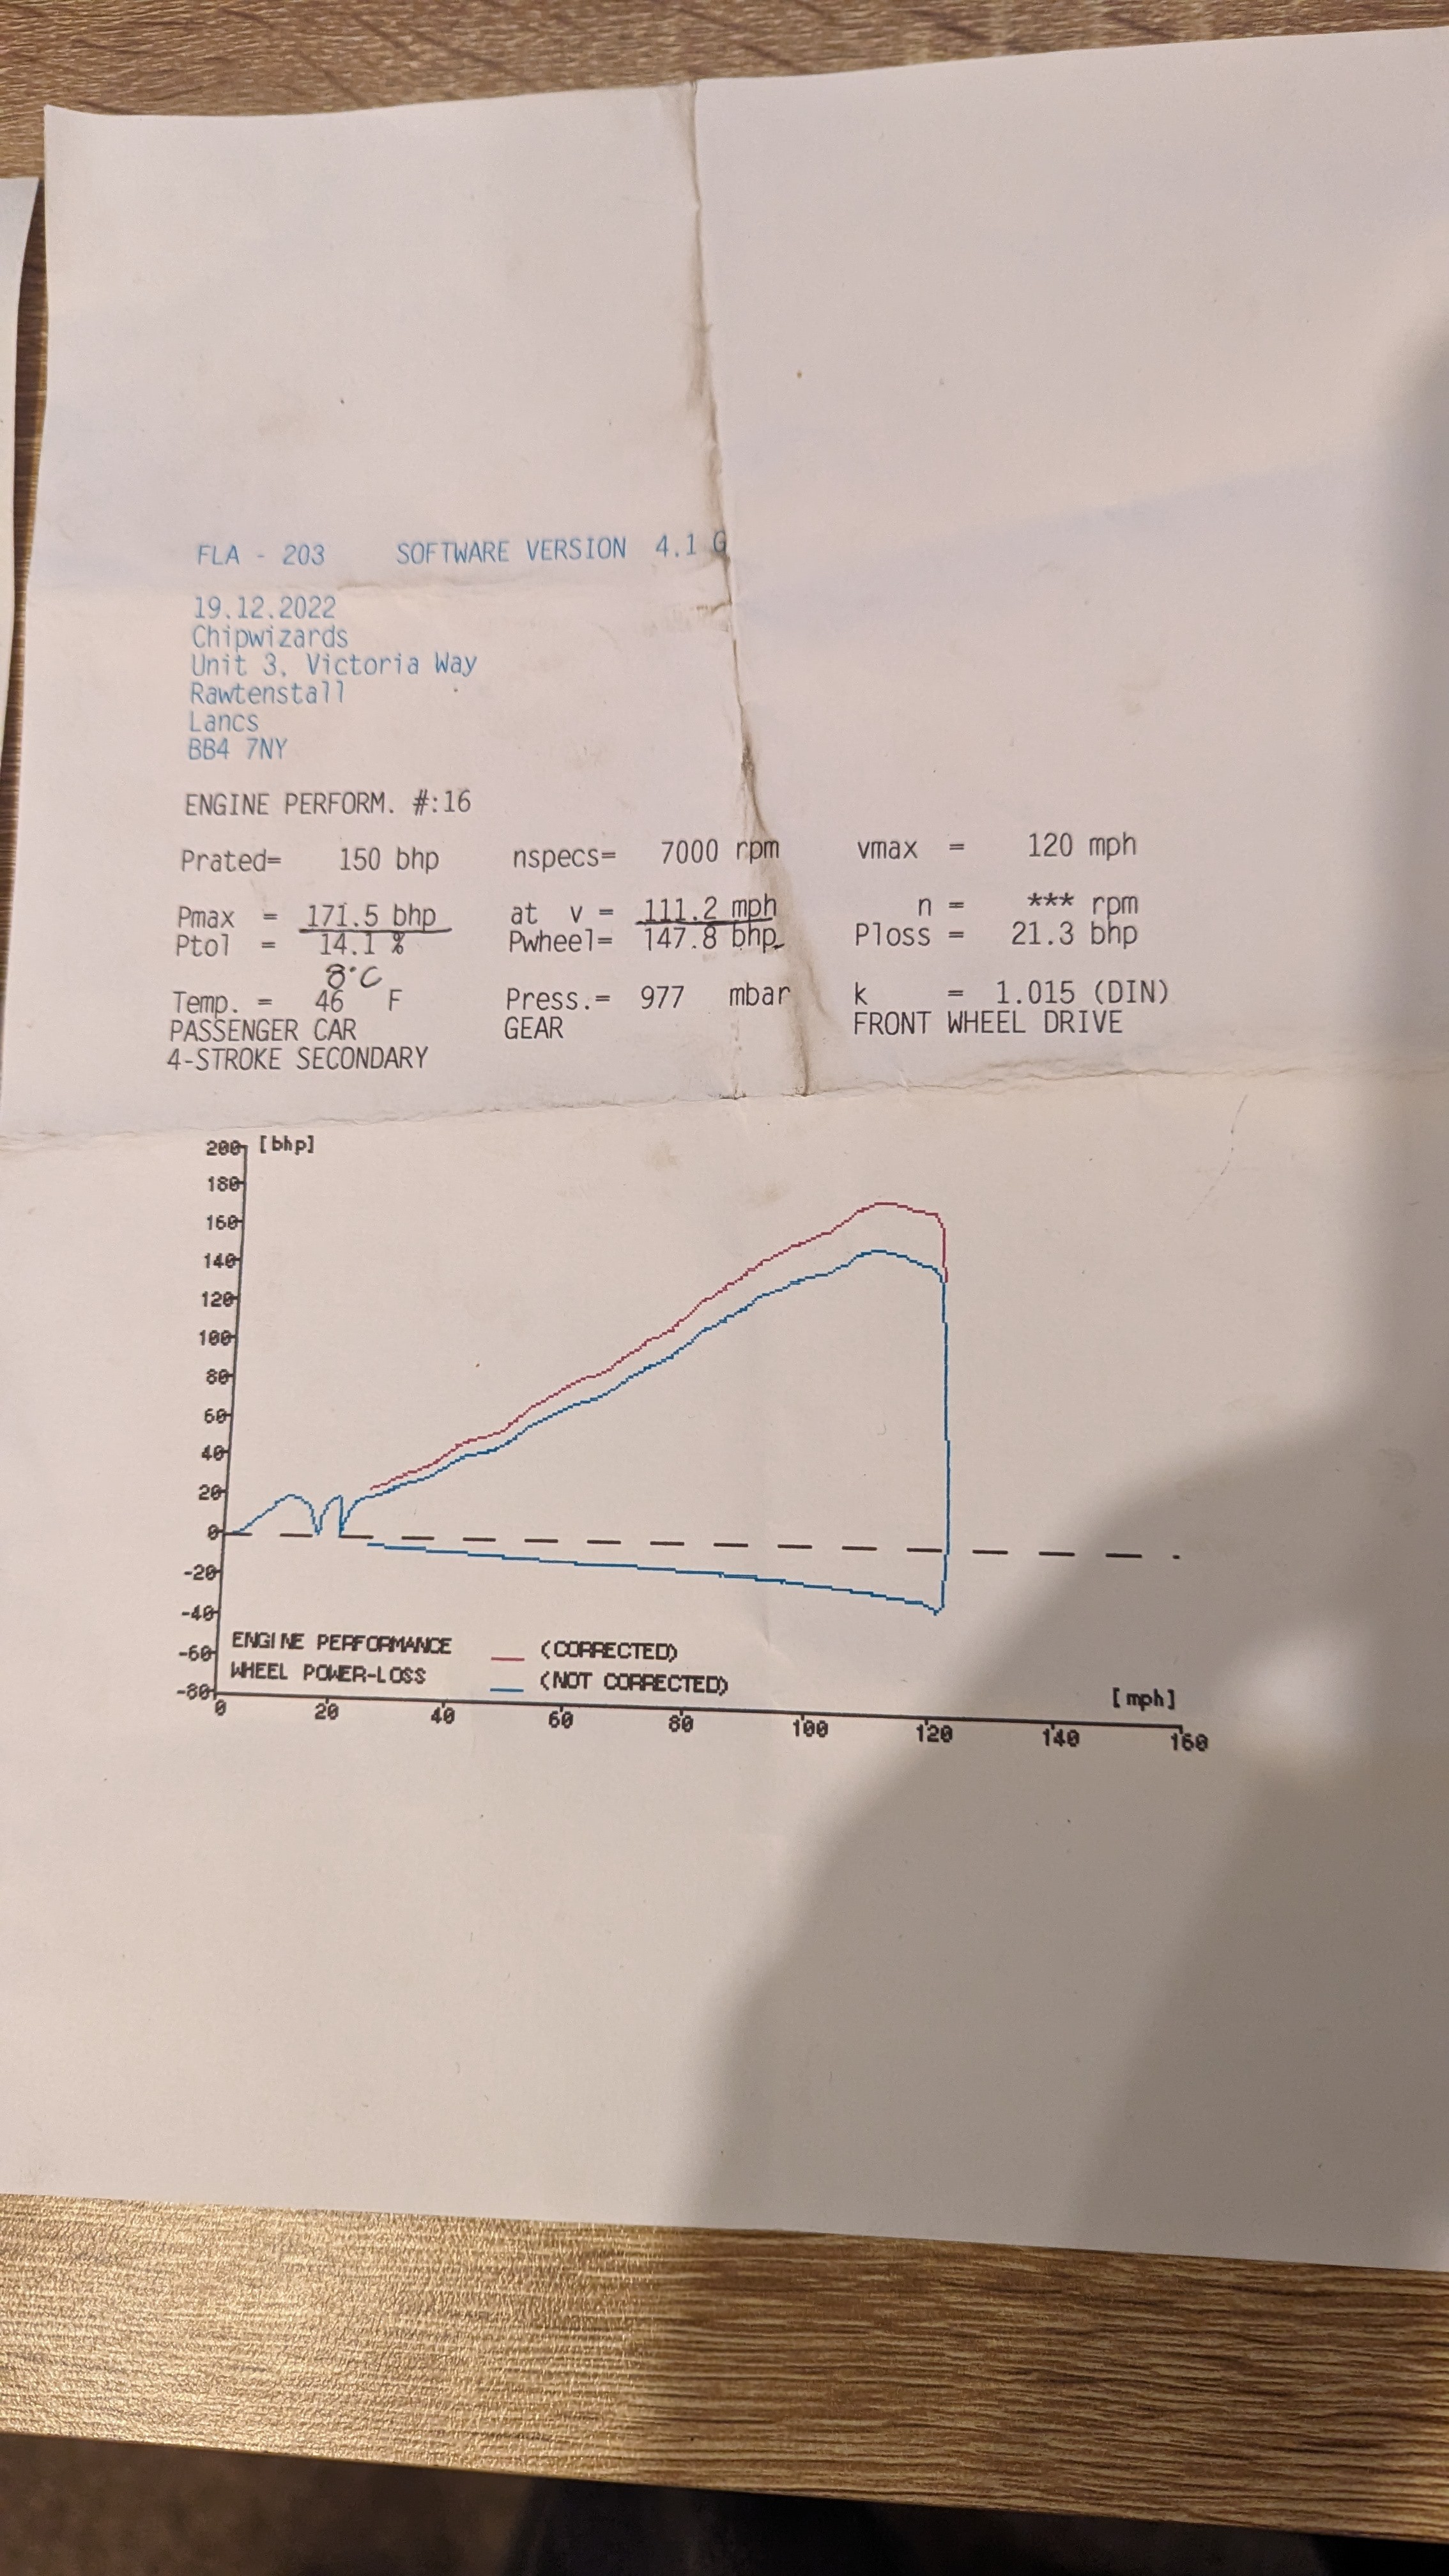
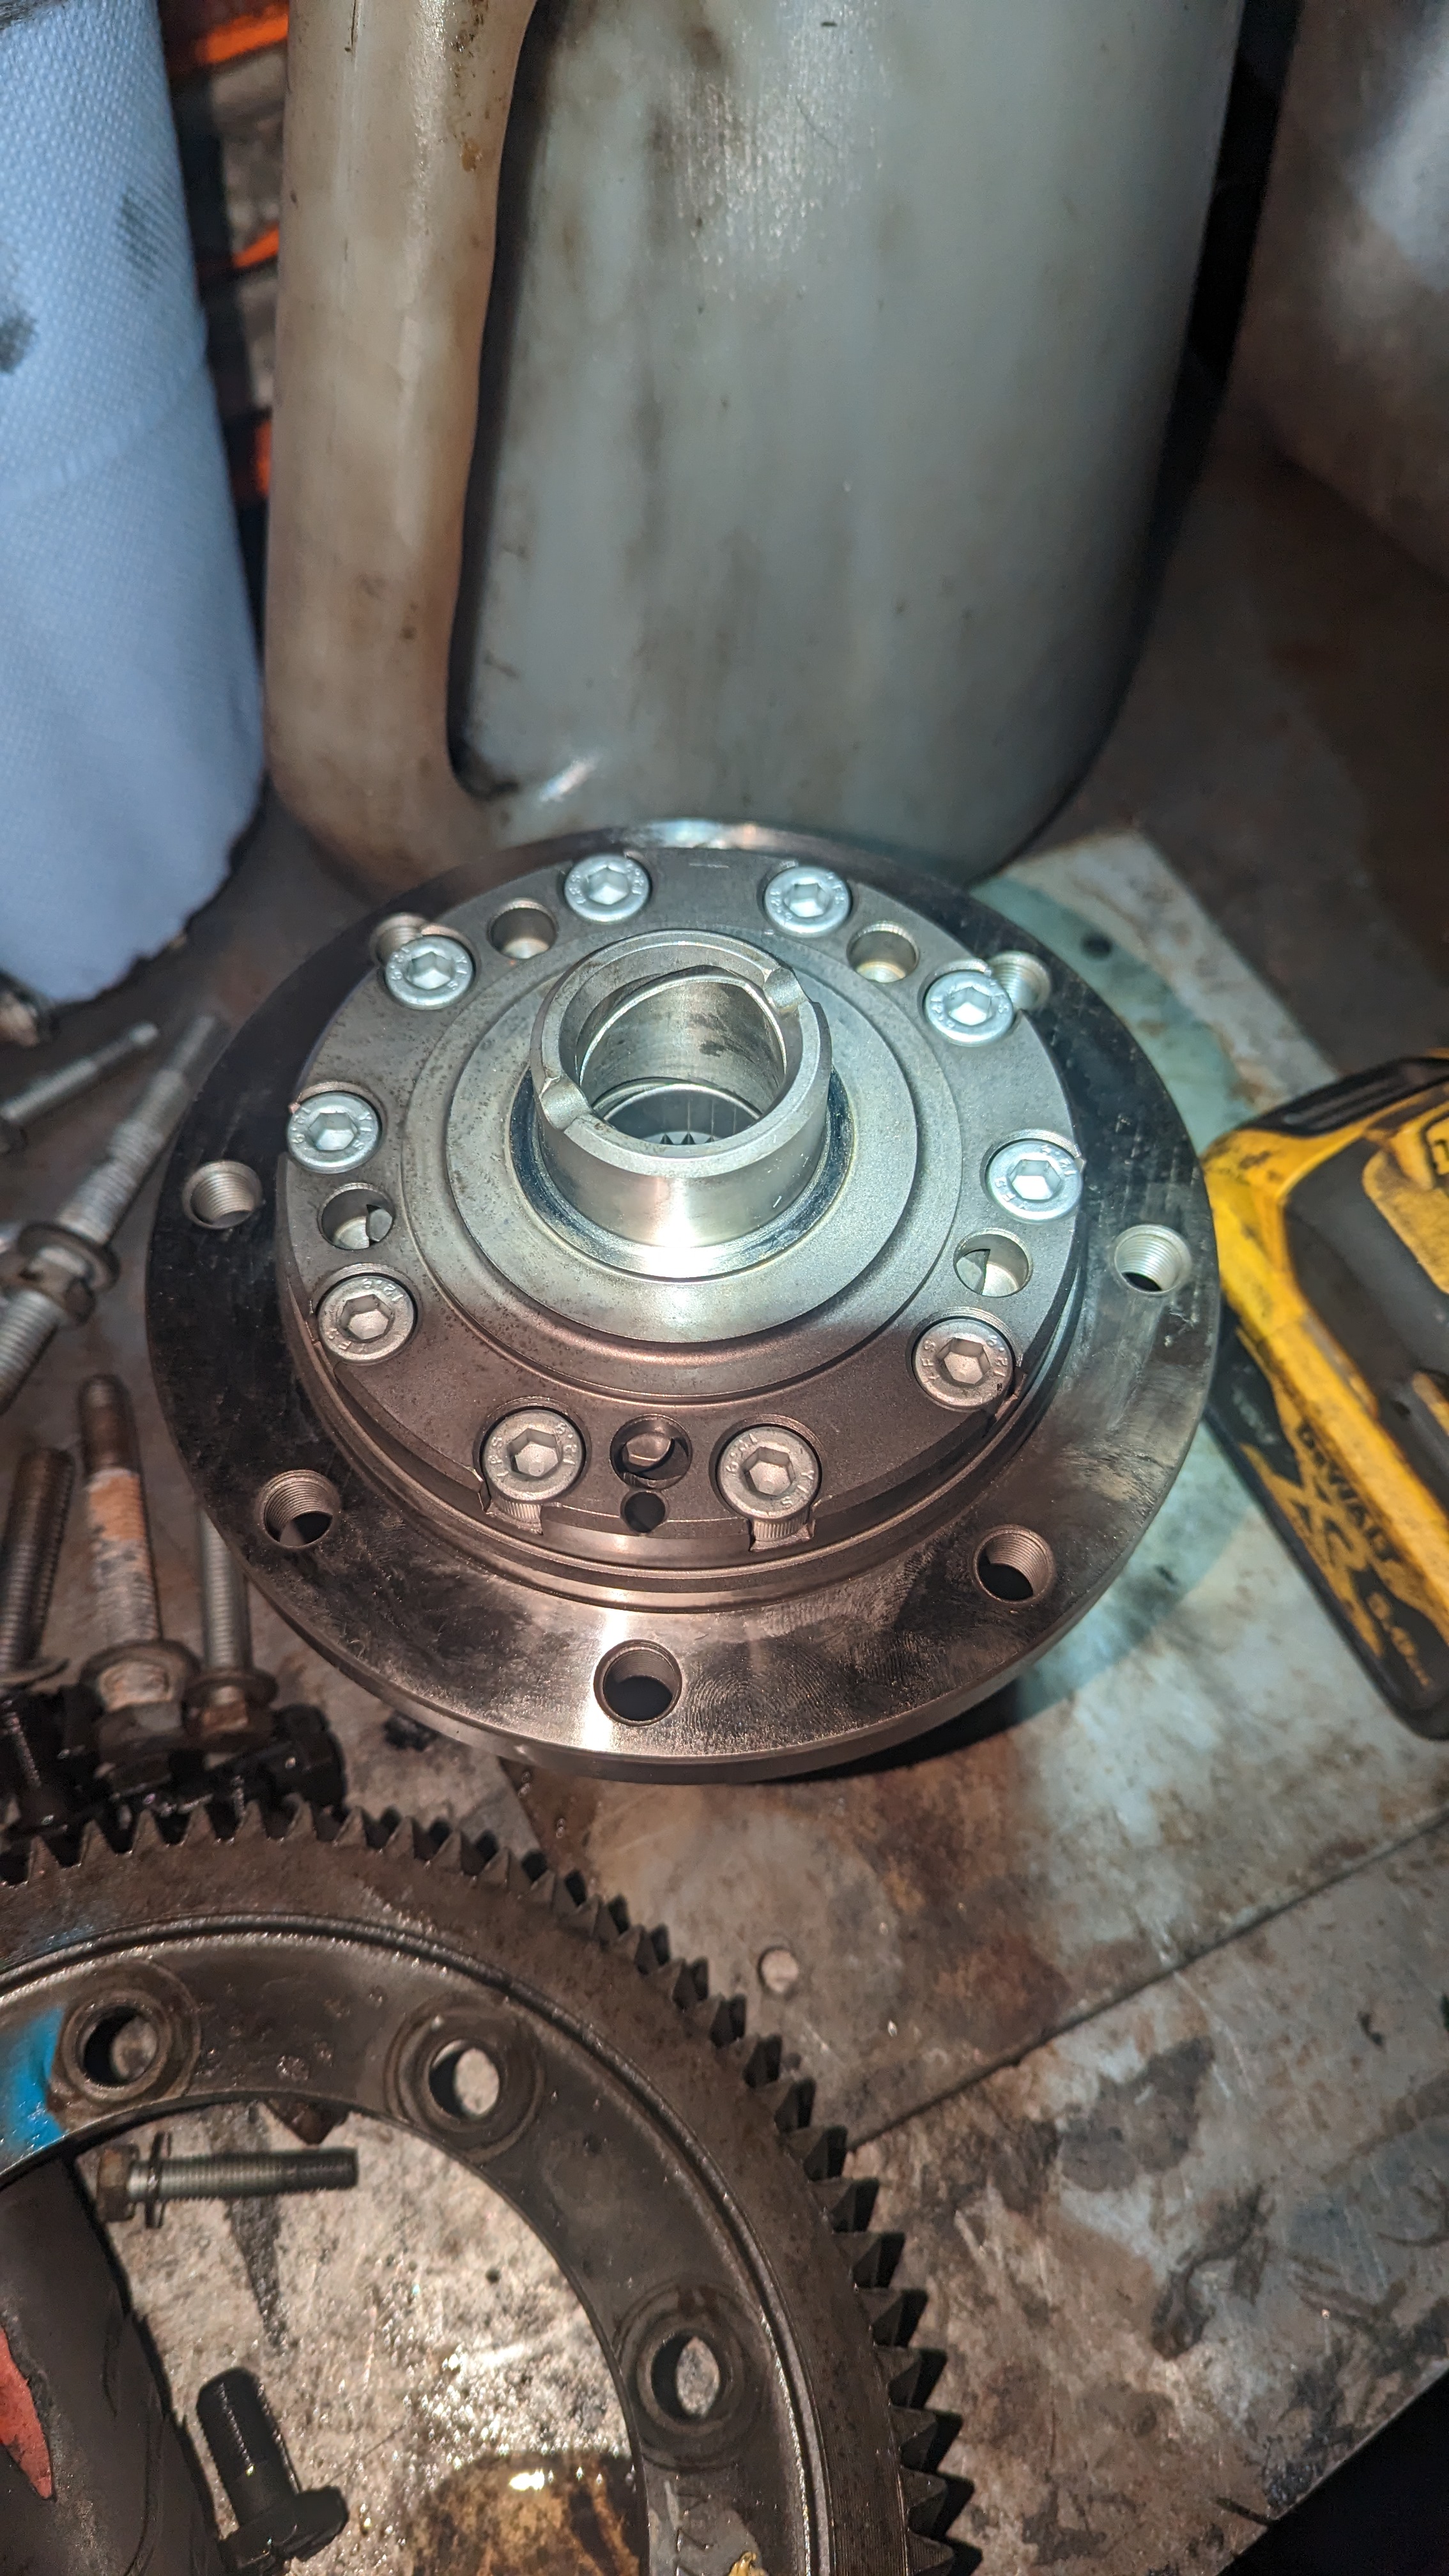
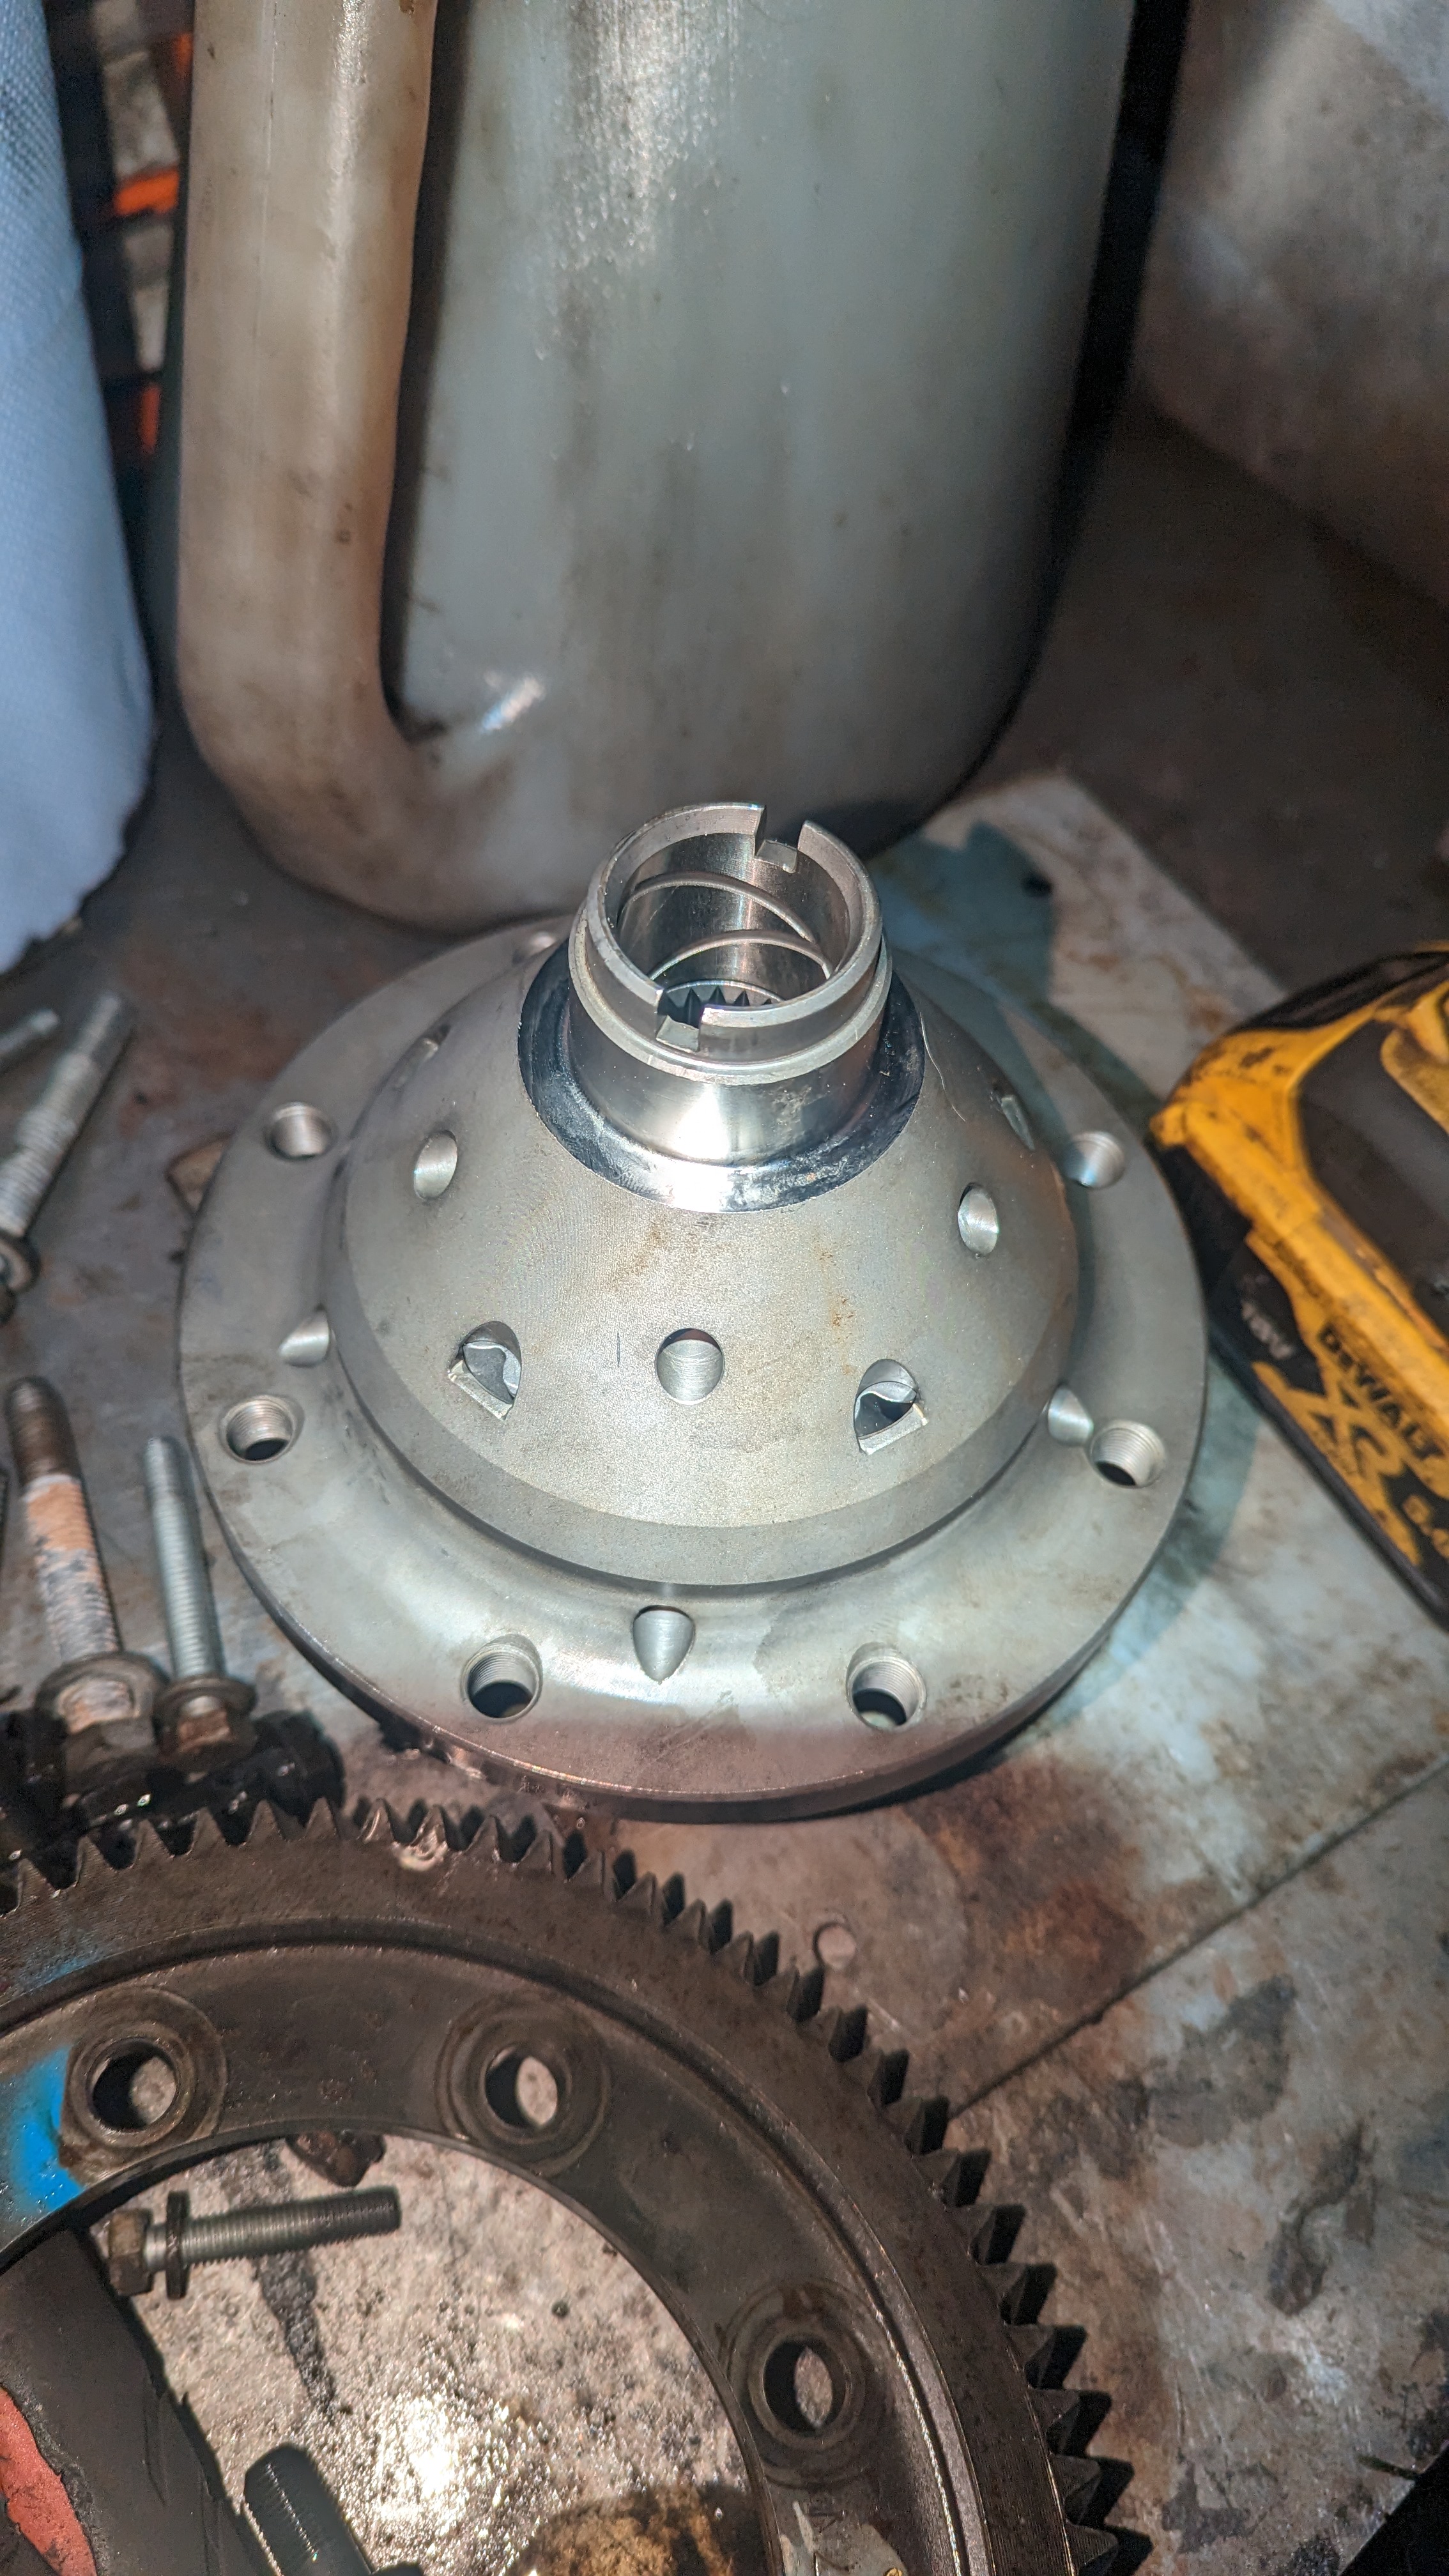
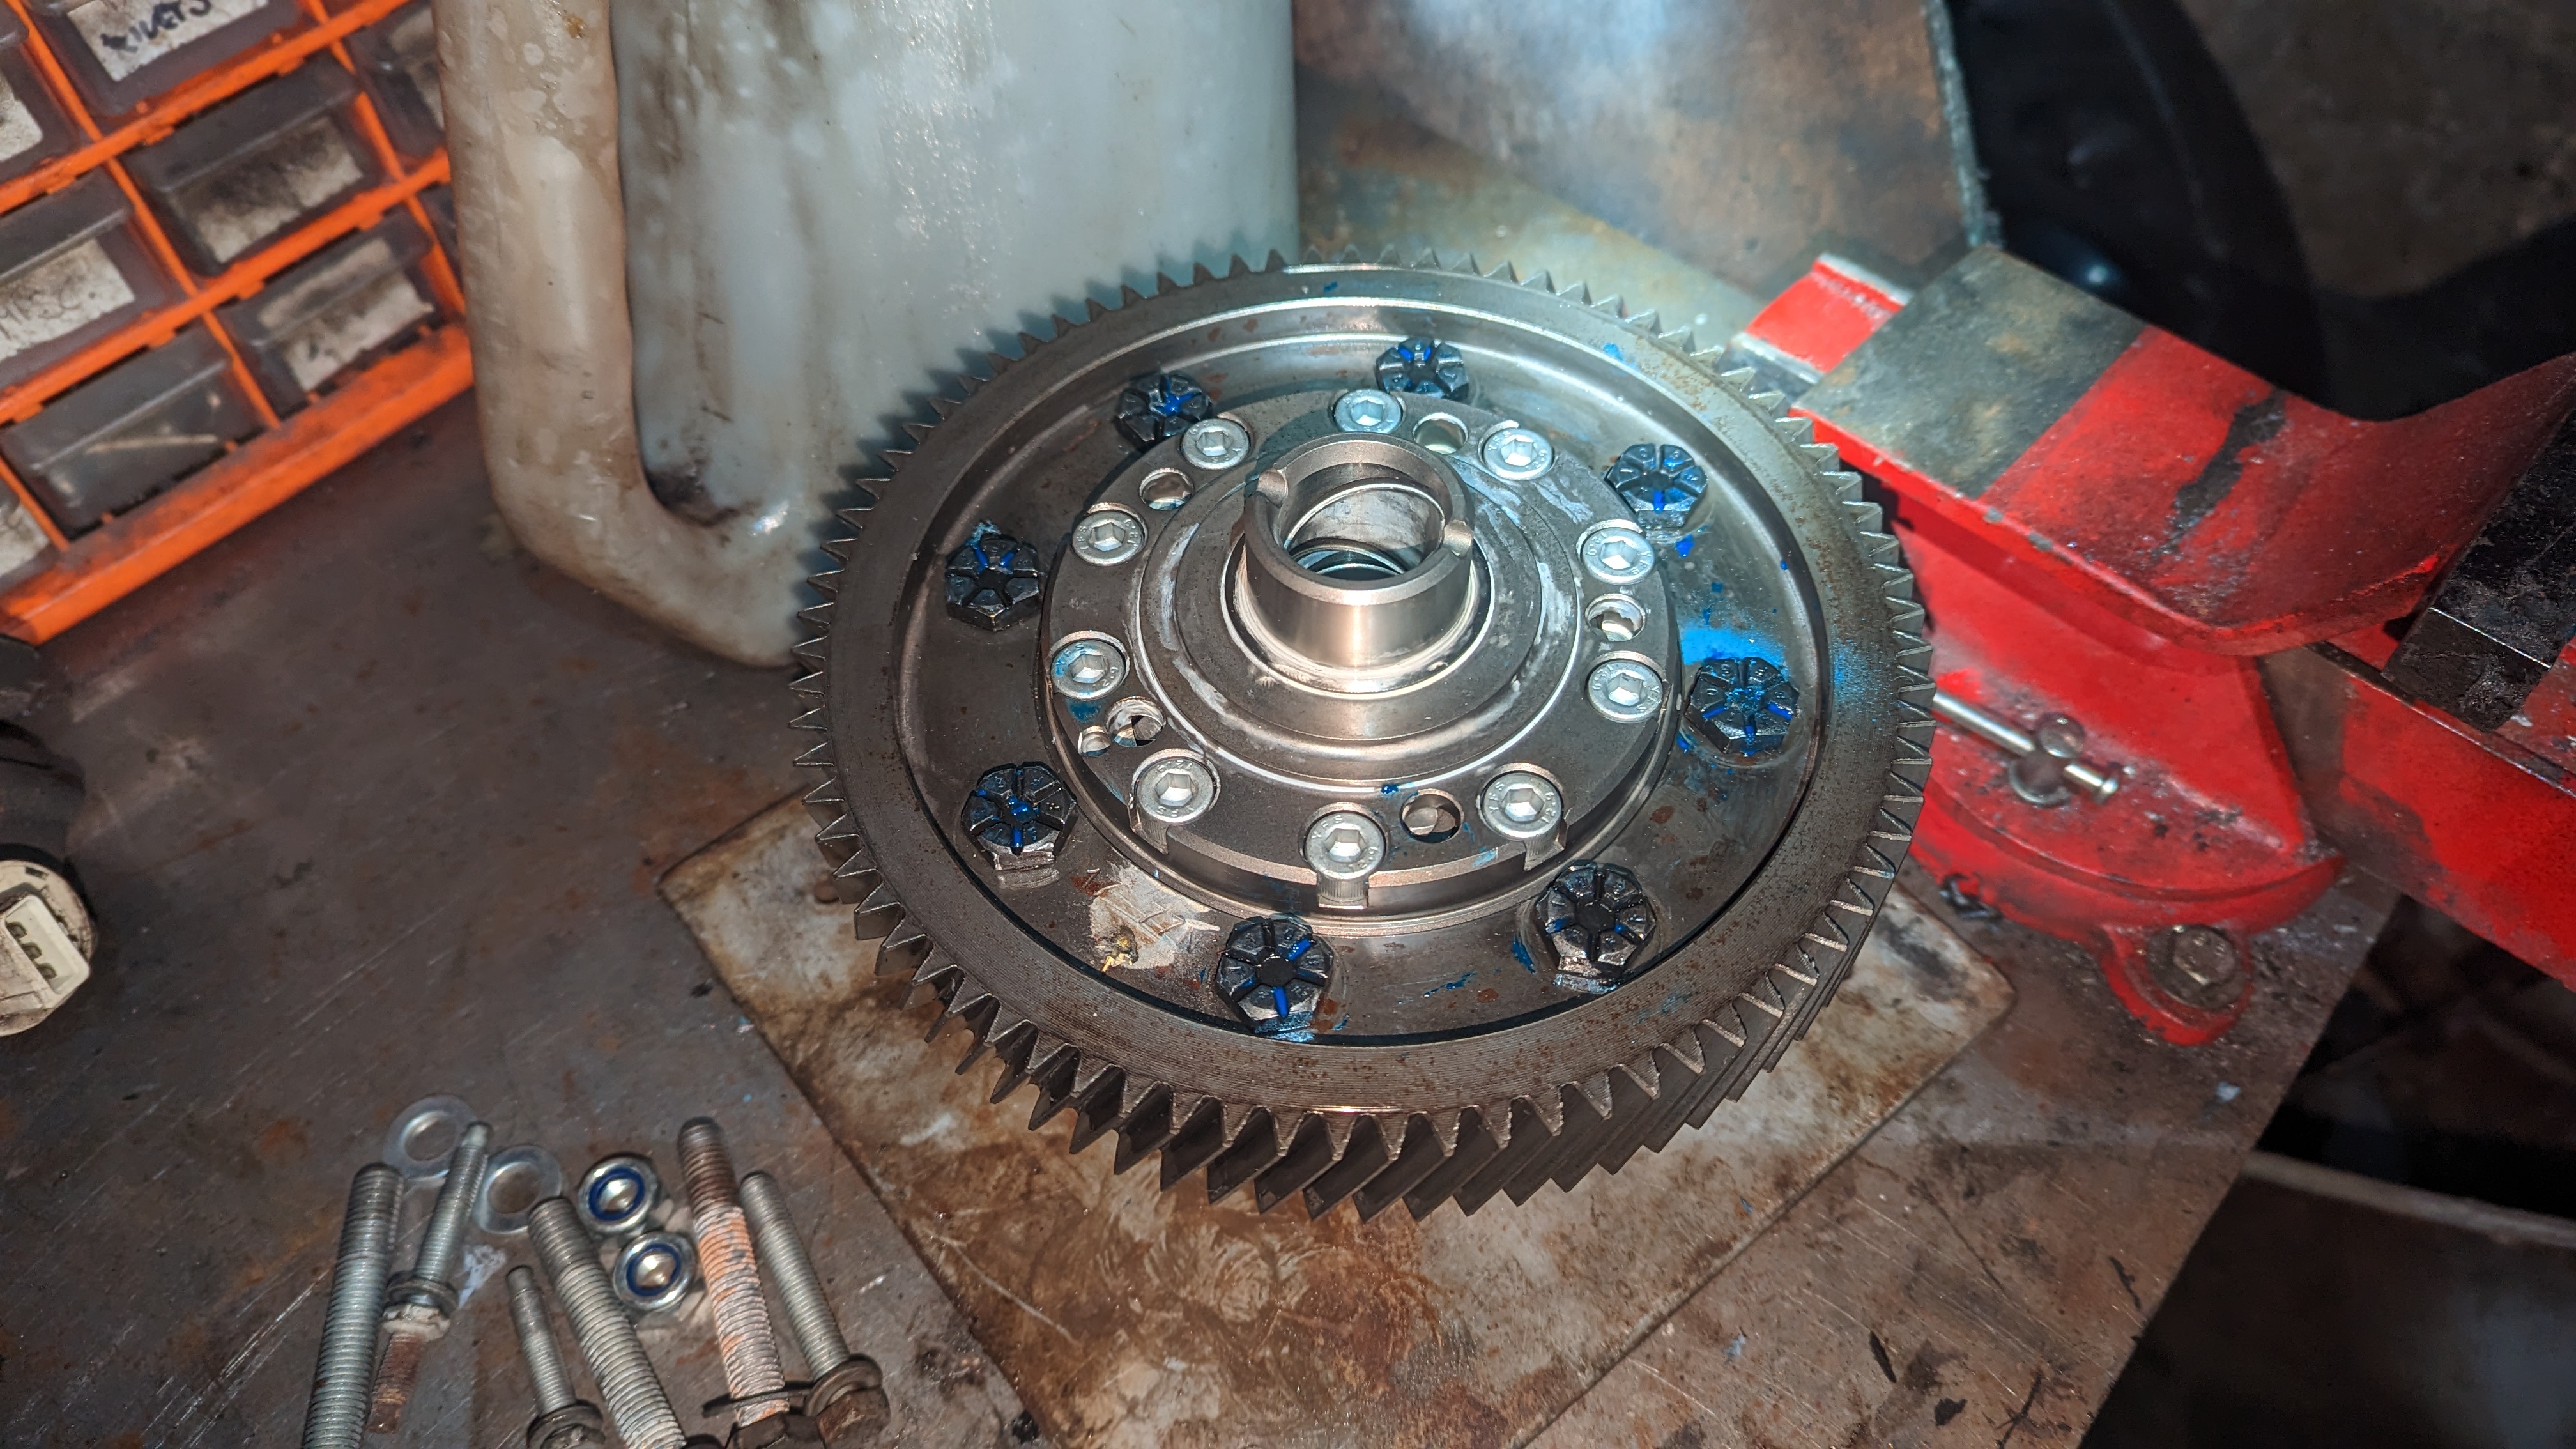
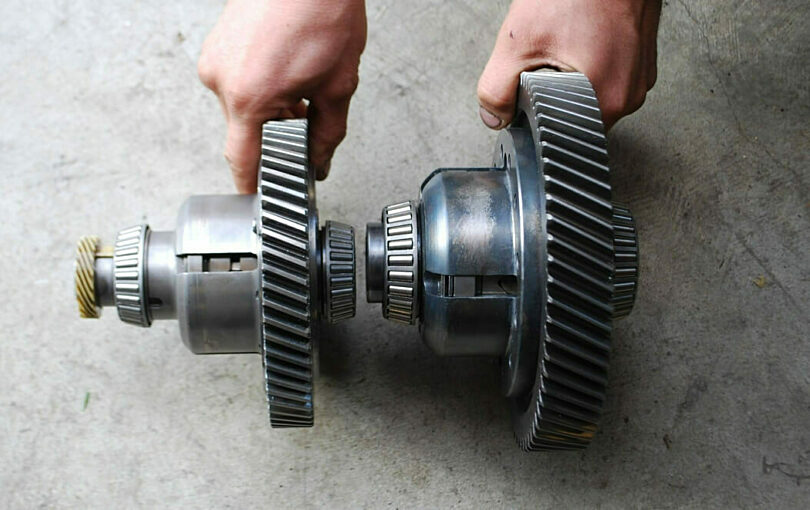
    I think i drove it standard for about a year then decided it was time for some performance upgrades,staying NA though for reliability reasons and usability.
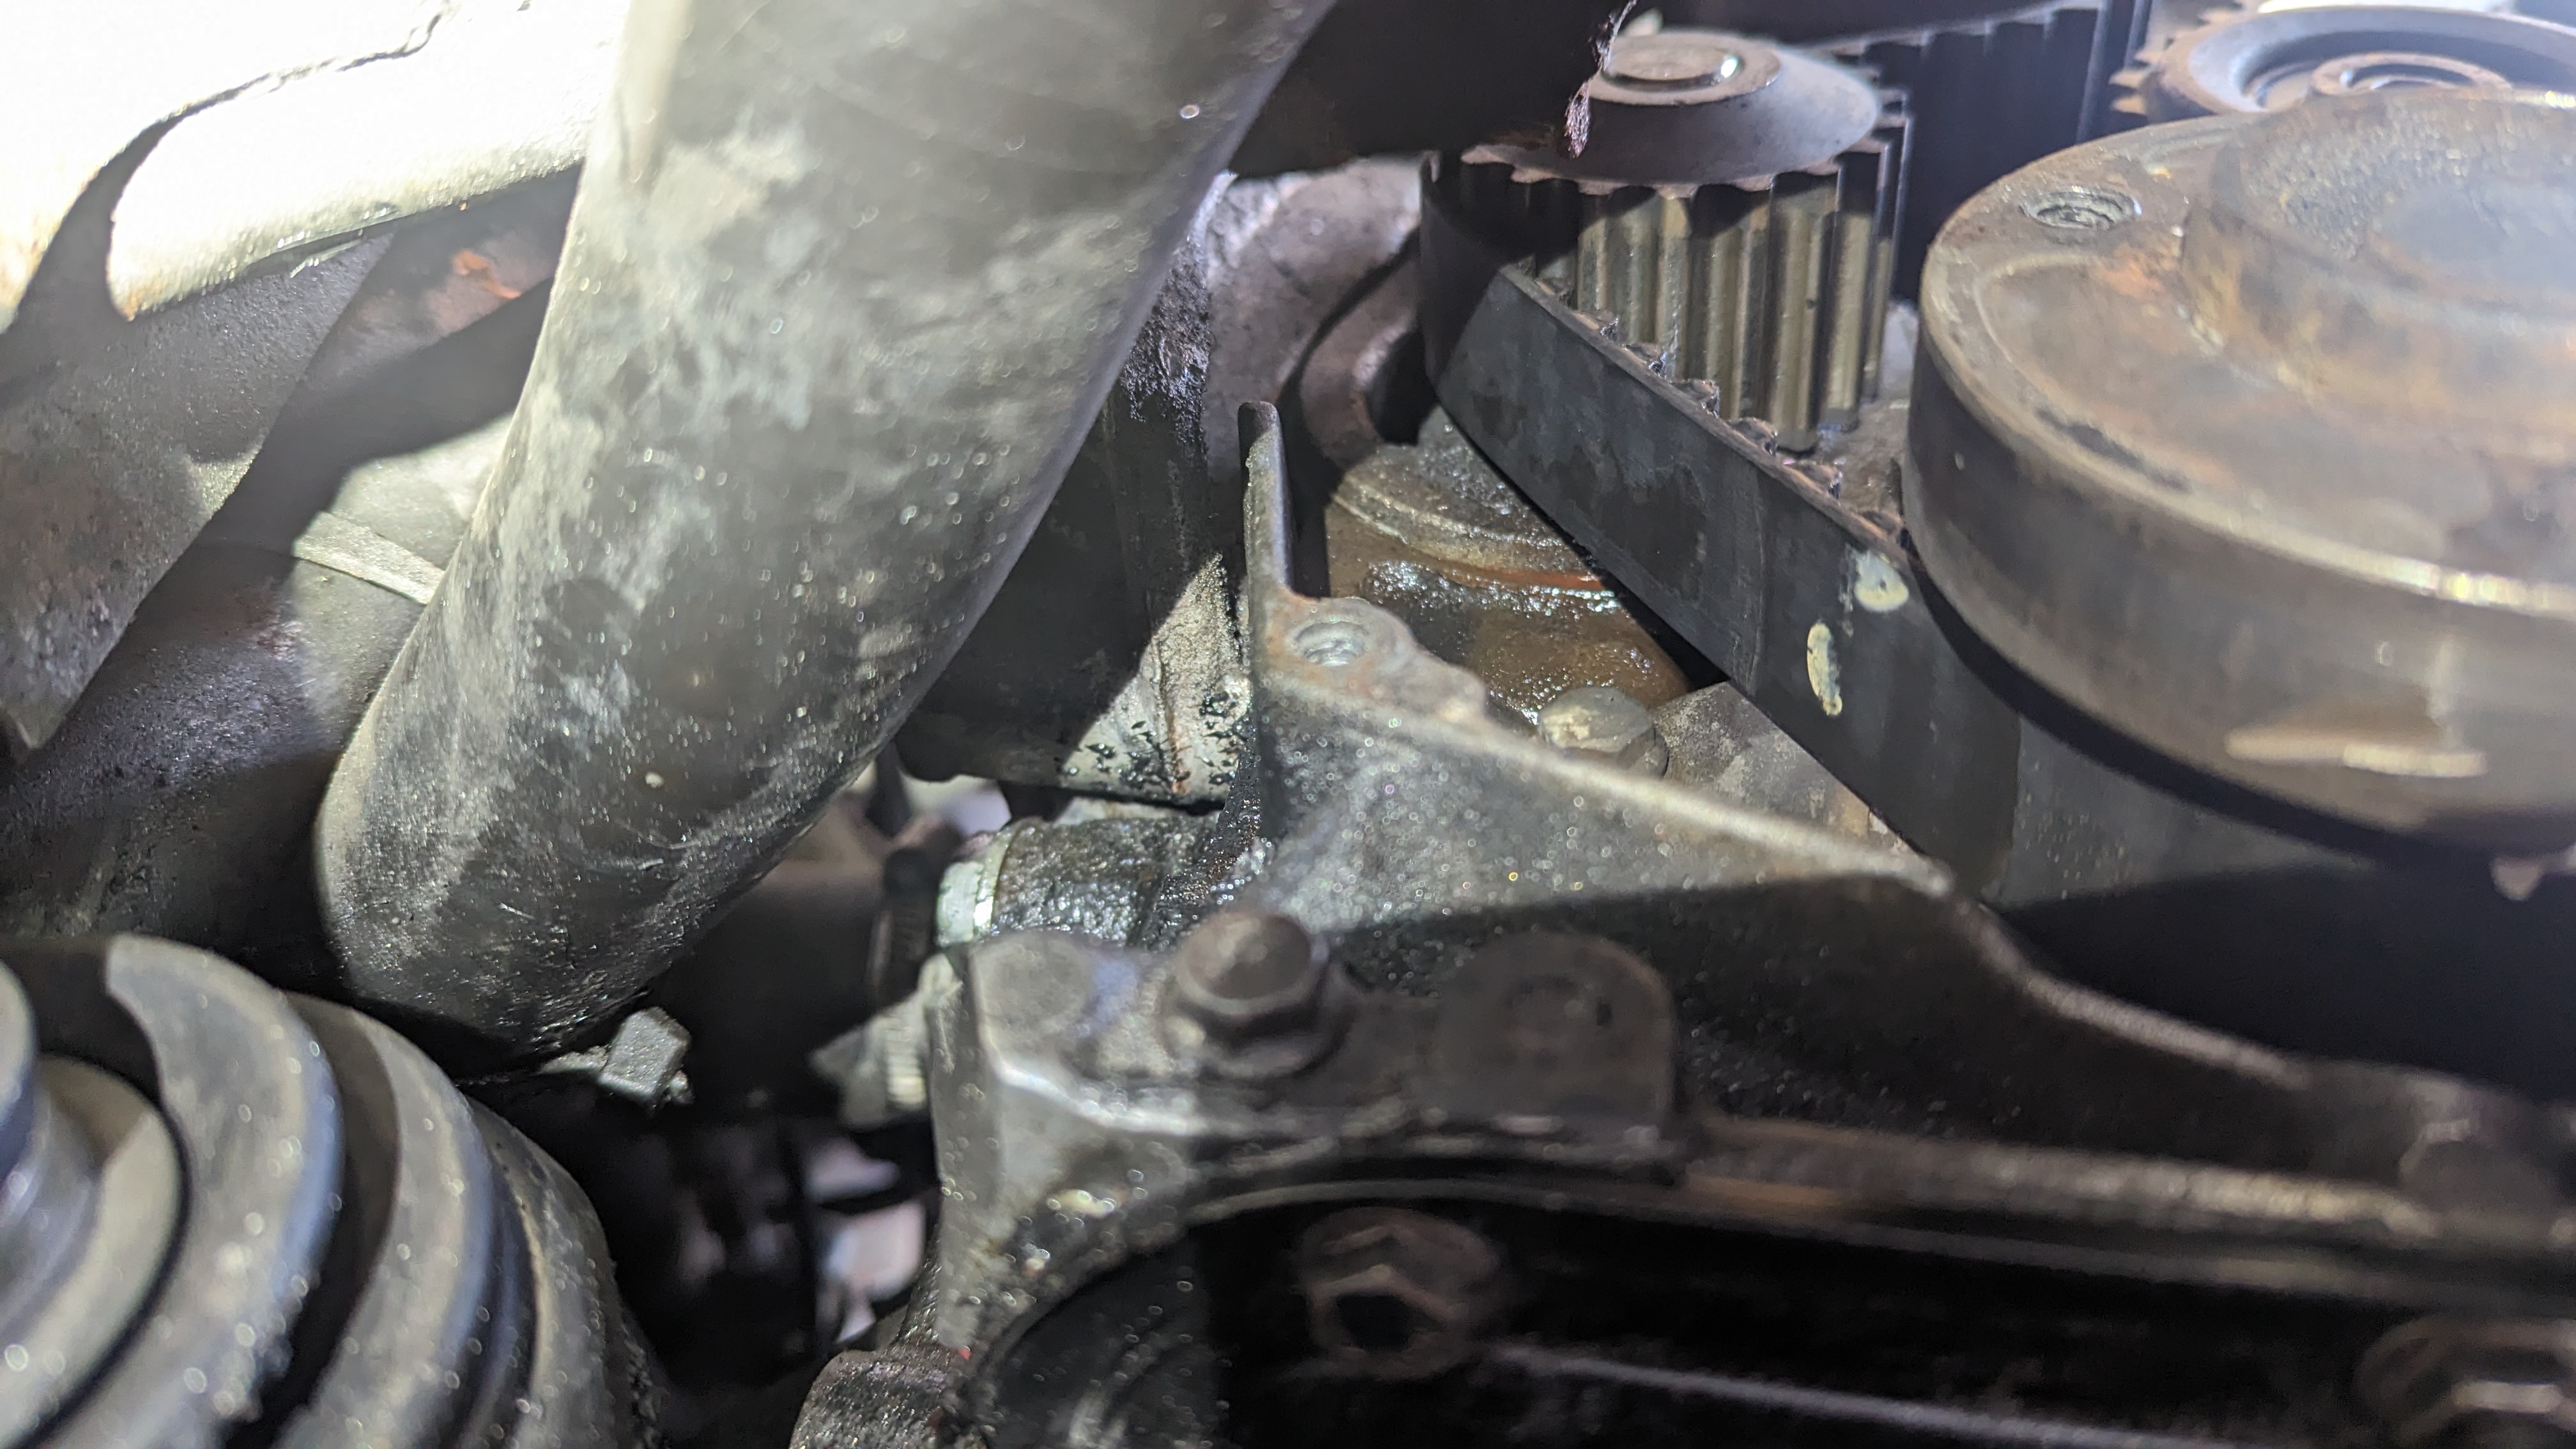
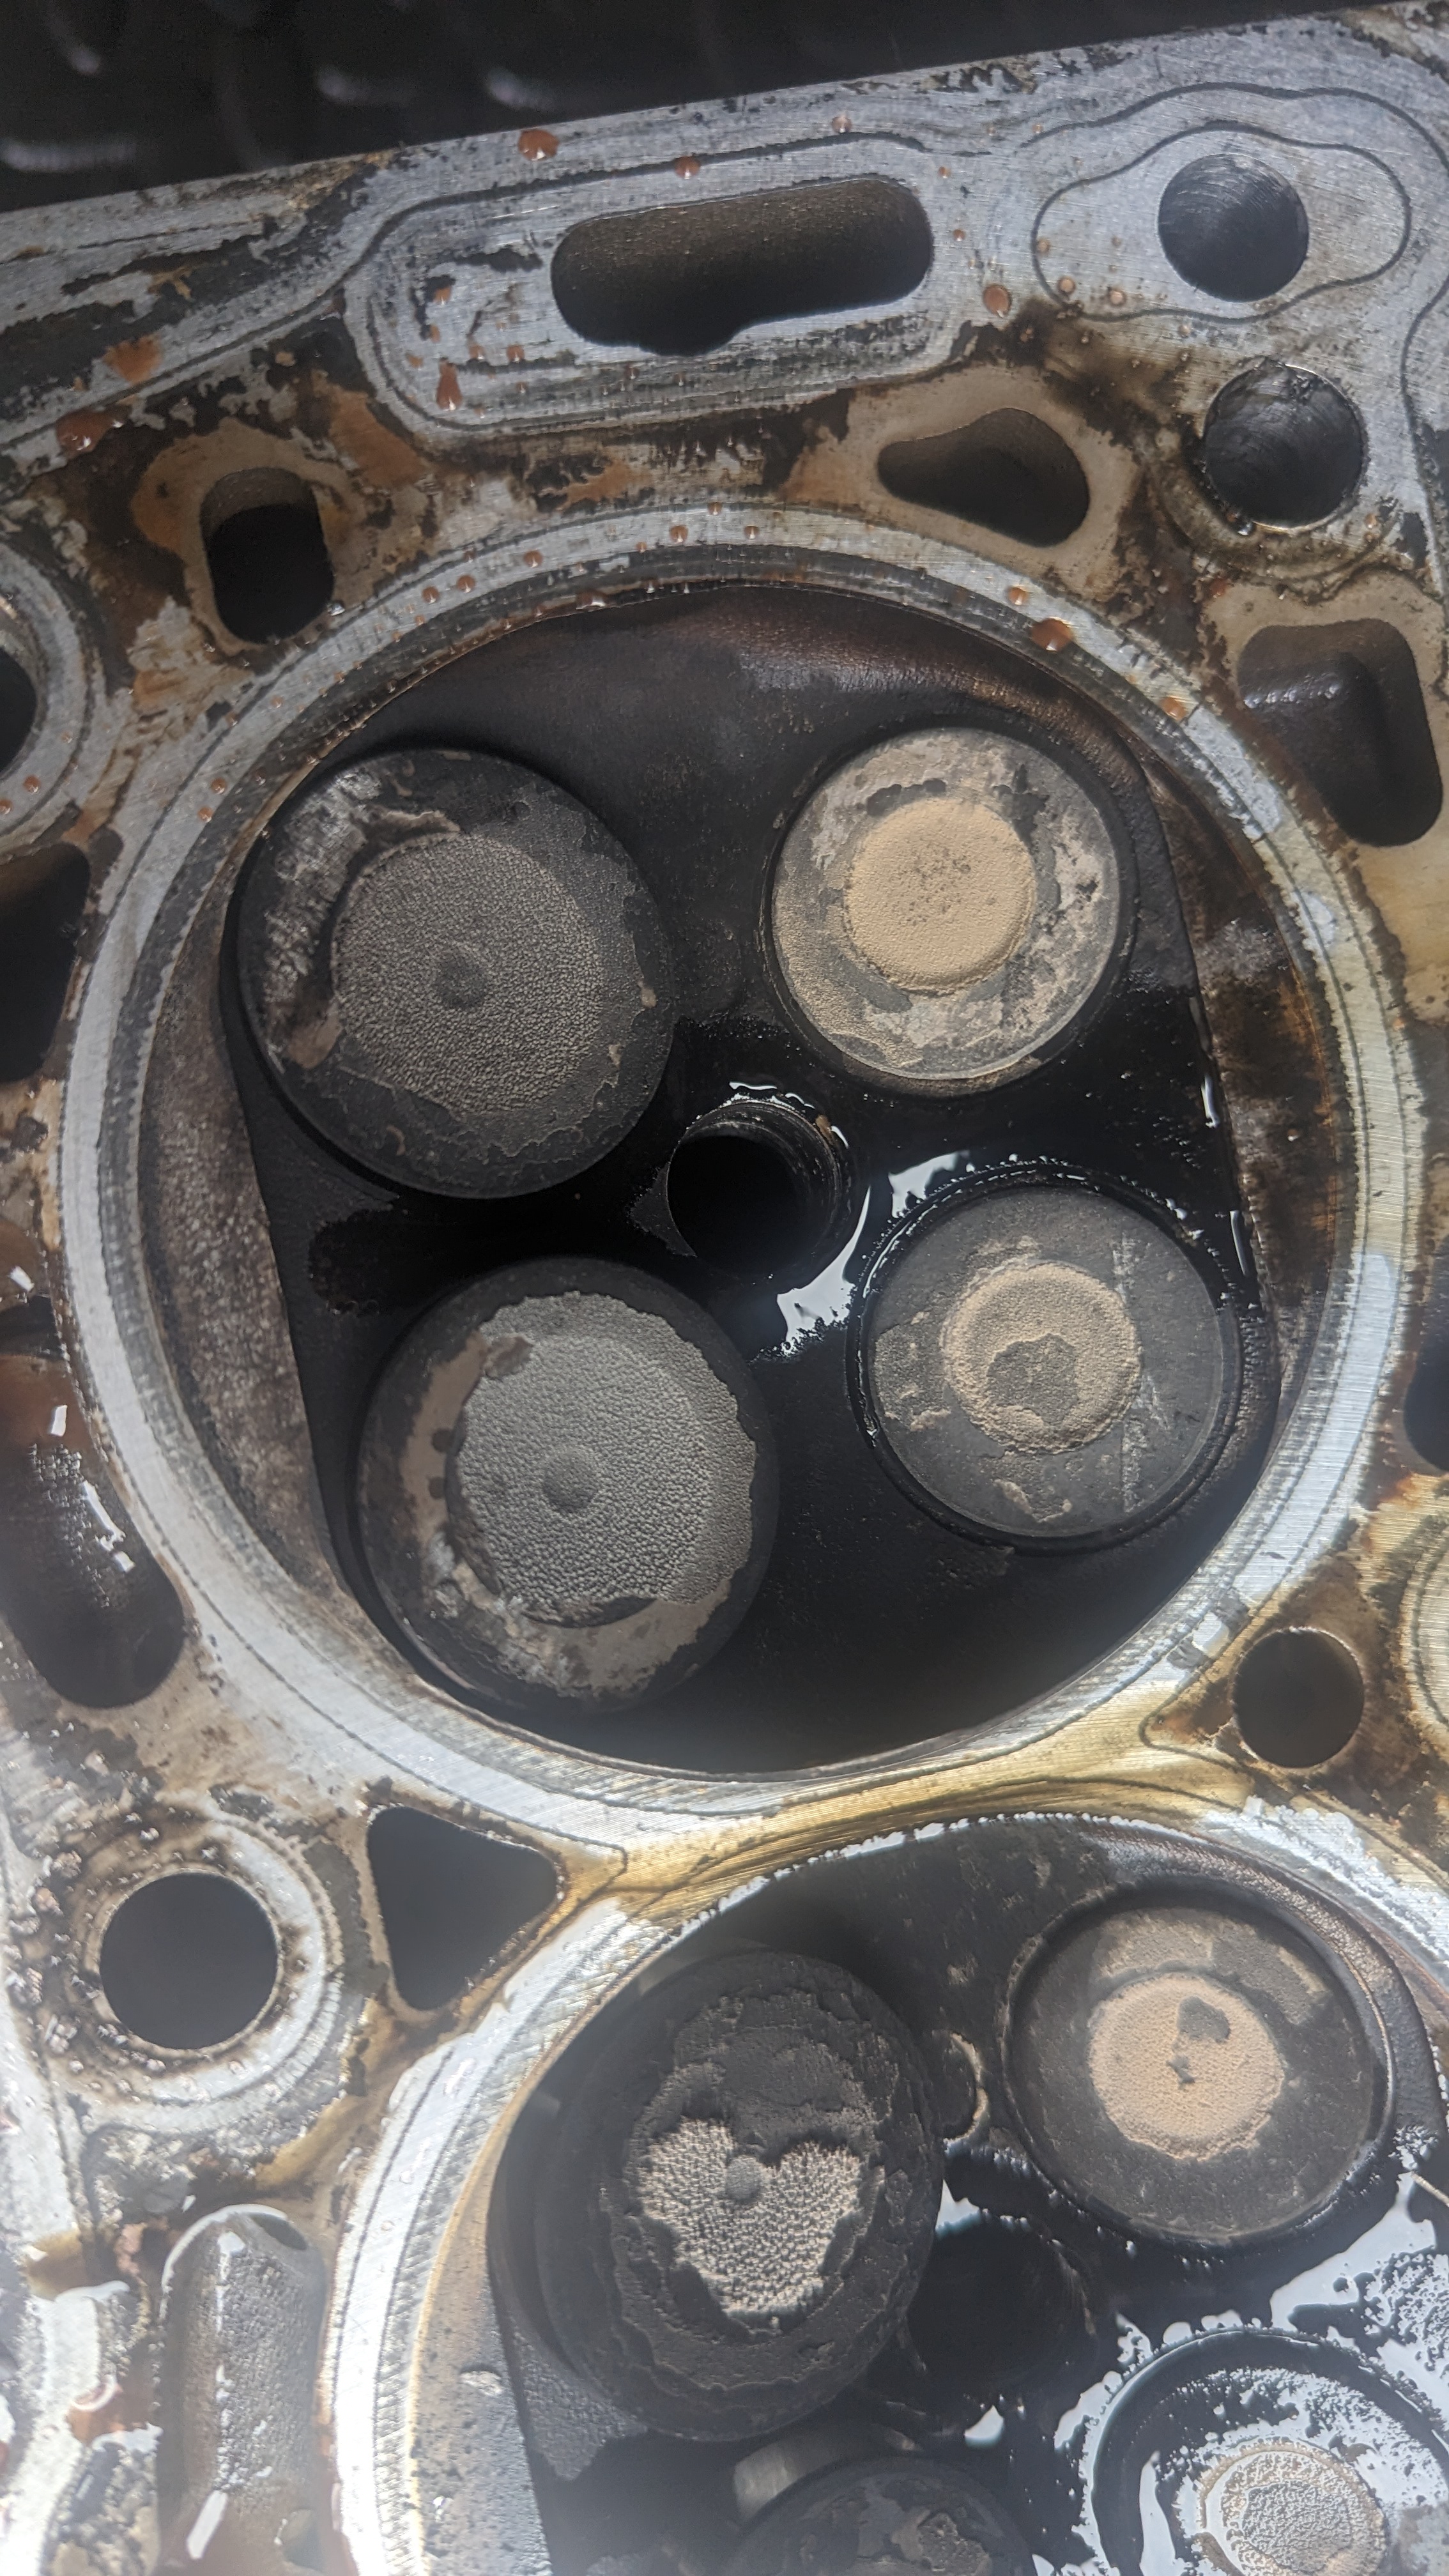
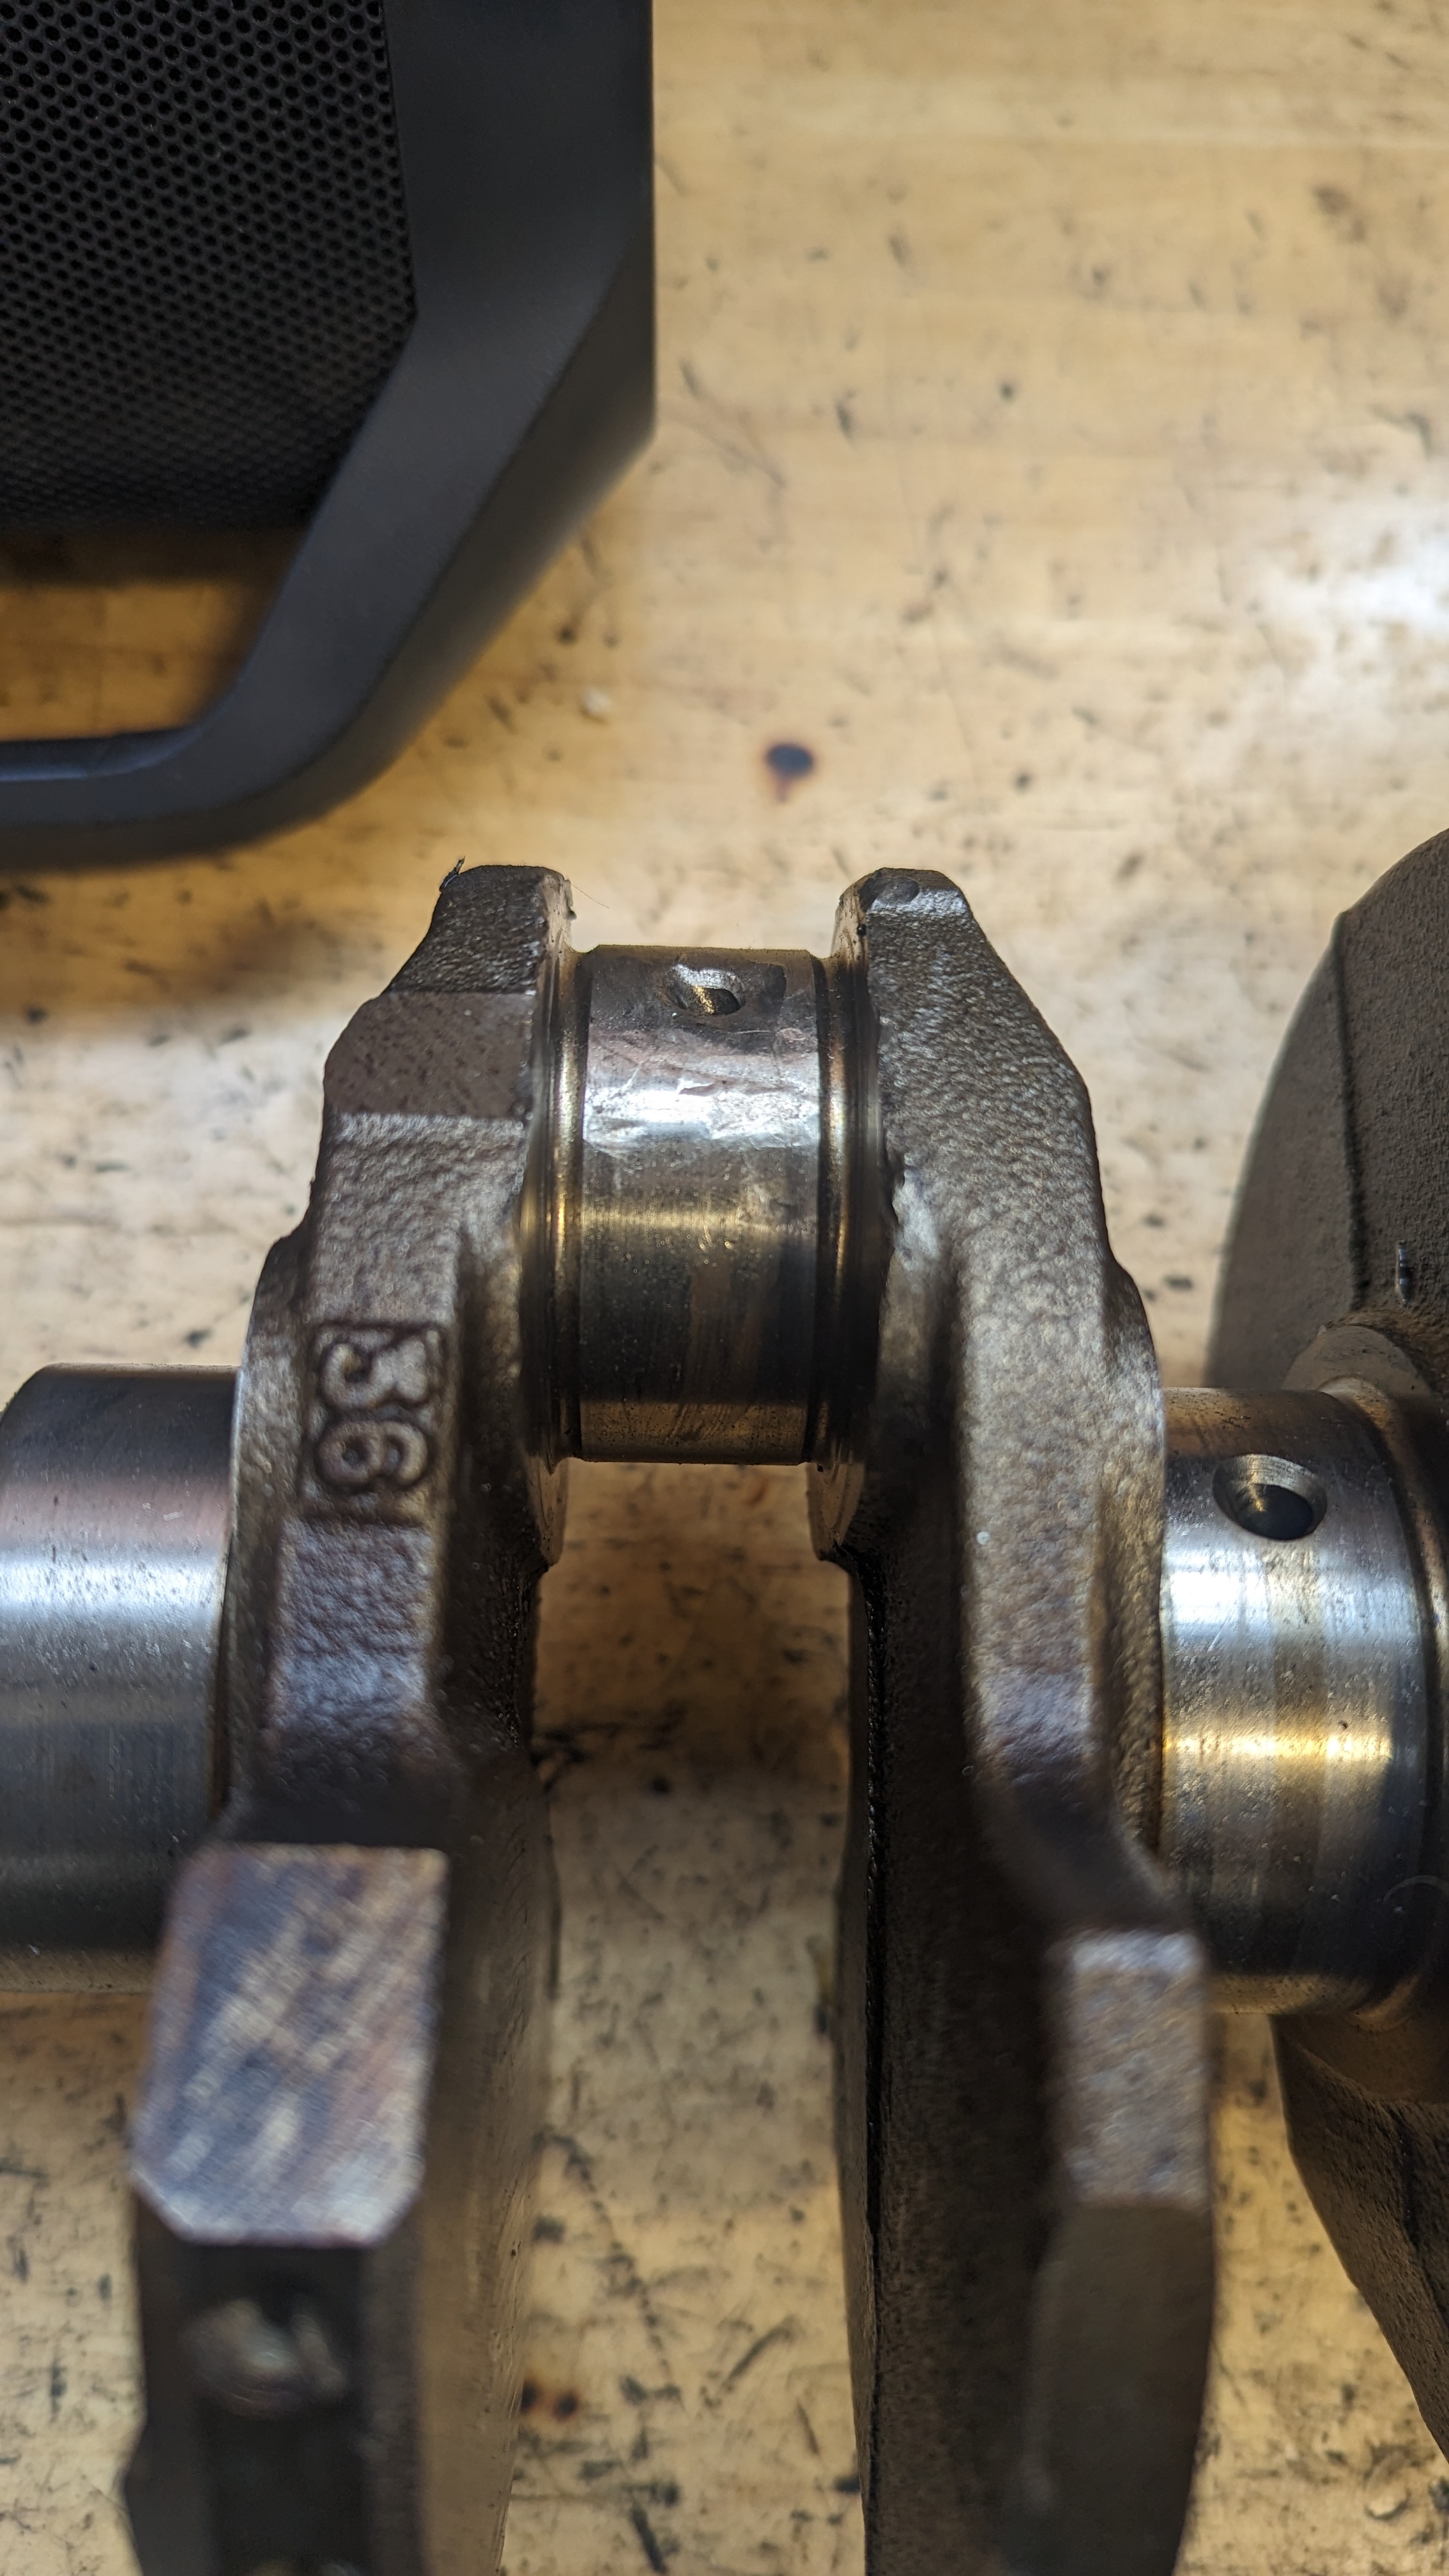
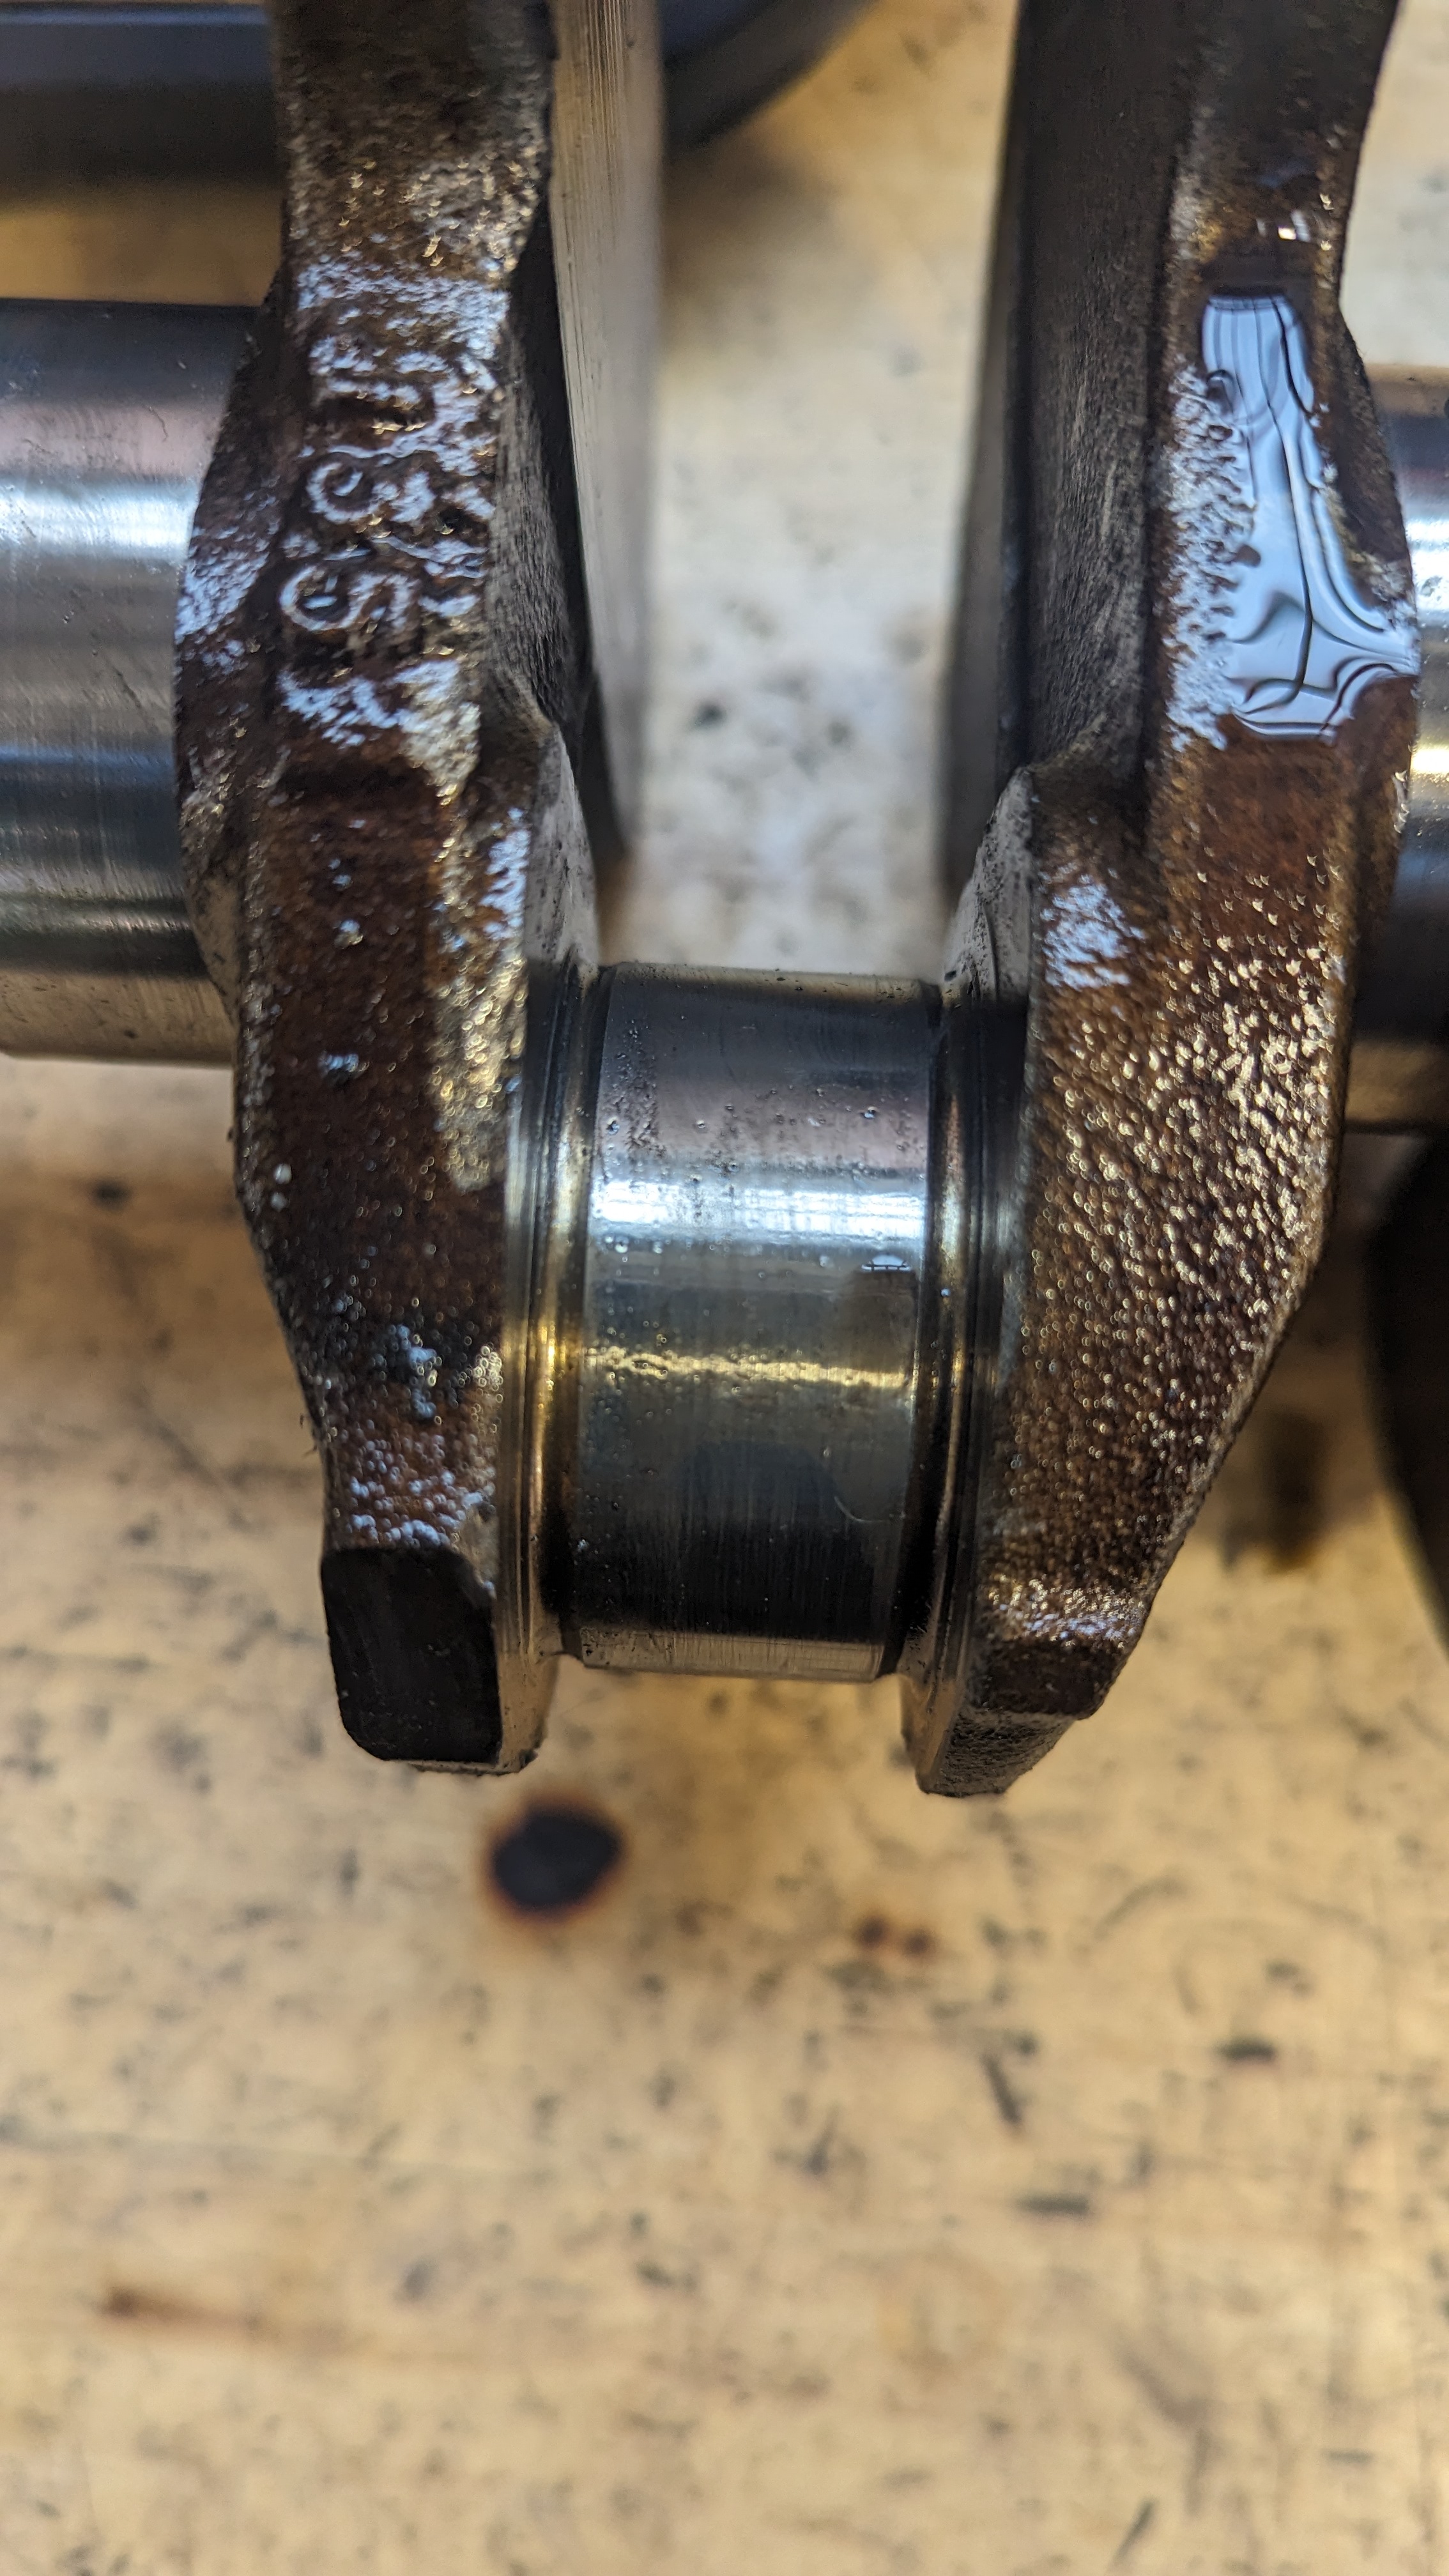
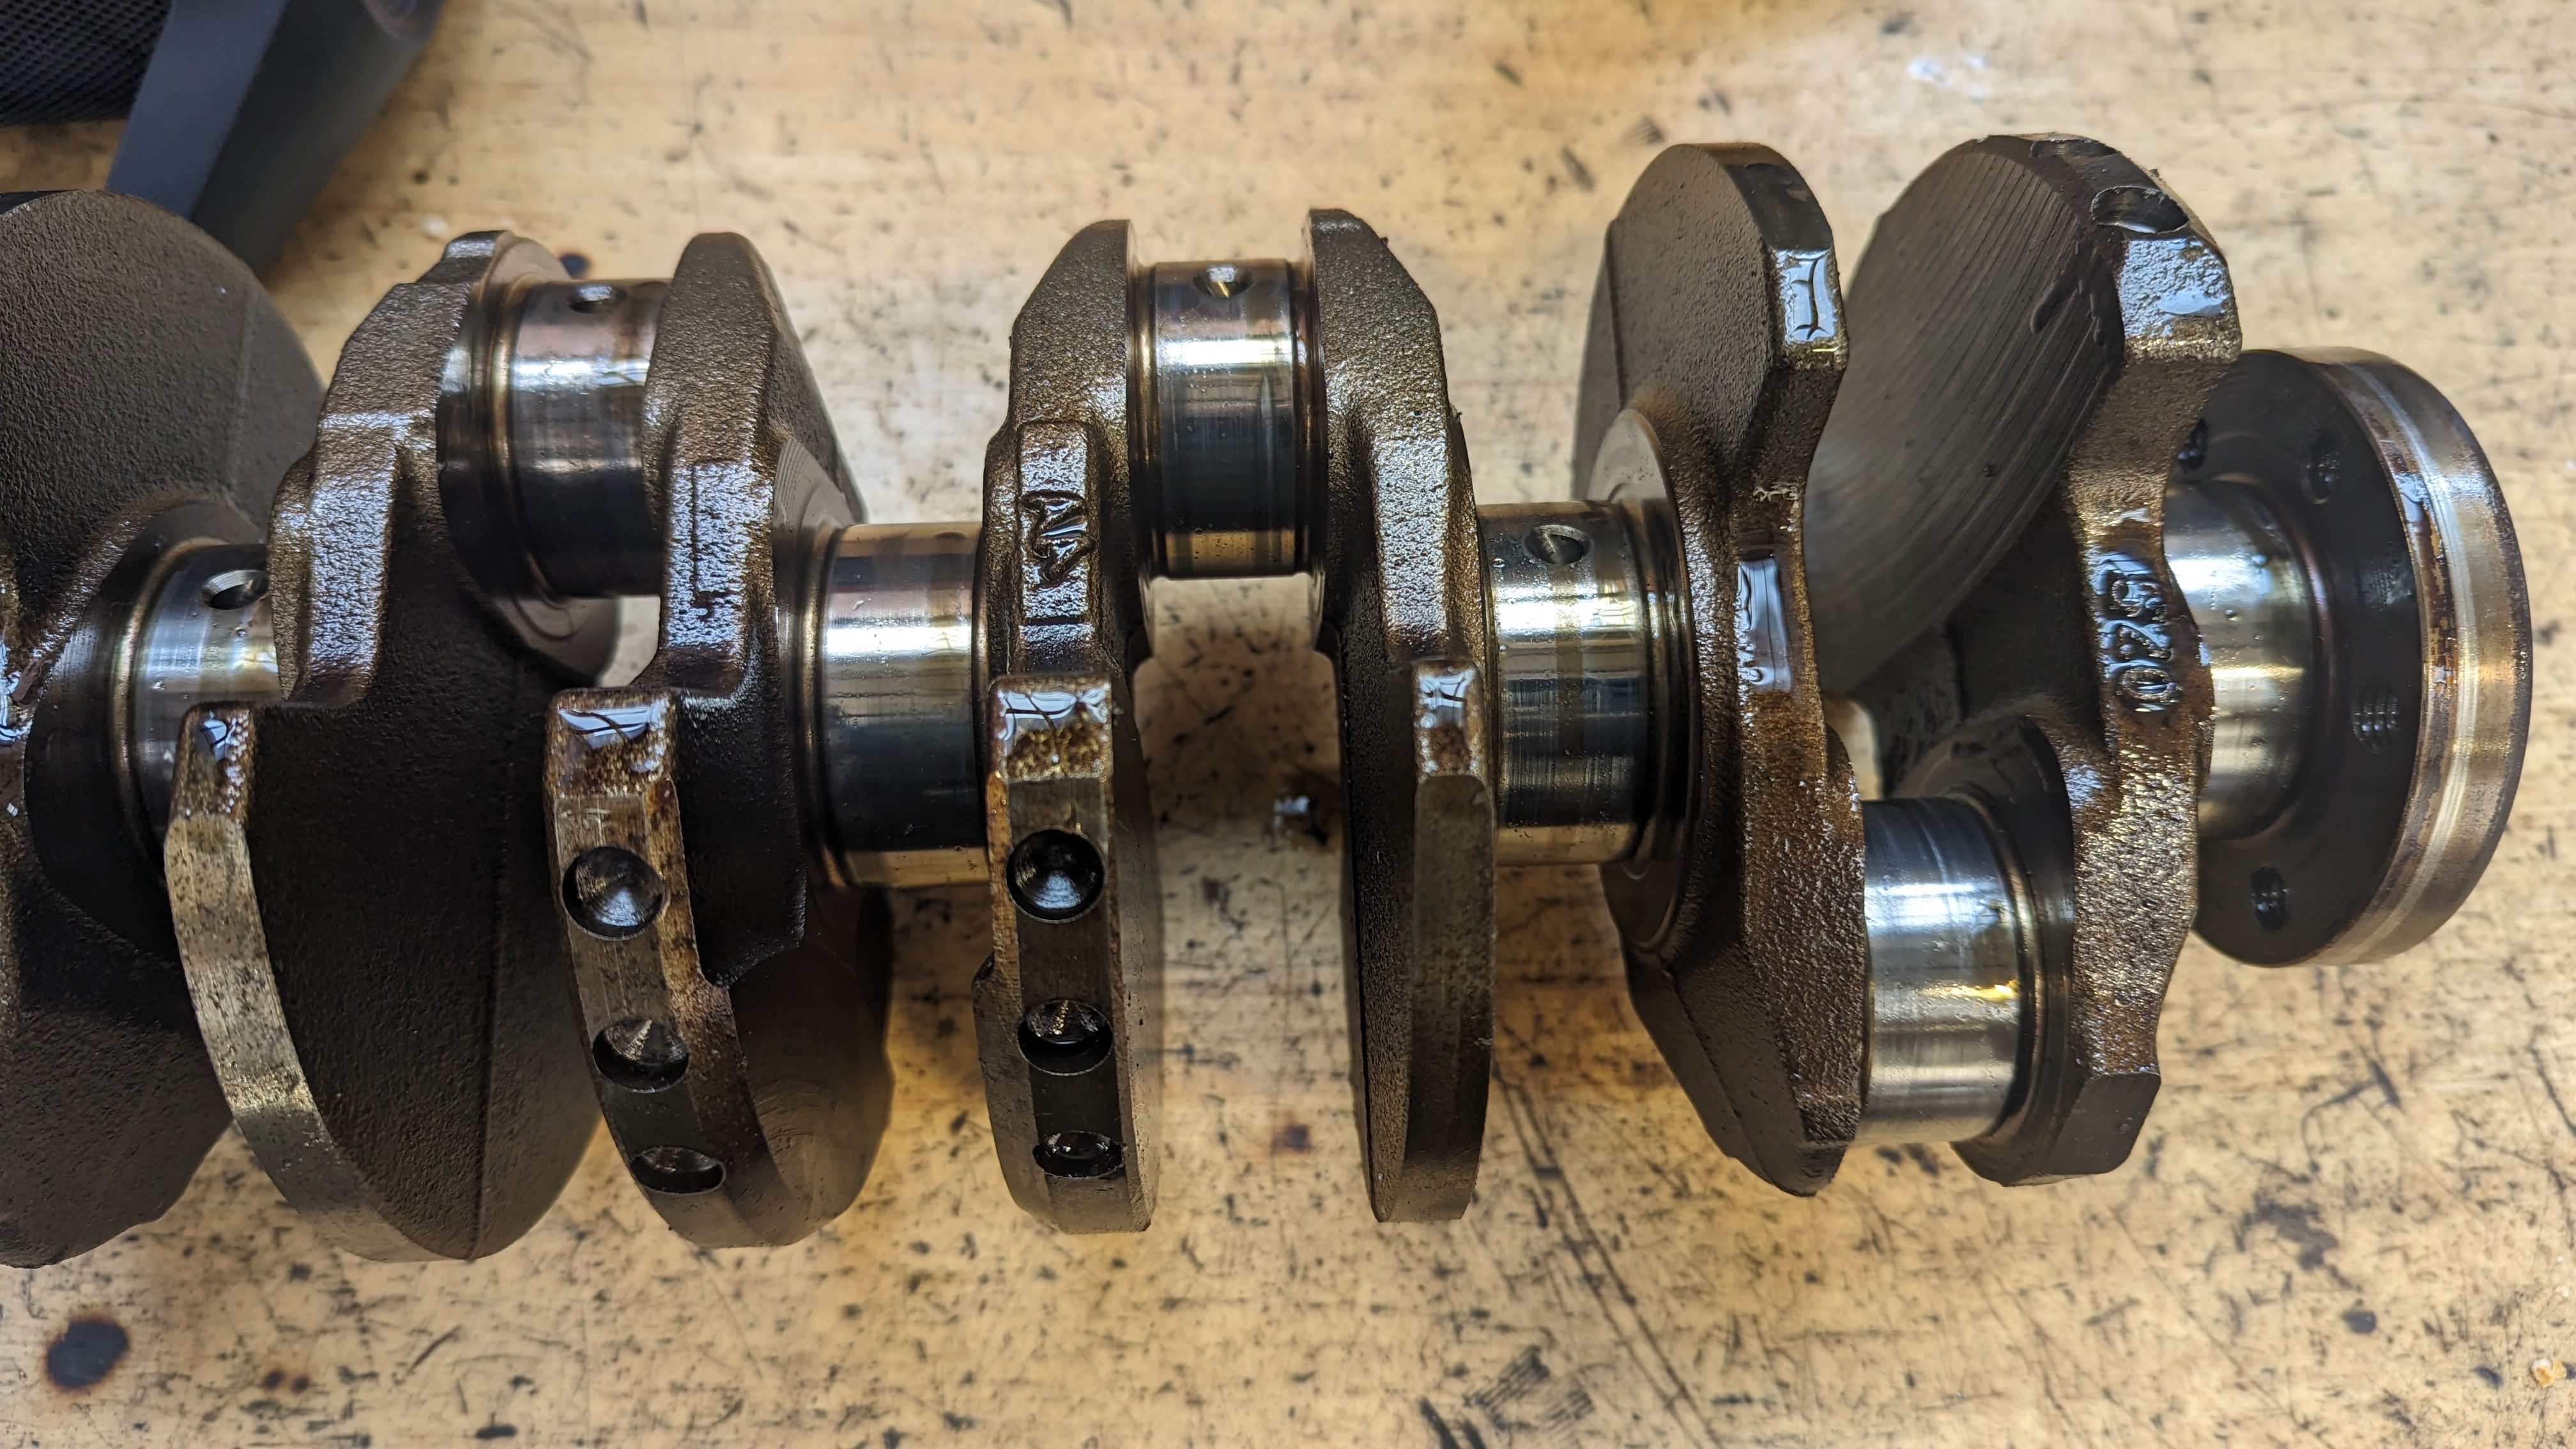
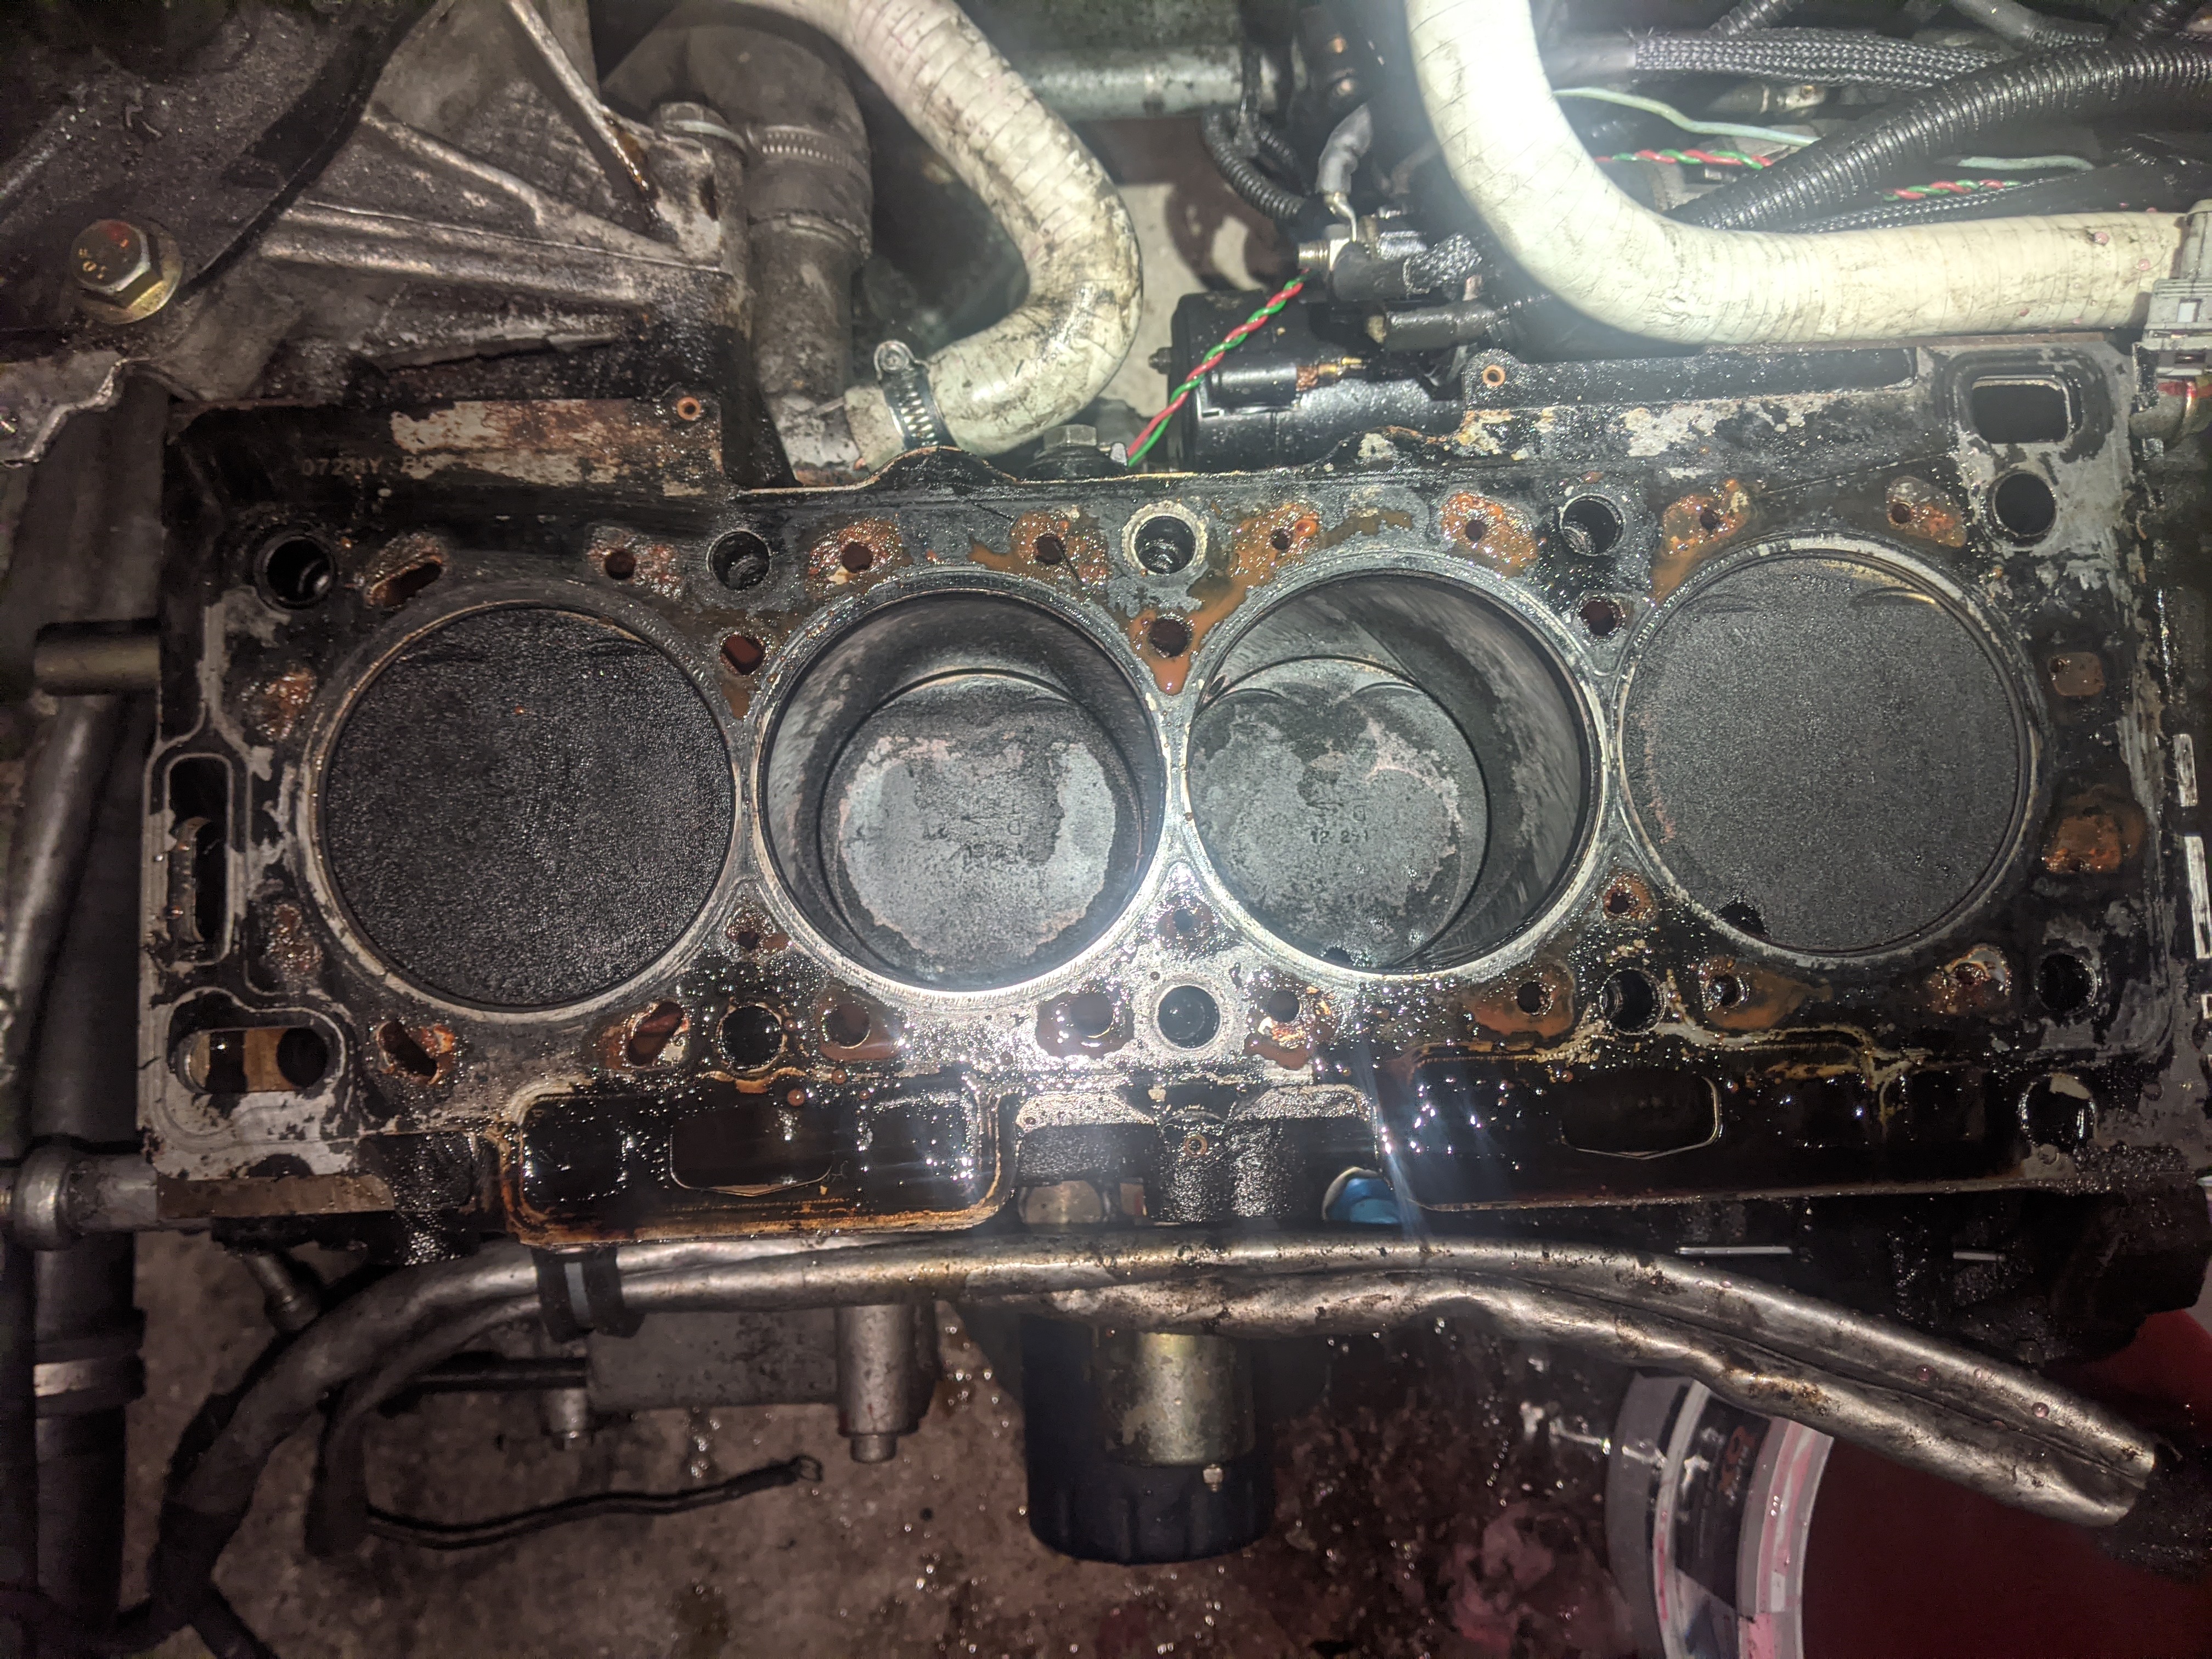
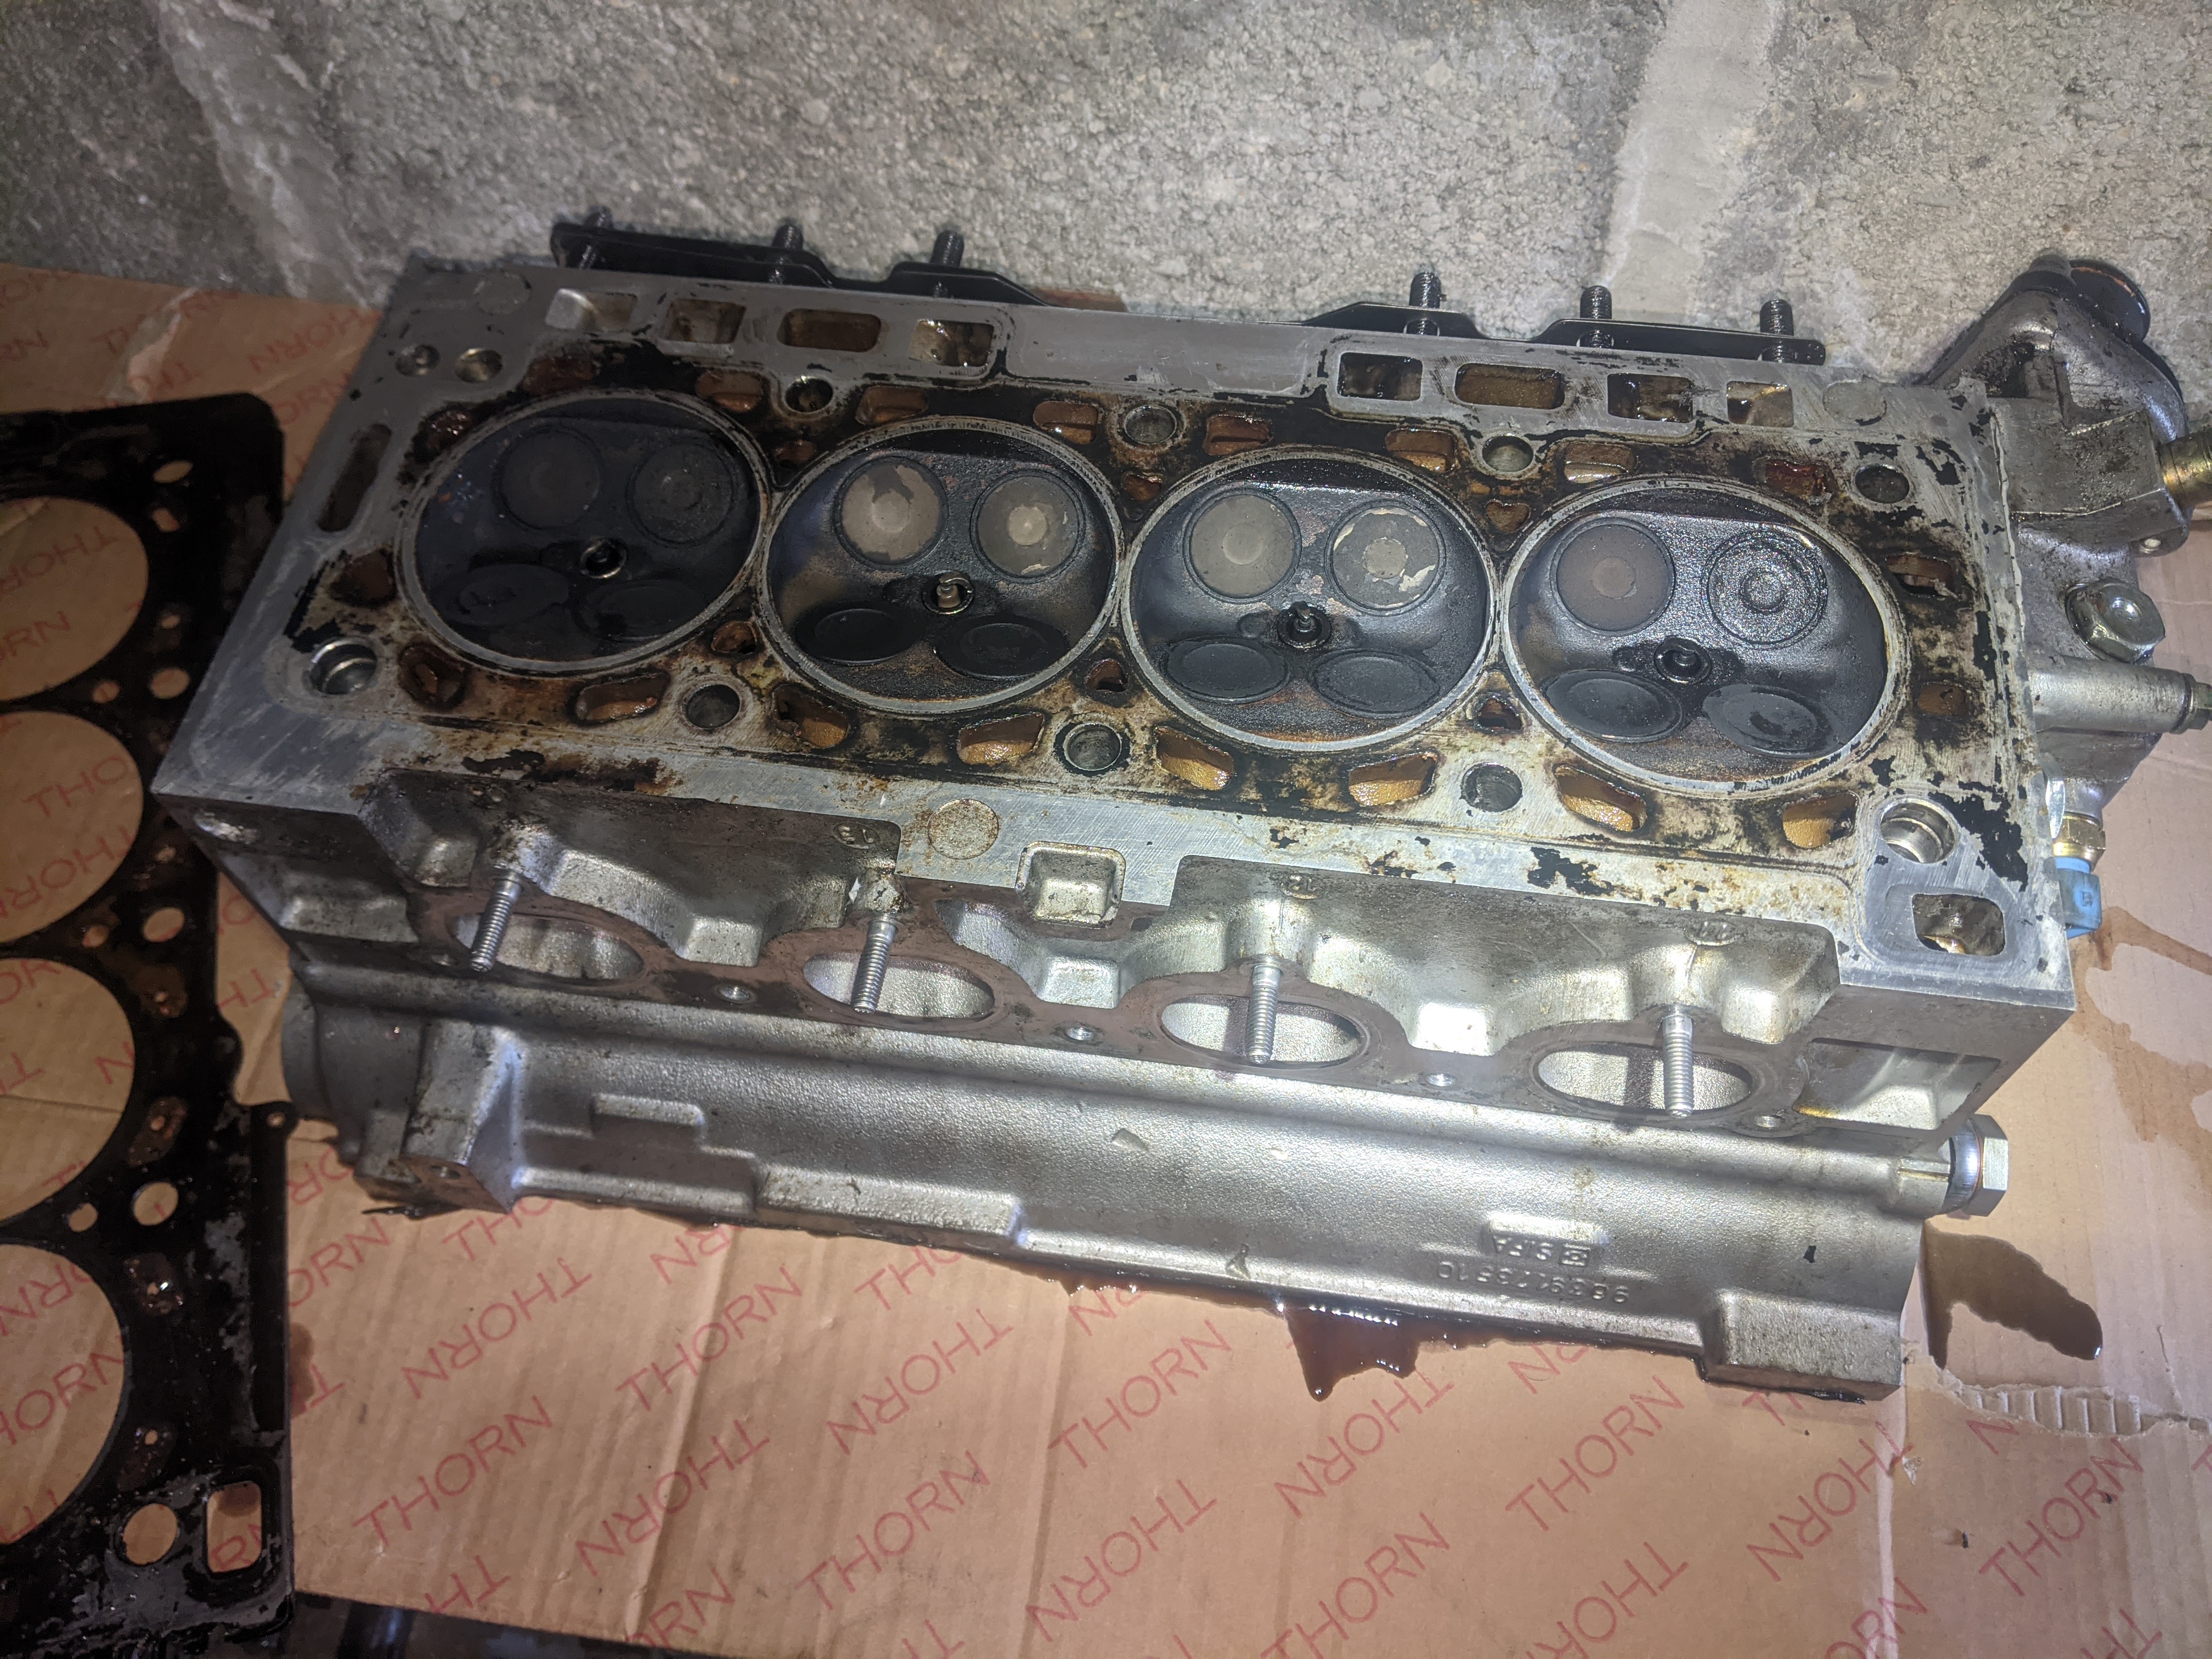
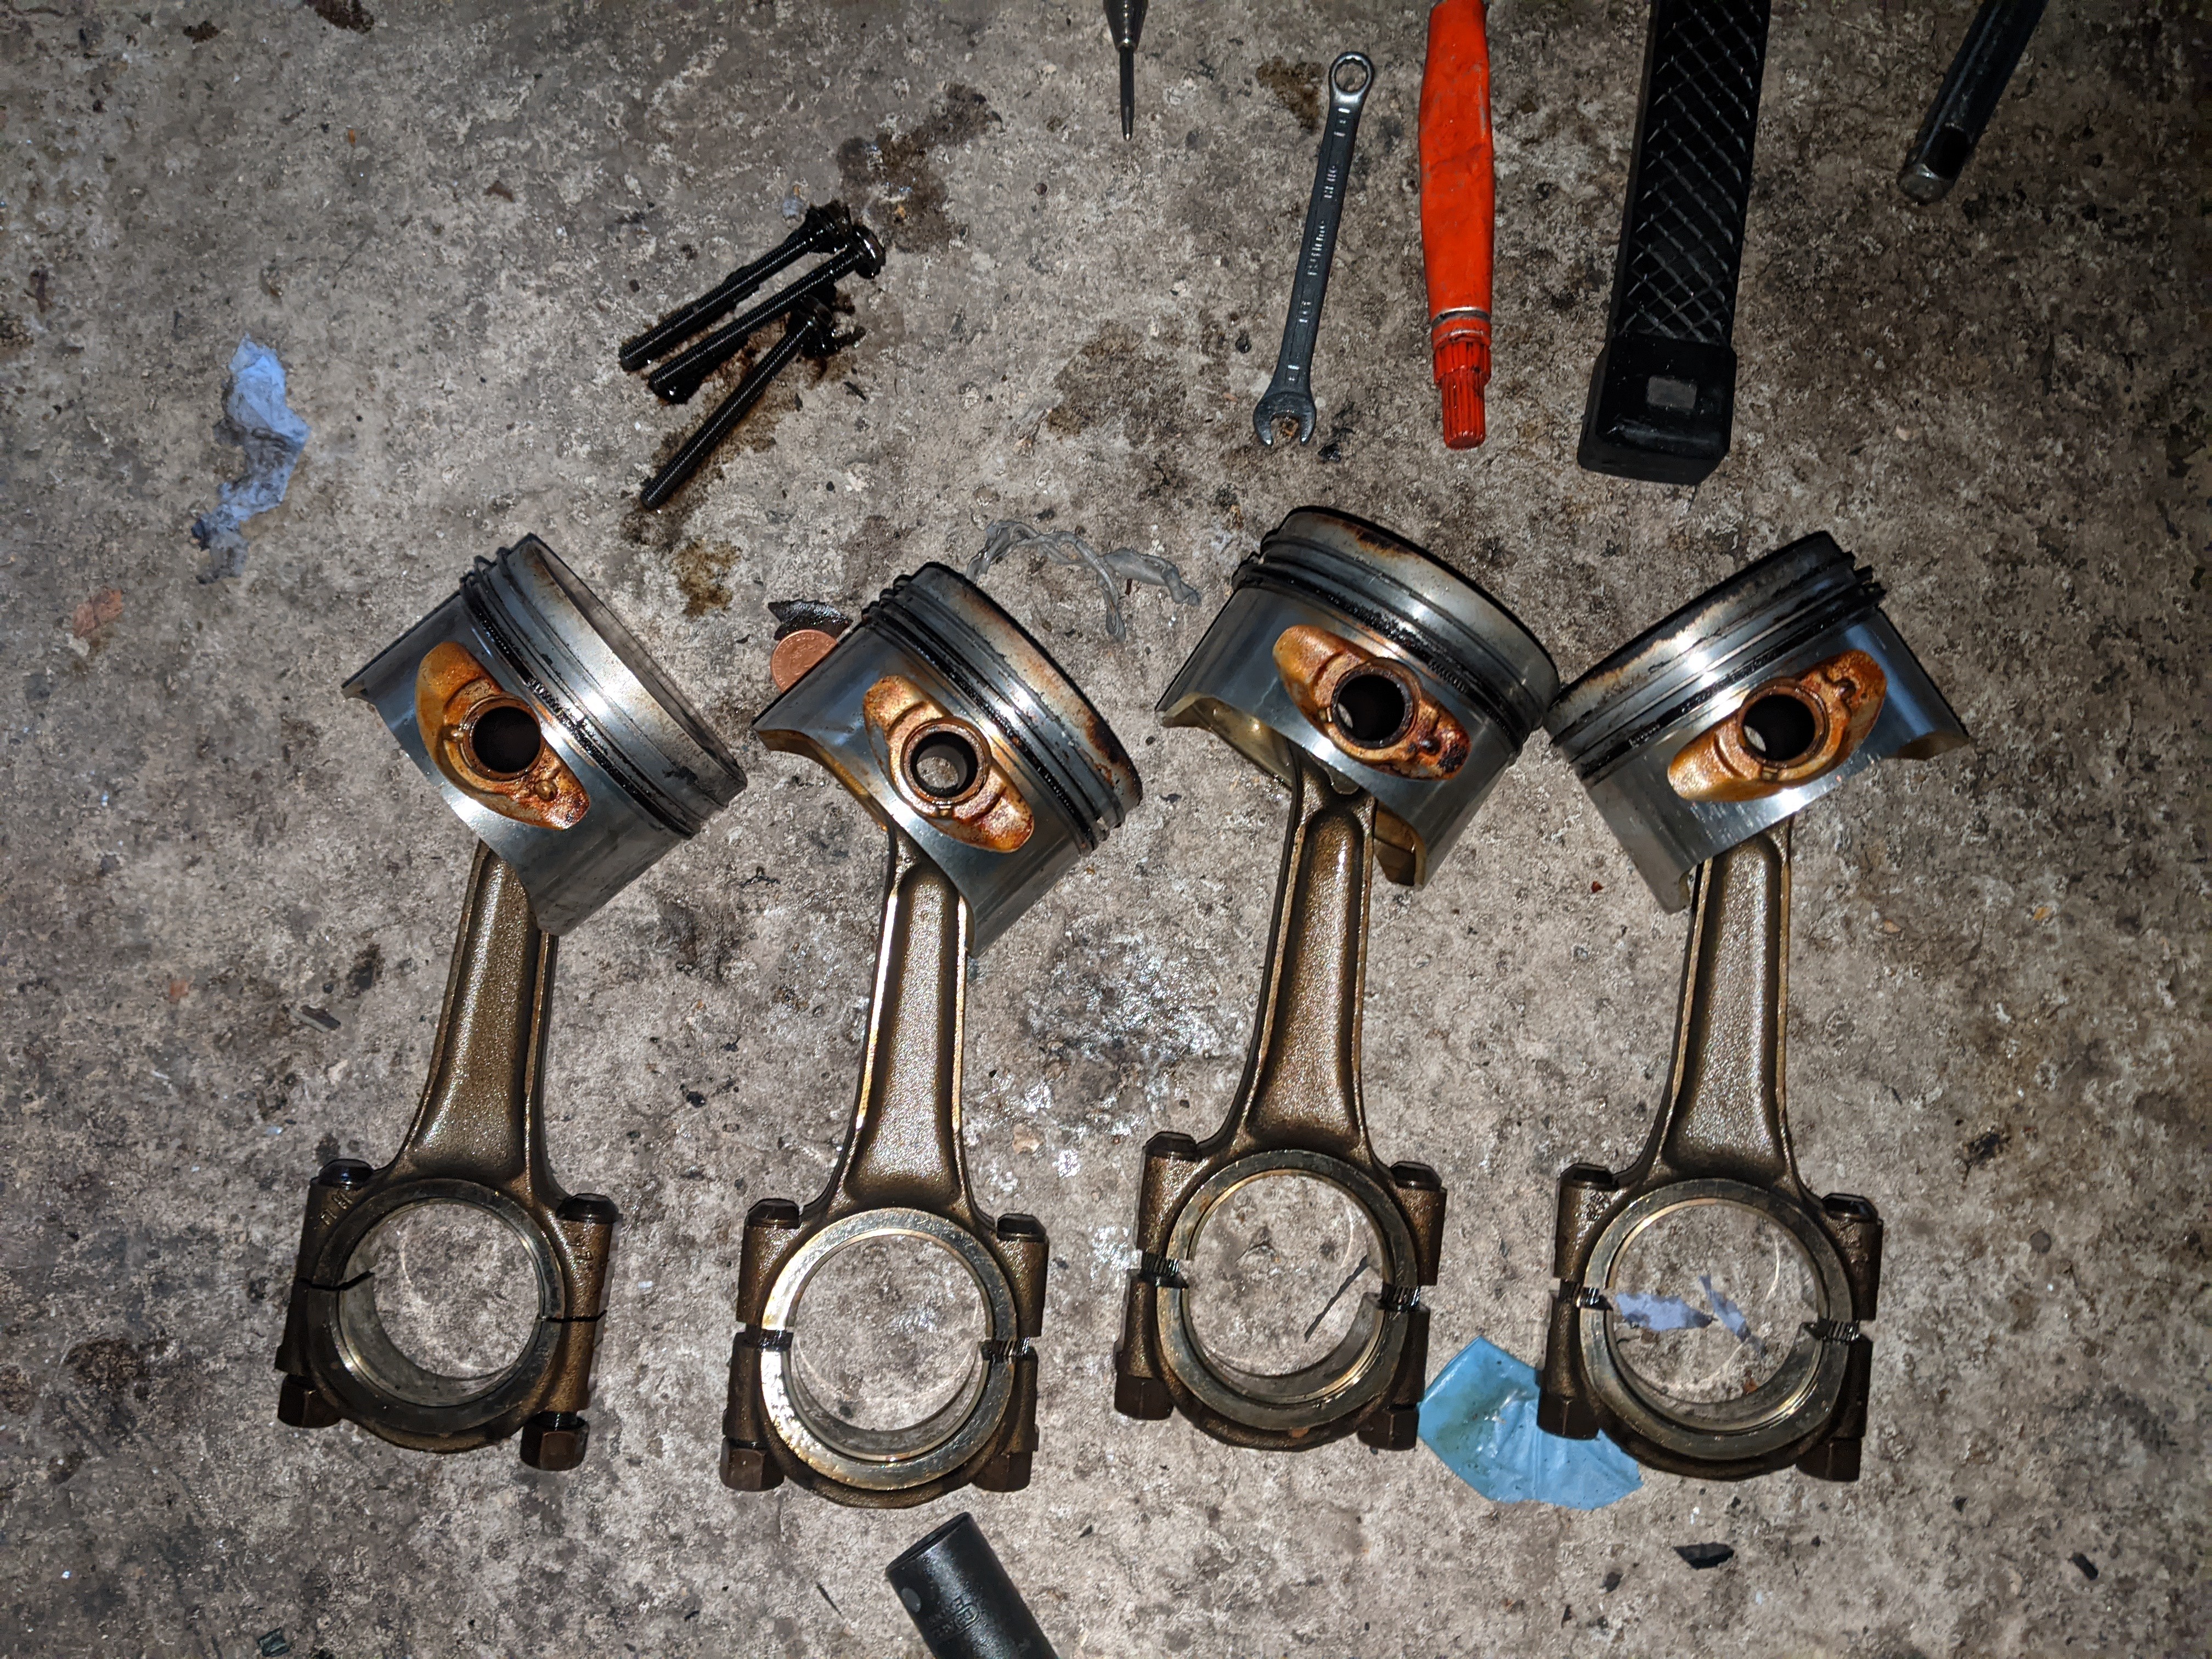
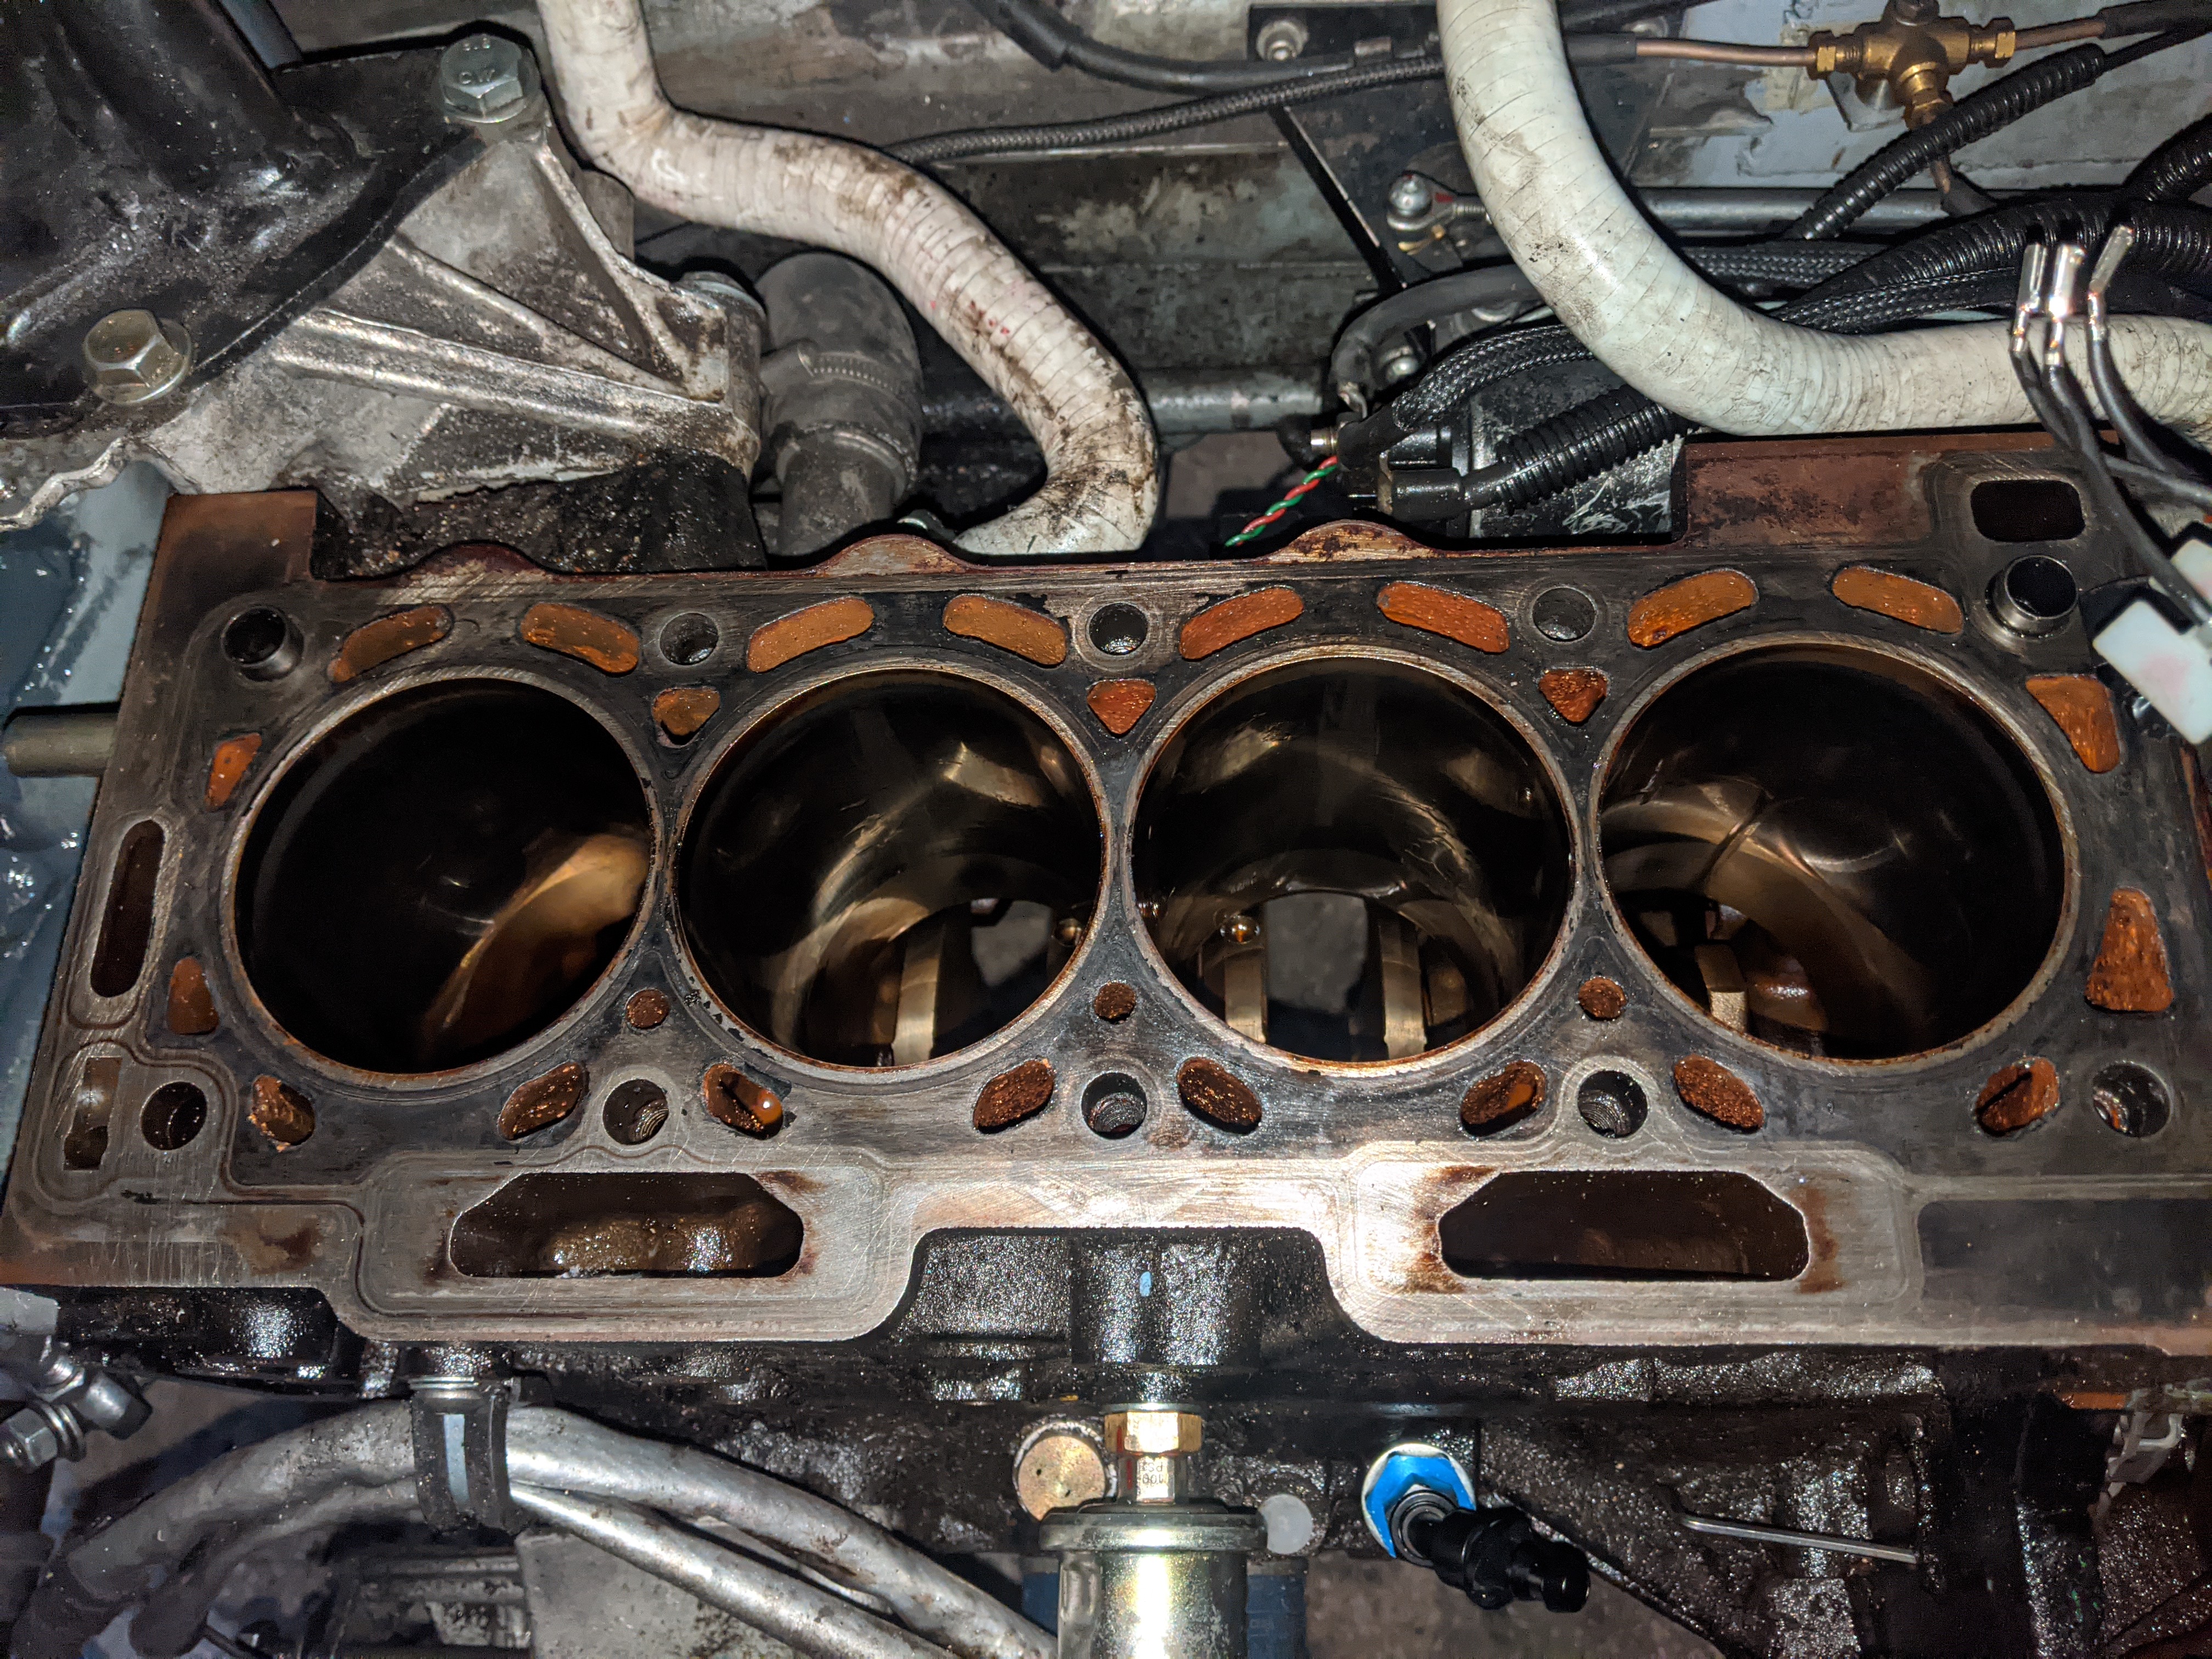
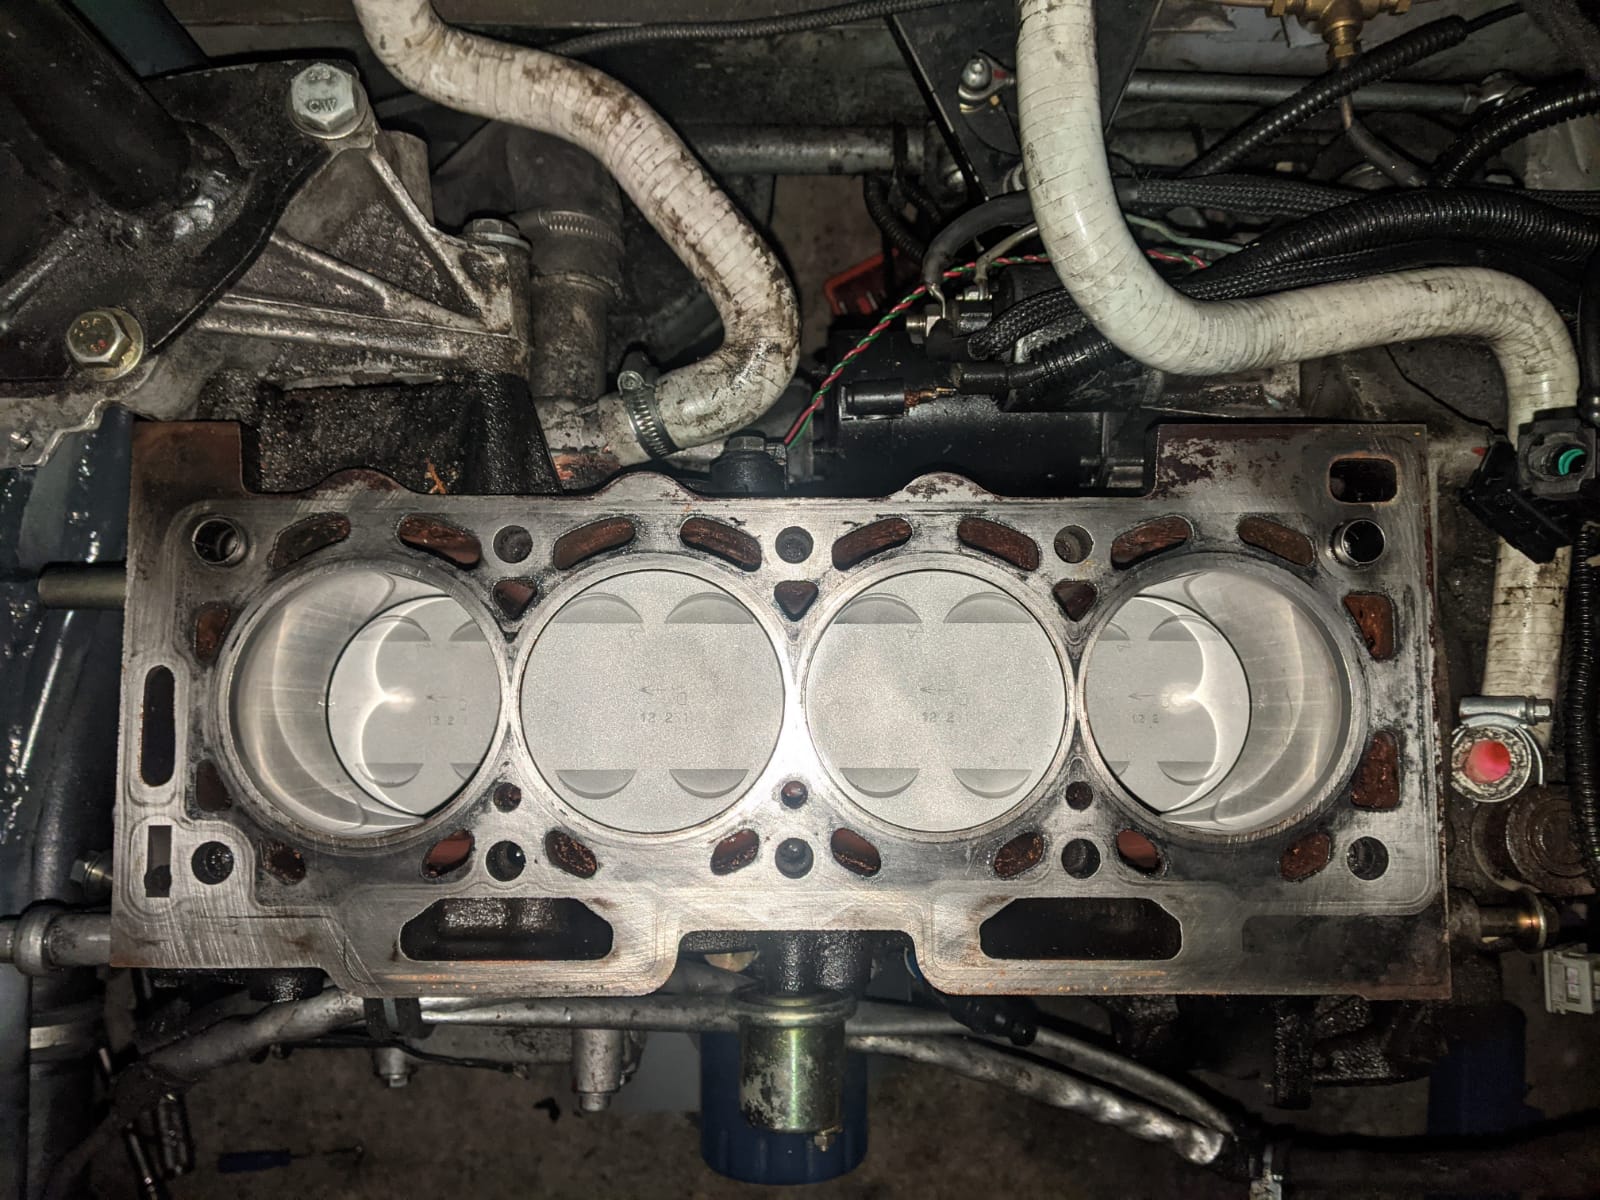
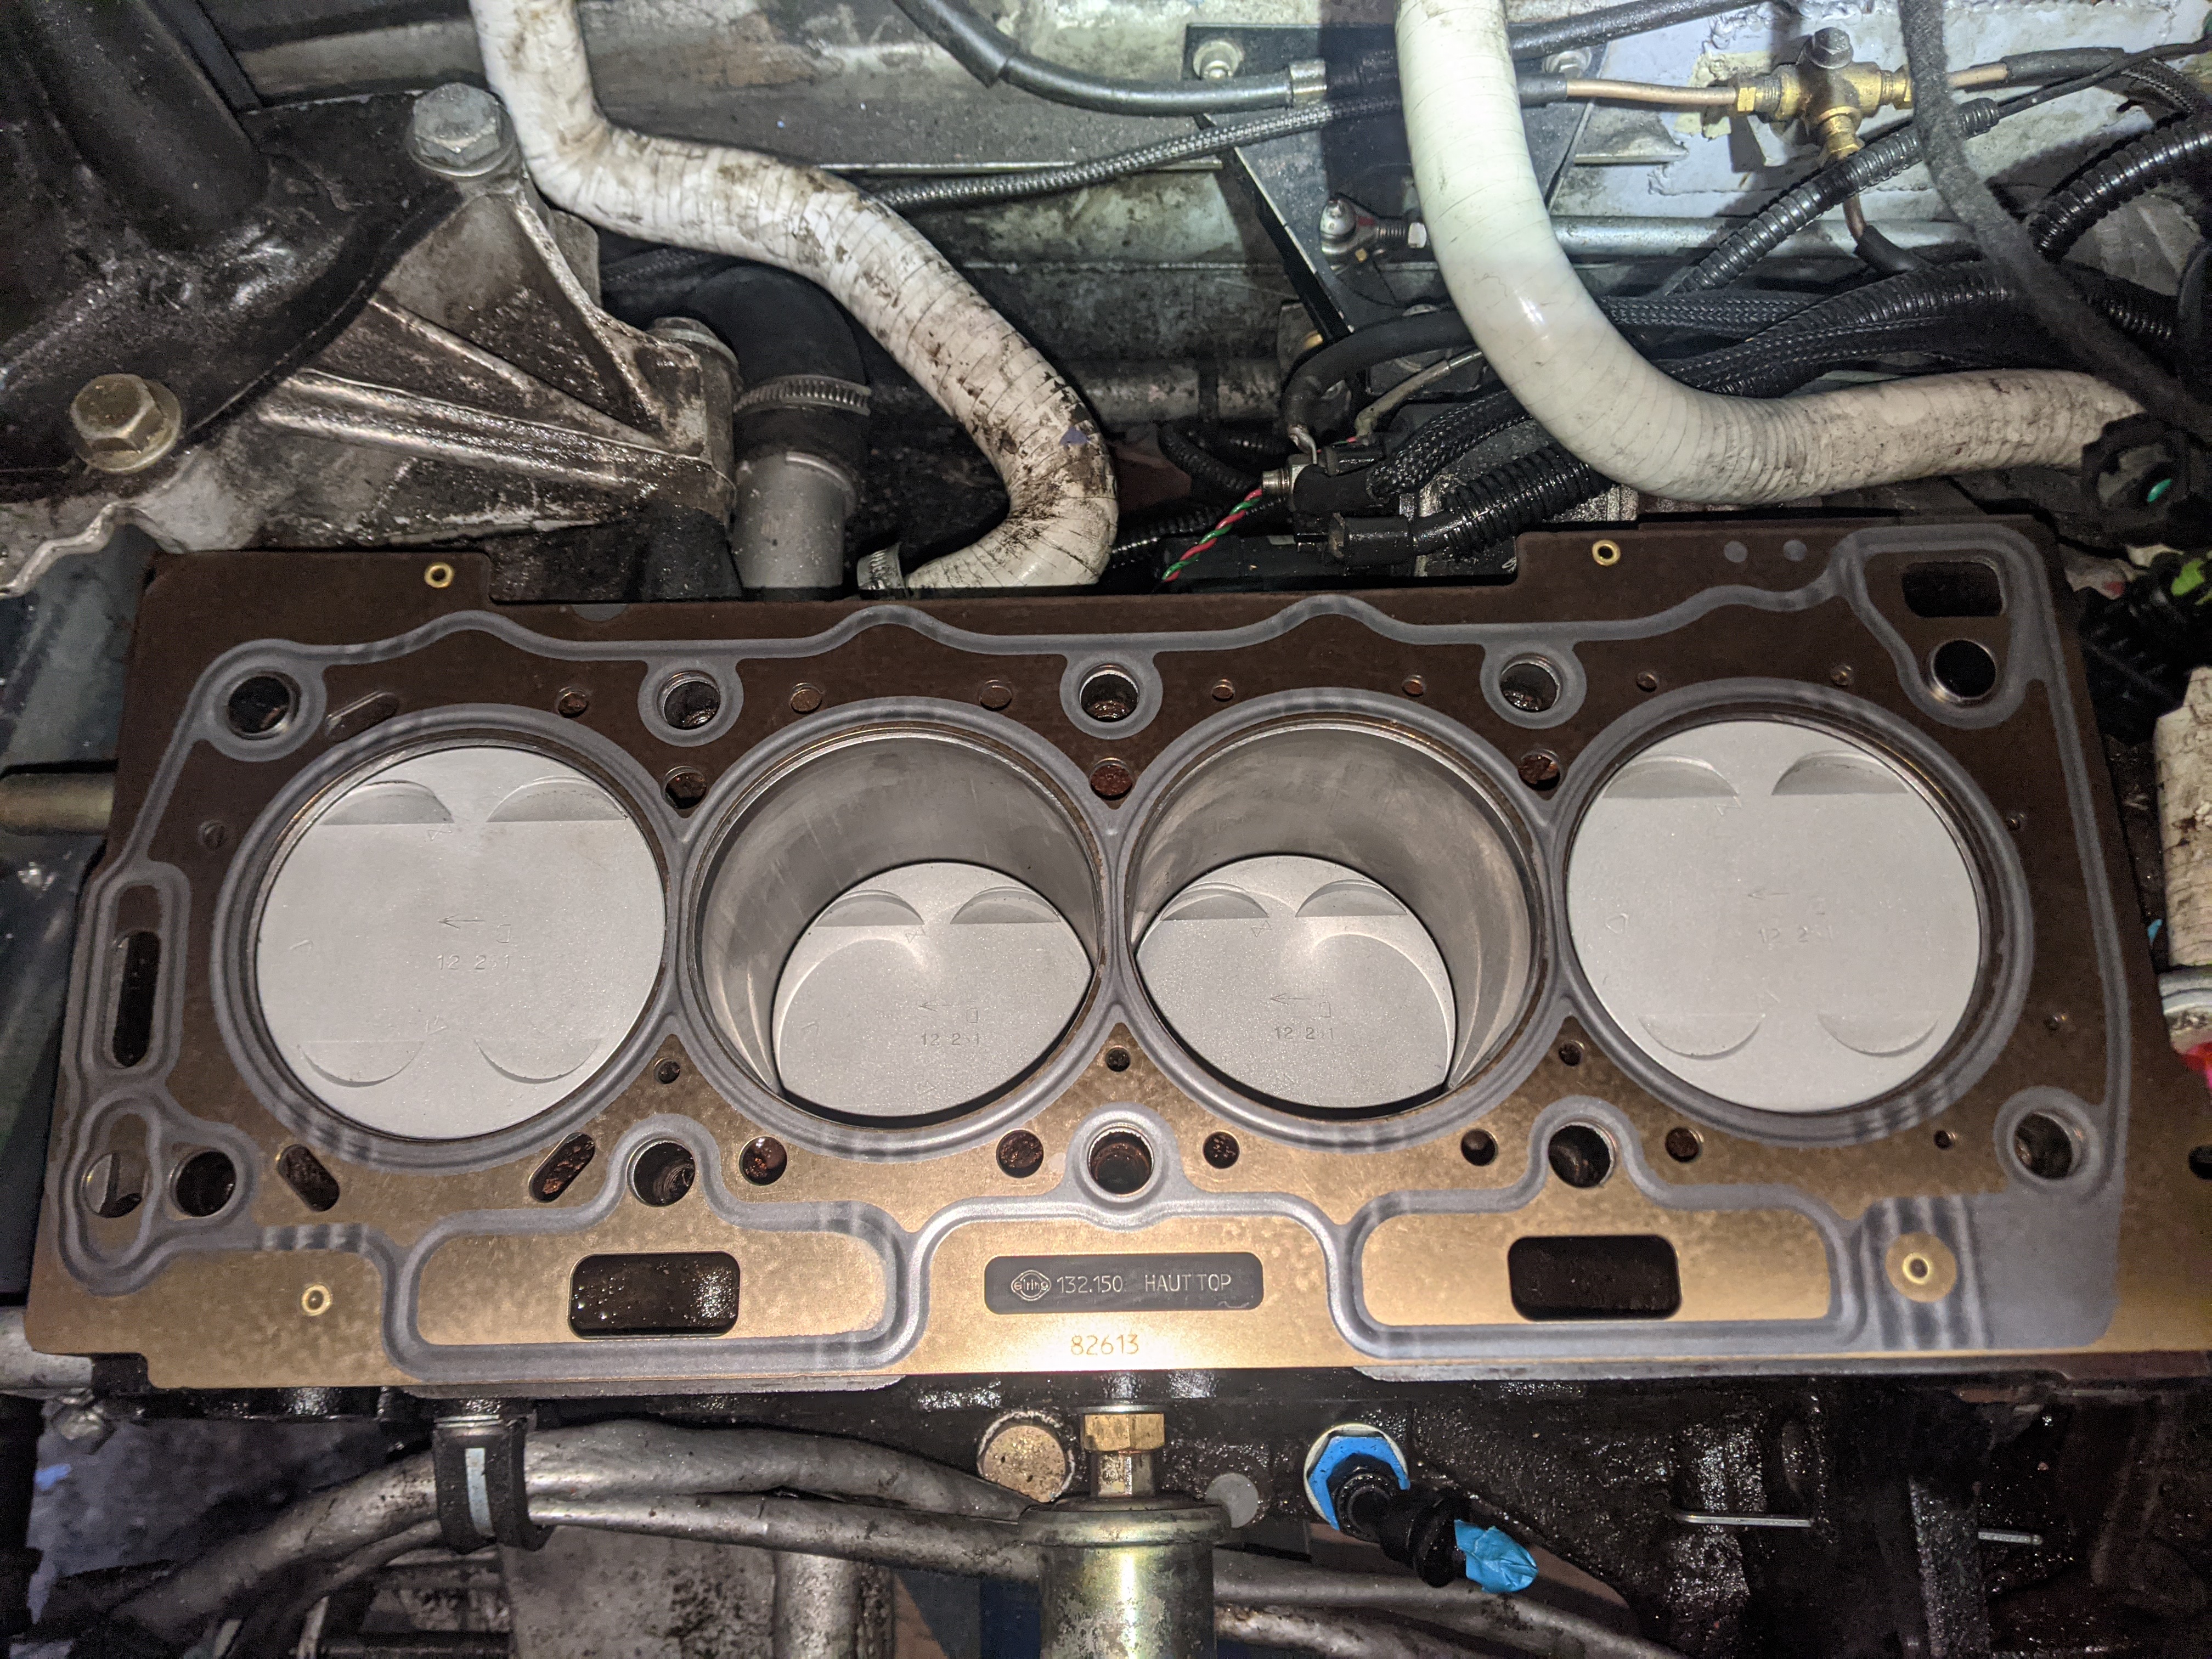
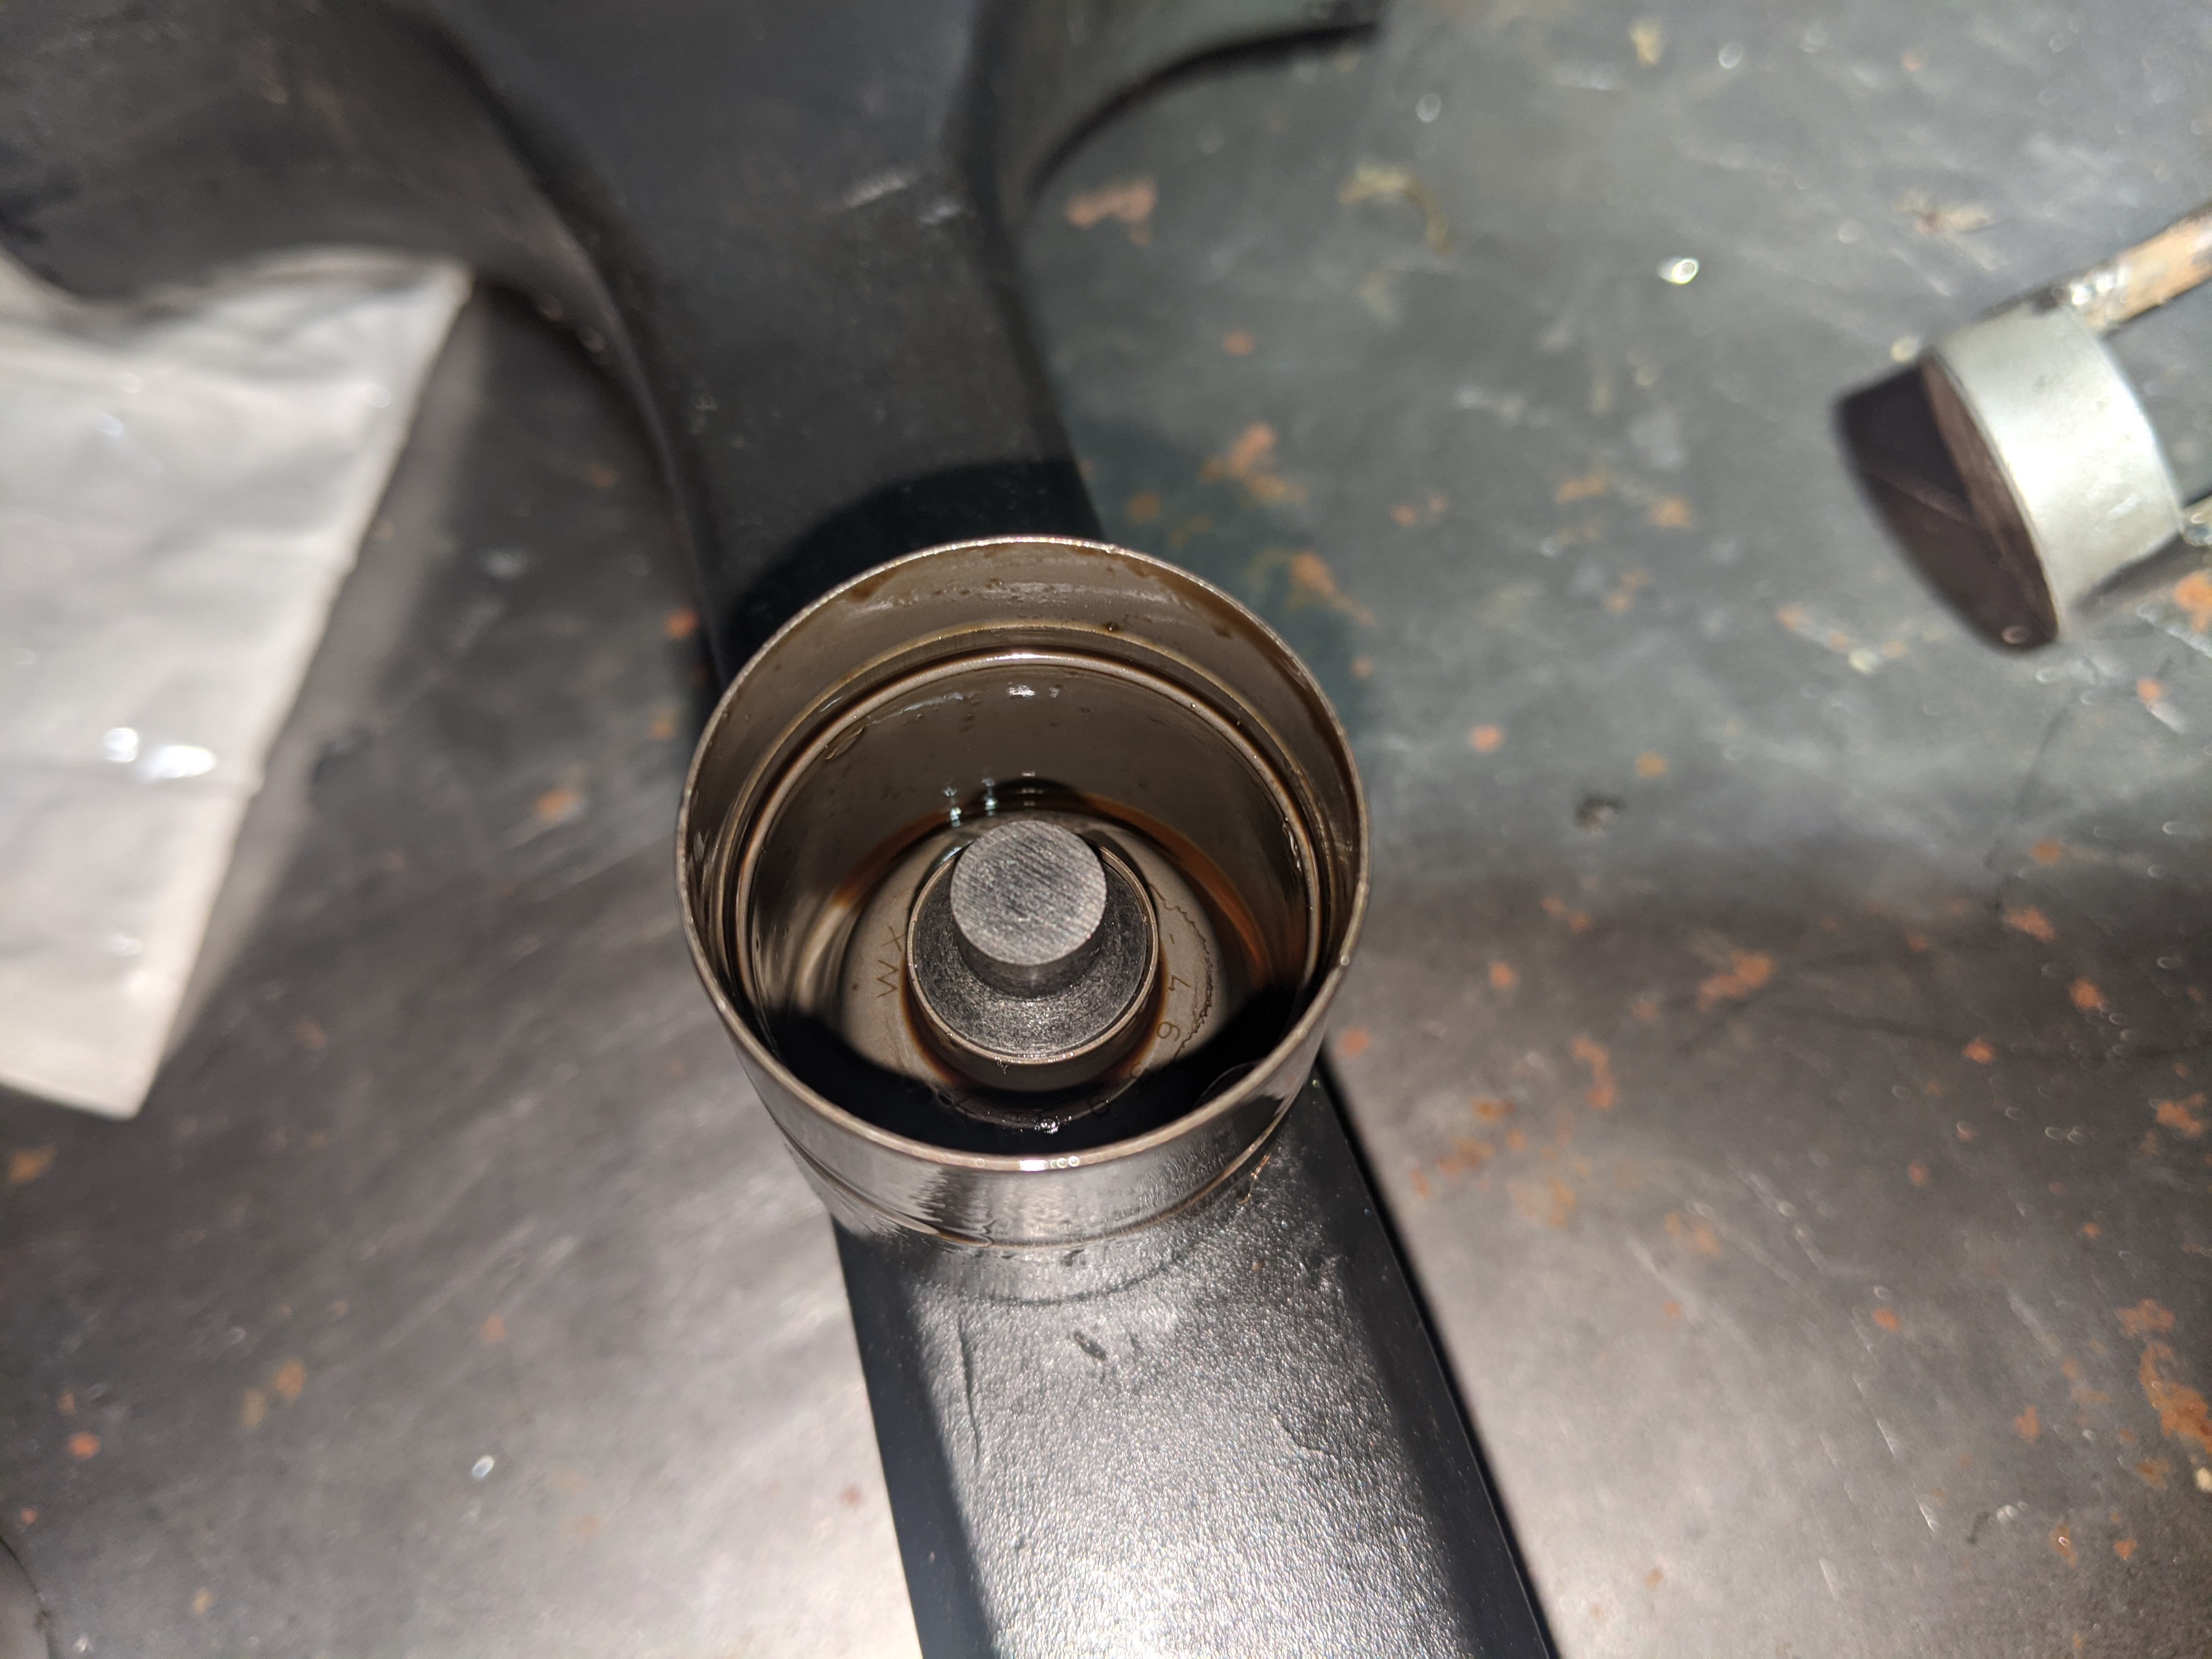
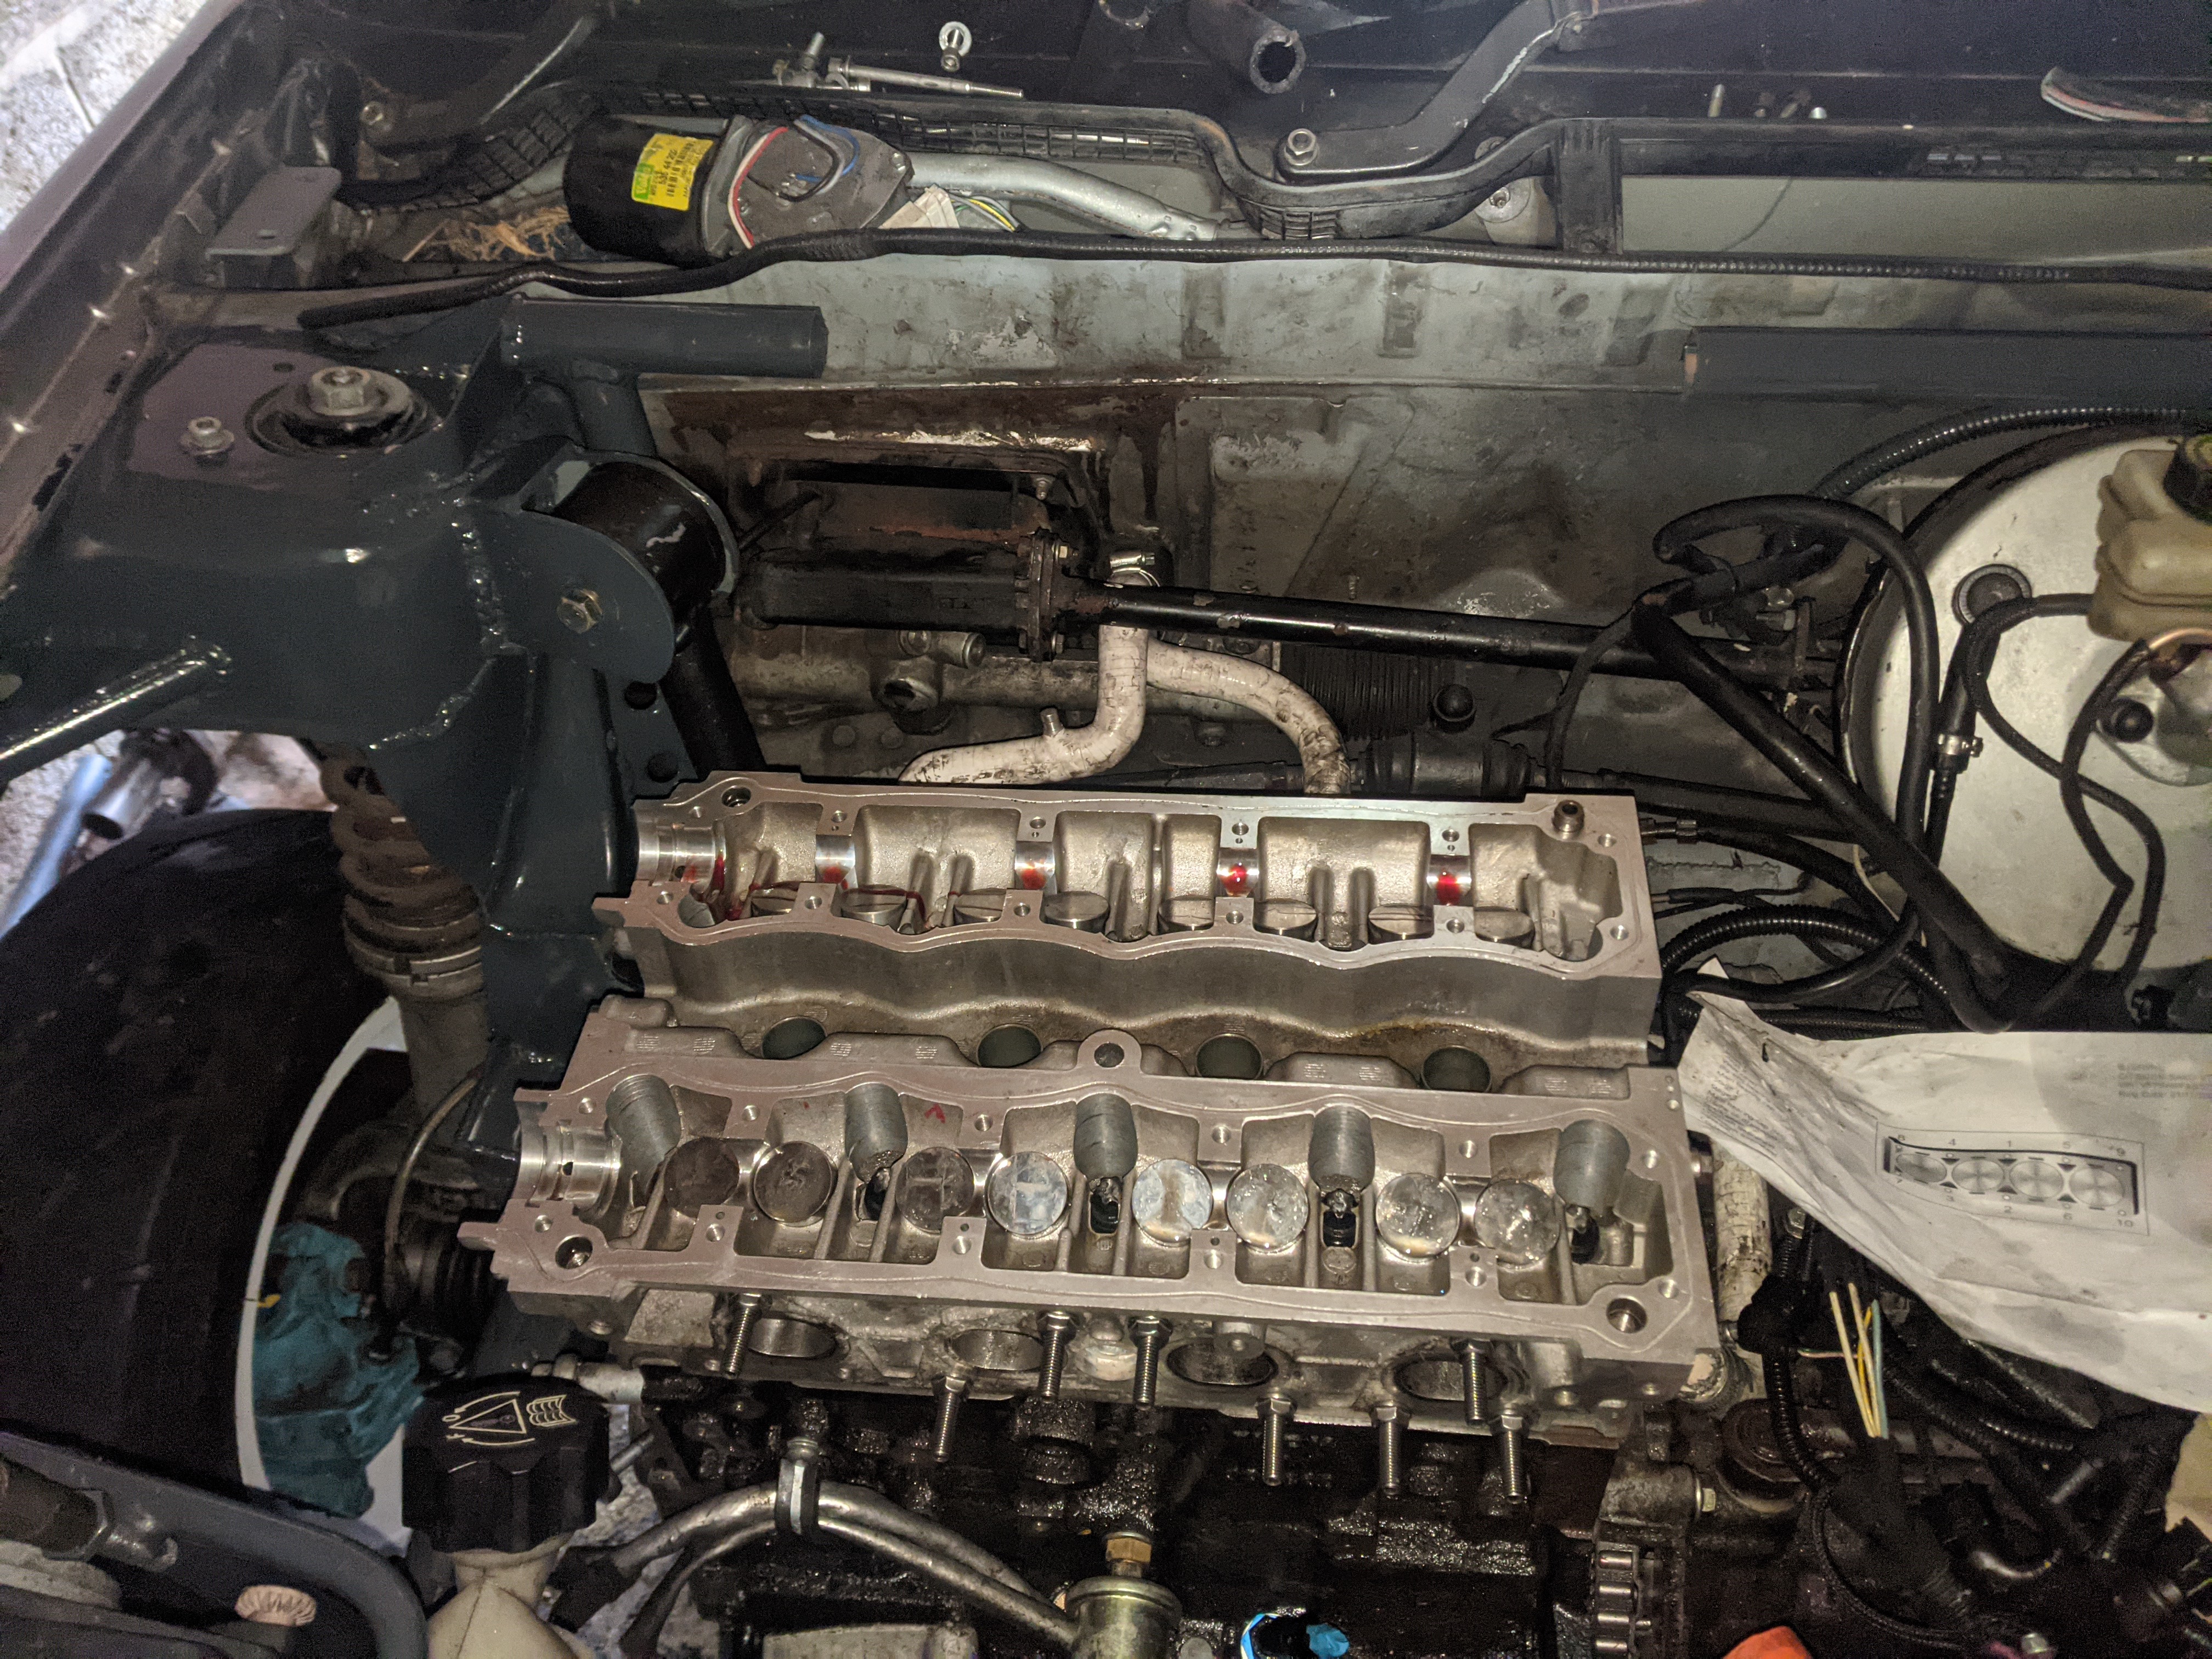
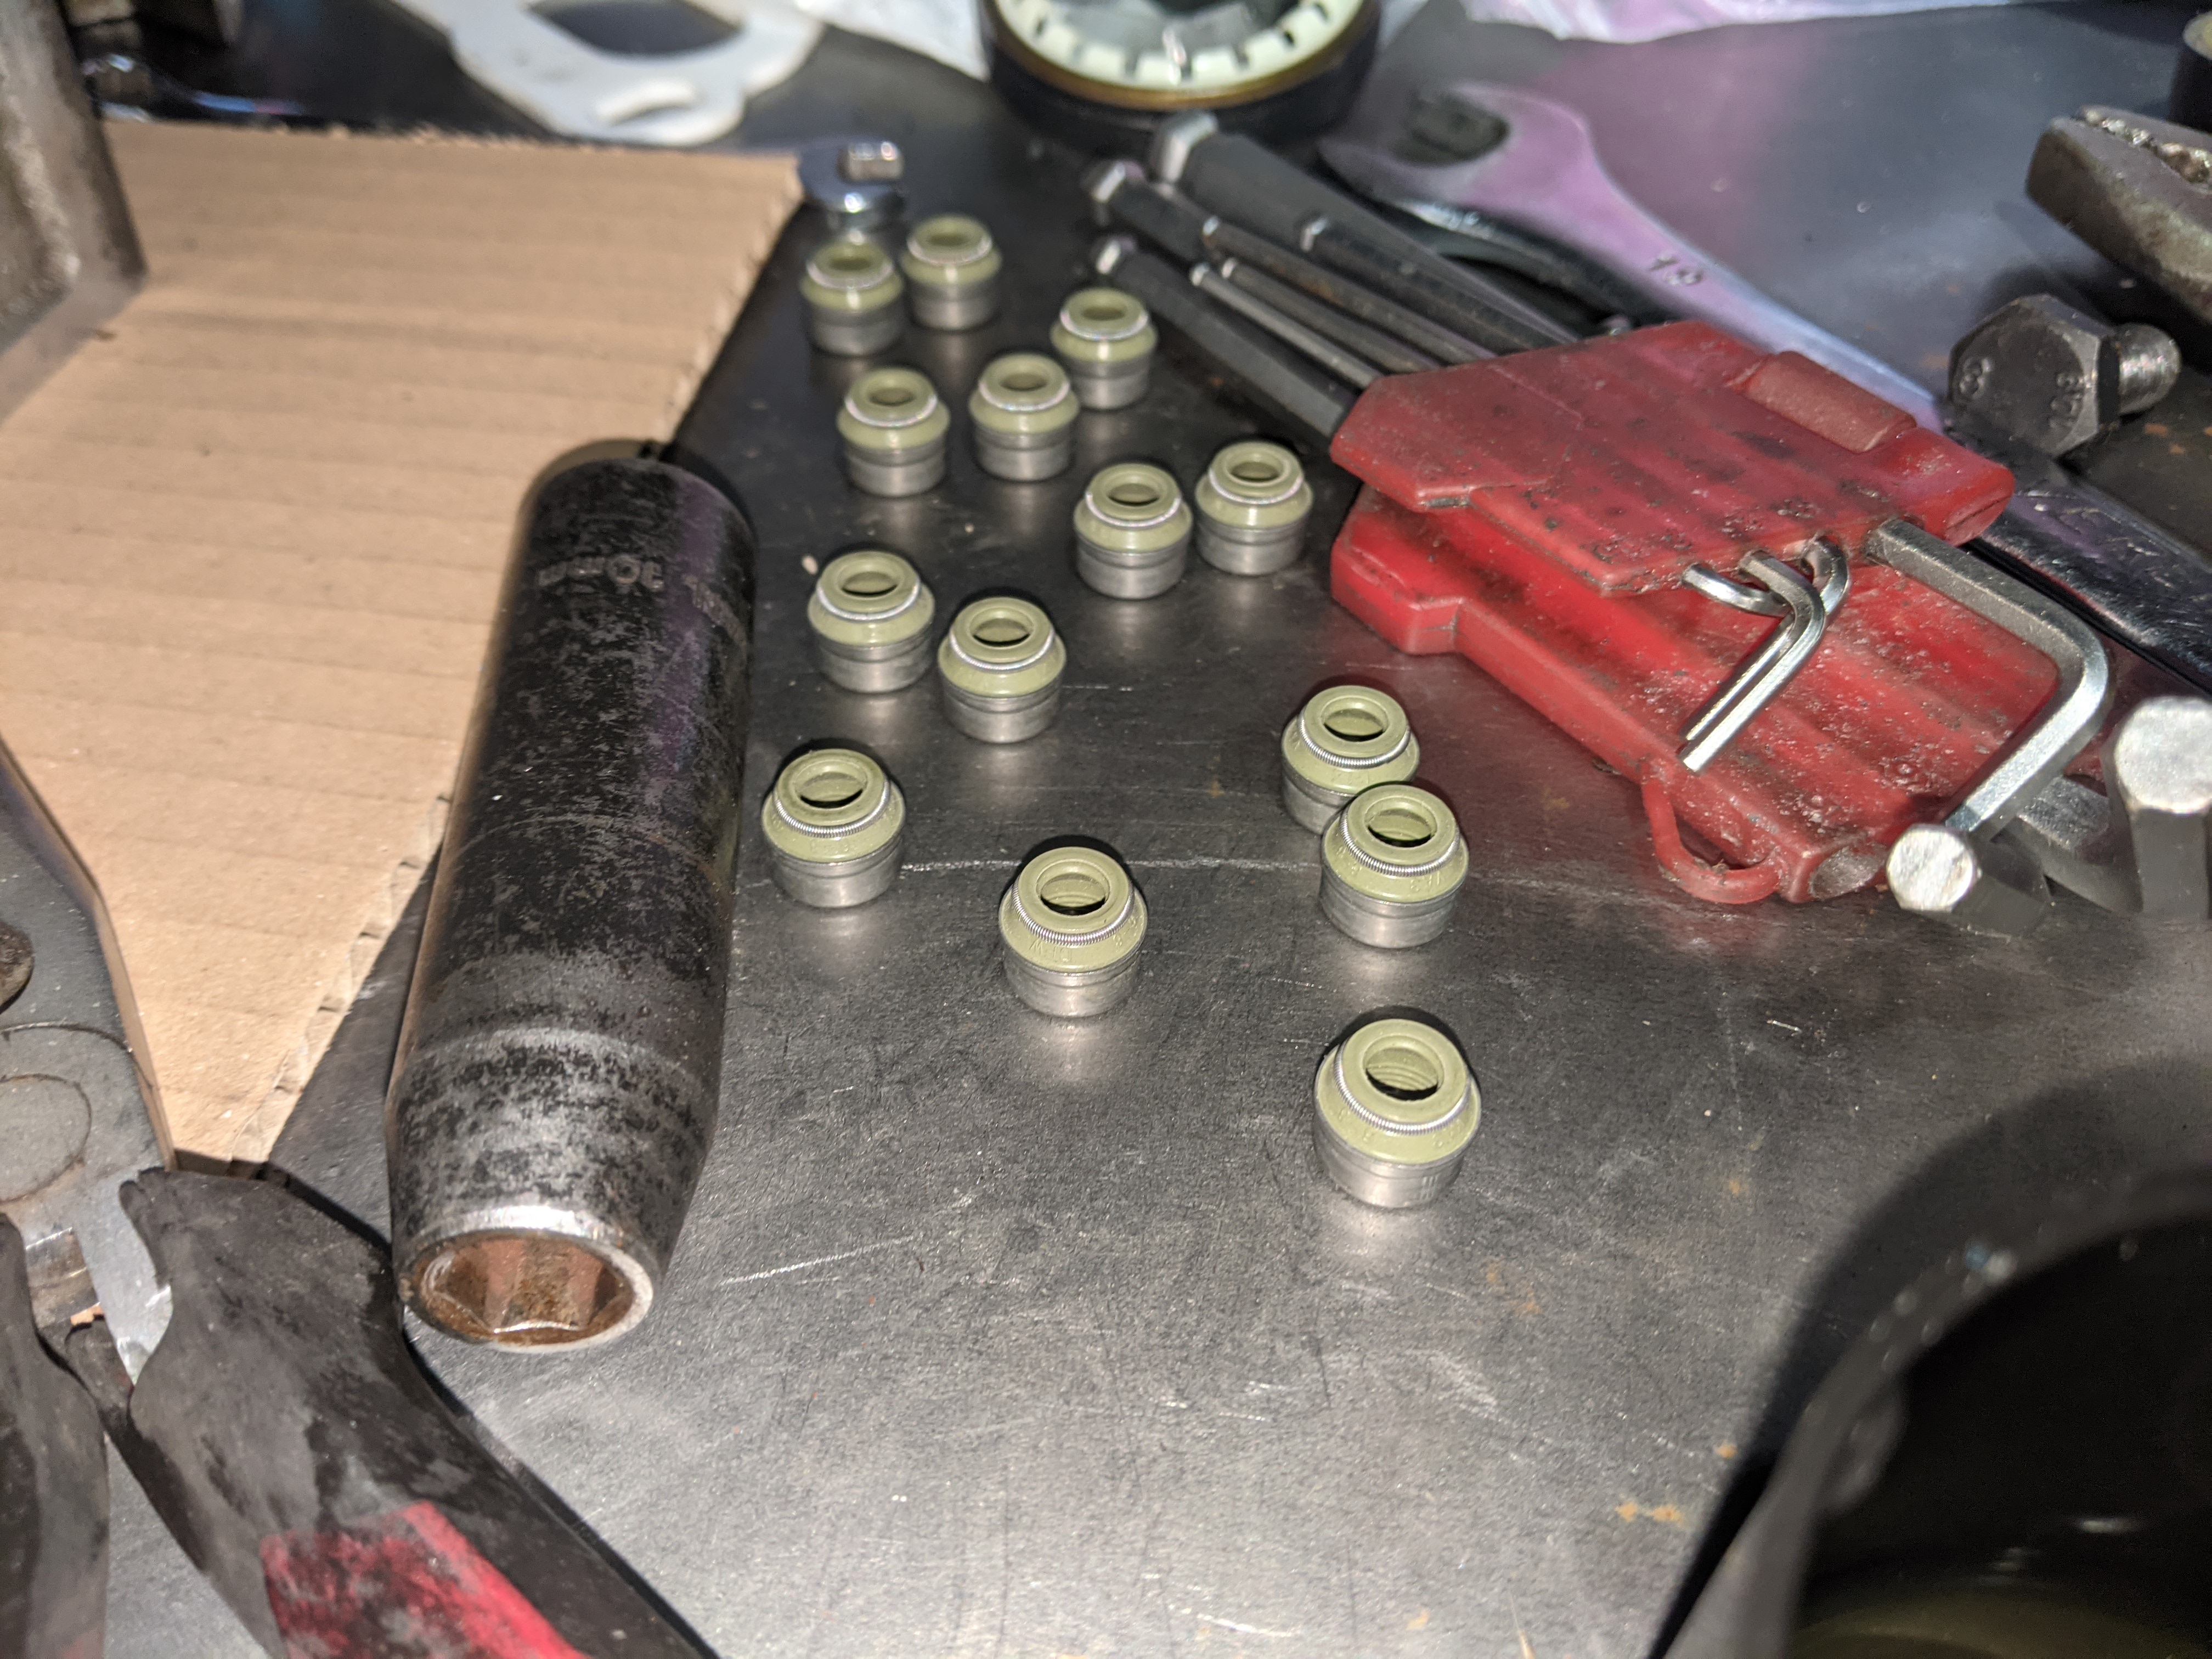
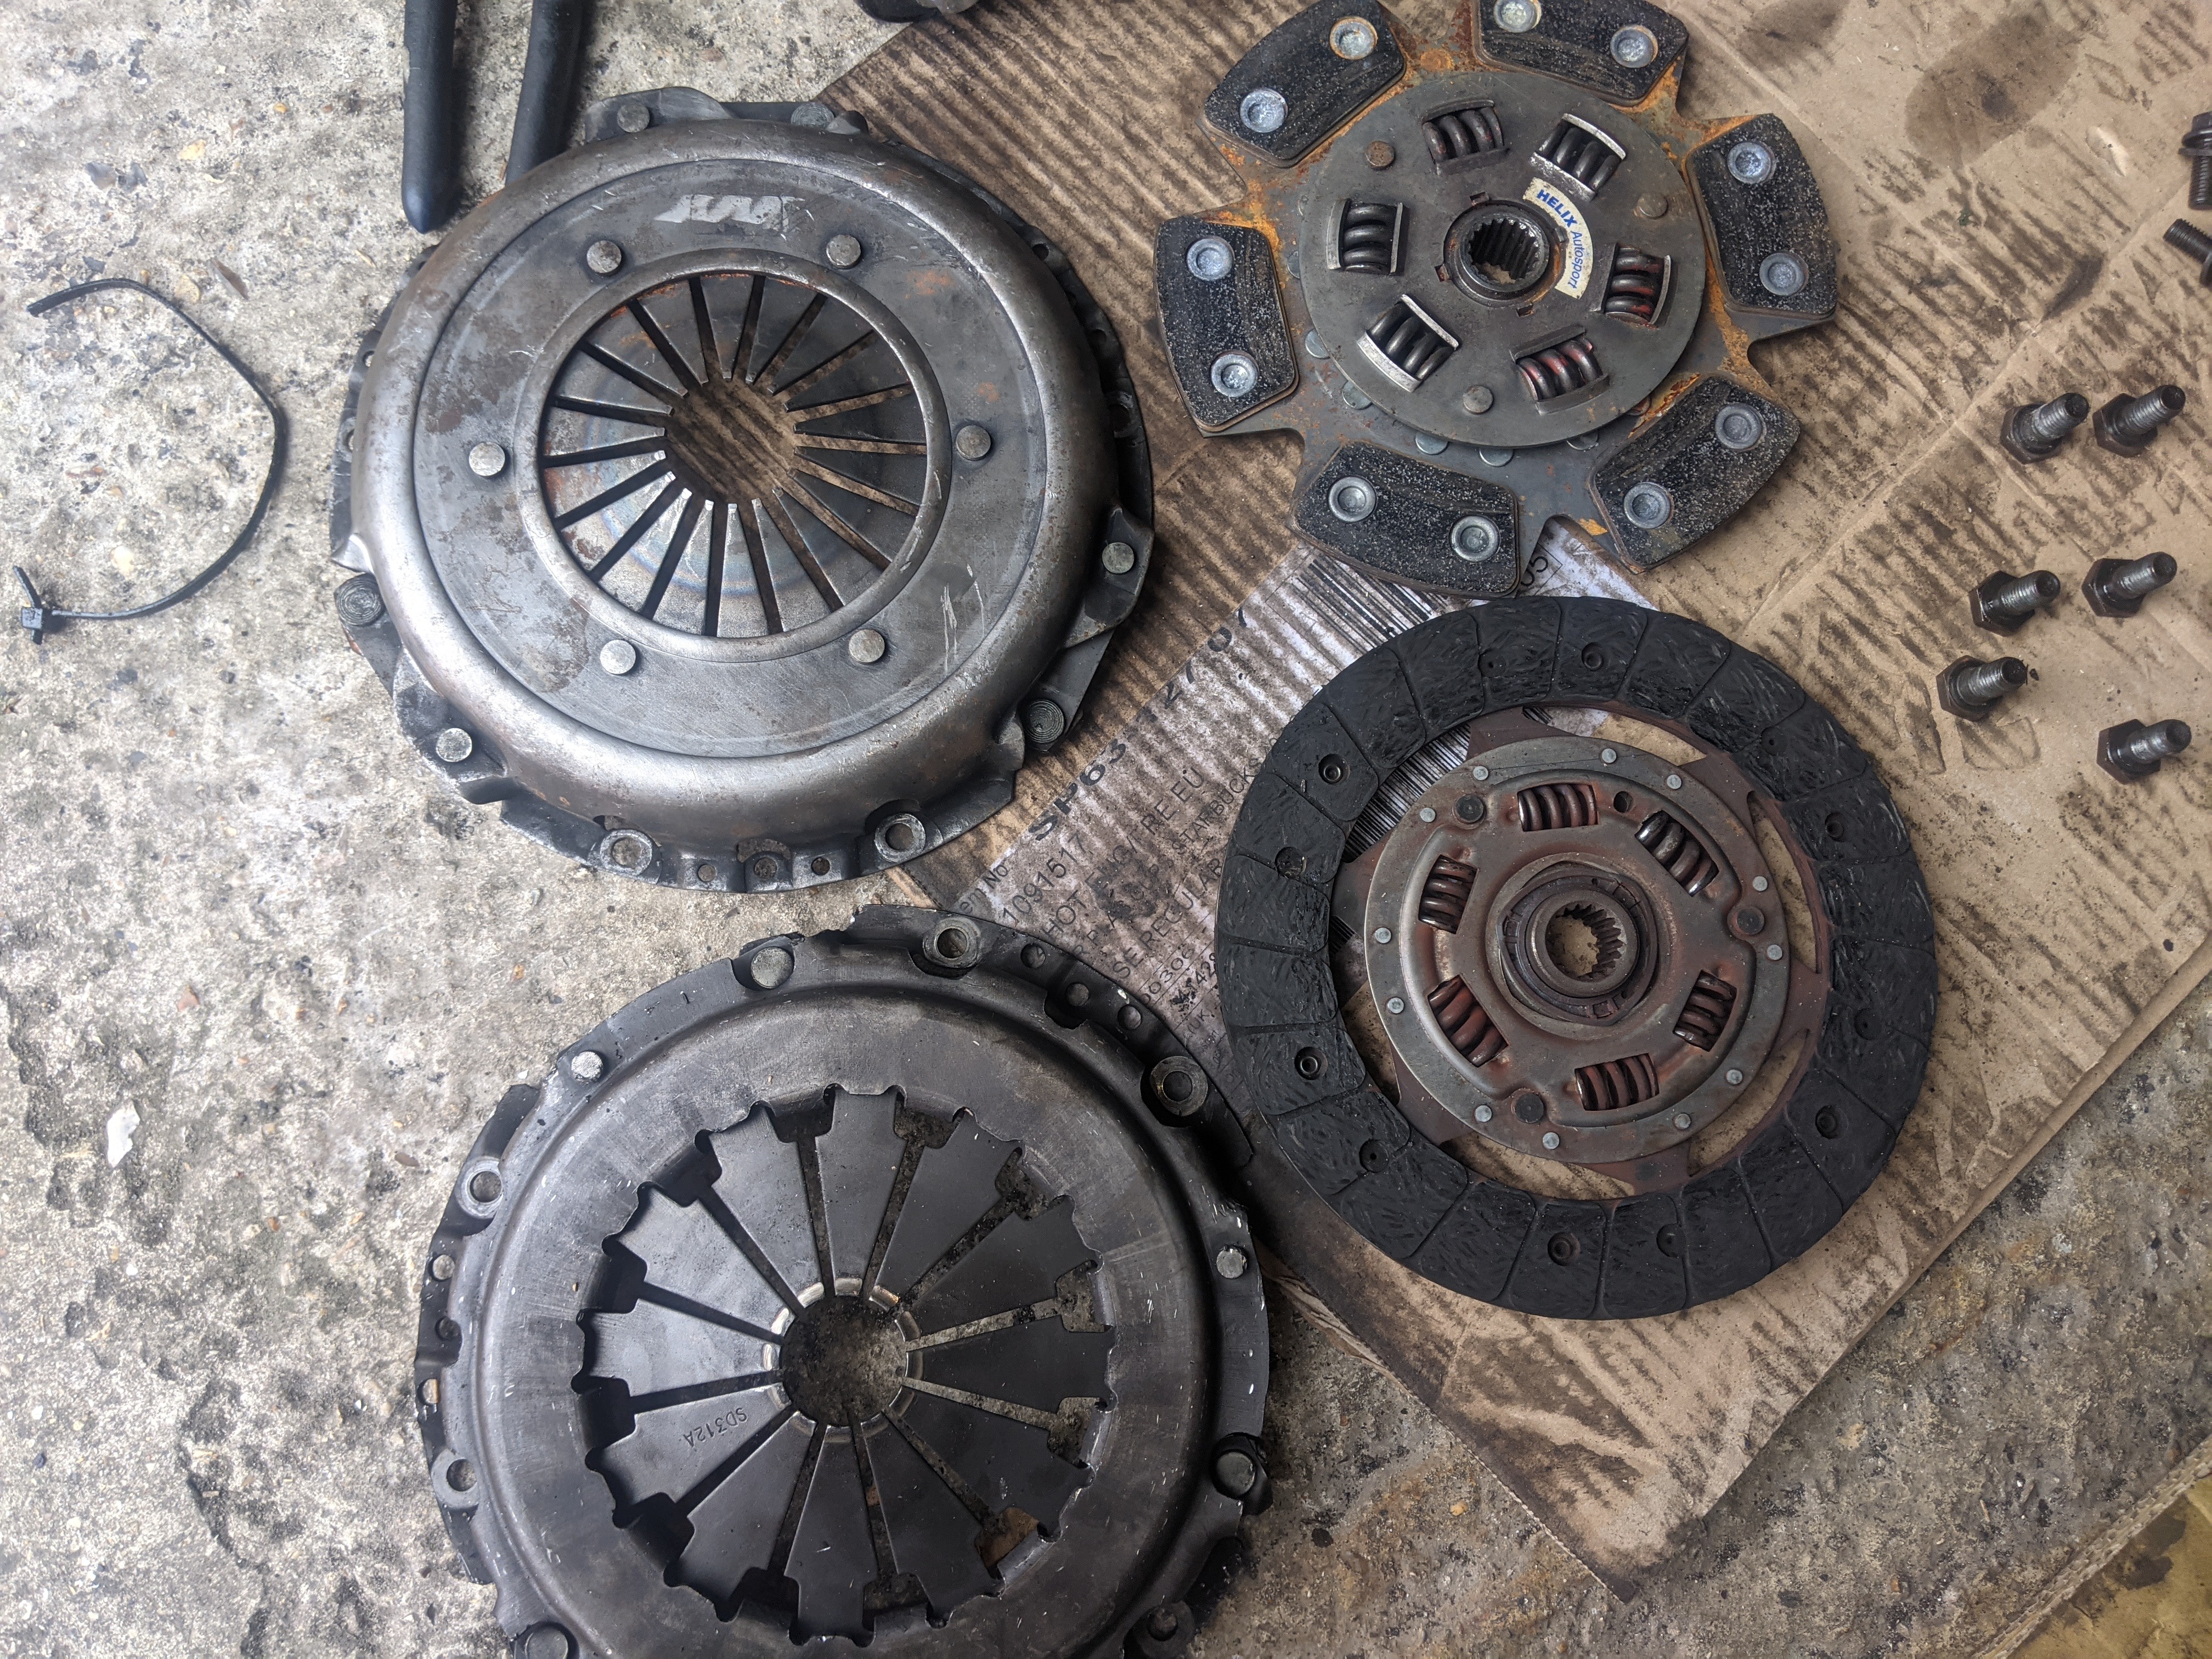
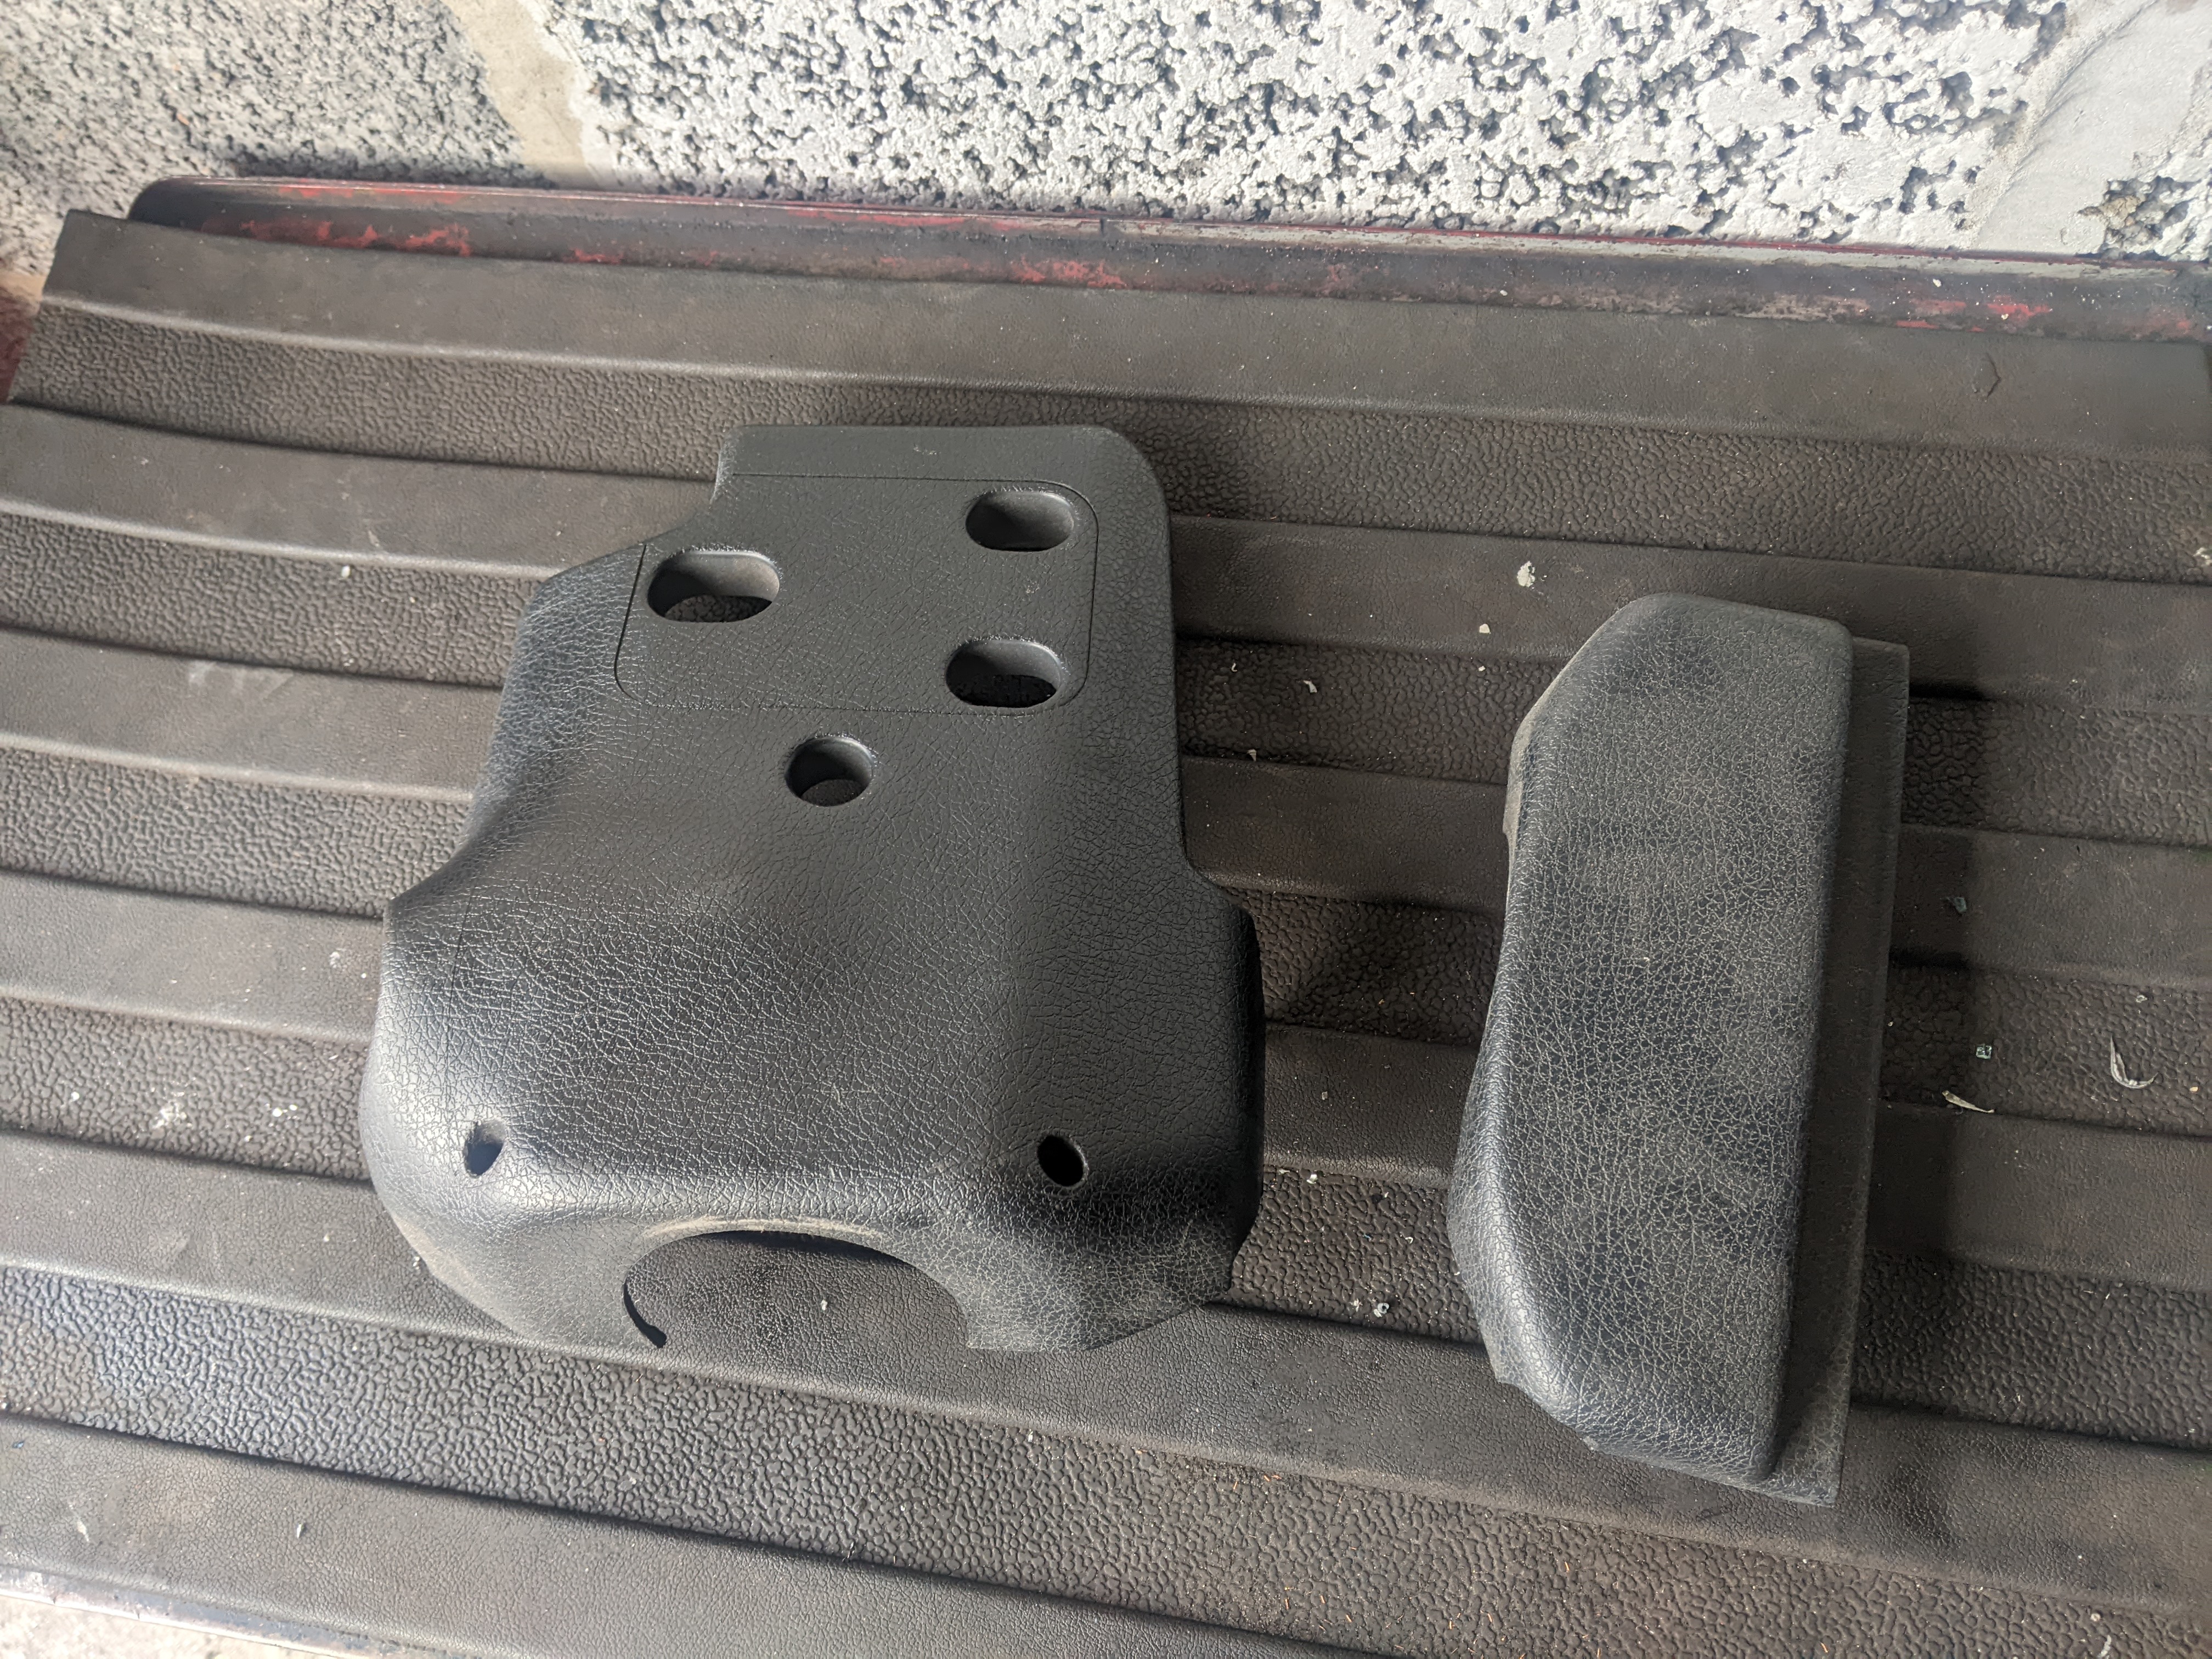
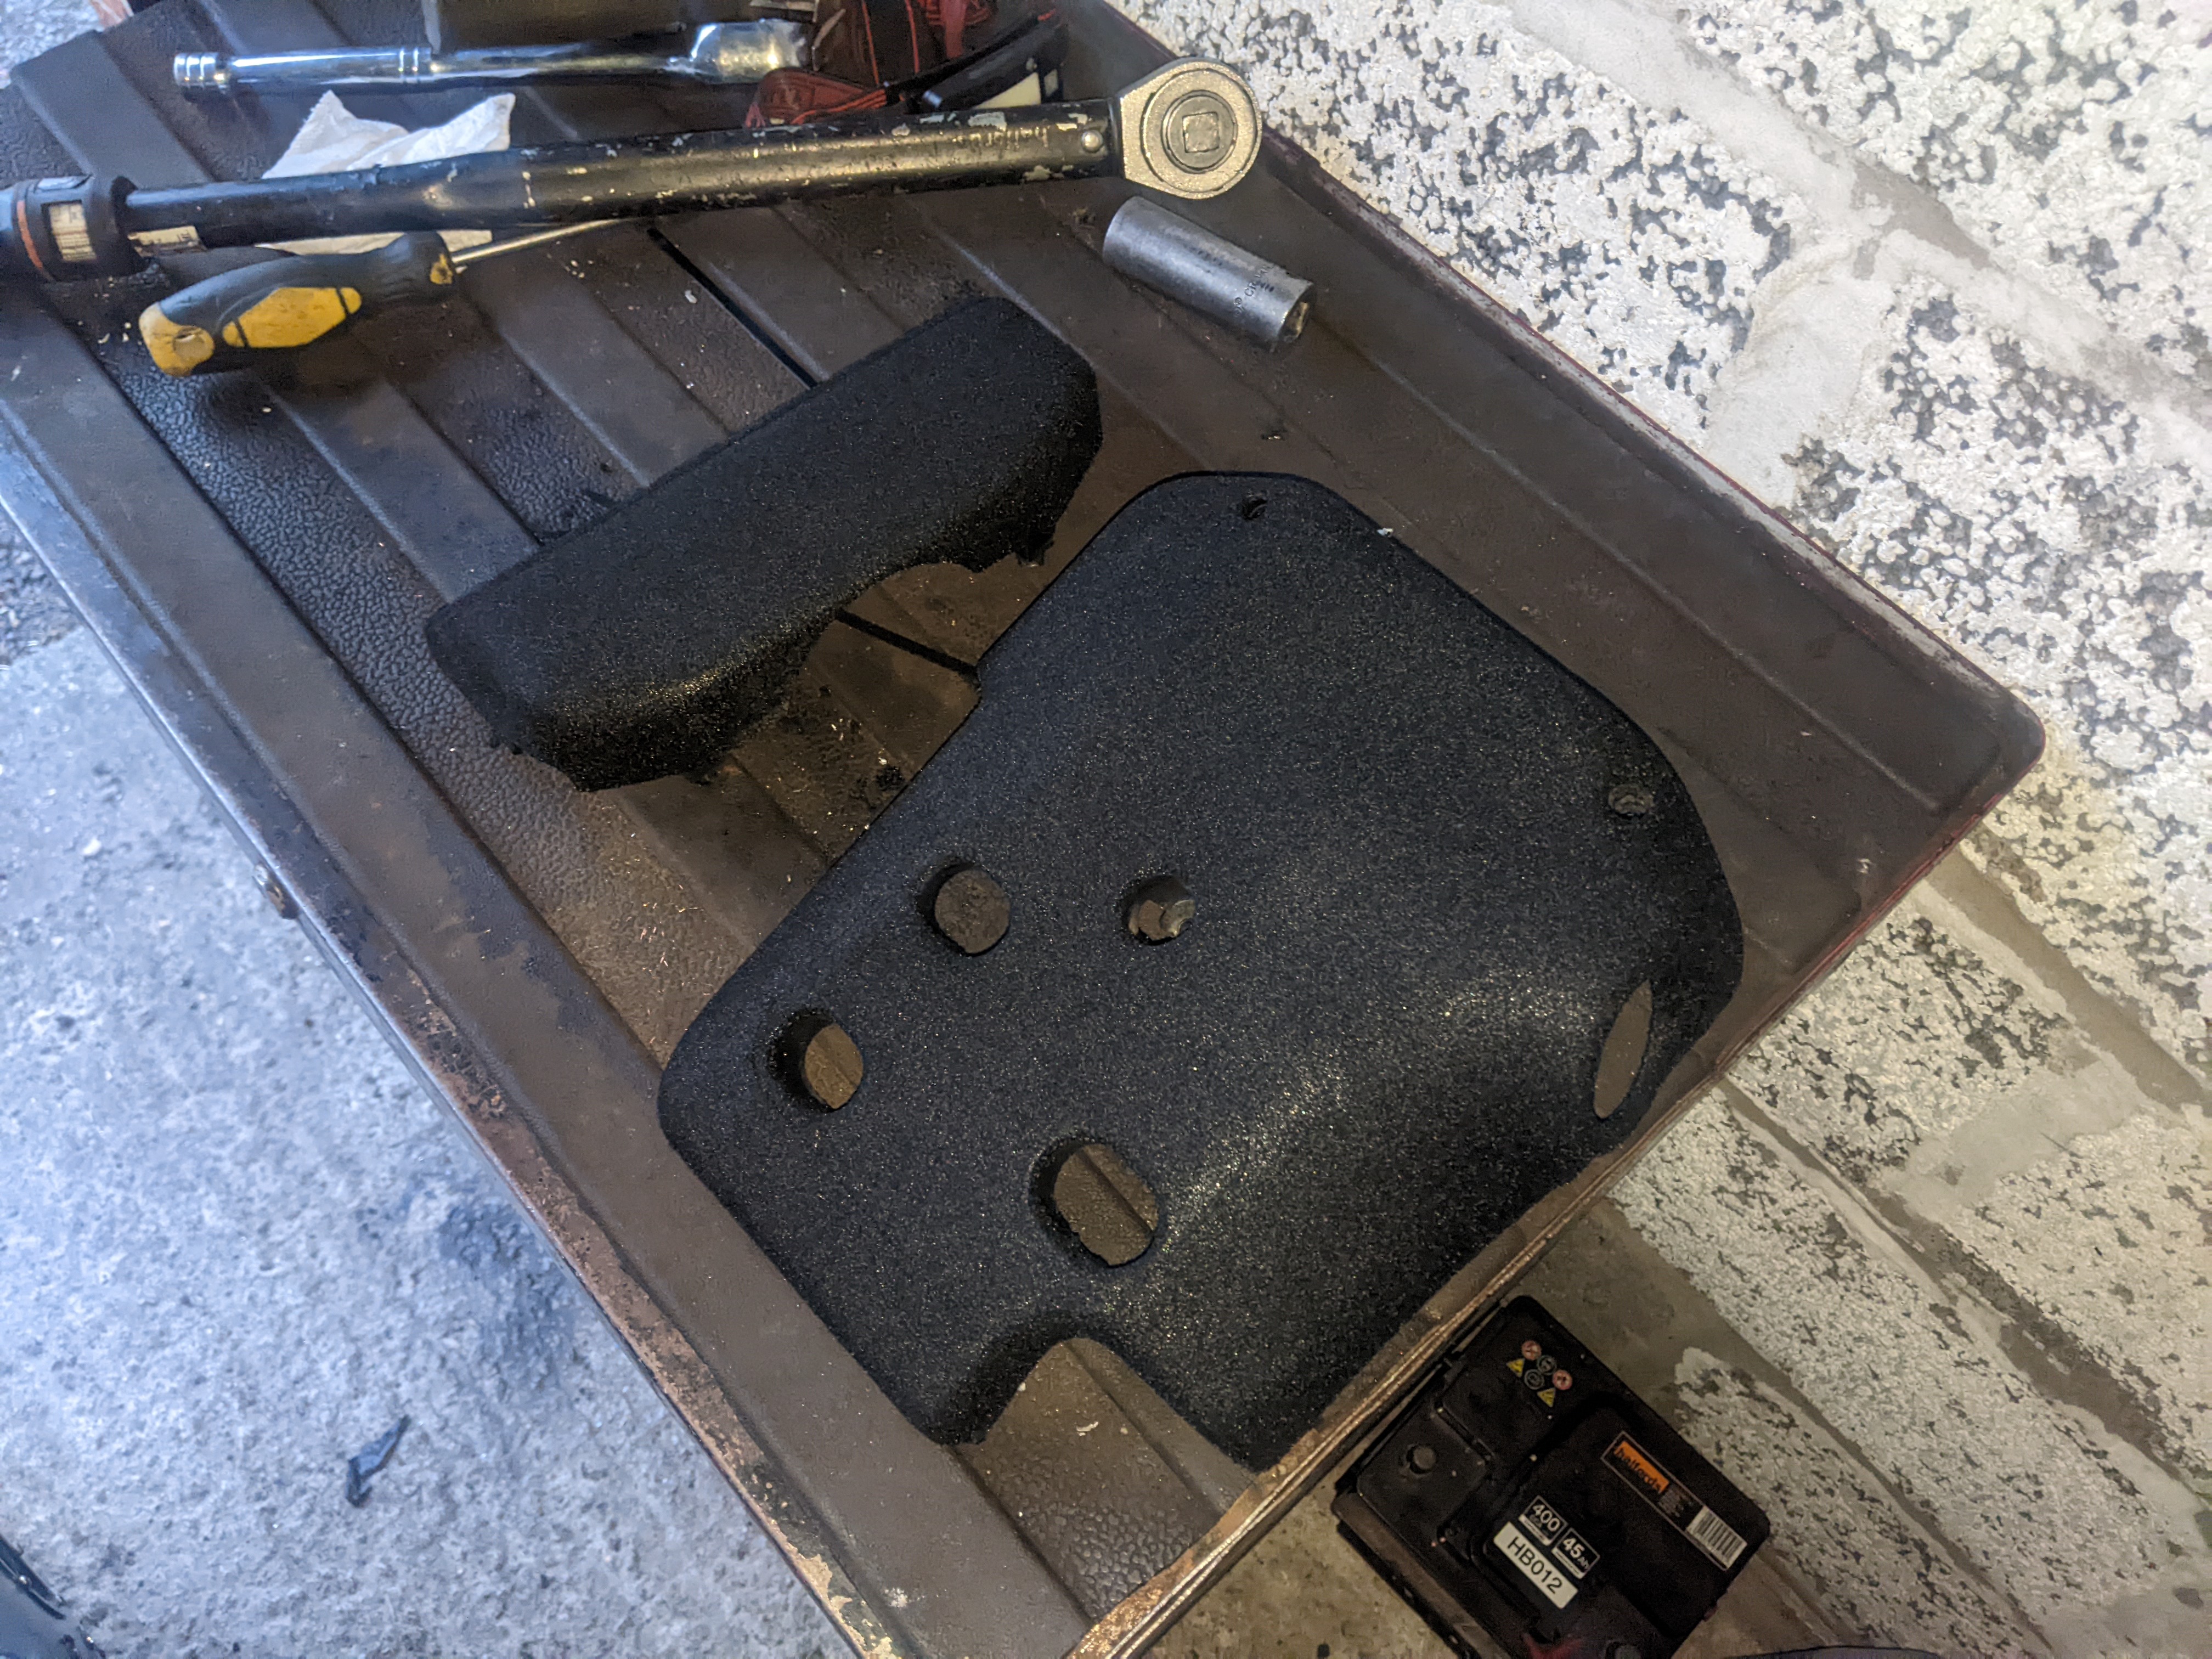
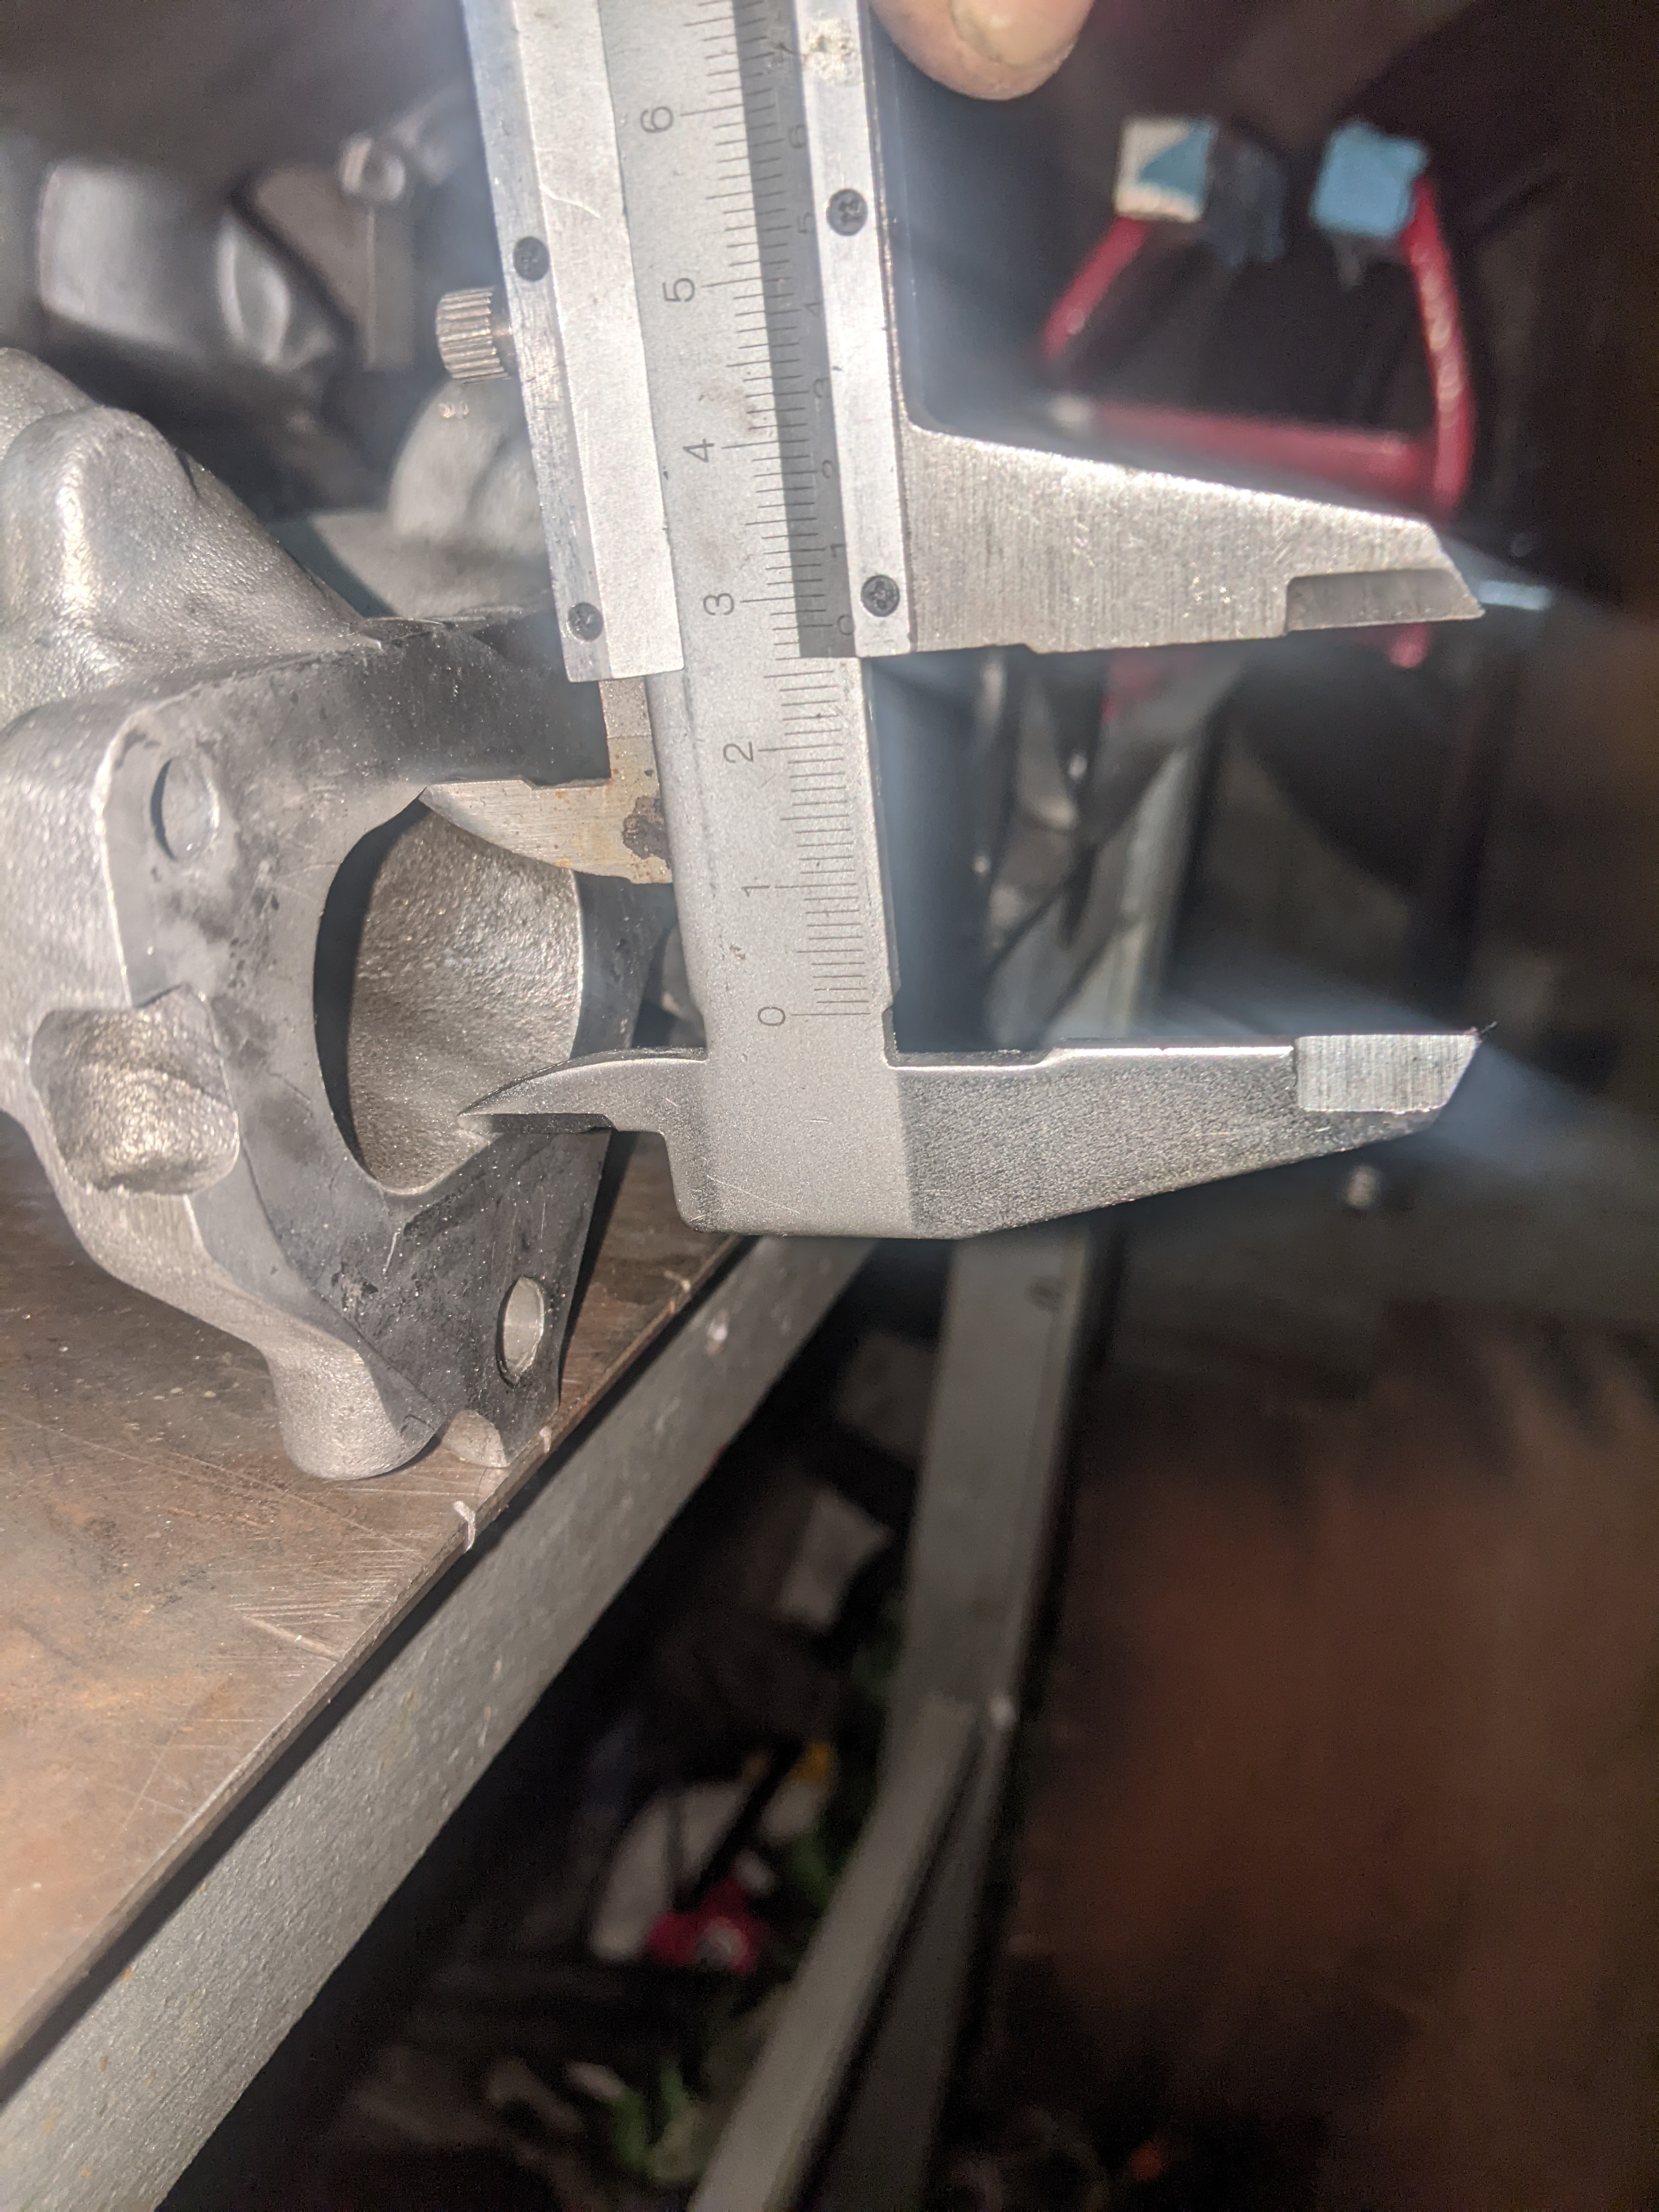
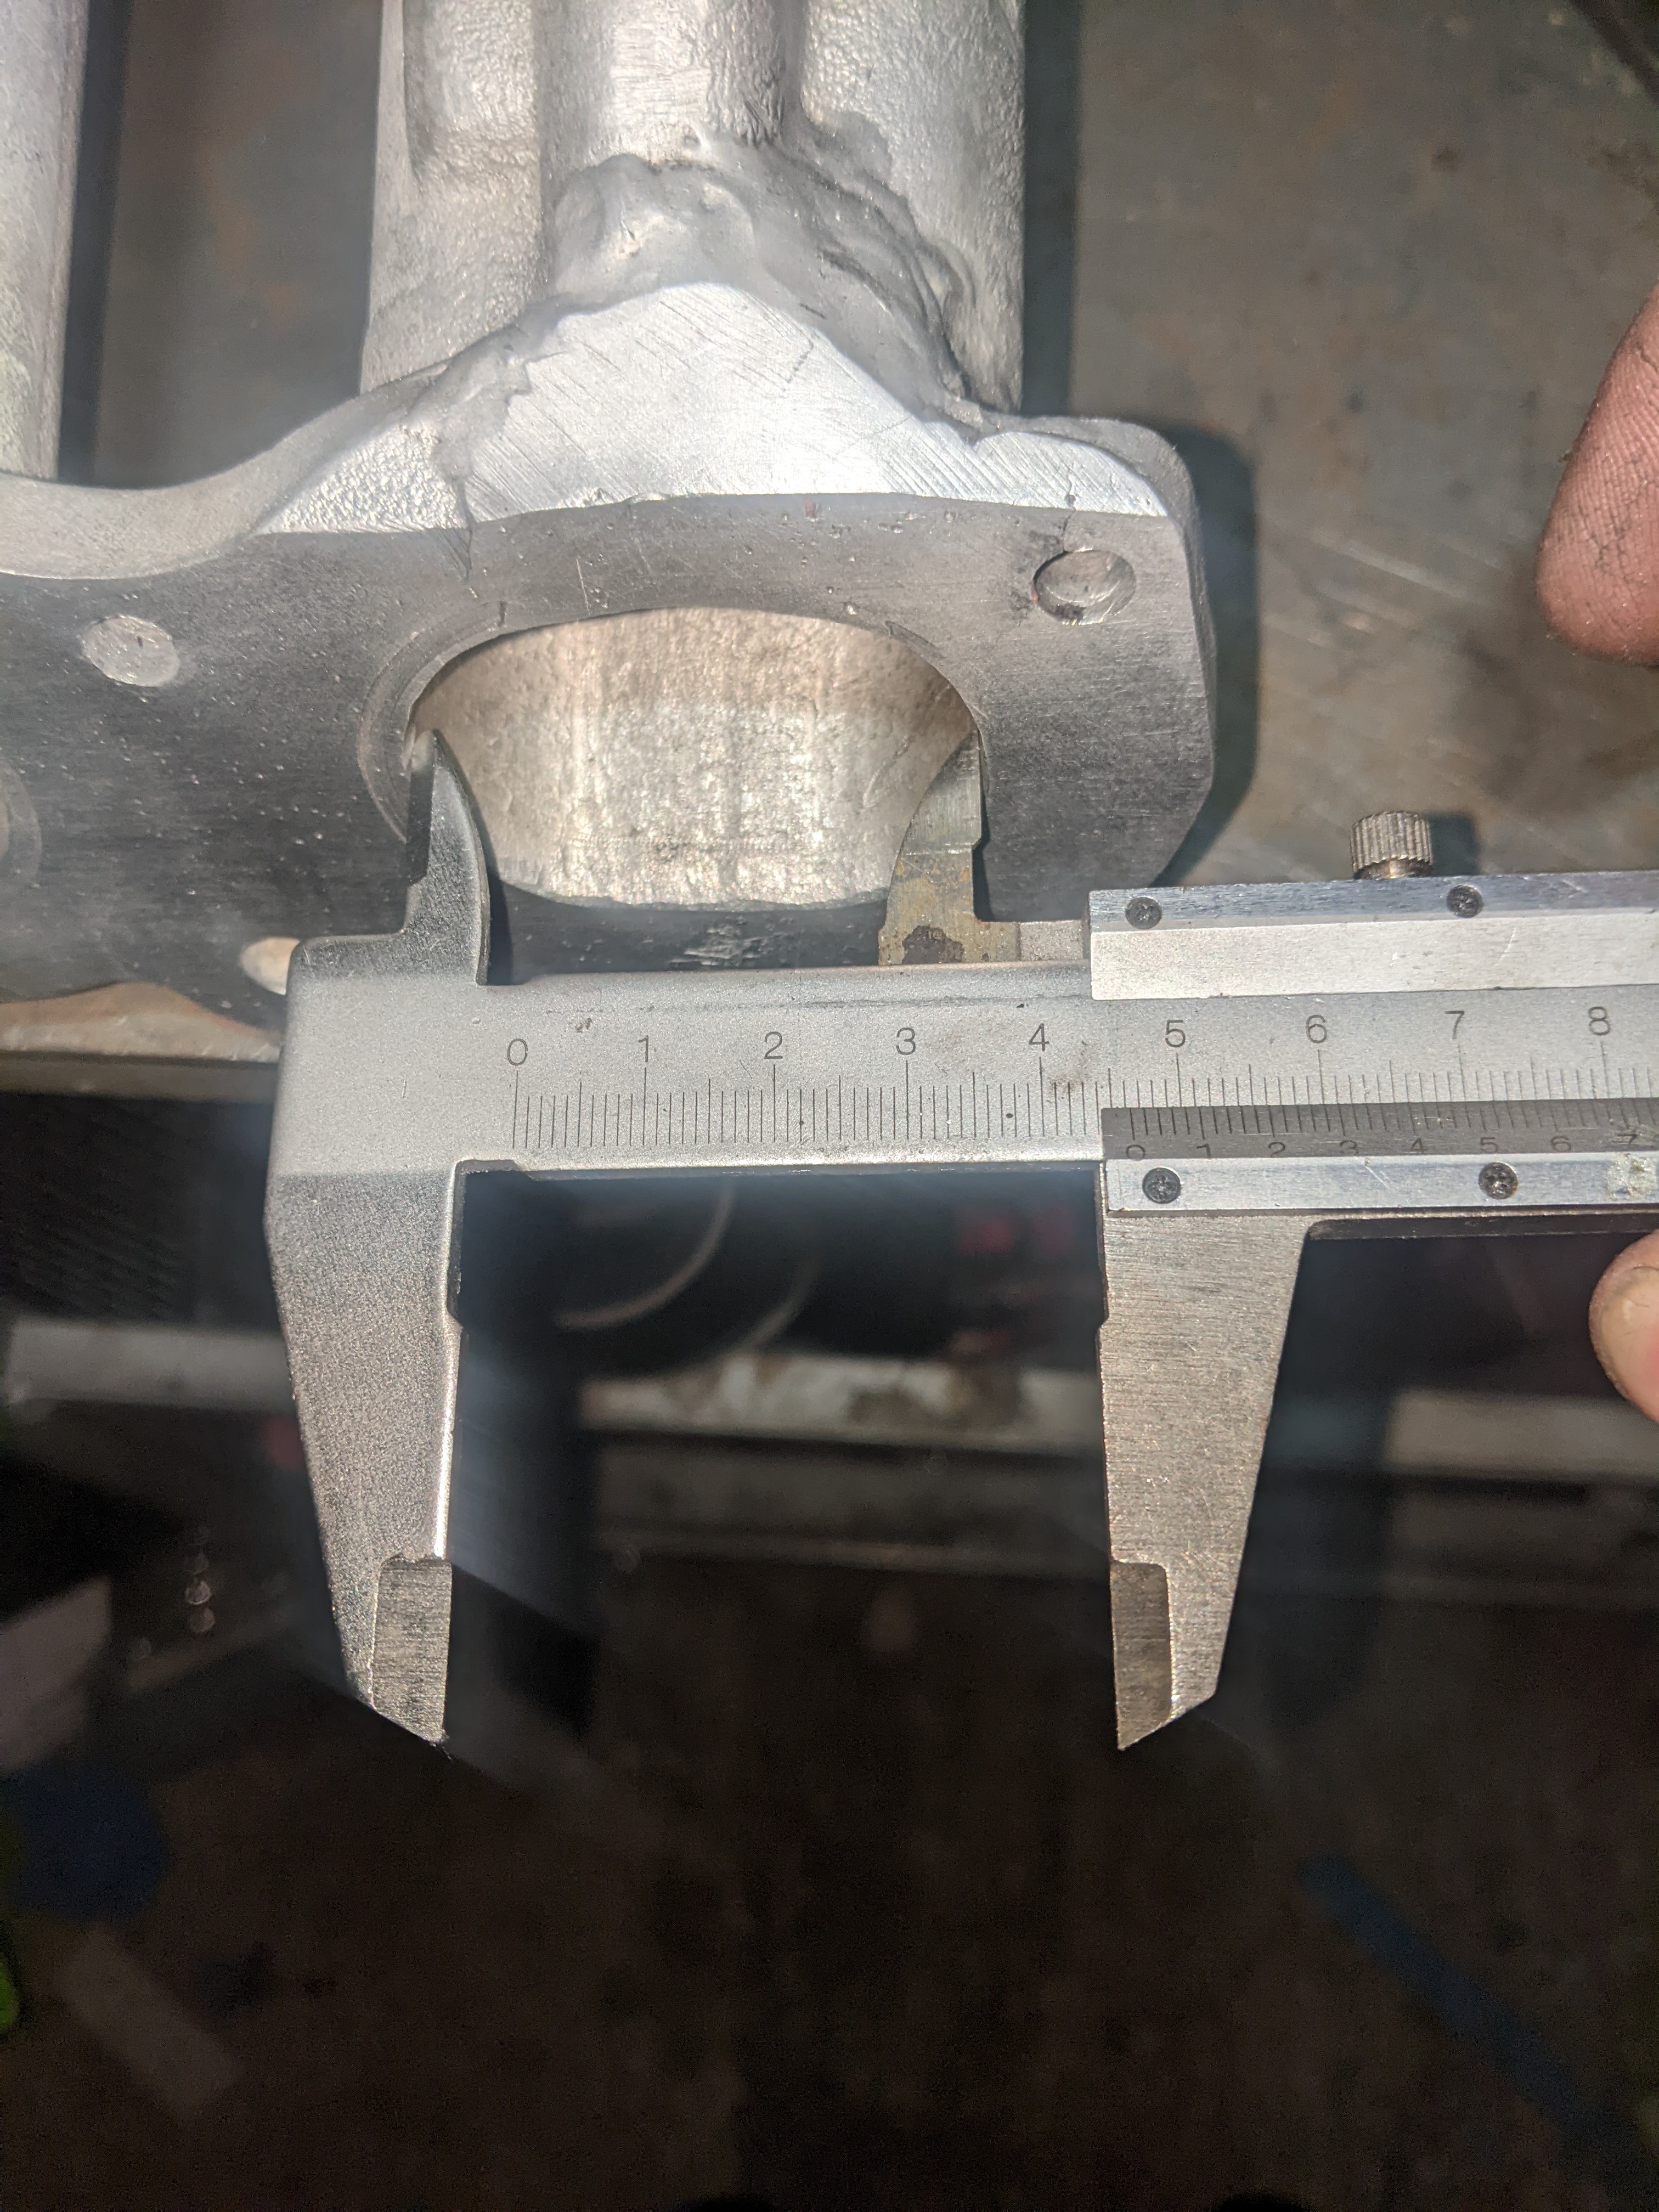
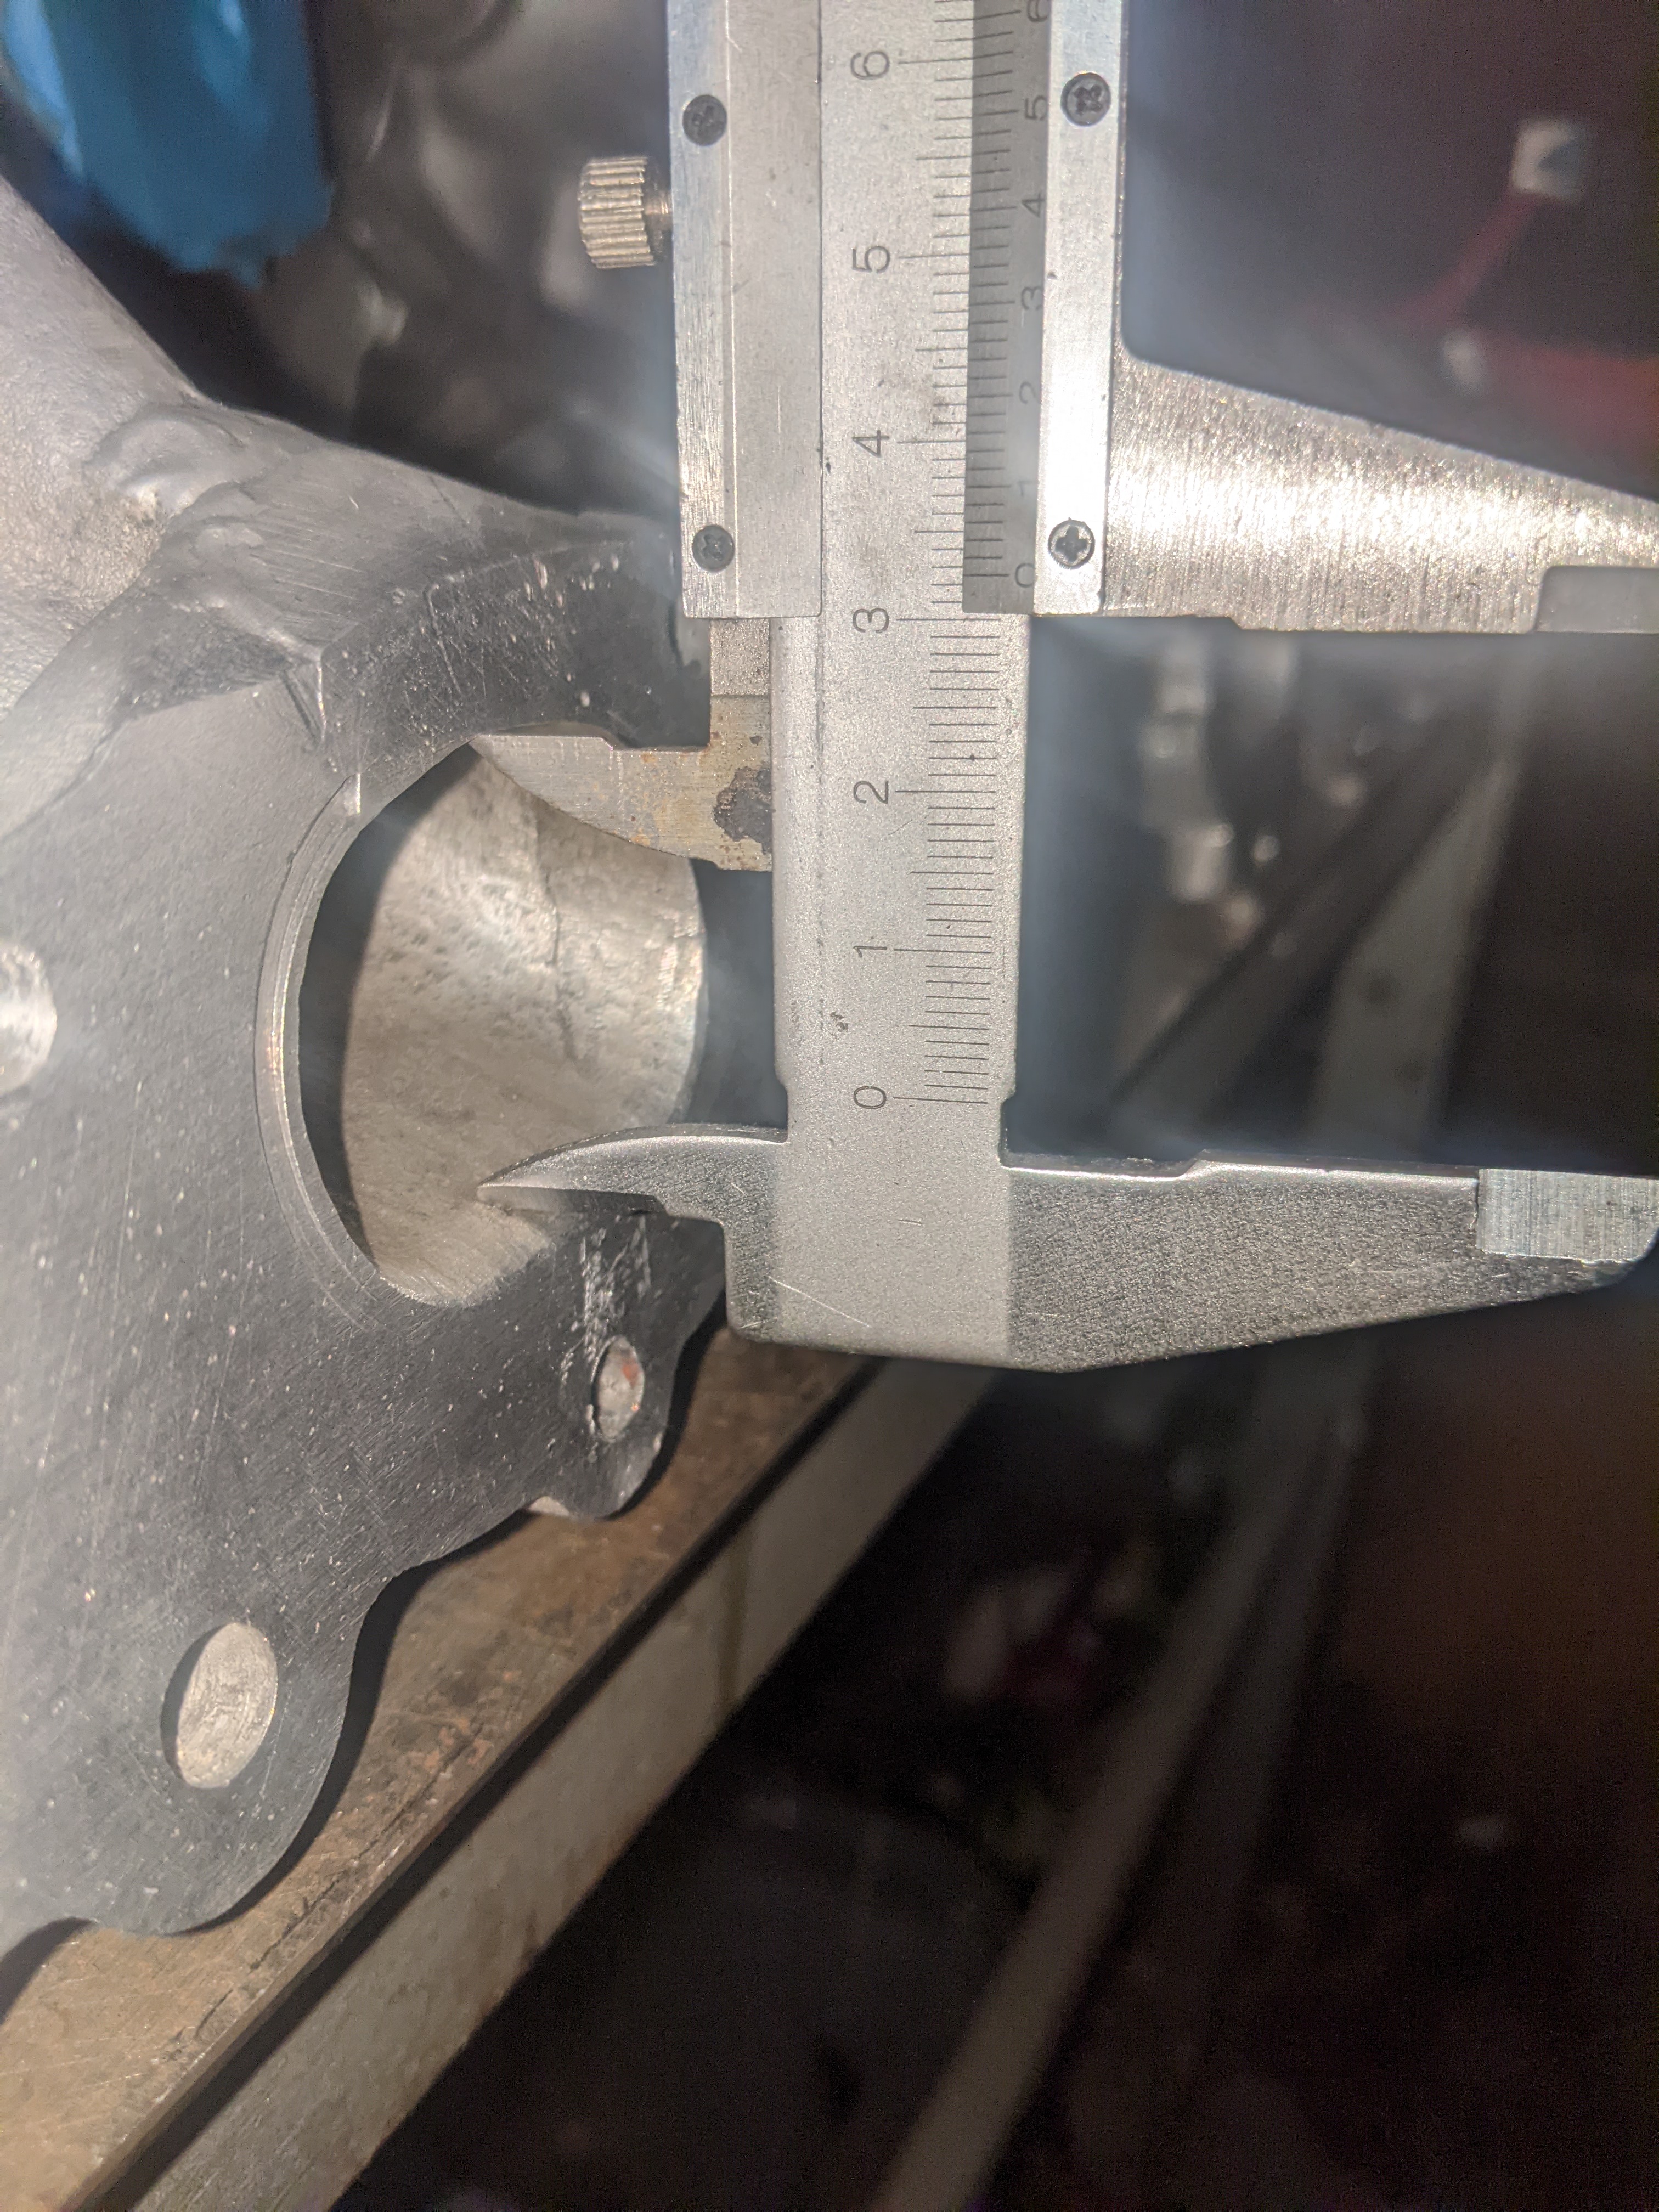
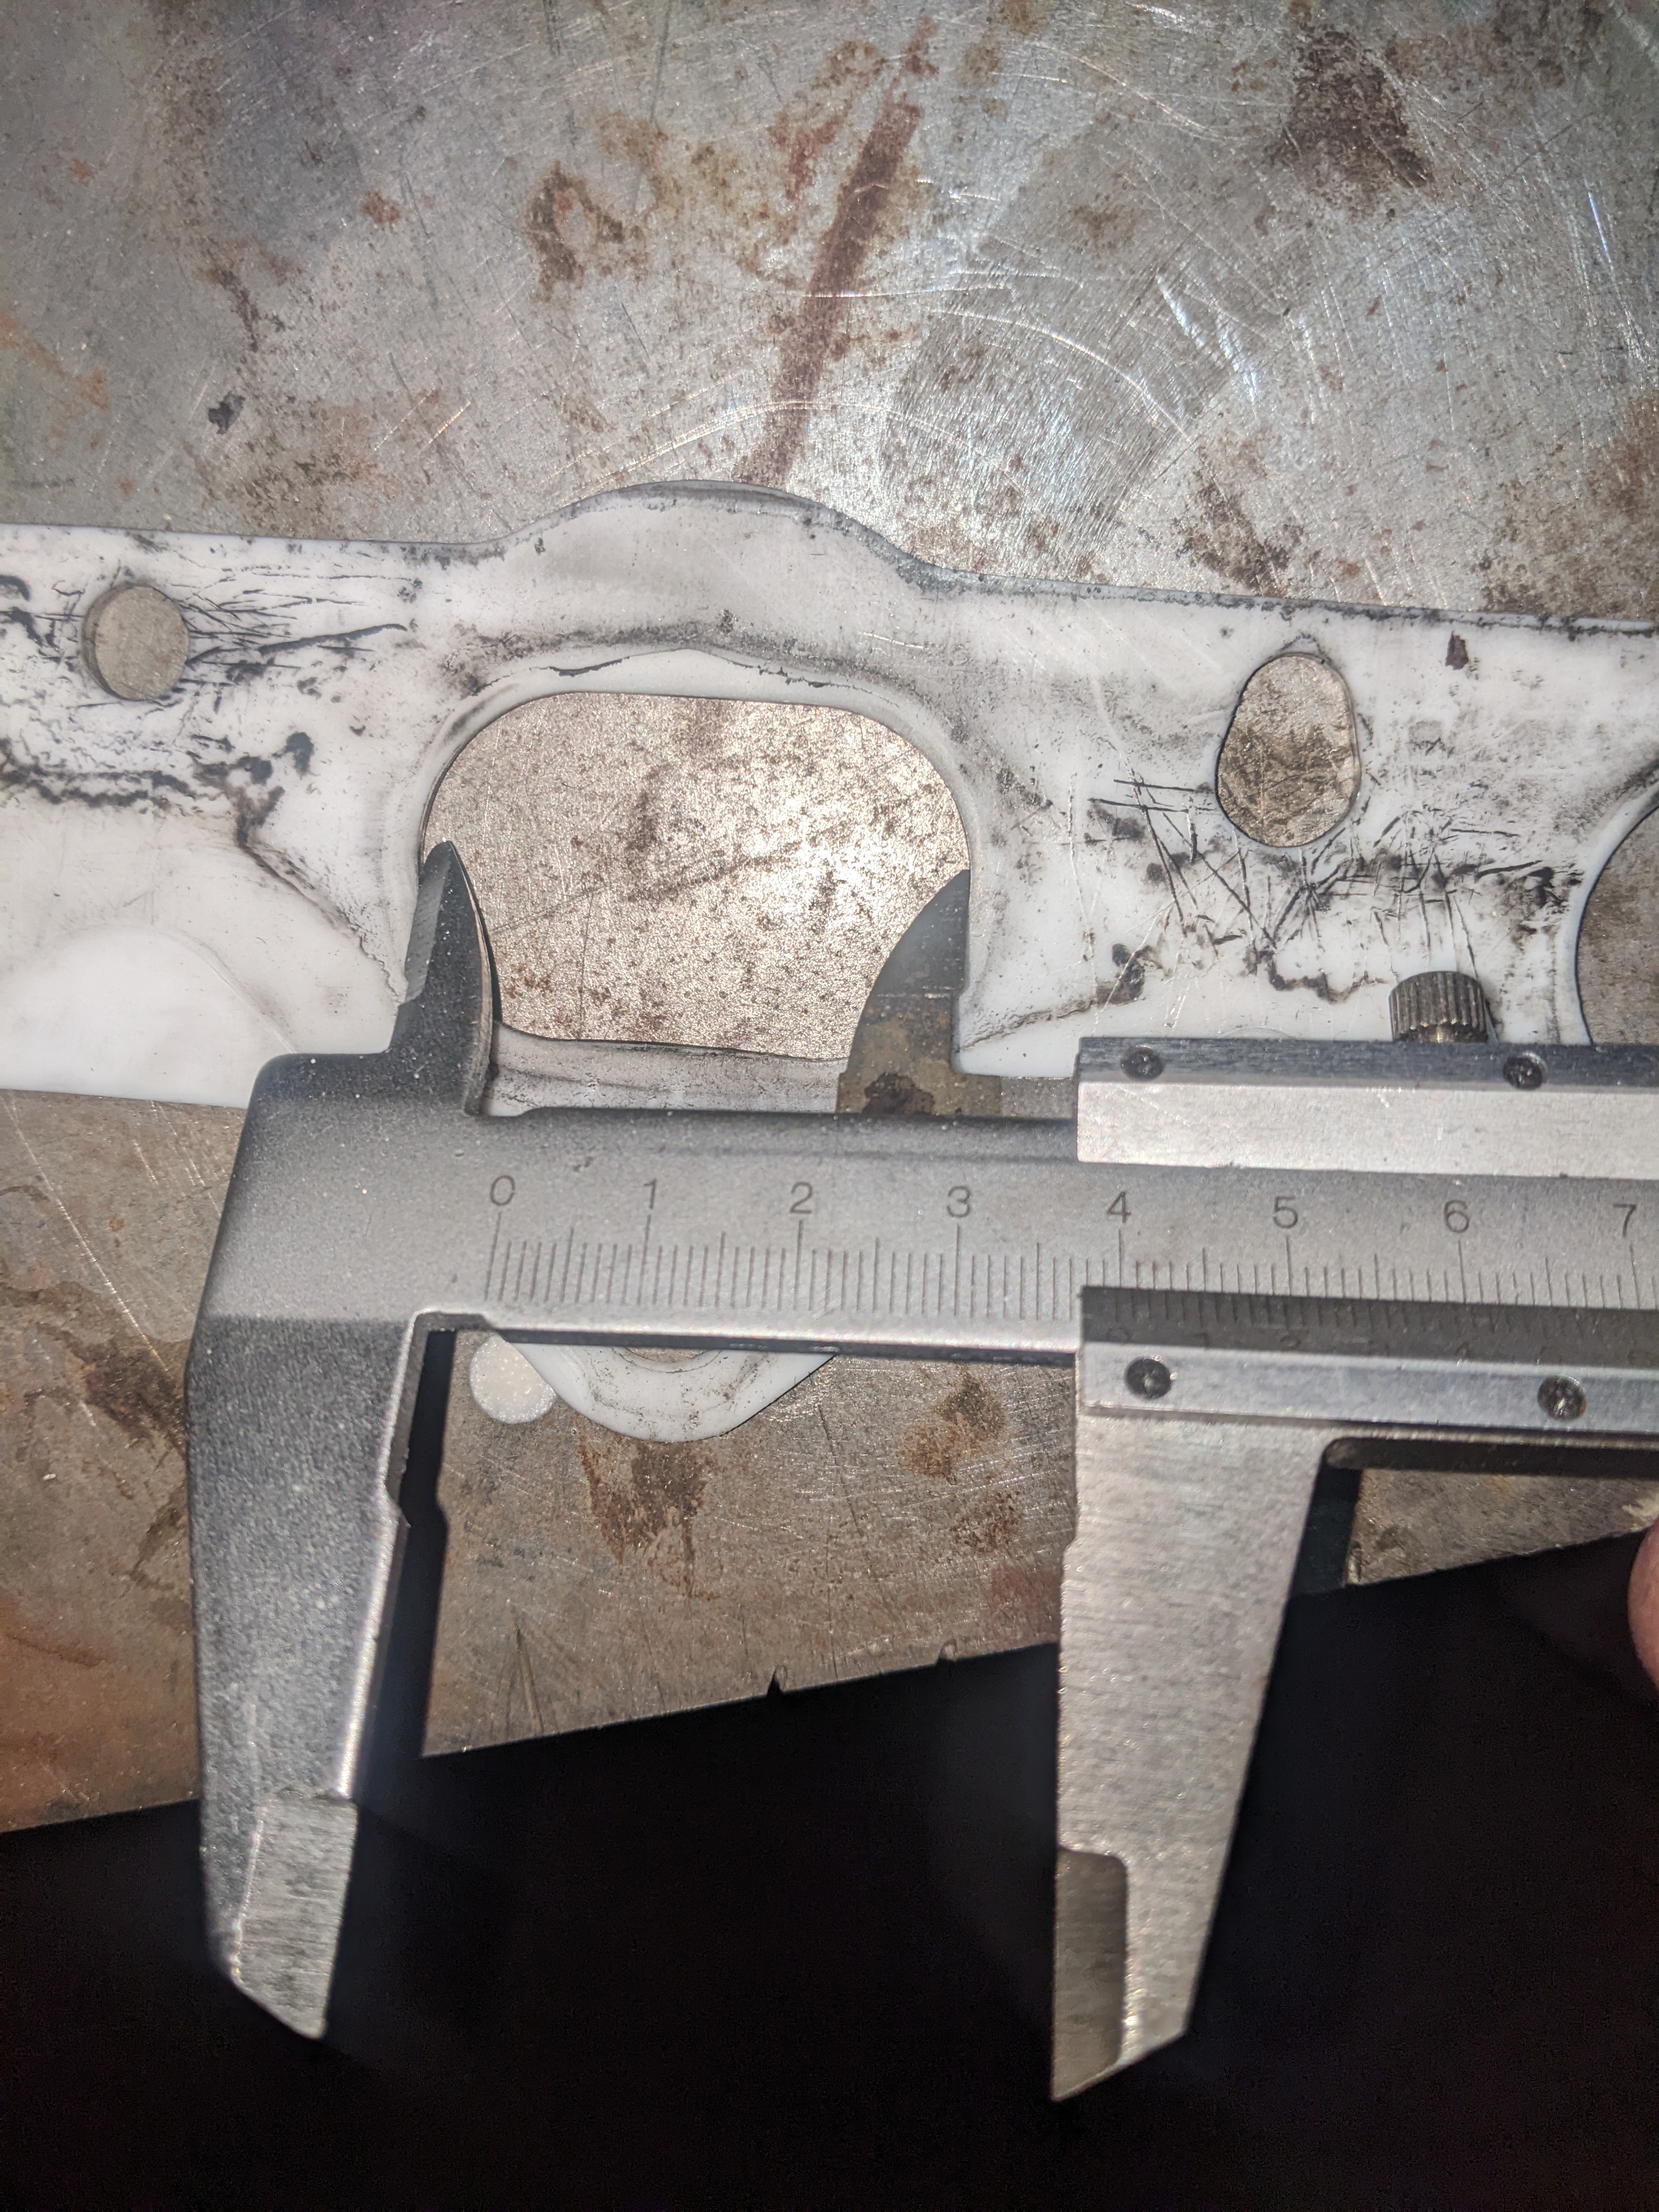
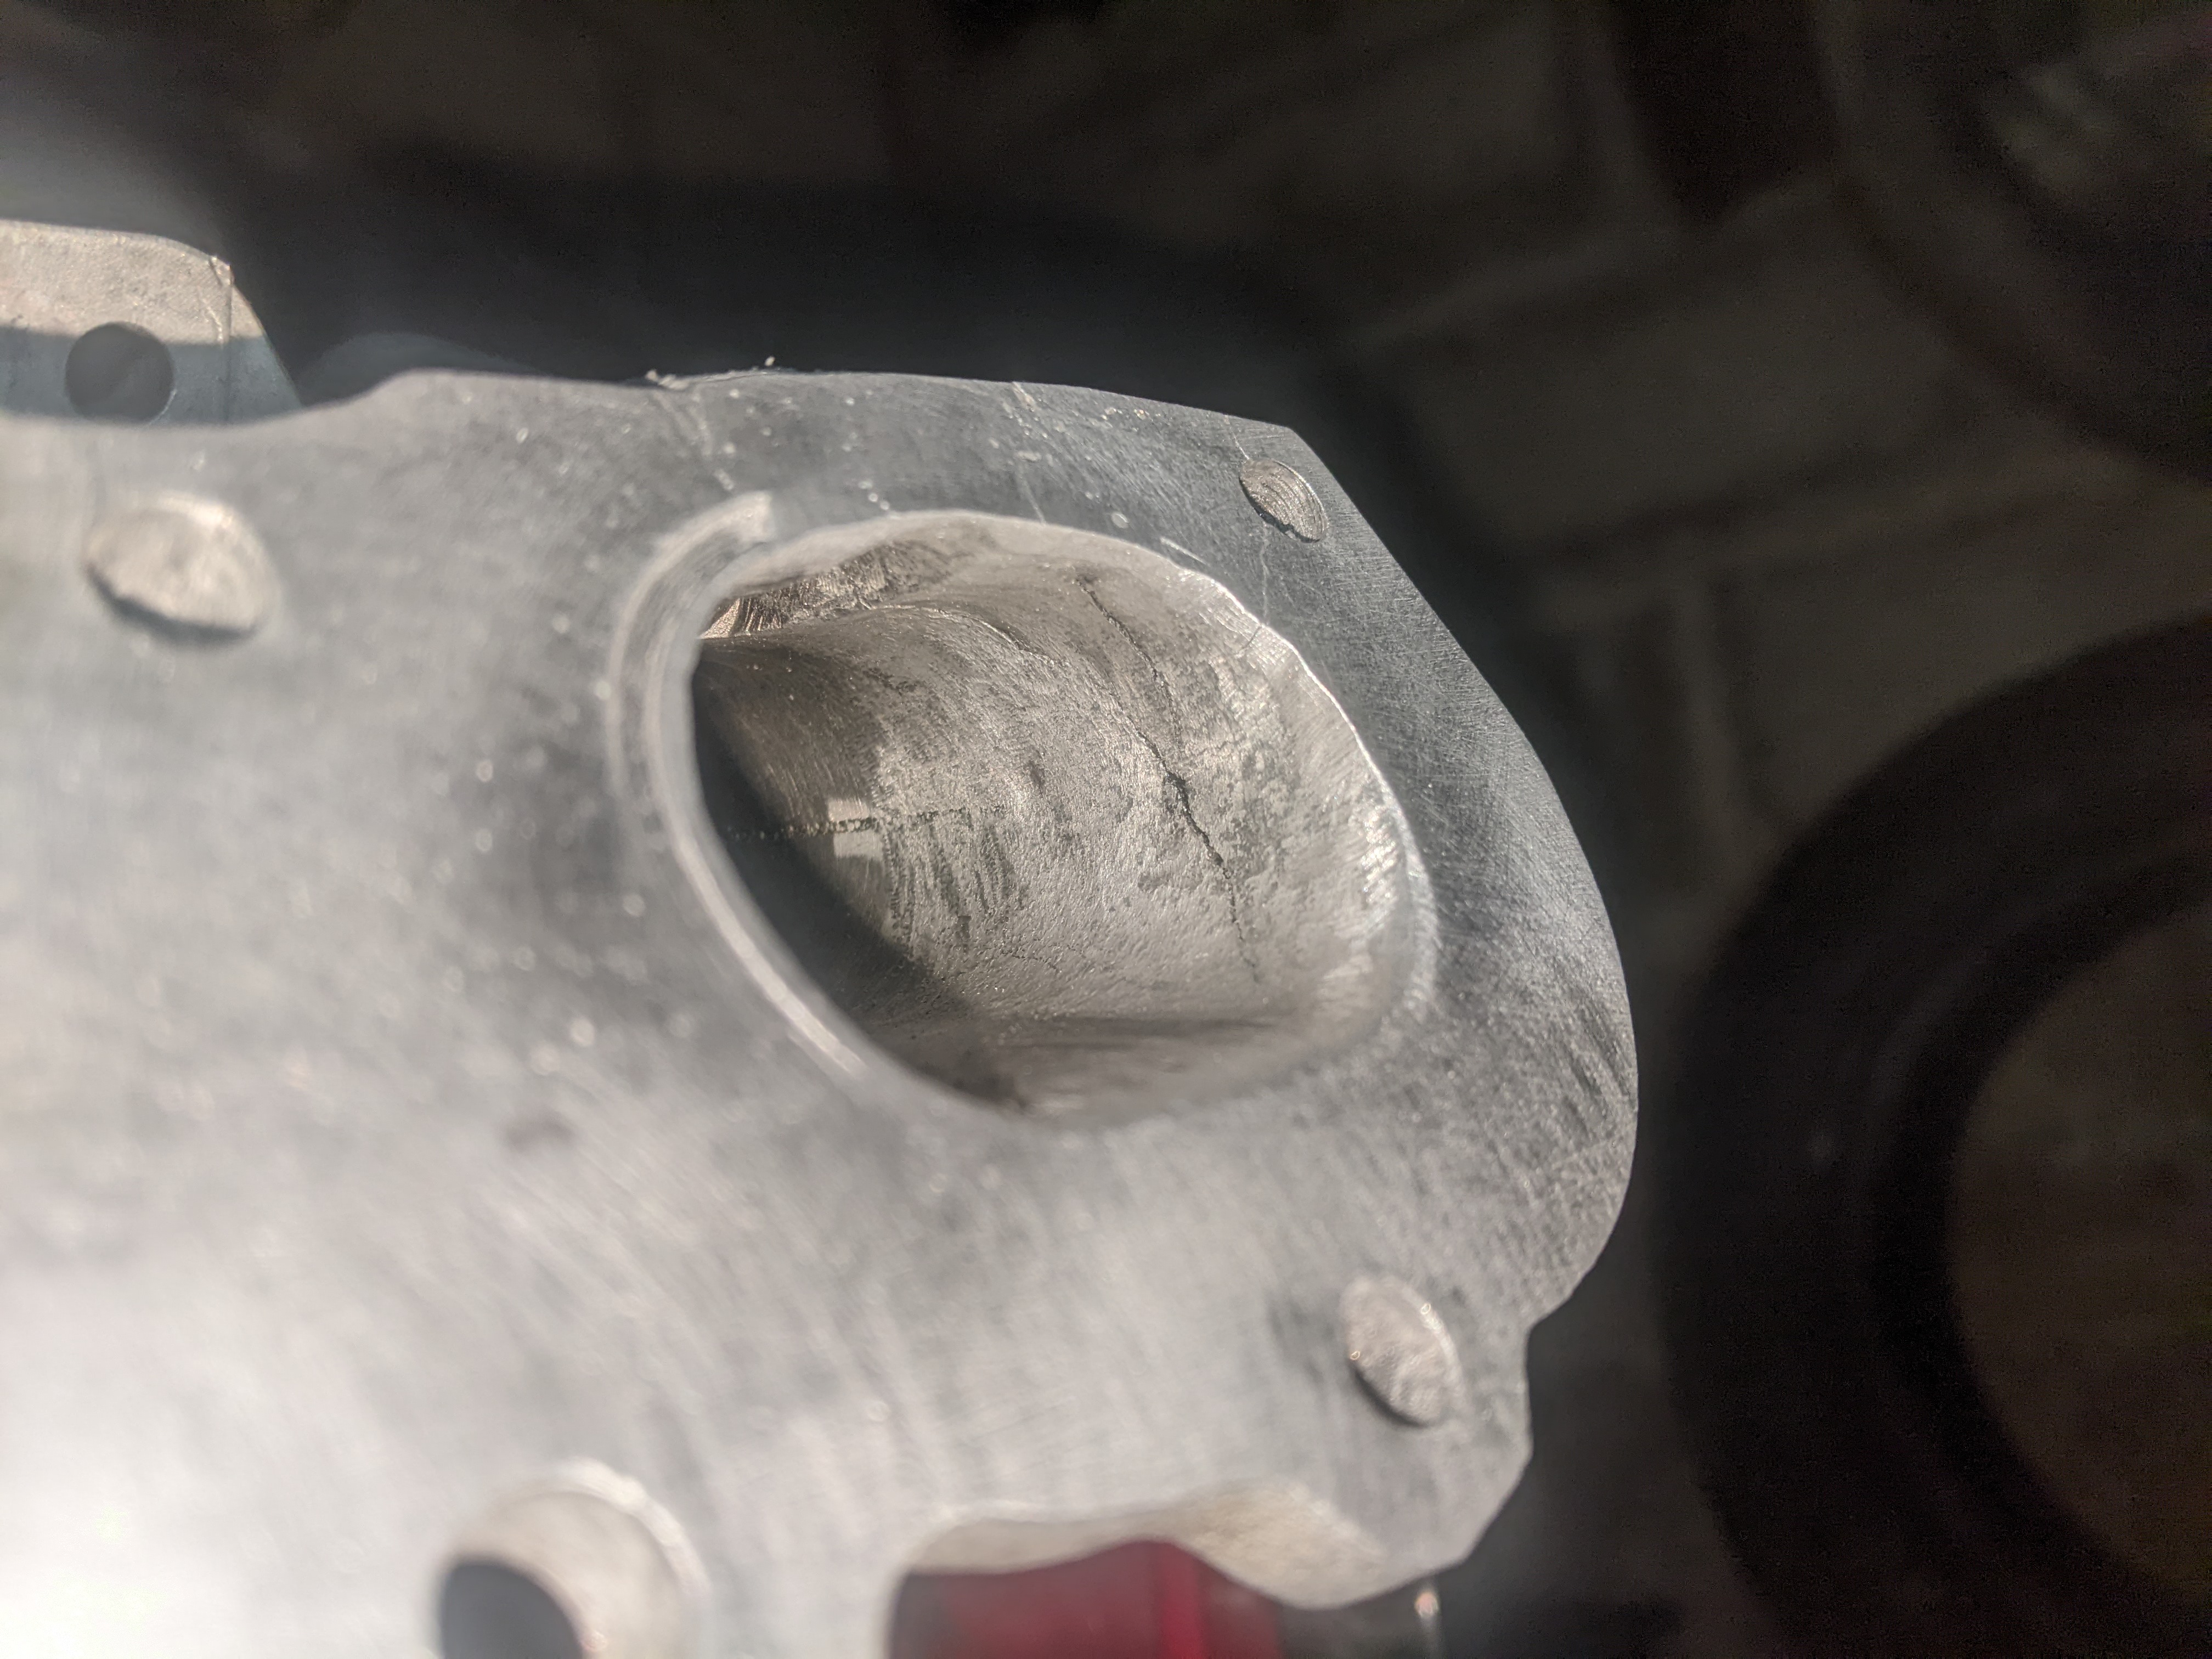
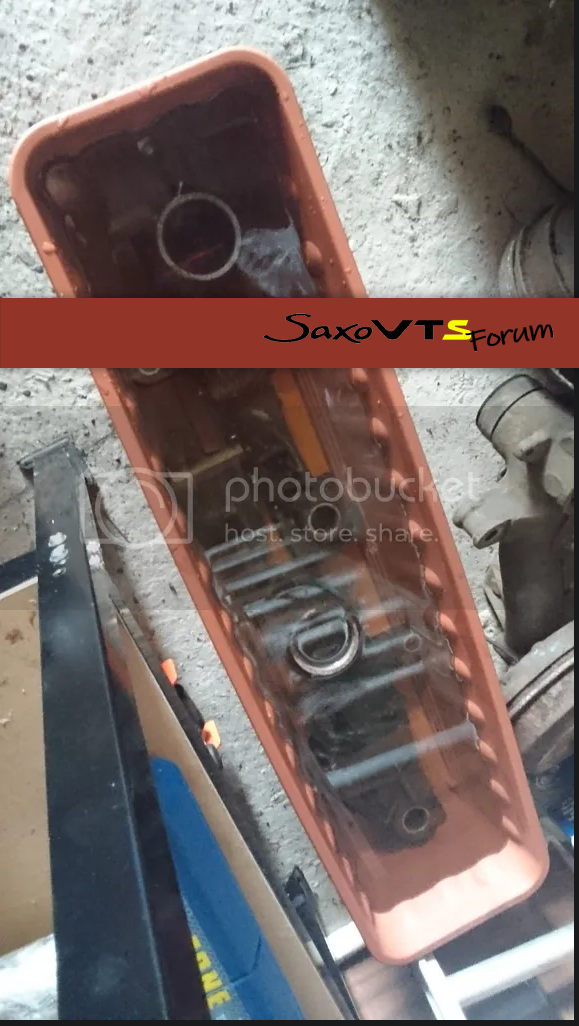
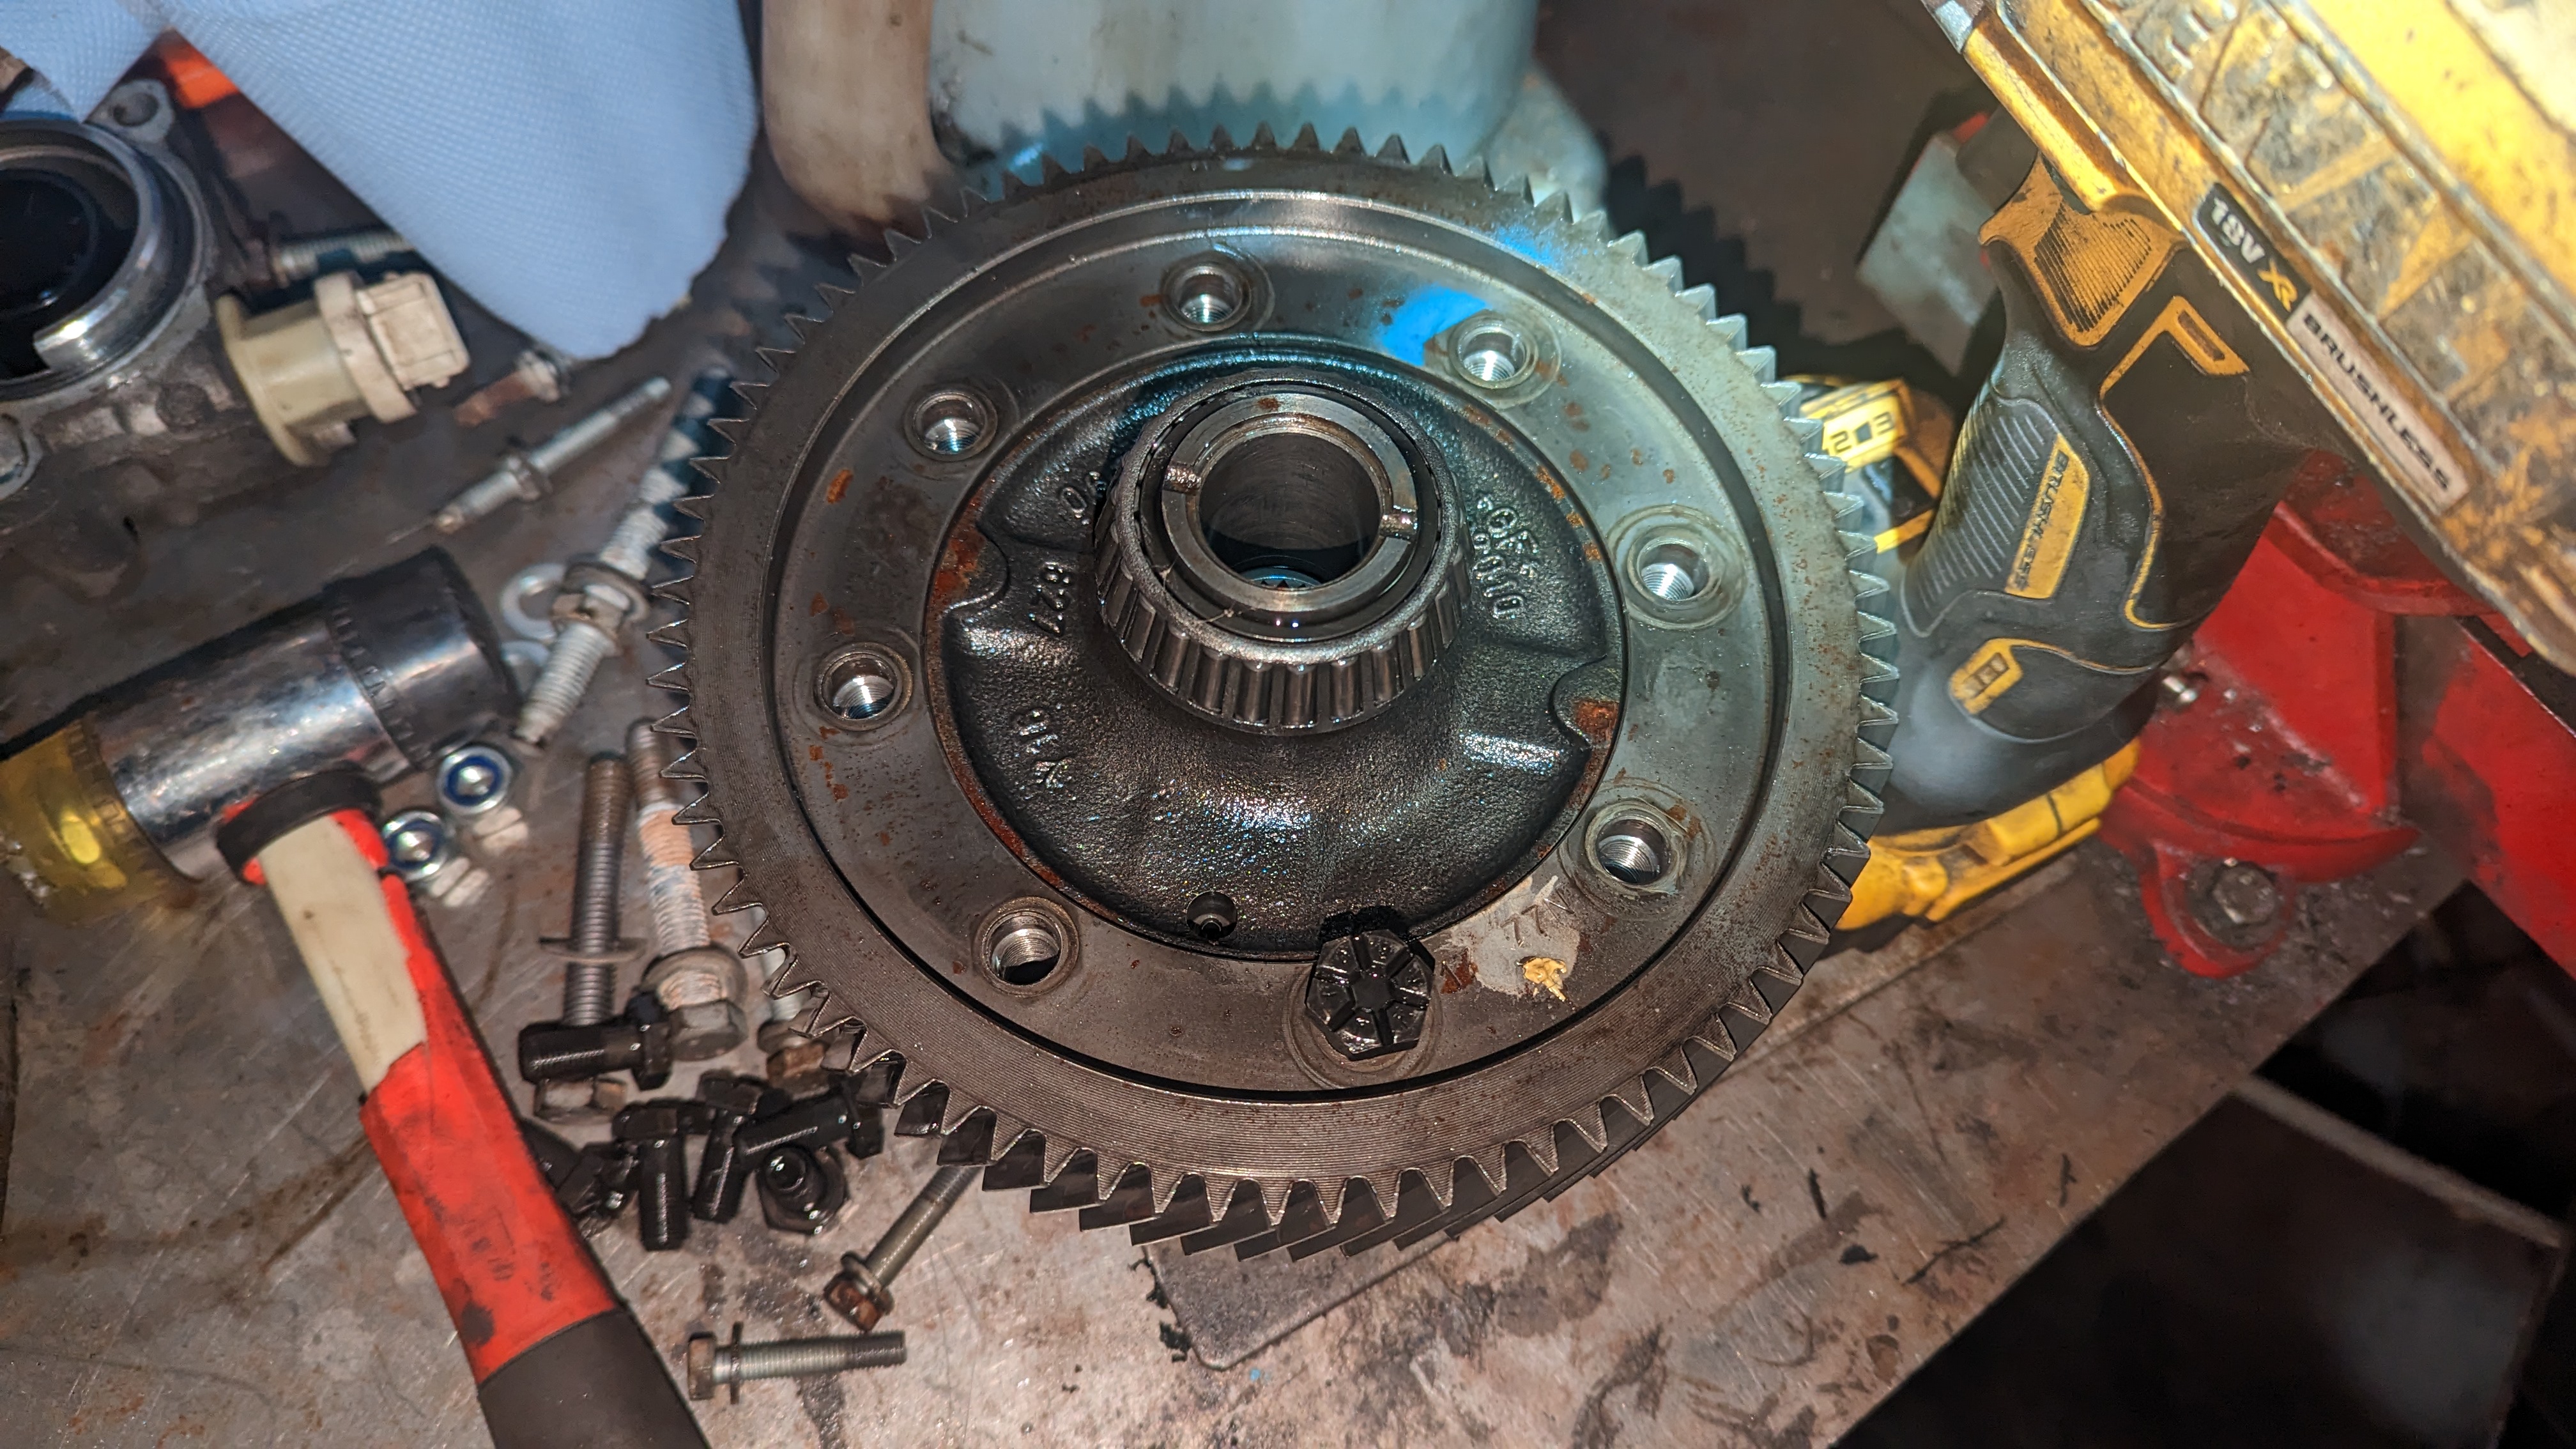
    Old head off:


  2. #2


    Pistons clearence for the Piper BP300 cams:


    Used a C2 VTS 0.6mm MLS headgasket:


    Solid lifters adjusted to correct spec for the cams:


    Piper BP300 Cams and JP4 head:


    Piper pulleys just because they look nicer:


    New seals:


    Piper double valve springs,apparently they're good for limiter over 8400 rpm:


    C2 inlet with custom fuel rail,original injectors at the time:


    60mm exhaust:


    sounds like this:

    https://www.youtube.com/watch?v=8iHtdbyJEQ4

    https://www.youtube.com/watch?v=p6j5DTKlhH8

    Baffled sump:


  3. #3
    Then it was time to get it mapped,drove 4 hours to Chipwizard on the 3 plug unmapped ecu,drove okay luckily:


    after 7 hours of hard work he got 166hp out of it at 7500,limiter 8000 and 170nm of torque,was very happy with that result,very fun to drive.
    Last month i went to the weybridge again to get an accurate weight and the total weight with reserve fuel is 840kg,quite good considering the cage is about 35kg.

    Straight after i went to Castle Combe:


    First time around the driveshaft bearing let go,vibrated like hell but was able to get home (2 hours away) albeit slowly so a new one went in:


    few months later the driver side let go as well,this time i was on the motorway and it pulled me to the left quite violently when it happened but had good reflerxes.

    second time to castle combe the master cylinder leaked inside the servo,of course i could not see any leaks,only found out when i went straight trough the chicane.


    Also did a few other meets,mainly simply french 21 and 22:


    Few other things broke too after,first the clutch let go and damaged the crank sensor so left me stranded,at least wasnt far from home:


    How it shoud be:


    So put a helix clutch was used but atleast it lasted a year:


    alternator terminal broke:


    idle valve completely came off its housing,this is just to reconstruct where it came off:


    alternator tensioner bracket split,no earthly idea why:


    one day just after work the rear pad decided freedom:


    atleast i found it back,it was ebc greenstuff it was good i found it:


    I have a satchshift and everything is on rose joints so one broke and after fixing that the gearbox arm broke too:


    Fixed as best as i could with the box in place:


    One of the inlet fuel rail tab broken (how does this happen?) no idea:


    But for a while things were good and nothing broke so had time to do some other jobs,this is just some pictures not in chronological order.

    Interior.

    Harness bar,unfortunately the omp cage doesnt come with one:


  4. #4


    To be honest welds were not great on the original tube so I just added those plates just in case.

    Had to put some gussets because I like:


    The omp cage only comes with a single bolted door bar,i wanted a bit more heavy duty ones so made my own:


    Carbon panel with oil pressure,oil temp and water temp:


    Sabelt steering wheel,also next to it I have an air fuel ratio gauge:


    Carbon footrest:


    Sparco Grid:


    Tidied up the maxi fuses:


    Brake bias:


    Wiring mess:


    I always wanted to have a splitter so made one from plywood,to be honest it did feel more planted trough the corners but unfortuntaley i dont have any concrete proof so you will just have to take my word for it,anyway in the end i took it off as why too low and wanted to redesign it which i still have to do,and make better mounts as well.


  5. #5


    I had made seat mounts similar to what omp offers but i felt they were way too hiogh and ruined the driving feel a little bit some bought some universal one to weld in,this is as low as they will go,they are basically touching the floor but it is fine as a lot easier to go higher than lower if it needs be:

    Before measurements (this goes from the floor):


    After:


    I also strenghtened the tunnel mount while i was there:


    I need to put a nut behind this eye:


    Evocorse 14" wheels,tyres always Nankangs NS2R:


    Made a mount for the catch tank and put a nicer one too after having cheap china for a while:


    Flocked the dash surround as well as the rest of the dash:


    Put DS3000 and a second set of discs after the pads eaten them alive in a few months:


    Reinforced the front arms mounts the rear axle mounts and the old powerflex bush design,this also allow to simply unbolt the axle or lower arms with the nut welded inside as it doesnt just spin on the inside:


  6. #6


    In the future i would like to connect the axle mounts to th cage and this allows me to do just that:


  7. #7
    Found a very cheap fiberglass bonnet and couldn't say no,it had some vents fitted but i was able to smooth these out with fiberglass,this is not as light as the ccf bonnet i wanted to buy at 5 kg but still a good weight save of 8kg for 50 quid (sold the vents for 30 anyway):

    Original bonnet weight:


    I also got the fiberglass boot after:


    Mounts for the aerocatches:


    Weight comparison,17.9kg vs 3.3kg,about 14,6kg weight saved,not counting the aerocatches,the mounts and the polycarbonate.


    I thought the rear plexi is pretty cool where in a certain light you can see different colors reflected because of the heat treatment it is used to make it.


    Pressure equalization pipe thingy remade as orignal was leaking:


    Made some deflectors for the radiator and induction,especially for the radiator as it gets to 100c on trackdays in the summer:


  8. #8
    Rose jointed track rod ends,still need to do the inside ones though.


    Replaced the bolt with one that won't rust so easily and added the proper spacers:


    One day after work i was making a right turn to get some fuel with my indicator on and a van decided to rear end me,it wasn't very fast but still did some damage,from that i decided to do some reinforcment in case somebody decides not to pay attention again:


    Wanted to try a full race clutch so got this,pretty fun to drive:


    but the gearbox couldnt contain itself and ejected some balls:

  9. #9
    Replaced the original vts thottle body 52mm with the clio rs 60mm one,at more or less the same time i also did the conversion to single plug ecu as the 3 plug is not compatible with the different type of potentiometer the clio uses,did try to make it work but realized the only proper way was to switch to the older style ecu:

    Idle control,it works more or less,it's a universal part i was able to adapt:


    Then my chassis leg decided to split as it does:


    Then finally the intake of my dreams turned up for sale,best intake you can ever fit to this,only inferior to itbs of course,they are from a S1600 206 cup car,not straight fit,chassis need to be cut and a few other clearences issues are present but all worth it in the end.

    Comparison with the c2 inlet:


    Injectors sits a bit further back but no issues there:


    c2 measures 41mm x 28mm.


    S1600 46mm x 32mm.


    i opened up the gasket as well,before:


    Weight,c2:


    Before:


  10. #10
    Had to convert to a LHD wiper set up as well:


    but of course after a while it cracked on one side where it was repaired:


    Got that repaired by a shop and added two mounts to help spread the load,no idea if it makes any difference at all,time will tell:


    got some nice carbon covers from spoox:


    This is pretty much where things are at right now,from the last ecu remap and figures i have only added 330cc inectors,clio rs tb,s1600 inlet and the single plug ecu,it has a basemap on it and it does pull nicely on the high rev range but need a trip back to wayne,will be interesting to see what kind of figures it will get this stuff on,can't wait but need to save some money first lol.
  11. #11
    That's a massive inlet.
    Is Wayne still doing Pug/Citroen stuff?
  12. #12
    Quote:
    Originally Posted by sri_130 View Post
    That's a massive inlet.
    Is Wayne still doing Pug/Citroen stuff?
    It's quite big yeah,sounds great too,yeah Wayne still is,he didn't seem to annoyed when i brought him mine lol,I was looking for somebody closer to go to but nobody seems to want to touch the stock ecu with this set up,if I'm not mistaken he remapped your turbo Saxo on the stock one right?

    Well,more stuff broke,I had one of the silicone coolant pipes from the heater matrix at the back of engine that had a pin hole in it and was leaking slightly over time,cut that end part out so it uses the good bit and went to bleed the coolant and the brass thermostat bolt snapped,good thing i had a spare:

  13. #13
    Got some old pics of some work I've done at the time for the current suspension that's fitted on the car.

    Had the lower arms strengthened by Spoox:


    Unfortuntely had to scrap the VTS axle as it developed big play on the wheel:


    So just got a base 1.1 axle to refurbish:


    Got some different bearings to avoid scoring the pin again and added grease points to put grease trough periodically:


    25.4mm rear anti roll bar and 22mm torsion bars:


    -2 negative camber kit from VD Motorsport:


    In the end it was a bit more than -2,about -2.40 degrees:

  14. #14
    I was thinking when the alternator bracket split here:


    I welded it back up and moved the weak point to the tab thats bent where the tensioner bolt goes trough,overtime that tab started bending inwards and in the end I think thats what snapped the bolt becasue of the angle the bolt was working with:


    so my solution for now is a 3mm reniforcement plate on that tab to help spread the load,will see it that stops breaking it lol.

  15. #15
    Made the 8 hours round trip to Wayne (Chipwizards) to get it mapped after switching to single plug and fitting the S1600 inlet and 60mm throttle body.
    There were a few things to fix but as always Wayne goes above and beyond and got these done pretty quickly.
    The Clio throttle body I bought was sold as ported and polished and whoever did the work assembled the flap back the wrong way and wasn't allowing it to close fully holding the revs,also the single plug ecu hadn't been socketed correctly so that was fixed as well.

    Not too much difference in peak power 171.5 (5hp more) but the main thing is (if I'm reading this correctly) the wheel horse power,now getting 148 hp at 110mph against the 137 hp of before at 120mph which hardly ever reaches,it idles great and even getting 36mpg on the motorway sticking to 70.


  16. #16
    Took advantage of the sunny day and relatively dry roads today to go for a first proper drive after the remap.
    The engine really feels great,definitely feels quicker and more responsive from about 5k to the limiter,love how it idles too,proper lumpy because of the cams.


    Added more cooling just in case,the two air inlets next to the number plate are connected directly to two air ducts fitted to either side of the radiator,hose diameter is 51mm.


    Think i sent it too hard and broke a rose joint for the gear linkage lol:

  17. #17
    Went for a drive with a Saxo friend and asked to take a video from outside as never heard what it sound like driving by:

    https://www.youtube.com/watch?v=vaQe6F2HNrg

    Also fitted new tyres:


    Re-done the oil temp sensor fitting as previously i just welded a nut from inside and it was leaking:


    I'm gathering the parts for the BE gearbox conversion for reliability,I will also be fitting a Quaife LSD seeing it's only a few bolts to swap:


    Fitted a threaded insert for rose joint fitment:

  18. #18
    All of the images in here aren't resized and it takes an ice age to load LOL.
    Sounds good though!
    1 user thanked this post:
  19. #19
    Quote:
    Originally Posted by sri_130 View Post
    All of the images in here aren't resized and it takes an ice age to load LOL.
    Sounds good though!
    Thanks,i dont know why that is,it loads the full res at first for me as well but then it resizes them all in a second.

    Spotted a Bedford Open Pit Lane Trackday Friday 3rd for the following Monday,6th of February for the cheap price of 99£ so couldnt say no to that so booked it.

    My rear tyres were on 2,5mm so i went to look for some replacements and luckily i found a set nearby of good used Toyo R888 on VTR wheels too for a 100£ so grabbed and fitted these.


    Few pictures:


    I've done 175 miles on track for the day so about 45 laps,average of 6 miles a liter,just out of curiosity lol,the Saxo performed fautlessy all day and I really pushed it,hoping to break the gearbox as to give me motivation to do the BE swap lol.


    After that just in case it was too loud for the trackday (current static noise test at 4500 rpm is 95db),ive removed the centre silencer as i wanted a bit more sound,surprisingly it's not much louder lol.


    small video of the idle after:

    https://www.youtube.com/watch?v=Tq46a5TXup8
    1 user thanked this post:
  20. #20
    After much work and cutting finally finished putting the BE box with the Quaife in and went for a test drive today.
    What an amazing feel the diff is,it has so much more traction anywhere but especially in corners,the more you accelerate the more it grips,really happy with it.

    I guess it is a good thing i have done the gearbox swap as this is what i found when i drained the oil from the old box,it was crunching in 4th on the last track day a little bit:


    Got out the old diff:


    The new Quaife:


    And bolted the crown wheel on and torqued to 60nm:


    Size comparison,standard MA diff on the left:


    Saxo hub to the left and BE:


    BE driveshaft mount:


    Lower mount.the alluminium spacers got squished for some reason,need to sort this out:


    Homemade mount:


    Bit close but enough clearence,might modify the chassis leg in the future:


    Then I couldnt get the all the gears,found out the overspray was preventing the linkage to go down enough lol:


    The gearbox sits lower than the engine now,it's great for weight distribution but need to be a bit more careful lol:

  21. #21
    I've fixed up the chassis where i had to cut it to fit the BE gearbox,I also fitted the proper steel spacers to the rear rose jointed mount:


    Added a support as the chassis leg was flexing too much:


    Got a new smaller steering wheel:


    Added some brake ducts as last track day i could feel the brakes getting hot and increasing the pedal travel:


    Had to change the Powerflex purple as the driver side one acquired play and i could move the wheel side to side quite a bit 
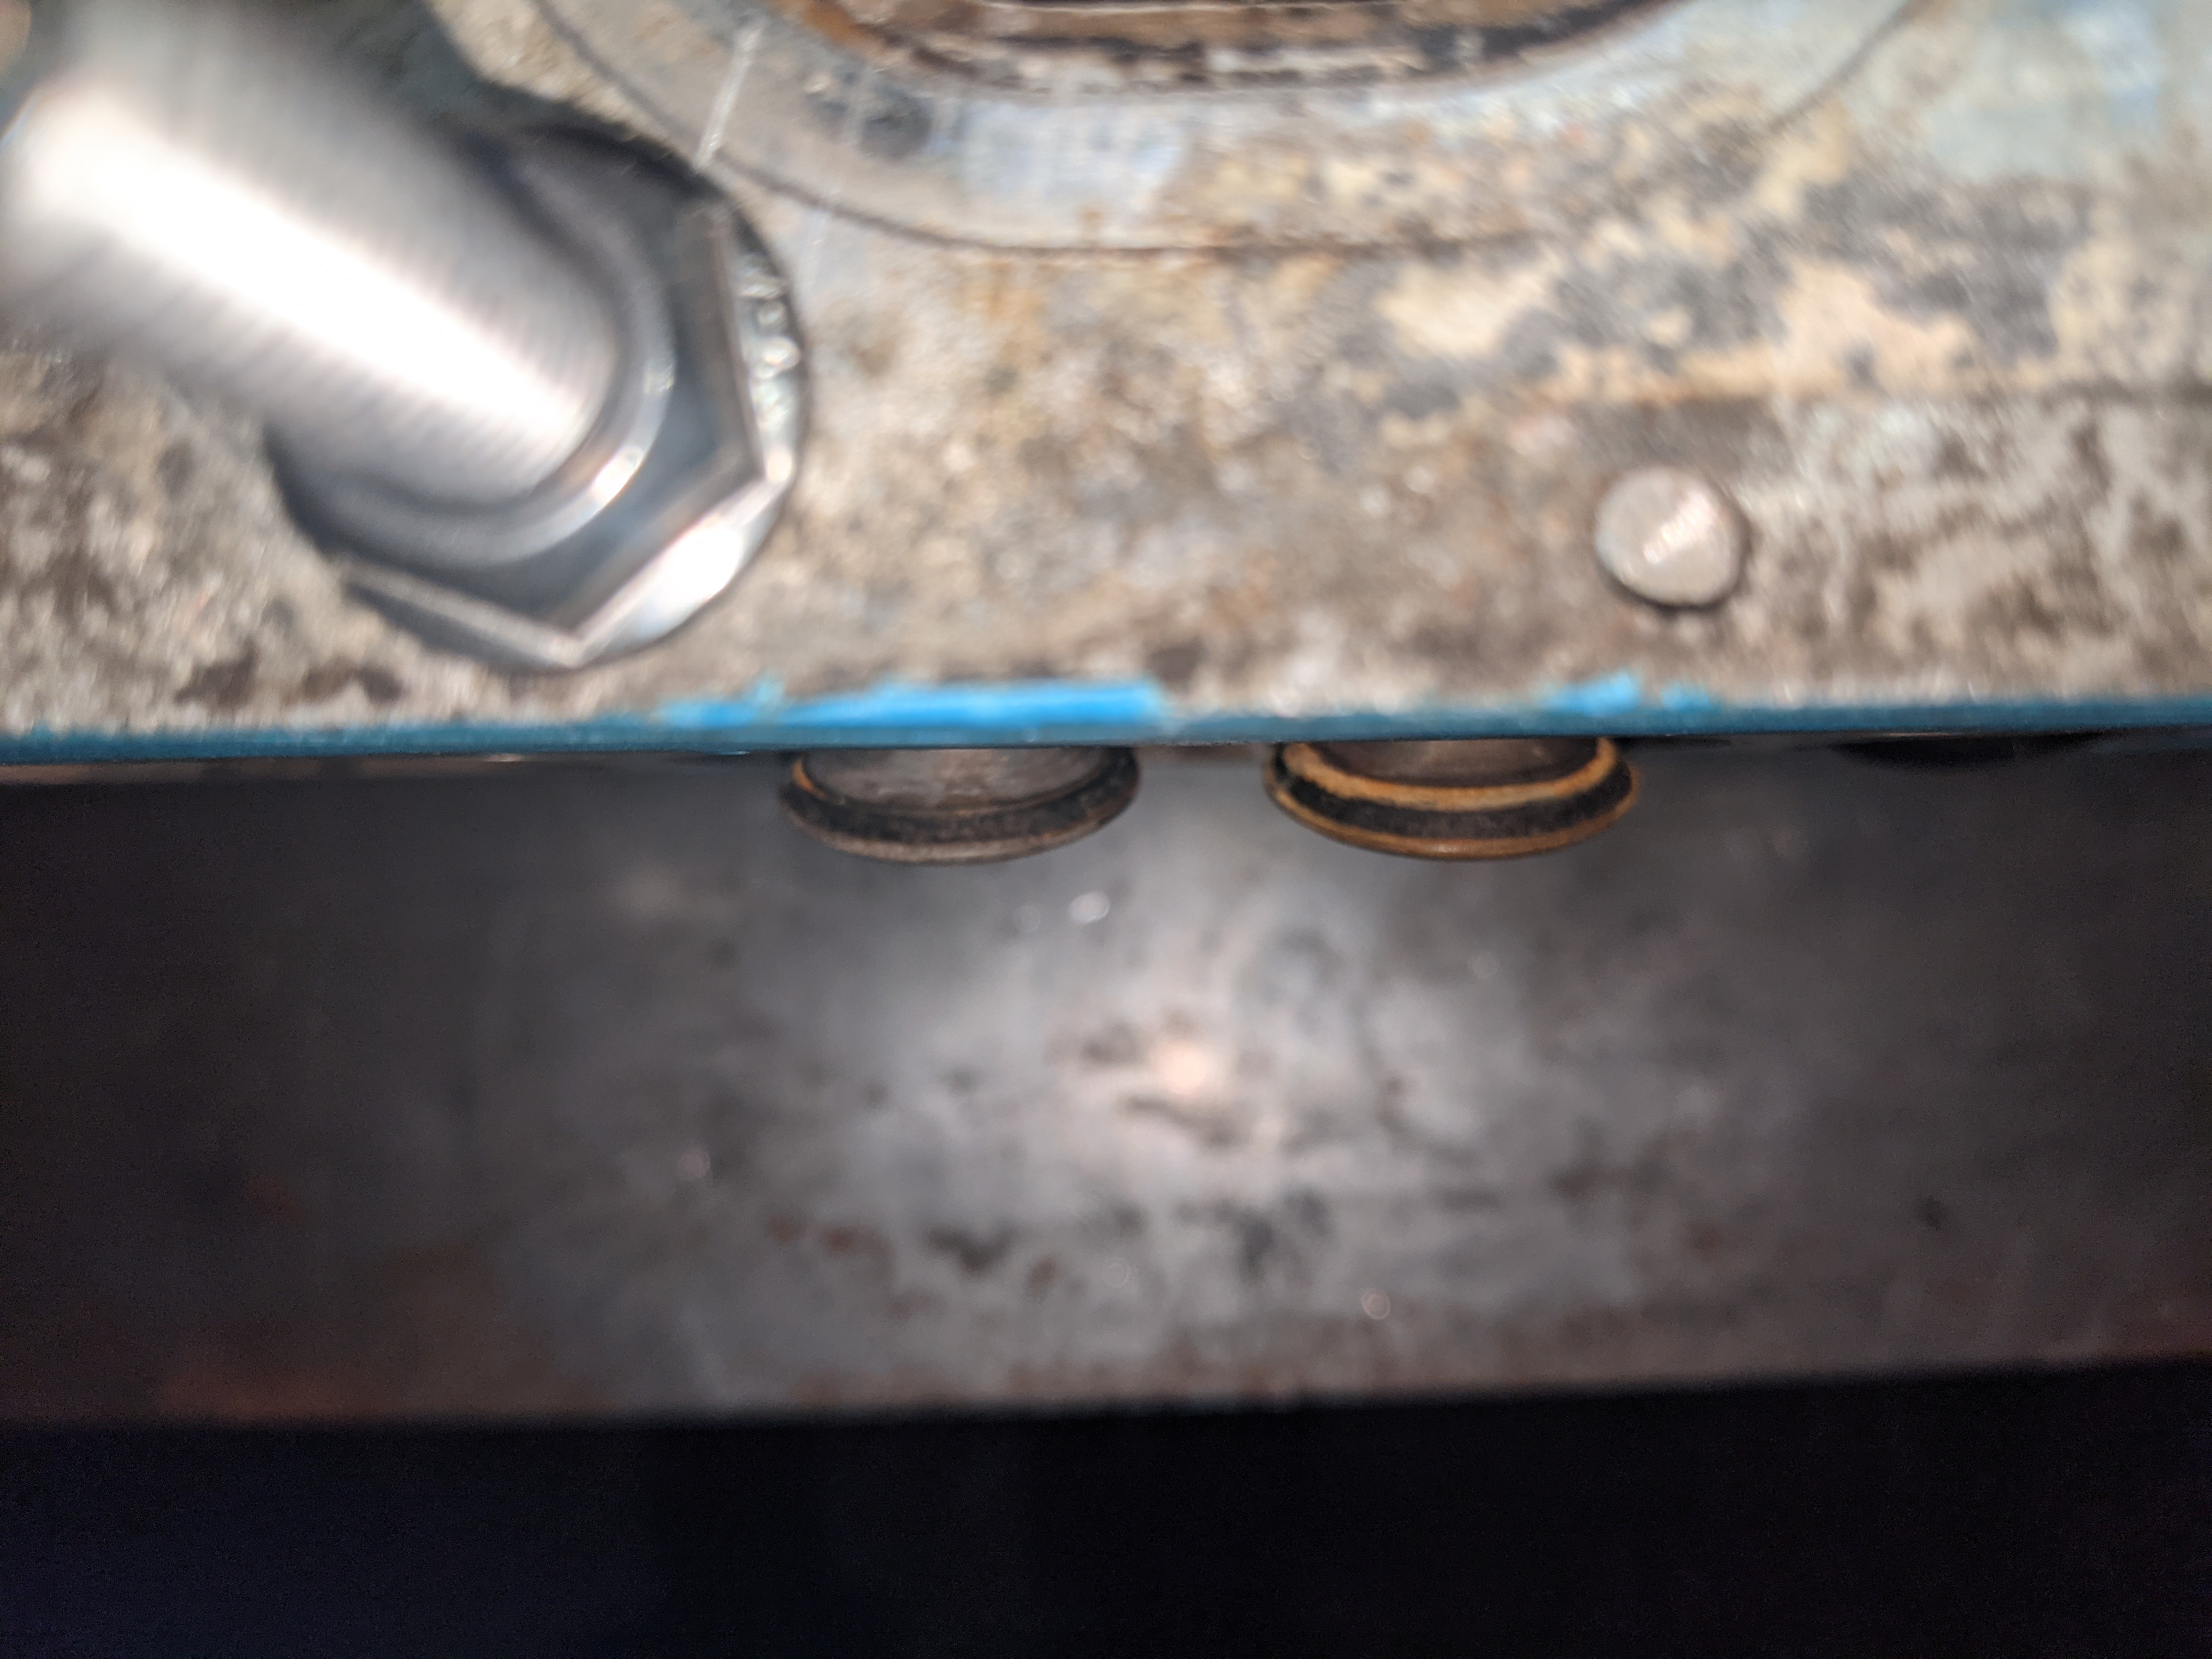
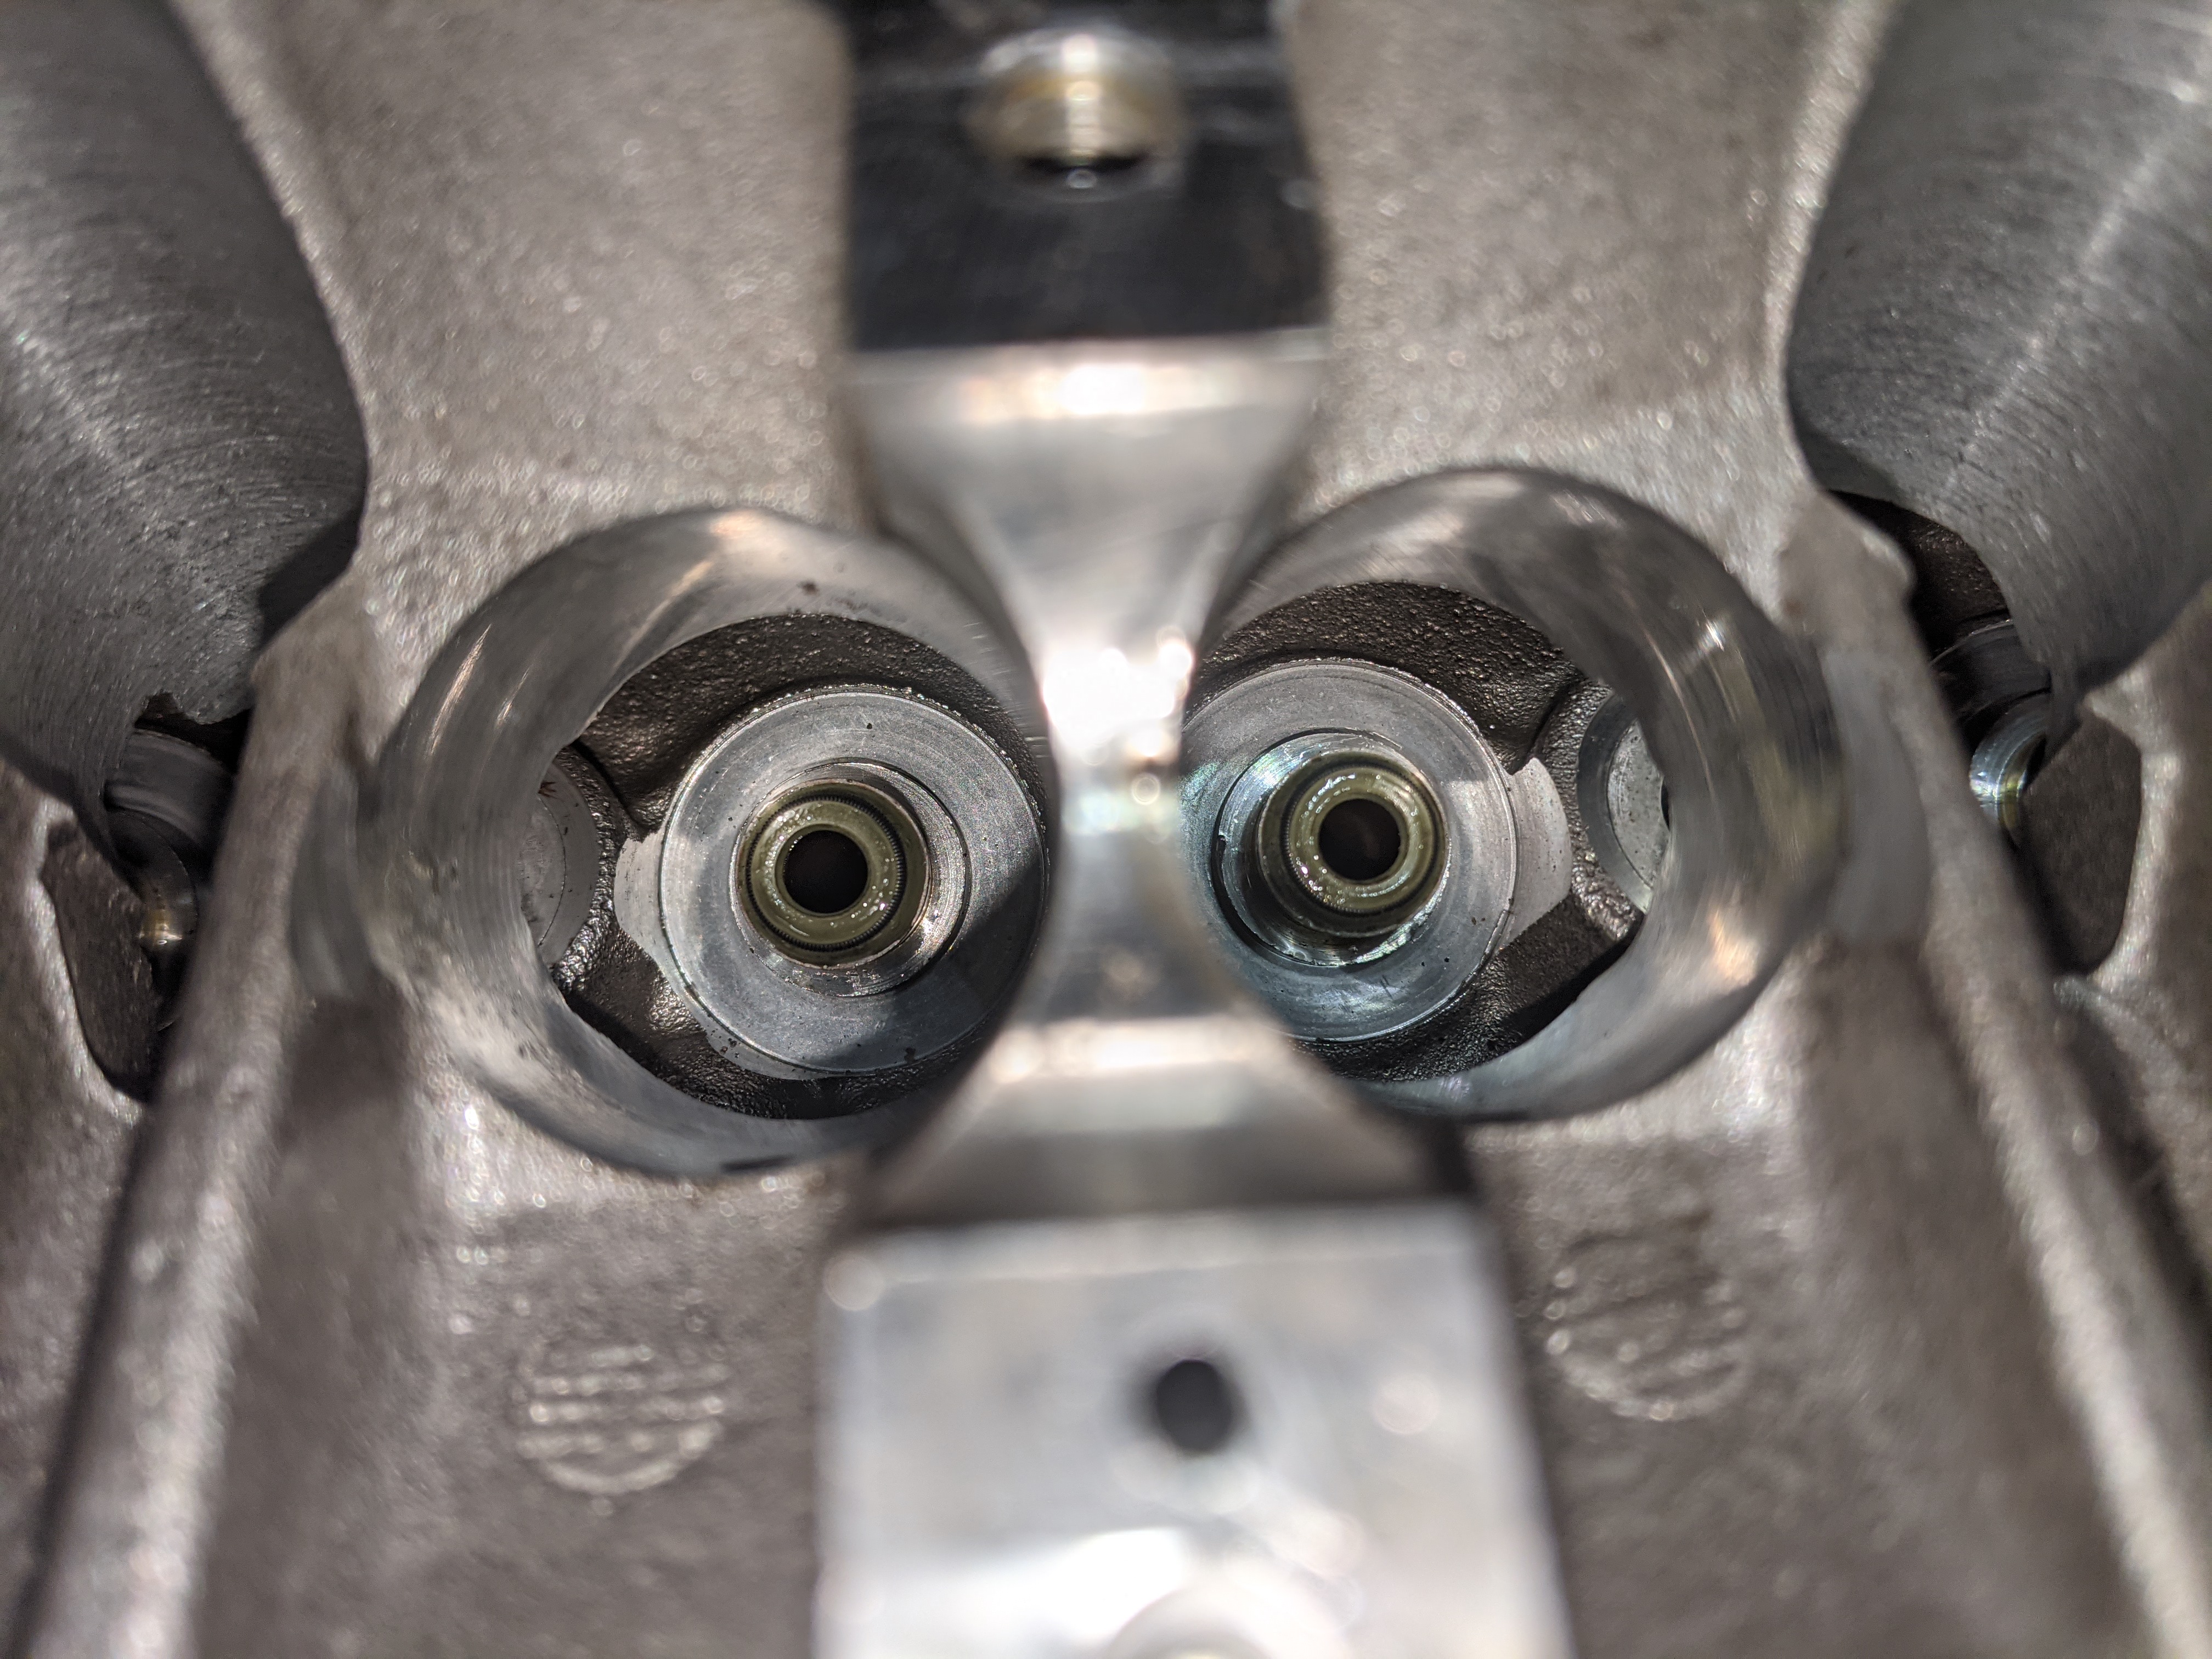
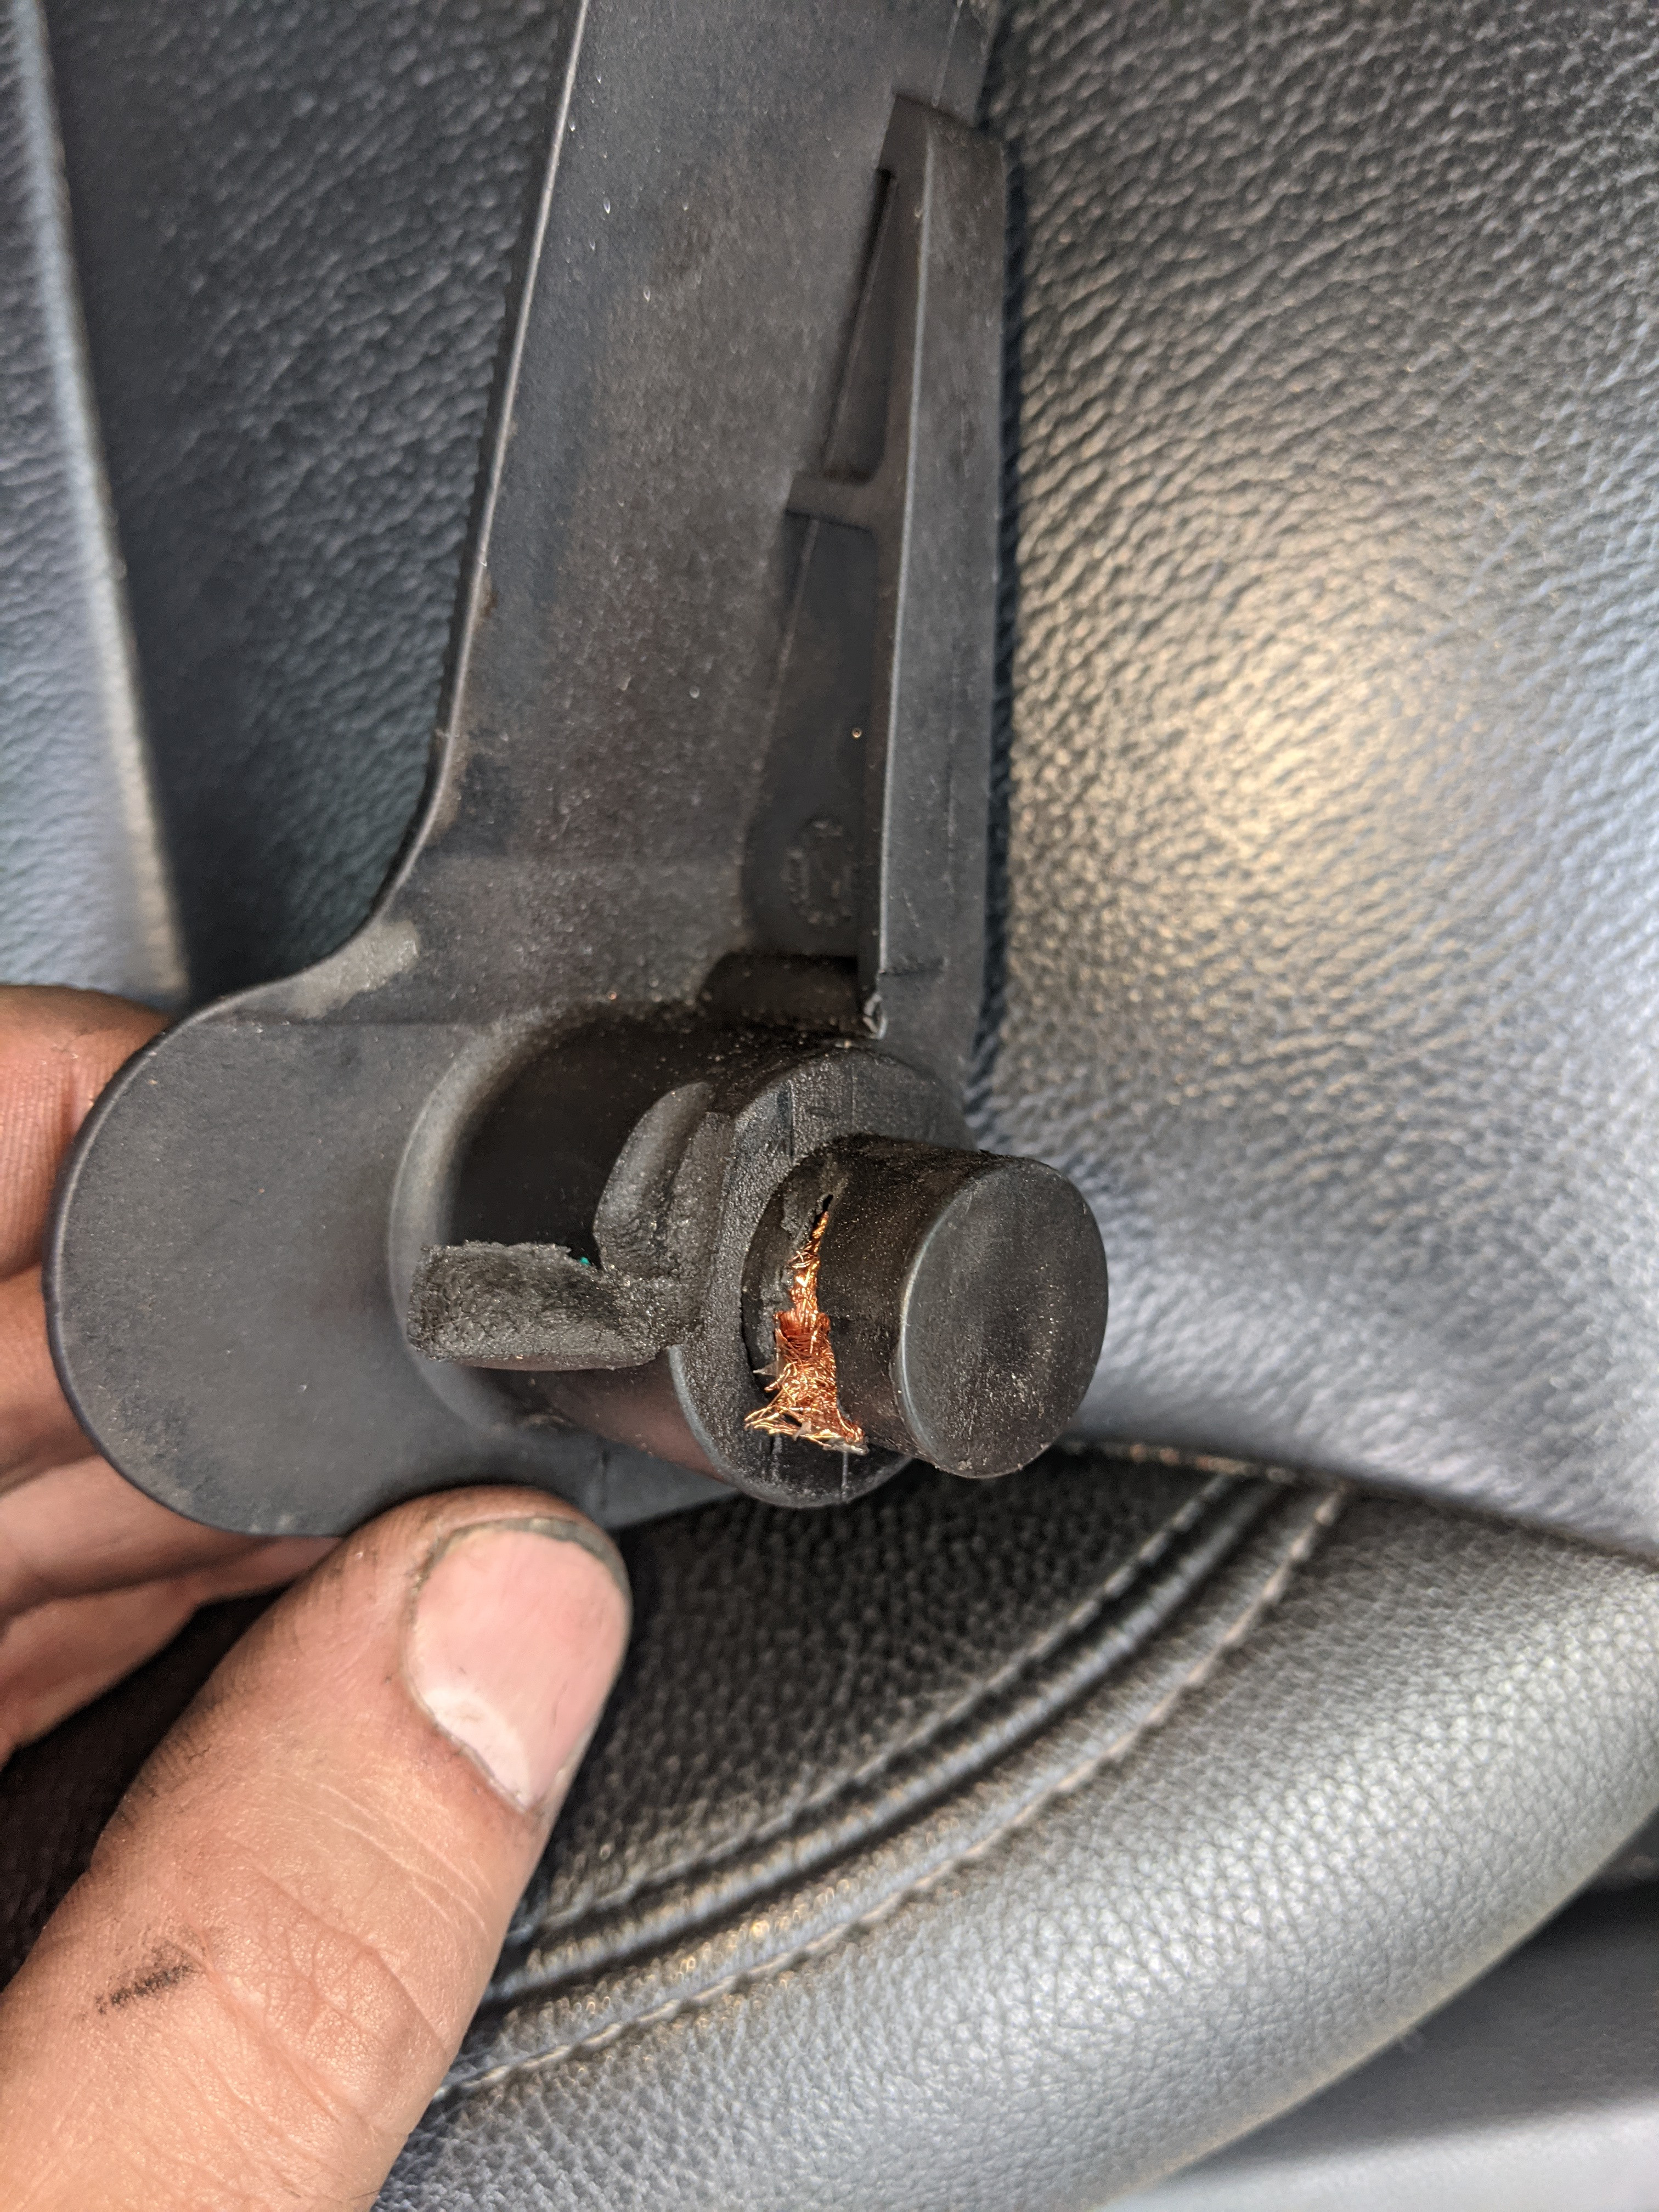
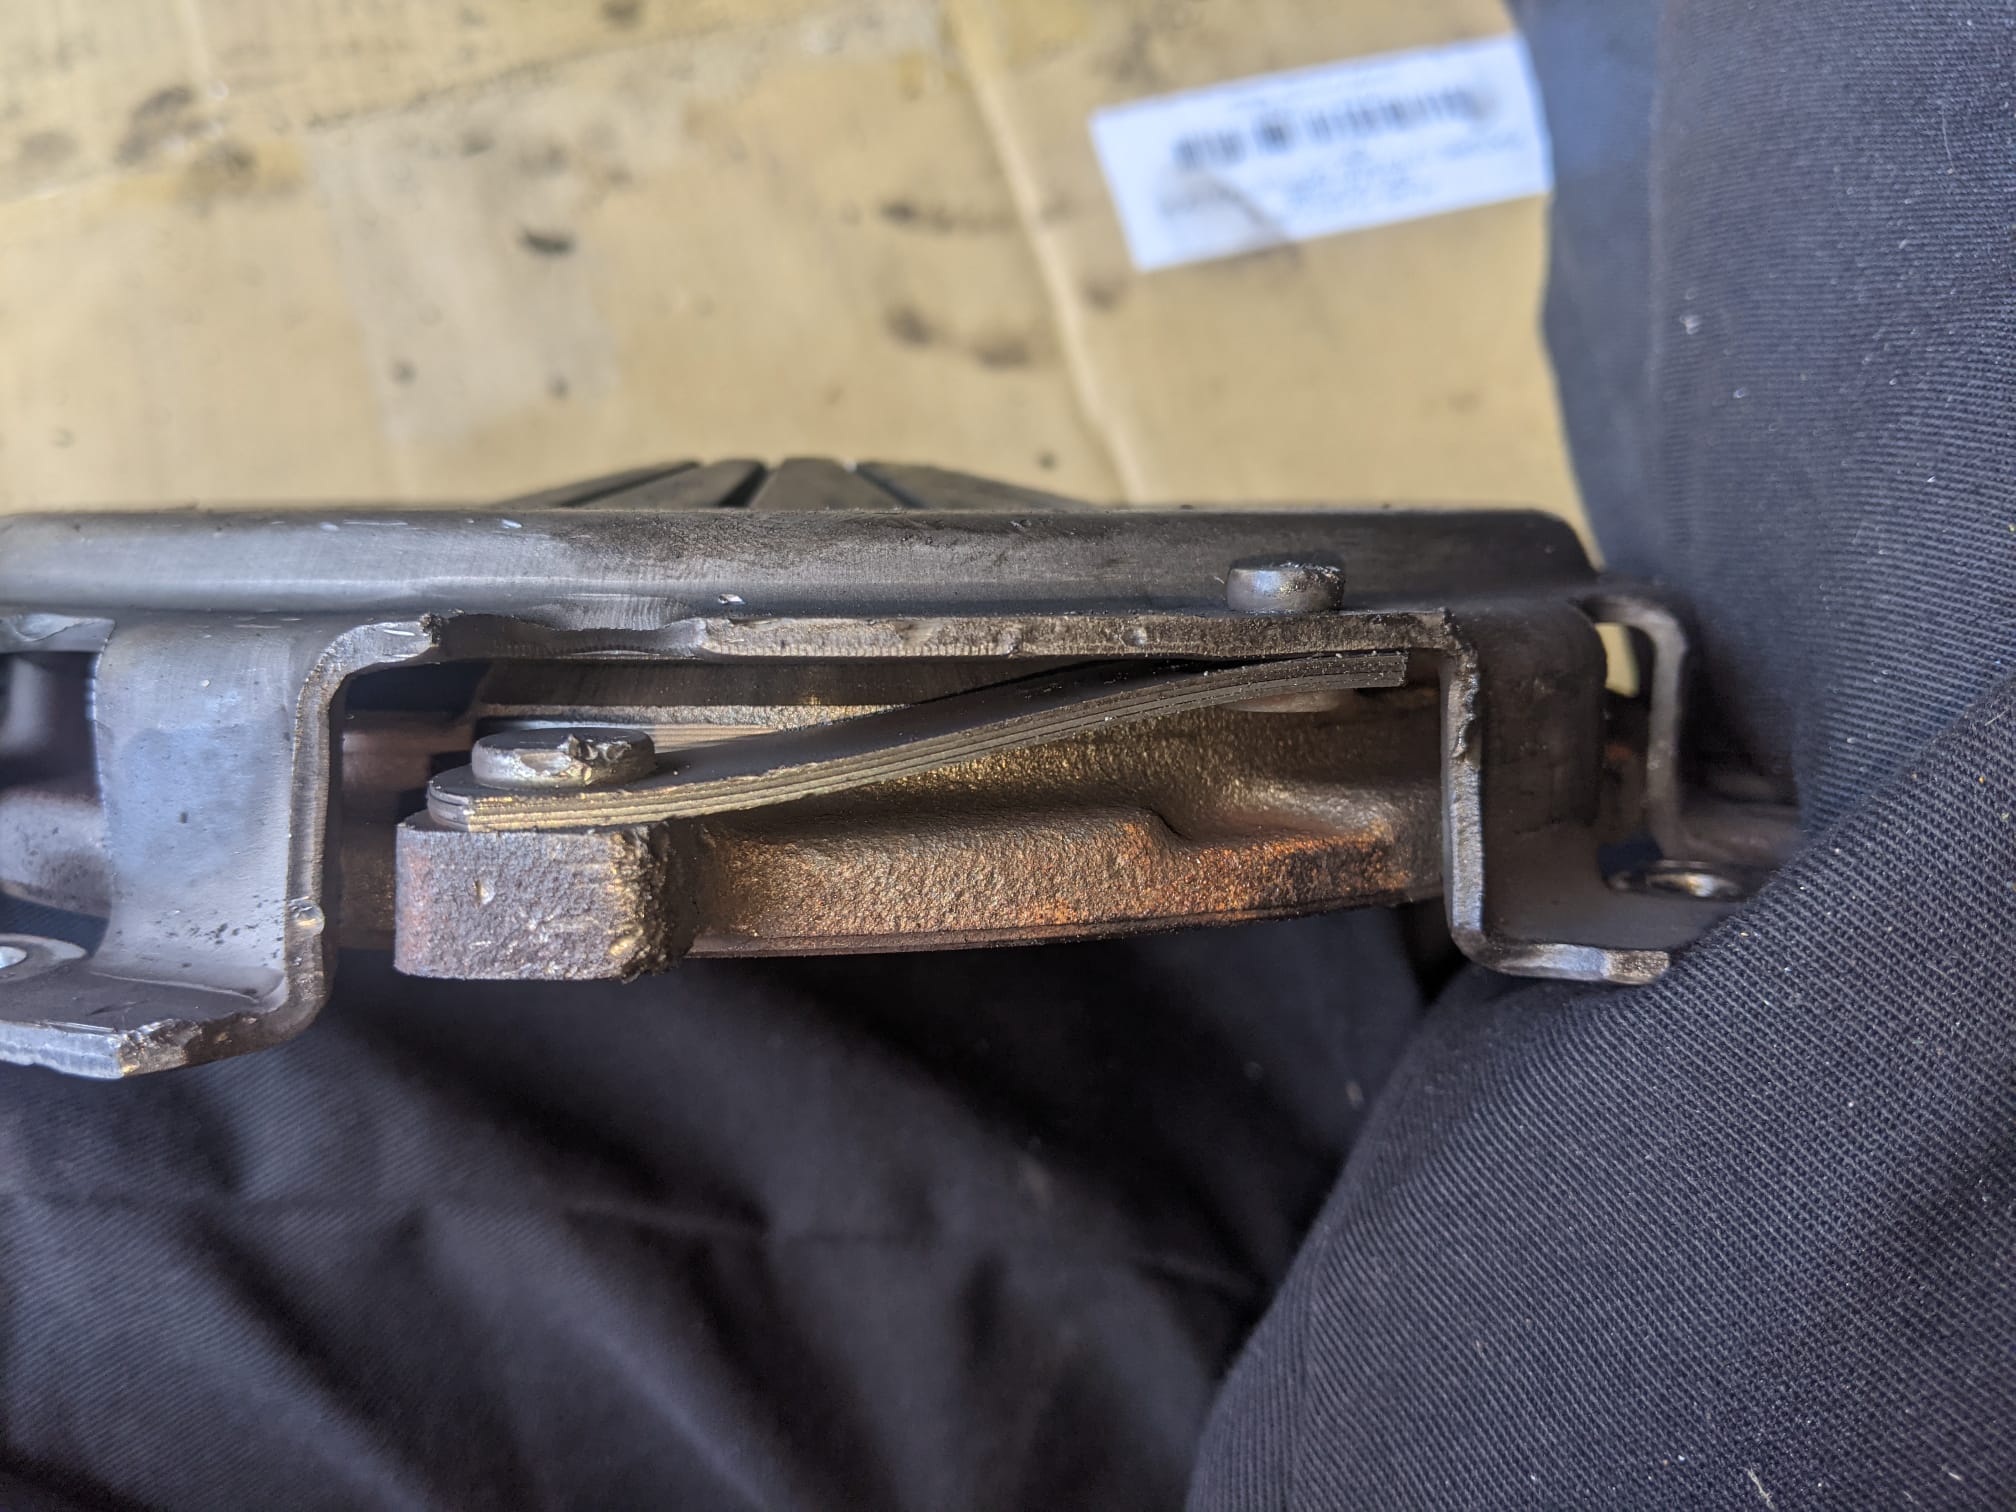
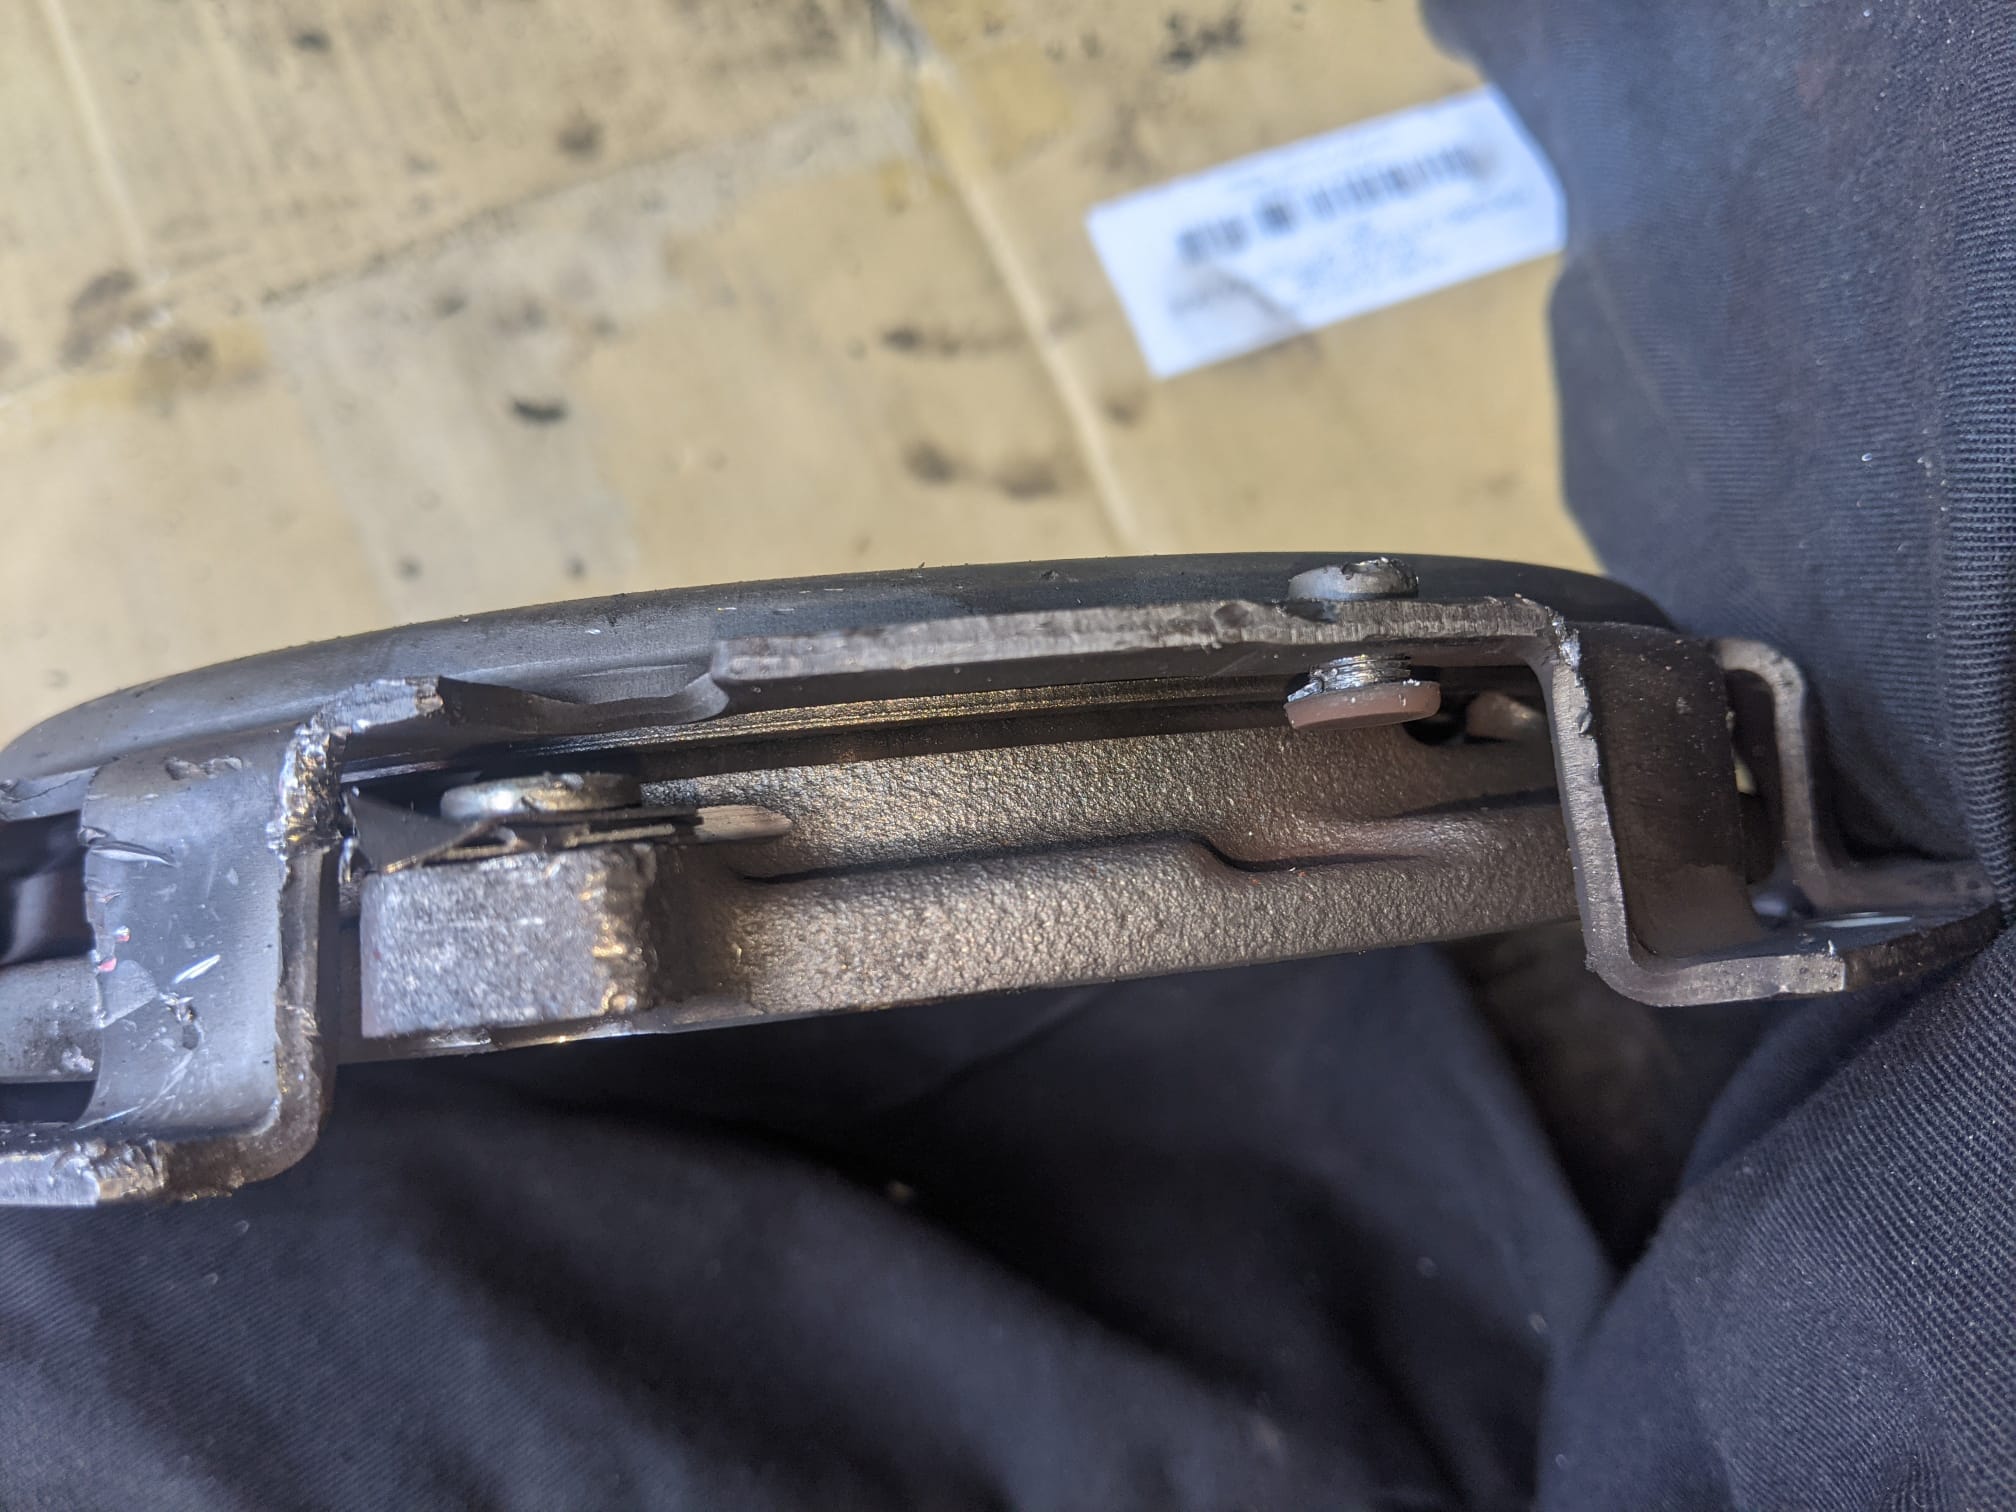
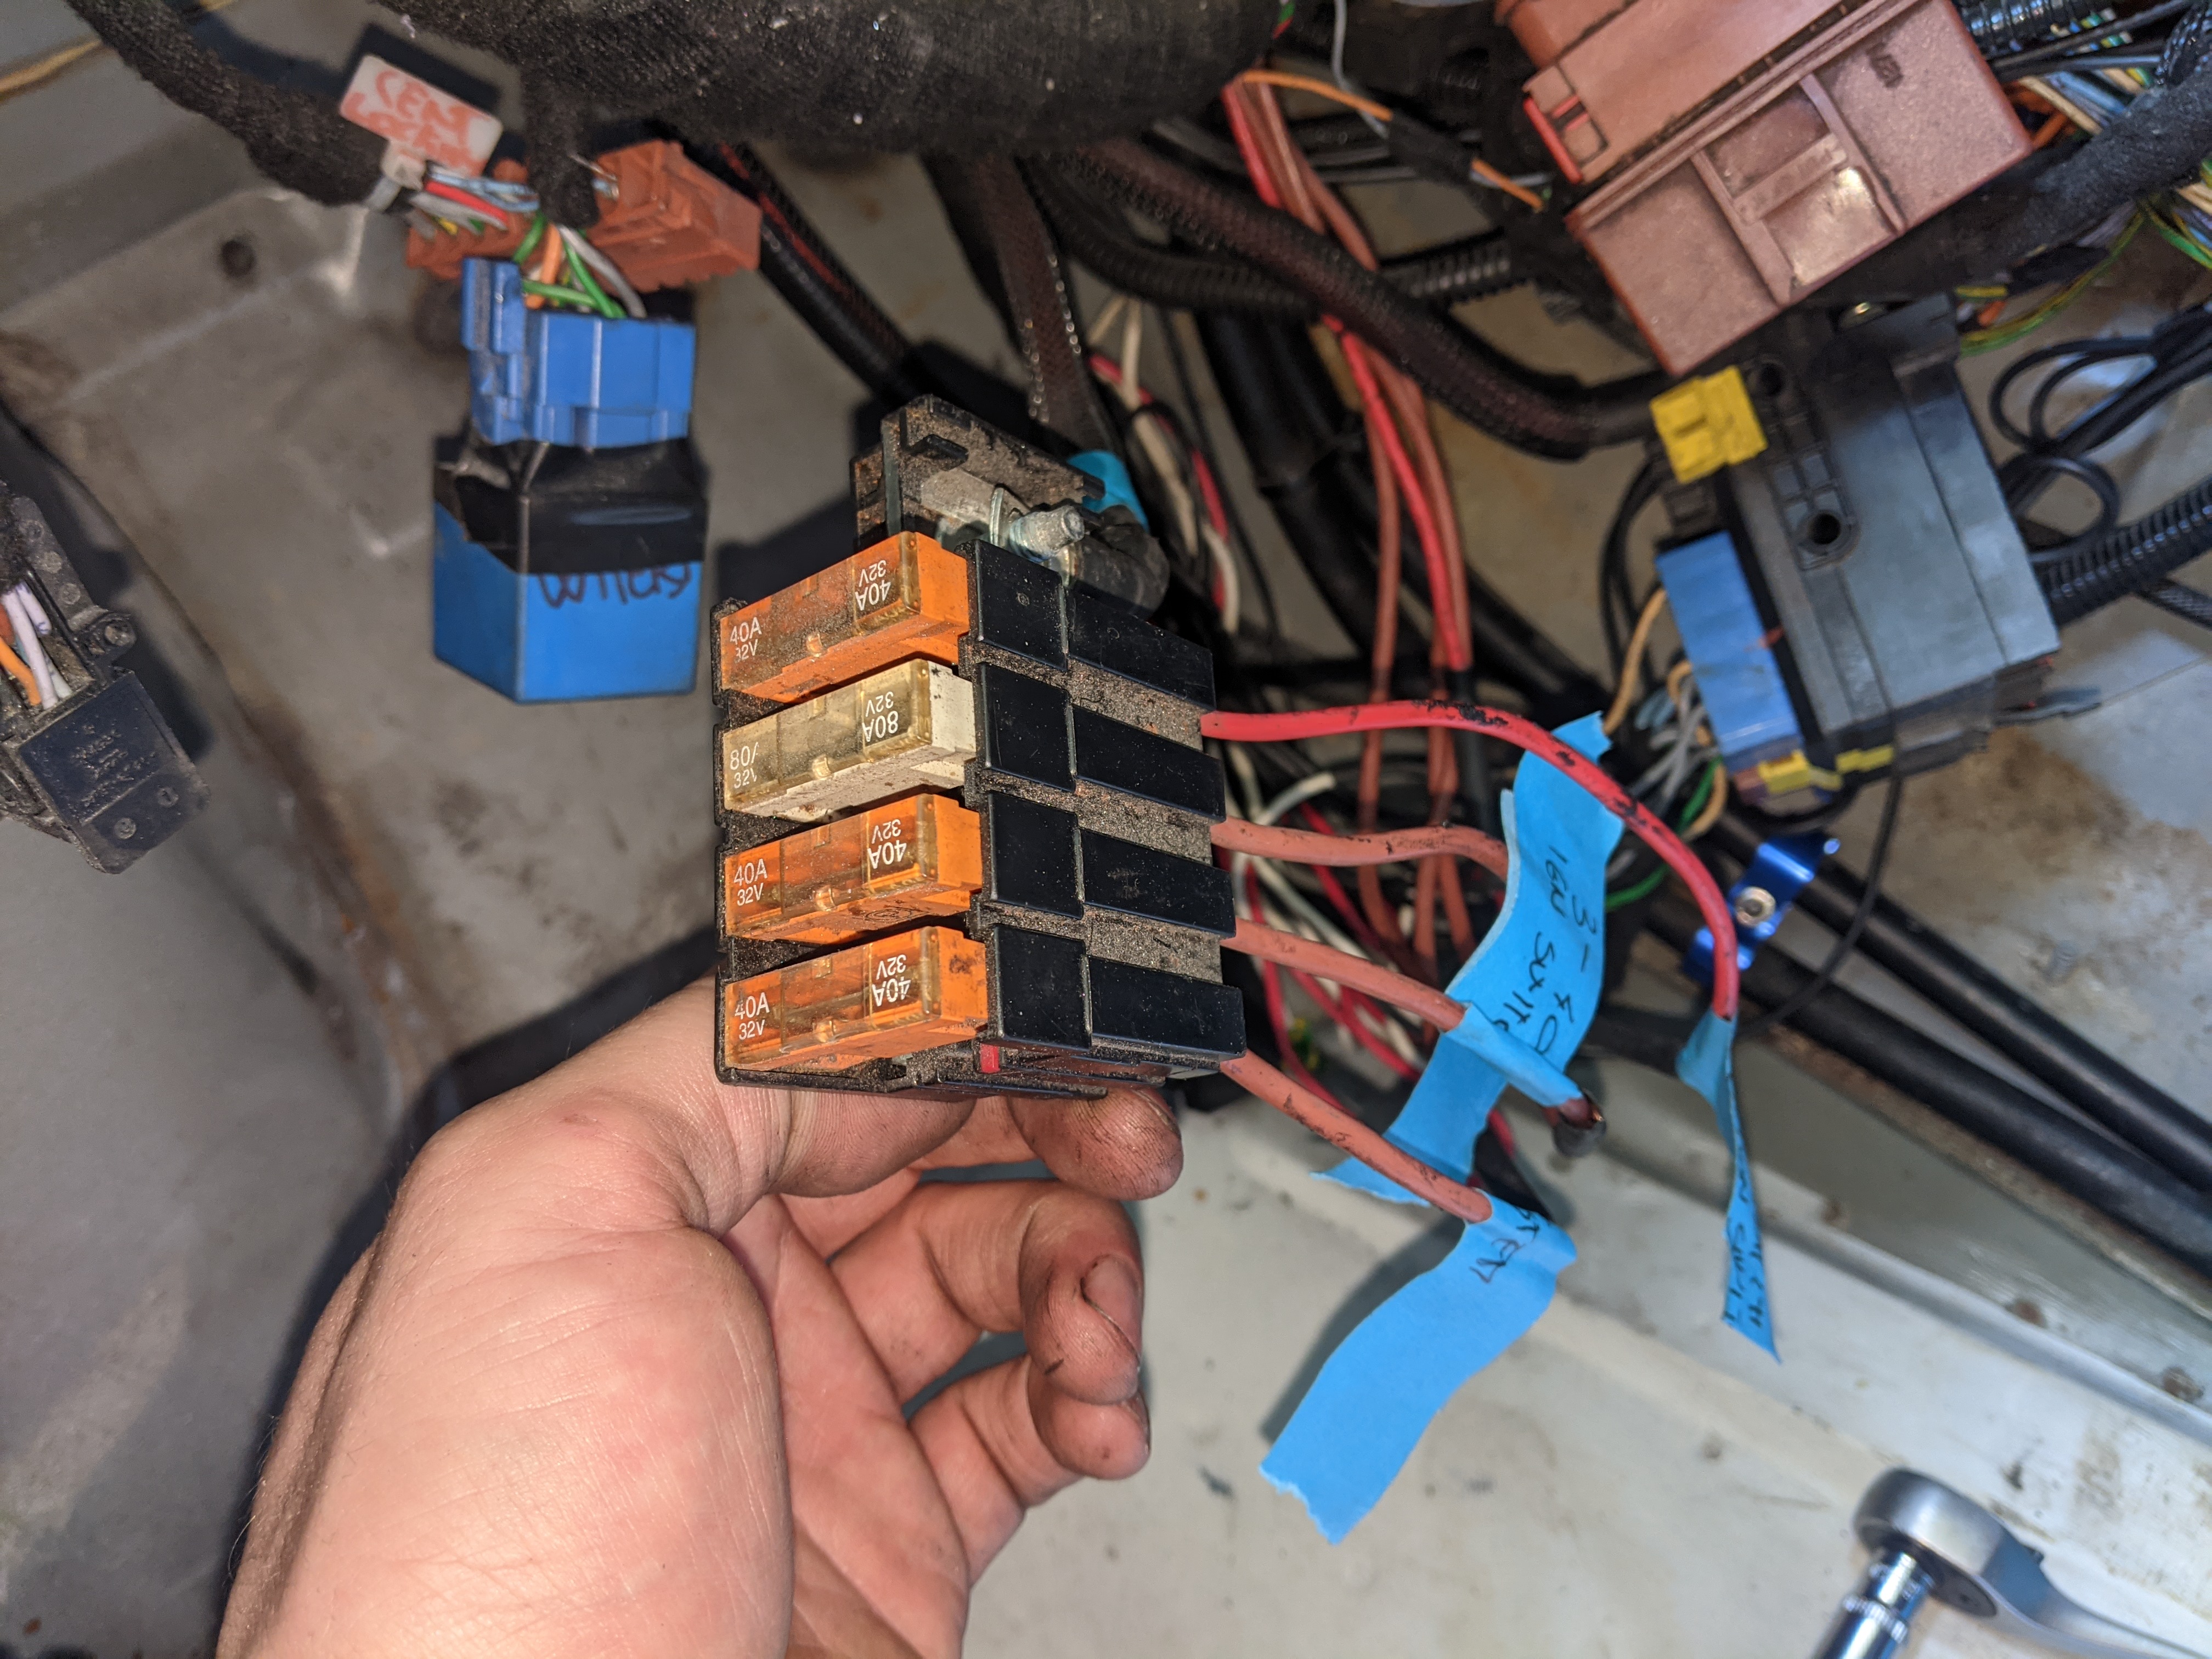
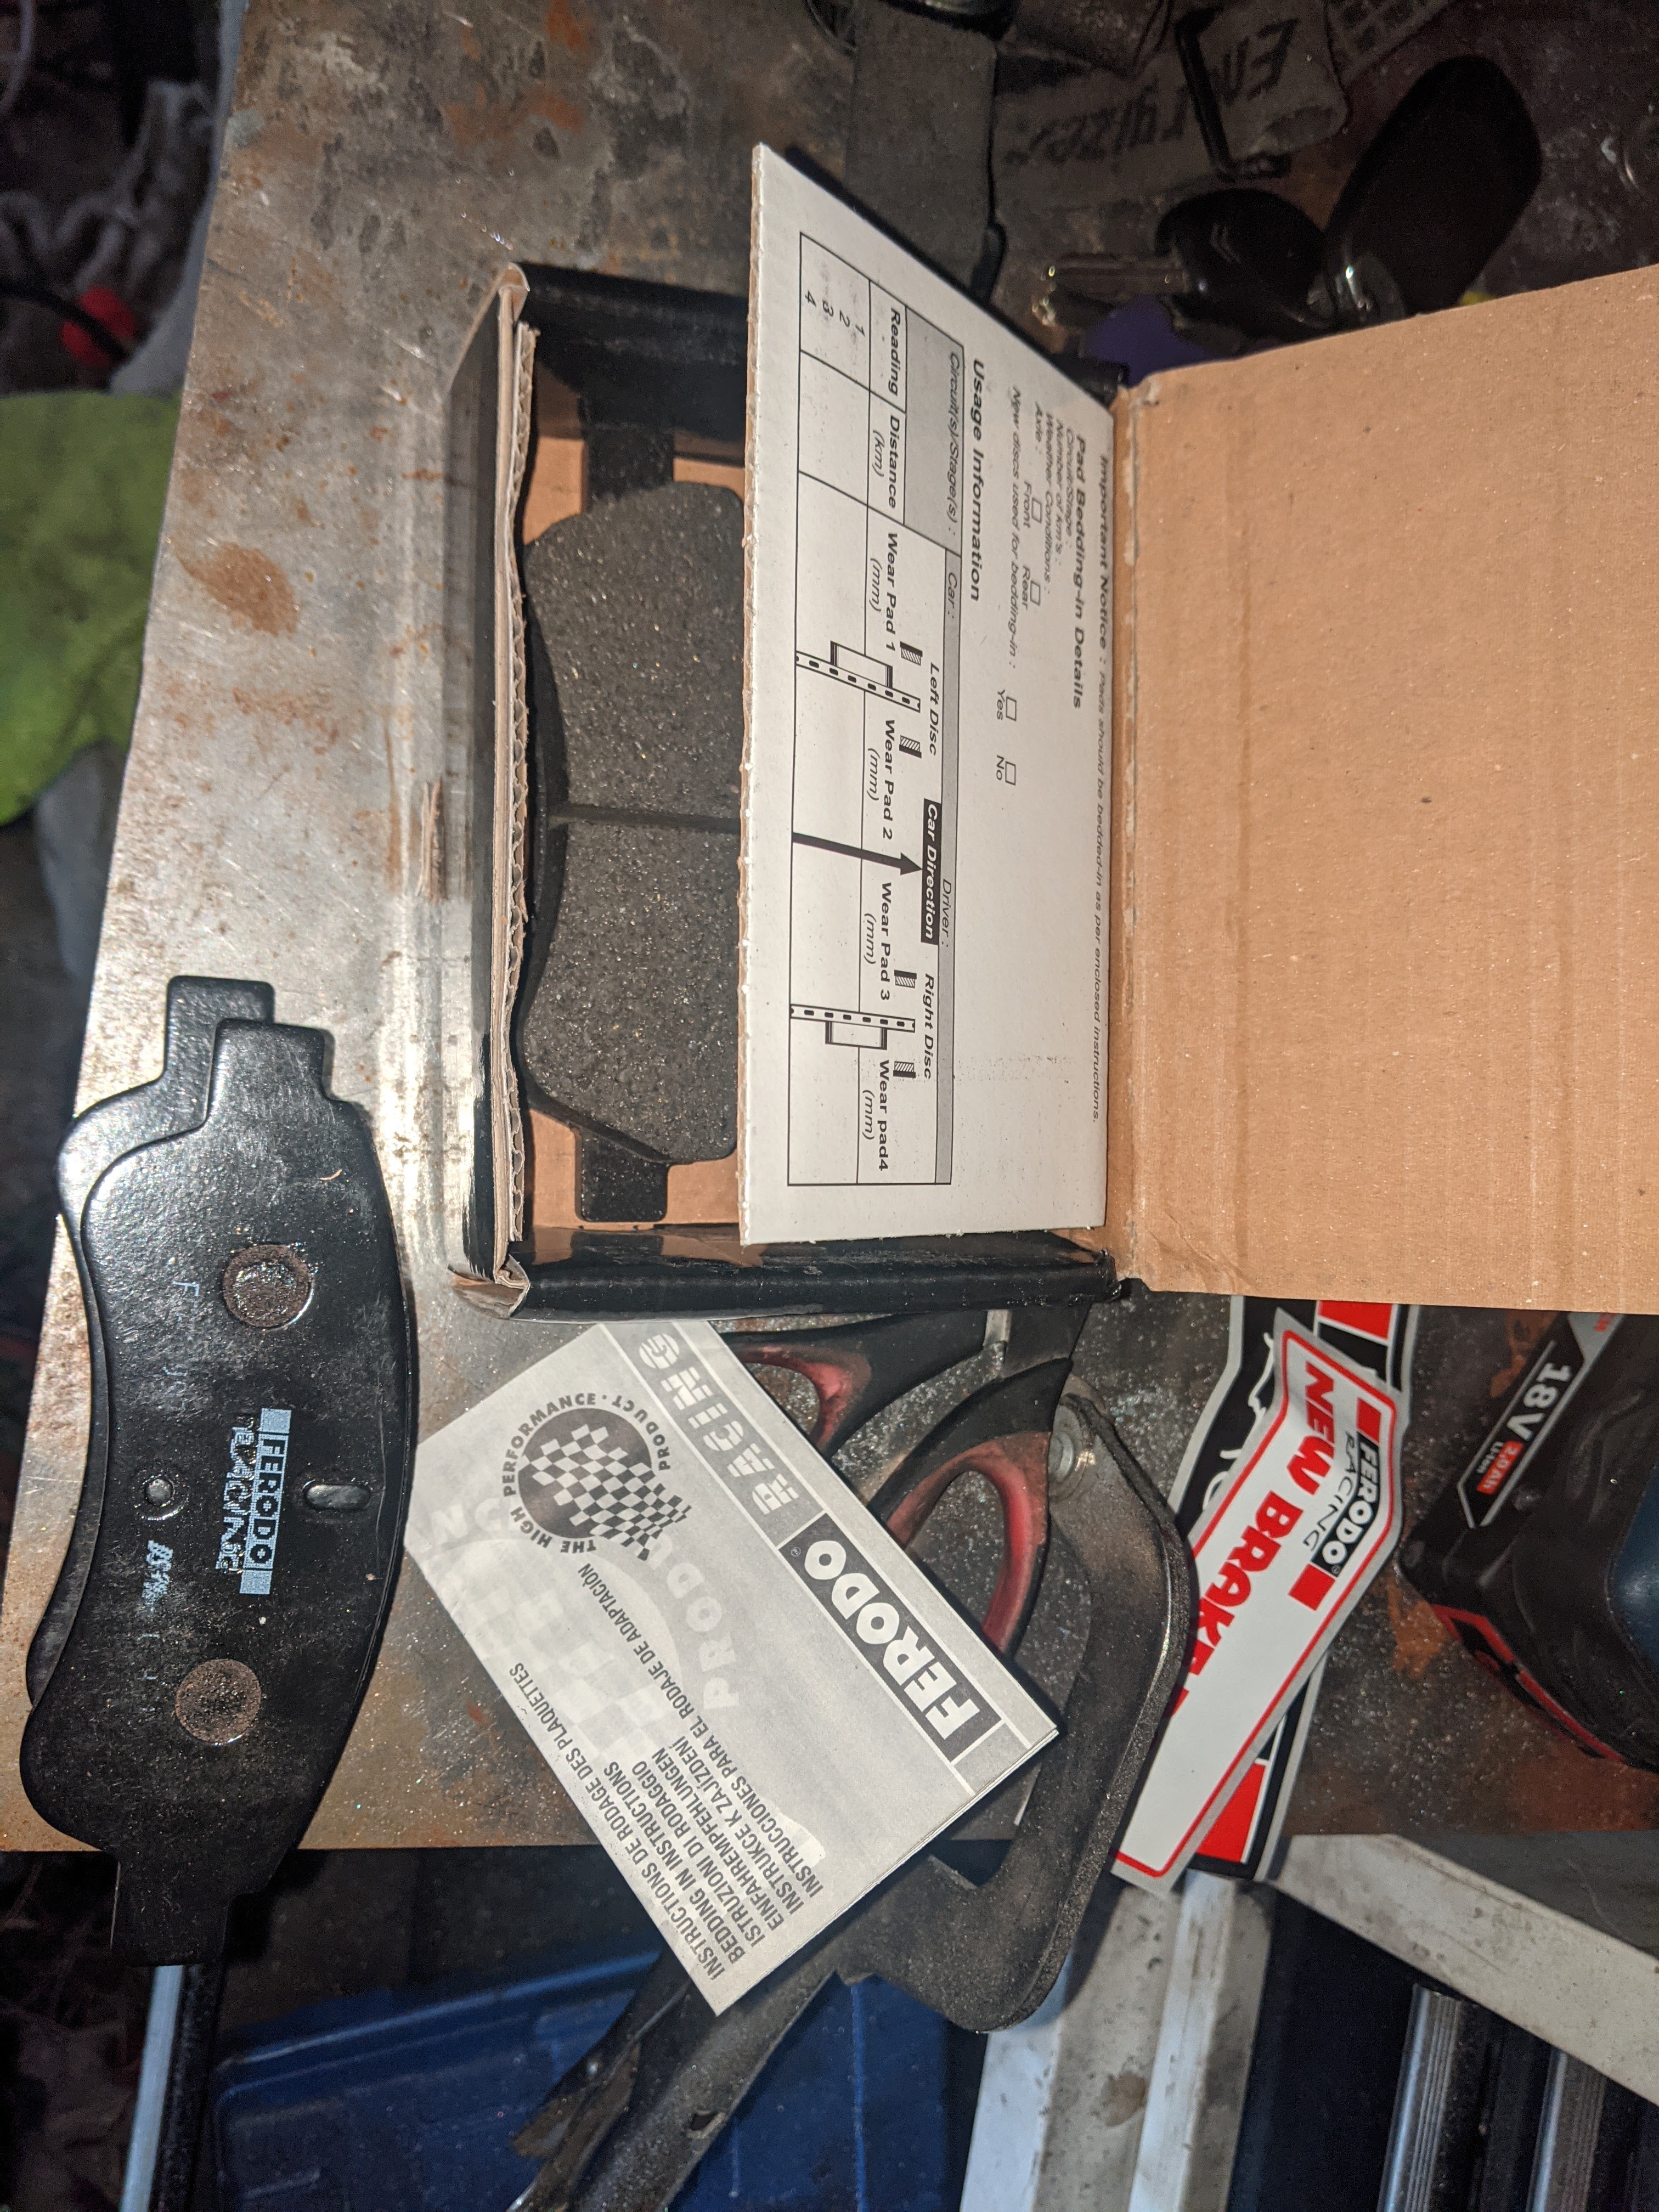
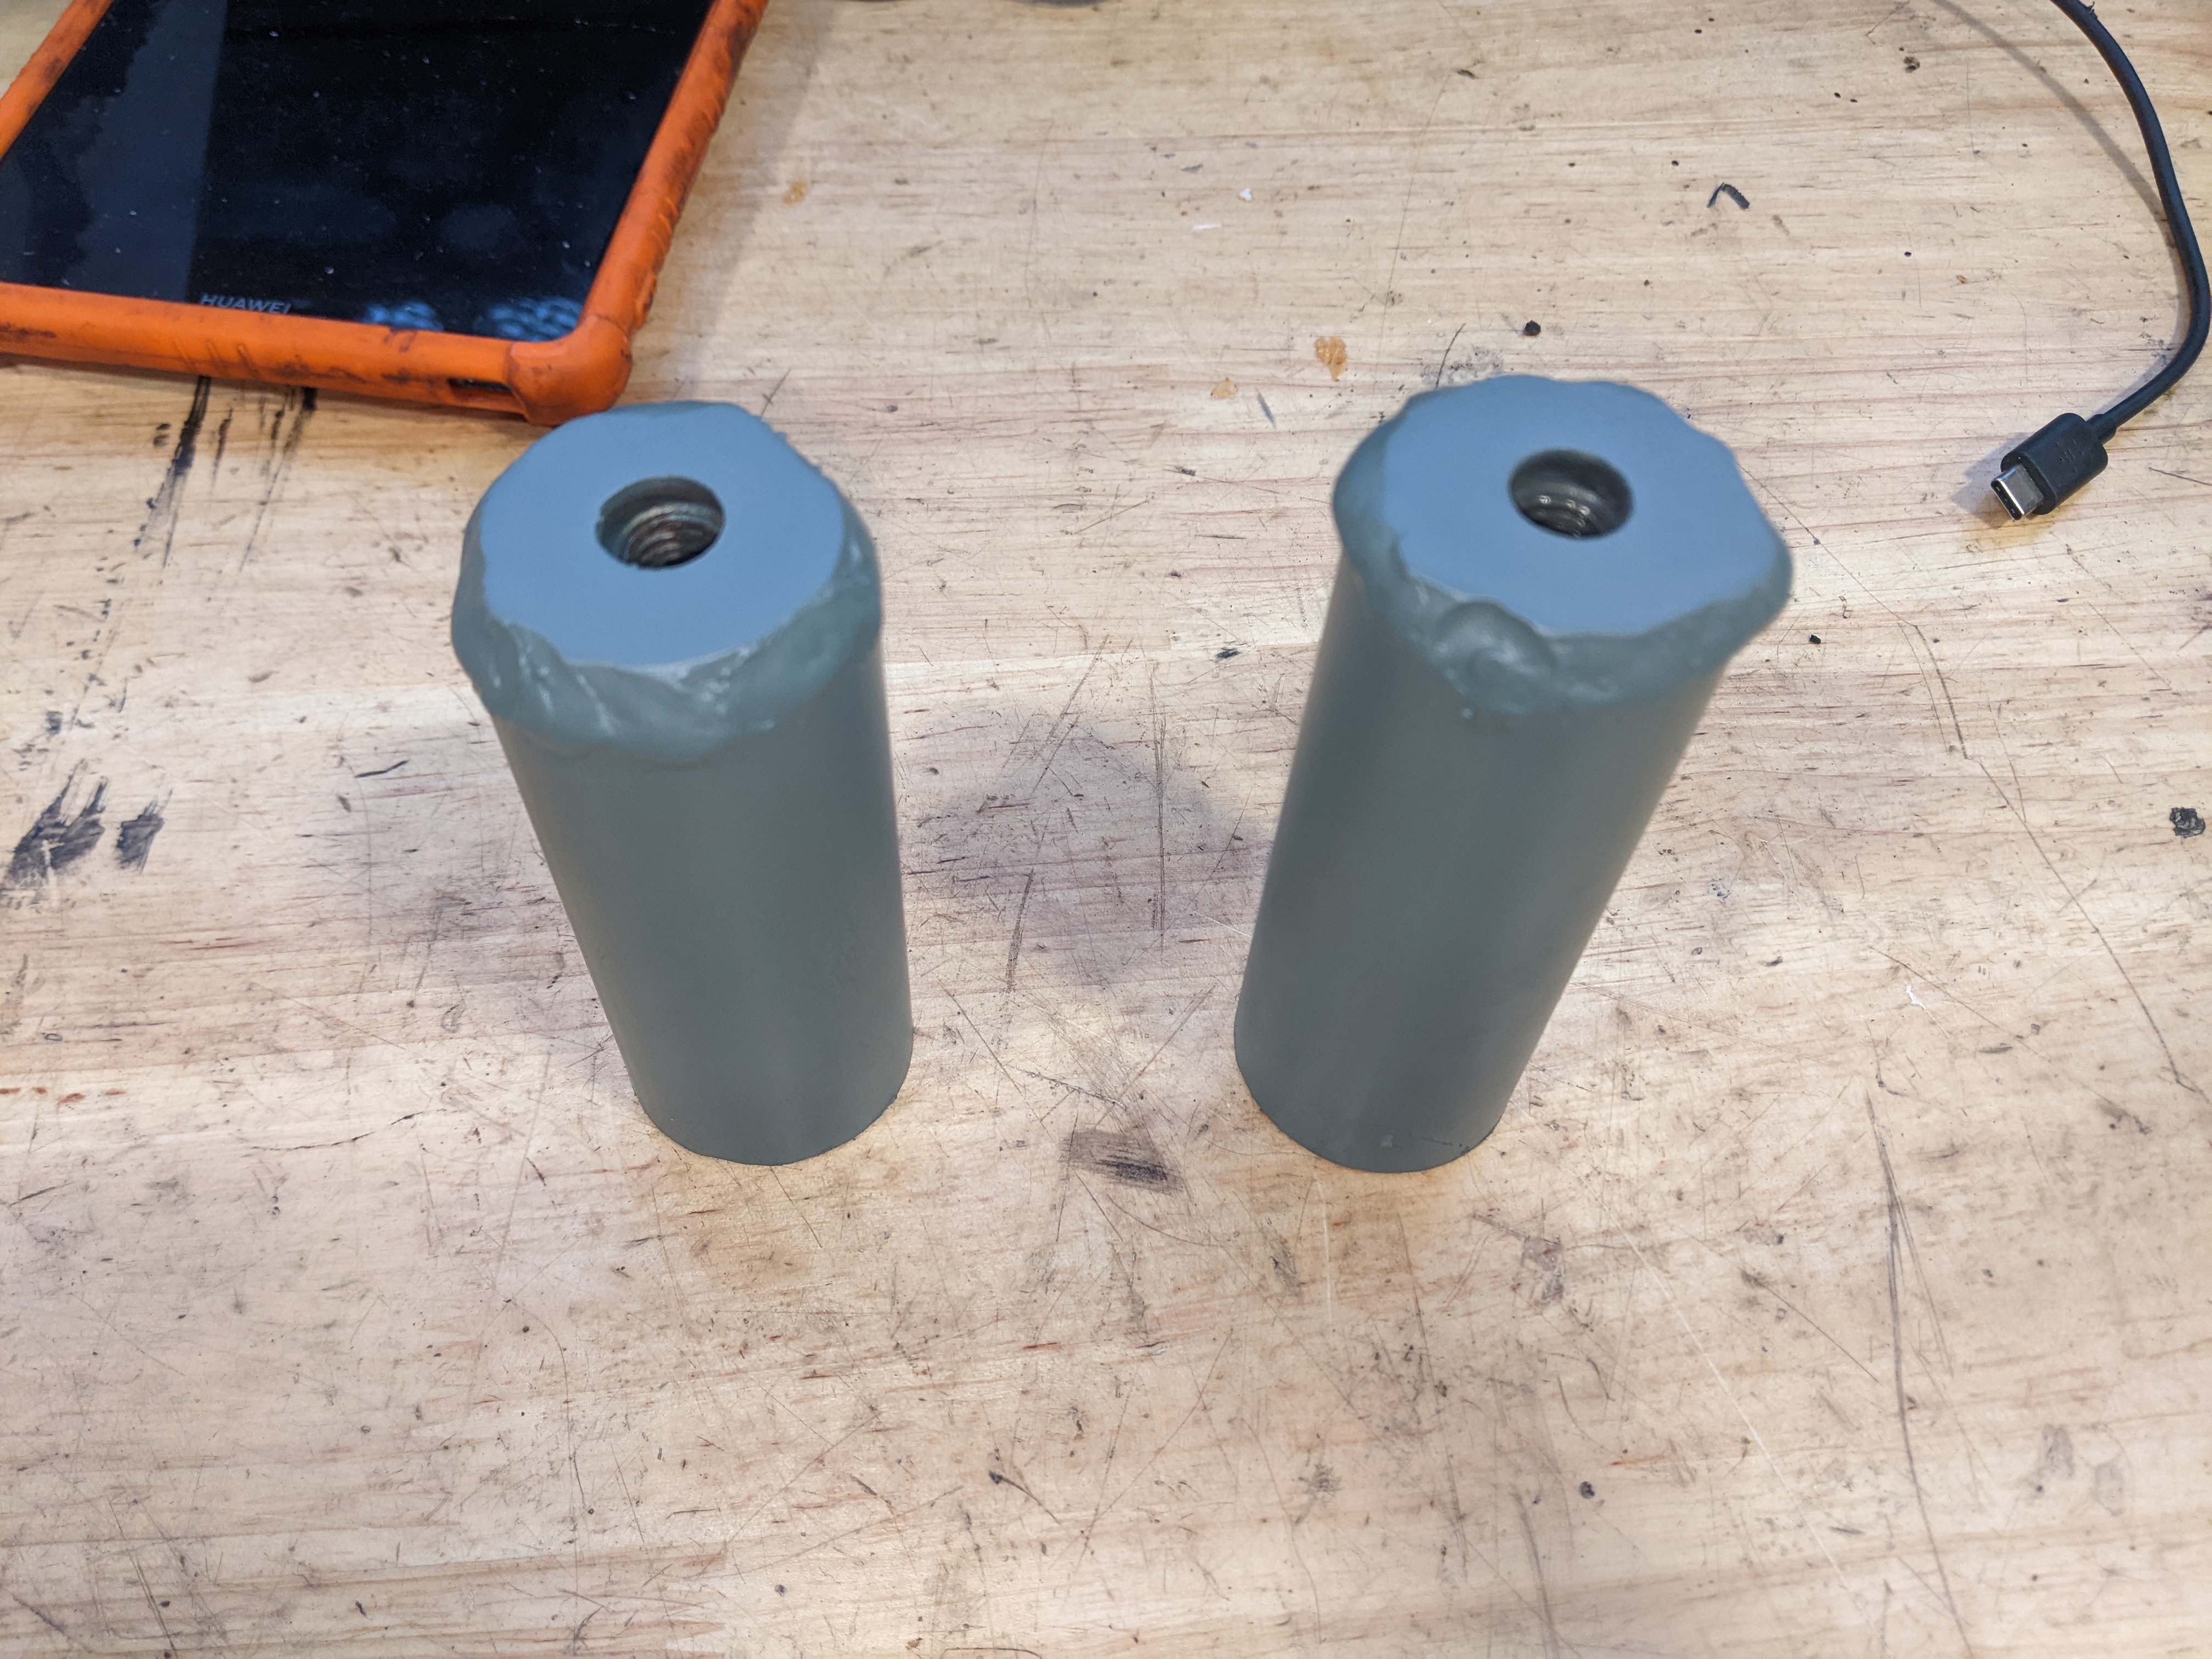
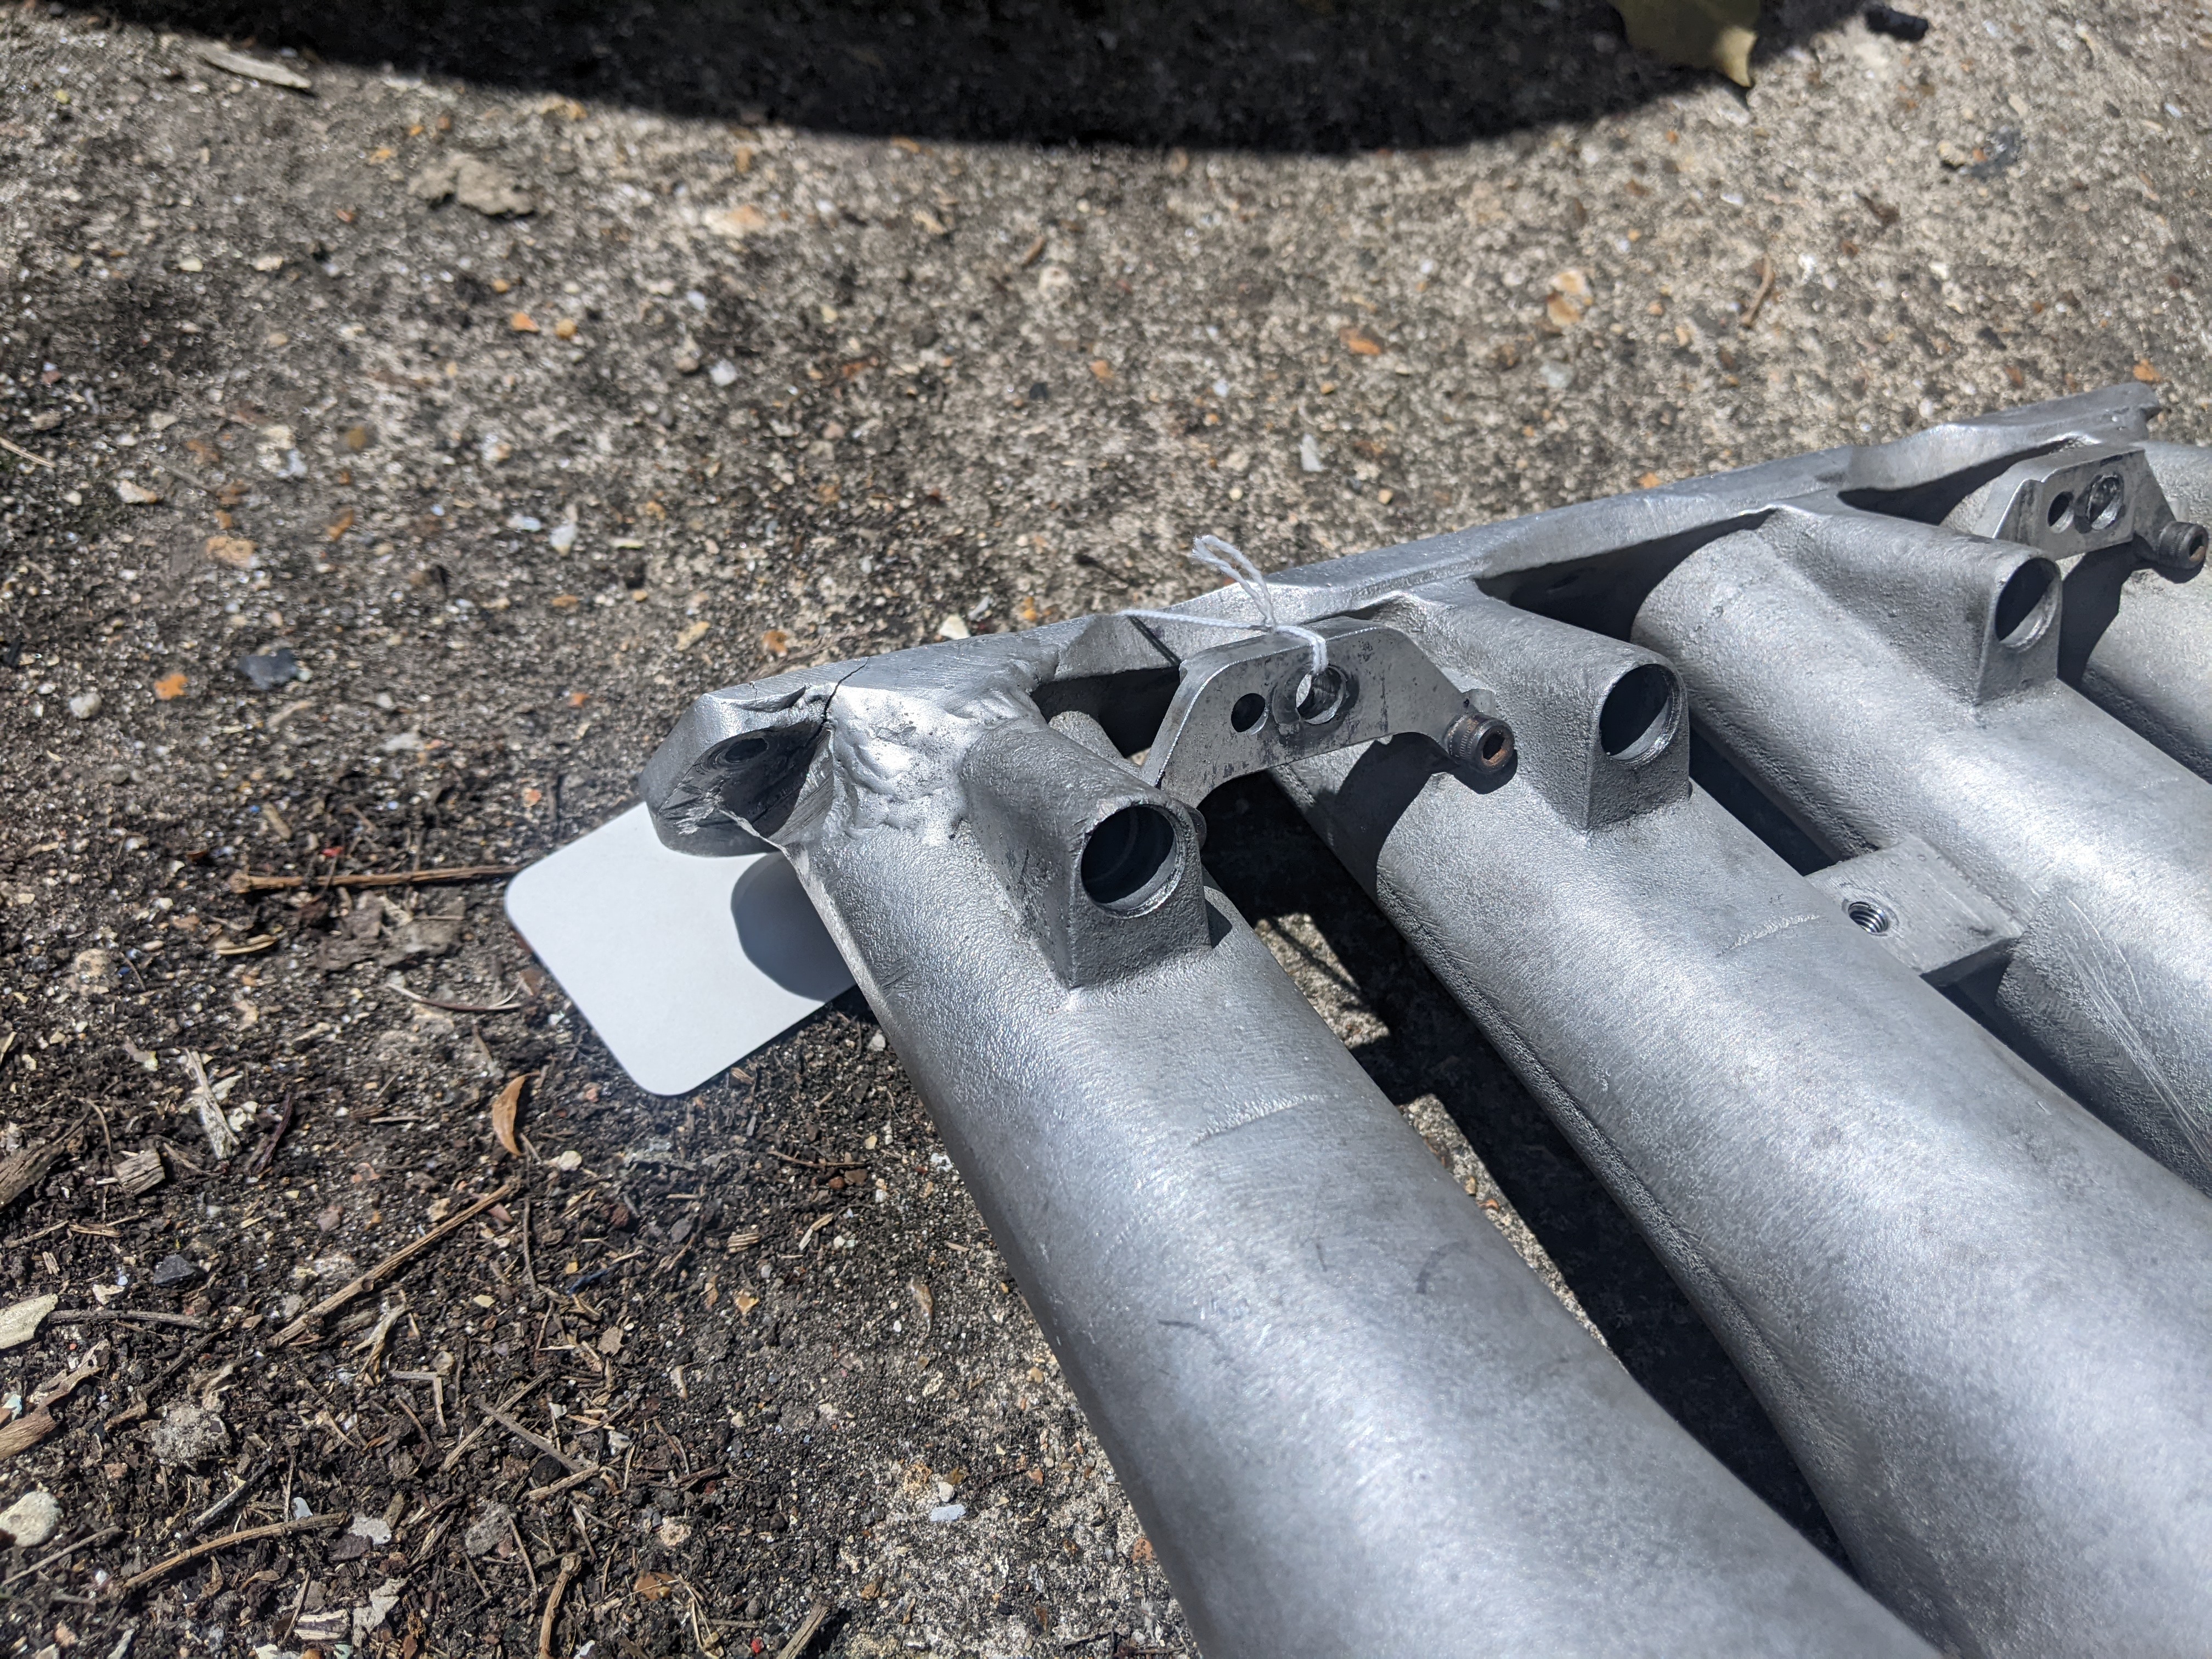
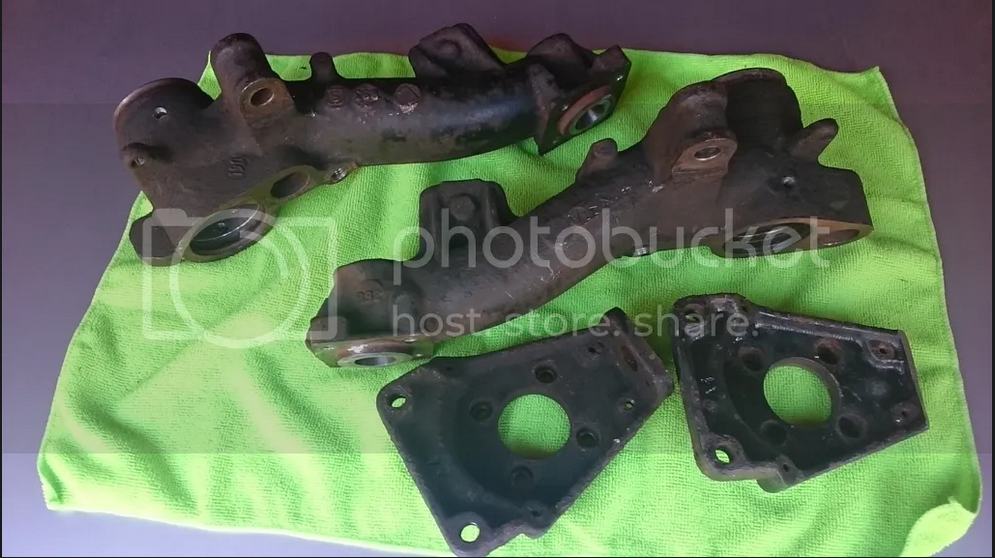
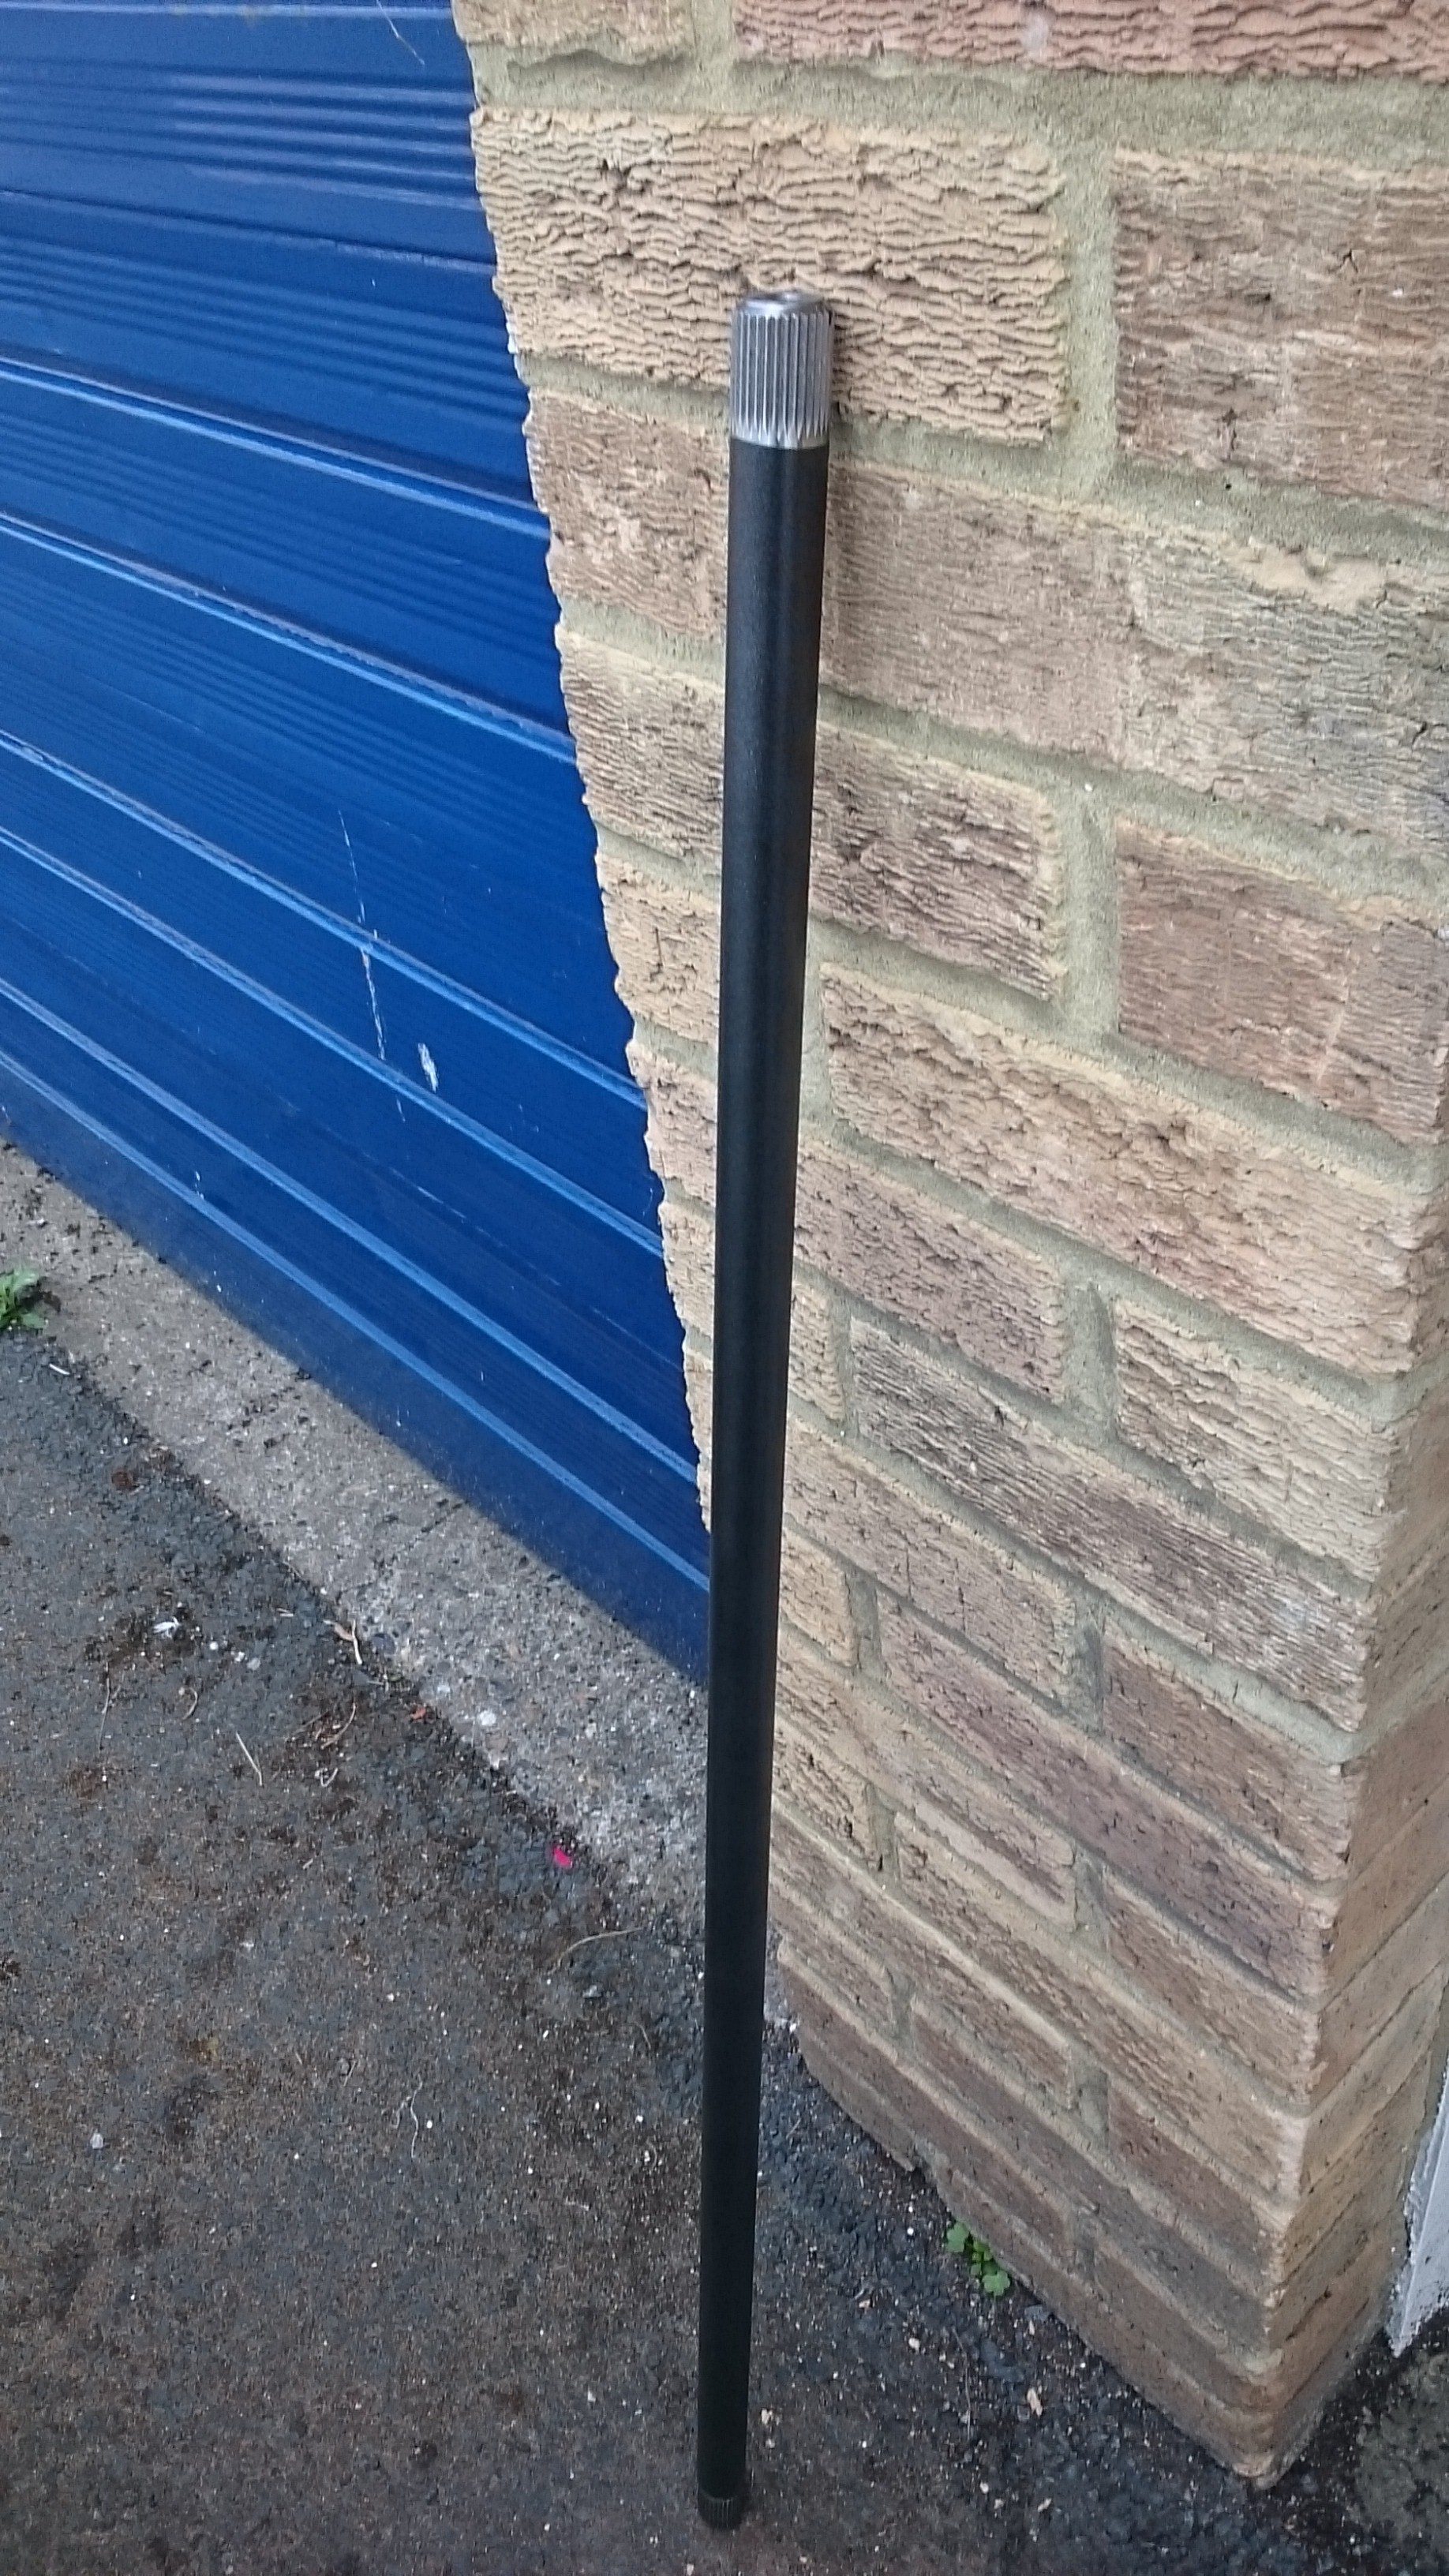
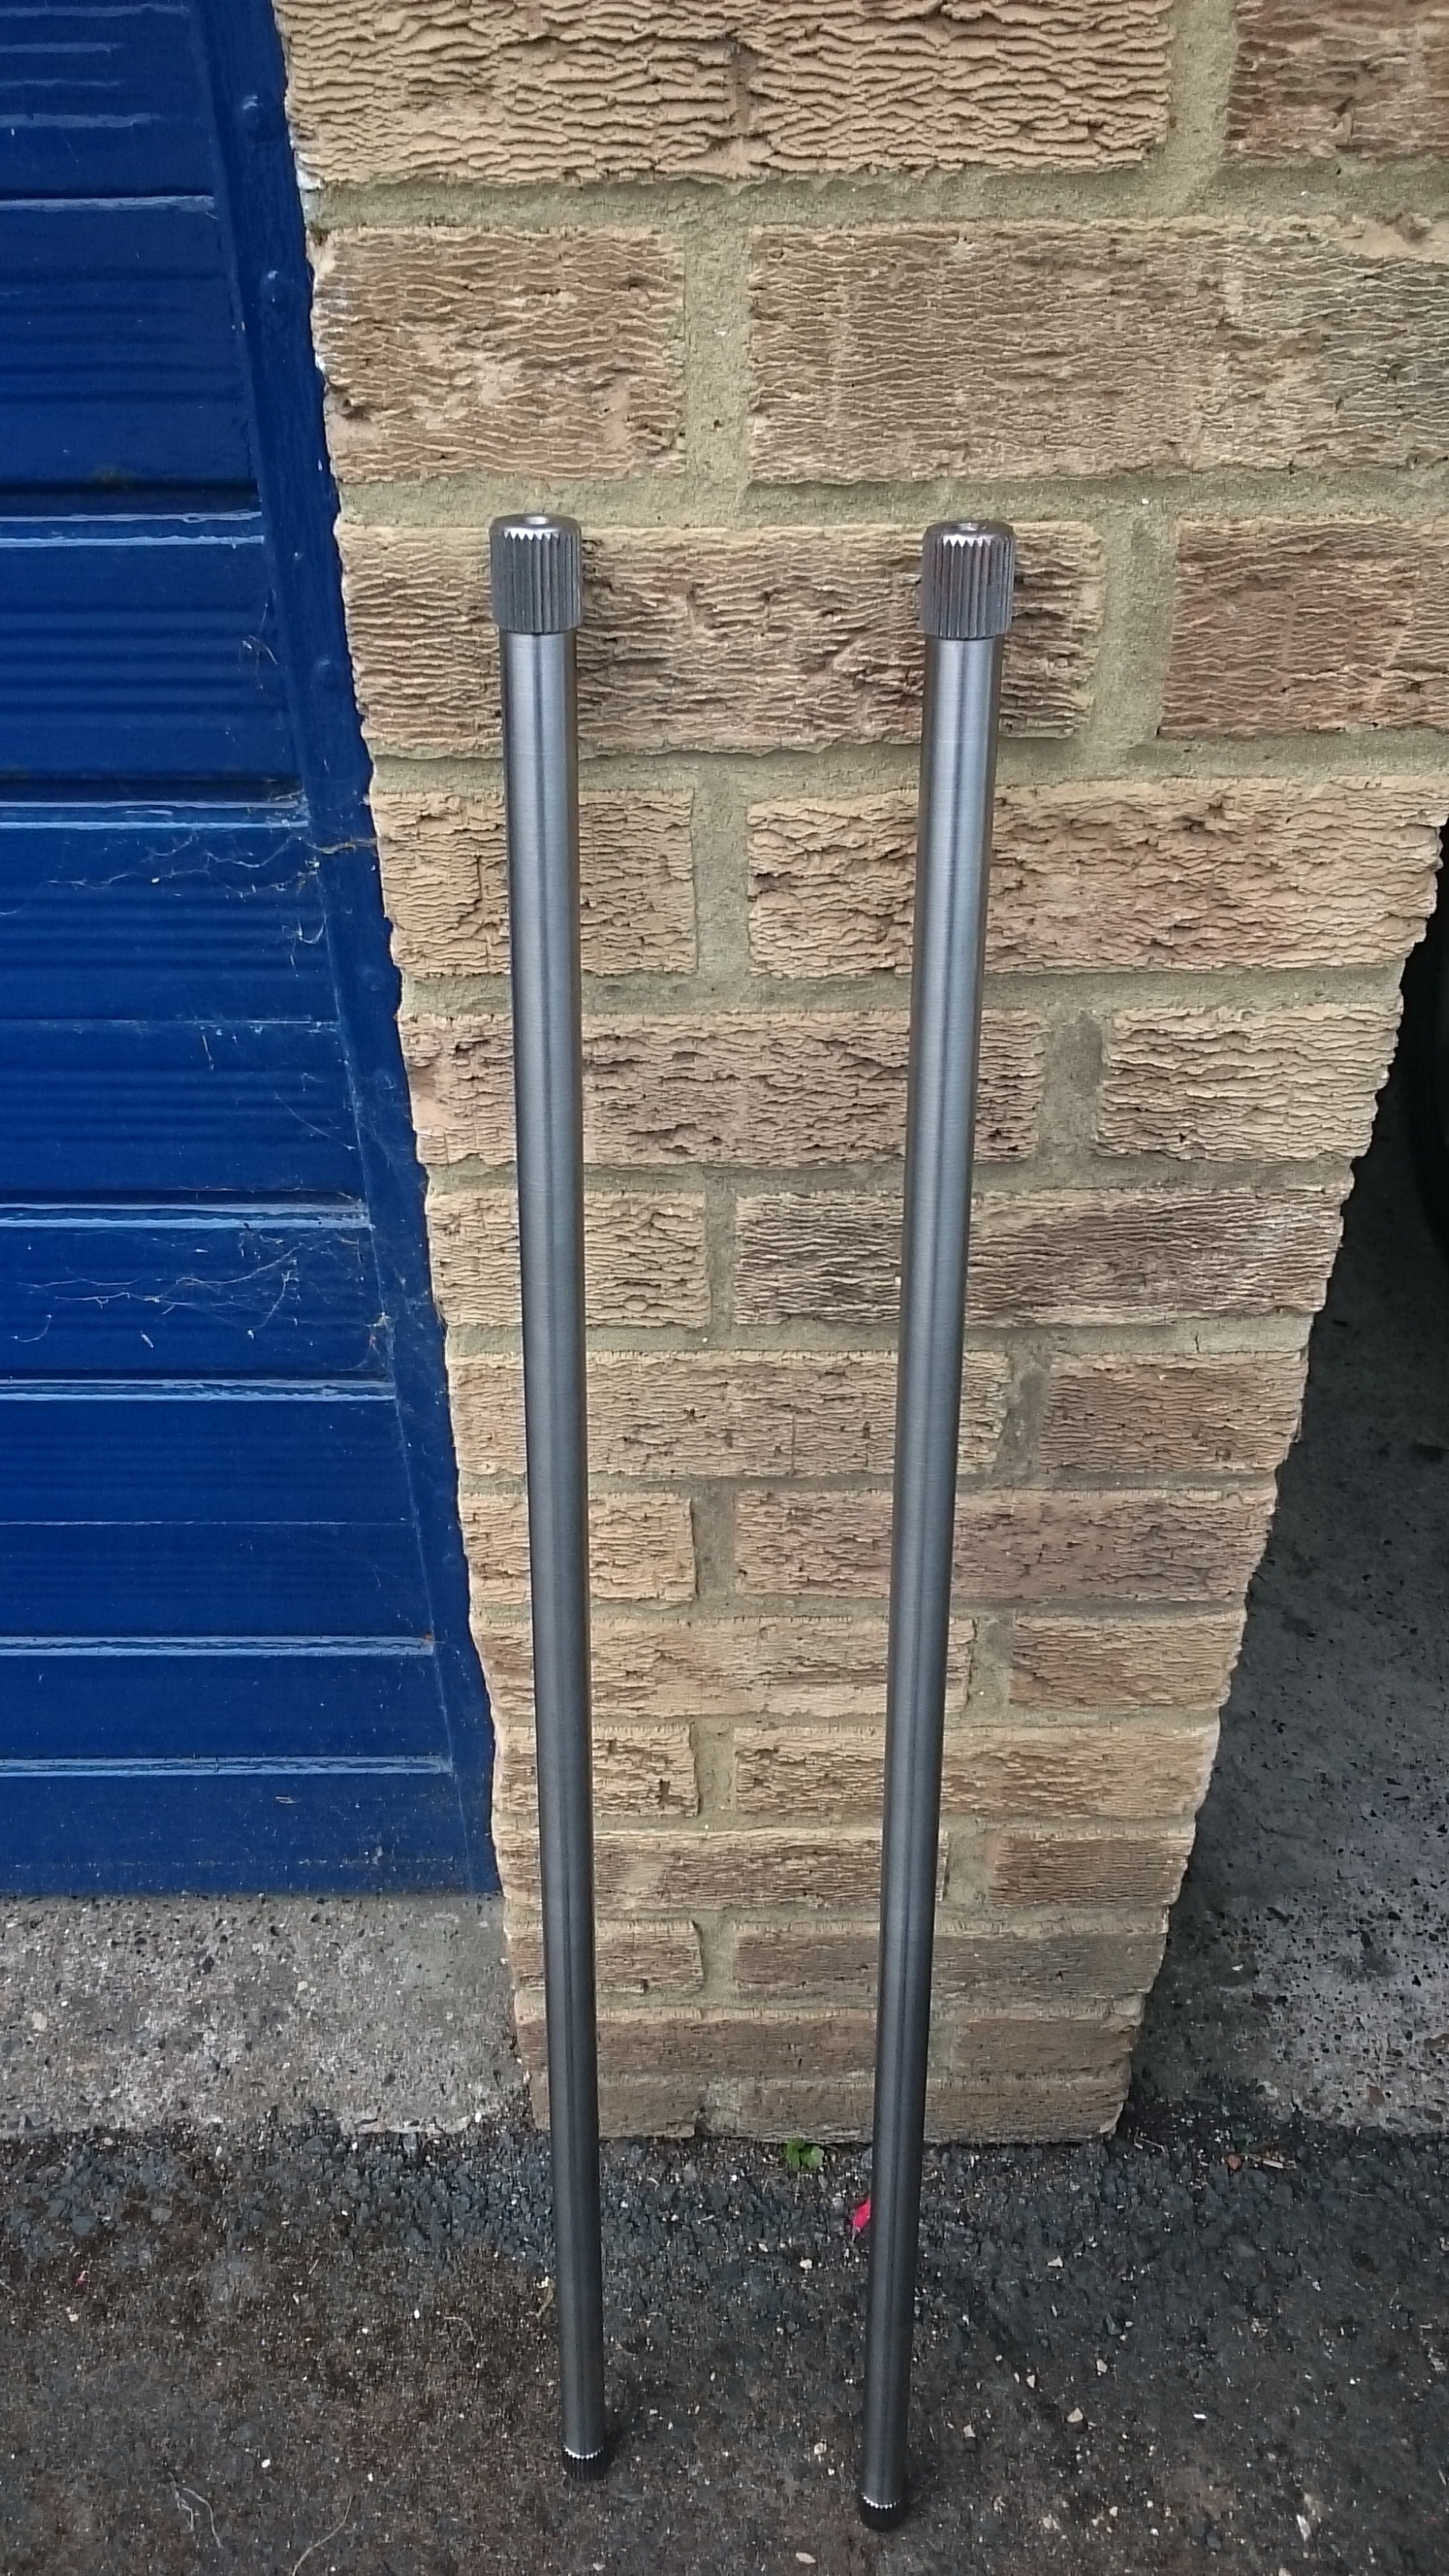
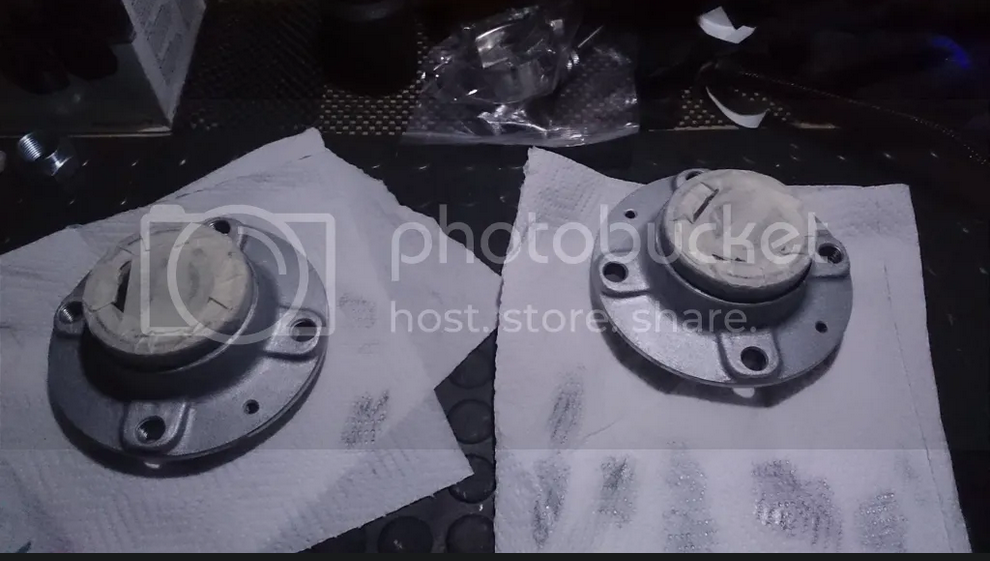
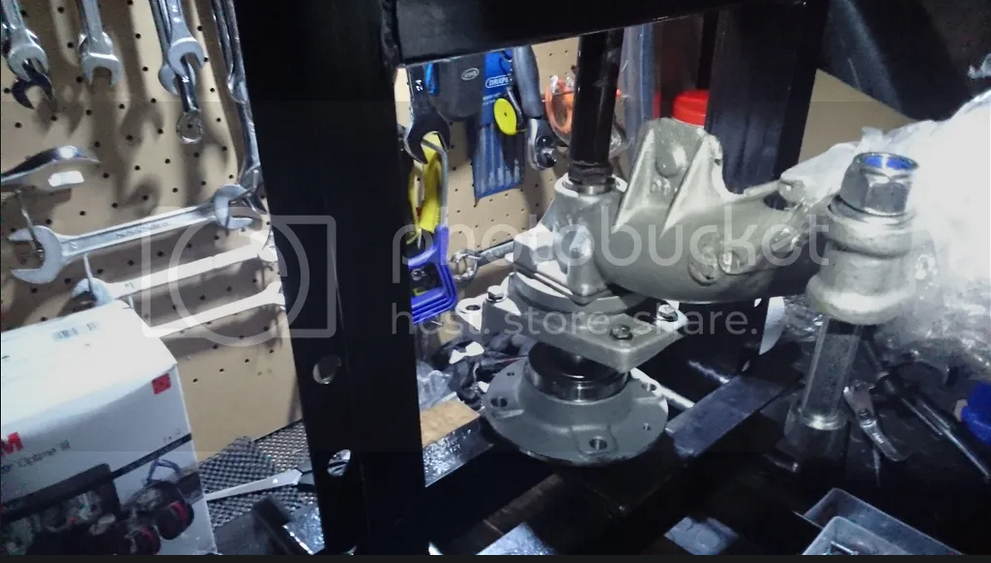
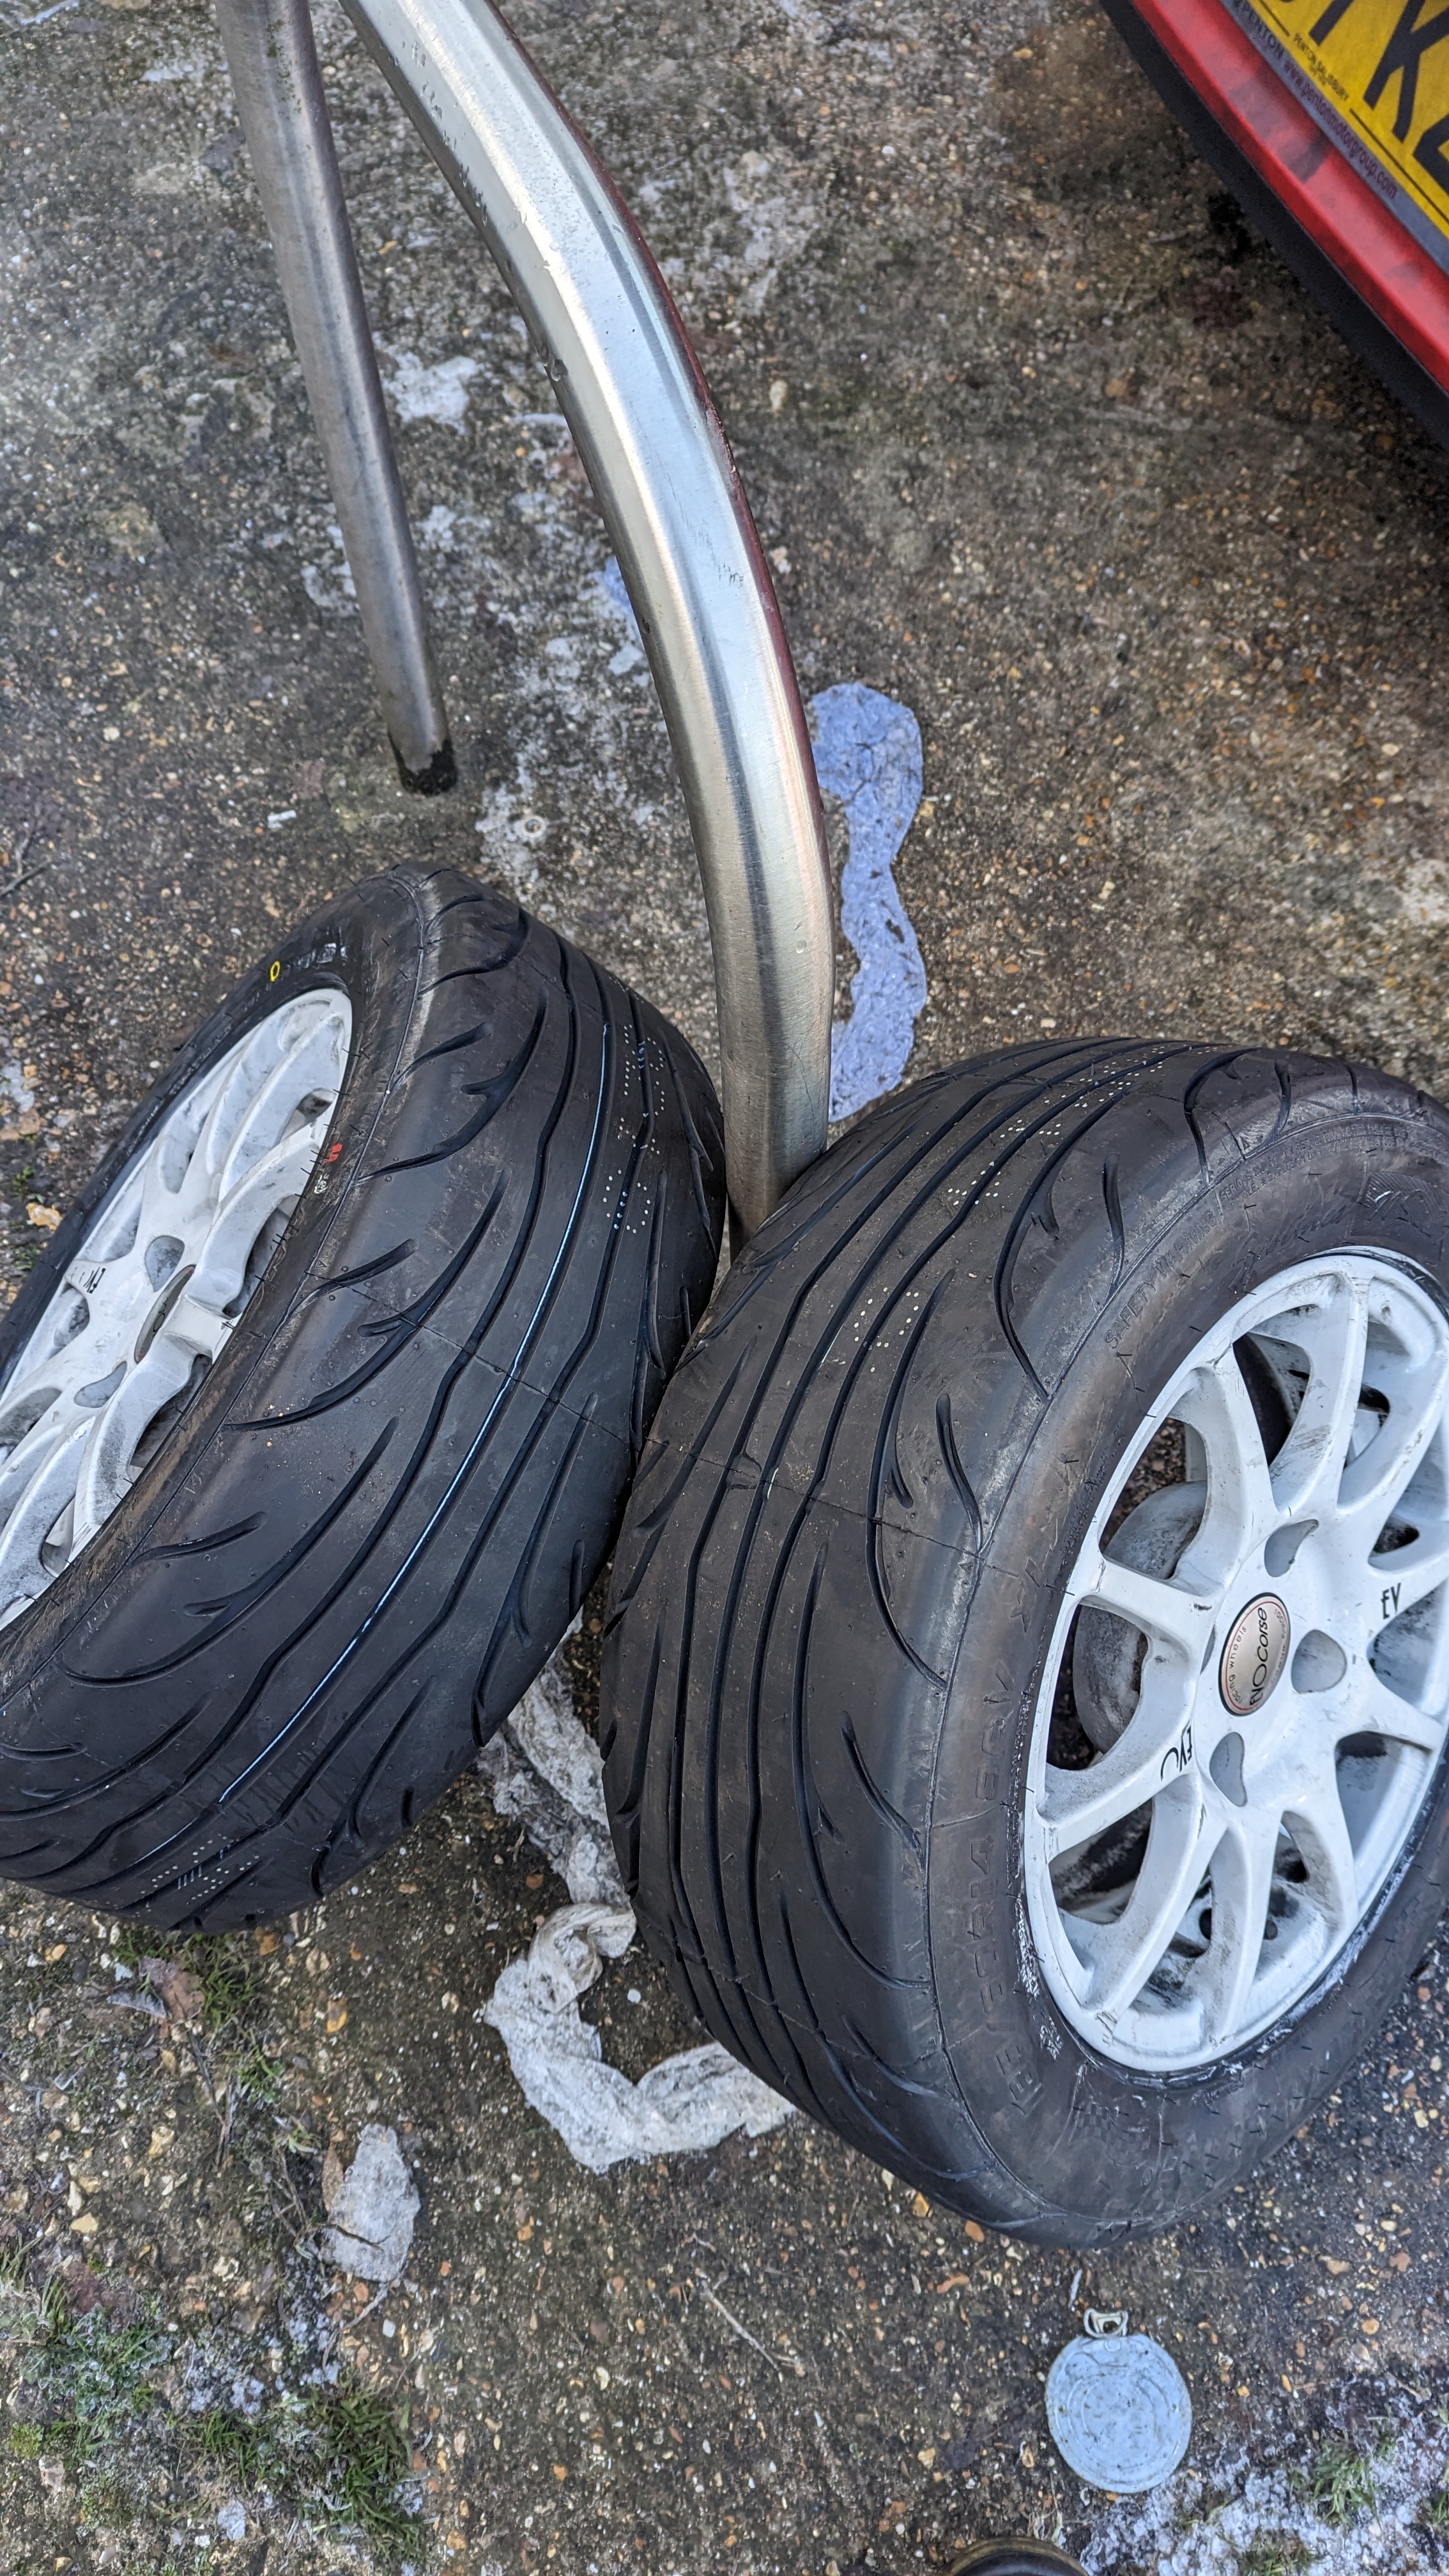
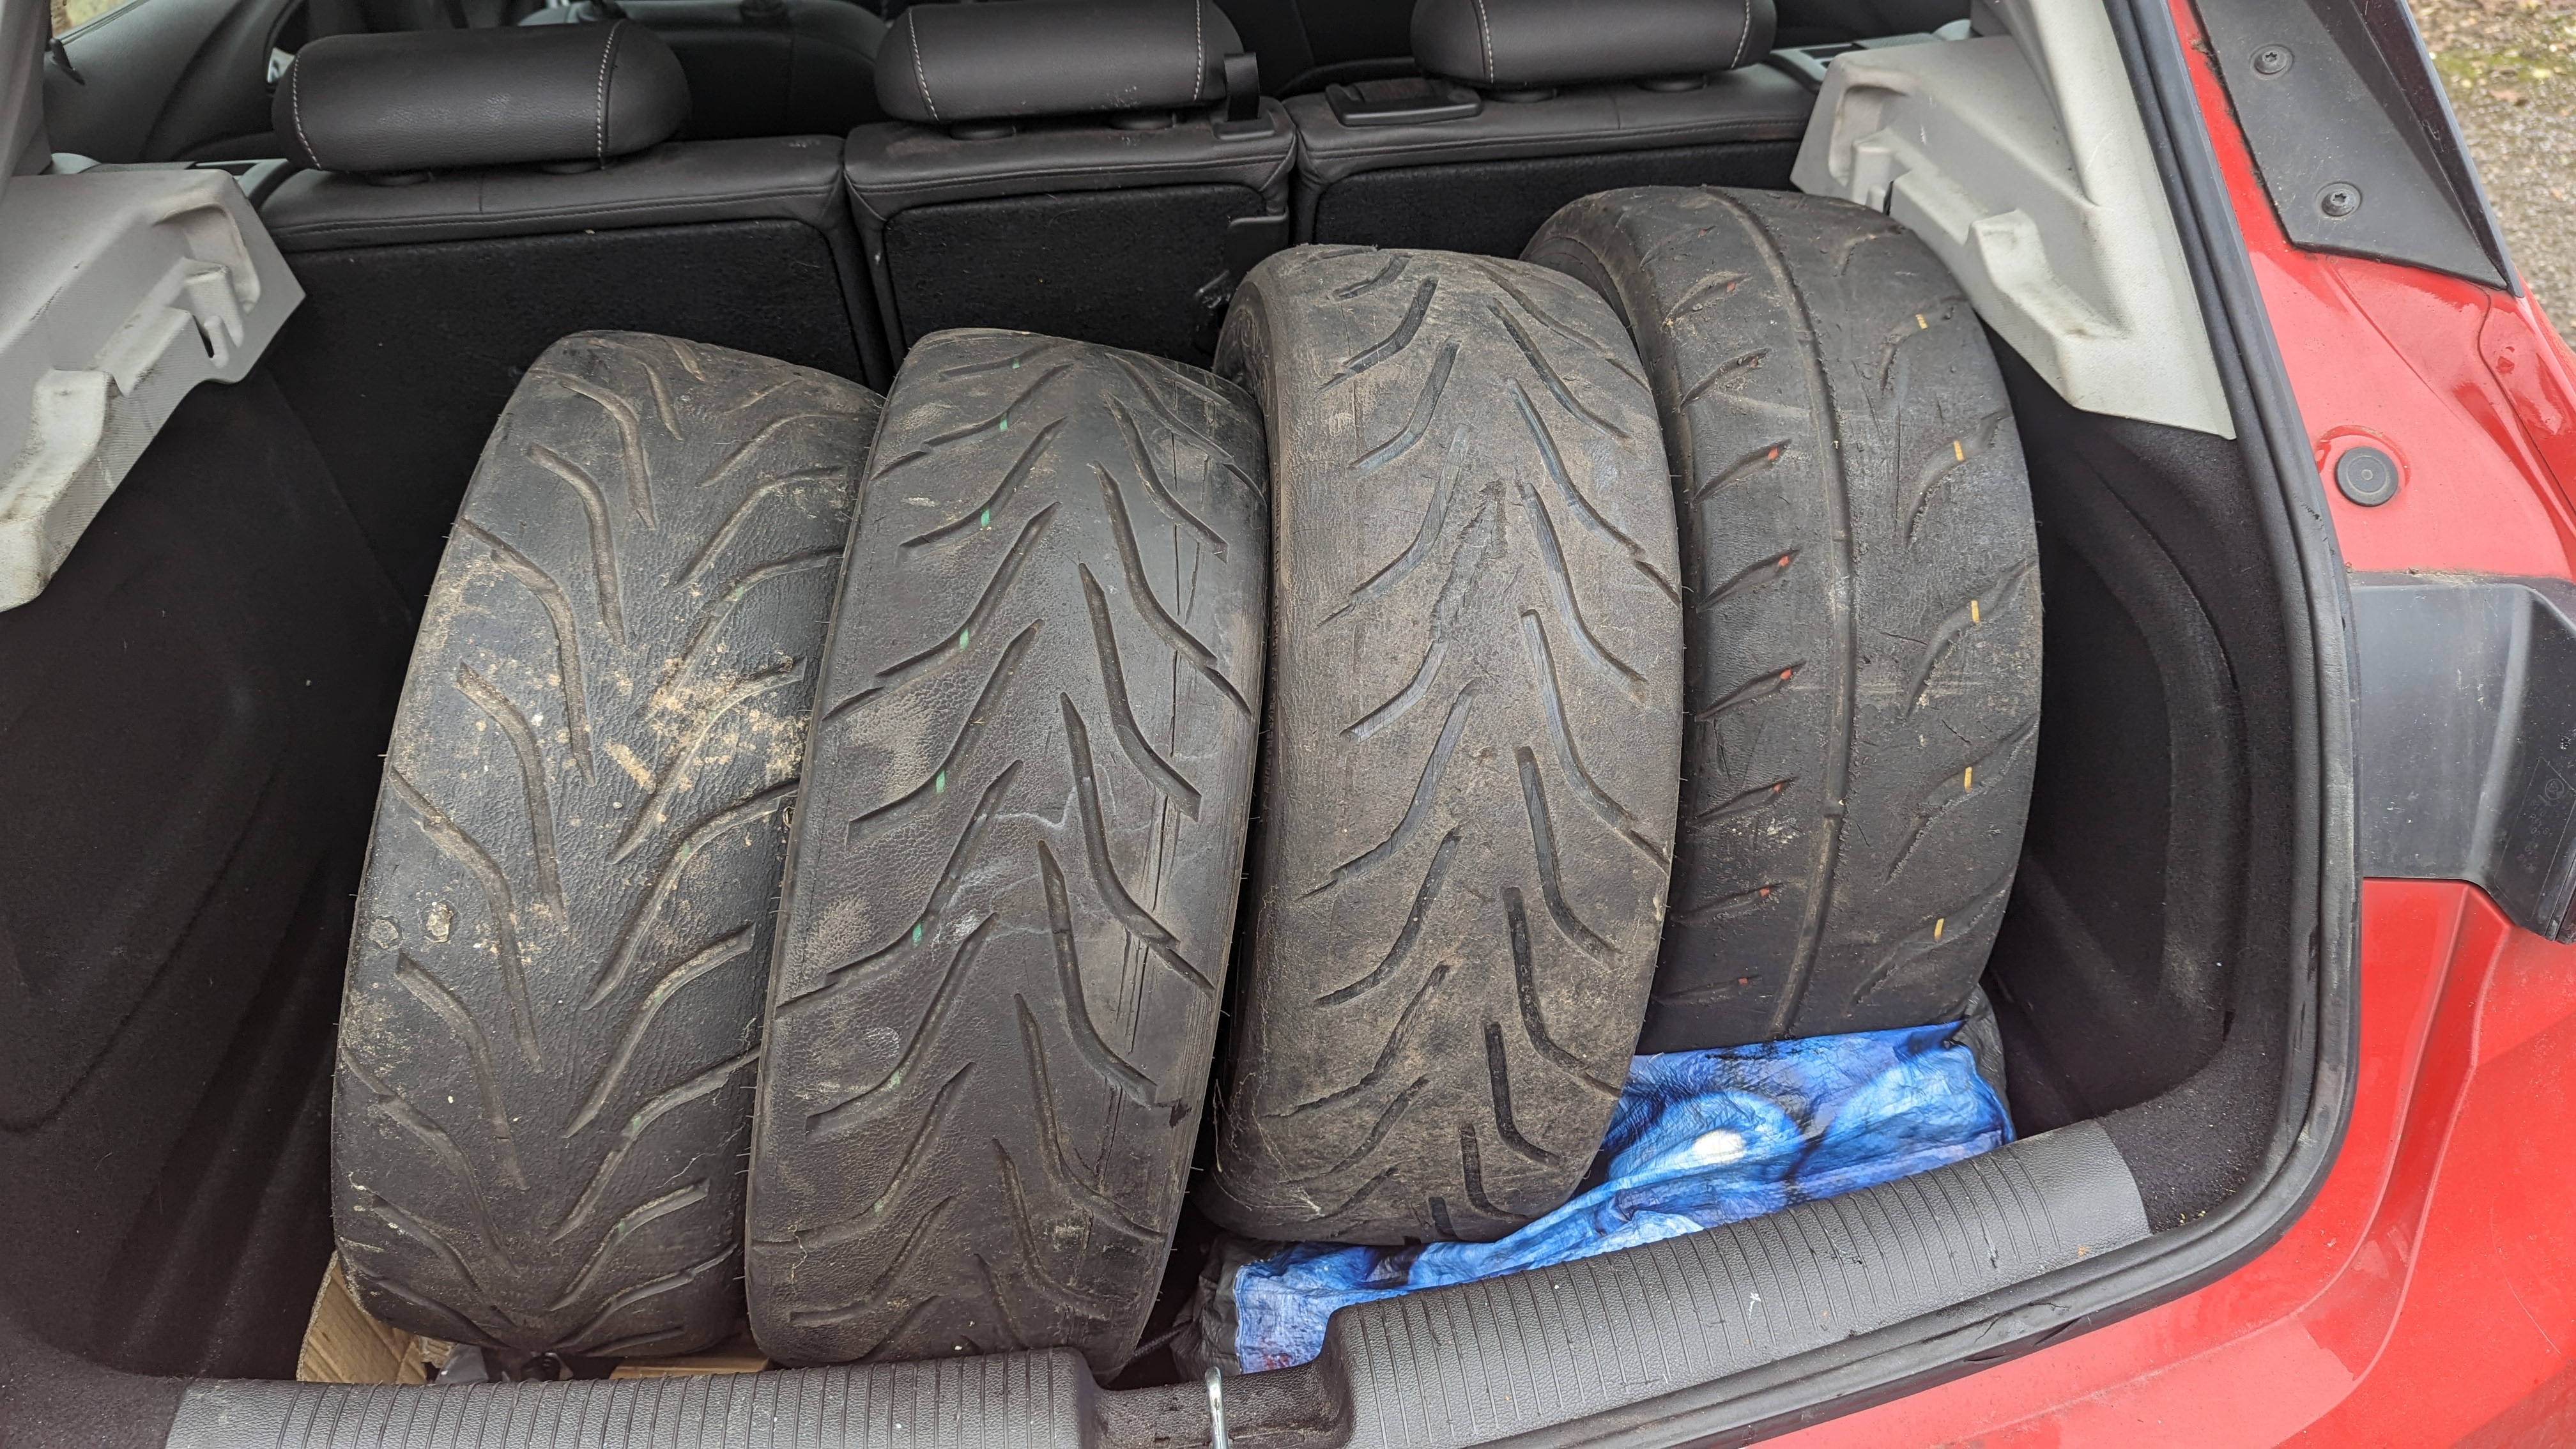
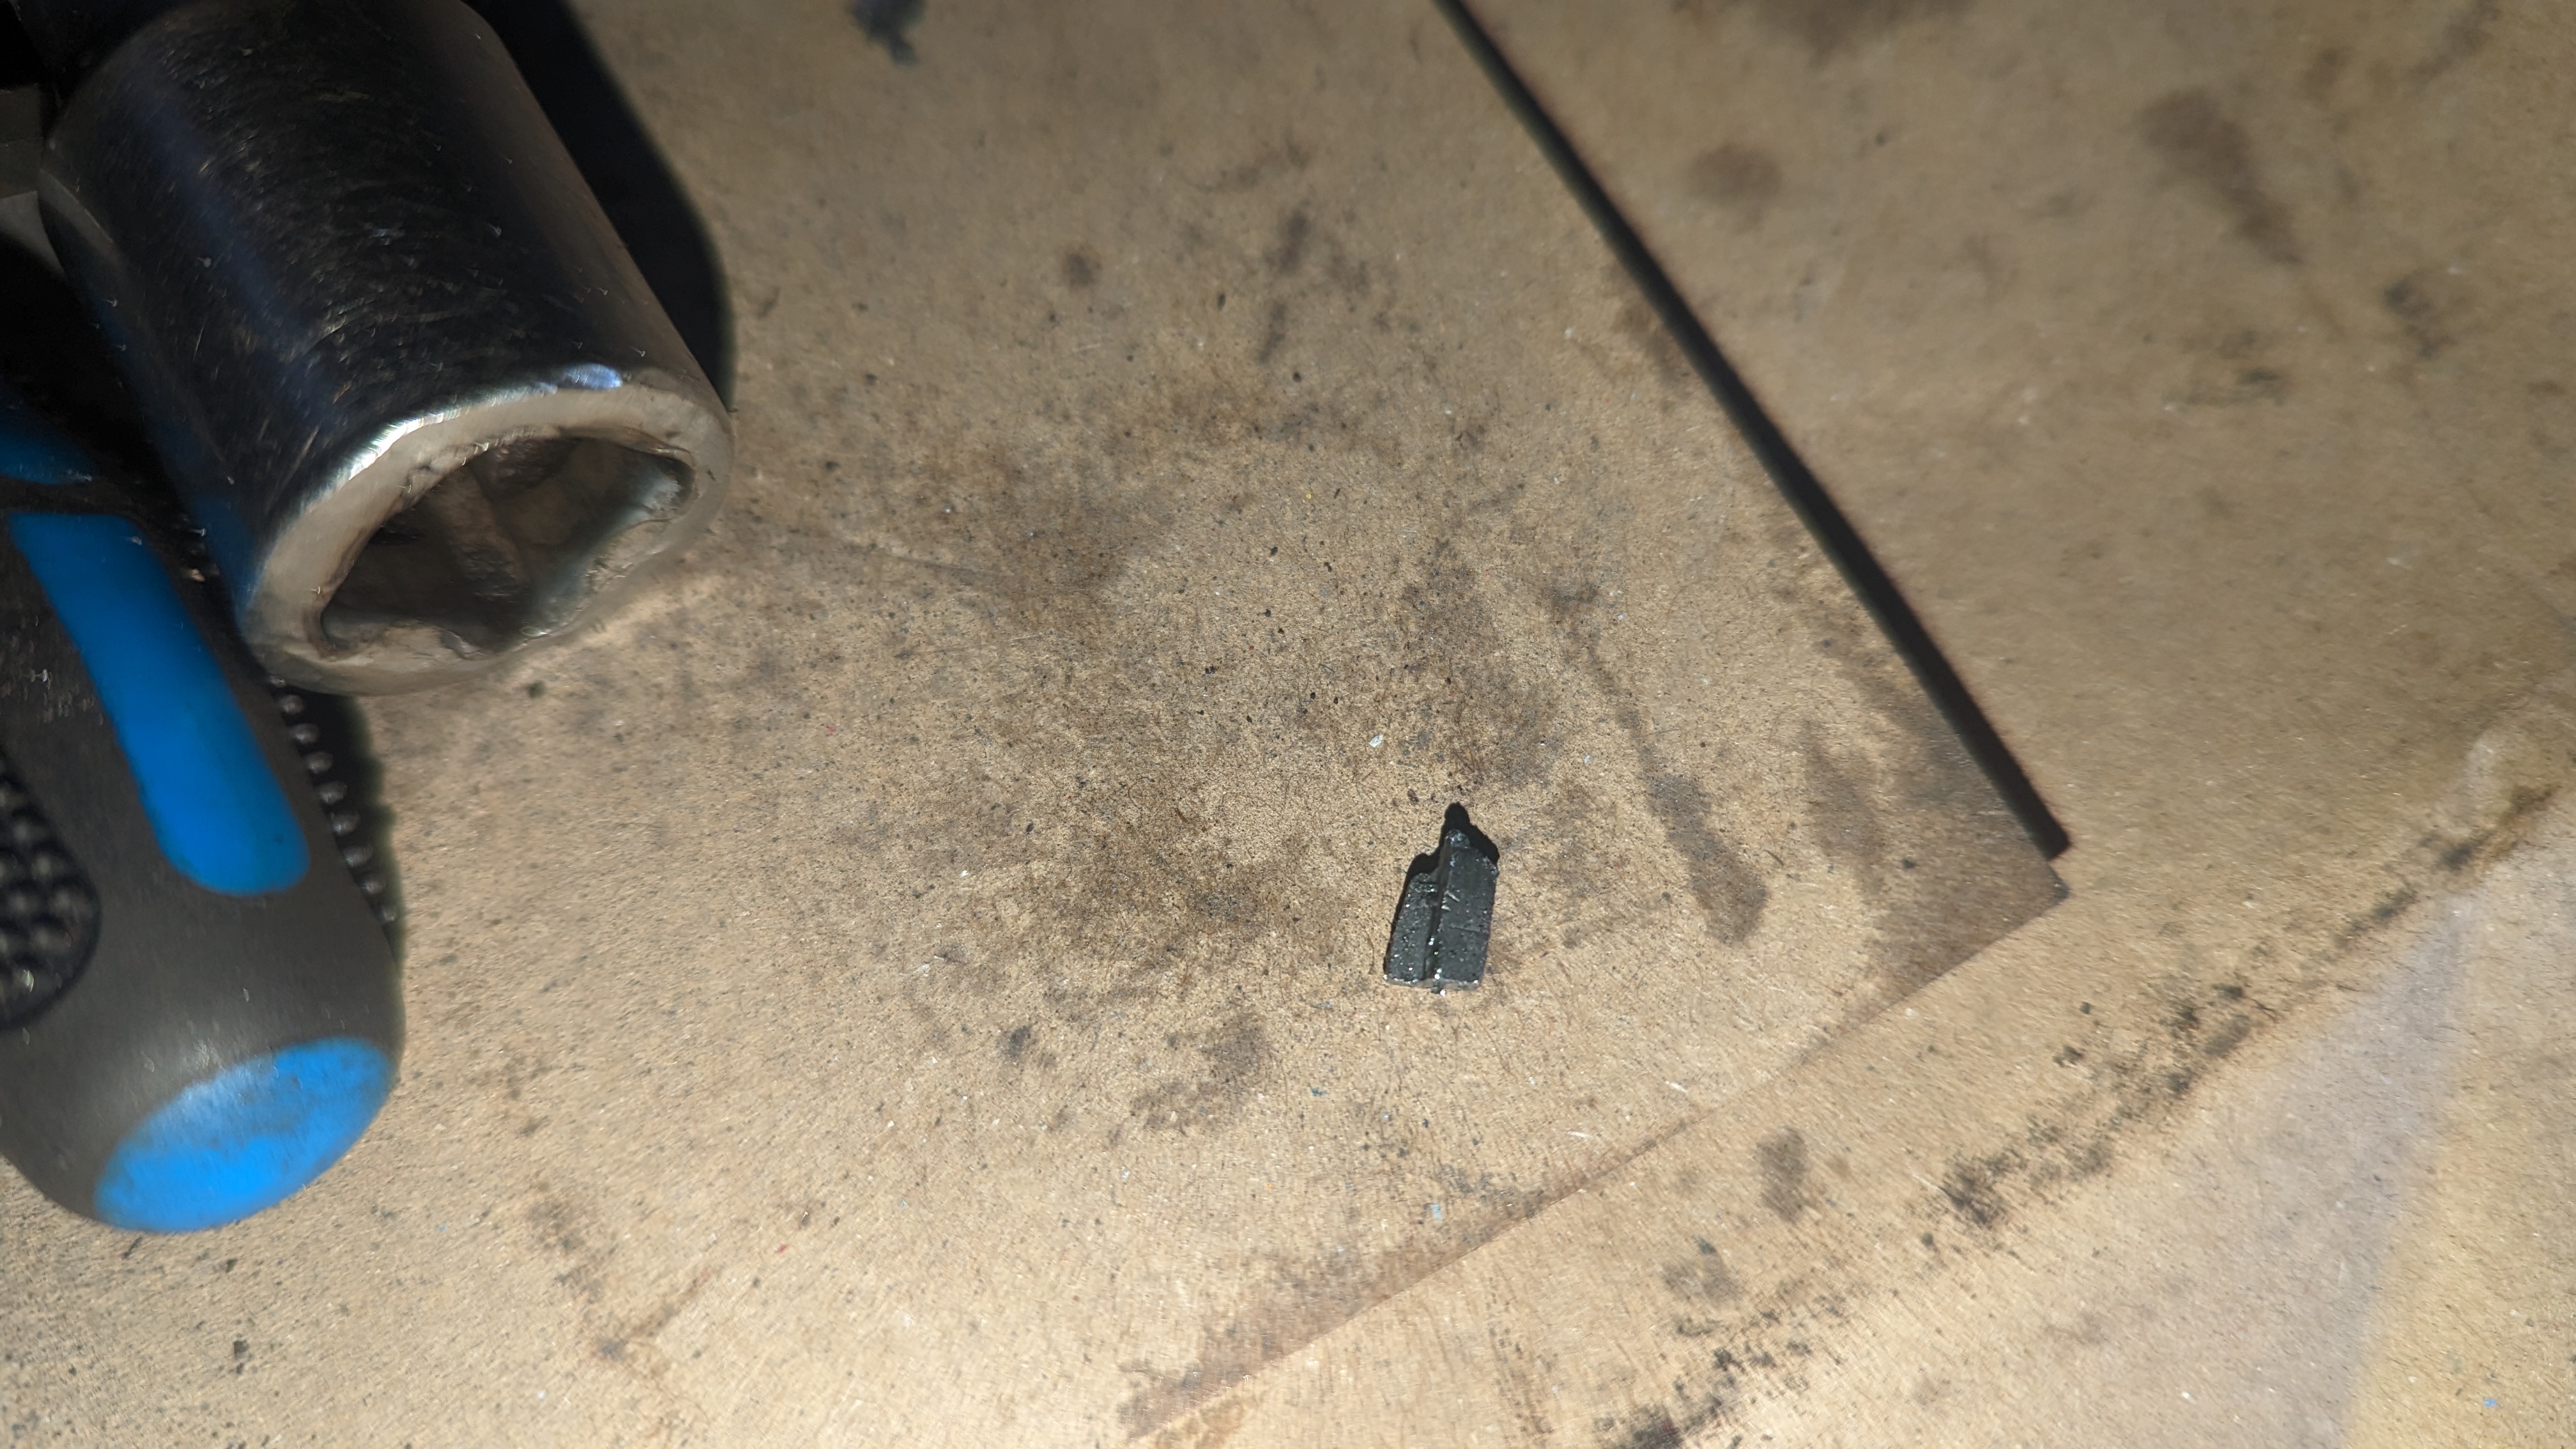
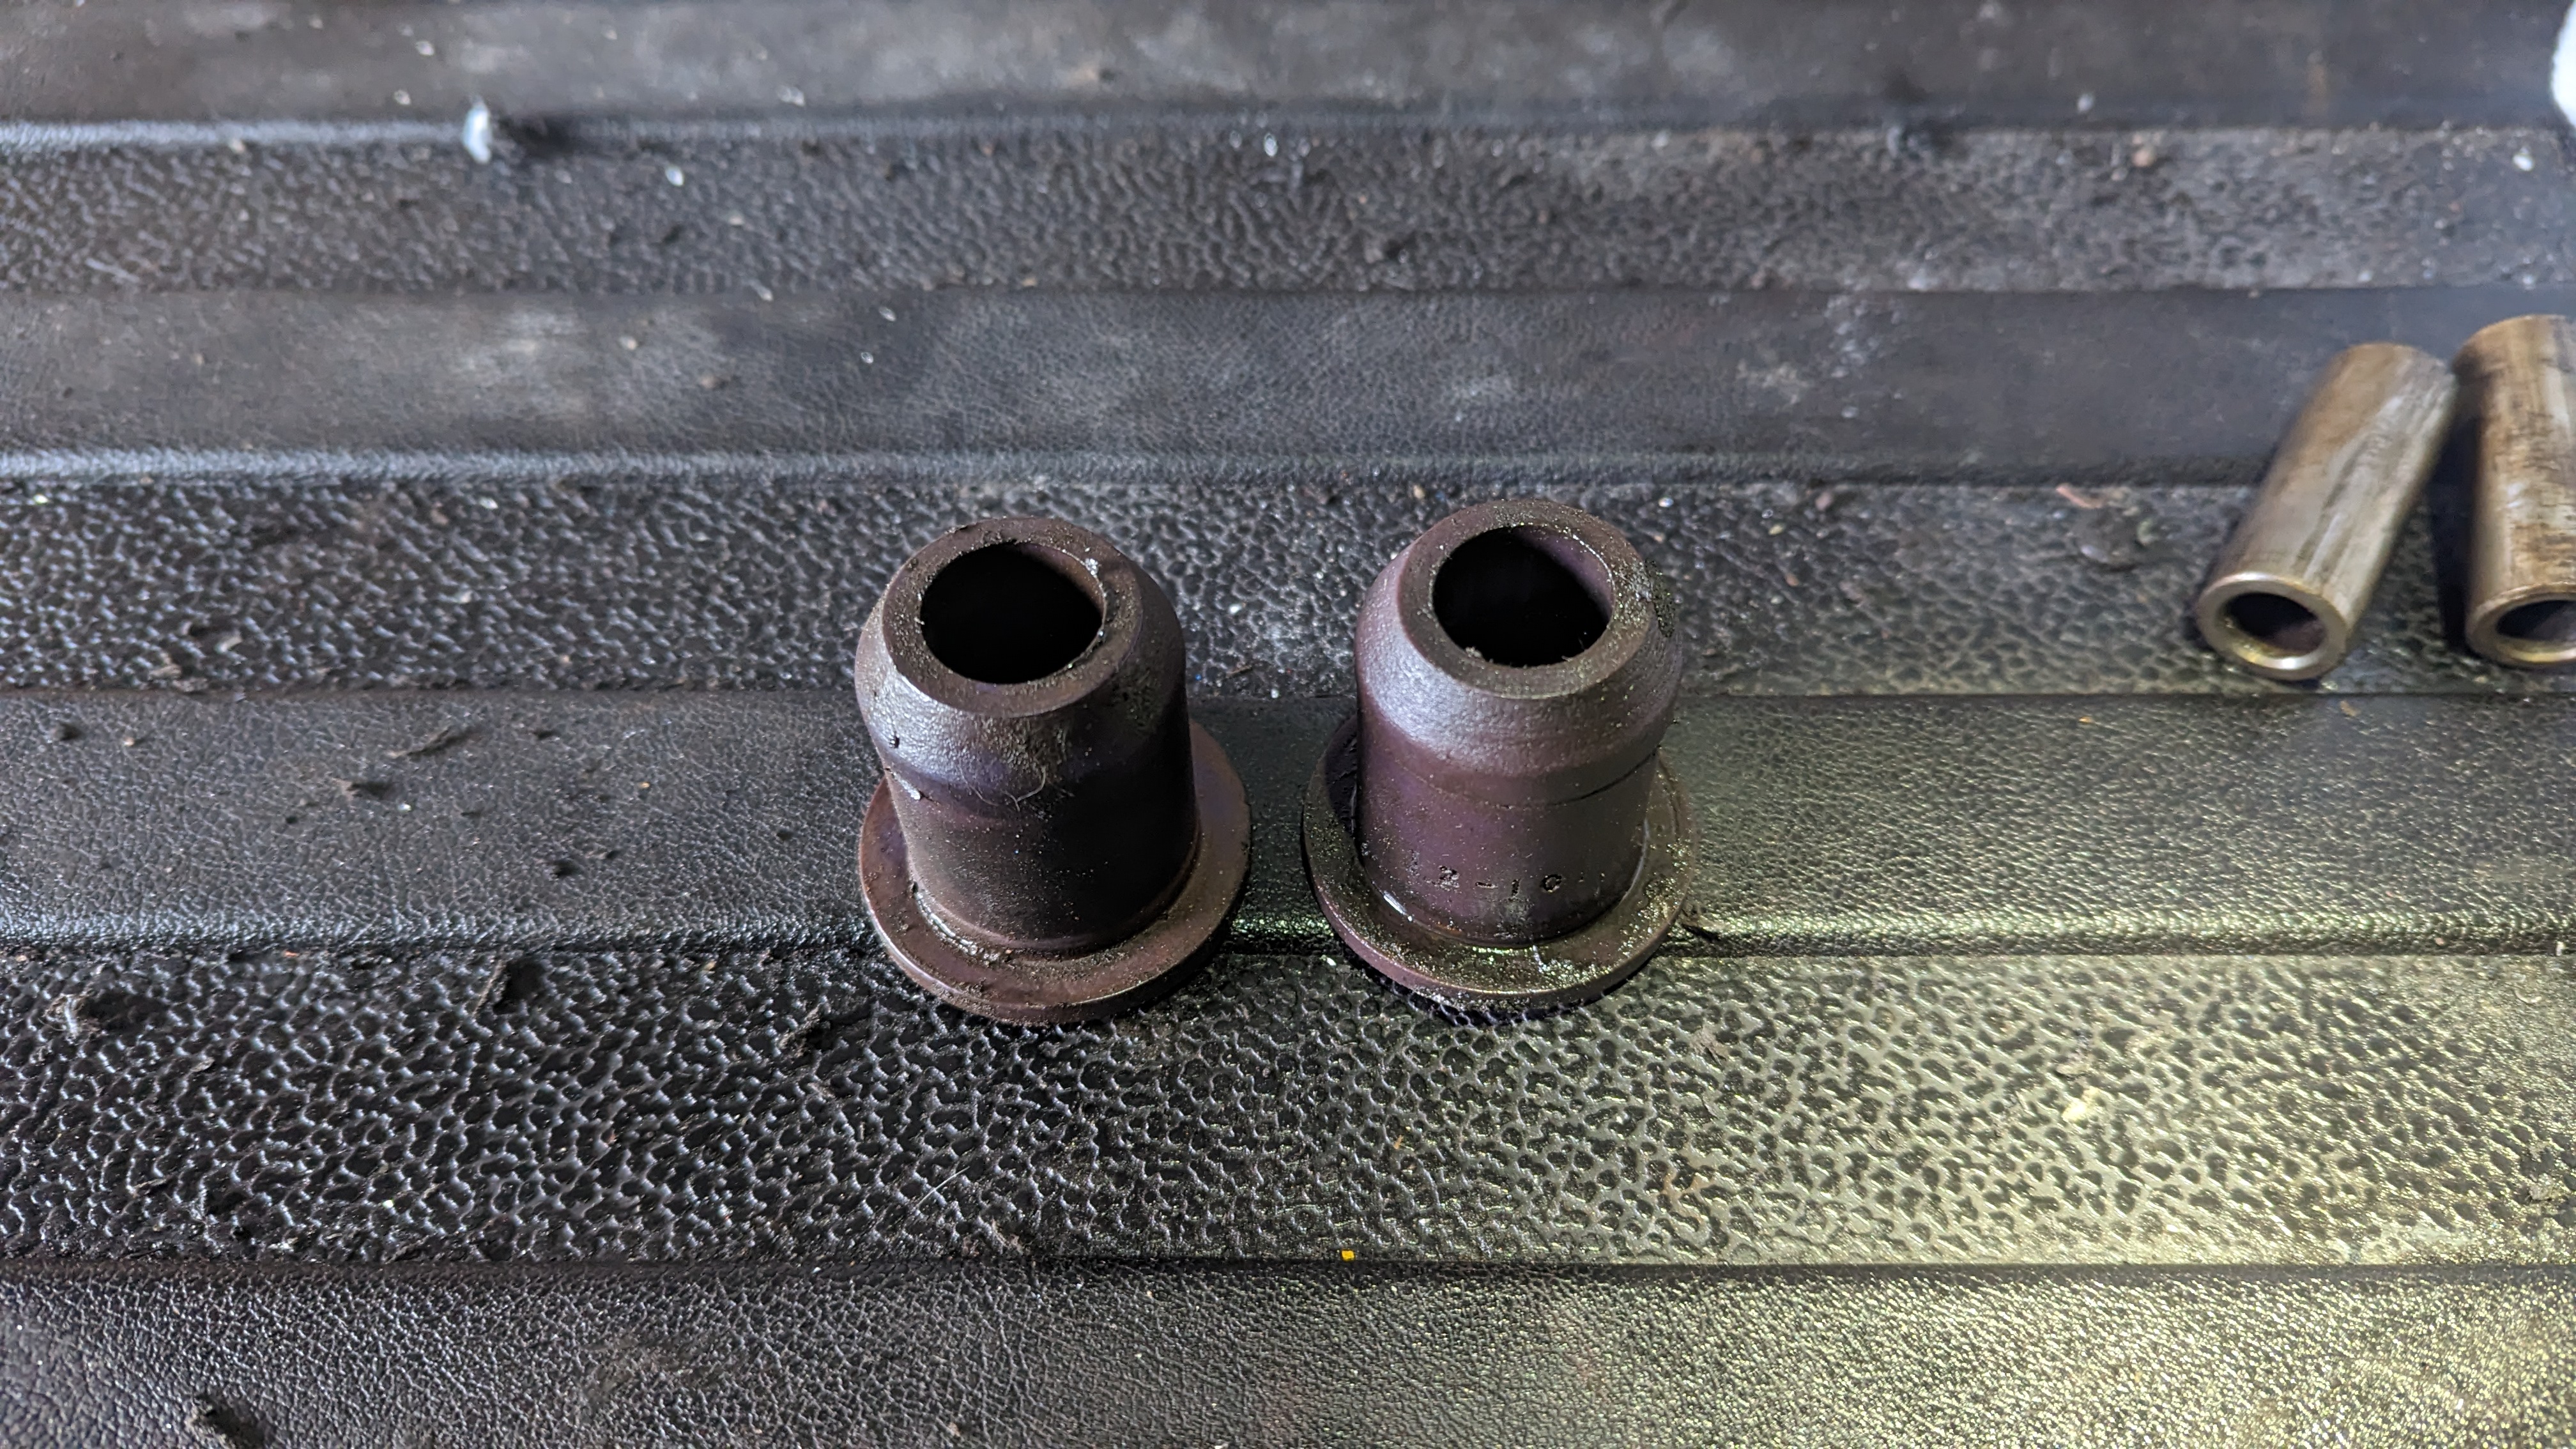
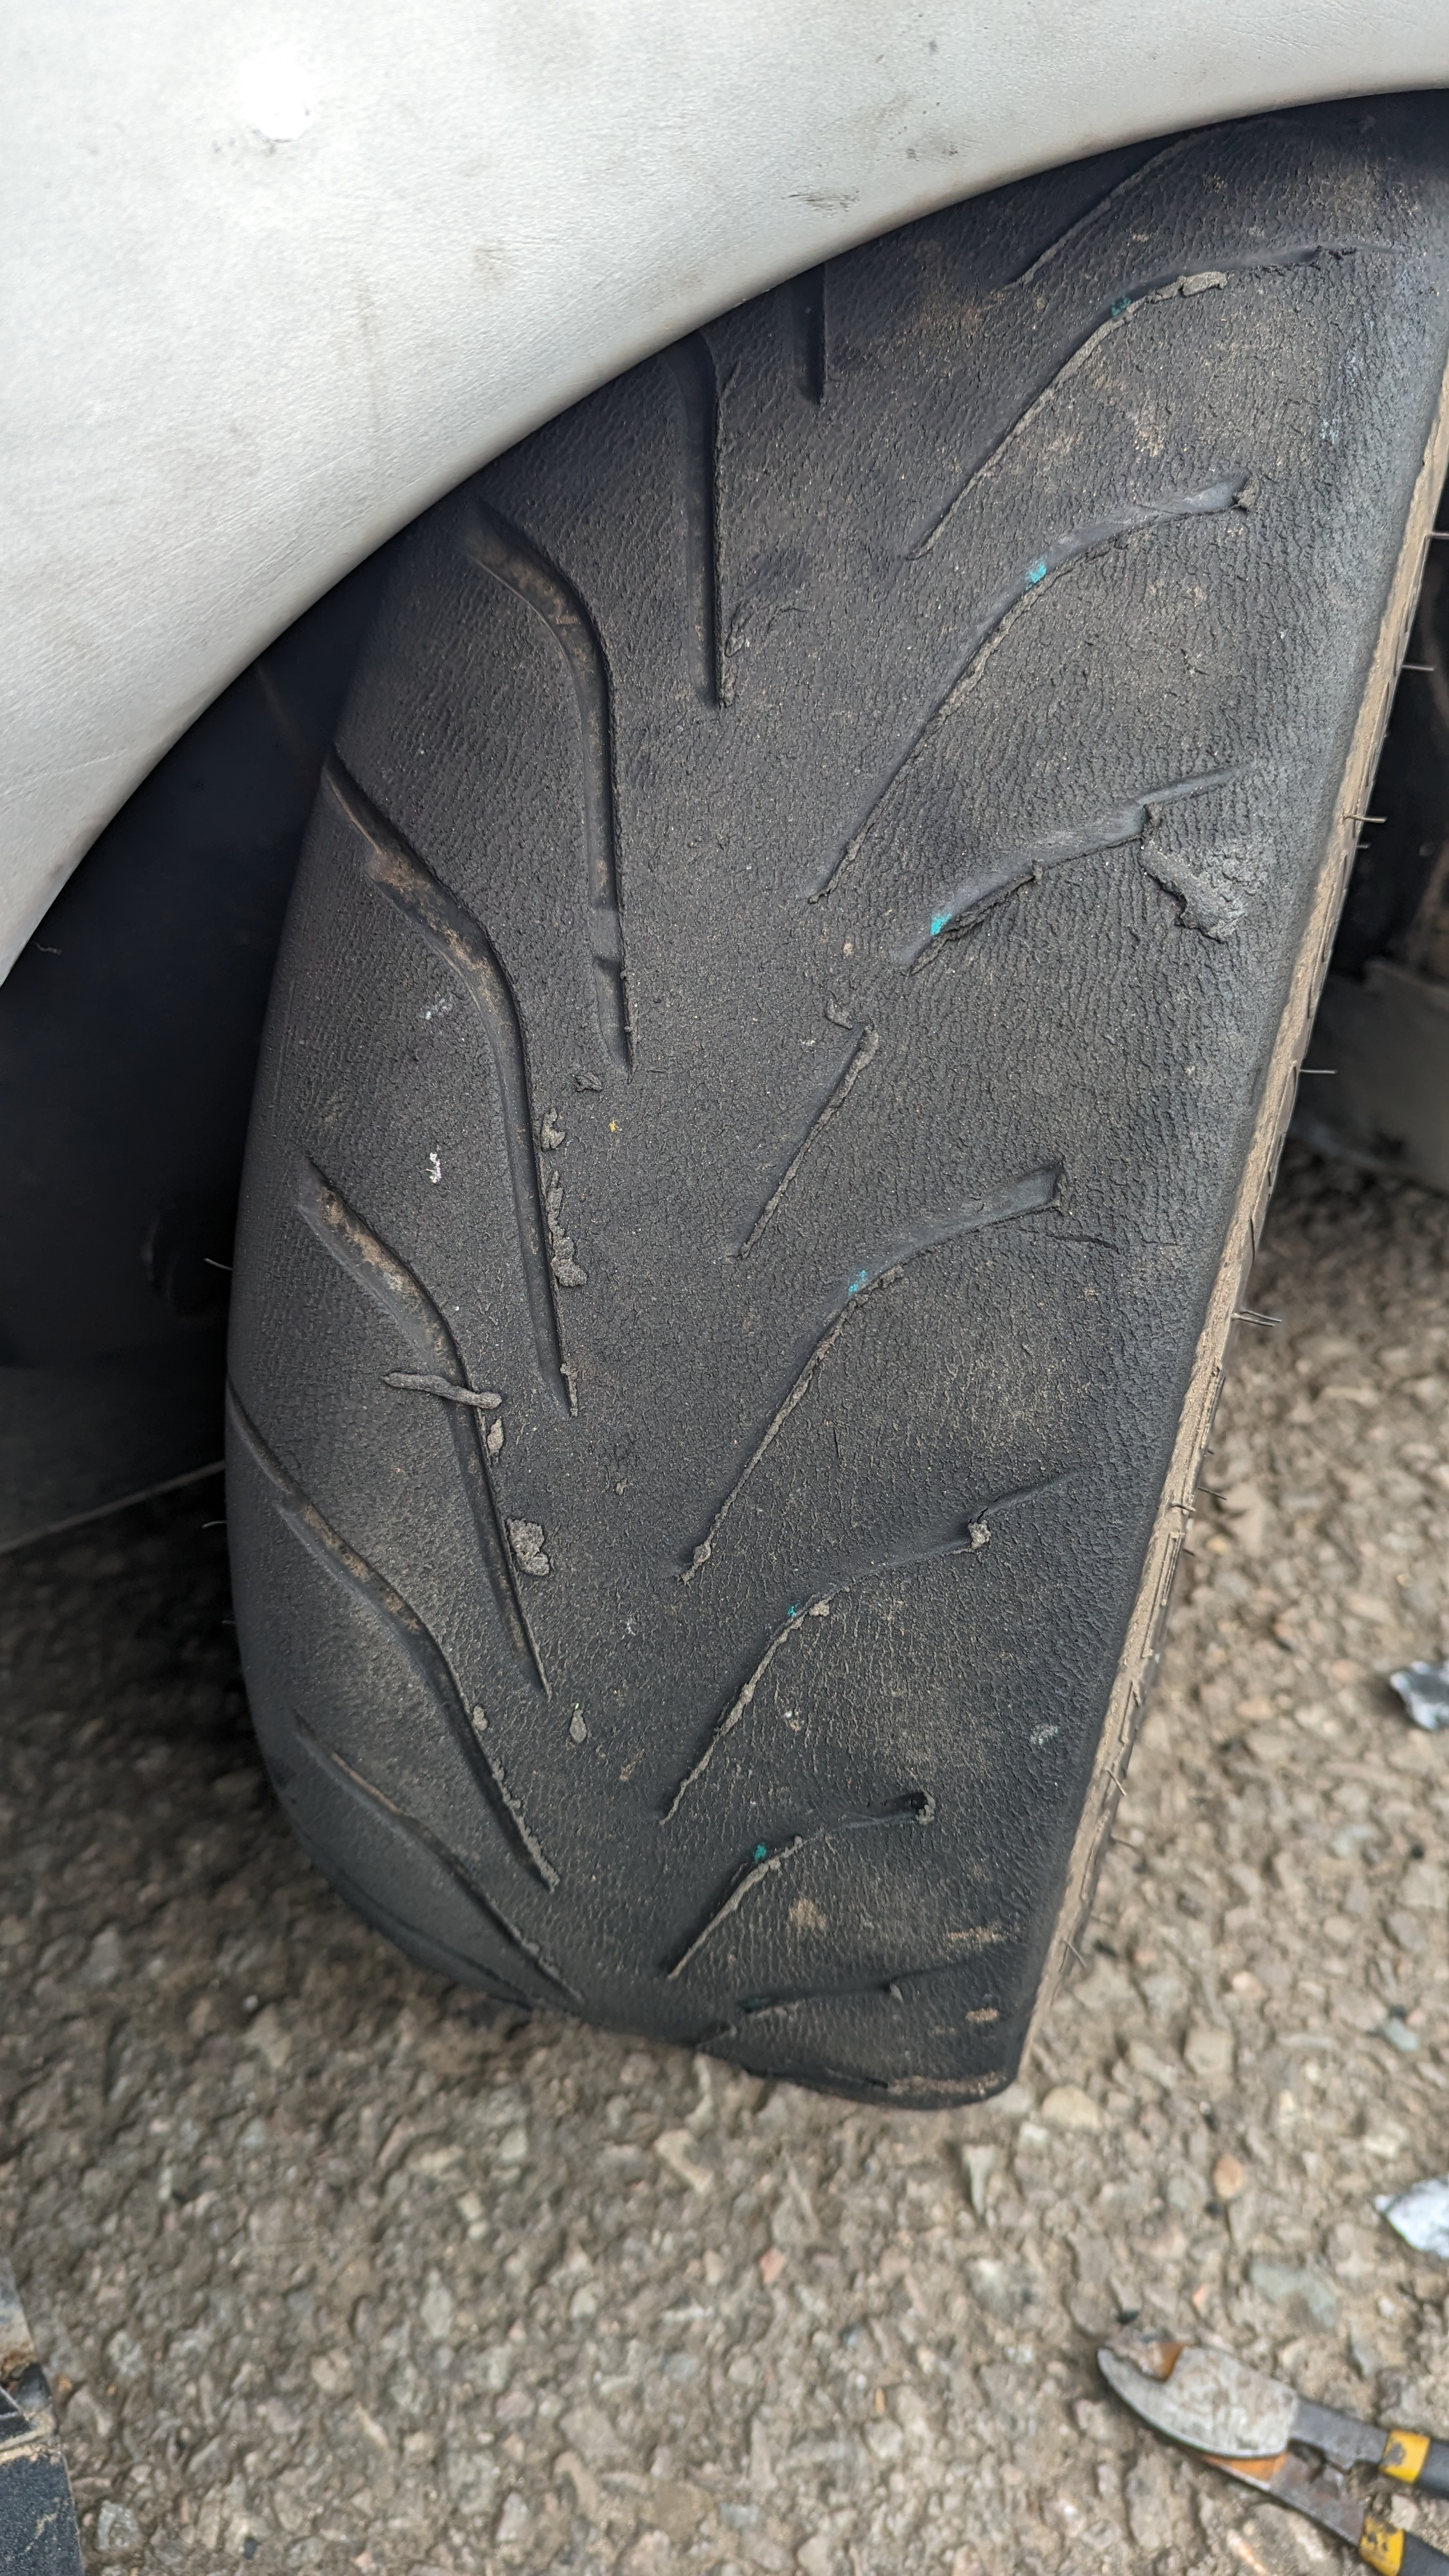
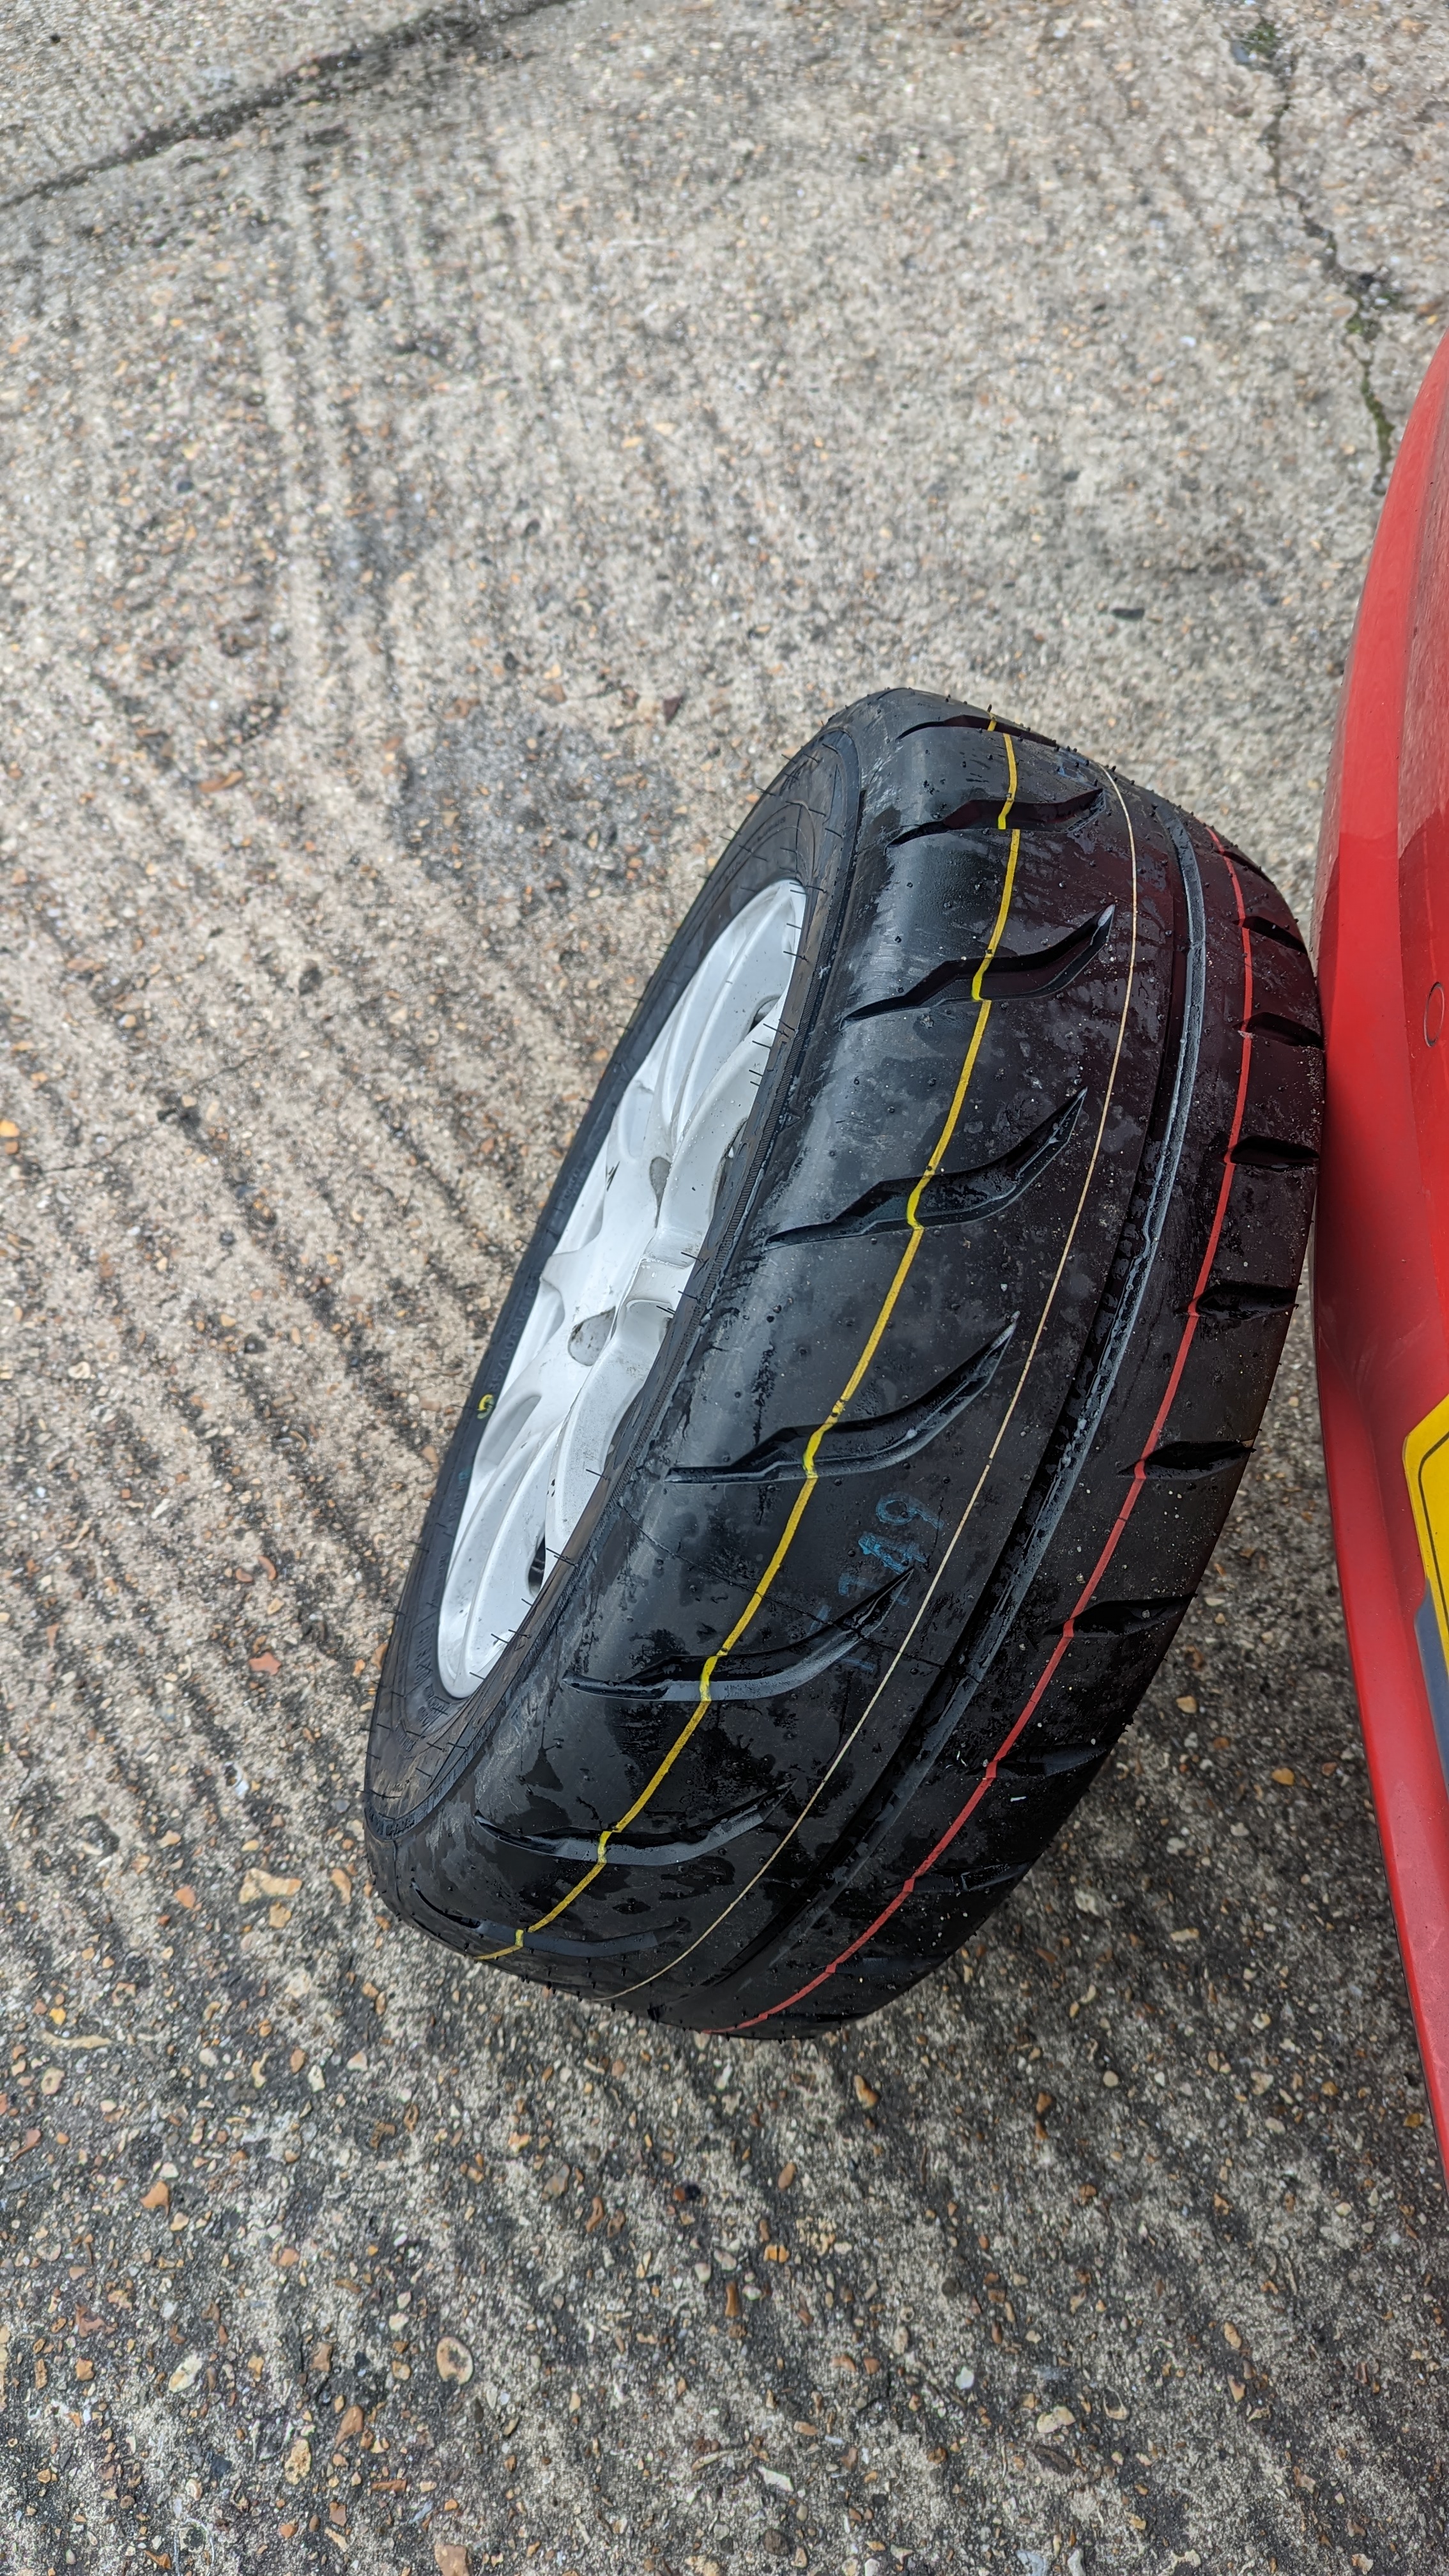
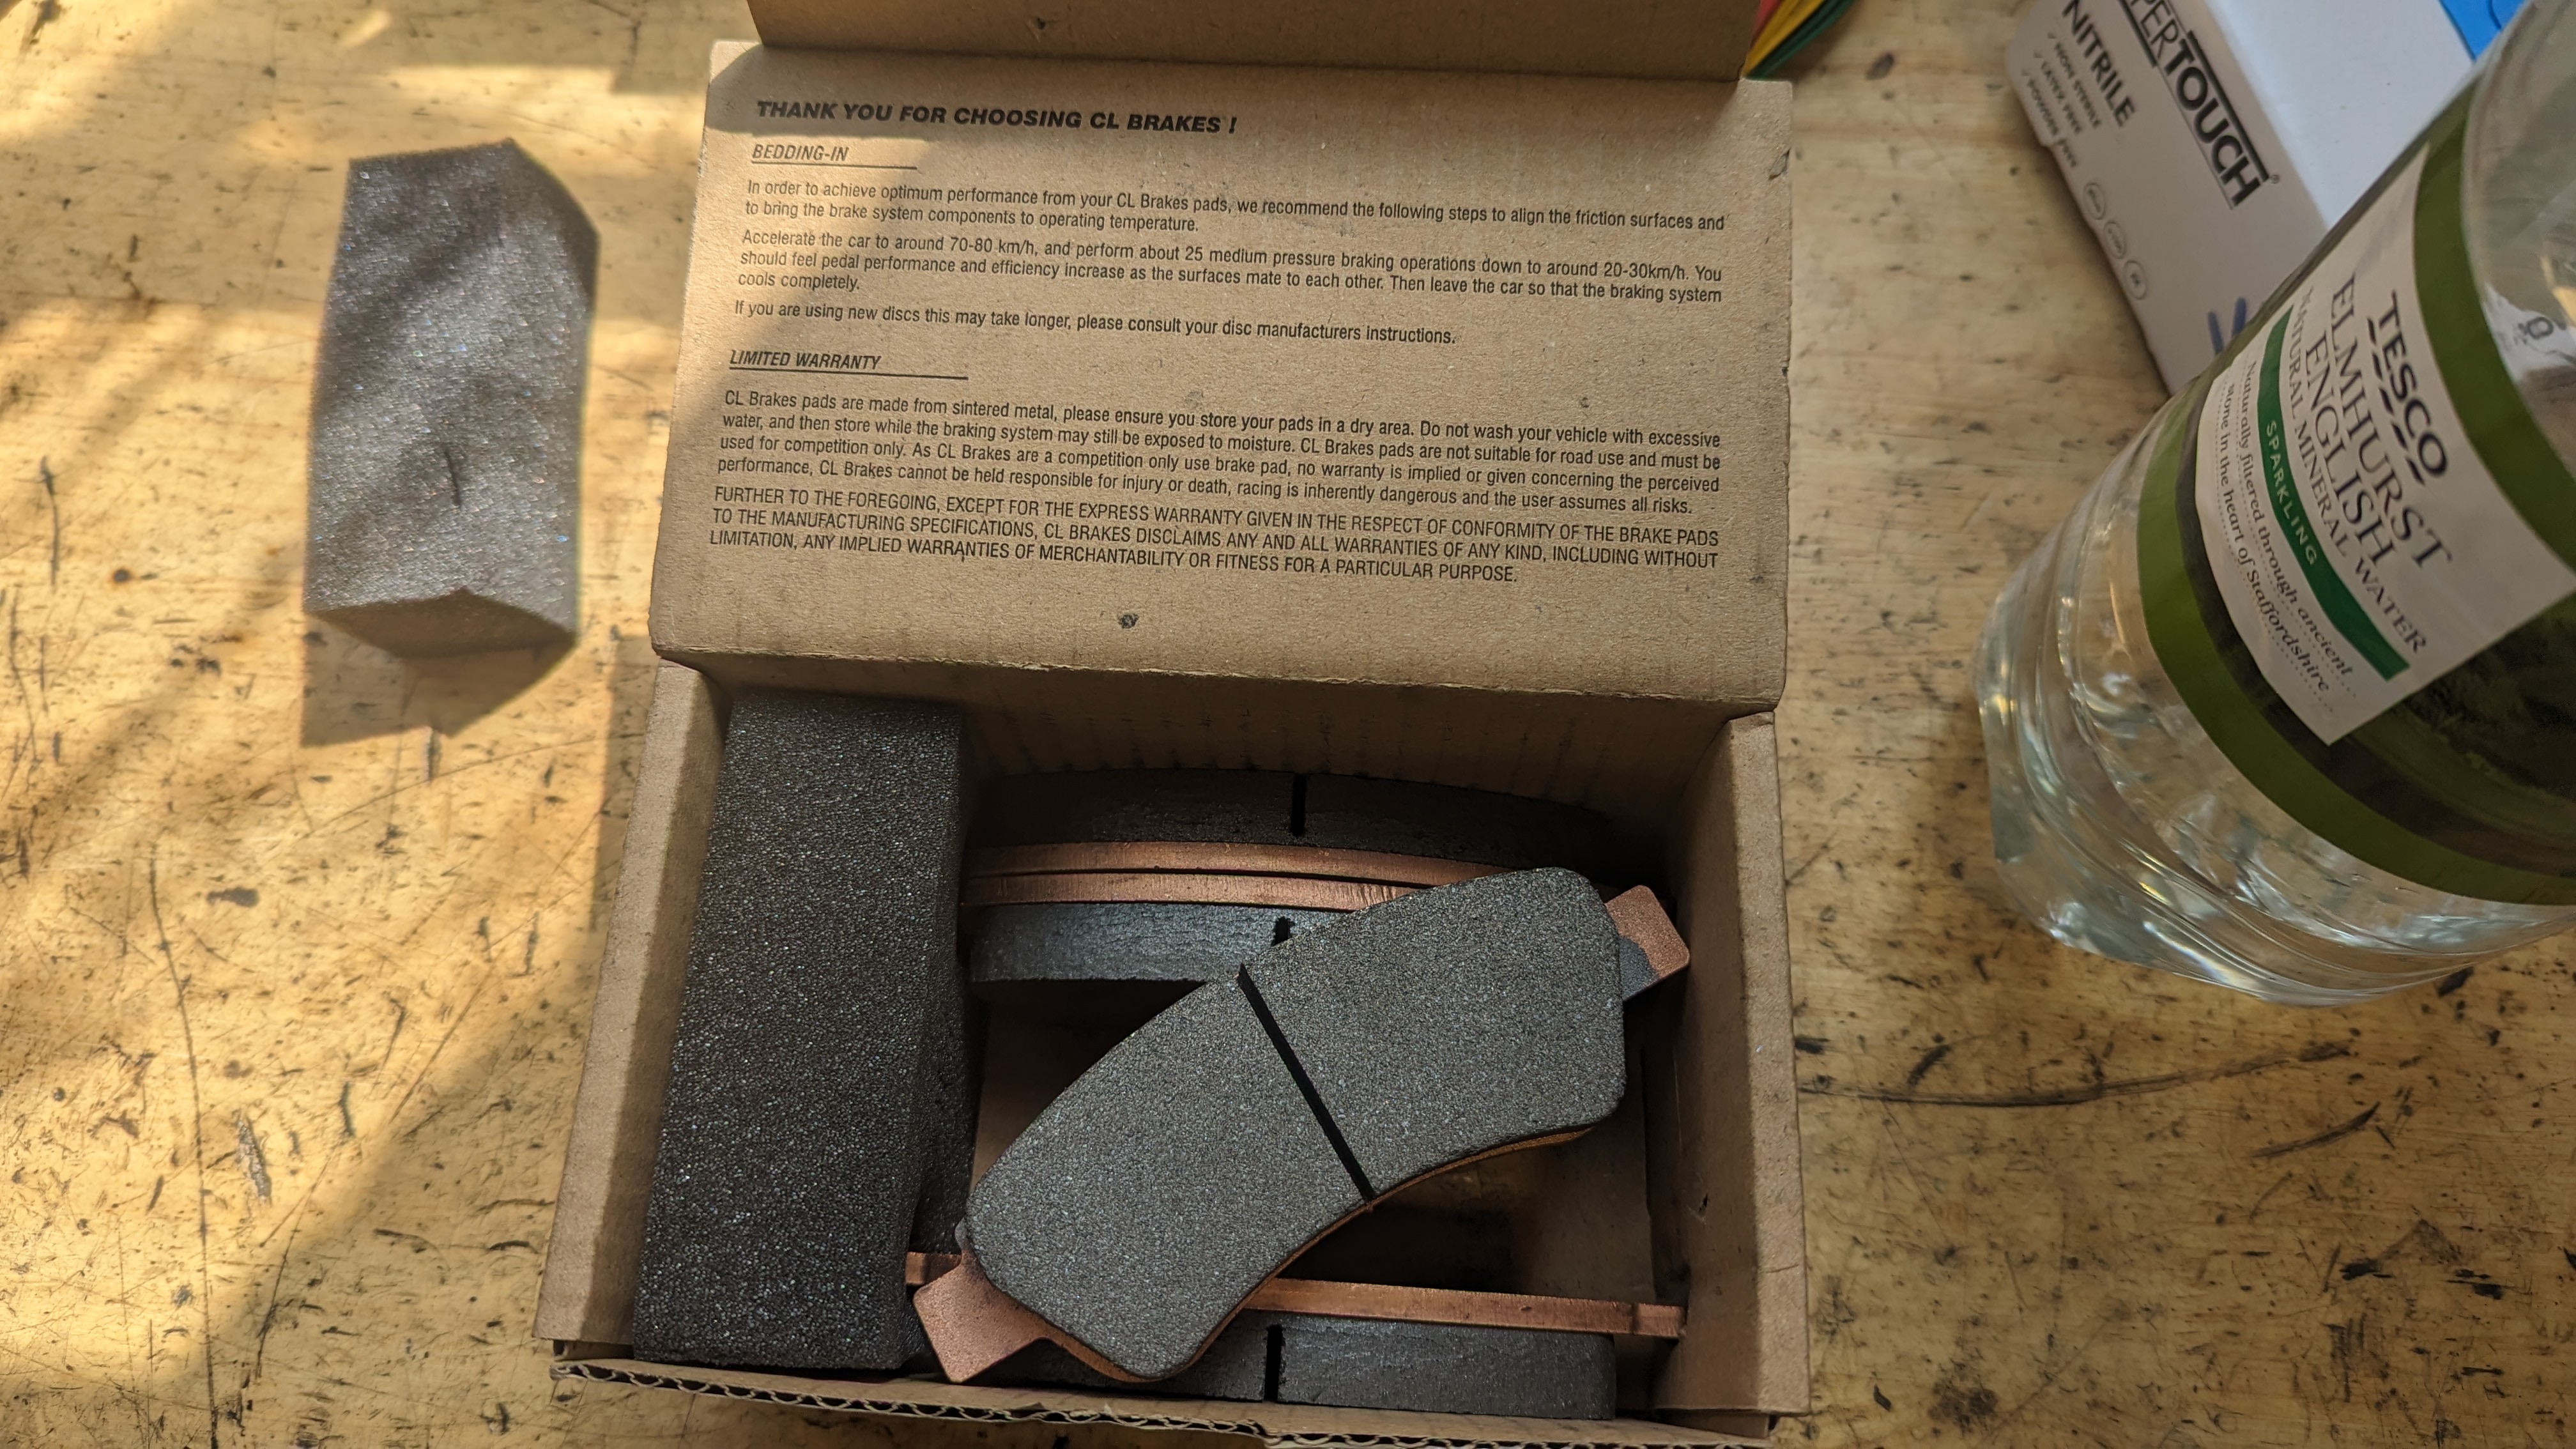
I thought they would last a bit more than that? seems strange,this time I went with the Black version:


    Always wanted to try a decent size splitter that goes as far back as possible after the first "failed" attempt,this time i went with aluminium 2.5mm thickness,made in 4 separate pieces as i could only get 50cm by 1 meter,and bonded and riveted together (counted and there are 105 rivets lol),weight 9.5kg,eventually i will continue with adding a flat floor and diffuser at the back,so got a cardboard template first:


    So to lift it up i can just use the sill mounts and then put axle stands in the original locations if i need to:


    Also fitted a smaller pulley from Spoox to gear down the alternator:


    I don't like bonnet vents too much but i thought i had to put some after fitting the splittter to get some air moving since it's all covered at the bottom now:


  22. #22
    Looks mean that bonnet , I thought the MK 3 fiesta rs turbo bonnet intakes would look nice , but cosmetically that is all .
    1 user thanked this post:
  23. #23
    Vents would work when sat, but unlikely to do much when in motion. The low pressure under the car will pull the engine bay air out, as long as the splitter doesn't totally seal the entire bay off?
  24. #24
    Yes it is all covered up as per picture above,there is only a few centimeters of space on either corners where the plastic arch liners ends but other than that it is all covered.
    I dont pretend to know the physics behind but my thinking is I have a quite large space at the front for the radiator and the two smaller air ducts at each side of the number plate (and behind the number plate a few more holes that i could use on trackdays by taking the plate off) and I would hope some of this air gets pushed out of the vents.
    Would be pretty cool to get some actual data to see if there is an actual air flow or not.
  25. #25
    You could do some tuft tests!

    I've a slight concern for you, that you may hit some temperature related issues. I hope not. but this was why I halted my plan to use an air dam, in a similar way, many years ago. I don't know how to work out the maths - so you might be ok, depending on the aperture for the flow to exit the tray, but I can't make much out, on the photos.

    The dam and under tray creates low pressure under the car, which in turn acts like a venturi/suction to pull the air out of the engine bay, at speed - as well as the primary job of downforce... But...if the rear of the tray is sealed, or the exit isn't good/big enough, for engine bay air to join the underside of the car, beyond this point... I think you may hit issues.

    The air going over the bonnet is high pressure, so wouldn't be 'sucked' into the vents on the top, at speed - Unless, the low pressure isn't there - being fully blocked off from joining the underside rear of the car due to not enough exit space or it being sealed in. It could create some weird air flow actually and I think you may disrupt the flow enough for the radiator also, by needing all air to mainly traverse out of the top of the engine bay - where all the high pressure exists, it may not hit its efficiency.

    I mean, I never got as far, into testing, so what do I know... But my final plan was to halt the under tray before the bulkhead, leaving enough of a void behind the engine for the flow to work - but still provide the many downforces I was expecting! lolz. I did research it, I promise. It was over 10 years ago though, so apologies.

    Good luck either way. might be worth a quick post on other forums/threads like timeattack or something - just to make me look dumb, if nothing else and put your (or my) mind at rest.
    1 user thanked this post:
  26. #26
    Quote:
    Originally Posted by sri_130 View Post
    You could do some tuft tests!
    Yes I've been trying to do this but couldn't get a clear answer lol,I think I will have to strap some go-pros to have a clear view of what's going on.


    Quote:
    Originally Posted by sri_130 View Post
    I've a slight concern for you, that you may hit some temperature related issues. I hope not. but this was why I halted my plan to use an air dam, in a similar way, many years ago. I don't know how to work out the maths - so you might be ok, depending on the aperture for the flow to exit the tray, but I can't make much out, on the photos.

    The dam and under tray creates low pressure under the car, which in turn acts like a venturi/suction to pull the air out of the engine bay, at speed - as well as the primary job of downforce... But...if the rear of the tray is sealed, or the exit isn't good/big enough, for engine bay air to join the underside of the car, beyond this point... I think you may hit issues.

    The air going over the bonnet is high pressure, so wouldn't be 'sucked' into the vents on the top, at speed - Unless, the low pressure isn't there - being fully blocked off from joining the underside rear of the car due to not enough exit space or it being sealed in. It could create some weird air flow actually and I think you may disrupt the flow enough for the radiator also, by needing all air to mainly traverse out of the top of the engine bay - where all the high pressure exists, it may not hit its efficiency.

    I mean, I never got as far, into testing, so what do I know... But my final plan was to halt the under tray before the bulkhead, leaving enough of a void behind the engine for the flow to work - but still provide the many downforces I was expecting! lolz. I did research it, I promise. It was over 10 years ago though, so apologies.

    Good luck either way. might be worth a quick post on other forums/threads like timeattack or something - just to make me look dumb, if nothing else and put your (or my) mind at rest.
    I can report that I don't have any temperatures changes,coolant or oil,luckily it's still all good,one thing that I had an issue with after fitting the splitter though.

    I couldn't get past 90 on my "trackday",the front middle section wasn't solid enough and it was flapping around and making an horrible noise,so I've reinforced it with three M10 mounts just before the air dam and it can support my 80kgs no problem and no noise,tested until about 130 (on the trackday):


    I do want to continue with creating a flat floor so ordered more aluminium,by having these sideskirts I can integrate the middle sections nicely,I don't have any actual numbers but I know it feels great in corners at speed.
  27. #27
    I had an issue after doing the BE gearbox conversion specifically with the driveshaft on the driver side,I've found out that for some reason the driveshaft taper bottoms out before clamping the bearing properly and this would cause massive play in the wheel,I would press the hub back in again but the play would appear again after only a few corners.

    What I've found out worked was to use a 5mm spacer on the driveshaft itself,this way it loads the bearing correctly,checked again and again and still all good.


    I've worked out the thickness of the aluminium spacer by looking at the old CV joint,you can see the shiny mark and where the hub wasn't pushed all the way in on the driveshaft taper.


    Also,added some cage tubing that goes to the rear axle mounts,I will do the same with the other two axle mounts in the rear seats compartment and eventually the front strut mounts too.


  28. #28
    Yeah for the tuft tests you will need either someone track side with a camera - as in, taking still photos at varying points - or some sort of sync'd go pro setup.
    good luck
    1 user thanked this post:
  29. #29
    Your bonnet is an area of LOW pressure. you have massive pressure at the front of the car, going through the radiator, the low pressure going over the bonnet will draw the air out of the bay.

    It'll be high pressure at the front of the car, and at the base of the windscreen.

    Your louvres are a bit steep.

    Most of your engine bay temps go under the car, but since you have a flat floor it'll now be going out your bonnet vents and wheel arches. The wheel arch ones will stop flow from attaching to the sides of the car. You can cut the wing and taper it in towards the engine by to reduce flow separation as the air leaves the arches.

    didn't spot a picture, but your flat floor at the rear, you should probably avoid tapering it up more than 10-20 degrees and only at the back. flatter the better. Being a hatchback you want to reduce drag and not add downforce. I'd be tempted to remove the splitter element and just focus on the flat floor. the splitter will be reducing your top speed.

    It won't be of much benefit unless you're consistently over 100mph on track or tootling about at 56mph trying to get maximum economy.

    1 user thanked this post:
  30. #30
    Went to Castle Combe on the 10th of May,I understand now I've added all the grip at the front with the splitter and the quaife (as that's the only two things i changed) and removed all of it at the rear lol,at low speed it's not really a problem but above 70-80 is quite scary lol,caught by surprise on the first lap and done a 180.

    That was the only one for the day though,after I got a bit more used to it and managed to keep where i wanted it more or less,still at the end of the day after 140 miles on track I still wasn't confident enough to push it more,so really need to get some grip back at the rear,it definitely keeps you on your toes lol.

    I also swapped the front Ferodo DS3000 pads to EBC YellowStuff as they were low,unfortunately they are very much a downgrade,was able to brake a lot later with the Ferodo I am looking at some Carbon Lorraine RC8 that I might go for soon.

    This is a little video of the afternoon laps.

    https://www.youtube.com/watch?v=UWjY6TZCljw


    Also I found it a bit strange that the passnger front tyre was pretty much gone on the outside and not much wear on the inside,perhaps need more camber? currently I only run -1 and always kept the tyre pressure around 30psi hot,I understand Castle Combe it's mostly right turns.


    So swapped that straight away with the same Toyo R888R as the other side:


    3 days before the trackday the water pump decided to leak (on a Sunday) so I quickly changed that over for a new one:


    No holes to keep the cams locked on the Piper pulleys so made a quick tool for that,later I've welded the plate on for use next time:


    Thought I should cover this,don't want air going above the undertray:


    I have added a few Naca ducts to the splitter,the central one should suck the hot air from the engine out and the ones on the sides are supposed to help with downforce:


    I have made the M10 mounts as close to the air dam as possible to help support the load,only got to 120mph on Castle Combe but experienced no problems and it stays all nice and solid:


    still need to do the same on the driver side.
  31. #31
    Must say I wasn't very happy when I've found out that the oil sump baffle I've fitted that's supposed to prevent oil starvation does the exact opposite and cuts oil pressure off.


    Luckily oil pressure always stayed above 2 bars so no engine damage i can see,only noticed because I saw an oil pressure drop on my aftermarket gauge,guess the magnetic sump plug I have is useless against the pressure of the oil pump.
  32. #32
    Most baffles I've seen are welded to the sumps, rather than bolted to the engine.

    There's probably too much of a gap between the baffle and the bottom of the sump. so all the oil is just running underneath it?
  33. #33
    Well I don't know about that,I only know that a piece of the baffle broke off and was cutting oil pressure partially.
  34. #34
    Decided to fit the diesel radiator setup as was getting a bit hot on track days,the diesel one takes 1,3 liters more than the VTS set up and it's got a seperate header tank and much easier to bleed and to check the level,it was a pain to check the coolant level with the integrated tank,couldnt see anything lol.

    27mm versus 32mm the diesel one is 5mm thicker.


    First thing i fitted the header tank:


    Bottom header tank to lower radiator hose:


    That fitted and worked great,very easy to bleed,went to start it up and the alternator died (i had one of these refurbished ones),so waited a week just to get a new one.

    My good Saxo friend gifted me this Citroen sign:


    Also i had fitted some Carbon Loraine race pads,really great and biting force is so much better than the YellowStuff pads,bit noisy when coming to a stop but thats also why i bought them lol.

    https://www.youtube.com/shorts/6jo_TXOrUA8


    But then catastrphic failure happened,was about 7500 rpm and piston number 4 exploded and made two big holes in the block and damged that and crankshaft,oil pump,oil sump and lightly scratched two inlet valves.

    I coouldnt see any signs of oil pressure causing this but saw the conrod studs torn off and the retaining nuts were still attached so perhaps it could have been this,other than that i would only be guessing,one thing for sure is for the rebuild i will go forged set up.


    So took everything out to rebuild:

    1 user thanked this post:
  35. #35
    Yes

    Your piston/rod 4 failure is down the bearing material getting slightly scored from your dips in oil pressure on track. It's "last in line" from the oil pump. So it gets the least amount of oil flow.

    If you take the caps off the rest of the rods, you'll probably see the wear is really bad on no.3 as well.

    When I did mine, I wasn't quite revving as hard as that, and my oil pump almost survived. No damage to the block though. I kept the rod and piston as souvenirs.
  36. #36
    Quote:
    Originally Posted by MartinObviously View Post
    Yes

    Your piston/rod 4 failure is down the bearing material getting slightly scored from your dips in oil pressure on track. It's "last in line" from the oil pump. So it gets the least amount of oil flow.

    If you take the caps off the rest of the rods, you'll probably see the wear is really bad on no.3 as well.

    When I did mine, I wasn't quite revving as hard as that, and my oil pump almost survived. No damage to the block though. I kept the rod and piston as souvenirs.
    I'm no expert but couldn't see any oil pressure loss of fault causing this,just the Conrod bolts snapped in half with the nuts still attached,I will get more pictures but this is the crankshaft side of things.

    This first one is piston 4 that exploded:


    Bottom side:


  37. #37
    Conrod bolts n°4.

  38. #38
    man, I abuse the shit out of my engine and never broke one yet.

    Crank looks useable though, maybe just get a quick polish?
    1 user thanked this post:
  39. #39
    Yeah I know,it's a shame but there must be a reason for everything to fail so drastically,I've decided to just break it for parts,I bought a Clio 197 to replace this.
  40. #40
    Quote:
    Originally Posted by VeiRoN View Post
    Yeah I know,it's a shame but there must be a reason for everything to fail so drastically,I've decided to just break it for parts,I bought a Clio 197 to replace this.
    ewwwww a 197 you disgusting traitor!

    You will need to drastically modify its power immediately. There's one which races up here at knockhill and my 1.1 turbo is faster than it through both the speed traps
    1 user thanked this post:
  41. #41
    Quote:
    Originally Posted by MartinObviously View Post
    ewwwww a 197 you disgusting traitor!

    You will need to drastically modify its power immediately. There's one which races up here at knockhill and my 1.1 turbo is faster than it through both the speed traps
    lol

    Yeah it doesnt feel faster than my Saxo at the moment but it sounds great and the handling is insane even better than my VTS that had a Quaife in it,what power is your one making then lol? The Clio is super heavy 1280 kg,it's already gone on a major diet.
    1 user thanked this post:
  42. #42
    Quote:
    Originally Posted by VeiRoN View Post
    lol

    Yeah it doesnt feel faster than my Saxo at the moment but it sounds great and the handling is insane even better than my VTS that had a Quaife in it,what power is your one making then lol? The Clio is super heavy 1280 kg,it's already gone on a major diet.
    Yes they are rather PORTLY the 197's. Sturdy shell though.

    hmm, no idea, I'd have a stab at around 140hp. It's not been to the dyno yet. But it's running 0.95 bar of boost pressure so rule of thumb would make it double the standard 1.1 power.